When you click on links to various merchants on this site and make a purchase, this can result in this site earning a commission. Affiliate programs and affiliations include, but are not limited to, the eBay Partner Network.
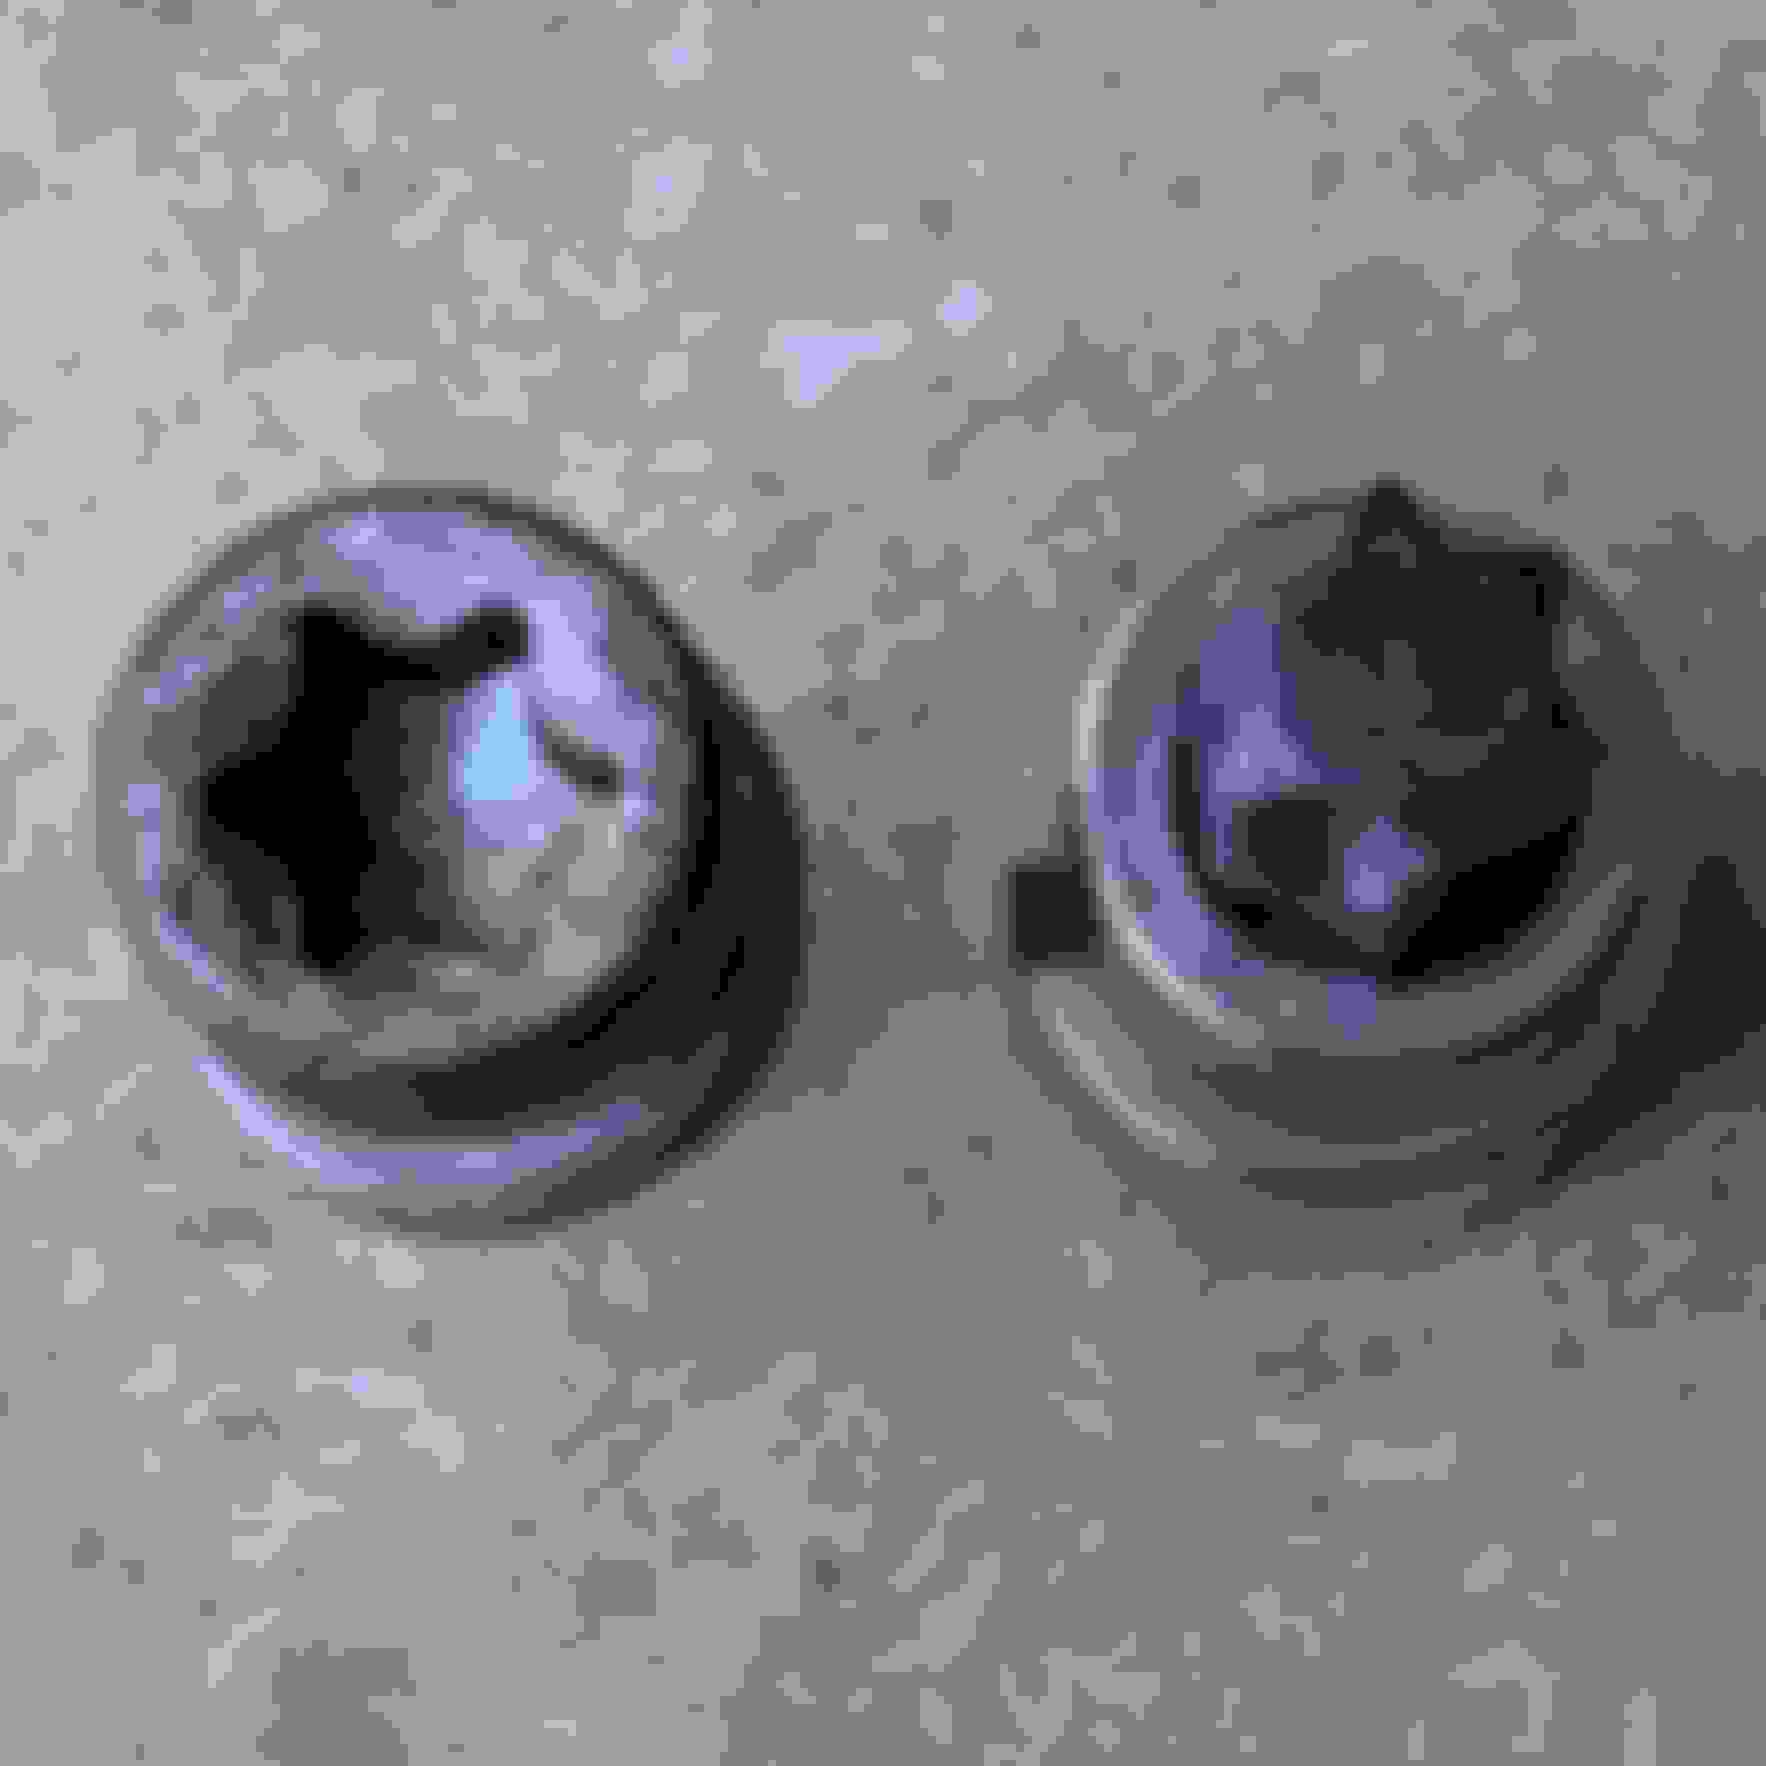
Visited forum in preparation for brake pad upgrade. Lots of great info and much appreciated. Lots of discussion around proper bolt socket type and sizes. Many suggested allen or hex head. In looking at bolts (4 total on each caliper) I found a Torx 55 the exact fit. See pics.
Most challenging thing was getting the front cover clip setup on and off the caliper. I found lifting the little center tab out of caliper that it freed up. Make sure to duck if you dont hold to caliper. Reinstalling I found one leg in place on caliper, center tab into slot and screwdriver pry on opposite leg to get it back in place.
Went ceramic for pads and really like the results. Was considering carbon fiber, but heard of some noise issues.
On my 2008 XKR there are 4 bolts that hold the caliper together. They are 2 different lengths. All caliper parts are branded jaguar so I assume this is stock. Please excuse if less than accurate as this is my first time with Jaguar brakes. They are set up different, but seem to be easier to work on once you know the procedure.
Most challenging thing was getting the front cover clip setup on and off the caliper. I found lifting the little center tab out of caliper that it freed up. Make sure to duck if you dont hold to caliper. Reinstalling I found one leg in place on caliper, center tab into slot and screwdriver pry on opposite leg to get it back in place.
Went ceramic for pads and really like the results. Was considering carbon fiber, but heard of some noise issues.
Went ceramic also and am very happy all the way around, performance and dust-free.
Like you said the clip was a challenge until I got used to it, I can pop it on and off in a snap now, too bad I will probably never have to do it again.
Old semi-metallic pads I replaced still had plenty of meat on them but squeaked a bit at very low speeds. The ceramic pads are very quiet and provide a more positive stop. The difference was very noticeable. Looking forward to not scrubbing rims of brake dust. Car is for sale so, any buyer may appreciate this more.
We are old pros with the clip after first time remove/replace. Chalk this up as one of the mechanic tricks that are learned along the way. The "R" on the clip has faded off, so I may be looking for a way to replace. I know there are other threads on this topic. Decal seems like it will burn off, maybe high heat paint. I do have access to some CNC, 3D printers that may help create something more permanent.
Hold the caliper together? Not sure why you'd need to separate the caliper just to change pads, or have I misunderstood? Wheel off first, then the anti-rattle spring with the logo plate, then undo the sliding pins from the rear, they're under the dust covers and take a 9mm male hex socket, two per caliper, then the caliper should just slide off the disc along with the pads.
My first time at Jag brakes so please excuse if my method is not sound. I'l have to take another look, but i was unaware of the sliding pin removal. makes sense as the method I used required me to slide rear part of caliper to remove/replace inner pad. I'll have another look, but in any event, it was pretty simple. The removal/replacement of the anti-rattle spring was the hardest part of the job.
Hold the caliper together? Not sure why you'd need to separate the caliper just to change pads, or have I misunderstood? Wheel off first, then the anti-rattle spring with the logo plate, then undo the sliding pins from the rear, they're under the dust covers and take a 9mm male hex socket, two per caliper, then the caliper should just slide off the disc along with the pads.
I didn't catch that, assumed it was different because he has an XKR and I have a lowly XK. But now that you mention it J5hort must have taken off the caliper carrier with the caliper still on it, whereas the process to replace just the pads would be to remove the dust covers and pins to yank caliper but leave the carrier still mounted. Carrier only comes off to change rotors also.
Still, he got it done! Comparing to a previous Porsche I owned both Jaguar and BMW have completely stupid designs. The Porsche I could toss new pads on in 15 minutes per wheel including jacking up and removing wheel.
...................... Comparing to a previous Porsche I owned both Jaguar and BMW have completely stupid designs. The Porsche I could toss new pads on in 15 minutes per wheel including jacking up and removing wheel.
I had a car like that also, although I'll be damned if I can remember which car it was..... After the wheel was off, I just unclipped a spring and pushed out two retaining pins and the pads pulled right out. Yep, 10-15 minutes per wheel. Maybe my old '95 Mustang? Hellz, maybe the Continental I had........... Well, it was PROBABLY a Ford since that's what I tend to buy mostly.
Wife's Lexus????????????? Jeep???????????
I'm too old to remember such nonsense.
Tampamark, lowly XK? The XK is far from lowly. It was on my original buy list, just happened to run into a good deal on the XKR. Either of these are beautiful, high performance cars that are much appreciated by those who know and love cars.
That being said, and back to the caliper removal story. I definately took the whole caliper off, but it seemed to be one unit. I may be wrong and will need to take some pics when I get in there again. It was still pretty easy to do that way, but I'd like to remove in a more appropriate manner.I'd also like to remove any bolts and apply anti-sieze so I can keep ahead of this. I've done tons of brakes, so I'm surprised this threw me off. All is well that ends well.
Purely in jest, the toungue-in-check part lost in translation referring to a $90k car as lowly.
Anyway, I didn't take any pictures when I replaced my fronts, but here are the renderings from the service manual. The caliper sits on a carrier that stays attached for pad-only replacement, you remove two dust covers, then unscrew two pins that will slide out. Once you have those two pins out the entire caliper pulls off the carrier. If your rotor (disc) was completely visible without the "wings" from the carrier in front you removed the entire assembly. The picture below shows the caliper carrier only from the back side (in blue) and the front on the left, on the right are the pins removed to pull the caliper from the carrier. Your caliper may be the larger high-performance but regardless same procedure just the caliper is bigger.
I found this image of the back side of the caliper. You can see 4 torx bolts and 2 hex. I removed the 4 torx that completely attaches the caliper. It looks like the other two allow the caliper to be separated to install pads. Seemed like one piece to me, so that swayed my approach to remove the 4 torx.
Ah, so yeah, that step was unnecessary. I was thinking maybe your 2008 was different than my 2012, but in looking at the 2008 service manual (sticky in forum) it is the same. To change just pads you remove the dust covers from the pins, the two pins, then entire caliper comes off rotor. Once off rotor pull the pad that clips into the piston along with the other side.
It all works so all good. Excerpt from the shop manual attached, take a look at step 6, unfortunately the illustration for step 6 is on the next page so top of page 3, but it shows the only two hardware items you remove to release caliper off carrier is the guide pins. Because of the lip on the rotor (disc) it can sometimes be a bear to get the caliper off so you have to manually compress the caliper pistons by hook or crook.

 06-24-2019, 12:54 PM