When you click on links to various merchants on this site and make a purchase, this can result in this site earning a commission. Affiliate programs and affiliations include, but are not limited to, the eBay Partner Network.
I have just taken a look at the upper mount and insulators, It is very clear now that it can only be the upper strut mount (also do not use the part number from the above photo *this is for xf & s-type ,although xk150 and xj are interchangeable )
Last edited by steve_k_xk; 01-07-2024 at 09:45 PM.
Finally getting around to writing up this project. Thanks to everyone who gave good advice, always nice to have a little advance info. Also nice to have the repair manual to refer to. I've posted the section that shows this repair. A few words beforehand, I didn't have the "Jaguar Spec'd" spring compressor, I used a conventional set from Harbor Freight. A little trickier to use, but finding and buying the Jag one is probably more time and money than is really necessary. You can see in the manual what that one looks like. Also, step #6, "Release the LH lower suspension arm." I didn't do. I was able to get enough space to remove the strut without taking that apart, so, my opinion is, if it don't need to come apart, leave it alone.
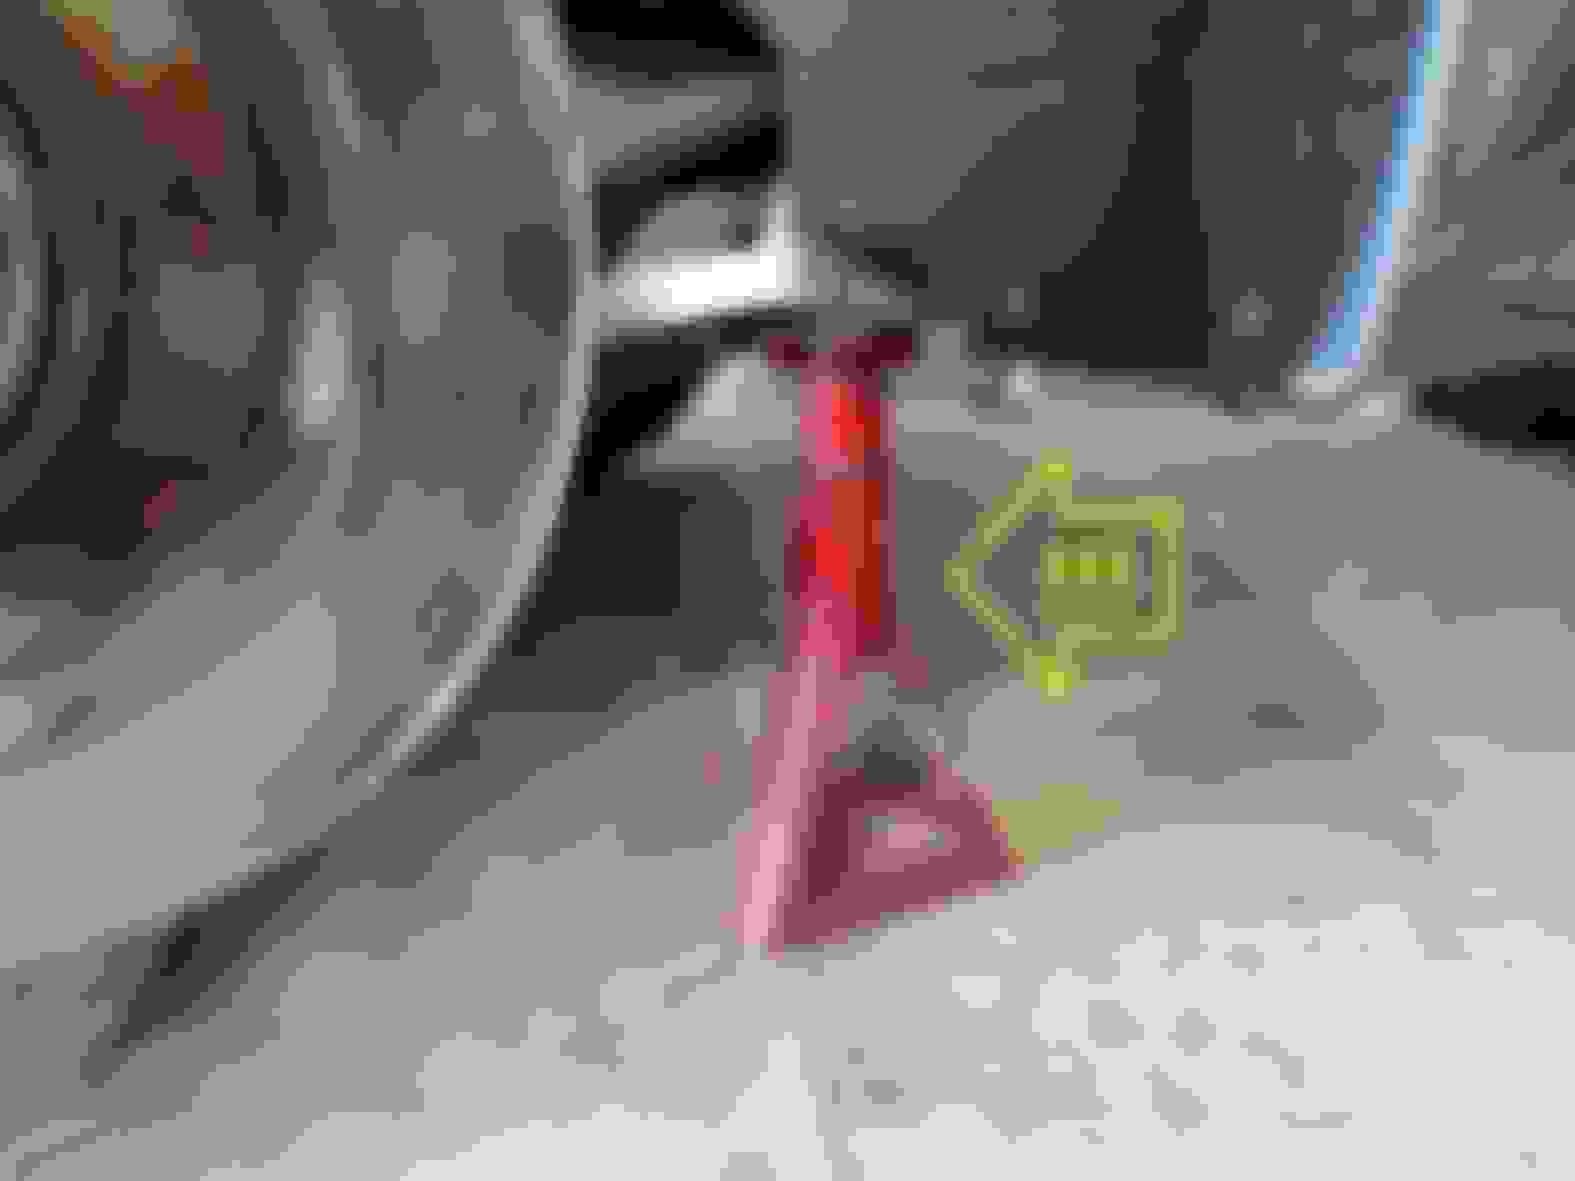
So, here goes. SAFETY FIRST! Always use a jack stand to support the car. 'Nuff said...
Manual says disconnect the sway bar link. Here's a pic of the right side sway bar after removing that link.
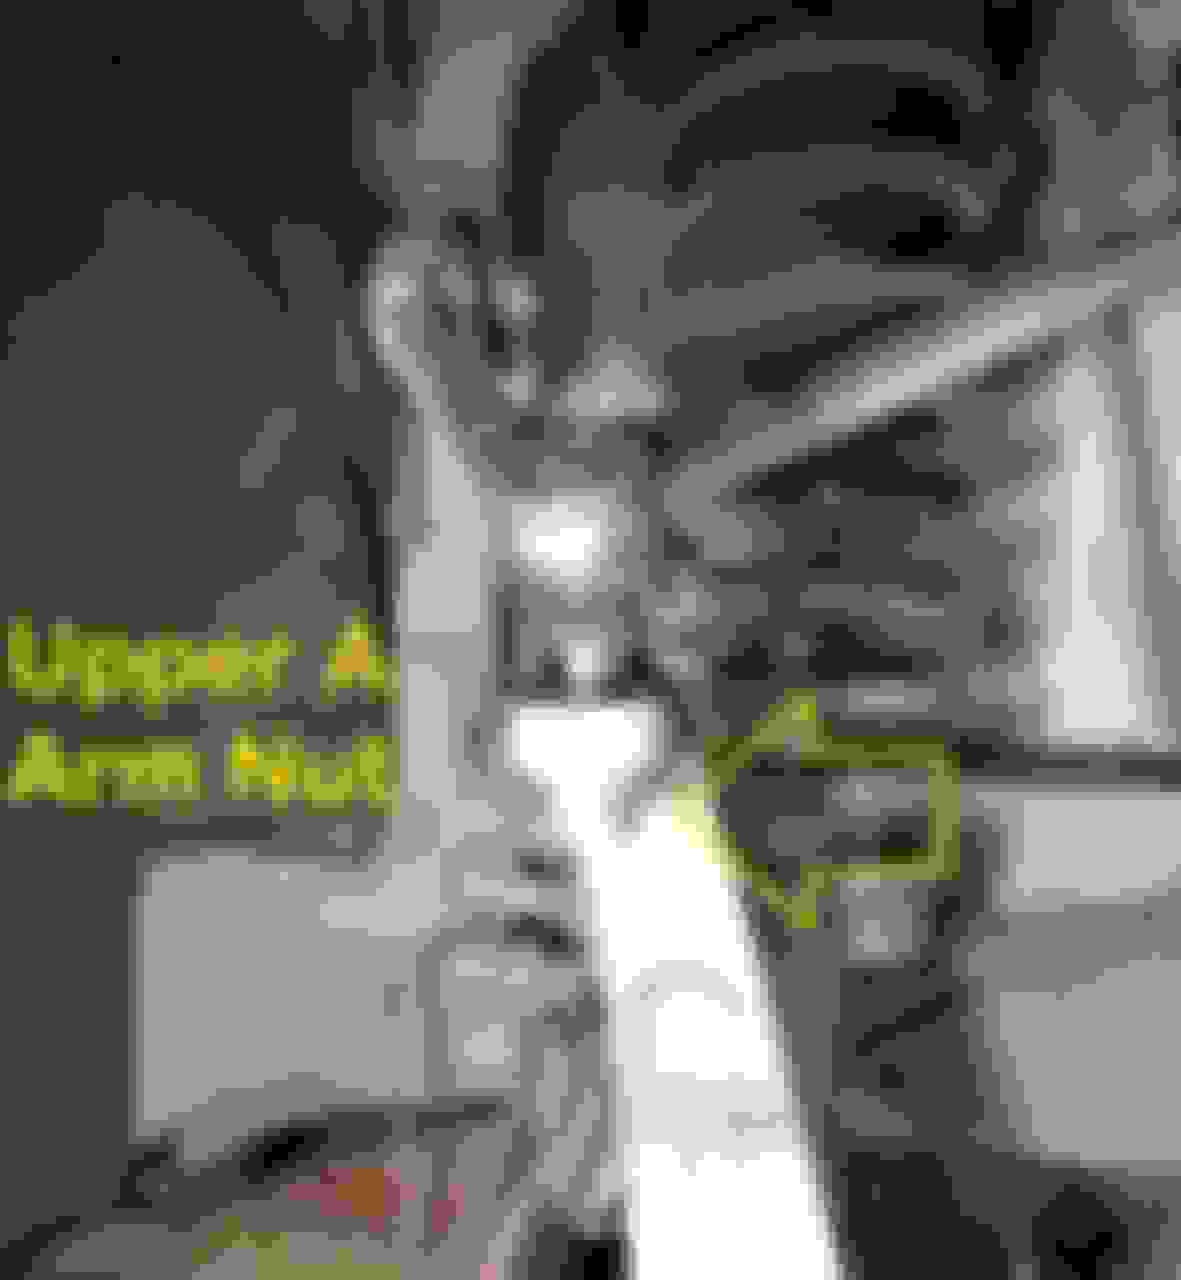
Next, undo the upper "A" arm nut. Big socket wrench to get it initially loose, then you'll need a 6mm allen wrench to stabilize the shaft while you continue to unscrew the nut. It's one of those jam nuts, that have some resistance to being undone. The Jag manual says to discard these and replace them with new, I didn't.
Once that's free, the whole caliper/rotor/hub assembly will fall away from its normal position. You need to support it somehow so it doesn't pull on the brake line. The lines are tough, but I don't like to put any unnecessary strain on them. I used a milk crate.
With the hub free, you can remove the strut bottom bolt. For this you need a T-60 torx bit. That's pretty big, most DIYers probably won't have one. I didn't. Quick run to the auto parts store, now that Sears is history.
Last, undo the 4 top nuts. Don't forget to unplug the control wires.
After that, you can wiggle the strut assembly out of the car. Here it is! On the bench. Yeah, those are my religious shoes. (They're holy) :-)
Here's a close-up of the isolator. As you can see, it's shot.
Now, we get to the scary part - getting this puppy apart. I understand the caution involved, it can be a little dicey. But if you're careful it's not too bad. Like I said, I bought a spring compressor from Harbor Freight. It comes with 2 compressors and a nice plastic carrying case. I'm showing 2 pictures, cuz the first one I did I hooked the compressors up to the farthest two points on the spring I could get them and then started tightening them down. I thought it took a lot of tightening and tension to get that spring compressed enough to take the pressure off the top, more than I would have thought. But it worked. Phew. Second one I changed the mount points on the bottom to get more of the spring under compression. This gives you a little more travel with a little less force needed. That technique worked well, and the pieces came apart and went back together no problemo.
Once you have the spring compressed far enough, you only need to undo the one nut on top and the whole thing comes apart. Here's a picture with a close-up. A 17mm wrench fits the nut, but you have to hold the shaft from turning with (if I remember right) an 8mm allen wrench. It's not super tight, so it should come off pretty easily.
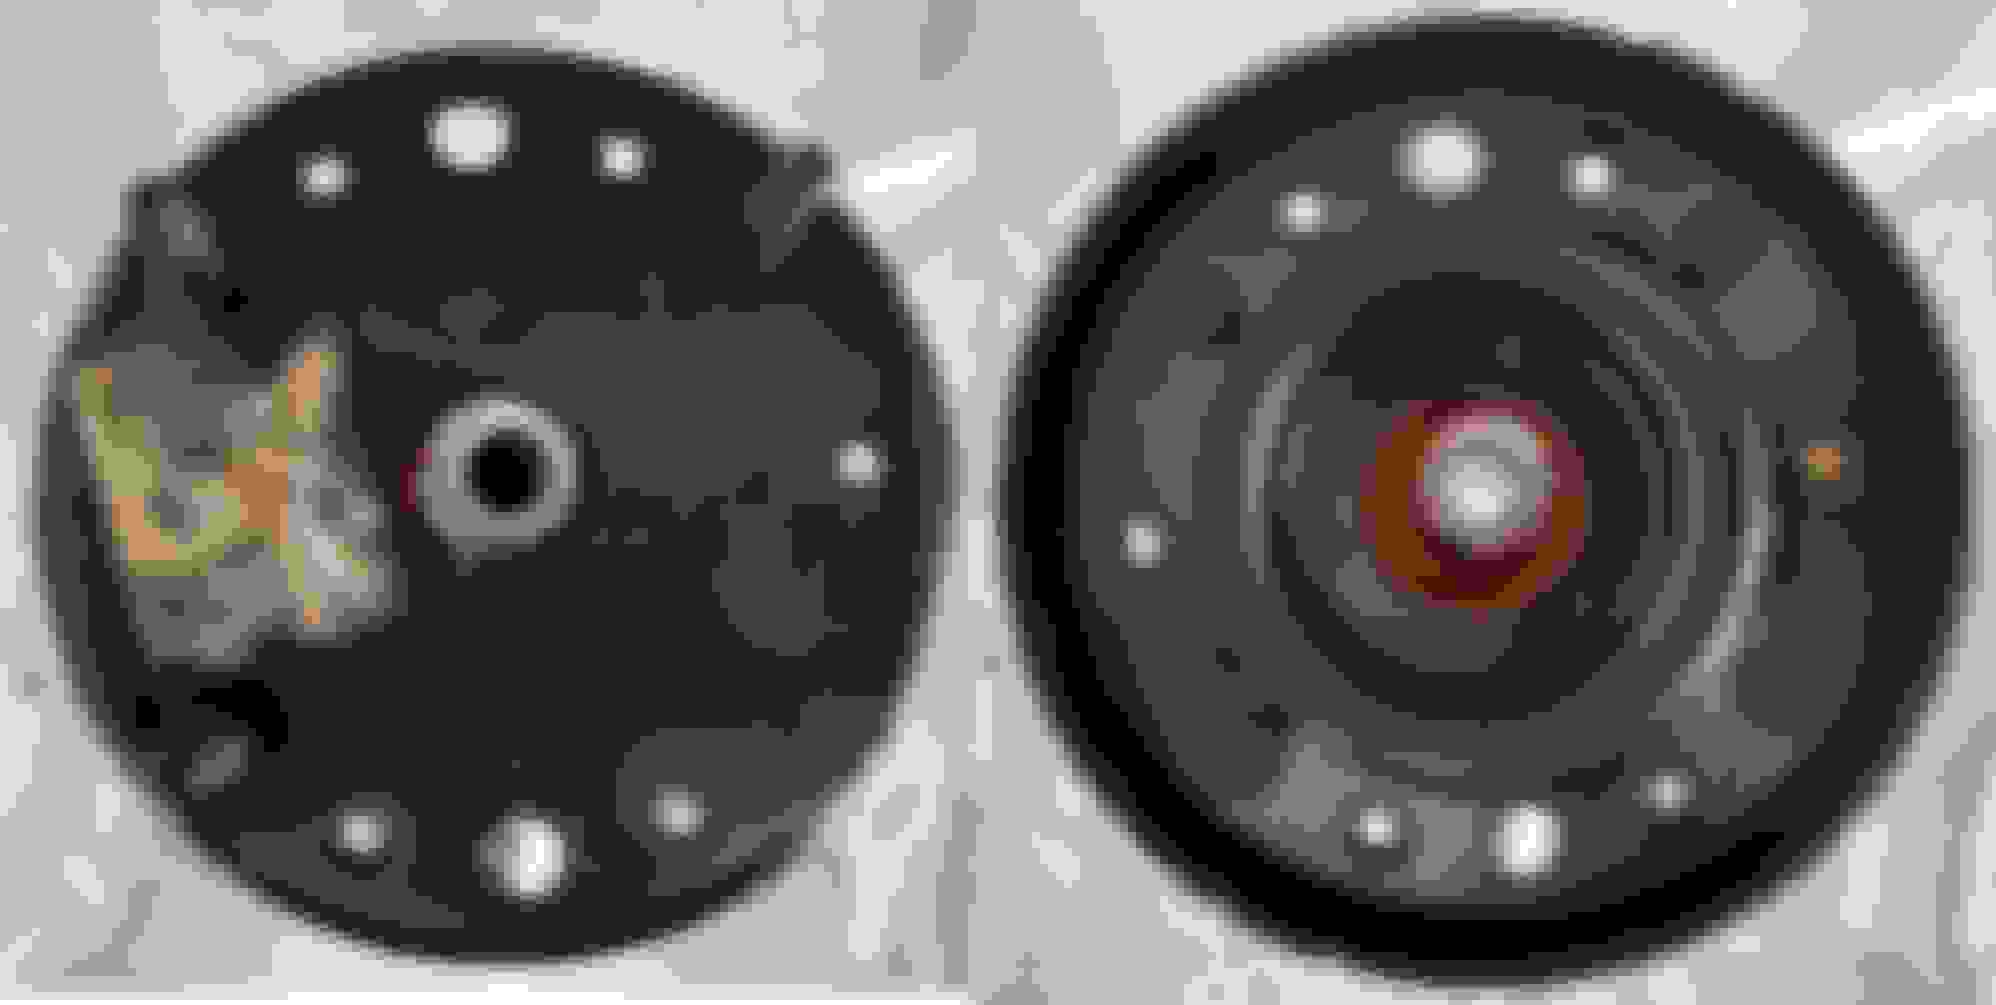
Here's a shot of the old isolator vs. the new one. The new one's on the left.
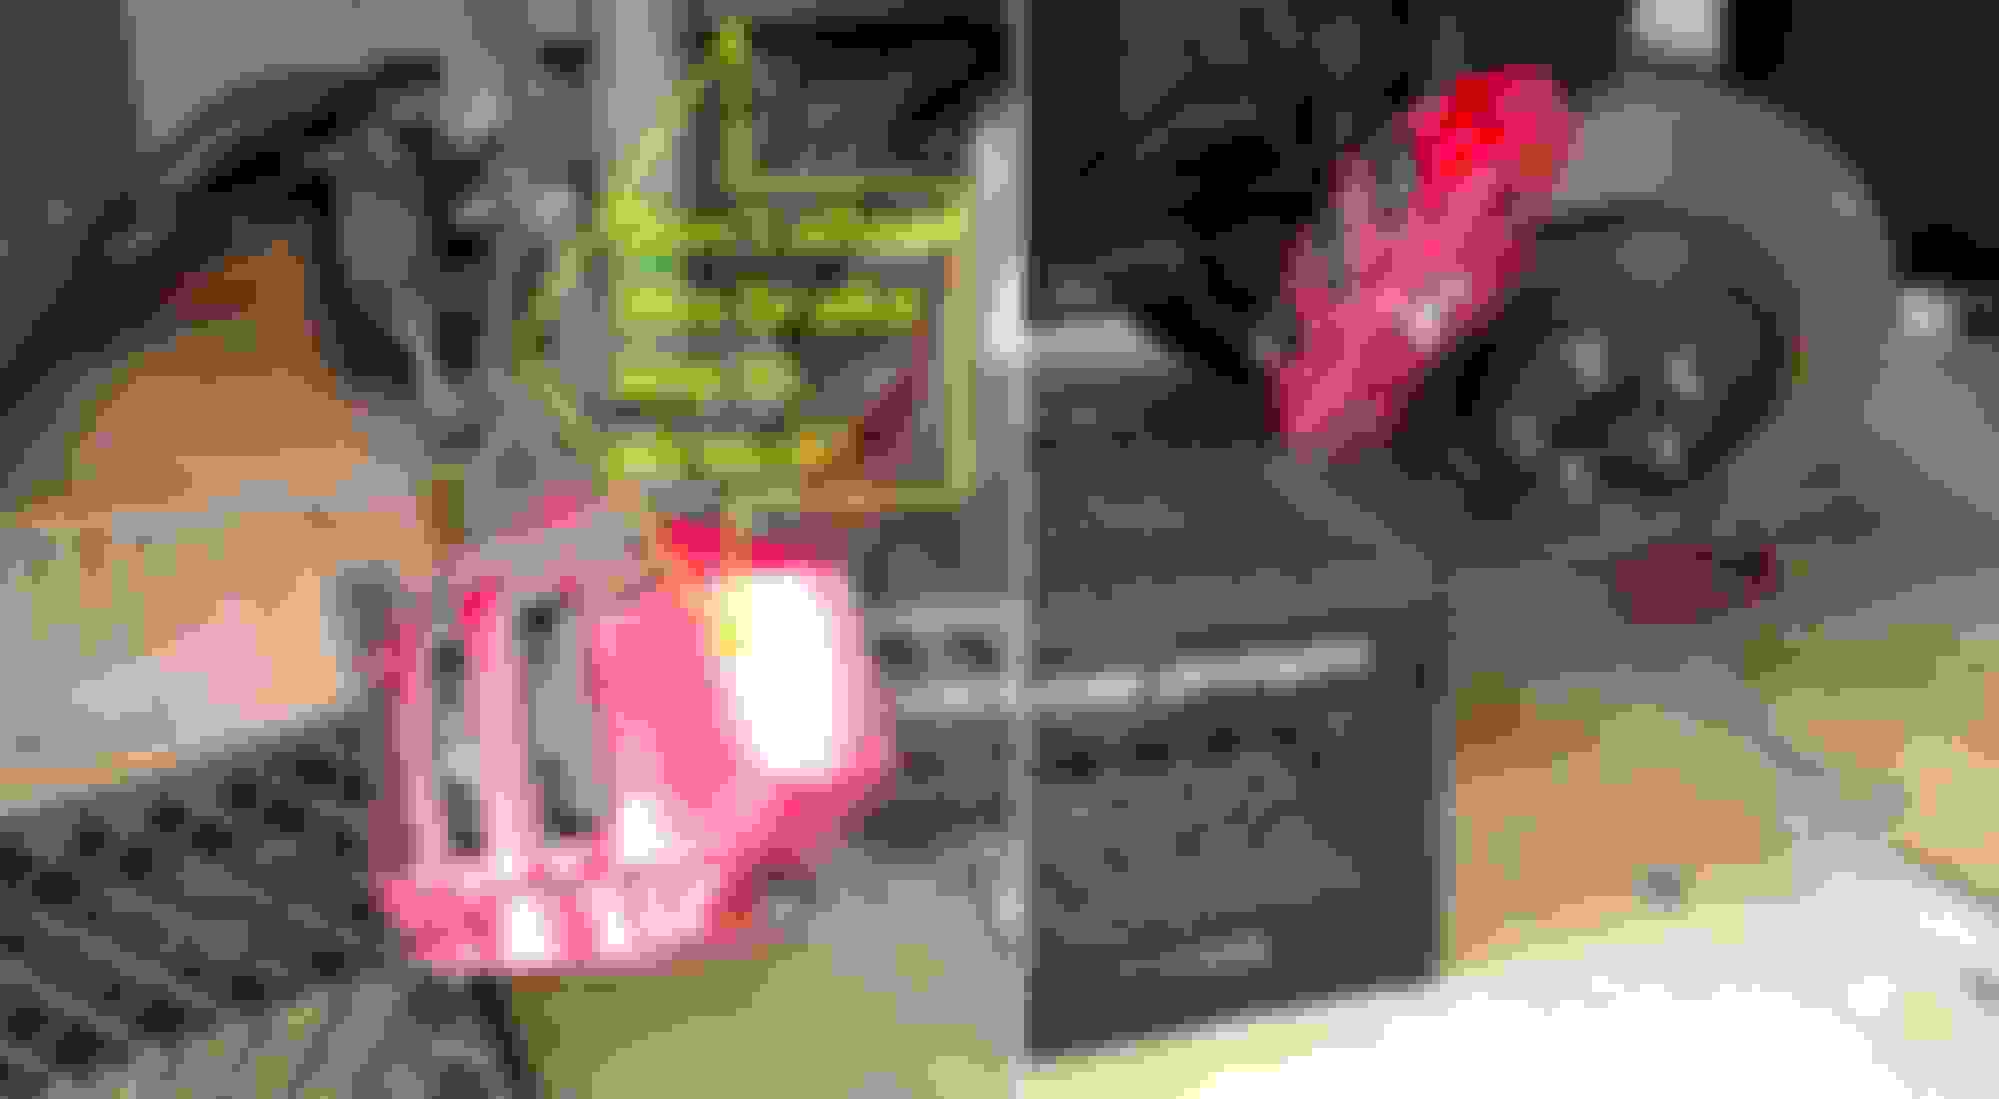
Here's a shot of the old mount from the right side of the car. Notice how the little metal flange in the center of it looks to be off center? Yeah. Ok, full disclosure - I did this job twice. The first time I only bought the isolators, thinking that was all that was necessary. It wasn't. I had to go back and get the two mounts as well. Those were a little harder to track down, as the ones I ordered from the first place the order was cancelled because they said they were out and couldn't get any more from Jaguar. Found another place online and was able to get them. So, my advice if you're doing this, it's worth the extra $$$ to just get all the parts and do the job once. The mount on the left side didn't look bad, but, if one side went bad the other is sure to fail soon...
Now, just put everything back together. Caveat: pay careful attention to the way the four studs on the mount line up with the mounting "U" on the bottom of the strut. Those bolts are not in a square, that's a rectangle, and if you don't get them lined up right you are going to be compressing the spring again to realign the assembly. The shaft with the electrical connections is less important, but I was careful to get that back in the same position it was just cuz. That way the wires lay down the same way they were.
Bottom line - it worked! The loud clunking sound I was hearing when going over minor bumps is now gone. Car feels great. It needed front tires anyway, so I took it in and got a wheel alignment, too. Surprisingly, it wasn't all that far off, based on the alignment report they print out for you, so apparently the work didn't affect the alignment much, if at all. The tires were wearing a little unevenly anyway, so I knew it wasn't perfect to begin with.
If you're brave and mechanically inclined and want to tackle this yourself, hope this helps!
Well done! A couple of things I�d like to point out for others playing with their struts.
The spring compressors I �rented� from a local auto parts store had beefier hooks that grab the spring, so I couldn�t get the distance you did with your first spring, and had to use a second pair of compressors to attach in the gaps provided in the spring when the first set was fully compressed.
With your second spring, hooking onto the damper flange was brilliant. But that won�t work if you actually need to remove the damper.
Again, nicely done, and a great write-up.
Ok, quick search online shows 2 parts that it might be? C2D16903 Spring Upper Isolator and C2P23038 Mount, (which seems to be for convertible only). Thoughts?
My post #8, quoted above. Those are the part numbers which I ordered to fix my 2009 convertible. The ones in your Amazon link don't seem to be the same. All of the online parts houses say that the mounts differ between the coupe and convertible. That seems odd to me, but I took them at their word. I bought the isolators from Harper Jaguar and the mounts from Jaguar Land Rover - Los Angeles, because Harper couldn't get them. The L.A. people were thorough, even e-mailing me back to get my VIN number to make sure I got the right parts.
Is there a symptom of a failed isolator & mount other then foam that is falling apart apart under the hood?
clunk heard over the strut (not hard to isolate), and if bad enough felt on bumps. Not so much hitting a dip or small pothole. That was my experience anyway.
I had a hard time finding the correct parts for my 2007 XKR and when I did they were about $500, and new shocks ~$1500 for all 4 if you can find them.
So I think I have decided to go with a set of BC Racing coil overs with Swift springs and just remove the CATS fuse. The BC's allow me to change the cartridges when they wear out for much less, and I like a more sporty feel so I hope they work for me. I've only seen a couple others that have went this way but they seem like they were more track focused.
Any Thoughts?
Thanks
 01-07-2024, 09:41 PM