When you click on links to various merchants on this site and make a purchase, this can result in this site earning a commission. Affiliate programs and affiliations include, but are not limited to, the eBay Partner Network.
I could, maybe should go buy a decent grinder based DA compounding buffer but this is working for now without making it worse.
The work you've done looks great. I took the plunge and bought a DA polisher based on the recommendations given by RichZac in a polishing thread. They're magic. I've done all of our vehicles with them this year. Highly recommended. I got started with
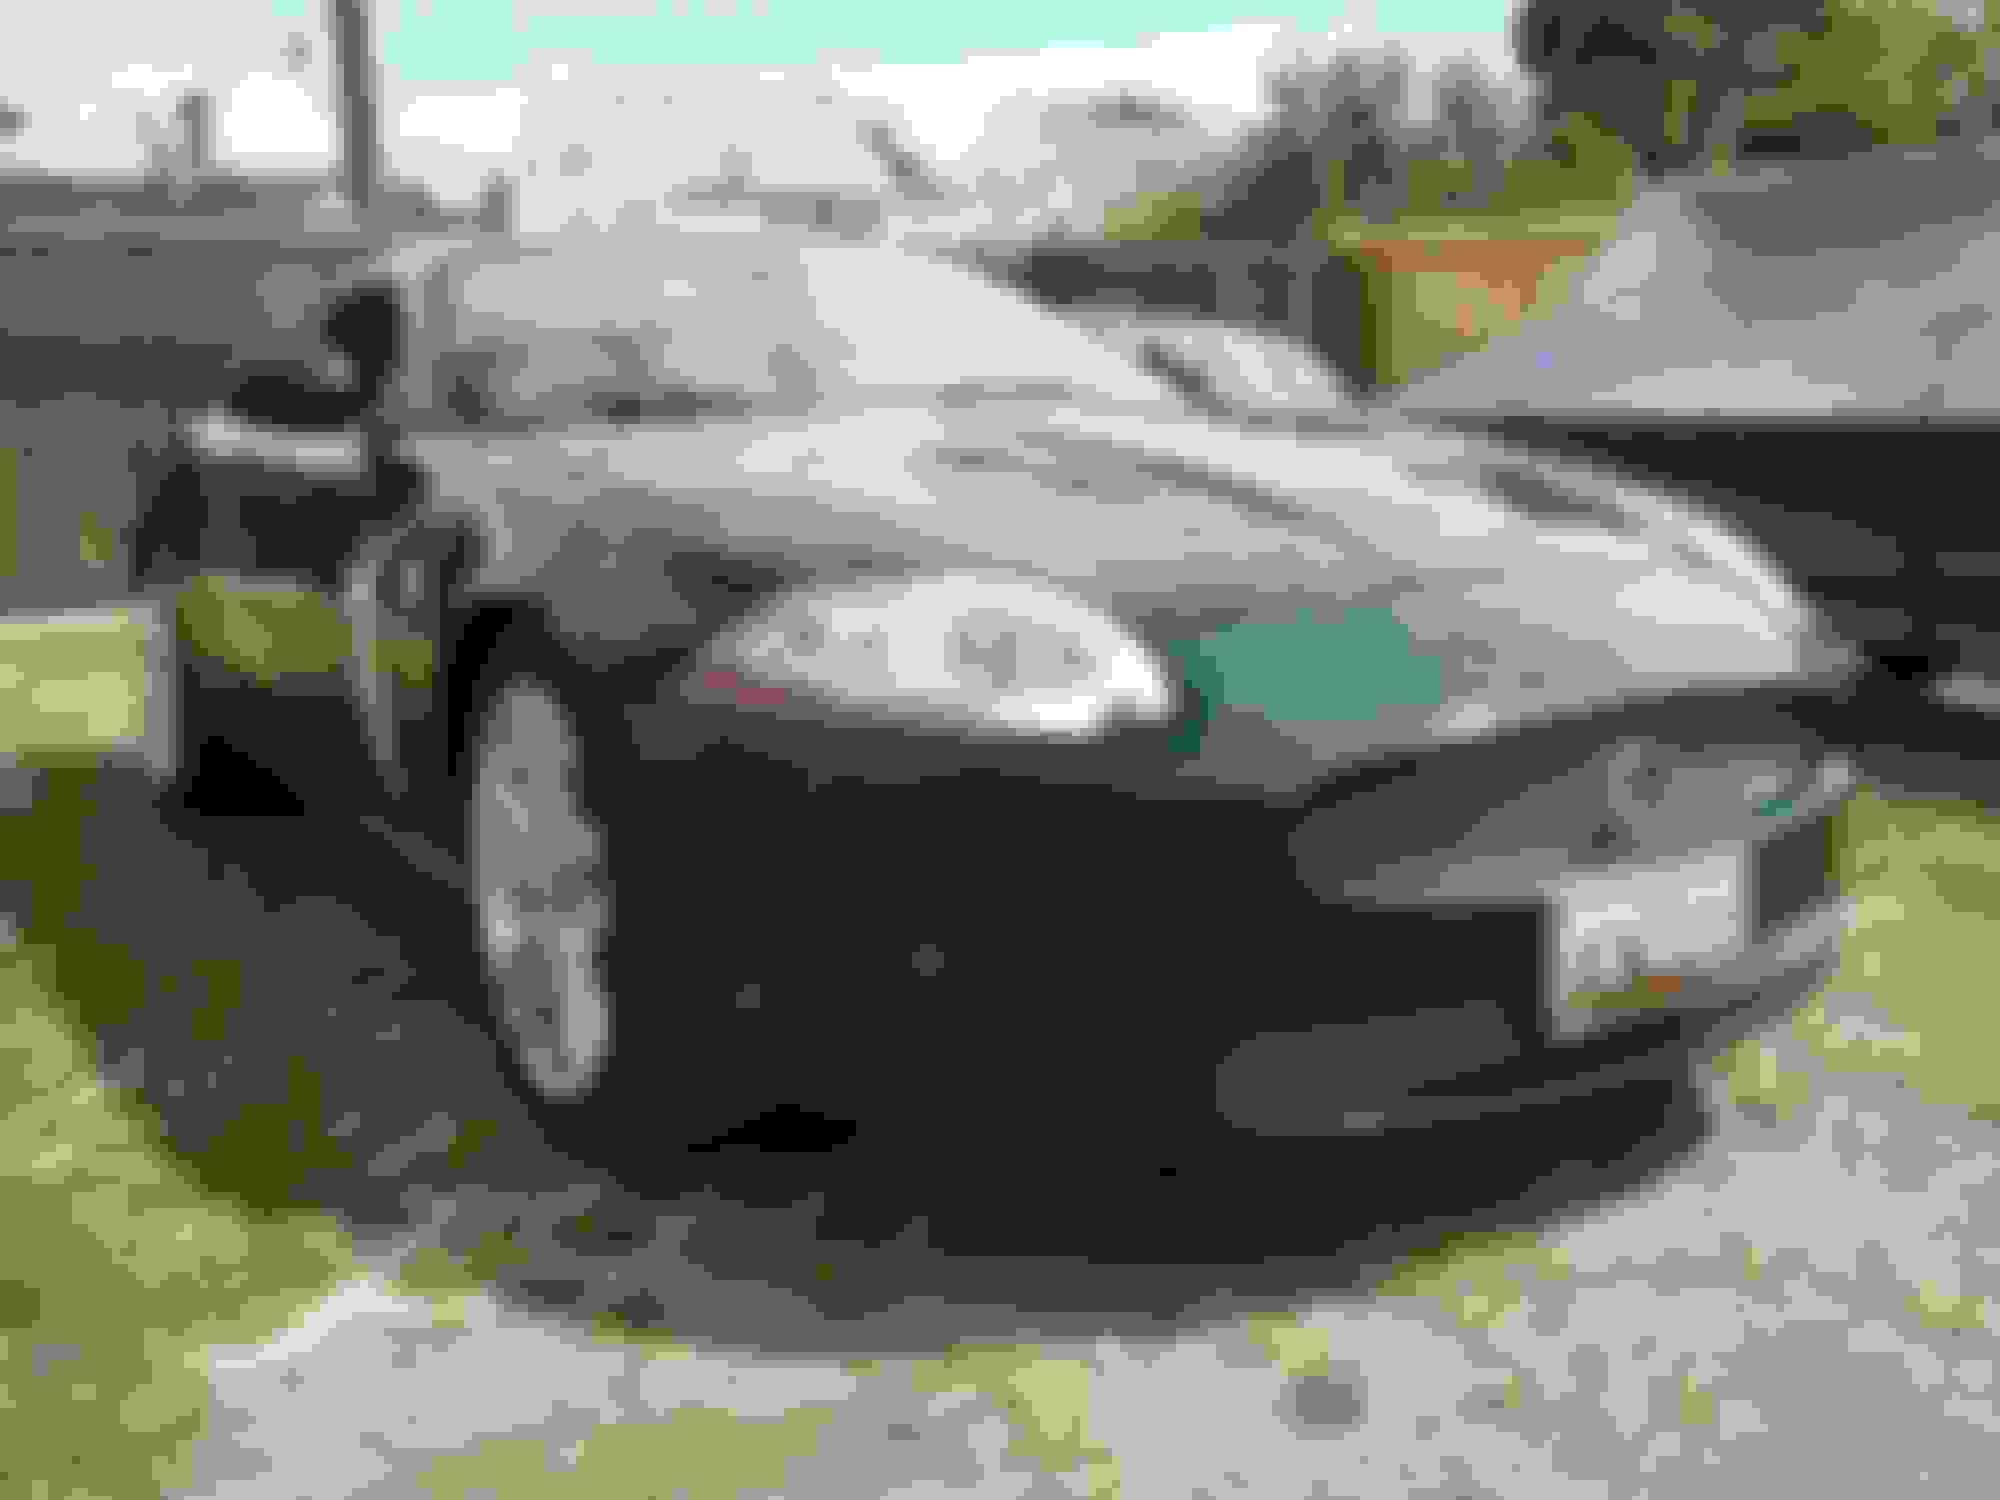
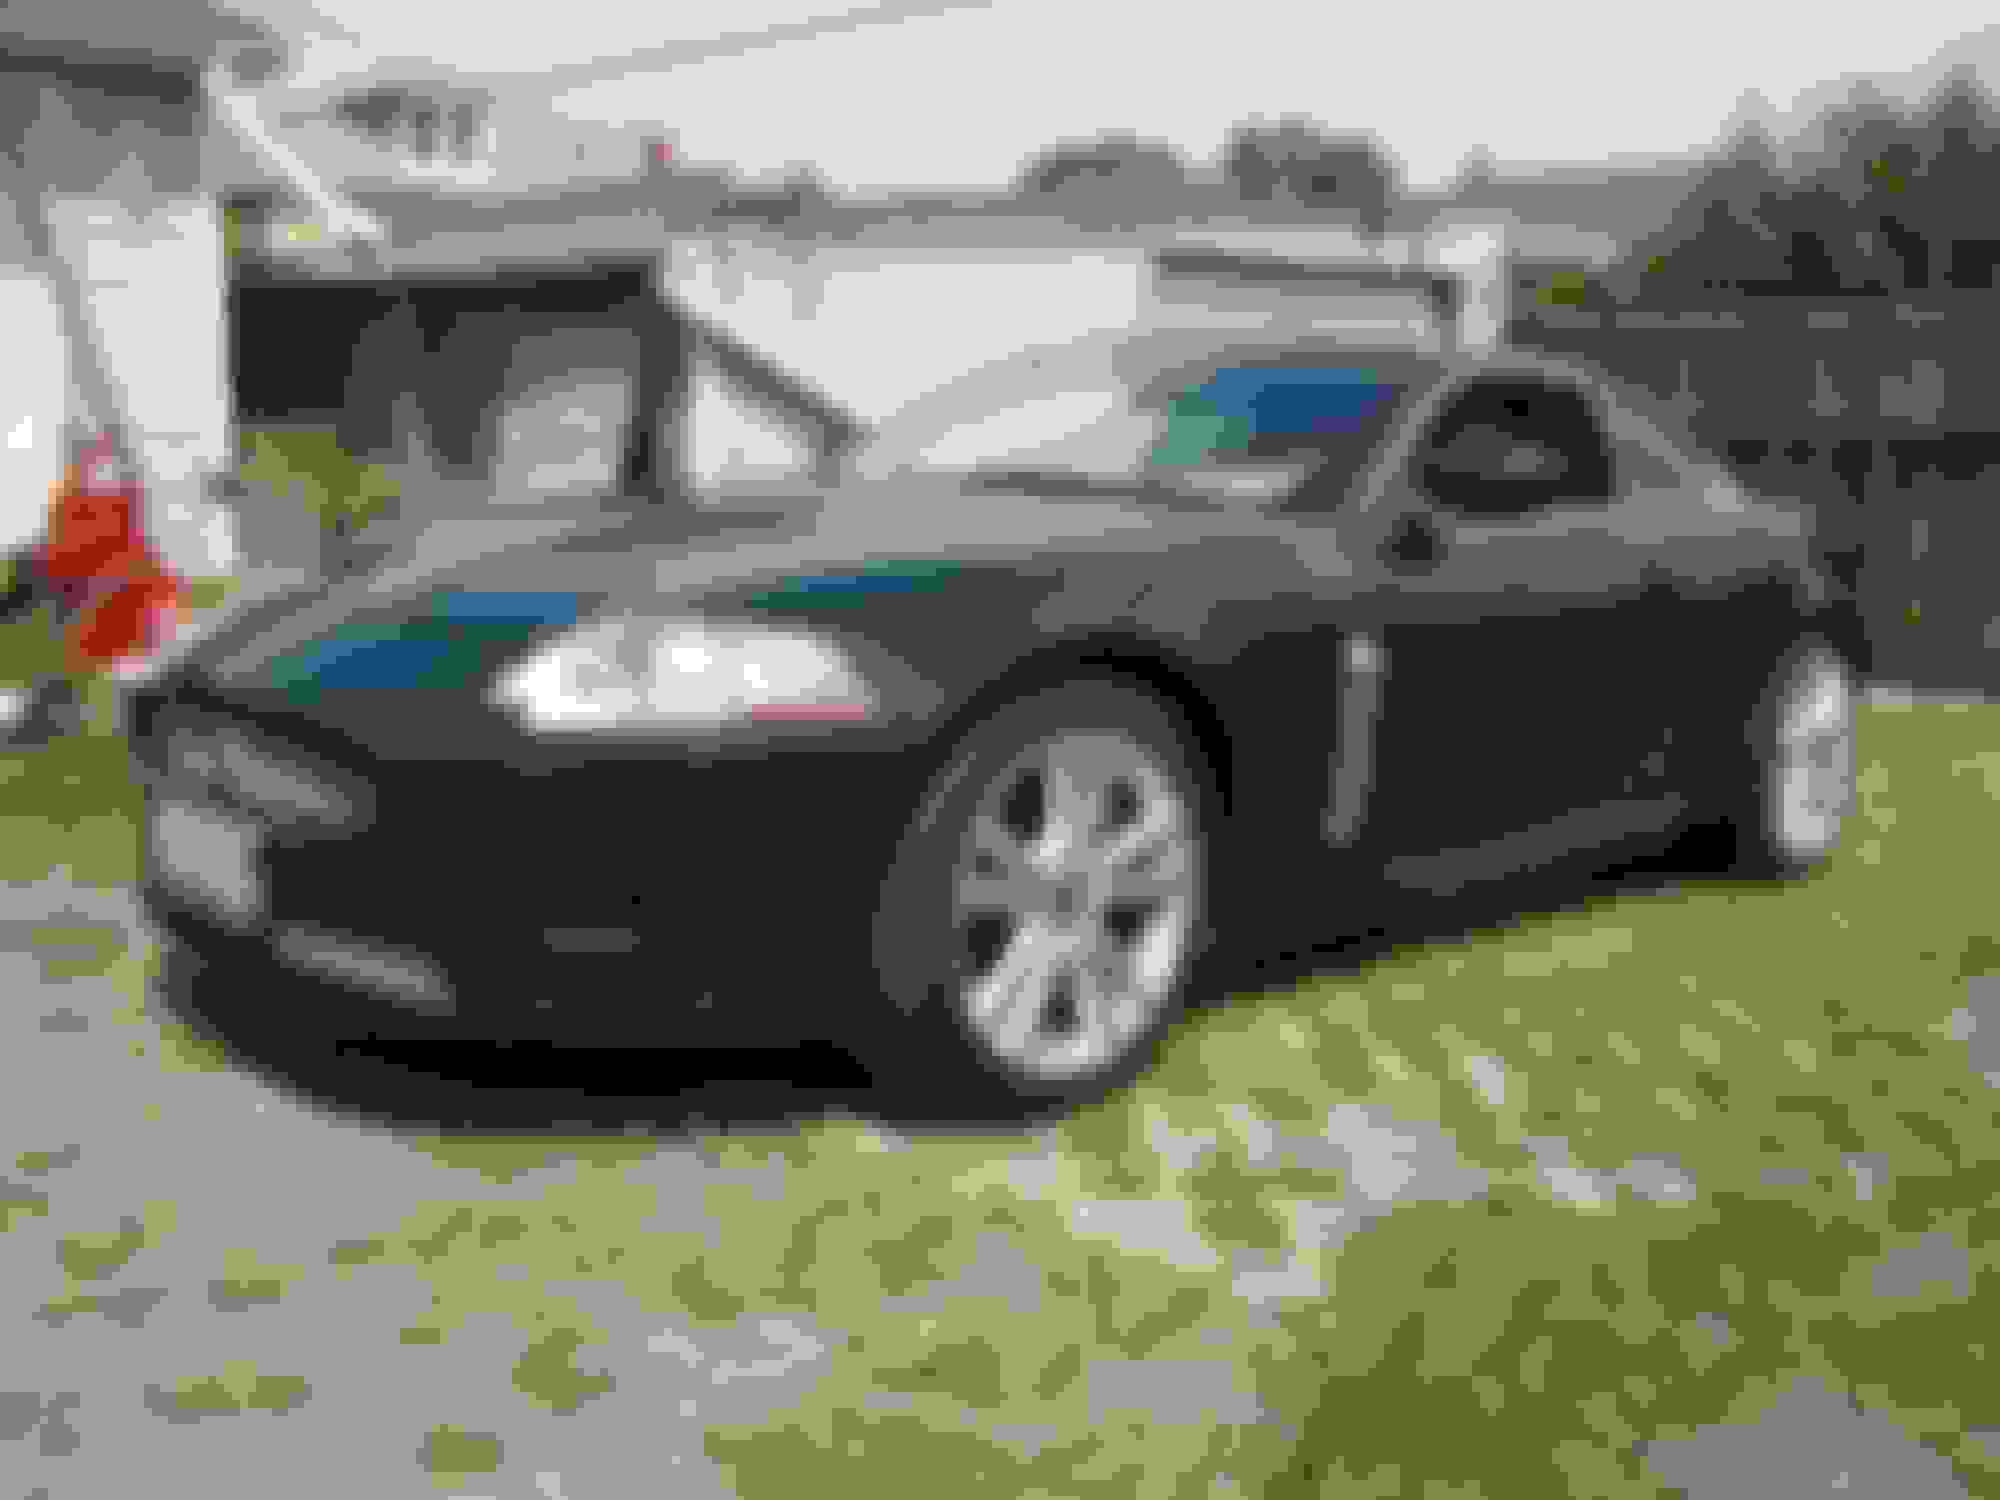
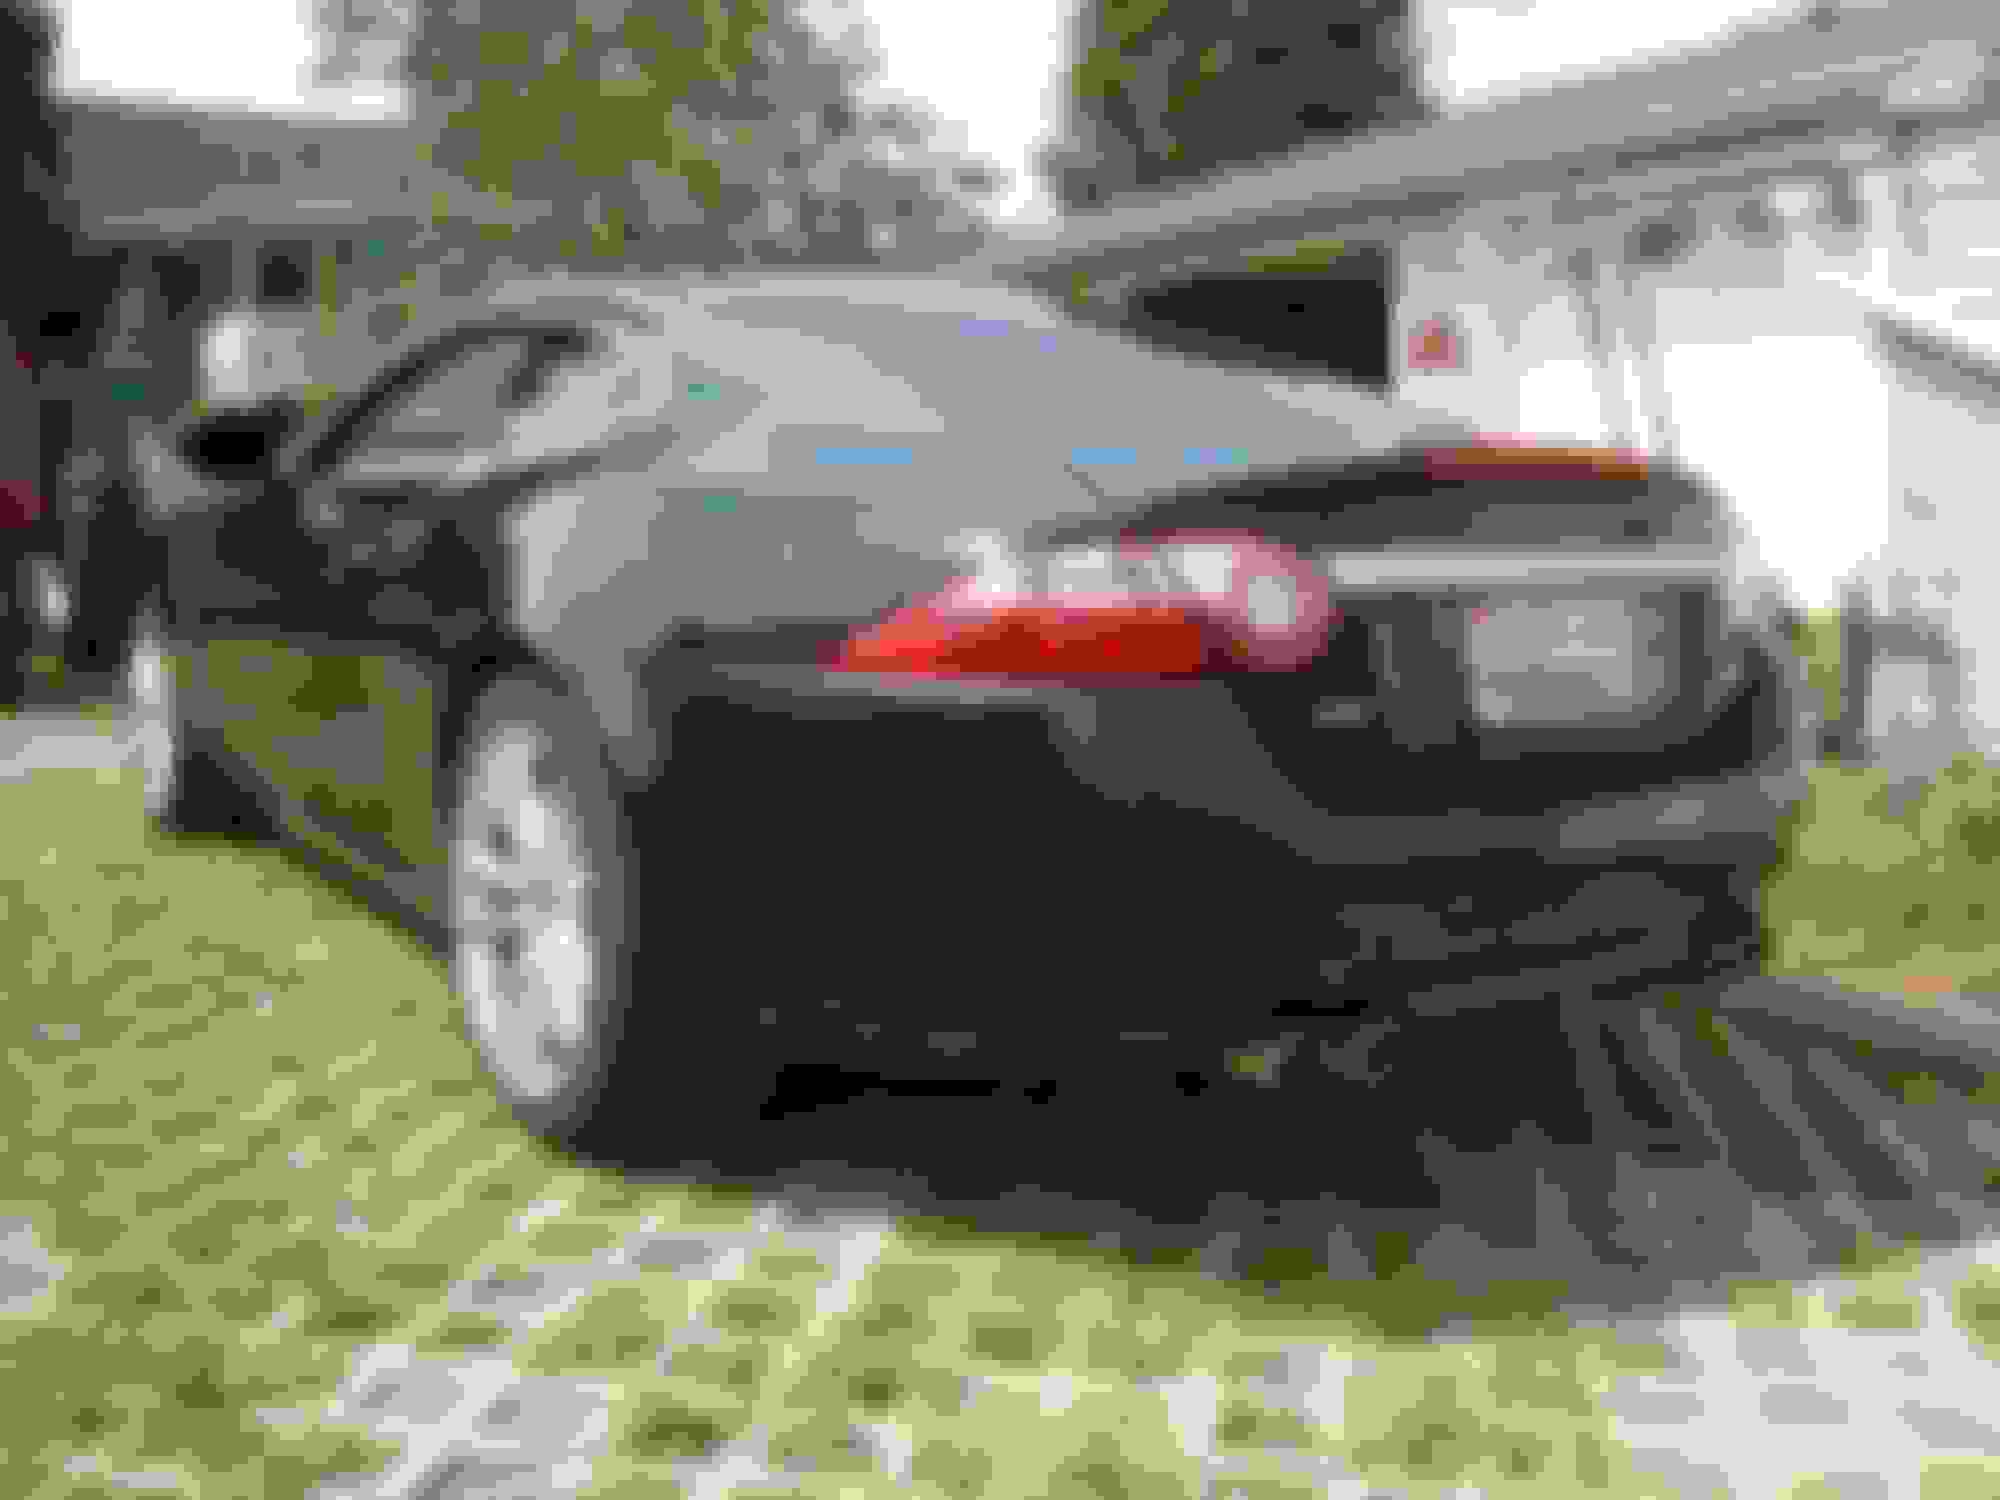
I ended up with a Porter Cable orbital polisher and it's done well. I went over some of the car last night with my Meguiar's cleaner wax on the rear deck with the 3" foam pad. This morning I made a trip to Walmart and picked up some 5" pads, a bottle of Meguiar's ultimate compound and some Mother Synthetic wax. Just finished polishing the whole car down to the belt line and waxed the driver's side. Took a lot of compound to clean up the fallout and with the wax the paint damage is really obvious. Car looks fabulous from 25' good from 10' and pretty rough from 6" away. Finally figured the poor thing was driven by a woman. The drivers side roof has a ton of purse drag marks and the drivers door handle recess is heavily scarred from rings or nails. Other than one newly found door ding everything is in the paint so I guess that's good?
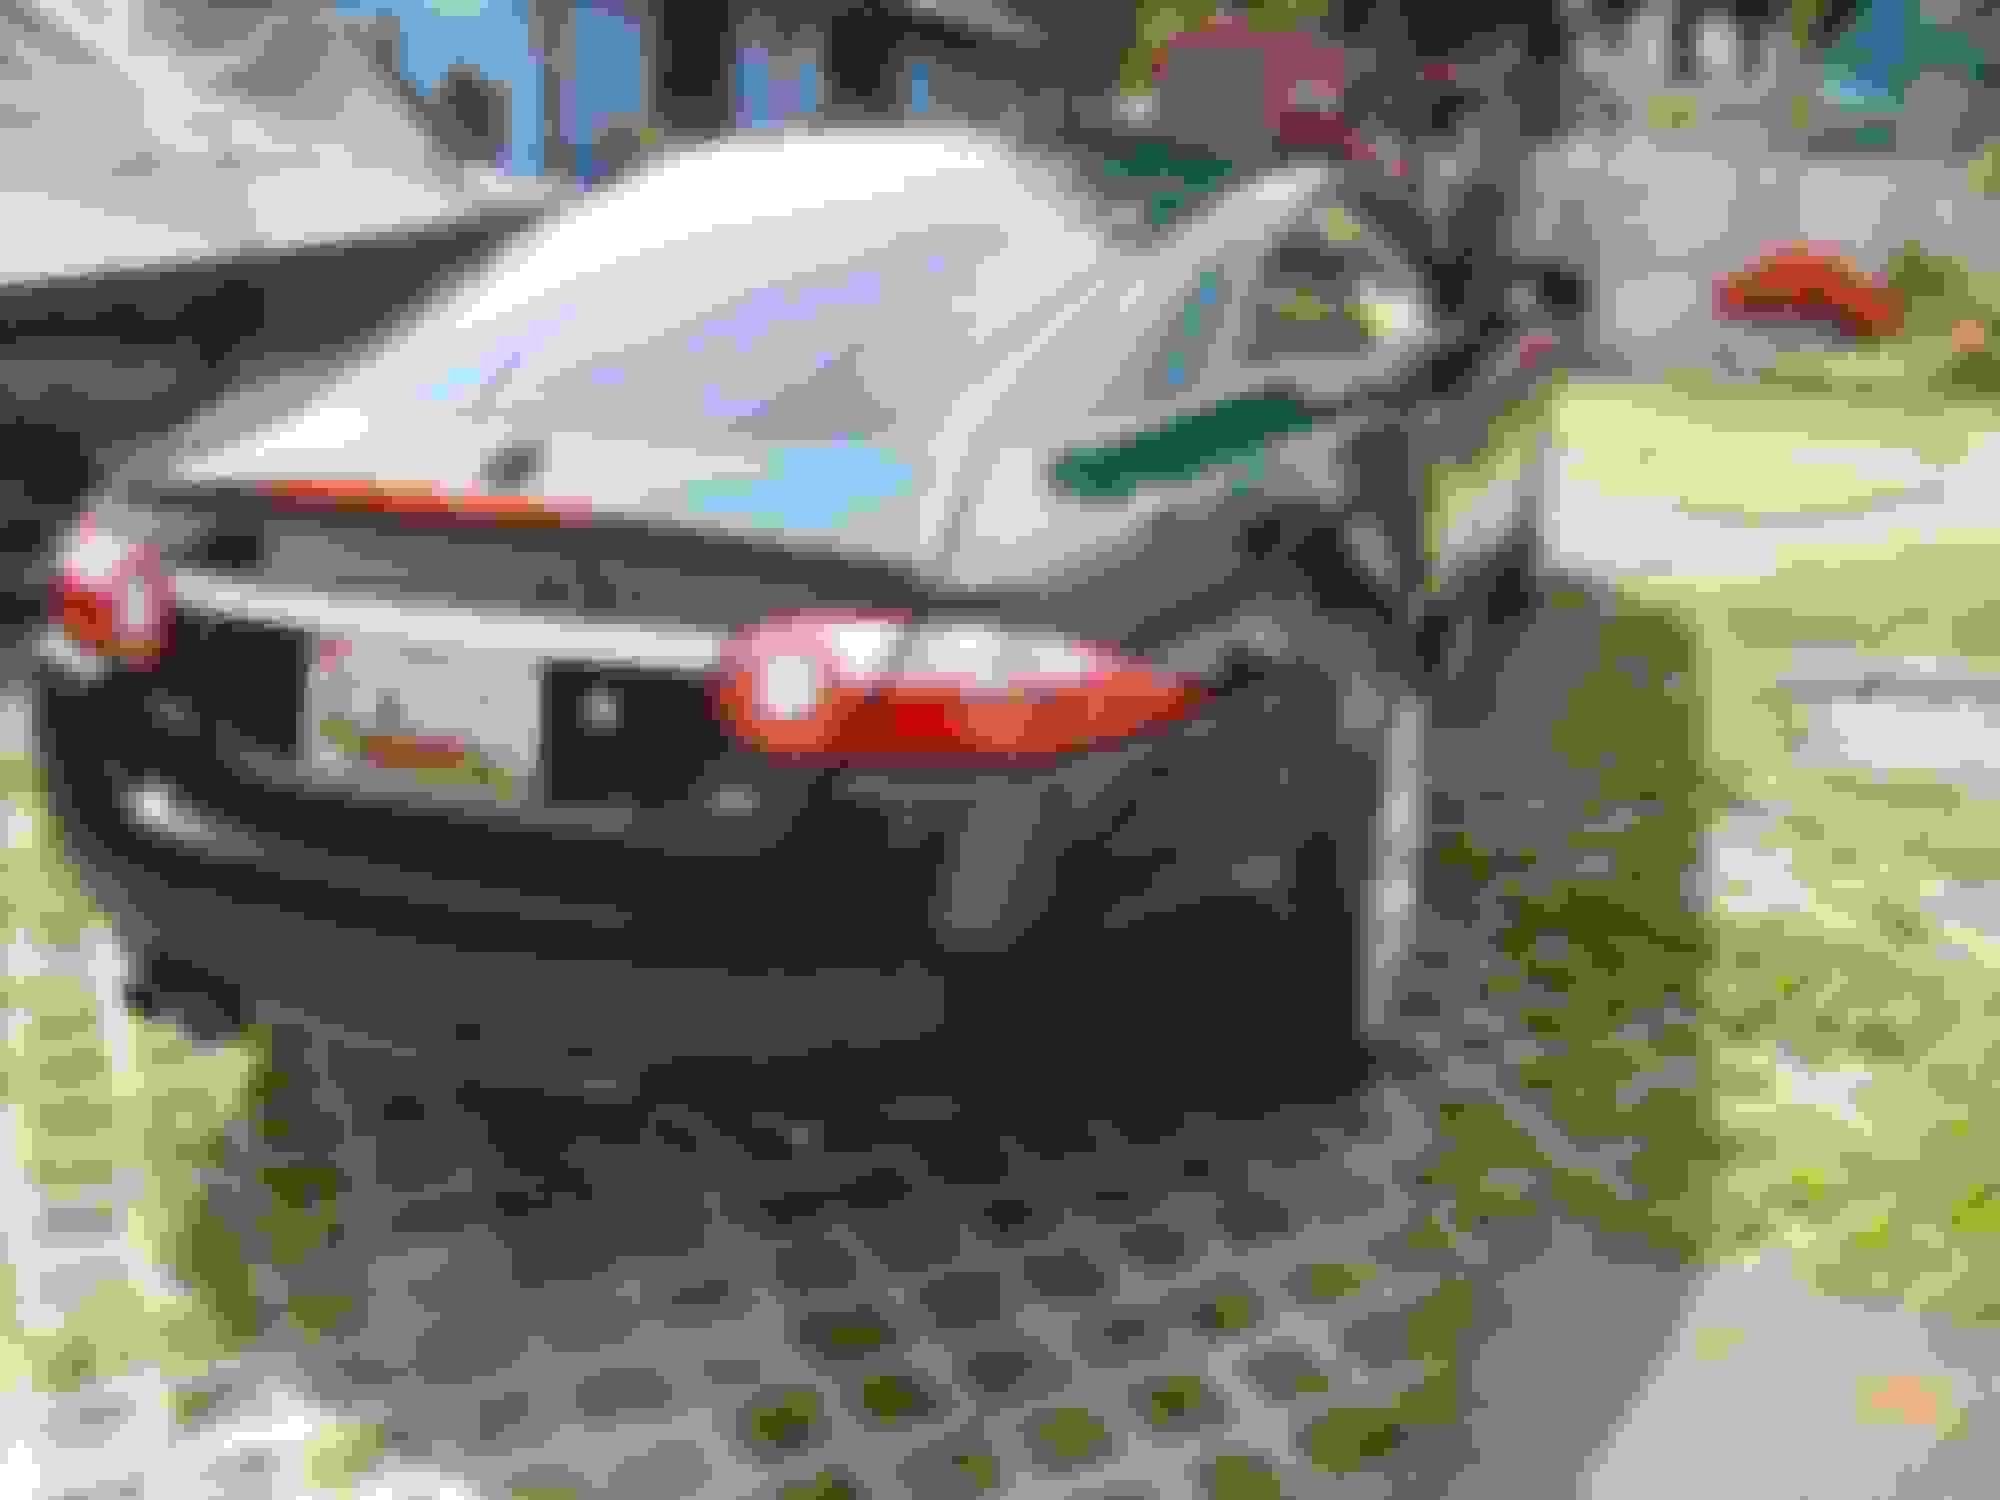
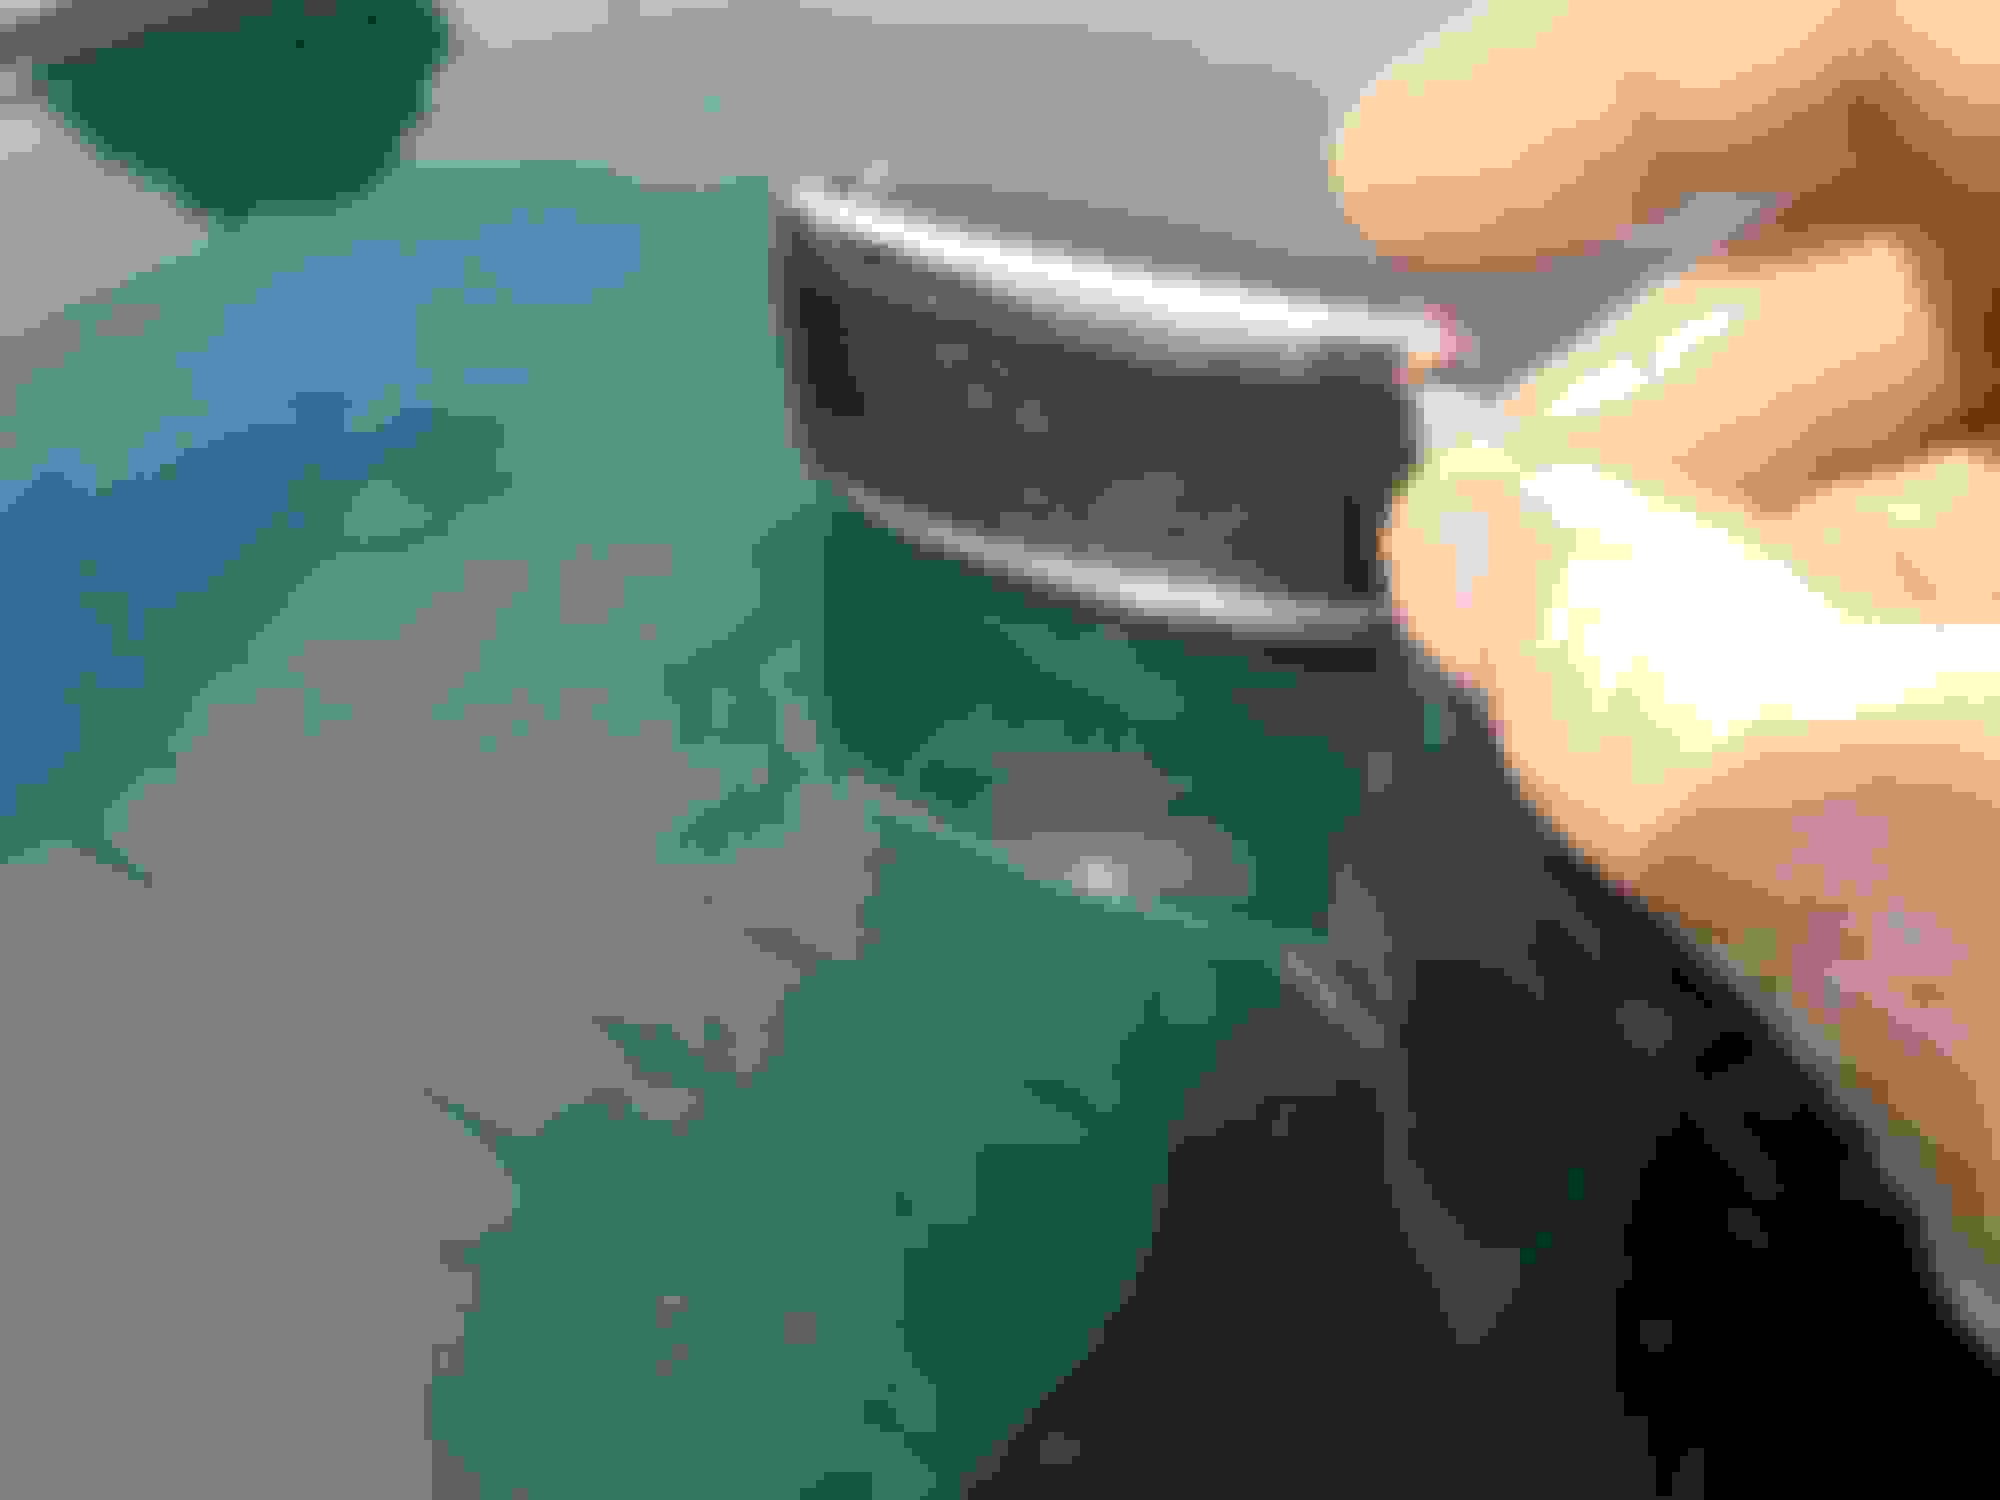
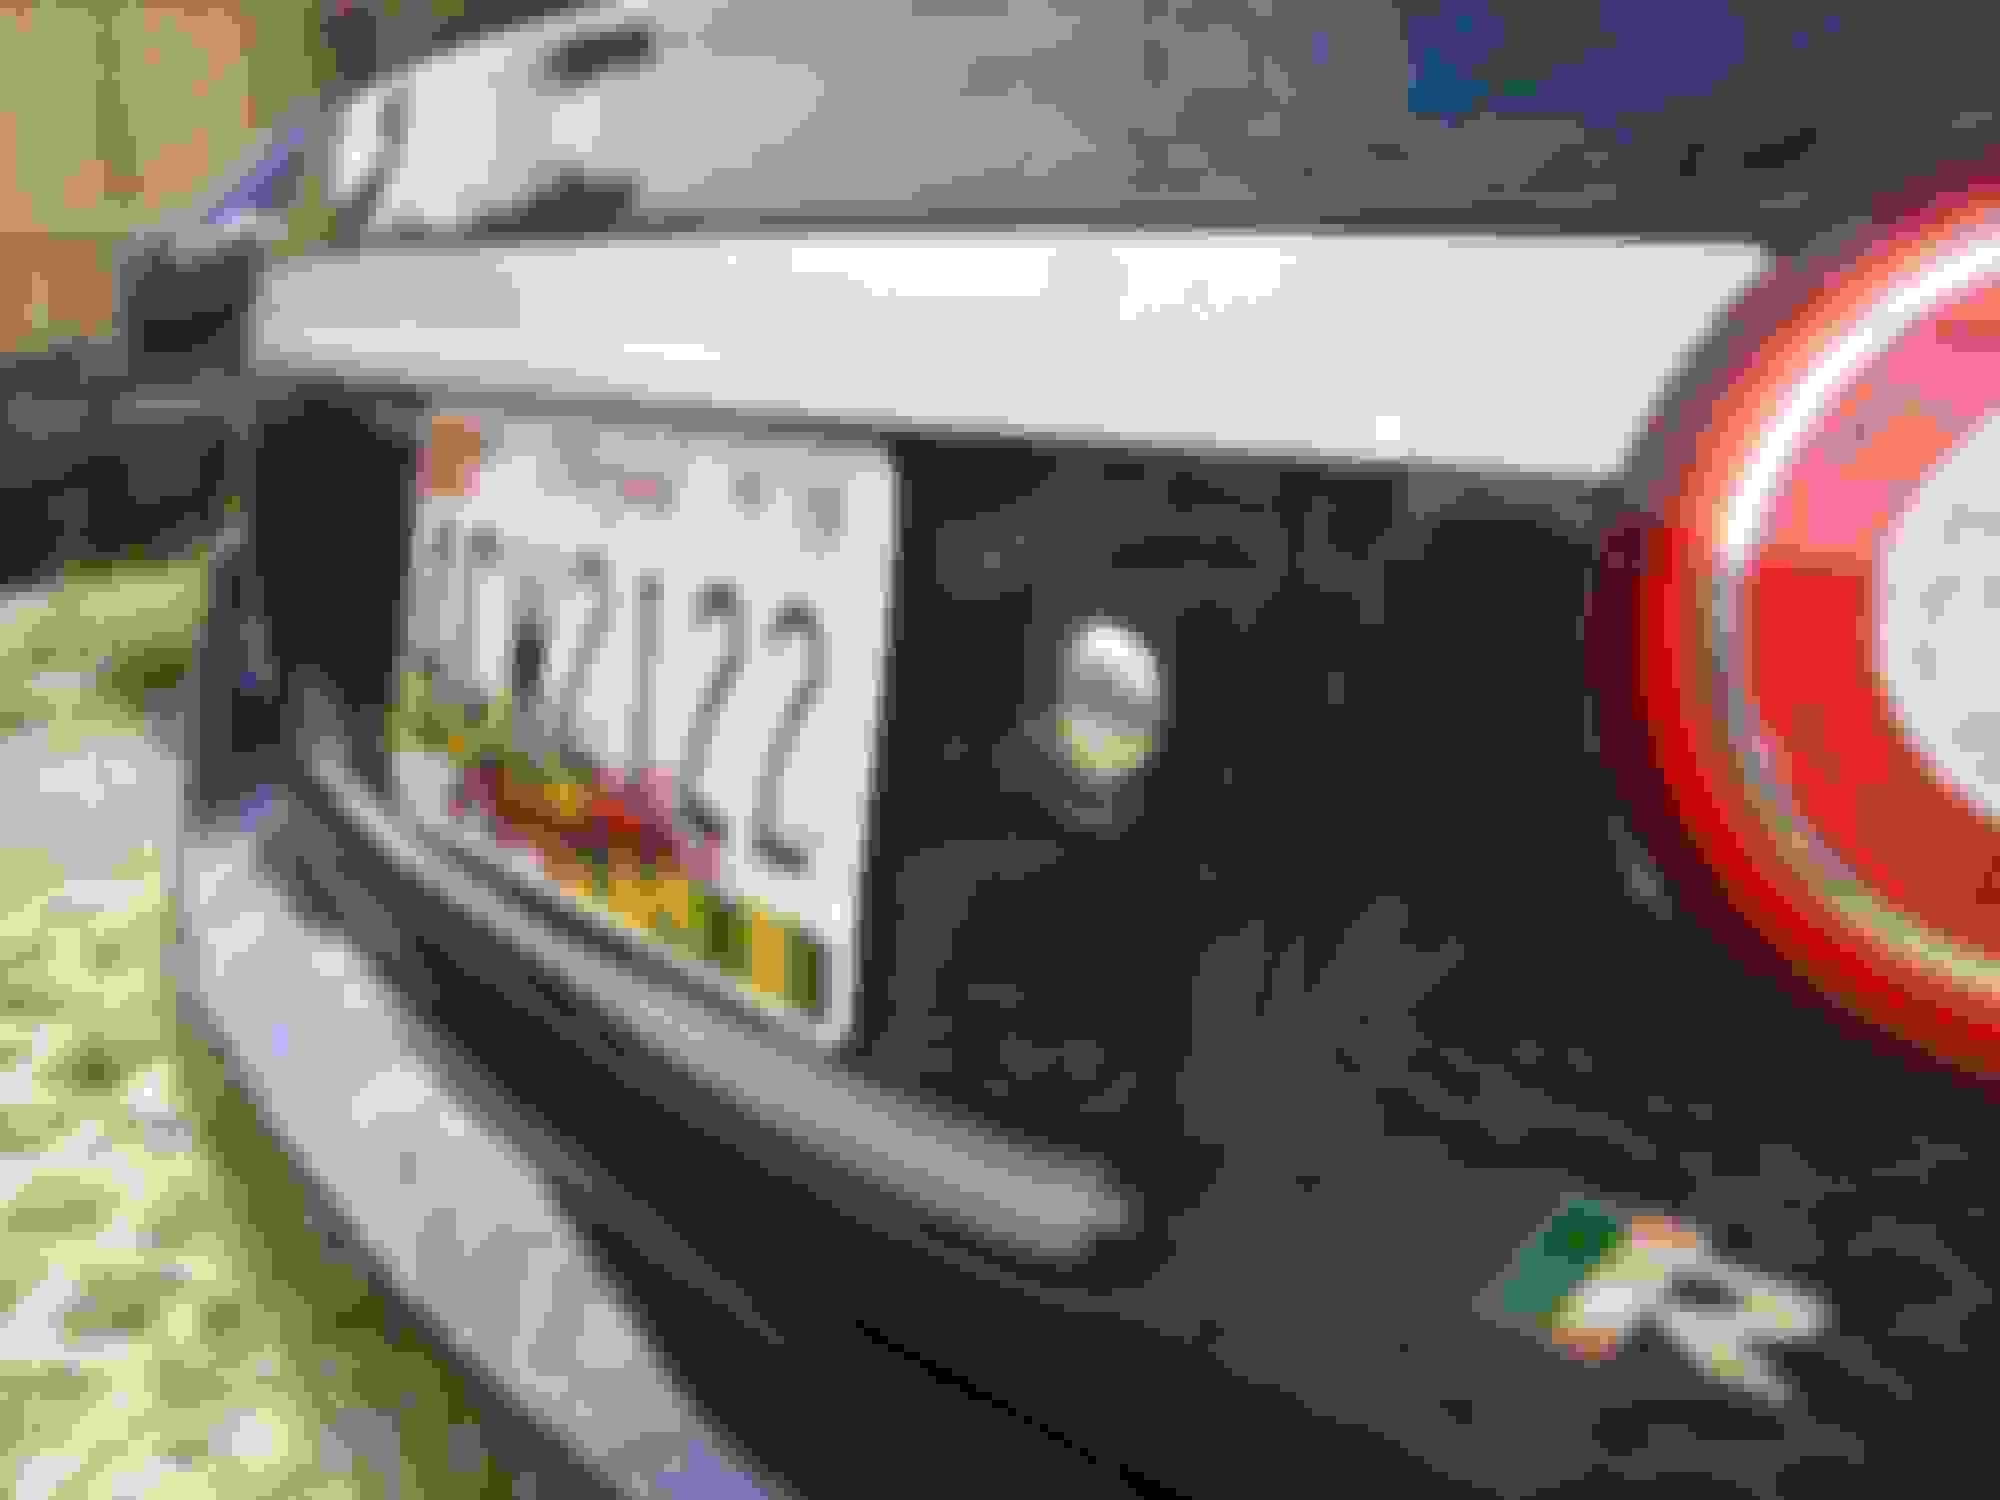
On another front I decided to pull the rear badge and paint it. Spent about an hour at Advance this morning dragging different cans of silver paint out to try and match something up with what's already there. Got close but the dang this picked up a lot of trash while painting it so no pictures. Taking it off wasn't horrible. Remove the license plate lamp housings and the two clear outside discs on the bottom to access the 7mm screws. Then gently pop the two outside ends loose from the double sided tape and finally remove the trunk latch with a T10 torx driver.
I ended up with a Porter Cable orbital polisher and it's done well. I went over some of the car last night with my Meguiar's cleaner wax on the rear deck with the 3" foam pad. This morning I made a trip to Walmart and picked up some 5" pads, a bottle of Meguiar's ultimate compound and some Mother Synthetic wax. Just finished polishing the whole car down to the belt line and waxed the driver's side. Took a lot of compound to clean up the fallout and with the wax the paint damage is really obvious. Car looks fabulous from 25' good from 10' and pretty rough from 6" away. Finally figured the poor thing was driven by a woman. The drivers side roof has a ton of purse drag marks and the drivers door handle recess is heavily scarred from rings or nails. Other than one newly found door ding everything is in the paint so I guess that's good?
On another front I decided to pull the rear badge and paint it. Spent about an hour at Advance this morning dragging different cans of silver paint out to try and match something up with what's already there. Got close but the dang this picked up a lot of trash while painting it so no pictures. Taking it off wasn't horrible. Remove the license plate lamp housings and the two clear outside discs on the bottom to access the 7mm screws. Then gently pop the two outside ends loose from the double sided tape and finally remove the trunk latch with a T10 torx driver.
Rings are deadly things. My wife has beat up a lot of door handles with hers over the years, both in cars and in the home.
Glad to hear the orbital is doing work. They're great tools to have, IMO, but this comes from the perspective of someone who wanders through Harbor Freight and Hardware stores for fun. Never know what you'll find and what you'll "need", eh?
Yep, found the buffer at a pawn shop for $50 and it looks like new. Here's a couple pics of the results. Of course it's supposed to rain the next couple days so we'll see how the synthetic wax holds up.
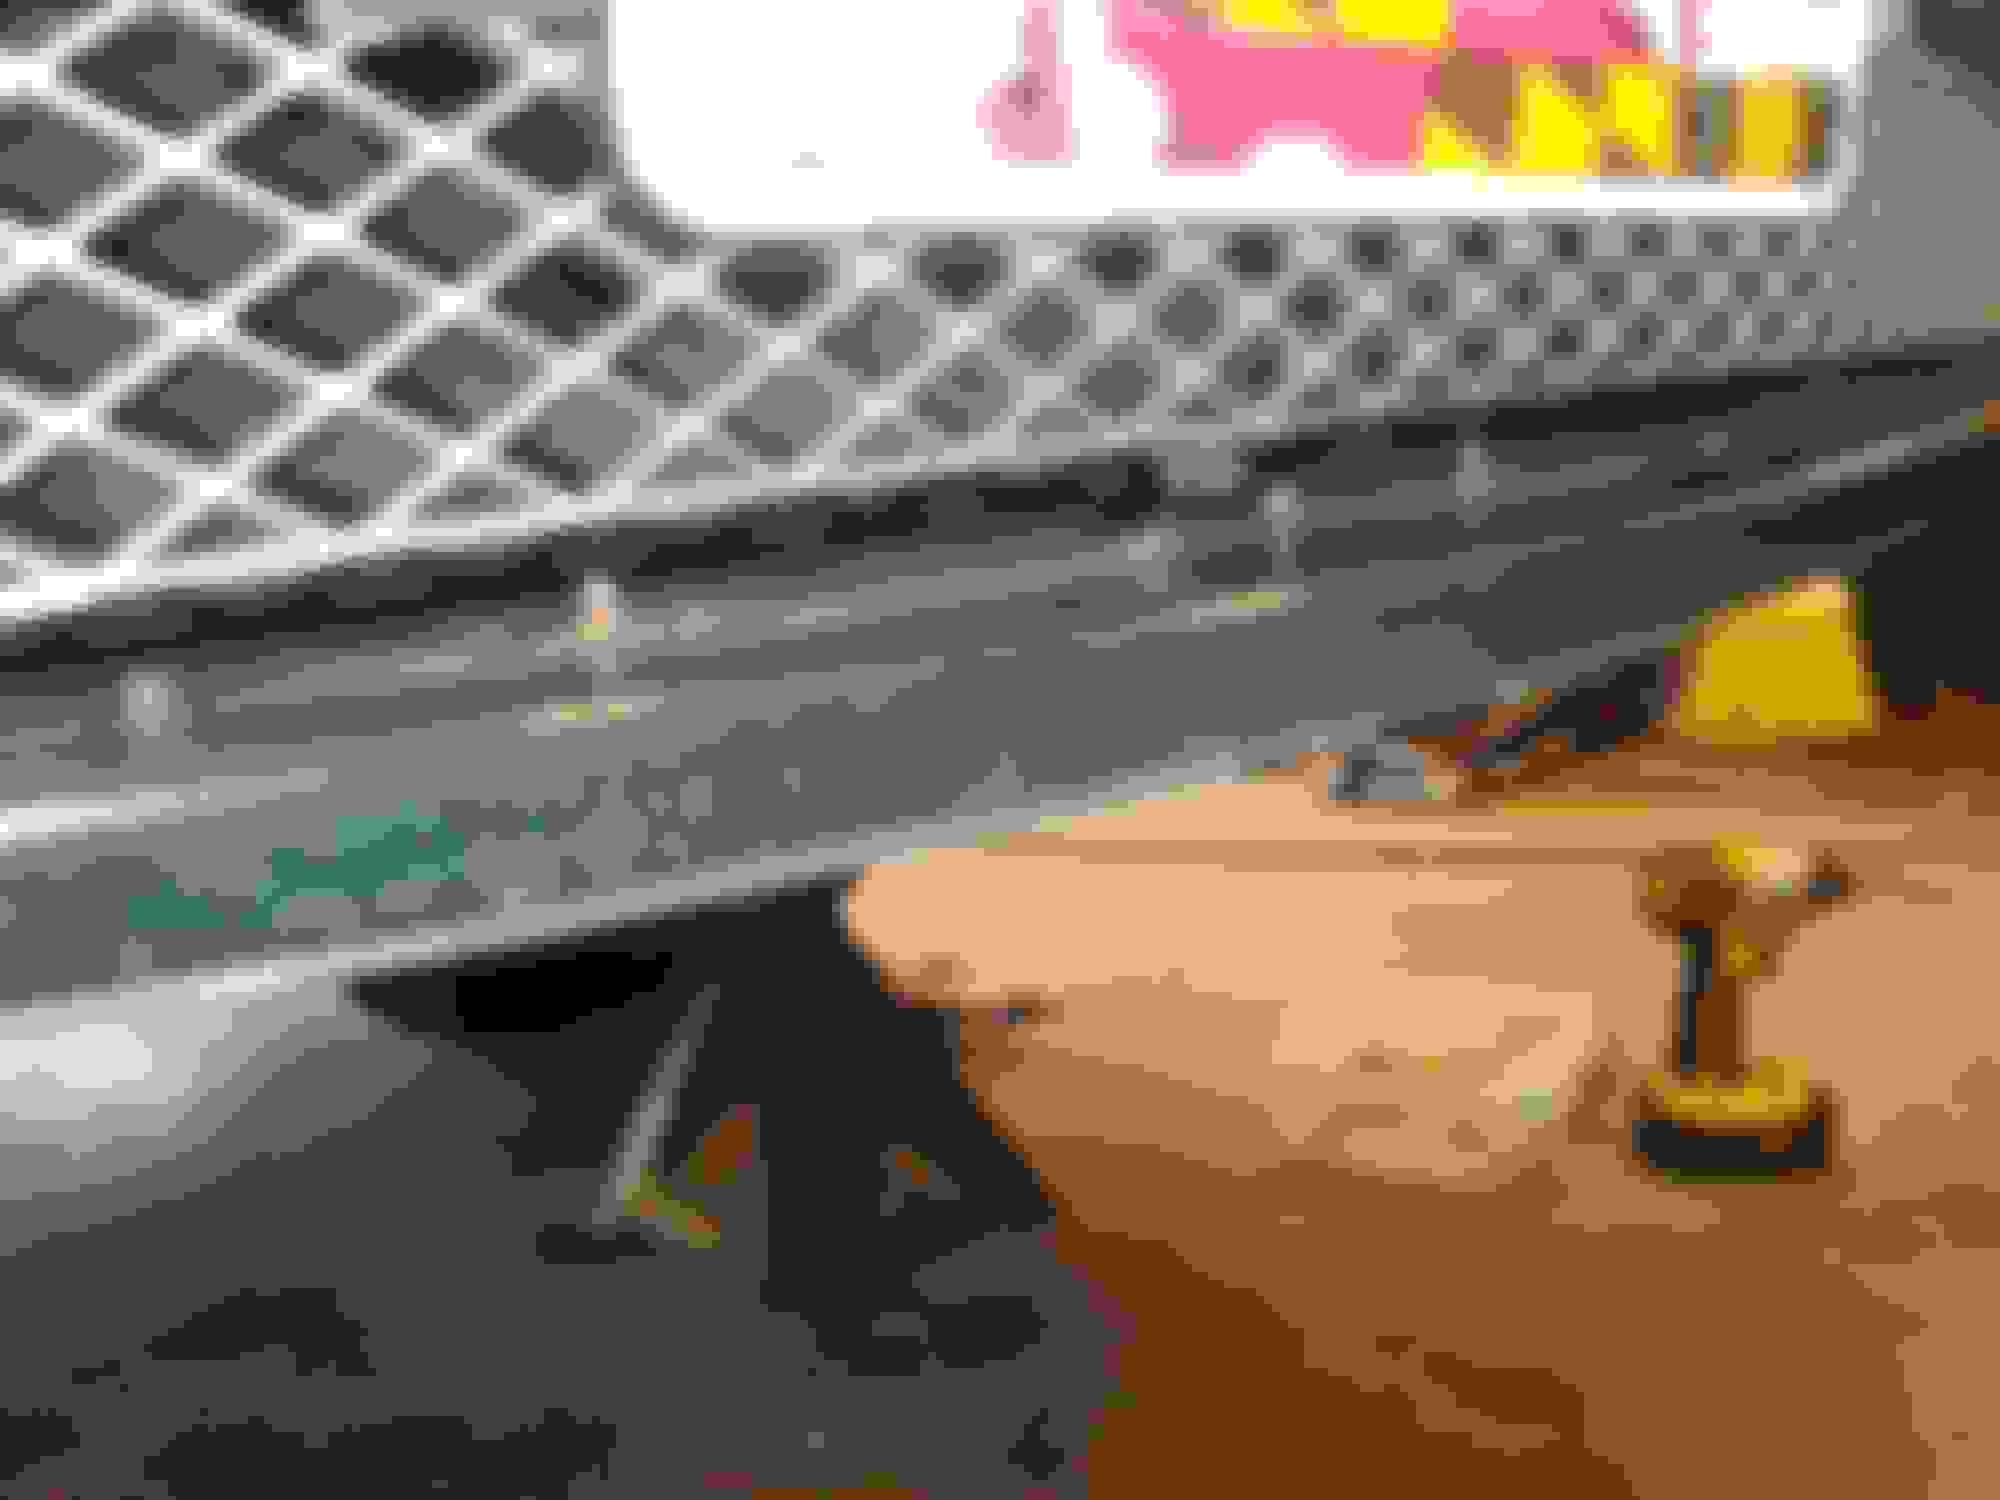
Didn't realize I left the camera upsized so you guys get larger pics for this go around. Rear panel on the improvised paint stand.
Paint has good depth but it's full of dirt and just trashed from abuse. I was able to polish out 90% of the fallout but I'll be down to primer trying to polish out a lot of the blems. I think I could have done better in my garage.
Worse than dog nail marks on a polished floor.
and the rear badge in some flavor of metallic silver with three coats of clear on top. Still some trash in the paint but it's 10x better than before.
Depending on the weather I plan on pulling the nose off this coming time off and playing with the air cleaners for more flow. More to come.
The car is looking much better. I have never figured out how the door handle pockets get so many scratches as I don't think that I have ever touched the pocket with a fingernail. And I basically am the only driver of my car.
Nah, it was silver from the factory on the XKR, chrome on the XK's if I remember right. On the back there are two part numbers listed, one silver and the other chromed. The silver had faded to splotchy gray and it looked worse than the peeling bumper cover.
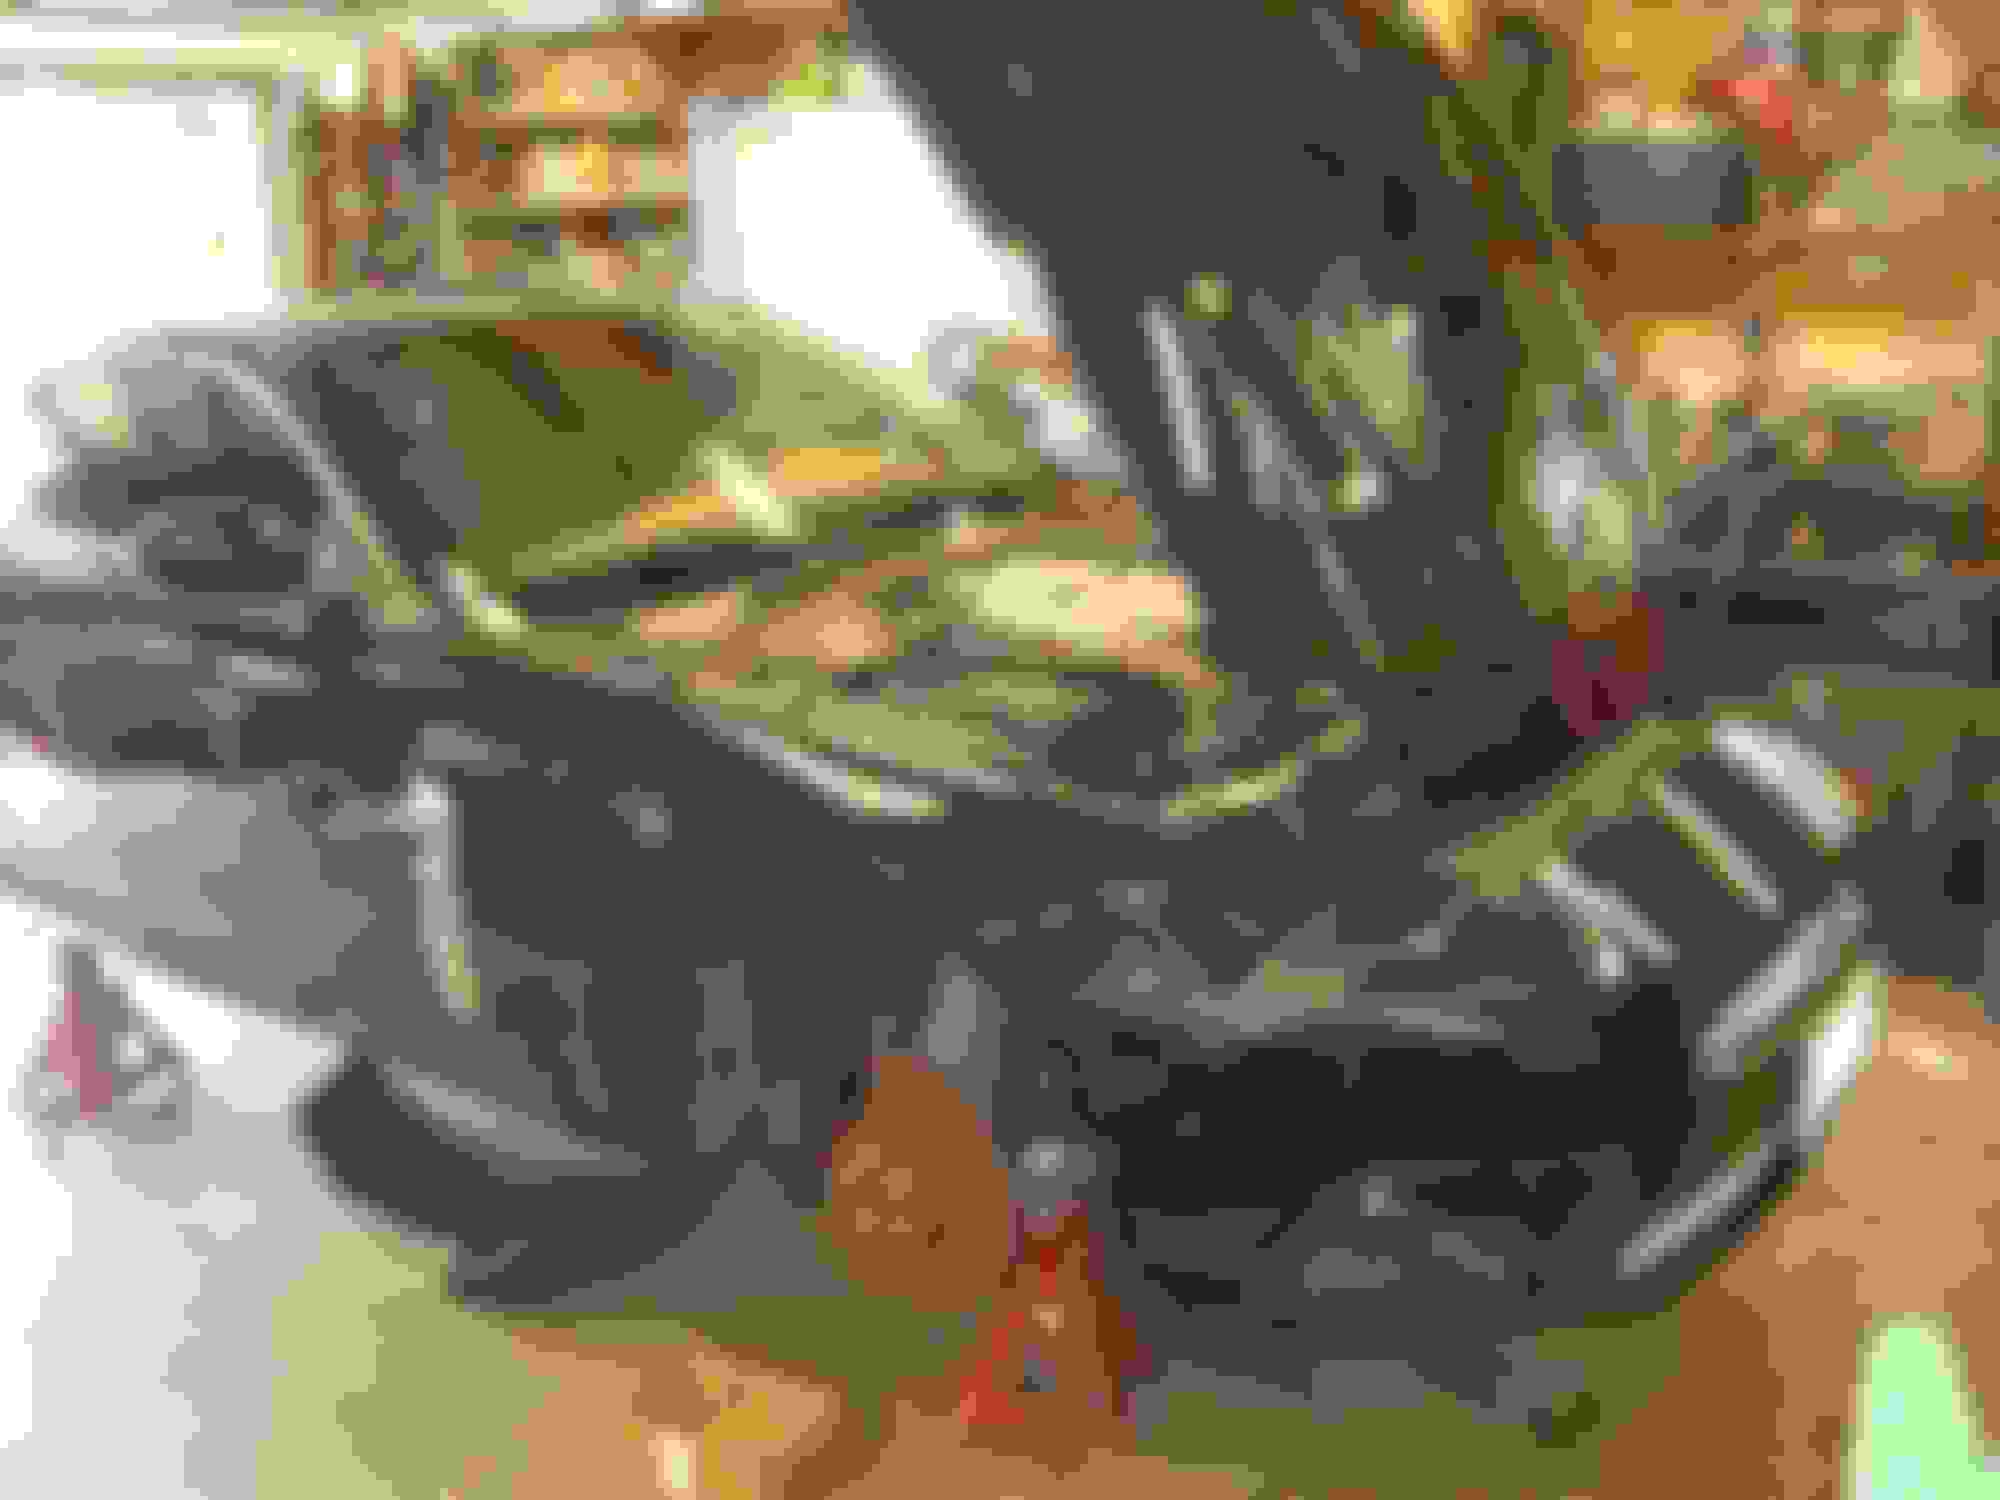
OK, current state of the car and I'm about 20 minutes into it. Kind of funny how fast it comes apart the 2nd or 3rd time around.
Highest priority is to repair the goofy smile the lower grill is getting. I don't like the design because it forces the grill to support all the weight of the belly pan. I can only imagine how heavy it is at speed when the air pressurizes behind the grill. It's torn the outside hoops loose in the two months I've been running it. This is going to require some thought...
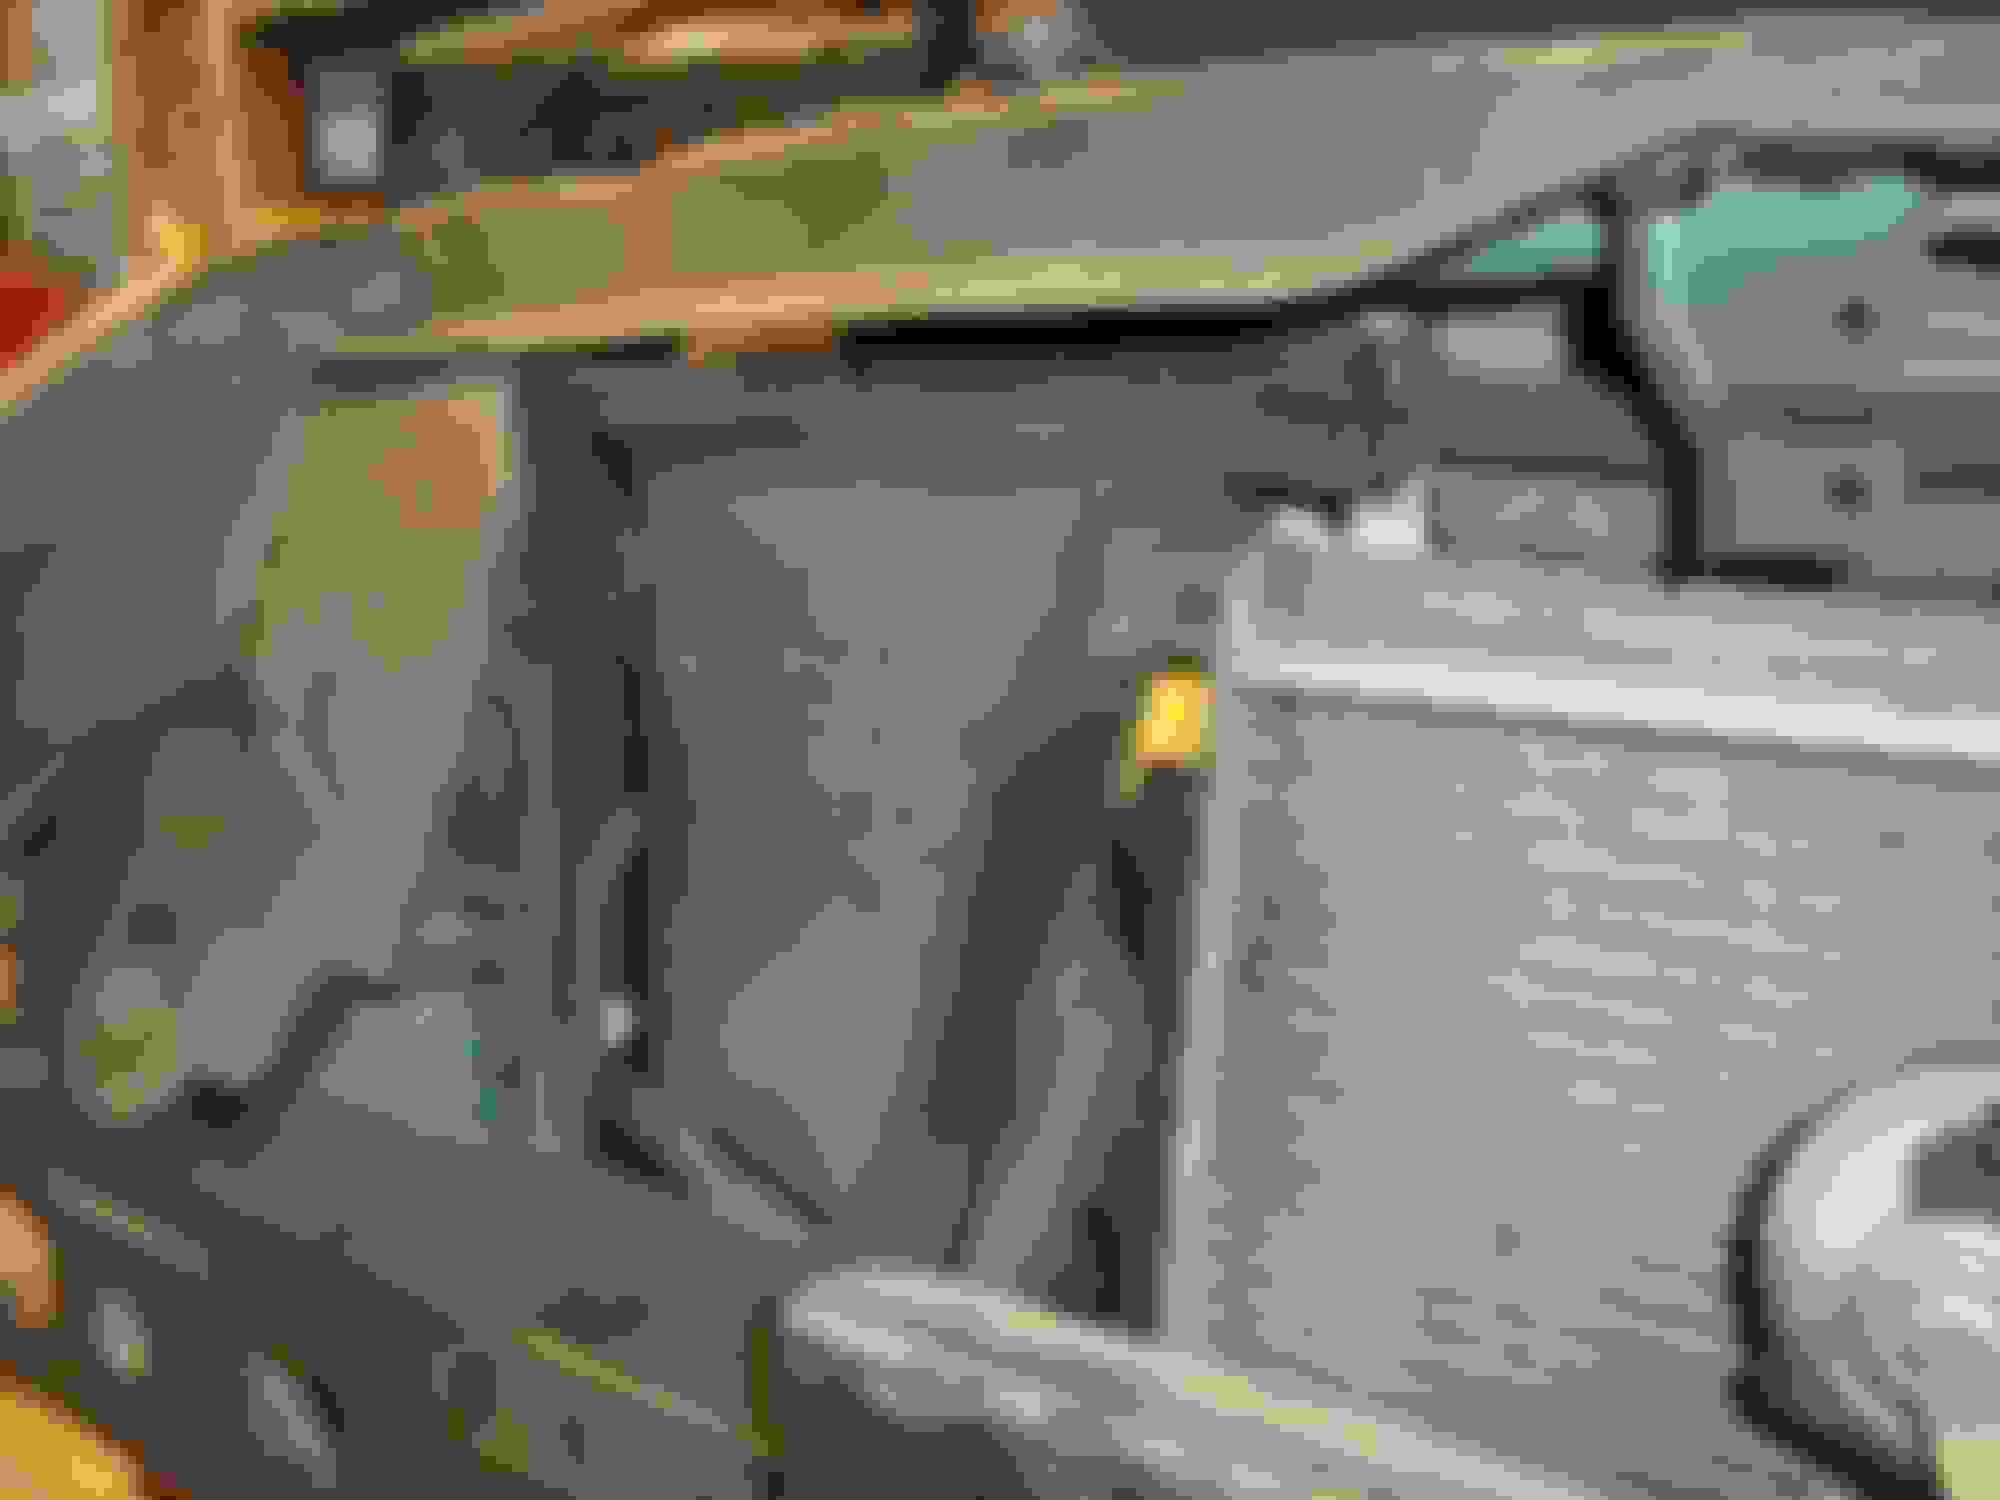
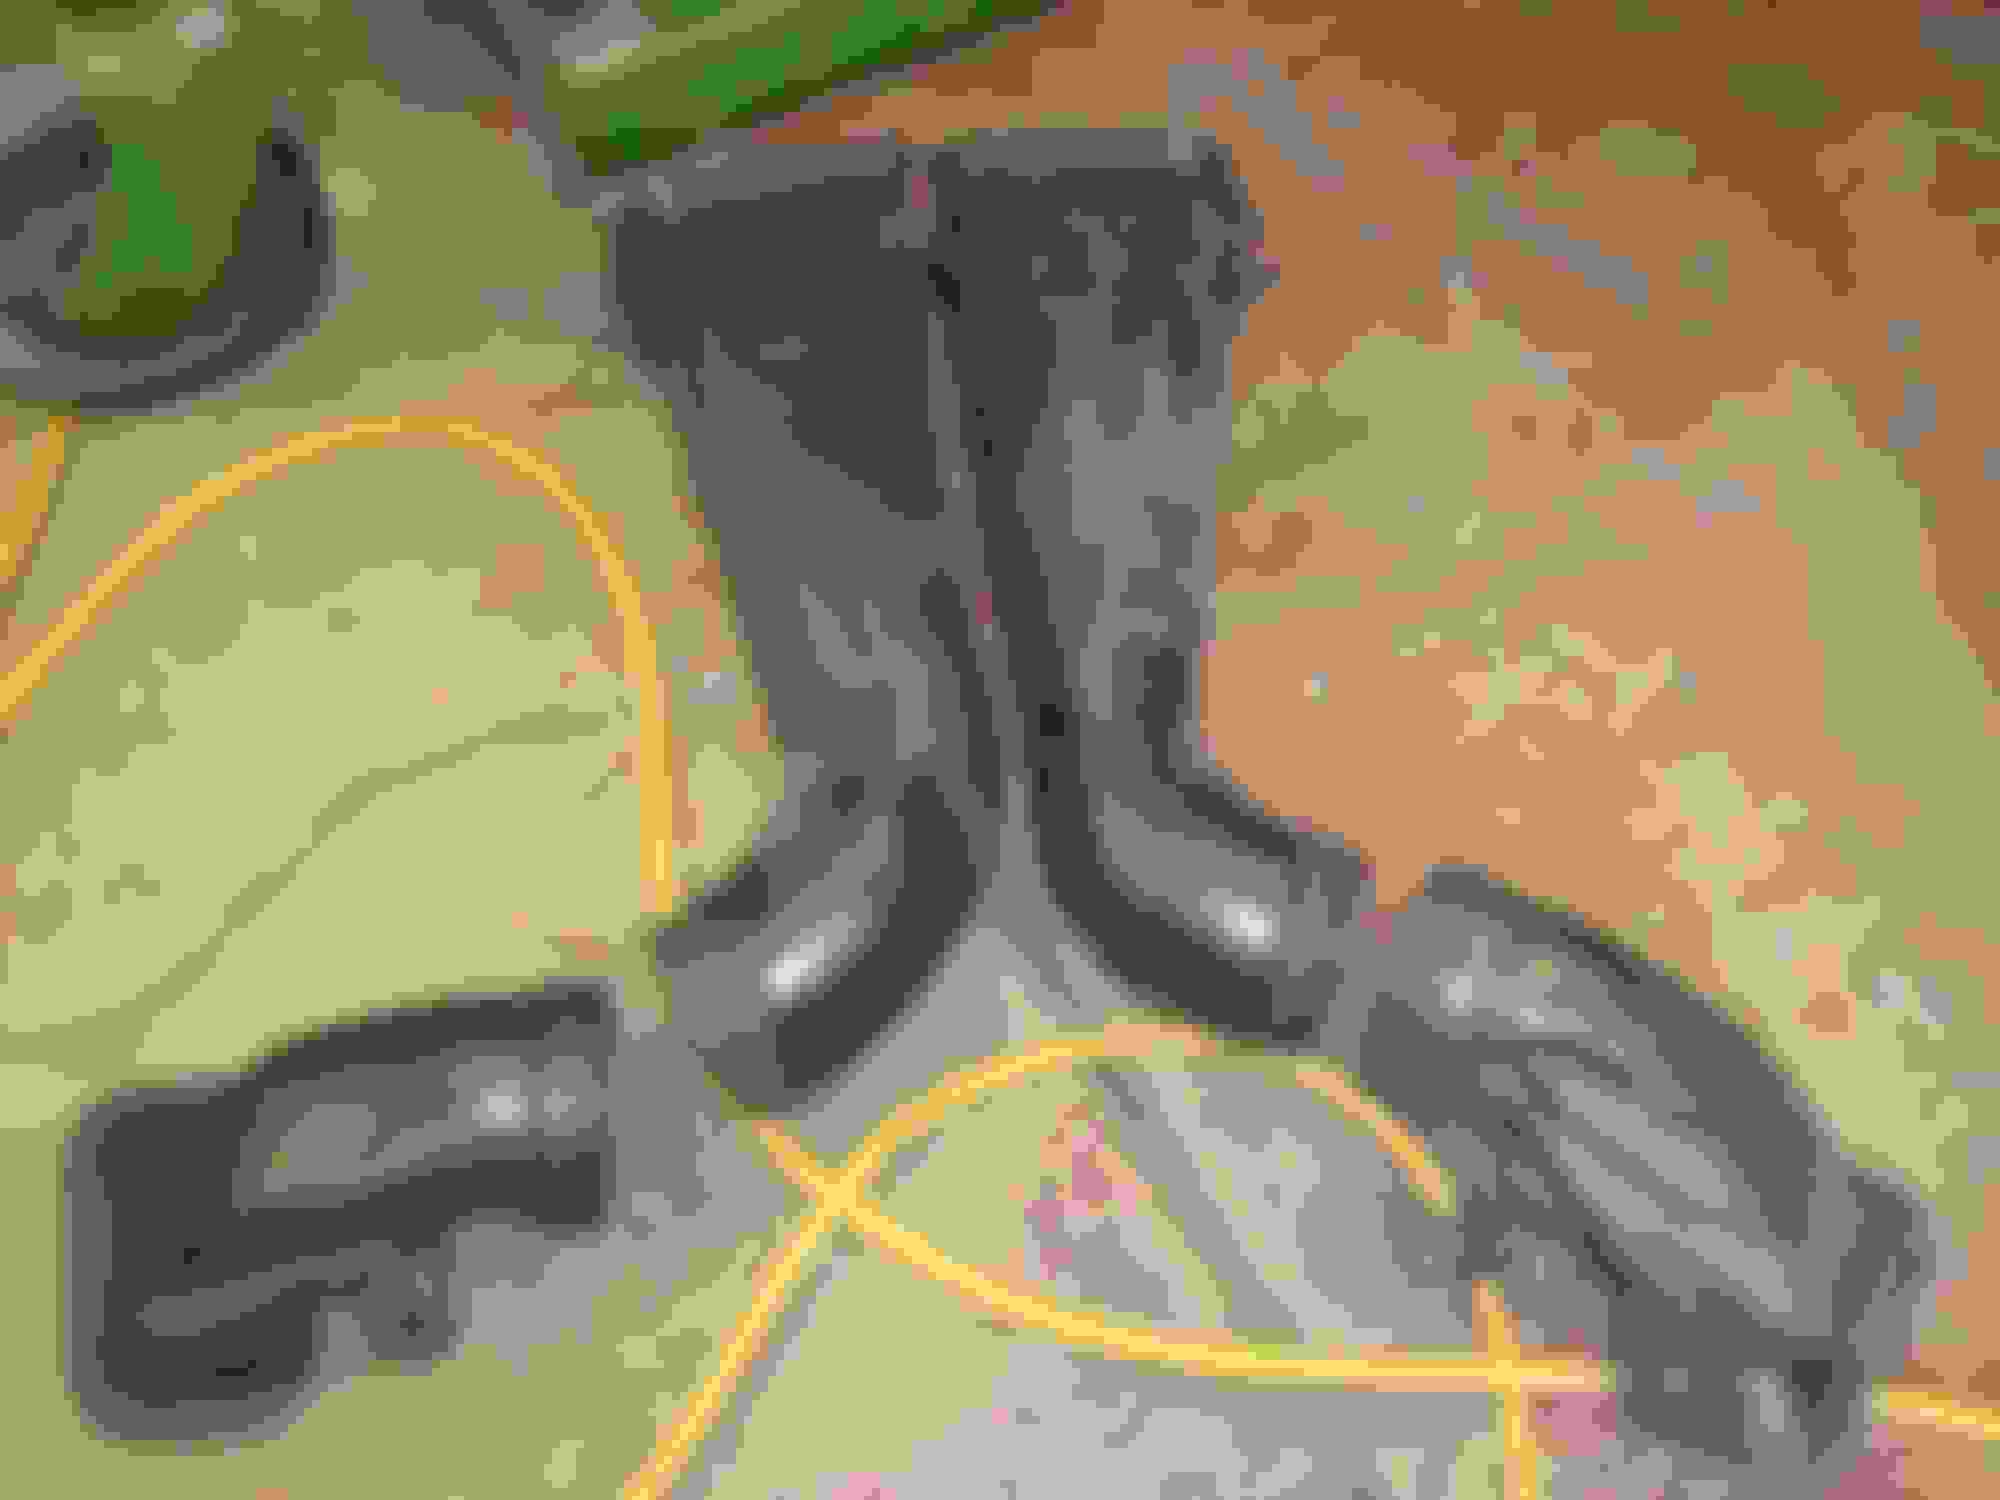
Which brings us to the 2nd project. This is the funnel for the air cleaner. I guess Jaguar wanted to be able to drive through 20+" of water without drowning the engine. At speed the long inlet tubing is probably OK but at low speed I can only imagine there's a decent vacuum at the throttle body. This is going away.
The 90' bend needs to stay since it's the front mount for the air cleaner. I'm pretty sure the screws are a body shop repair.
Before pulling the nose I marked the air cleaner face with a red sharpie. Really torn between cutting this out but I'm not too sure how the mass air meter is going to like the turbulence. Torn on this
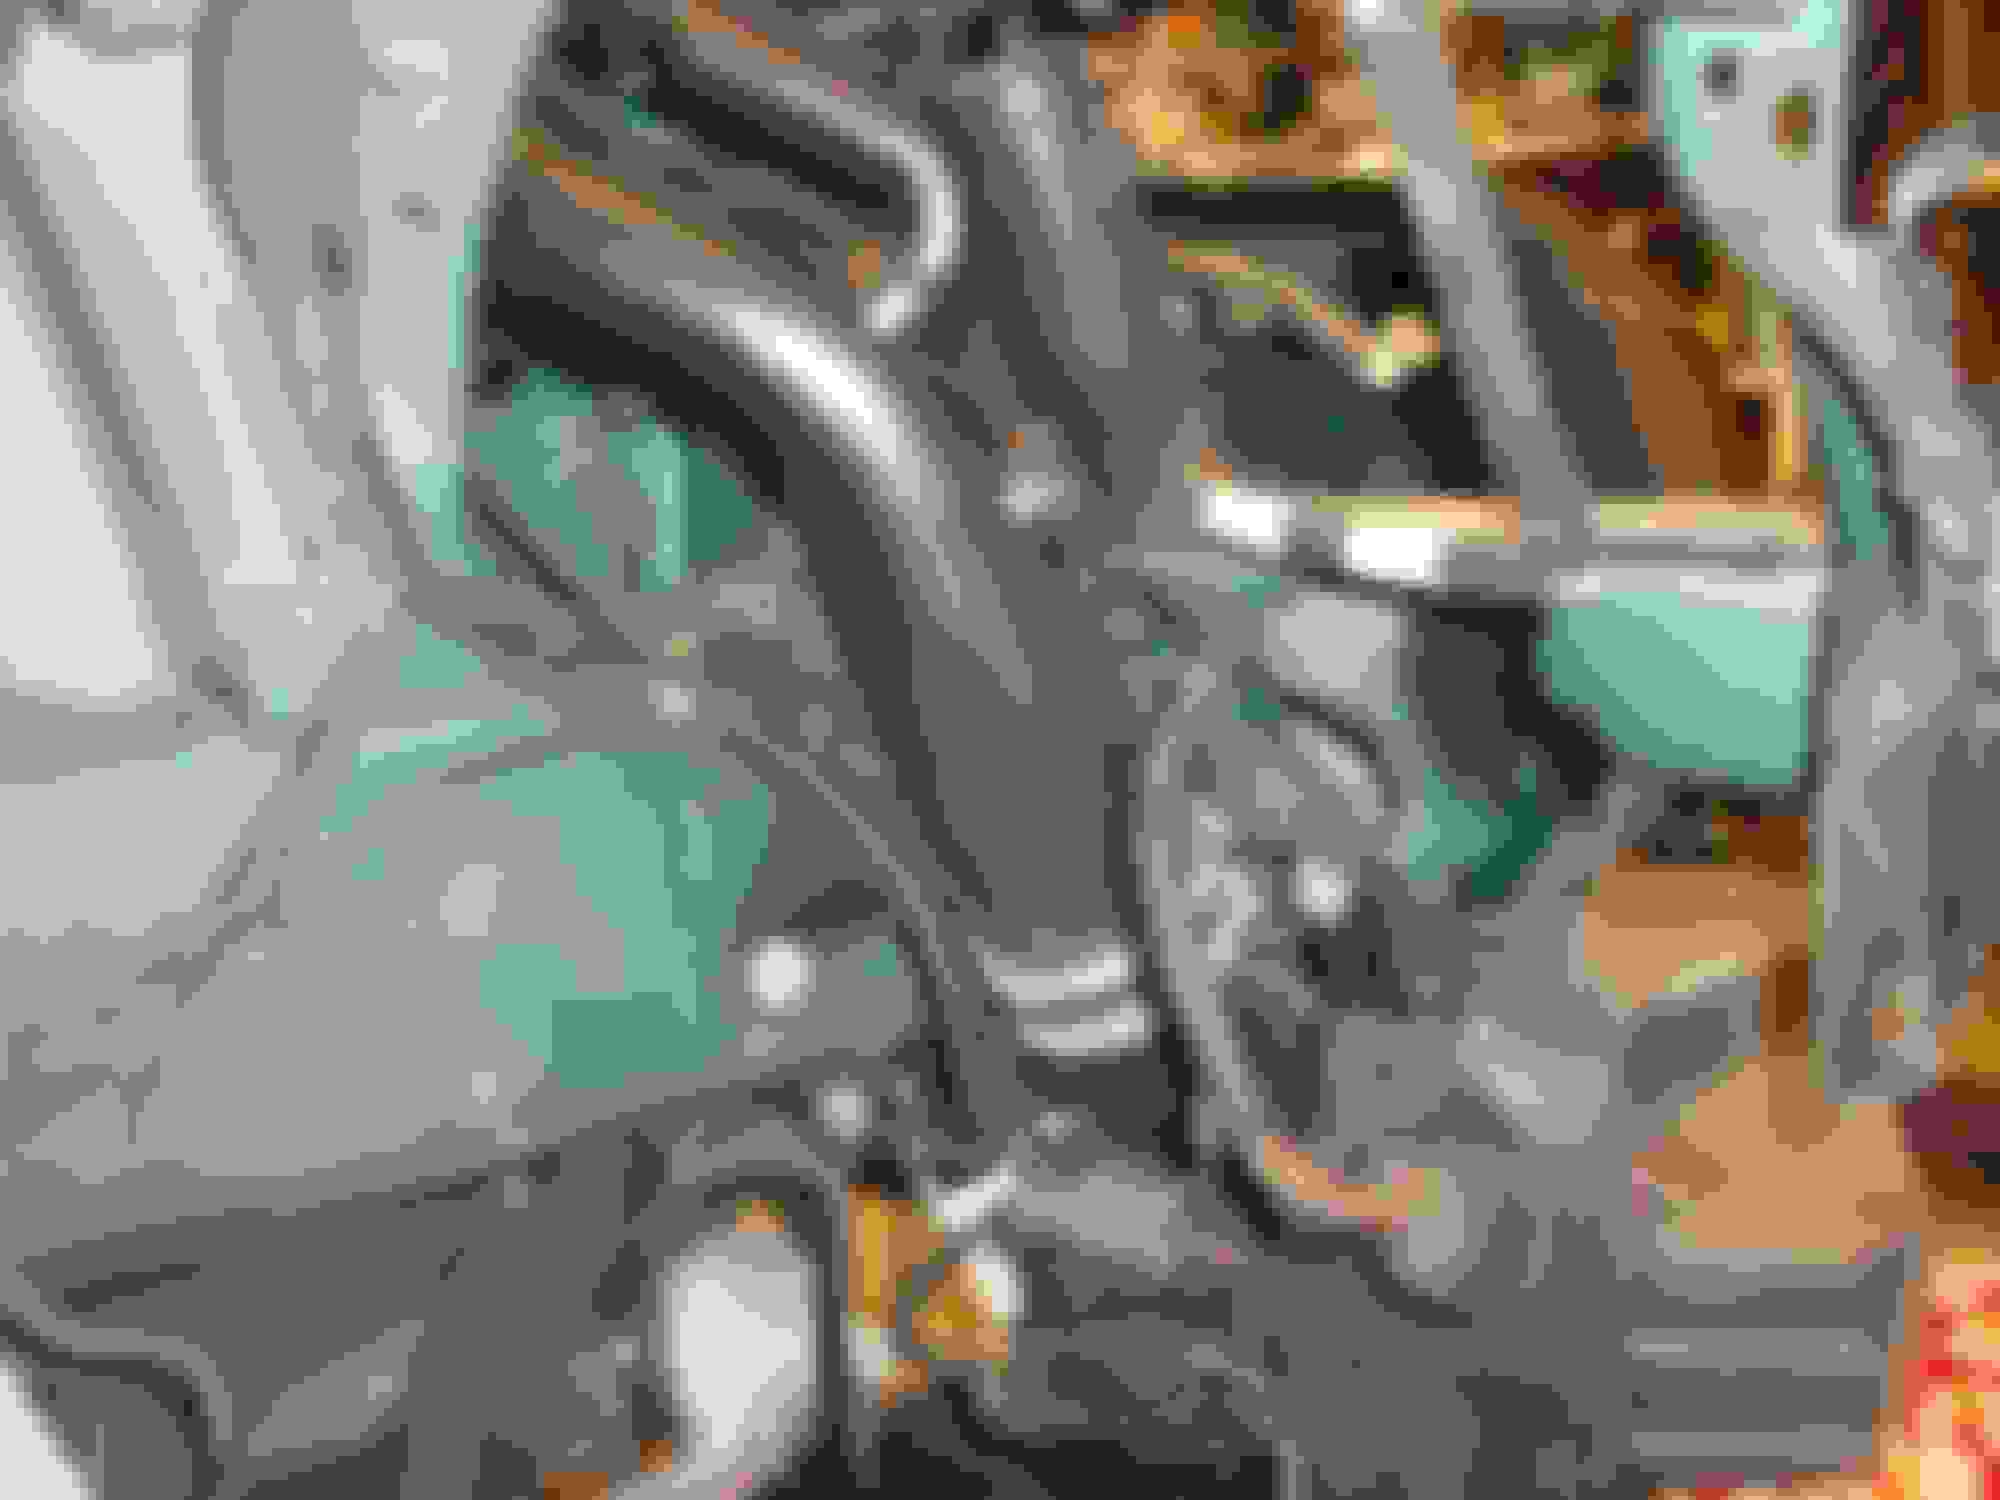
Finally a larger shot of the back side of the air cleaner, mass air meter and tubing behind the headlamp. Down the road I really want to bump the inlet tubing up to 3" since it's such a long run to the throttle body.
Another maybe project is painting the calipers. I'm supposed to work Friday so we'll see how much I get done or if the weather cooperates I'll take the bike.
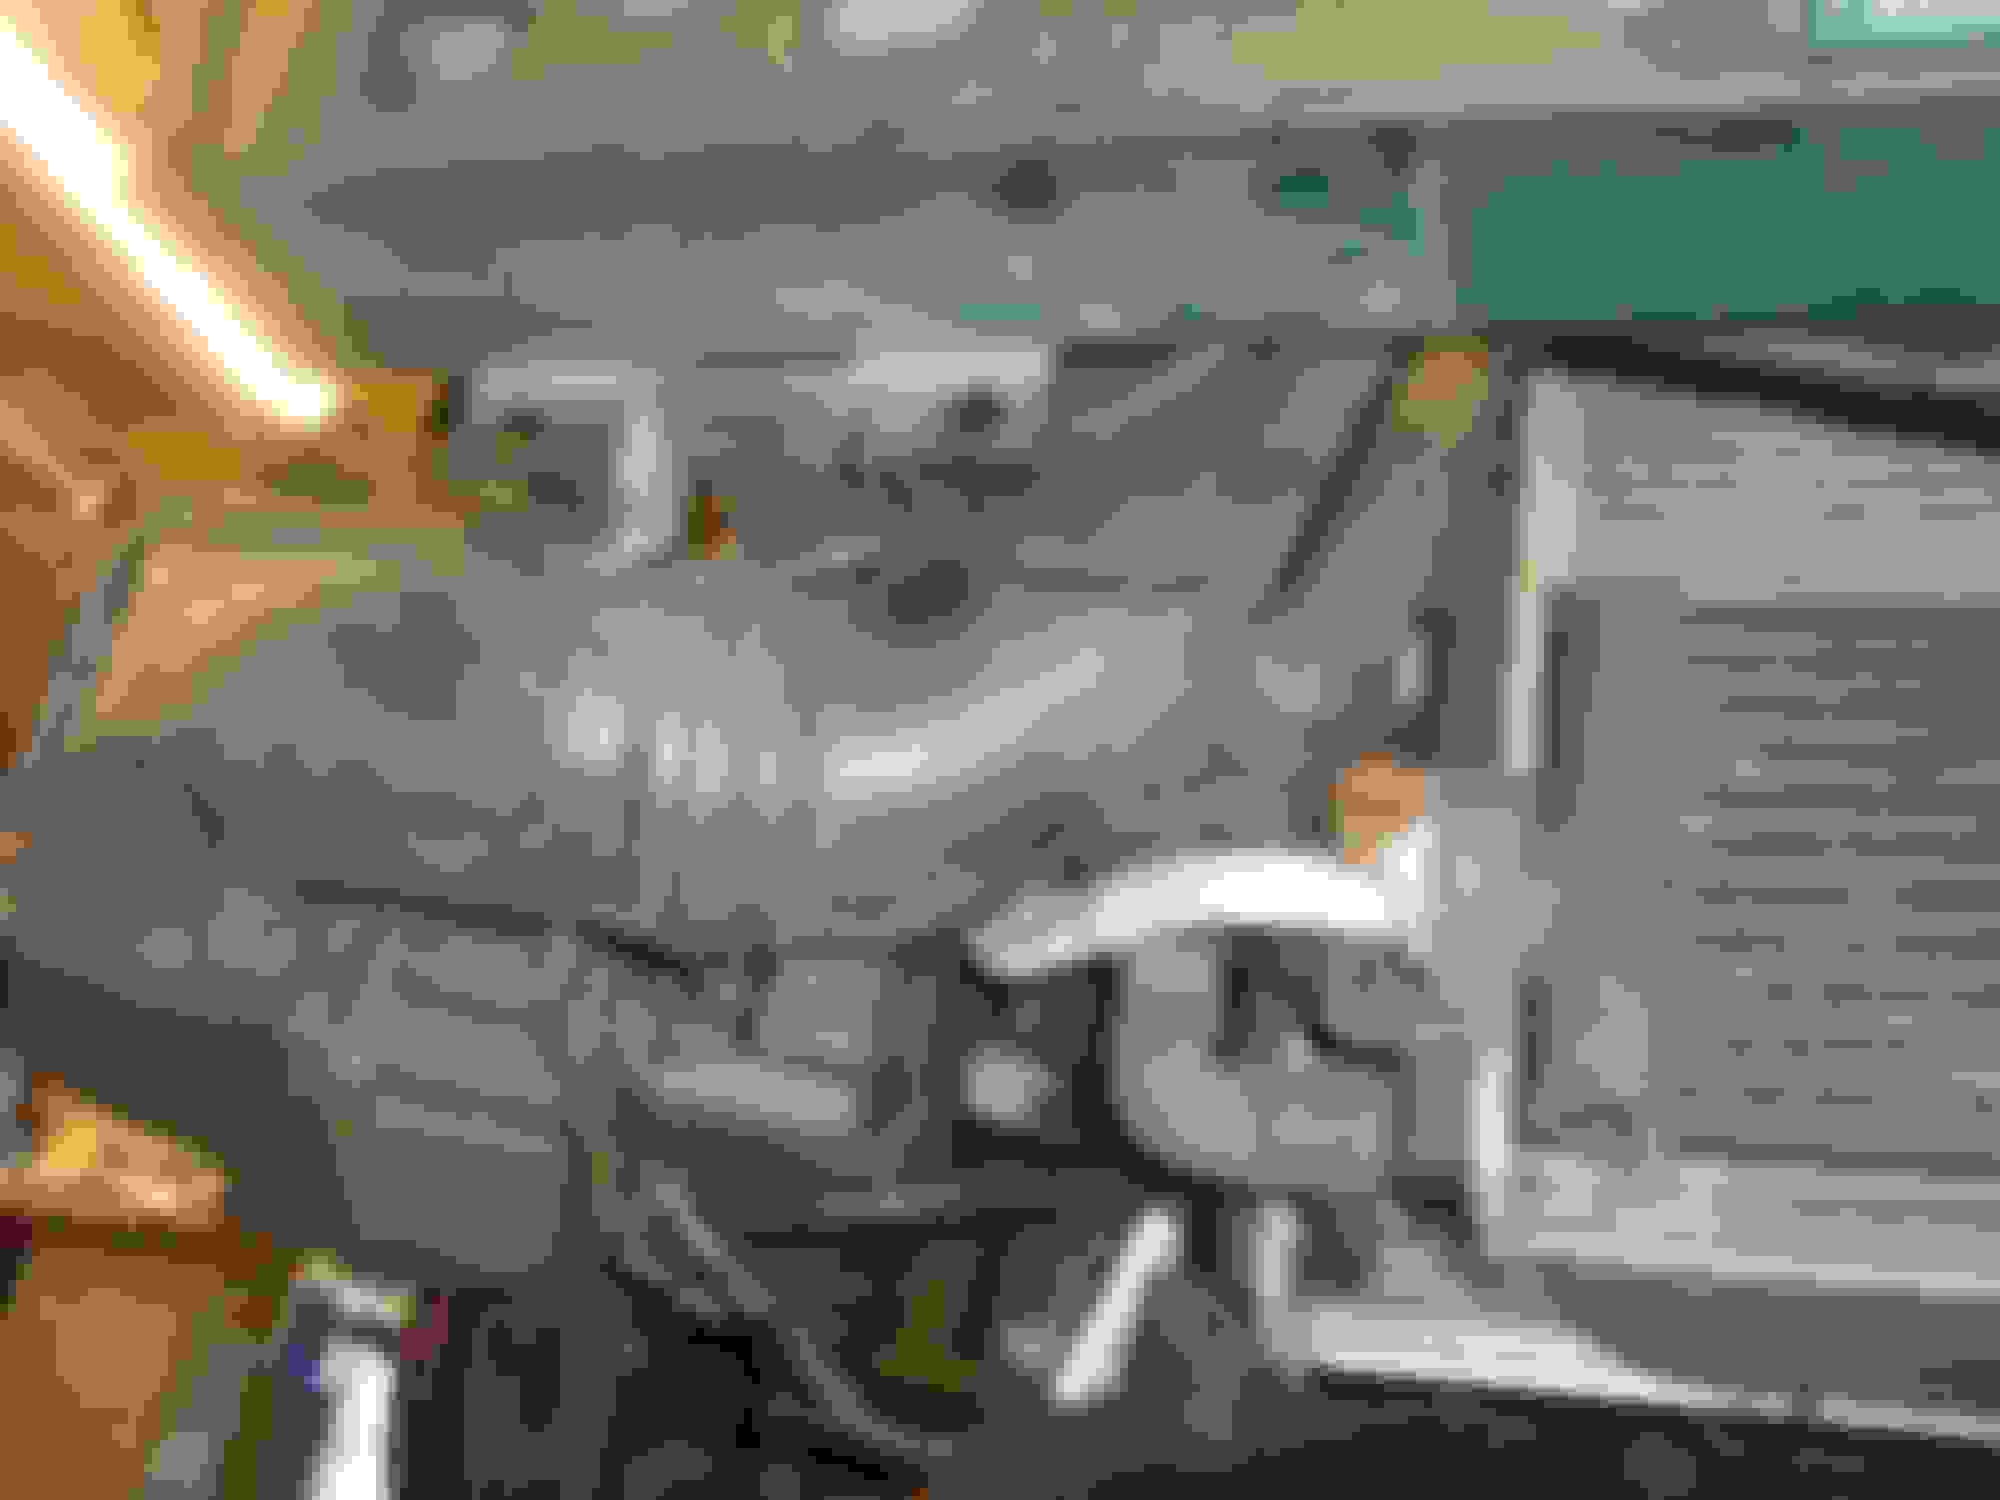
Decided to go conservative and only remove the snorkel from the air cleaner. The passenger side snorkel seems really constricted where it's pinched to fit around the I/C coolant pump. I'll do the math sometime to see how the area changes through that section.
The elbows for the snorkel were heat fused to the air cleaner box. Using the passenger side as an example I rapped on the drivers side a couple times with a dead blow and it popped apart.
In other news I popped the brake springs off without killing myself and am off to find some stainless bolts for the rear caliper covers. Still torn between pulling the pad or painting the whole dang thing in place. Pretty sure the pads are getting pulled though.
I'm assuming you have a vacuum line going from the right intake to the vacuum servo operating the bypass valve like the 5.0L's do? Tee into that and tape a vacuum gauge to the hood to see if you're drawing any vacuum upstream of the TB. I'm going to go out on a limb and say it will be minimal.
Regarding cross sectional area, find the most restrictive part on either side, measure the area, then add them together. If the total is more than the area of the TB... bla bla bla.
As I'm sure you well know, if you increase intake diameter, you're going to need to play with the MAFs to get them reading right. Consider too that all those dingus tubes hanging off the intake are for sound tuning AND pressure wave control. Removing them to smooth out the intake tract may eliminate any tuned pipe effect they provide.
I've removed snorkels in the past and have never felt their removal has done anything worth while. Keep in mind that air can only go around an 11� angle before it separates, so if you're going to remove the snorkels, replacing them with short bellmouth inlets would be ideal. As for turbulence, I believe the air filter will do a good job of straightening things out there.
Shifted gears and cleaned the caliper chunks up. Spray is VHT caliper paint. Of course it says to cure them at 200` for an hour for maximum chemical resistance. Not sure ho to do that to the rears other than a heat gun?
I also noticed that my front driver wheel bearing is pretty noisy compared to the passenger side. Oh well, tomorrow is another day.
There is a little screen in front of the MAF that supposedly smoothes air flow. Such screens exists on many cars with MAF, and are often removed with no adverse effect (personal experience). In fact, GM no longer has the screens.
As for modifying the airbox by cutting out the bottom, not to worry about "turbulence". What turbulence can occur from a comparatively huge opening? If anything, the larger "airbox" created by the opening will reduce turbulence.
The MAF is a fairly stupid device that needs a certain amount of air velocity to operate fully. The XKR twin inlets measure 3.0" in diameter, but the single XK inlet measures 3.5" in diameter (yes, they look identical). I suspect Jaguar went to the smaller inlet diameter with the XKR to maintain airflow velocity across the MAF.
The twin tubes attached to the inlet are Helmholtz resonators designed to reduce intake roar. They have absolutely no effect whatsoever upon performance.
Read the paper which is about variable intake runner lengths. Helmholtz resonators could have some effect on intake runners; but I doubt there is any power gain/loss with Helmholtz resonators in the lengthy intake system of Jaguar. The real test would be an A/B dyno pull.
Curious about purpose of the multi-wire connector on the passenger side airbox. I have a driver's side (left) airbox in my shop, and there is no such connector on this airbox.
Helmholtz resonators could be useful in reducing exhaust "drone" in aftermarket exhaust systems. See Synapse Engineering. https://www.carid.com/synapse-engine...285628807.html
Fan, IC water pump and the crash sensors plug into the chassis harness there. Drivers side has the TPMS antenna's and nose mounted fog lamps.
This morning's update really isn't picture worthy. I just took some semi gloss black spray and 'de-rusted' the rotors. I have my decals out getting ready to transfer them to the caliper covers. I also needed to touch up the red from some other angles. Looks like a full can will give pretty good coverage.
Per the intake dingle berries I've only ever noticed them limiting sound and causing issues when they come detached. I was trying to figure out how much resistance the intake tubing was giving to the engine with the constrictions but needed pressure differences to see...
OK, currently getting my butt kicked by the drivers rear caliper. Can't get it to retract far enough to reinstall it. Of course the fricking X150 service manual references the 70.40.03 subsection but forgot to add it... Google finds relevant subs for land rovers and some others but not the XKR...
Tried bleeding the fluid like some others need done but it didn't work. Tried screwing the puck in ala GM stuff without effect. Looks like the E-brake is just a cam. Passenger side went right on without issue.
OK, so looking at it some more I've managed to actuate the parking brake lever a couple times and that pushes the puck out. I think I need to remove the limit pin to get the lever to overcam and release the puck. PITA that this section is missing from the manual.
 08-03-2017, 09:51 PM