When you click on links to various merchants on this site and make a purchase, this can result in this site earning a commission. Affiliate programs and affiliations include, but are not limited to, the eBay Partner Network.
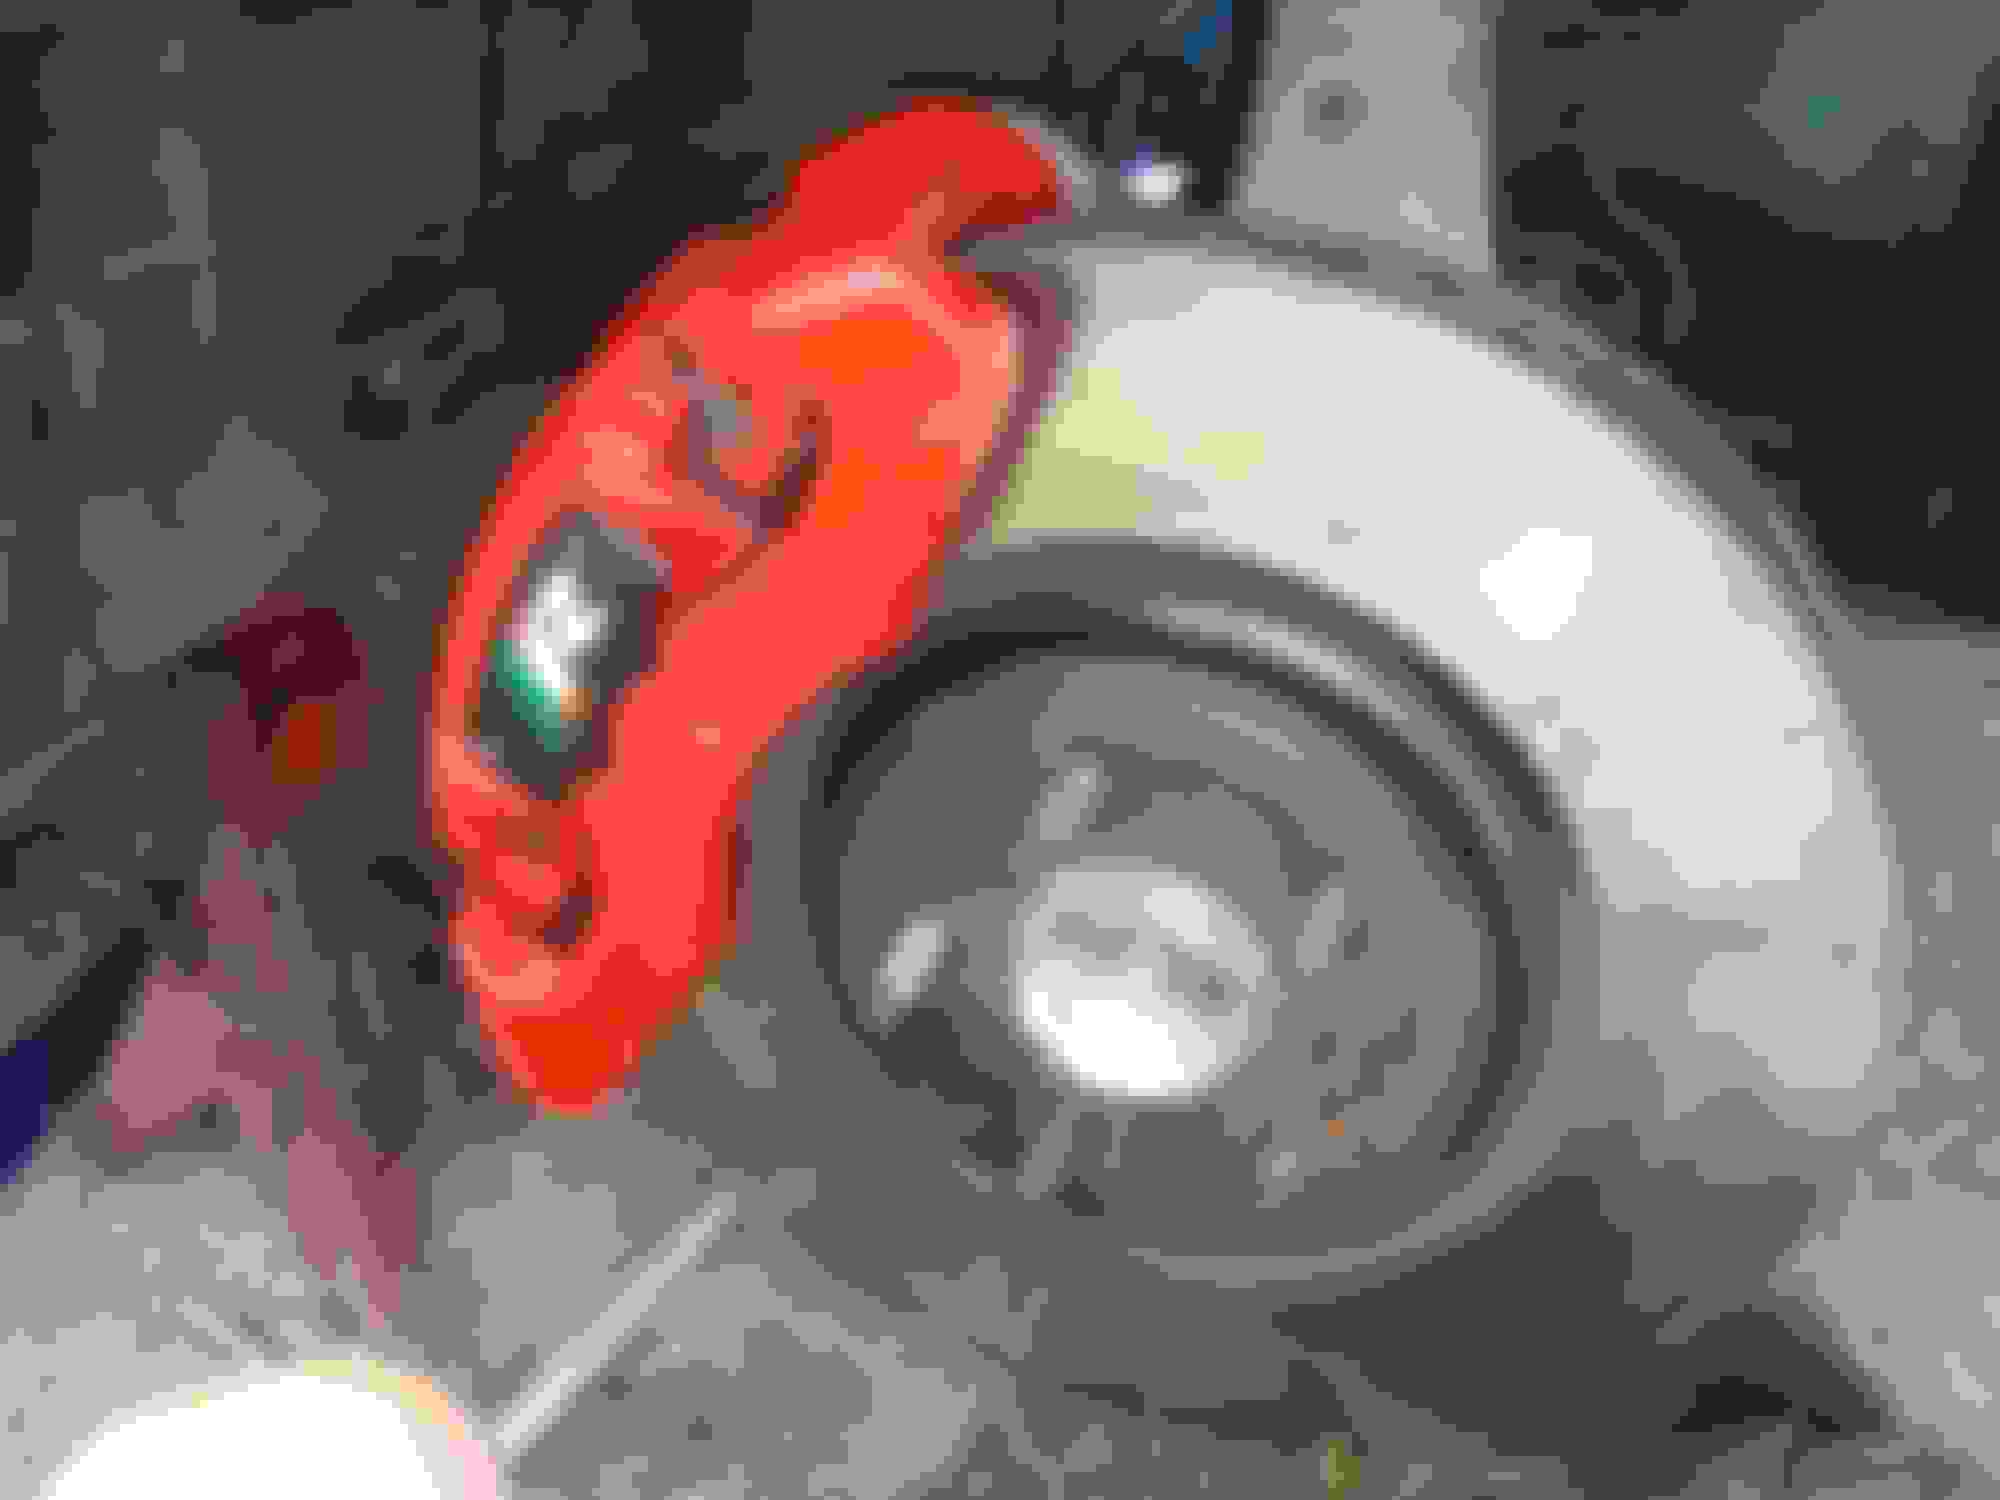
So, was hesitant to mention anything but on the way home from Allentown the car had a strange rumble at 78 mph. Running it into work yesterday it was pretty loud but quieted down after a couple minutes of running. I was curious about if it was exhaust related or something more sinister so I popped fuse 19 out this morning and checked the temps on the wheel hubs. Nothing unusual but on the way into work tonight coming over 85 mph the front passenger side did a sudden very loud rumble three times in three seconds. Backed off and I'm pretty sure I lost the cage on one row of rollers in the wheel bearing. Limped it into work, temps still OK but I hopped online and found front bearings and went ahead and ordered the rears as well.
Rock Auto had the Moog 513327 fronts for $109 and rears for $86. Pity that there's no rock Auto's nearby. I went ahead and ordered then because Autozone had the fronts listed at $244 each and rears were around $150. So, chalk up another $402 for wheel bearings. I think I'm going to turn the rear rotors while they are off since I have some pulsation on hard braking.
Best kick in the nuts is my city is replacing the concrete alley behind the house so I'll be doing this work on the street out front. Should be a fun time.
Hopefully you've got a decent "shade tree" on the parkway to work under. Somehow, that seems apropos for this thread.
No real shade tree. I do have some tall shrubs that may help in the morning and a huge Norway Spruce in the yard that may help. I did receive the fronts today which is pretty darned quick for standard shipping. Tossed them in the back until I'm ready to install them, probably Thursday.
No real shade tree. I do have some tall shrubs that may help in the morning and a huge Norway Spruce in the yard that may help. I did receive the fronts today which is pretty darned quick for standard shipping. Tossed them in the back until I'm ready to install them, probably Thursday.
Pictures please if convenient. I want to see this done, or are you replacing the whole hub?
Yeah, unless it's corroded it's a pretty quick process. Pop the wheel, caliper and rotor. Unplug the sensor wire and remove the four hub wires to slide it out. Add anti seize to the mating surfaces before assembly.
I'm waking up now and gathering stuff to drag out front.
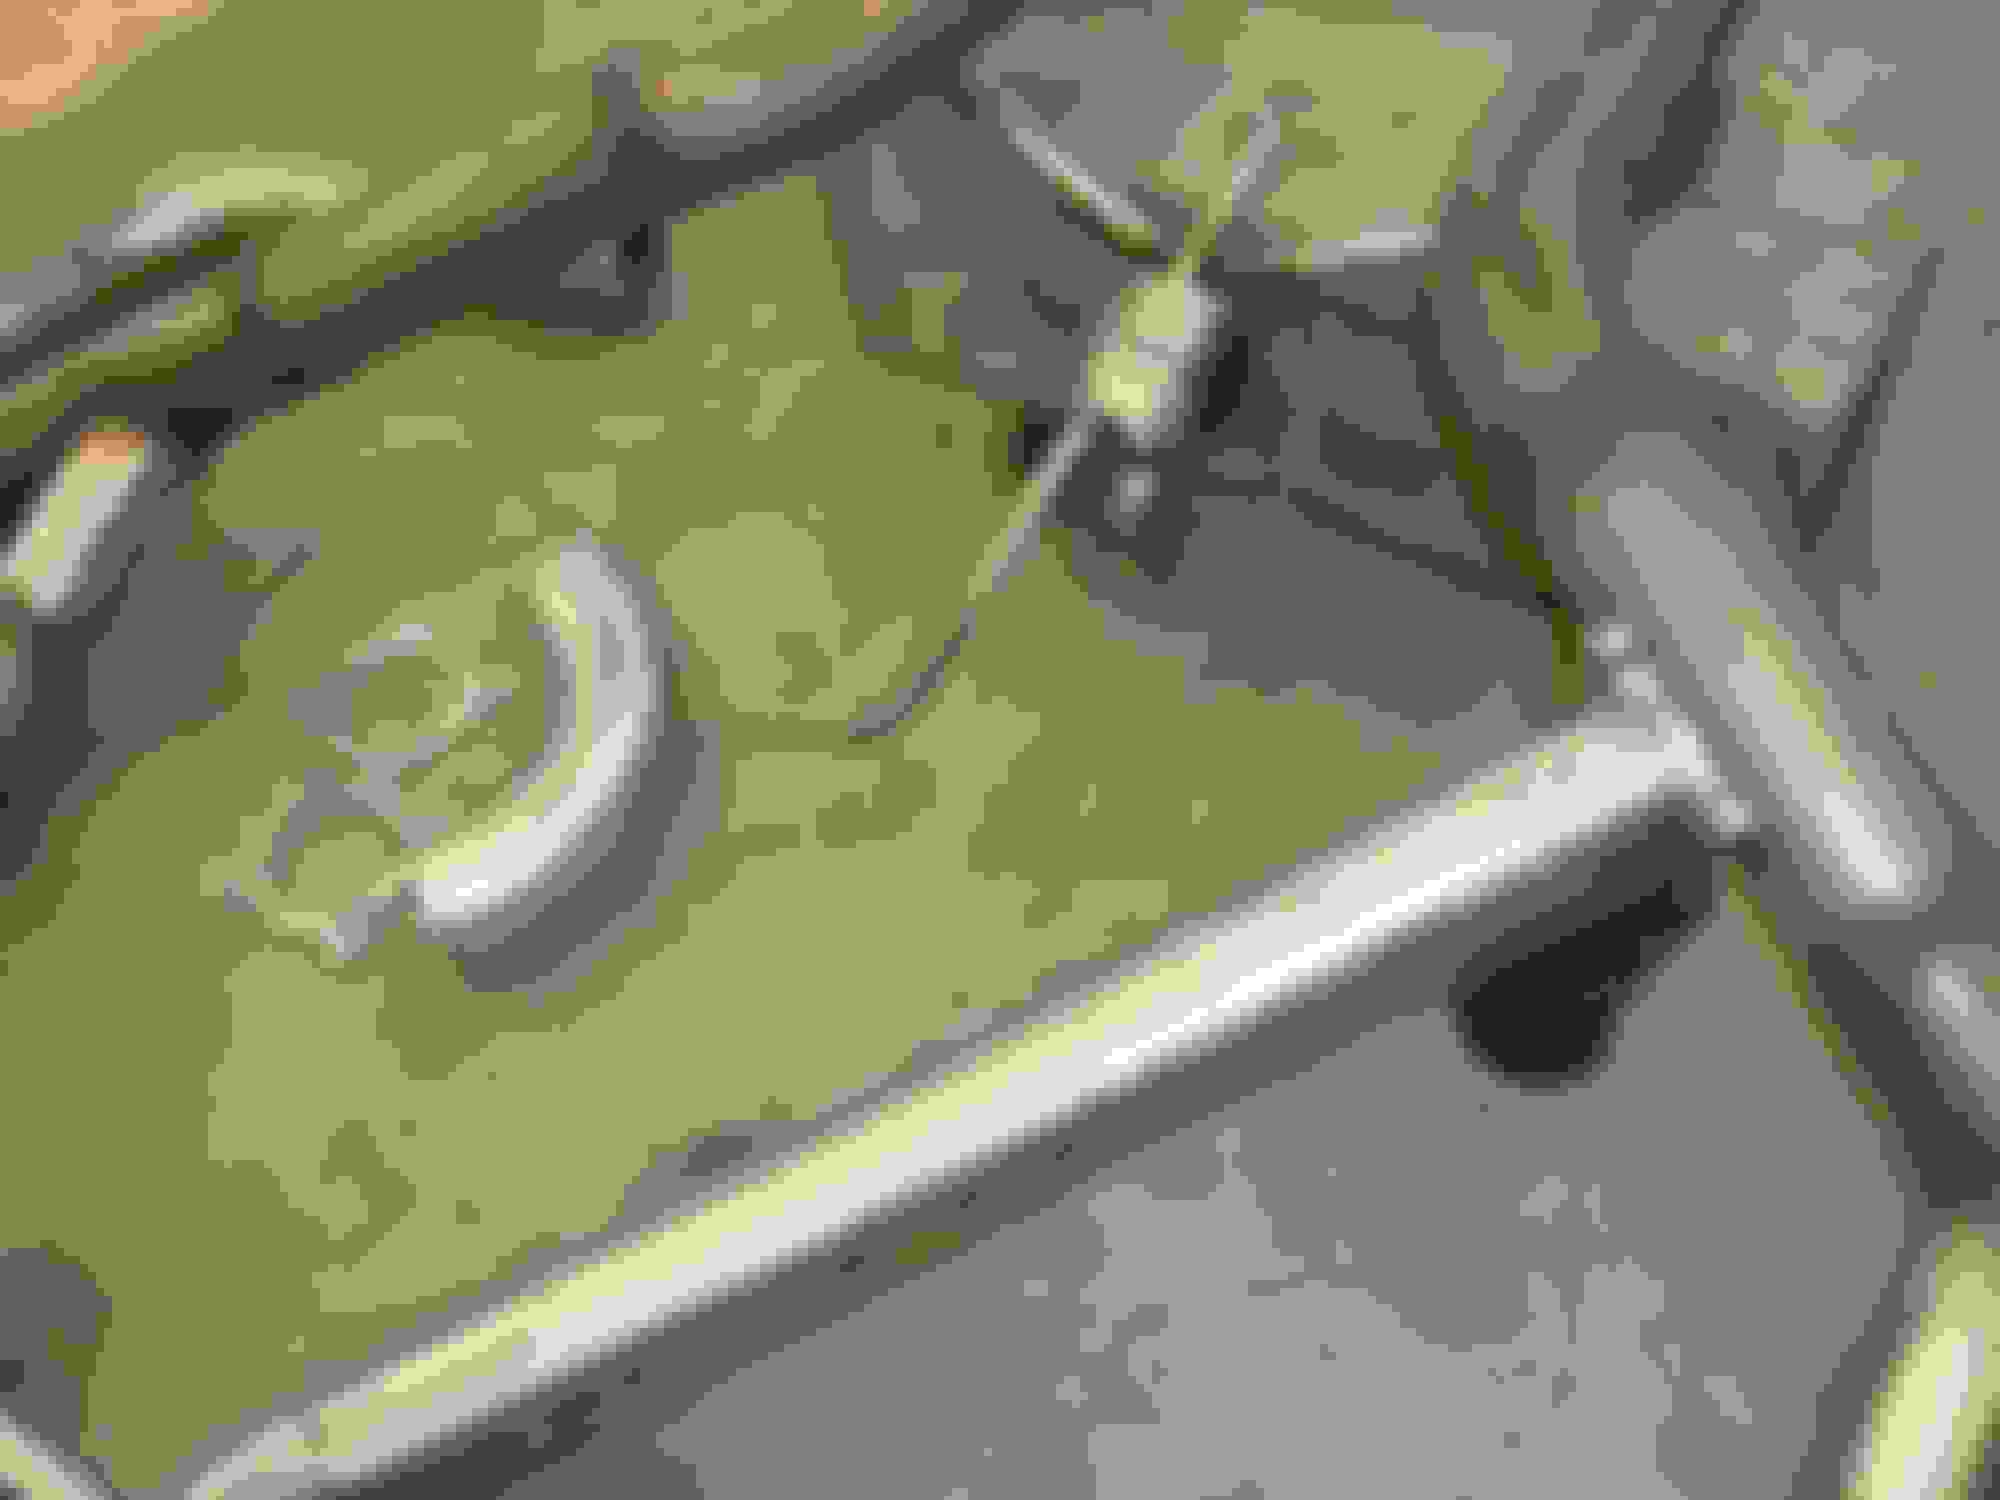
5 gallon bucket for the caliper to sit on. Rotor couldn't /wouldn't budge off the hub so I pulled the hub bolts loose and sprayed everything. Eventually the rotor popped loose. Minimal corrosion but just stuck. Ran out of good ideas so I 'made' a couple push bolts to extract (or at least put pressure on) the hub while waiting for the penetrant's to break down the corrosion. Used a propane popper torch to help swell the aluminum and allow the oils to work through the joint.
Eventually we got an air gap. I had two on the back side and one opposite them. Lots of torque to push them off. Spray, heat, torque, spray heat etc. ad nauseam until it moved enough to...
Start using a pair of small chisels to work the hub out. Still, heat, spray, etc, etc and it finally popped loose.
A 3" sanding wheel made pretty quick work of the white death corrosion. Once the wheel stopped making a dust cloud I knew we were golden.
Yep, checked with the hub and it about fell into place. Dolloped a bunch of anti seize in the bore and bolted the new hub on place. Put some on the rotor mating surfaces as well.
The new hub spun nicely. It's important to not beat on them at all as it'll impinge the journal surfaces and cause the bearings to fail again.
The //R spring preloader is hard on the painted calipers... I'll touch them up once all four corners have been replaced. I did wash the rotors down with brakecleen before popping the wheel back on.
A money shot of the back. Two lower bolts are T55's and the upper ones were 15 mm. The caliper bolts were 15 mm too. So theoretically one the wheel is off you only need a screw driver, a T55 torx and a 15 mm socket to swap out the hub. You will need the standard torx to pop the inner fender loose at the back for the connector.
Overall it's about a 45 minute job if the hub isn't frozen. I had a little over two hours into it including about a dozen trips to the garage for 'stuff'. Only real gripe about the Moog part is the blue cable was shorter than the original (and it's blue which is dumb). It does look like the sensor / cable will release from the hub so I'm keeping them for future problems.
I'll tackle the other side tomorrow. The rears are in DC's distribution hub which doesn't make sense since we our postal feed comes from Baltimore.
The joys of not having to press a bearing in yes ! makes this job quite fast.
Ranch whats the condition of your rear suspension I find that it is quite common for our stuff to go after 40-50k miles
Hey Steve, other than a torn boot or two for the sway bars it looks fine. Long term is some other flavor or positraction so I'm not too worried about it right now. Once the weeds die down in a couple months I plan on doing some junk yard shopping.
Some much for a fast and straight job with these bolt in wheel bearing hubs I have a feeling I might have jinx it !!
Currently have my vehicle at the wheel alignment shop as I changed front tie rod ends, rear - toe adjustment rods, drop links and put the spires eibach springs back in.
I like the nuts and bolts pusher technique Ranch - I had a very similar problem changing the front hubs on my Ford XLT - I had to hit the lugs in a side swipe to rotate the hub in the housing to free them - that loosened it up to get pulled.
I like the nuts and bolts pusher technique Ranch - I had a very similar problem changing the front hubs on my Ford XLT - I had to hit the lugs in a side swipe to rotate the hub in the housing to free them - that loosened it up to get pulled.
Yeah, I had tried that to no avail along with putting the bolts back in loosely and driving on those. You can see the marks in the first pictures. Ran out of good ideas and was going to turn some longer nuts when I found the bolt / nut combo was the right length. I'd also thought about making a lug nut slide hammer adapter but the suspension was dissipating all the energy needed to move the hub. The pusher bolts focused the force and it came apart.
With Harvey screwing up the refinery's I took it out for fuel this evening, $3.05 per gallon and almost $50 to fill it.
Got the other side done this morning as the sun was peaking over the trees. went quicker because I knew what worked and had everything in the bucket from yesterday. This one was the loud one. The rotor dust shield 'sung' when I spun the hub. As I was finishing up the rear bearings showed up. They'll wait for another day.
No road test but I'm pretty sure it's going to be quieter.
So, exhaust again. I'll make no bones, I'm thoroughly disappointed in my exhaust tone with the stock box. Maybe it's because the X pipe is diminishing the pulses, I don't know but it's just wave too quiet unless being stood on. Been spending the past couple days researching Helmholtz and 1/4 way branch circuit resonators to eliminate the drone from my custom muffler setup. It's been an interesting read and verifies that there are ways to sort it out. So far I've been focusing more on a Helmholtz design which looks like a whiskey bottle hanging off the pipe vs. a 1/4 wave design which looks like a simple dead end length of pipe T'd into the main runs and terminated on the end because the Helmholtz seems more tolerant of design / fabrication mistakes and dampens over a broader spectrum of frequencies.
In the simplest terms the Helmholtz works similar to an empty Coke bottle. When you blow across the opening at the right frequency it'll resonate the input frequency back into the pipe opposite the exhaust pulse and minimize the flowing pipes natural resonance. To do this it uses three main components, the length and area of a length of pipe (think neck) and the volume of a airtight chamber attached to the neck.
The resonator is the yellow outlined part sourced from the web.
So to understand which drone frequency we want to reduce we need to know what RPM the exhaust drones the most. In my case it's @ 2200 but spans from 2100-2300. So with an X pipe which shares banks a V8 fires 4 x per revolution of the crank and RPM's are measured per minute (/60) so divide the RPM by 15 to get the applicable frequency. 2200 / 15 = 146 hz for maximum drone. A standard split pipe exhaust frequency would be 73 hz.
So, check this online tone generator for comparisons sake. Dang close if not right on for me. Almost brings flashbacks...
So, here's a list of common exhaust sizes to build the neck and chamber from and the area per diameter. It probably won't format very well but you'll get the idea.
Plug these numbers along with the exhaust temp of 60`C into the calculator and click volume. in my case I'm thinking about using 1.75" pipe as it's close to the 2.25" and should give decent attenuation. The larger neck area size the greater the volume and neck length needs to be. My neck is 6" and clicking on volume gives @ 95 cubic inches for the chamber on each size. So roughly a 13.5" chamber at the end of a 6" neck. I think I can do that or I'll make a generic split box for the air chambers.
Here's a link to a Helmholtz resonator calculator. Cavity Resonance
I'm still in the 'thinking about it' stage so we'll see what comes up next.
Still banging this around in my head and on paper. Found that I have some stainless dairy pipe with a 1.85" ID, 2.9 sq in area. Going to weld on a pair of flanges once I make them so when this doesn't work I can just unbolt them and plate the openings. Hoping for a 6" port and a 122 cubic inch chamber, 3" x 4" x 12". I have an old salvaged thin wall stainless crapper door (seriously) that I'll make the chamber out of. The flanges will be made from 1/4" plate and I need to get them drawn and milled to move forward. It's been raining most of the day so I'll need to lay in it out int he street with the pipes installed to verify fit before welding. Yea.
A lot of what I've read shows this either works well or doesn't.
Drew, programmed and milled out a pair of flanges. for the Helmholtz resonators.
They'll end up something like this. From my understanding the chamber design doesn't matter, just the volume. Seen a lot of commercial mufflers with internal Helmholtz resonators. Just a length of pipe with a closed off air chamber behind it. Straight pipe will also make the pipe easily tunable.
Back to work tonight. Maybe one afternoon this week I'll swap the mufflers out to try and capture the drone. More to come.
I "designed" and had fabricated a set of Heimholtz resonators, "J pipes", to put on my '04 XKR. My resonance was at 1800 +/- 200 hz and calculated to 28" of 1 3/4 pipe. It actually worked for me! I get questioned every year at inspection time about what the pipes are that parallels my mufflers.
Friggen forum pic uploader is acting up. Oh well. Last night I bent up some 2 x 5 x 10" cigar boxes out of the thin stainless crapper door I salvaged. For some dumb reason I cut them for a 100 cubic inch volume vs. 120 inches so I needed to make the neck 2" longer. Boxes are mocked up and I'm about to head out for a new 2" hole saw for the main pipes. Then weld the flanges and neck together and see if it actually works.
It's raining again so I don't think I'll be able to get a before and after video, bummer.
Thanks, sincerely. I post this stuff up for others to learn along with me and help keep me focused. That Don-T got a 1/4 wave branch to actually work is inspiring. I'm not well educated so I spend a ton of time trying to understand what I'm 'engineering'. I don't trust most formula's as I don't think my data is good enough, Crap in, crap out kind of deal.
At any rate, here's some updated pics. I welded the boxes with the mig as I don't have the patience to Tig them together and the thin metal is a recipe for disaster. Mig will do super thin metal if you lap spot welds along the edge. Looks sort of similar to tig fusion just not a purdy. I buzzed the stainless boxes with regular .030 wire and will paint them down the road.
Still using this formula for the resonators. If the cavity volume or neck length is shorter, the frequency response gets higher. So now I'm shooting for @ 9.5" neck with the 100 cu in chamber volume. Cavity Resonance
Random chunks of wood to sort out the positioning. I want to come off the main pipe at a true 90` tangent for the strongest effect. I'm still playing with the layout.
 08-27-2017, 08:22 PM