When you click on links to various merchants on this site and make a purchase, this can result in this site earning a commission. Affiliate programs and affiliations include, but are not limited to, the eBay Partner Network.
Just bought a 2007 XK and the headlights have some scratches and yellowing. Jag only sells the complete headlight not just the lens so its over $2000 per side for their solution.
The dealer polished them which helped by didn't solve the issue.
Depending on how bad they are a competent body shop can sand and clearcoat them with a finished result that will look as good as new. I have done this on 2 vehicles with spectacular results and will last as long as the headlights. Cost should be $50-$100 each.
Any luck getting them cleaned up ? How about wrapping the lights with a slight tint film ( ie lamin-x ) ? One of my lights looks slightly darker than the other and I really don't feel like spending $$$$ for just a new headlight.
Bodyshop said they they really can't improve it much more because it's more inside the lens cover than topical. My other option would be Lamin-x, but I've also read some people say that their headlamps get even more damaged under the film
Last edited by myexcursion; 06-08-2017 at 05:17 PM.
I got some Headlight Specific 10% tinted film from eBay. There are many colors and they are all UV protective. A fairly substantial vinyl film, much thicker than window tint and much more compliant to get around corners and such. I liked the headlights so much I added the same film to the tail lights.
My 10% drastically improved the daytime appearance, getting rid of the Bug-Eyed look which I didn't like. Plus it's been on for several thousand miles and there is no damage that I can detect. Highly recommend this product.
Last edited by Cee Jay; 06-08-2017 at 03:43 PM.
Reason: I forgot a word. Age, I tell ya.
I got some Headlight Specific 10% tinted film from eBay. There are many colors and they are all UV protective. A fairly substantial vinyl film, much thicker than window tint and much more compliant to get around corners and such. I liked the headlights so much I added the same film to the tail lights.
My 10% drastically improved the daytime appearance, getting rid of the Bug-Eyed look which I didn't like. Plus it's been on for several thousand miles and there is no damage that I can detect. Highly recommend this product.
Looks real sharp ! Would you be able to send a link to the product/seller ? Since my passenger headlight looks a little more 'worn' and not as shiny along the top seam as the driver side ( driver side was replaced with a brand new one ) - if you look at them side by side it gets an OCD person like me peeved - lol, wiill using this 10% tint on both mask them a bit and look a somewhat more alike ?
Ten feet per roll, one works for the headlights and another roll for the tail lights if you want to do that. The headlights do have a felt-like tape thing on a couple edges. Mine peeled right off and I put the film on. A hair dryer is your friend. A little bit of spray adhesive and the strips went right back on. Black Light Smoke HeadLight - Taillight Tint Vinyl Film Sheet Sticker 12"x72" | eBay
If you'd rather not use the smoke, search and you can find nearly any color you'd want.
I think I'm going to order a roll and give it a shot. Not sure how difficult it will be to put on since they're not precut like Lamin-x or Xpel, but can give it a try. This link shows a roll that's 1'x6'. I'm guessing one roll should be enough for both fronts. Any chance you have a sec to post any pic's of the lights a little closer ?
I misspoke, it is 72 inches. More than enough for both lights.
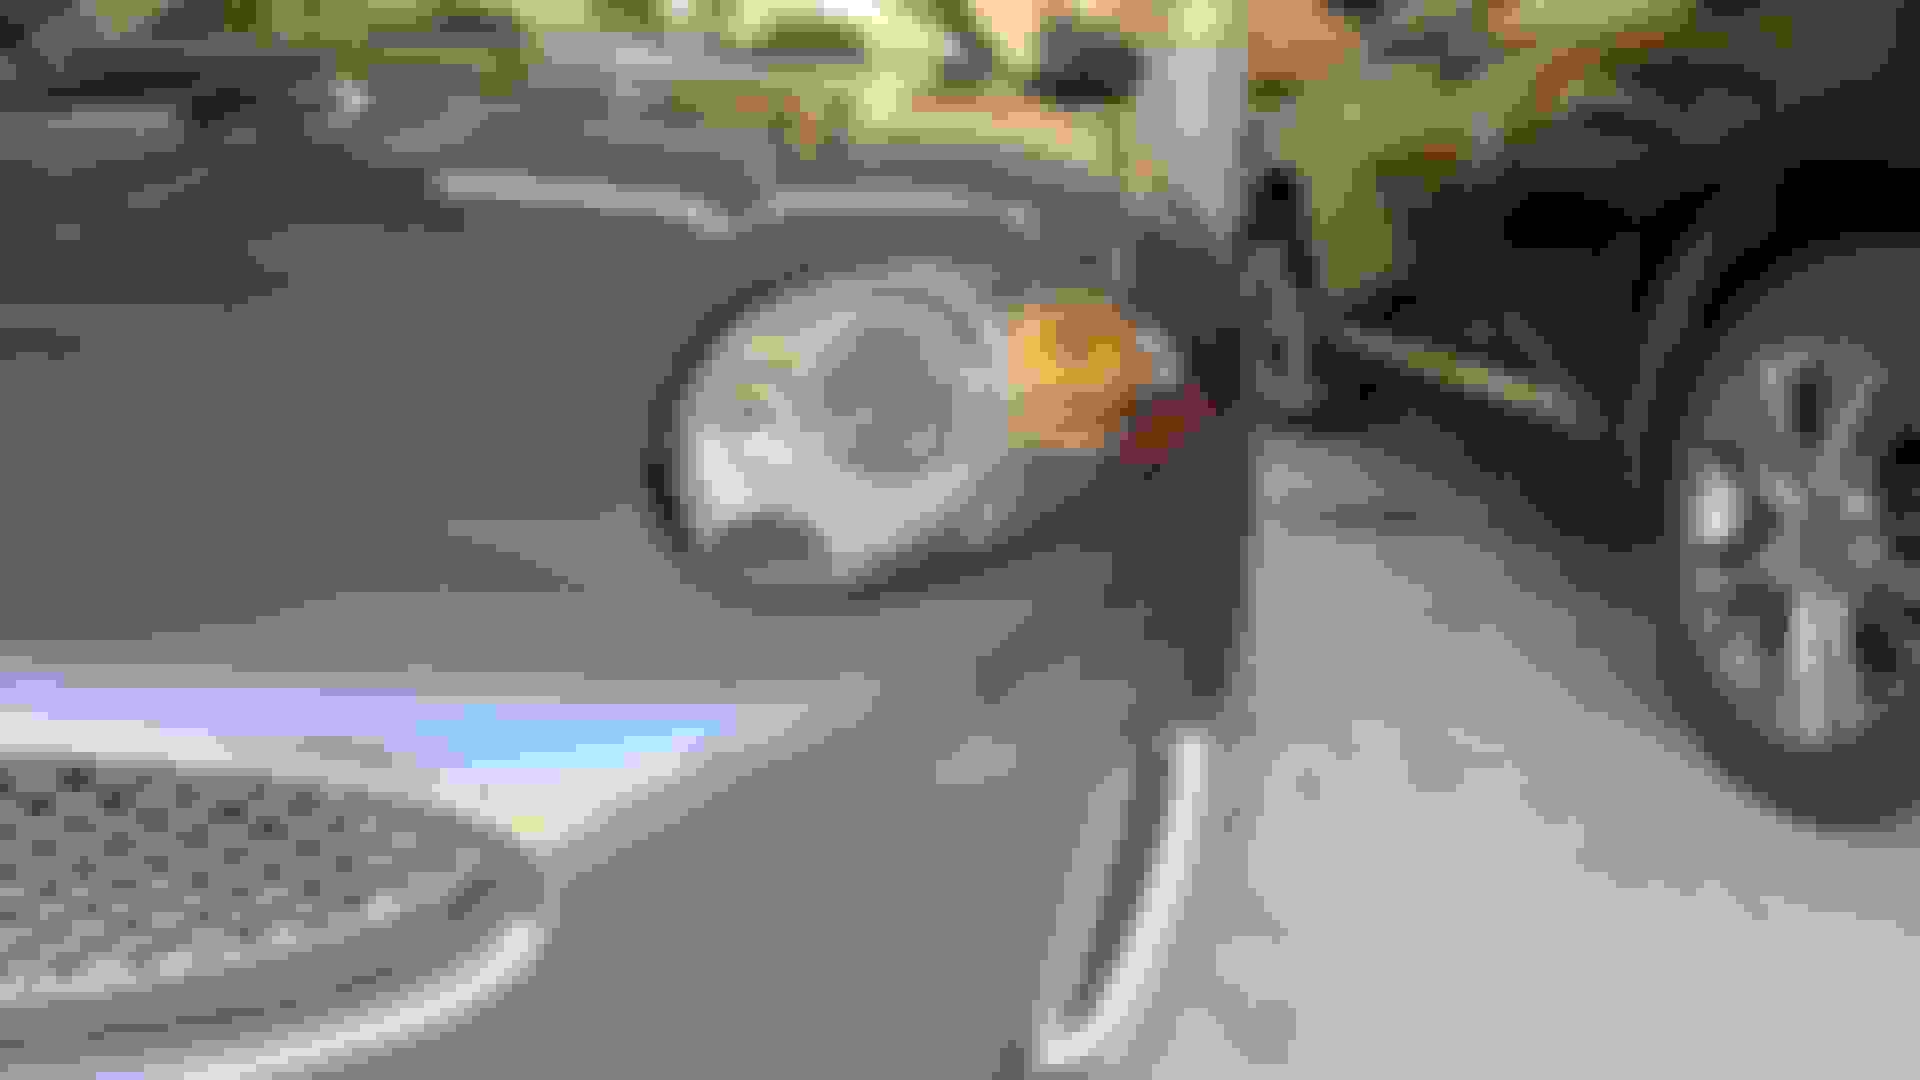
The toughest spot was the less-than-90-degree corner on the bottom rear spot, but still not too bad to do.
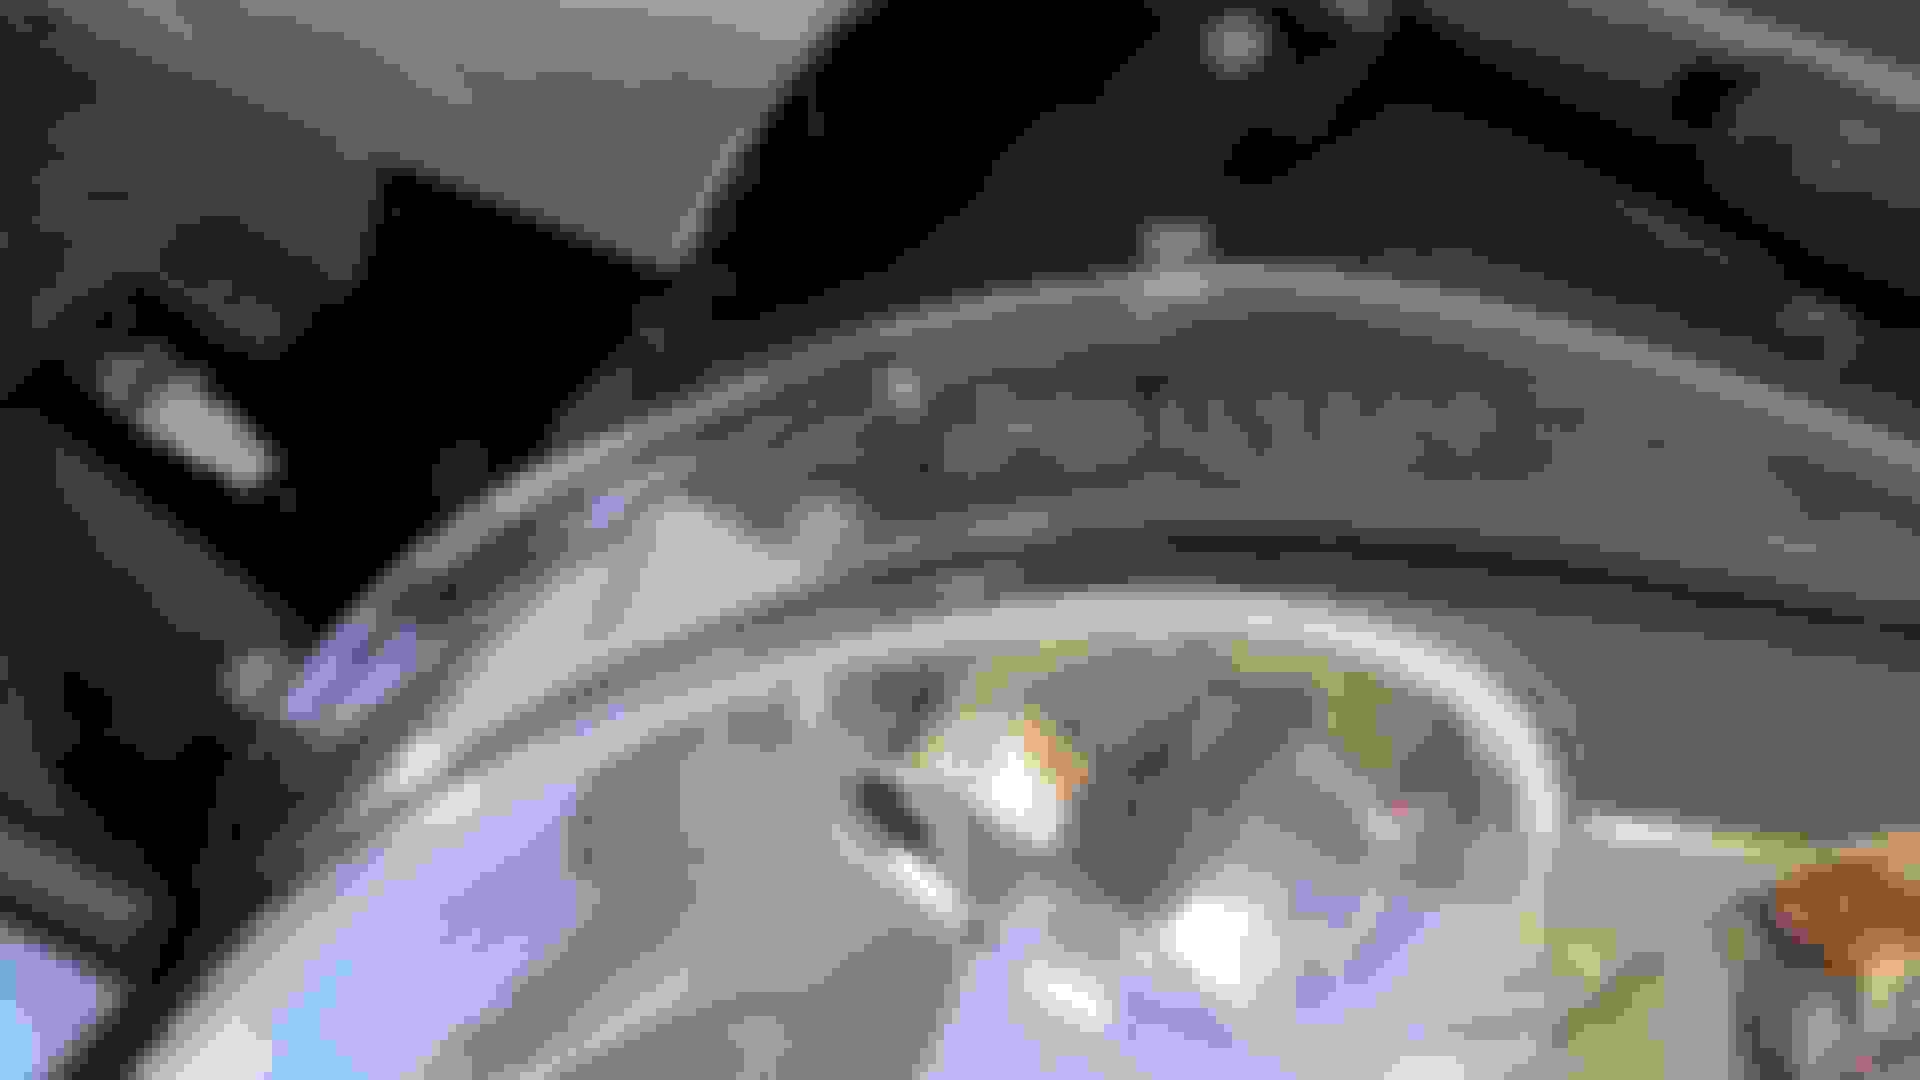
On the top, under the bonnet, you can see where I trimmed off the excess, if you look close.
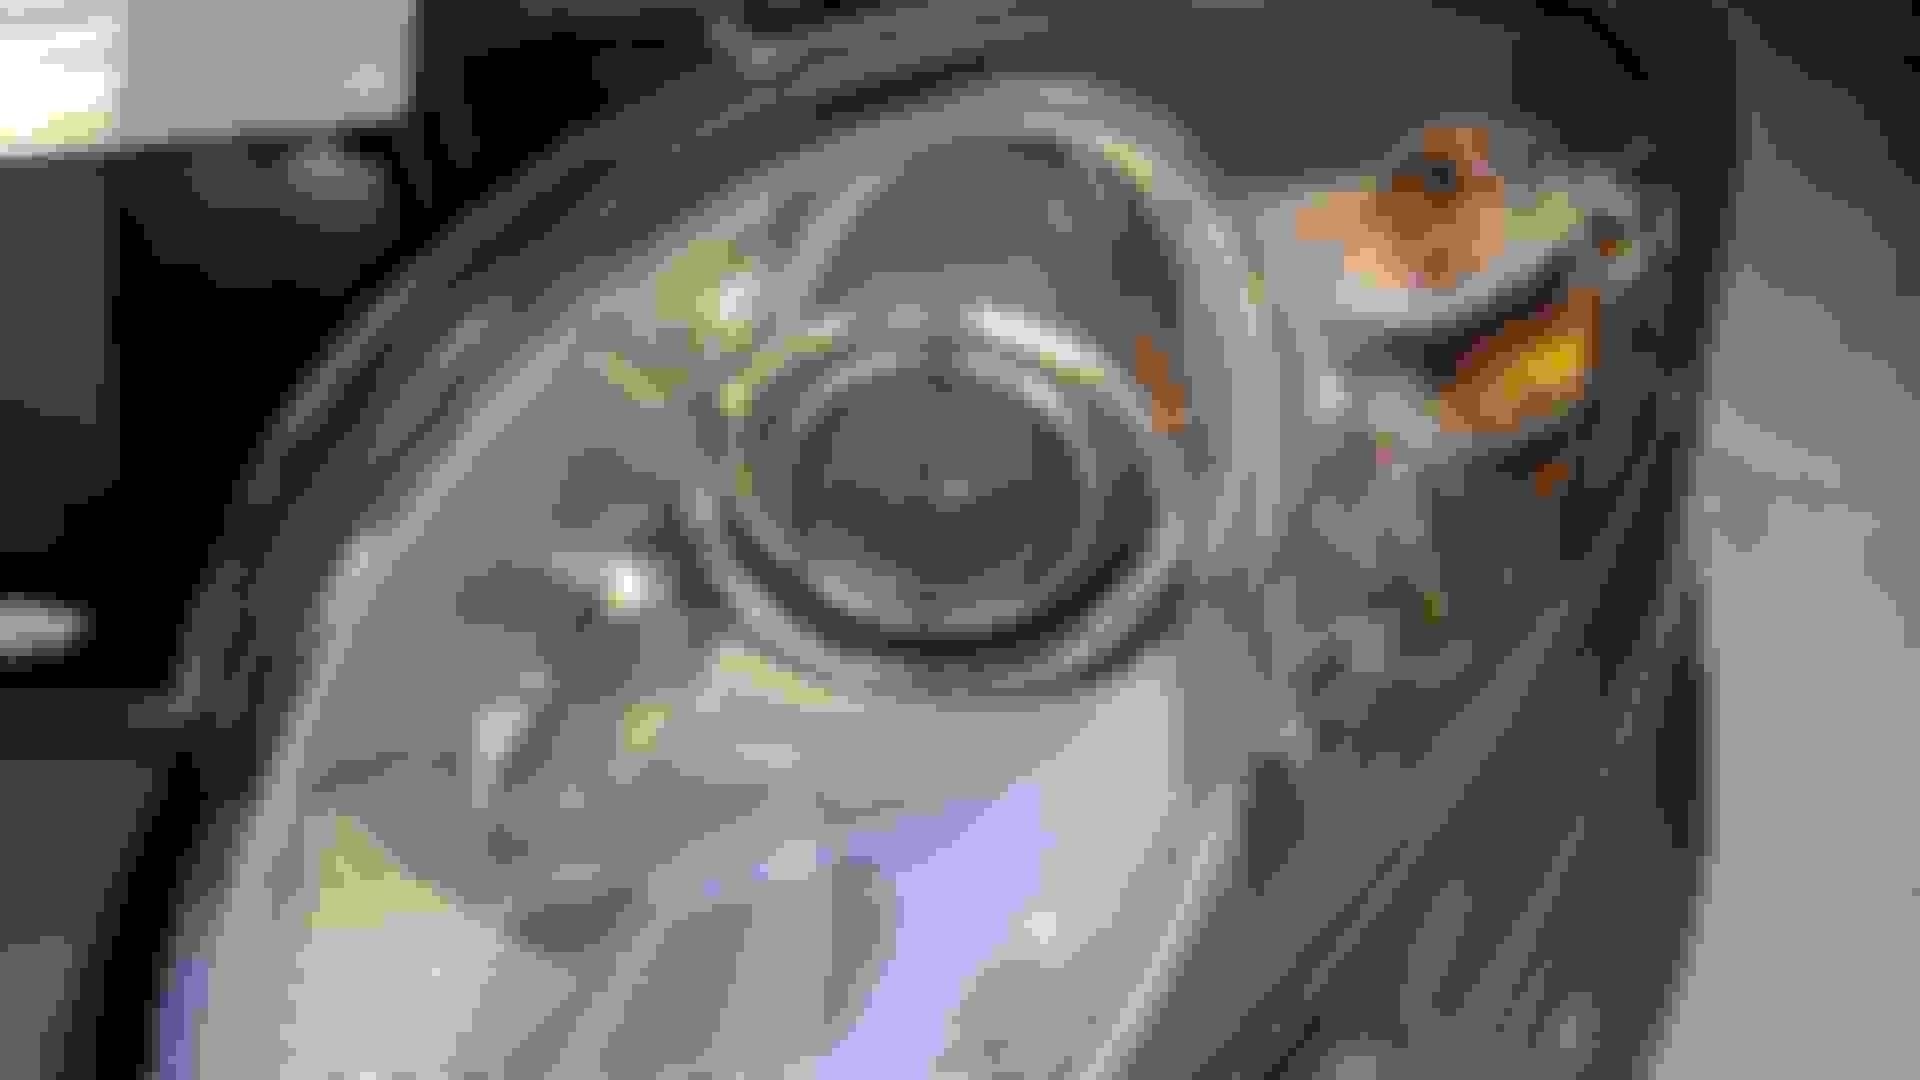
It took probably just over an hour per unit, including the cleaning beforehand and the removal. I let them sit overnight after tint, just to make sure.
Please forgive how dirty it is, LOTS of stuff going on right now.
I misspoke, it is 72 inches. More than enough for both lights.
The toughest spot was the less-than-90-degree corner on the bottom rear spot, but still not too bad to do.
On the top, under the bonnet, you can see where I trimmed off the excess, if you look close.
It took probably just over an hour per unit, including the cleaning beforehand and the removal. I let them sit overnight after tint, just to make sure.
Please forgive how dirty it is, LOTS of stuff going on right now.
I'd happily do it all again.
Thanks for those great pics !! Looks like I may have another little weekend project
 06-12-2014, 02:19 PM