When you click on links to various merchants on this site and make a purchase, this can result in this site earning a commission. Affiliate programs and affiliations include, but are not limited to, the eBay Partner Network.
Hey so tomorrow I shall be replacing the inlet manifold, water pump , auxiliary belt ect ect and most if not all the connections that I have disconnected are labelled.
I will say that if i am stuck with certain positions of certain connectors, i may ask you to be kind enough to help me if i post a picture of it and tell me what should be at the end of it🤔
I think i have it all labelled and covered but giving you guys a heads up will give me an option 🤗🤗
Bought a few bits of new goodies for her, including thermostat and housing, bought a new water pump two weeks back. Also grabbed a new header tank🤘 Wanted one of them babys for a while🤗
See you guys tomorrow 🤗😎
Ballz, there's a lot of stuff on new engines. I've always used pushrod Fords and I could do them while sleepwalking. Nowadays I'd actually have to READ while tearing apart/reassembling one of these things.
Interesting, when I replaced mine, the thermostat was included, already installed in the housing.
But, Holy crap Batman, you�ve put Humpty Dumpty back together again!
Hey, yes the dipstick thing is a head scratcher.
The secret is that although there are bolts that go all around the rocker cover, there is one that's a stud. That's what the dipstick tube is attached to. Once the top nut is removed, simply lift the dip stick tube tab over the stud and rotate it to the side.
. Then on the bortom of the same stud , simply unscrew the hex nut connected to the stud.
I am including a picture of said stud so you can see what I am describing. 🤘
Yeah, I know about the stud, thanks.
The thing is I could not lift the dip stick tube high enough to clear and turn it aside.
Do you need to pull the lower part of the tube out from the engine block or it should get over the stud even before? I even tried to reach the lower part of the tube from below but...too tight in there for access
lift the tab over the tube, its only a light metal tube with a light metal tab. Bend the tab over the tube. Leave the bottom of the tube in.
I think you will find the stud is too long on most engines to do that.
Thank you for the education, I have not removed many dipsticks. How did you tackle it?🤔
I suspect my XK must be a tuesday car when they fitted the rocker cover with a special dipstick stud🤗
1/ Grad tab with pointed mole grips. Pull up using screwdriver to pry of the stud, or to push the tab onto the stud if re fitting.
2/ Use a small wobble joint to drive the dipstick nut home.
This may not work on all XKs, only the special ones 😉
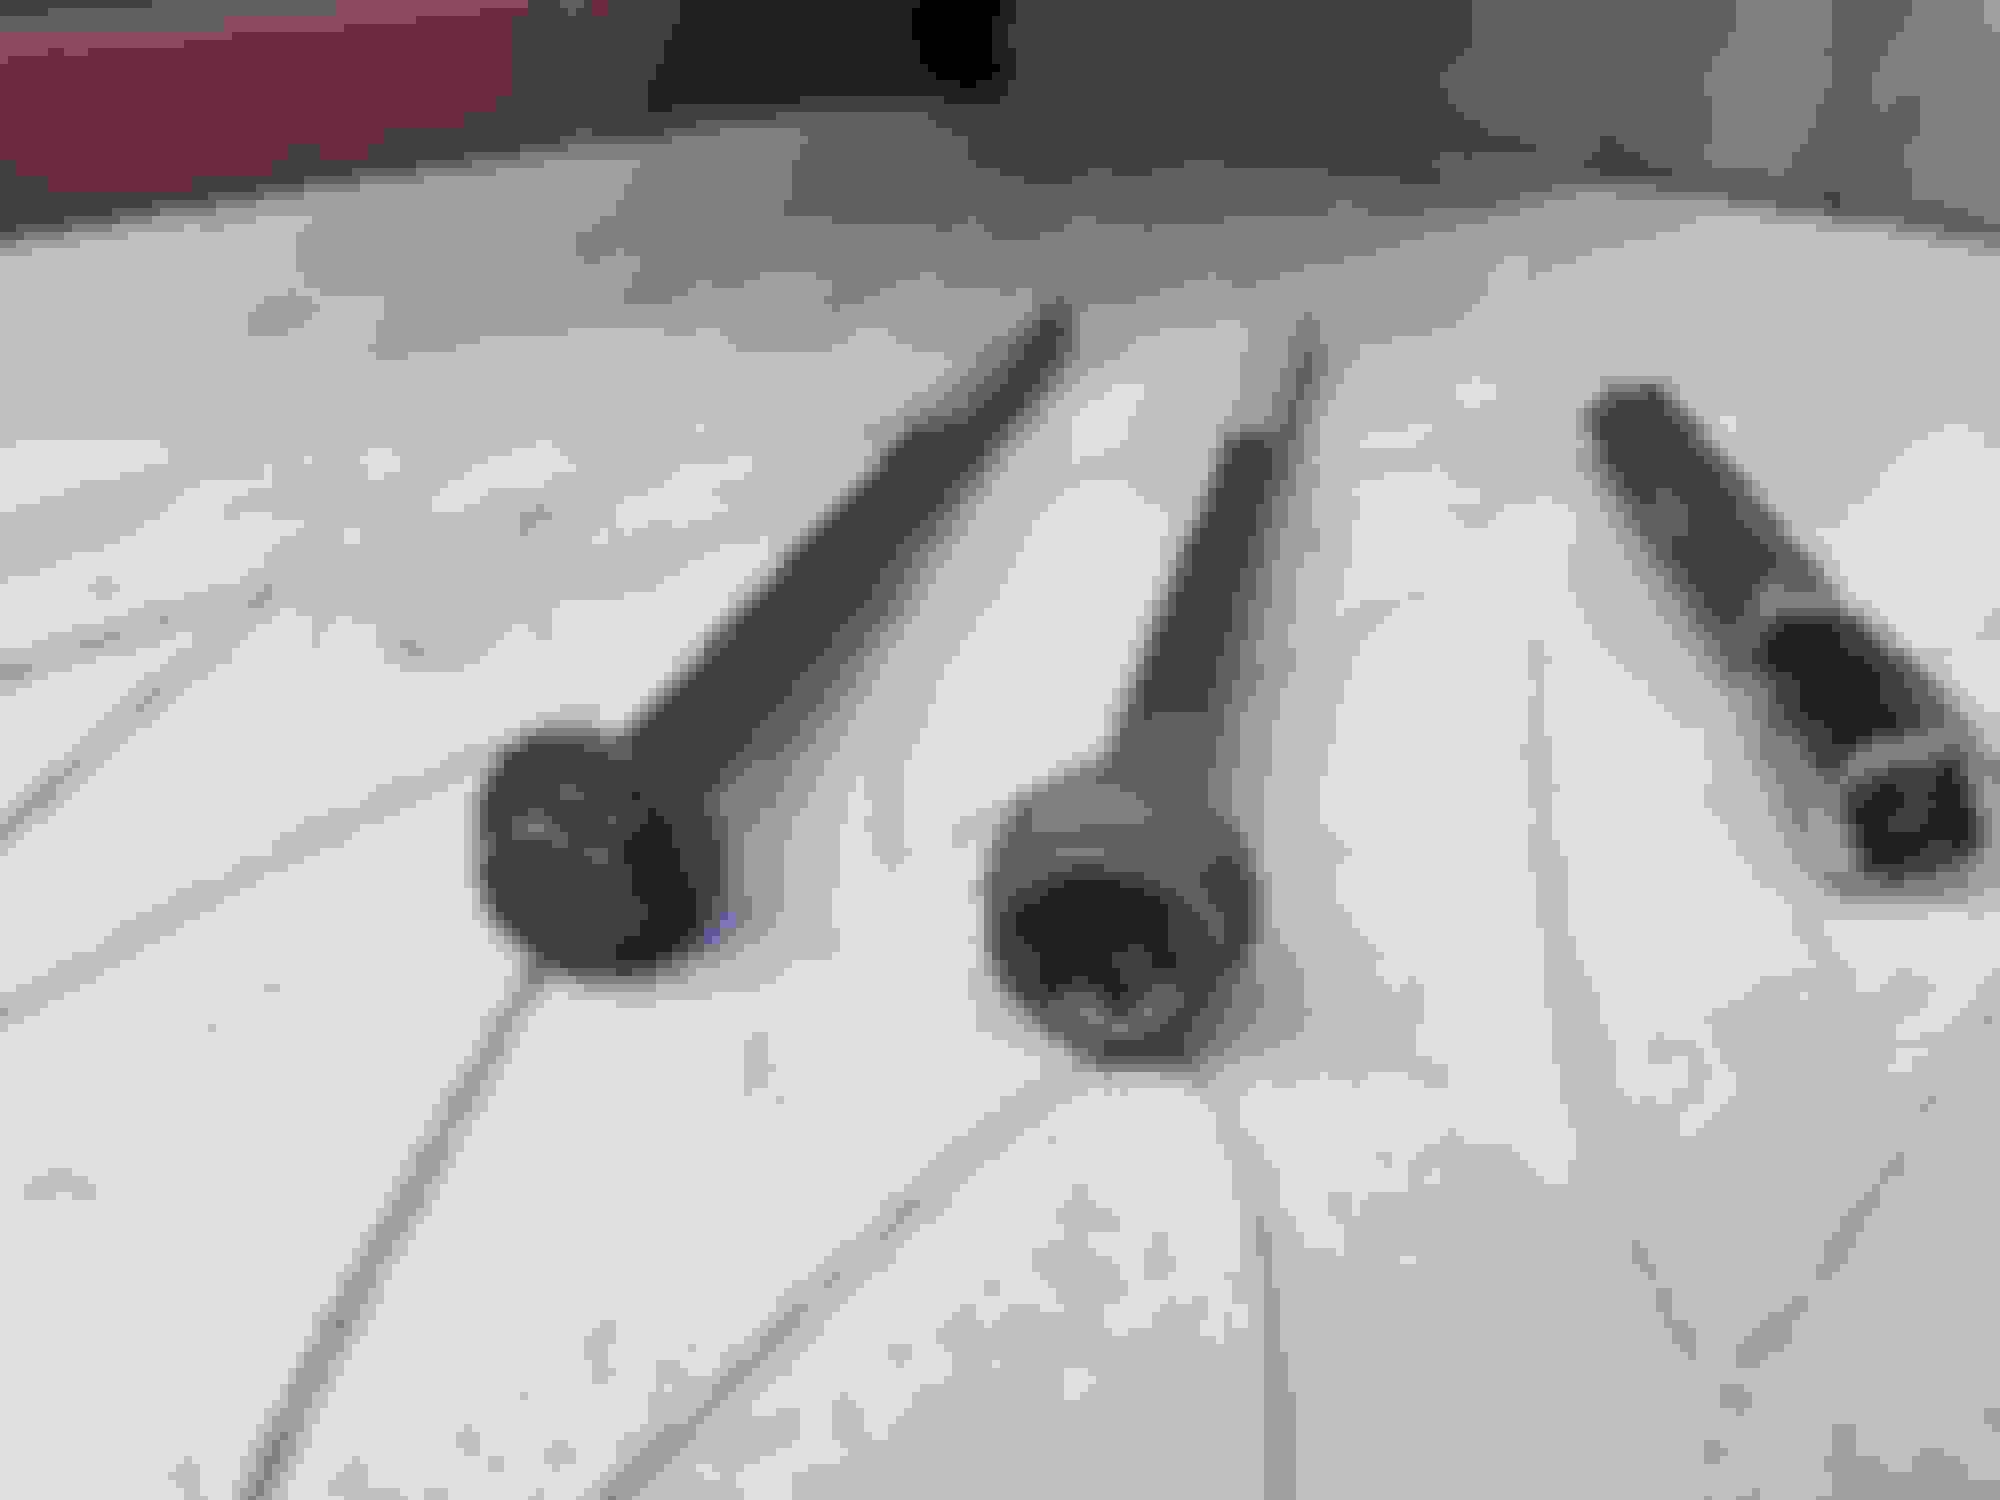
Picture of old and new head bolts.
The new units are T-60 star bolts.
You will need a long T-60 because the short fat type will not fit the castings.
Surprised the workshop manual says use engine oil to lubricate the threads.
I always use molly grease on both threads and shoulders of the bolts.
This give you a more accurate torque figure.
Thank you, I will pretend that the T-60 is not the 100% perfect fitting tool for the job🤗
Was the T-60 that also fitted the sprocket bolts not correct to? Even though just like the head bolts were 100% the correct fit in every way.🙄
The threads almost done mate, I am surprised it's got so far with out BS and no nit picking 🙄
But thanks🤘
I have good experience with this kind of real temperature display showing the OBD values and having an audible alarm
₪ 36.95 40%OFF | Car HUD Head Up Display OBD2 II EUOBD Speedometer Overspeed Warning System Projector Windshield Auto Electronic Voltage Alarm https://a.aliexpress.com/_mK8SRm7
I'd like to ask about a minor issue I had when attempting to remove left bank cover. The oil stick tube lug is above the bank cover and I couldn't not pull it out from above therefore could not remove the cover. What is the best way to remove this please?
Best luck with the rebuild project
This is similar to what my friend with an STR has.
Dunno if you can do it on the XK 4.2 but on my 4.0 308 you can just cut and bend the hole for the dipstick tube and make it a slotted piece, easy peasy.
I've had the pleasure of working on a couple of these 4.0 V8's. The first one was in an S-type. It had a low end knock so I replaced the motor The second engine came from a 98 XJ8 that had damaged main bearings. Jaguar has some pretty strict specifications for clearances. I could have the Crank rebuilt. That would cost more then replacing it. So I ordered a replacement crank and proceeded to run down the correct main bearings. That was a challenge since Jaguar stopped making these parts and they are difficult to get. I replaced all the rod bearings, timing chains, and the oil pump. All the valves were clean and I saw no evidence of the kind of damage you have with valve seats. My valves were pretty good, so I just lapped each valve seat. I'm concerned about what caused your over heating problem in the first place. Do you think this was caused before replacing the water pump. Did the engine overheat and loose coolant prior to that? It seems obvious that the overheating issue caused these seats to drop. Something fishy about that. You would think that the engine would stop running before you could reach the temperature needed to drop these seats. If you bought this car used. Is it possible someone worked on these heads before and had the valve seats replaced. It's entirely possible that new seats were installed with the wrong clearances. That might explain why they dropped so easily. You might want to seriously consider investing in a different set of heads. I don't know if I would trust these heads with new seats installed. Taking the high road on this could save you later.
OK, sorry. My bad. Looks like I'm a little late on the advice. I've been having problems with my login. Got in and started typing. When I posted my reply. The entire thread updated and I realized that you took
my advice before I had the chance to post it. It's telepathy. Well, sound advice is often just simple login and good sense.
But I do have some other advice. I noticed you didn't spend a lot of time to clean up you covers. I used this degreaser called Purple Power. Just let your parts soak and this crap all comes off with a little brushing.
It's environmentally safe and water soluble. I've also used Extreme Green, which also works well. I thought the Purple Power worked better. You can run the used stuff through a cloth to strain it and use it again for the really
gunky stuff on other projects. Otherwise, it looks like all is going pretty well. Just beware of air bubble in the coolant system. Steam will not open your thermostat and the engine quickly overheats. I've had this problem
with numerous engines. to combat that problem, I like to leave the fill cap open and let the system breathe until all the air can escape as the engine heats up.
Last edited by Rearaxle; 09-20-2020 at 12:20 PM.
Reason: Outdated advice
I've had the pleasure of working on a couple of these 4.0 V8's. The first one was in an S-type. It had a low end knock so I replaced the motor The second engine came from a 98 XJ8 that had damaged main bearings. Jaguar has some pretty strict specifications for clearances. I could have the Crank rebuilt. That would cost more then replacing it. So I ordered a replacement crank and proceeded to run down the correct main bearings. That was a challenge since Jaguar stopped making these parts and they are difficult to get. I replaced all the rod bearings, timing chains, and the oil pump. All the valves were clean and I saw no evidence of the kind of damage you have with valve seats. My valves were pretty good, so I just lapped each valve seat. I'm concerned about what caused your over heating problem in the first place. Do you think this was caused before replacing the water pump. Did the engine overheat and loose coolant prior to that? It seems obvious that the overheating issue caused these seats to drop. Something fishy about that. You would think that the engine would stop running before you could reach the temperature needed to drop these seats. If you bought this car used. Is it possible someone worked on these heads before and had the valve seats replaced. It's entirely possible that new seats were installed with the wrong clearances. That might explain why they dropped so easily. You might want to seriously consider investing in a different set of heads. I don't know if I would trust these heads with new seats installed. Taking the high road on this could save you later.
sorry my friend, do you just read the first line of the thread and then jump to the end?
The cause for the over heating was already explained. The water pump was broken and replaced which I even made a video about. Yes it was losing water at the time. Here the video is again https://youtu.be/5QrAH3suqvA Also it was discovered after the engine blew a day or so later that the hose was split in which I even posted a picture of the thing in the middle of this very thread. The same thread in which I said I had invested in another pair of heads in which I rebuilt. So dont be concerned, but thank you.
Below is a special picture just for you, taken less that 5 minutes ago. You might notice that there are 4 heads in the picture, two on the car and the ones you wrongly thought I was re using🤗
dear dear, at least its nearing the end🙄
SBS
I have same issue https://www.jaguarforums.com/forum/x...-noise-236794/
where did you source your new heads? how were old heads out of spec? did you use your old cams? did the machine shop set the valve clearance shims for you?
thanks
Thank you, I will pretend that the T-60 is not the 100% perfect fitting tool for the job🤗
Was the T-60 that also fitted the sprocket bolts not correct to? Even though just like the head bolts were 100% the correct fit in every way.🙄
The threads almost done mate, I am surprised it's got so far with out BS and no nit picking 🙄
But thanks🤘
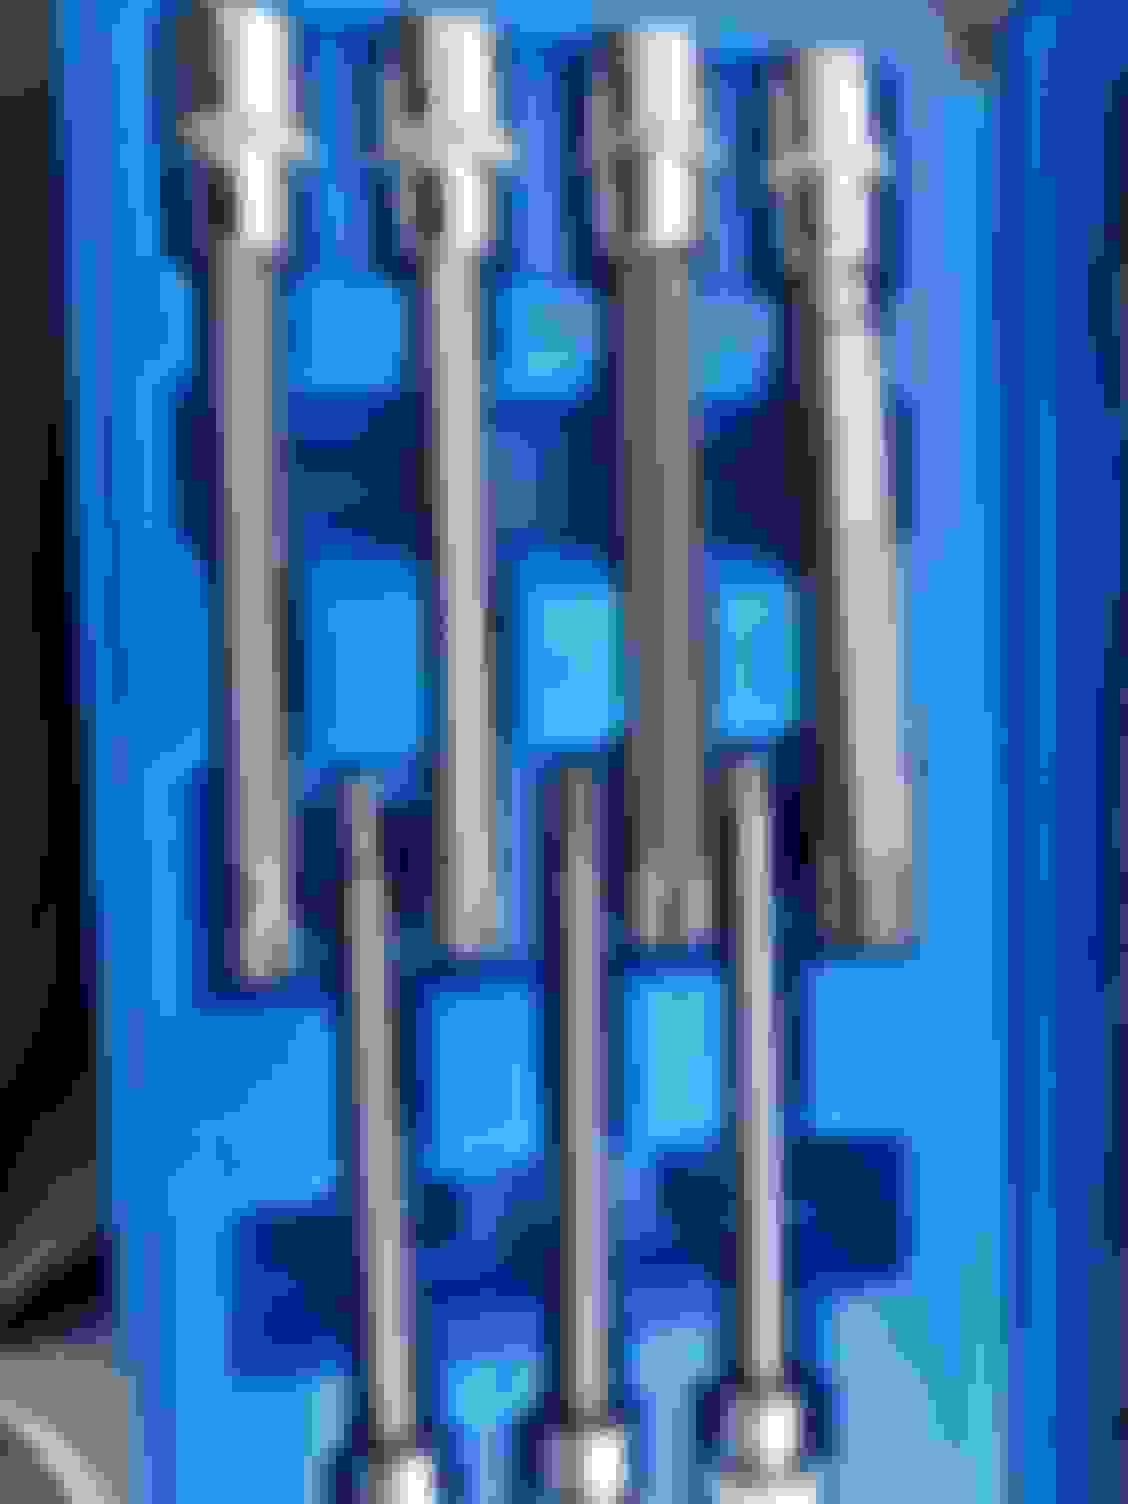
No need to take the **** mate, you can probably make a T60 work but if the look at the shape of the bit it is not correct and will not work in all situations. It didn't for me when I was trying to get some head studs out, that's why I had to get there Ribe set. Other people may want to know what the correct tool is even if you are not interested.
Last edited by kansanbrit; 09-20-2020 at 01:38 PM.
no need to take the **** mate, you can probably make a t60 work but if the look at the shape of the bit it is not correct and will not work in all situations. It didn't for me when i was trying to get some head studs out, that's why i had to get there ribe set. Other people may want to know what the correct tool is even if you are not interested.

 09-19-2020 | 04:45 PM


 ).
).