When you click on links to various merchants on this site and make a purchase, this can result in this site earning a commission. Affiliate programs and affiliations include, but are not limited to, the eBay Partner Network.
SBS
I have same issue https://www.jaguarforums.com/forum/x...-noise-236794/
where did you source your new heads? how were old heads out of spec? did you use your old cams? did the machine shop set the valve clearance shims for you?
thanks
Oh man, I took a look at your thread, very sorry to read about your troubles. You have been through the wars taking that cover bolt of😥
My new heads were taken from a crashed car with 48k miles on it. They came complete. I stripped them and rebuilt them, doing the seals, grinding the valves in and did the shim clearances. No shim adjustment was required.
So at least I have a variety of spare shims from the old heads😉
I hope you get your xk back on the road soon man🤗
Another installment for today.
made very good progress today. Just taking my time connecting all the plumbing and wiring. So far so good with remembering were they all connect.
But here's my tips on removing the metal air tube that runs from in front of the front pulley to each of the exhaust manifolds.
These can be a bitch fo get at, they are 27mm nuts that will easily come undone once you know how to tackle them.
The LHS nut has to be removed from under the car, the nut is easy to get to and takes very little effort to take of even if it seems an awkward angle of attack.
The RHS nut has to be got at from the top of the car. The header tank has to be removed and the two metal water hoses above it disconnected from the front and lifted out of the way.
To attack this nut can be tight and awkward but clearly do able. It helps to remove a couple of nuts from the heat shield to aid with space.
So now for the inevitable. I know this scoop has come from the RH underside front of the car. But I cant seem to remember or find were its bolted to with two 10mm bolts😂😂
All that work and stumped by a bloody scoop🙄
Any suggestions or help please guys?🤗
My first quest for help🤗
For those who are wondering about how the cylinder heads were removed from the car, and what to do about the exhaust manifolds. Dont even try to remove the exhaust manifolds, you cant. It's far more simpler to just undo the two nuts that hold the catalyst to the manifold. Do this from under the car.
The manifolds are quite streamlined and taking/lifting them out along with the cylinder heads is very easy.
a few things: no idea why this is underlined: u said I think that u did a compression test; I�d check w some rebuilders about rec numbers, I once redid a head On an old 4.2 and had blow by that indicated bottom end was about done, sometimes when u tighten up the top especially if you deck the head and thus increase compression slightly you get unwanted consequences
a few things: no idea why this is underlined: u said I think that u did a compression test; I�d check w some rebuilders about rec numbers, I once redid a head On an old 4.2 and had blow by that indicated bottom end was about done, sometimes when u tighten up the top especially if you deck the head and thus increase compression slightly you get unwanted consequences
funny thing is I am an experience engine builder.(35 years), so is my son who has his own precision engineering shop.....as I already said in this thread. 👍
However I am not lightly to take the engine apart because of your post, but thank you for the shade😎
Compression test was done to identify the problem.
Compression test was also done yesterday afternoon. I'm happy with the numbers across all cylinders 👍
Just the waiting on a new hose to arrive should be Wednesday.
will fit the radiators/fan and bumper in the morning, then it's ready for start up👍
Will hopefully post a video of the car up and running in a couple of days on completion.
Then that's a dot com🤗
My new heads were taken from a crashed car with 48k miles on it. They came complete. I stripped them and rebuilt them, doing the seals, grinding the valves in and did the shim clearances. No shim adjustment was required.
Did you machine grind the valves in? Any grinding of the valves themselves? I was thinking I could hand lap them in? Any reason to machine the head surface?
thanks
Did you machine grind the valves in? Any grinding of the valves themselves? I was thinking I could hand lap them in? Any reason to machine the head surface?
thanks
hey, I always hand grind the valves into the seats old school style😂 Before I grind them in I always clean up the valves, the exhaust valves always have carbon on them. Also replaced the vale seals while they are out, good opportunity to do this while the valves are in hand.
Gave the heads a light clean up skim.
Hey and manage them colletts carefuly, they are tiny 😳 , long nose tweezers are in order😳
SBS, great thread. If and when I need to go deep into my engine, I'll look here.
Your "what goes where" post, reminds me of when I took apart a modern Mercruiser engine in my boat, so much wiring etc. But I was not worried. Because I had another engine sitting right next to it, so if in doubt, just look to the other side :-)
Hey, replaced the radiators and fan assembly today. I only have the new hose to fit when it comes👍
But I will tell you what, for the life of me I cant find were this wire and plug straight from the fan connects to🤔, just cant find the location of that bugger. Its clearly next to another female as well.
This is the last of the plugs, thought I was doing well with the plugs until the last bugger😂😂
Can anyone help me locate it? Looking at the way the wire comes from the fan it might be located on the left underside of the car🤔, what say you?
Sorry I don't know the XK well enough to help on the missing plug. Possibly fixed to the frame somewhere out of sight with those plastic fir tree clips Jaguar uses? It's great to see everything coming back together!
This has been a fascinating thread, with superb photo documentation. Can you tell me which hose had that cut in it? Trying to decide if I want to replace the Valley hose (the convoluted hose for the throttle body.) It's a bit of a pain since I have to at least partially pull the intake. It still beats a leak at 2:00 am side of the road too far from home, when we know what overheating the 4.2 can do, when things go badly. Pulling the intake does not look daunting compared to the "adventure" being documented here.
or was it another hose that split? The AJ V8 is a great engine, with good points and bad, as all engines have. I have always found the external plumbing to be ridiculously convoluted. A forum member commented "it looks like a 7th grade science project" - I disagree. 7th grade science projects are simple, and don't have workarounds to fix the workarounds. Just the way the thermostat housing was done, with Ford's fascination with plastics is a mess. If I had to sum up what bothers me about the external plumbing I would say this: "Way too many points of failure" Add that to the fantastically stupid "Temperature" gauge, one that, by the time you see the issue, some damage has occurred, is occuring, and will continue to occur until you stop. Sure, it's a mostly reliable system, but one that fails the way domino's fall. Jaguar is not alone here. Northstar V8's come to mind. But they could have dome MUCH better.
Let us know how she runs! Your work looks damn solid to me.
Last edited by Blairware; 09-22-2020 at 10:15 AM.
Reason: added photo
This has been a fascinating thread, with superb photo documentation. Can you tell me which hose had that cut in it? Trying to decide if I want to replace the Valley hose (the convoluted hose for the throttle body.) It's a bit of a pain since I have to at least partially pull the intake. It still beats a leak at 2:00 am side of the road too far from home, when we know what overheating the 4.2 can do, when things go badly. Pulling the intake does not look daunting compared to the "adventure" being documented here.
hey, it connects to the thermostat housing ball its self.
The inlet manifold is actually quite easy to remove.
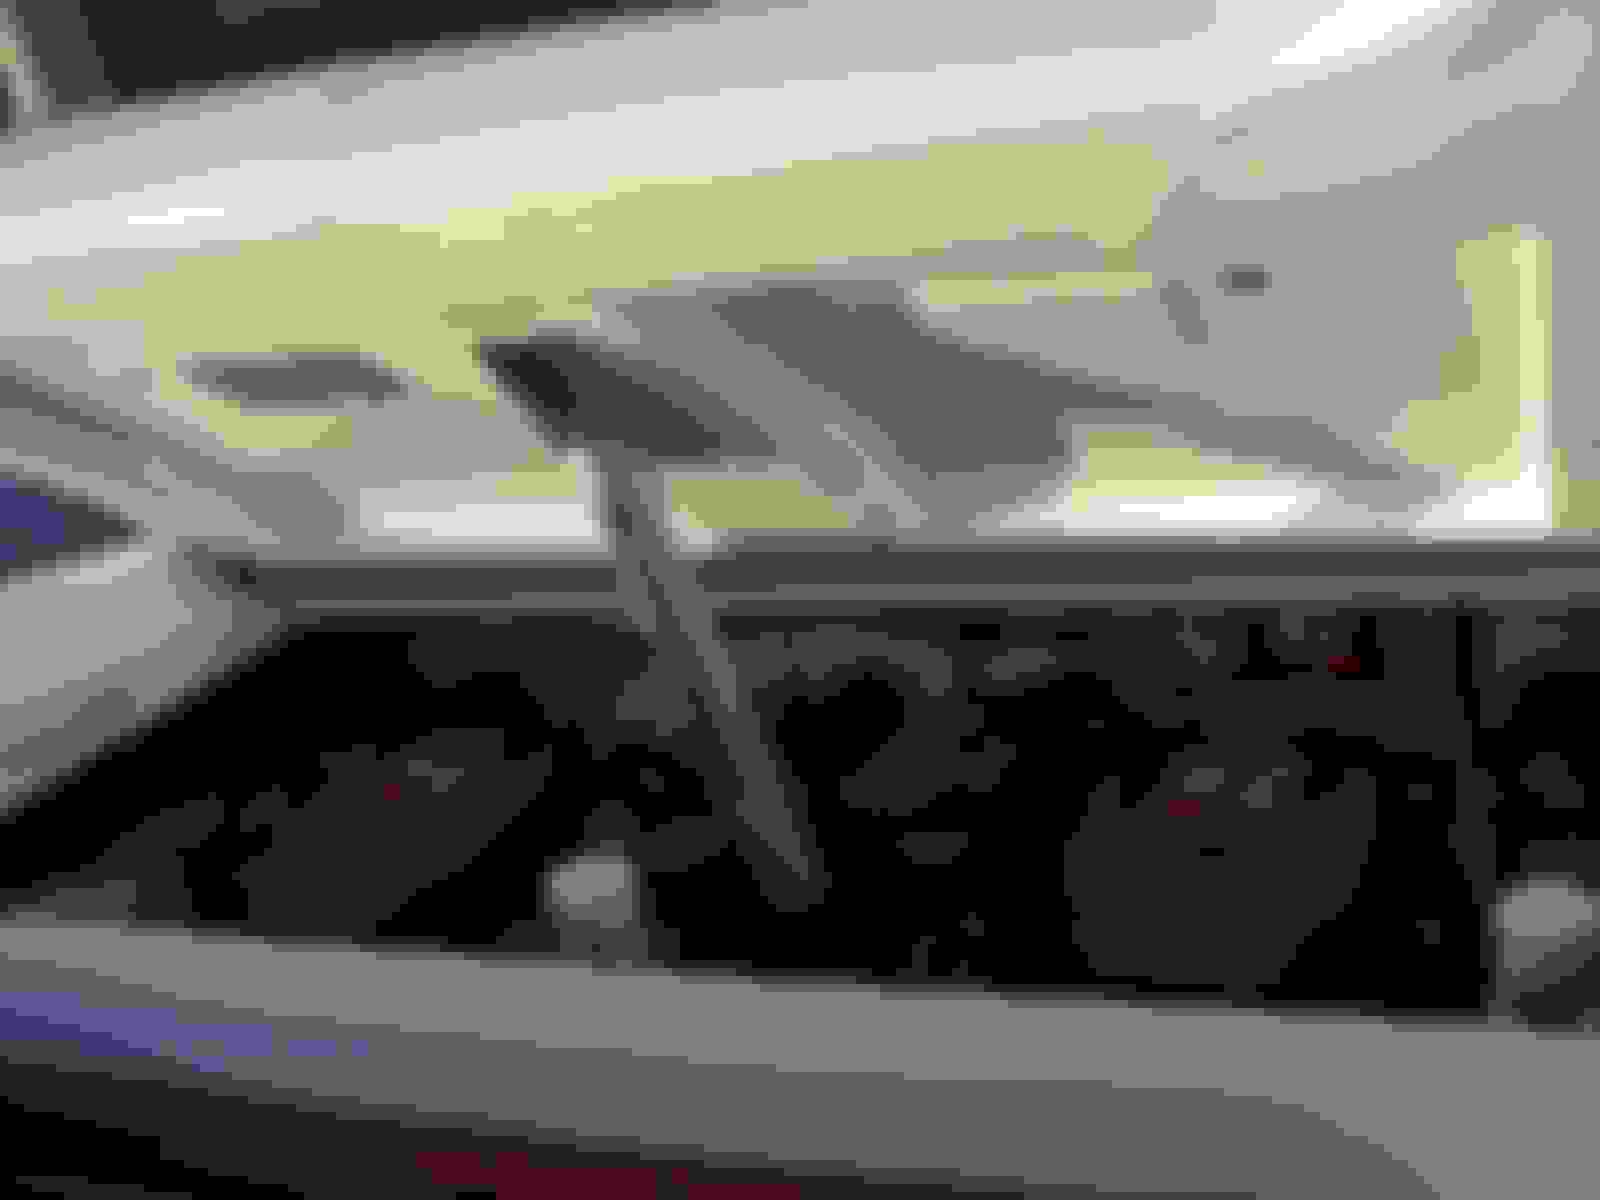
EDIT. Here I'd a picture of the hose.
the bottom left hose of the cluster is the one that has blown on mine, connecting the top of the engine to the thermostat ball housing. The hose on the right side of picture goes to the left hand side of the radiator.
The two side by side runs down to the water/oil heat exchanger which is right with the oil filter.

 09-20-2020, 01:56 PM