XK / XKR ( X150 ) 2006 - 2014

New custom mesh grill install

Thread Tools
 
Search this Thread
 
  #1  
Old 03-26-2020 | 10:37 PM
gkubrak's Avatar
Thread Starter
|
Senior Member
Joined: Jul 2014
Posts: 992
Likes: 697
From: CT, USA
Default New custom mesh grill install

I installed this diamond aluminum mesh grill on my old x-type and I was absolutely stunned by the look. Needless to say, once I got my XKR I looked to the same setup. Unfortunately I had to be a bit patient and try to figure out the right way to do it. I'll say the installation on an x-type was a walk in the park compared to the XKR.

Here is the look I'm going for:


This is the sheet i used:
12" by 47" mesh

I started with the lower grille since It would be tougher. Remove the bumper, lower/upper grill, and fog light covers. Zip tie the old lower grille to the mesh sheet and cut out the same sized piece.


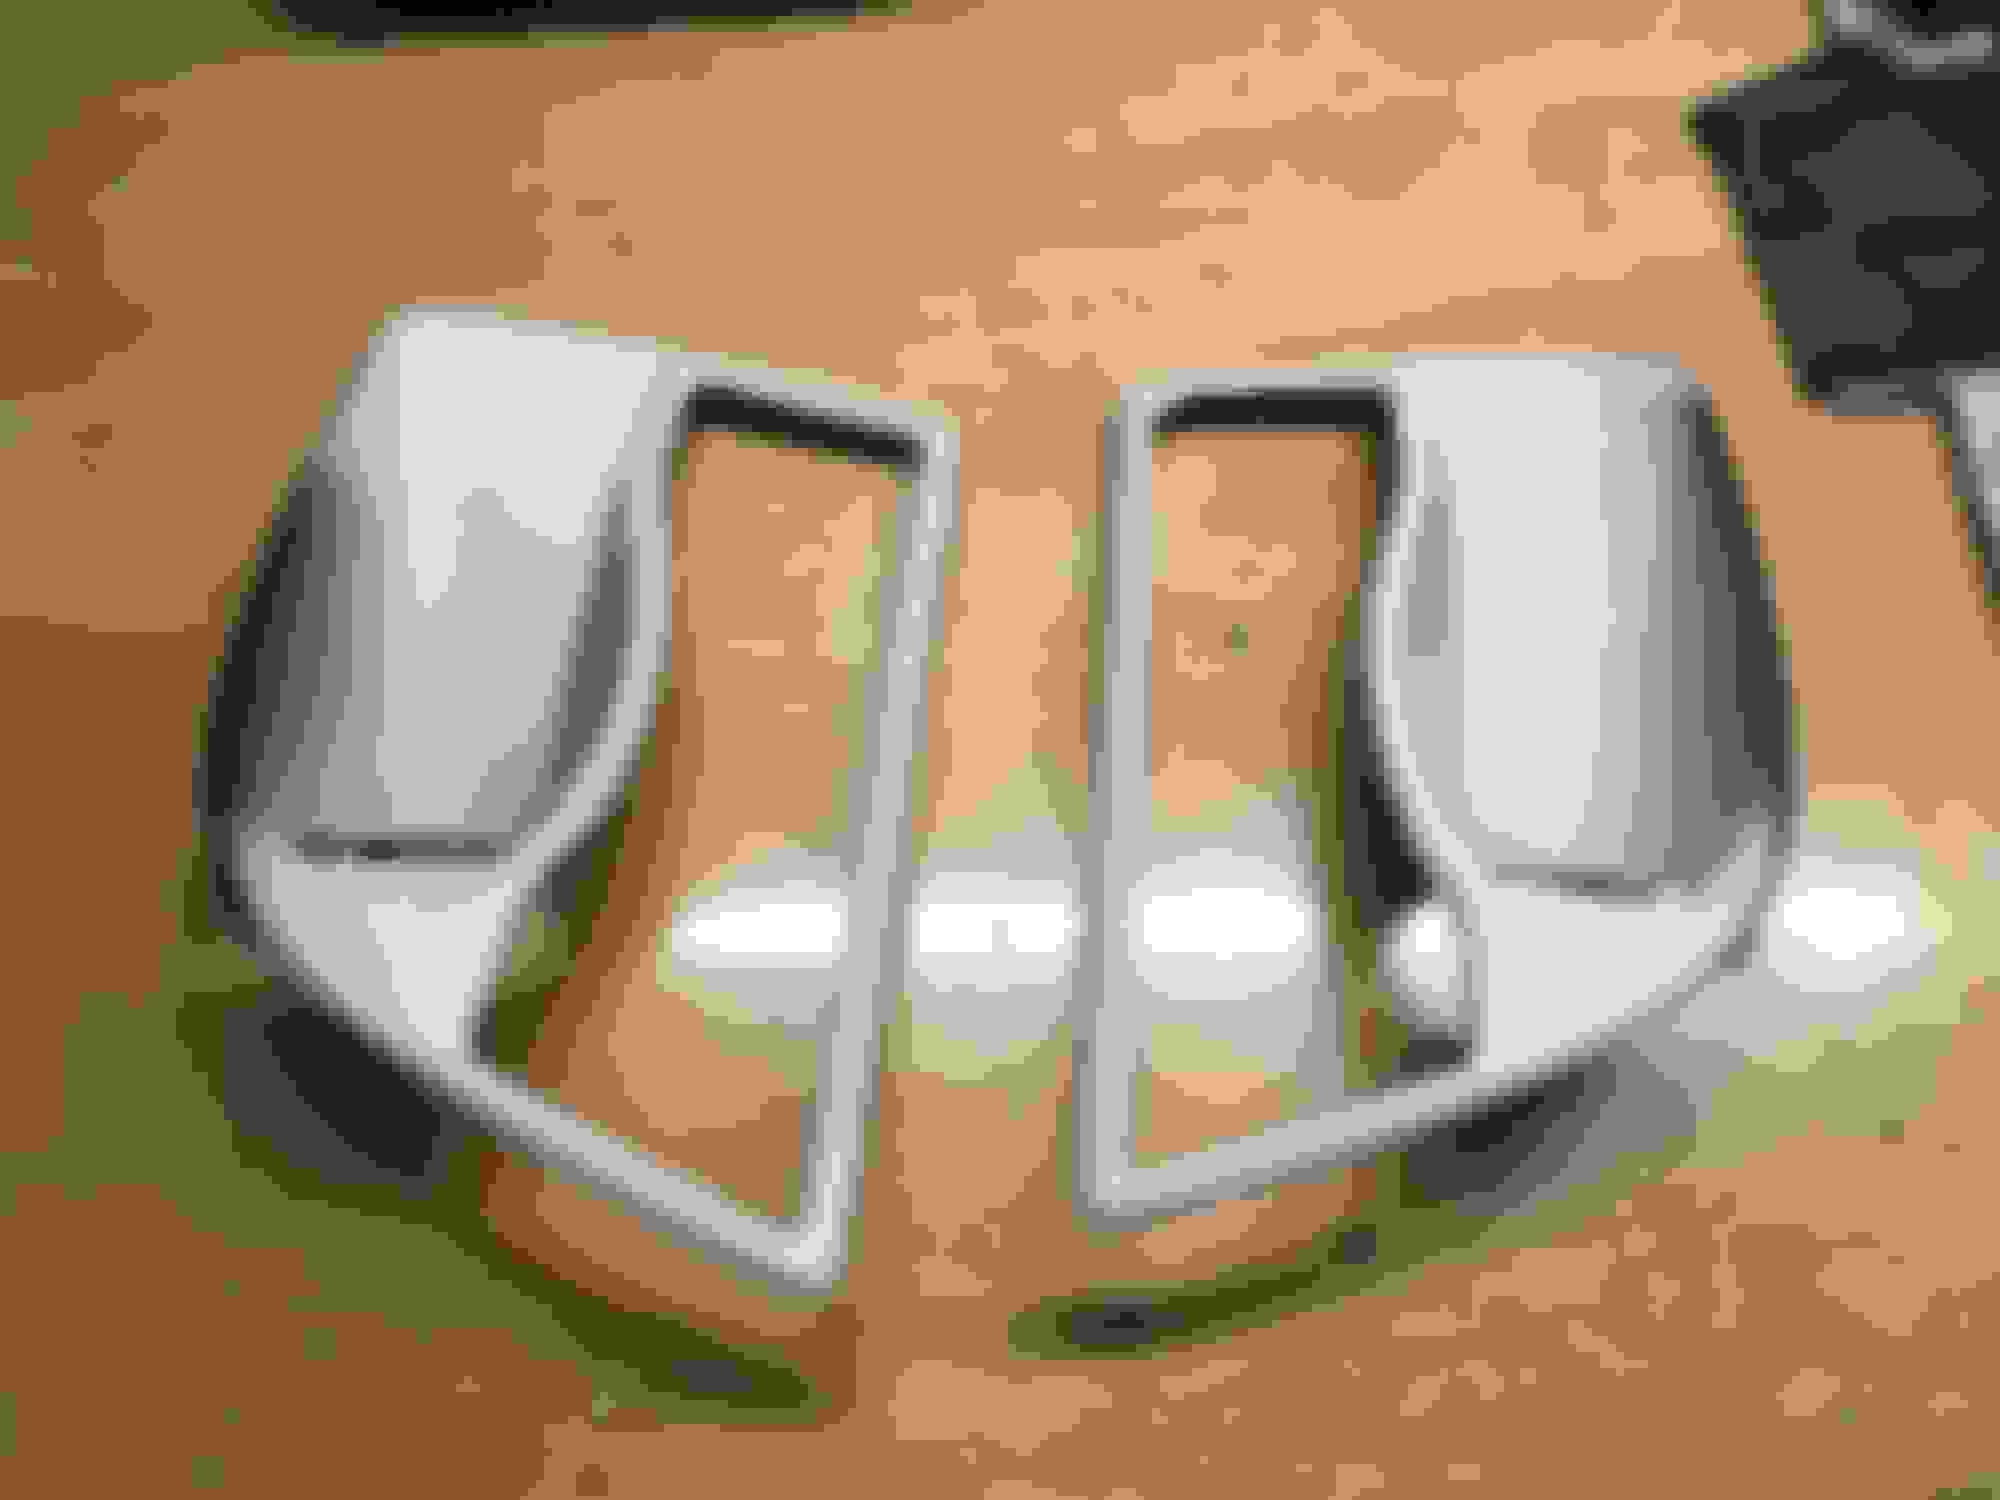
Add the edge trim to the lower grille. I only did the sides and bottom but will probably redo it in the future to include the top edge.


At this point you can add small strips of double sided tape to the tabs on the lower bumper. At first I only wanted to zip tie the grille till the tape cured and the bumper was reinstalled. But after I looked at it, the zip ties are actually quite invisible.


I also drilled a tiny hole here for zip ties to hold down the corners.


Remove the red vinyl from the tape and insert the grill into the bumper. Secure the grille with zip ties going through the holes in the bumper tabs. Ensure the fat end of the zips are on the inside.

For the upper grille, you will have to saw off the tabs. Ensure the cuts are flush with the edge of the bumper. There is no going back after this point!


Add strips of tape to the inside of the bumper.


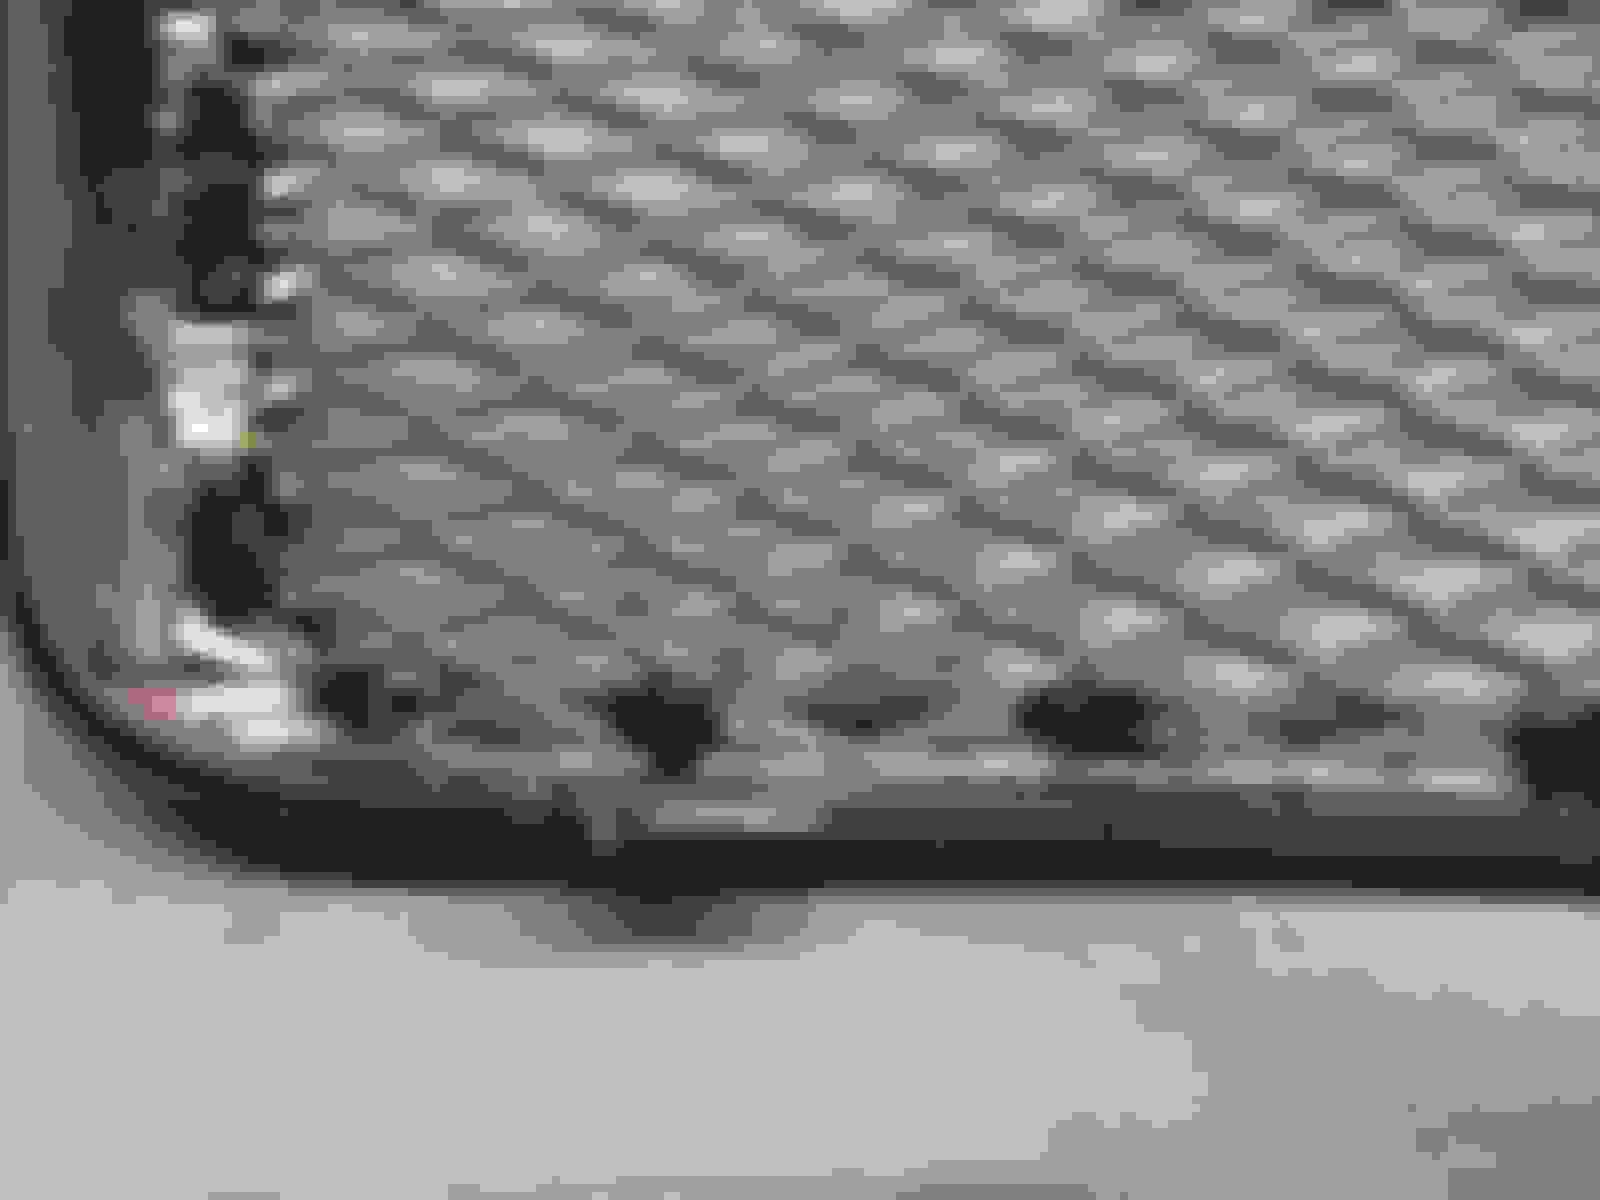
Cut out the upper mesh using the OEM grille as a template. Install the upper grill, bending the mesh, ensuring it is flush with the edge of the bumper. Press firmly against the tape. I used some JB weld epoxy after the fact to secure the upper grill. Use a round, heavy cylinder and roll it up and down the grill to give it a rounder shape. You don't want it completely flat. This goes for both the upper and lower grilles.

Remember to orientate the both grilles in the same direction!! If 1 is "upside down" it will look terrible!!


I bought a 85mm flat style grille badge from eBay and installed it. Measure the exact center of the grill to make sure the badge is centered.


On to the fog light grilles ....
 
The following 6 users liked this post by gkubrak:
Cee Jay (03-26-2020), guy (05-18-2020), MarkyUK (04-08-2020), Panthro (05-25-2020), peterv8 (03-29-2020), Reaxions (12-12-2022) and 1 others liked this post. (Show less...)
  #2  
Old 03-26-2020 | 10:47 PM
gkubrak's Avatar
Thread Starter
|
Senior Member
Joined: Jul 2014
Posts: 992
Likes: 697
From: CT, USA
Default

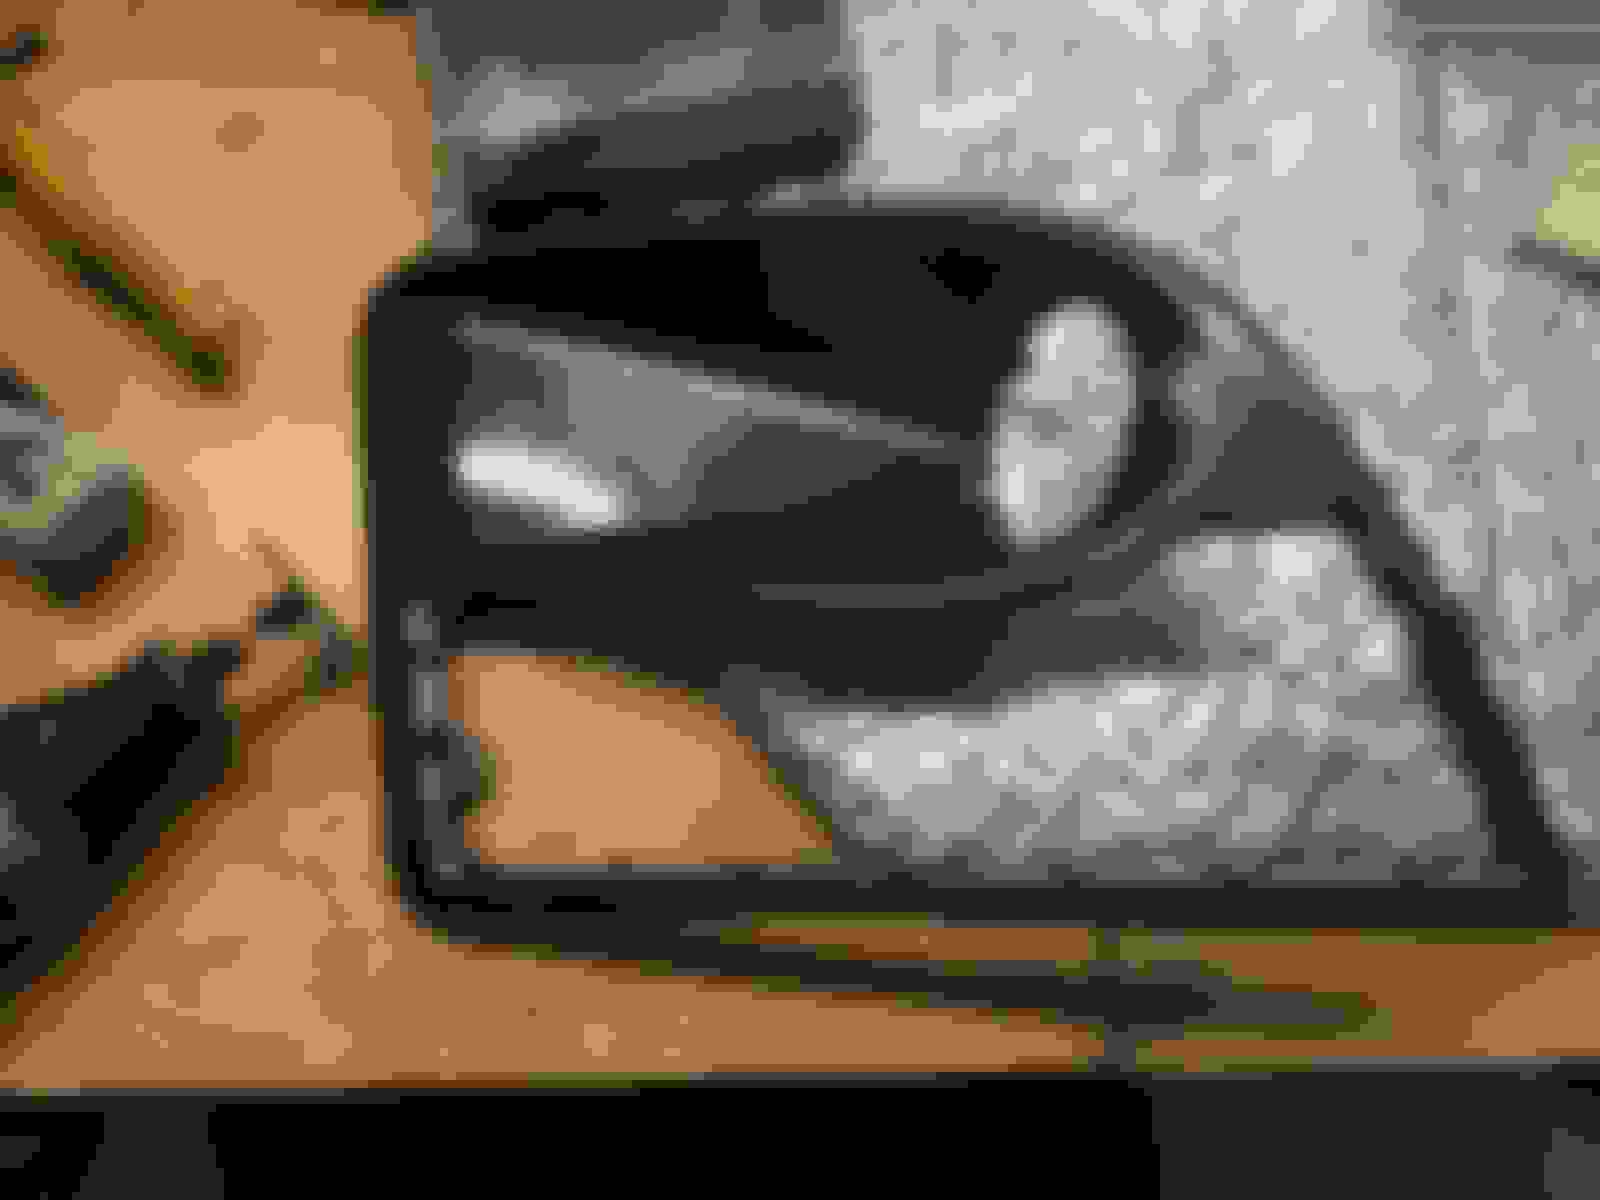
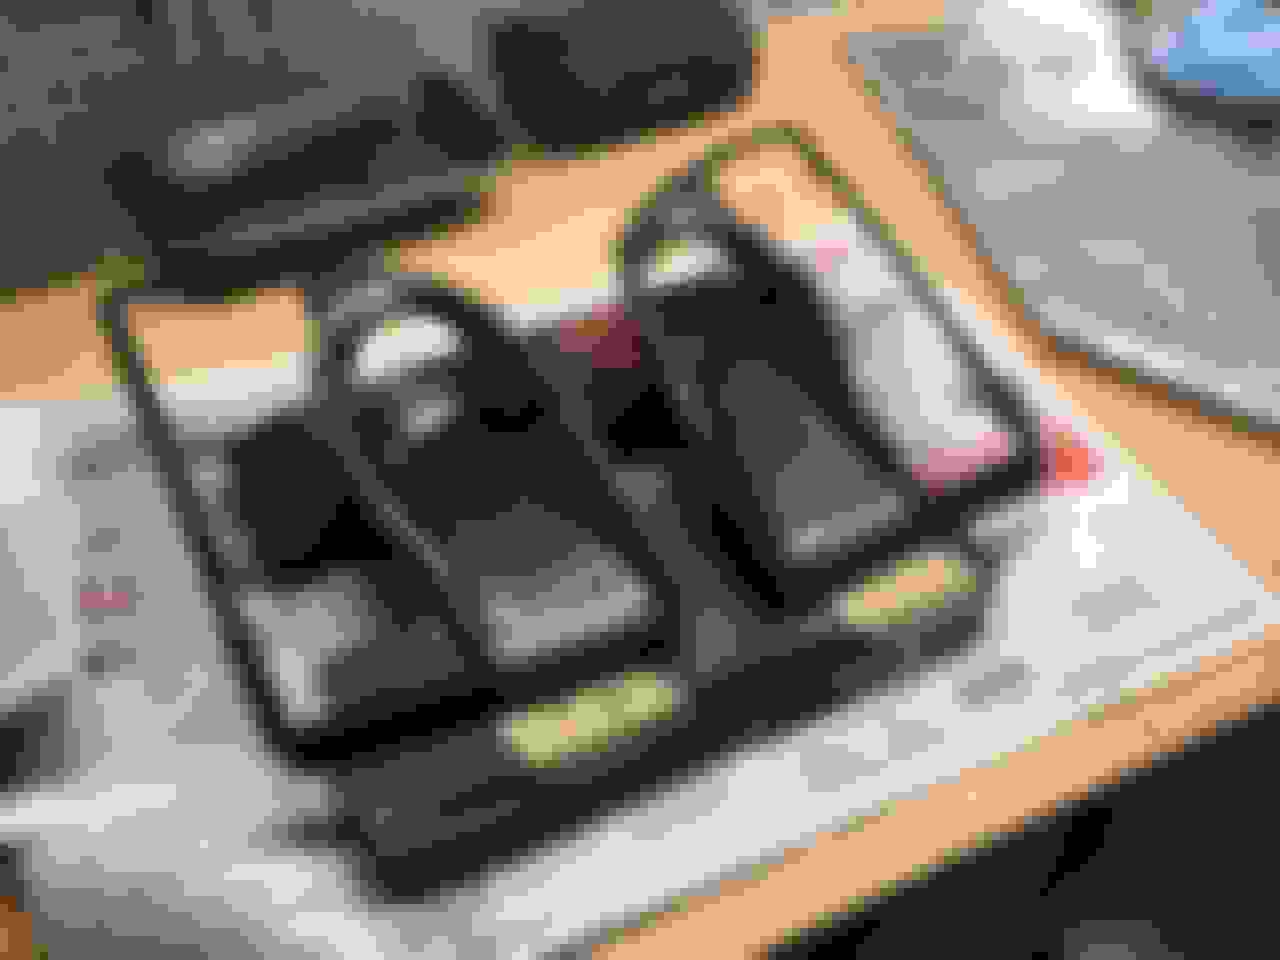
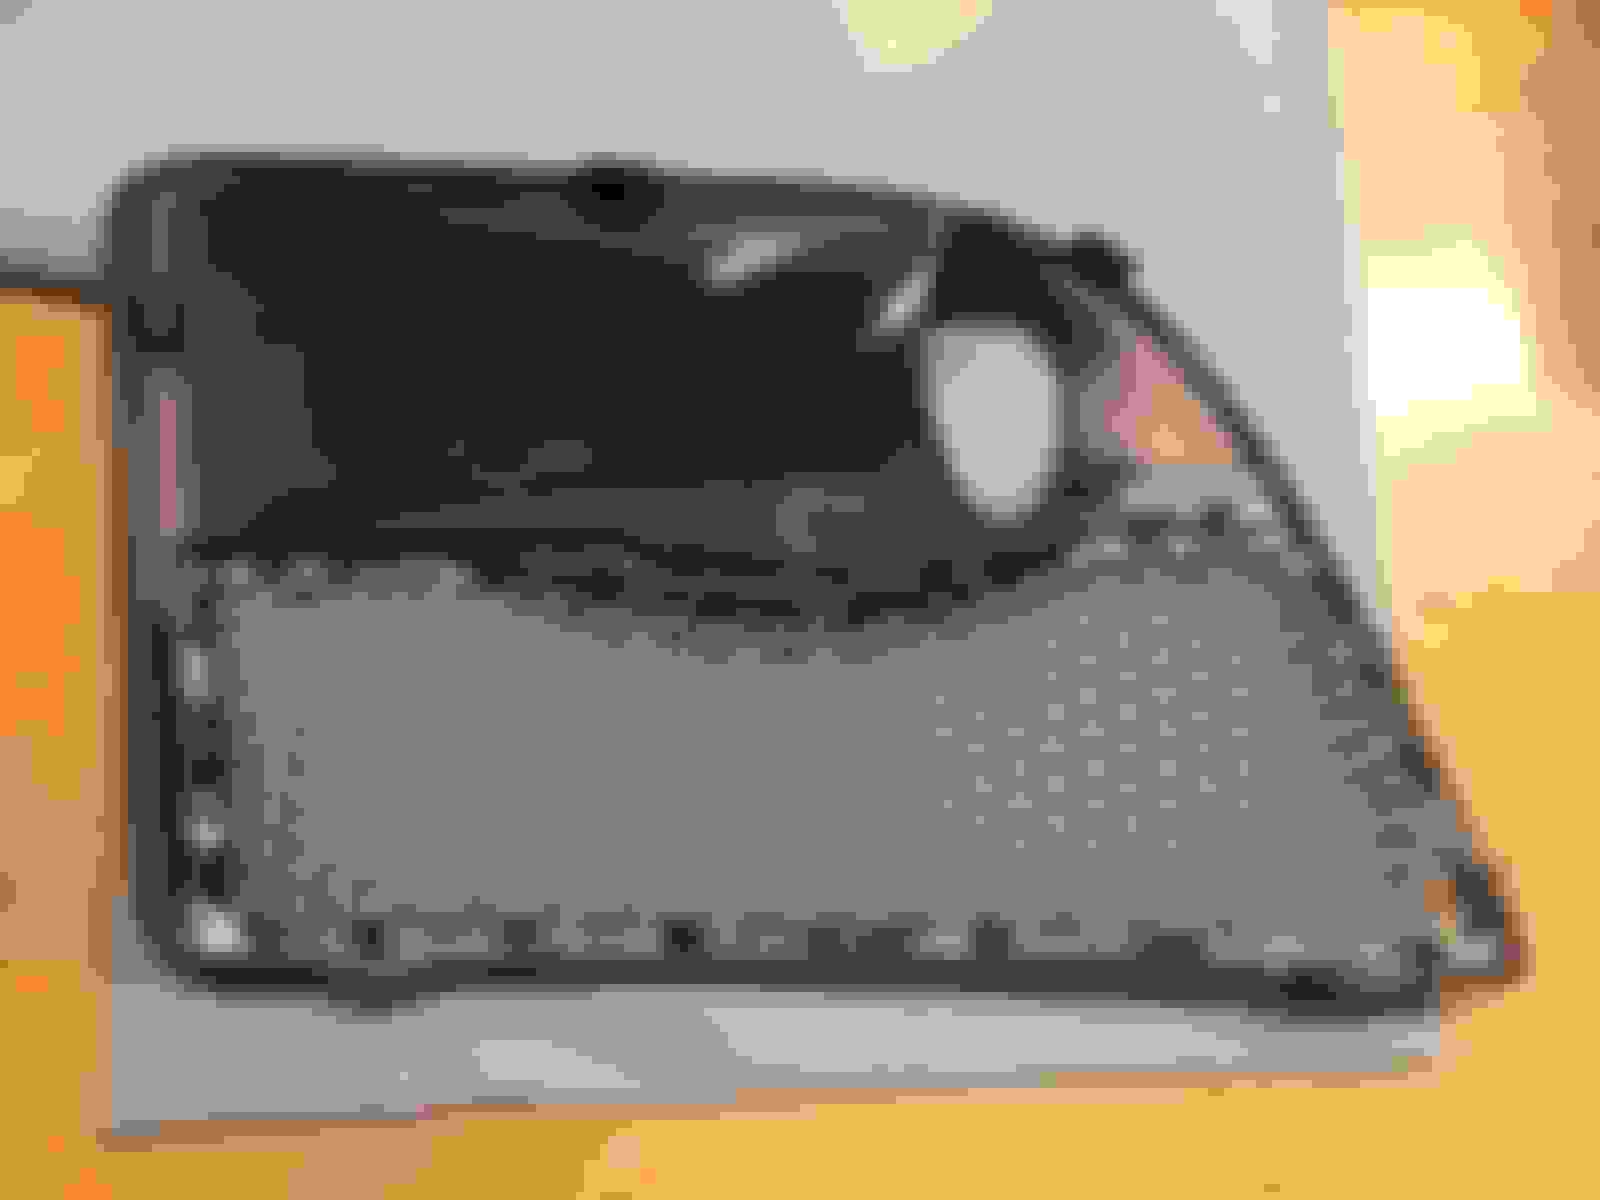
Fog light covers are much more tricky. You will have to carefully dremel out the existing mesh, then use the dremel to trim the entire perimeter of the cover so that it is flush and flat on the inside. They will have to be painted. Sand with 180 to 320 grit paper to remove scratches and any "accidental" cuts. Clean, prime, then wet sand the entire cover.

Here are the covers drilled out, sanded and primed. Still have to wet sand with either 400 or 800 grit. We will see how it comes out.


Hopefully I can get them painted and back on this weekend! I've had the bumper with the grilles back on but will wait till everything is back on for some final pics. Stay tuned!
 
The following 6 users liked this post by gkubrak:
guy (05-18-2020), Panthro (05-25-2020), peterv8 (03-27-2020), pwpacp (03-27-2020), ralphwg (03-28-2020), V7Sport (03-27-2020) and 1 others liked this post. (Show less...)
  #3  
Old 03-27-2020 | 08:30 AM
TexasTraveler's Avatar
Veteran Member
Joined: Jan 2018
Posts: 1,214
Likes: 674
From: Rockwall/Heath TX
Default

Nice job, looks great!!!
 
  #4  
Old 03-28-2020 | 05:33 PM
ralphwg's Avatar
Veteran Member
Joined: Apr 2012
Posts: 4,942
Likes: 1,214
From: Los Angeles CA
  #5  
Old 03-28-2020 | 10:28 PM
gkubrak's Avatar
Thread Starter
|
Senior Member
Joined: Jul 2014
Posts: 992
Likes: 697
From: CT, USA
Default

Thanks guys. I'm trying to be patient and take my time but I'll admit this takes a lot of precision and time.

Here are the fog light covers. They came out pretty good except the dam zip ties scratched up the clear coat a bit. Used some JB weld to 'spot weld' the edges.

Weather is not cooperating this weekend so Ill take some final pics on monday of the whole assembly.


The following 9 users liked this post by gkubrak:
Cee Jay (03-29-2020), CleverName (03-29-2020), guy (05-18-2020), kj07xk (03-29-2020), Panthro (05-25-2020), peterv8 (03-29-2020), pwpacp (03-29-2020), Reaxions (12-12-2022), Sean W (03-29-2020) and 4 others liked this post. (Show less...)
  #6  
Old 03-29-2020 | 09:20 PM
gkubrak's Avatar
Thread Starter
|
Senior Member
Joined: Jul 2014
Posts: 992
Likes: 697
From: CT, USA
Default

No sunshine coming this week, so here are some pics in the rain...


Overall I love the results! Some minor defects around the edges here and there. But not something the average person would notice.

Will post some more pics in the official picture thread once the sun comes out and I clean it up a bit.
 
The following 8 users liked this post by gkubrak:
guy (05-18-2020), kj07xk (03-30-2020), Panthro (05-25-2020), peterv8 (03-29-2020), pwpacp (03-30-2020), ralphwg (03-30-2020), Roger Cavling (09-11-2021), TexasTraveler (03-30-2020) and 3 others liked this post. (Show less...)
  #7  
Old 03-29-2020 | 10:37 PM
Cee Jay's Avatar
Veteran Member
Joined: Apr 2013
Posts: 11,011
Likes: 5,566
From: Kaysville, Utah, US
Default

Much better than stock, I'd say
 
The following users liked this post:
gkubrak (04-12-2020)
  #8  
Old 03-30-2020 | 12:16 AM
peterv8's Avatar
Senior Member
Joined: Aug 2017
Posts: 988
Likes: 376
From: Södra Sandby, Sweden
Default

Nice!
 
The following users liked this post:
gkubrak (04-12-2020)
  #9  
Old 03-30-2020 | 07:49 AM
mosesbotbol's Avatar
Veteran Member
Joined: May 2008
Posts: 6,278
Likes: 1,202
From: Boston, USA
Default

Great idea around the fogs! Jag should've done it that way. Good for you!
 
The following 2 users liked this post by mosesbotbol:
gkubrak (04-12-2020), Panthro (05-25-2020)
  #10  
Old 04-06-2020 | 08:07 AM
gkubrak's Avatar
Thread Starter
|
Senior Member
Joined: Jul 2014
Posts: 992
Likes: 697
From: CT, USA
Default

Some daytime photos...


The following 7 users liked this post by gkubrak:
J.A.G. (03-26-2022), kj07xk (04-06-2020), mosesbotbol (04-06-2020), Panthro (05-25-2020), peterv8 (04-07-2020), ralphwg (04-07-2020), V7Sport (04-06-2020) and 2 others liked this post. (Show less...)
  #11  
Old 04-06-2020 | 10:12 AM
Stuart S's Avatar
Veteran Member
Joined: Aug 2010
Posts: 9,429
Likes: 6,459
From: Atlanta suburbs
Default

Nice job and looks great! Better than factory.

I don't know what's behind the fogs, but you might want to consider adding air ducts to cool the front brakes.
 
The following users liked this post:
gkubrak (04-12-2020)
  #12  
Old 04-06-2020 | 11:56 AM
gkubrak's Avatar
Thread Starter
|
Senior Member
Joined: Jul 2014
Posts: 992
Likes: 697
From: CT, USA
Default

Originally Posted by Stuart S
Nice job and looks great! Better than factory.

I don't know what's behind the fogs, but you might want to consider adding air ducts to cool the front brakes.
Thanks!

The air boxes are behind them. Very tight actually so for that I would have to move them or go with a complete redesign.
 
  #13  
Old 04-06-2020 | 05:21 PM
Thorsen's Avatar
Veteran Member
Joined: Aug 2017
Posts: 1,090
Likes: 1,580
From: Chicago
Default

That looks great!
Care to share how you removed the front bumper?
 
The following users liked this post:
gkubrak (04-12-2020)
  #14  
Old 04-08-2020 | 11:38 AM
gkubrak's Avatar
Thread Starter
|
Senior Member
Joined: Jul 2014
Posts: 992
Likes: 697
From: CT, USA
Default

-
Originally Posted by Thorsen
That looks great!
Care to share how you removed the front bumper?
Just follow the manual?

-Remove front wheels
-Remove front fender liners
-Remove undertray
-Disconnect harness connectors (2)
-Remove (3) bolts on each side of bumper, inside the fenders
-Remove bolts on top of bumper and (3) pressed in clips
-Pull back bumper and remove

To reinstall just line up the large slots on each side of the bumper with the round tabs in the frame, then reverse removal procedure.
 
  #15  
Old 04-09-2020 | 11:07 AM
shemp's Avatar
Veteran Member
Joined: Aug 2016
Posts: 1,492
Likes: 571
From: Plano, TX
Default

yea that looks good. I like it.
 
The following users liked this post:
gkubrak (04-12-2020)
  #16  
Old 05-17-2020 | 10:21 AM
Thorsen's Avatar
Veteran Member
Joined: Aug 2017
Posts: 1,090
Likes: 1,580
From: Chicago
Default

Thanks for the inspiration gkubrak! I went with the black aluminum mesh and decided after making the top piece that I didn't like the way it looked. I ended up blacking out the stock grilles and I'm happy with the way it turned out.

 
The following 5 users liked this post by Thorsen:
gkubrak (05-18-2020), guy (05-18-2020), J.A.G. (03-26-2022), Panthro (05-25-2020), v8moise (11-09-2021)
  #17  
Old 05-17-2020 | 11:40 AM
MarkyUK's Avatar
Veteran Member
Joined: Feb 2013
Posts: 1,628
Likes: 669
From: Somerset UK
Default

A superb job GK, IMO id you've got black pack then go with black, if you've got plastichrome and silver wheels then go with silver mesh, IMO it looks stock, while mixing/matching black with silver just doesn't float my boat.
 
  #18  
Old 05-17-2020 | 01:02 PM
Cee Jay's Avatar
Veteran Member
Joined: Apr 2013
Posts: 11,011
Likes: 5,566
From: Kaysville, Utah, US
Default

Agreed with Marky. I love the blackout grill look, but my Nevis wheels are all hyper silver (or whatever) and the combo would be off visually so I won't do it.
 
  #19  
Old 05-18-2020 | 01:24 AM
peterv8's Avatar
Senior Member
Joined: Aug 2017
Posts: 988
Likes: 376
From: Södra Sandby, Sweden
Default

I agree!
When I Plastidipped my wheels the new front bumper had chrome mesh so painted them too!:-)


Last edited by peterv8; 05-18-2020 at 01:27 AM.
  #20  
Old 05-18-2020 | 04:22 AM
plc's Avatar
plc
Member
Joined: Jan 2019
Posts: 56
Likes: 6
From: staffordshire UK
Default

How and what did you use to shade out the amber reflectors in your headlights


Quick Reply: New custom mesh grill install


All times are GMT -5. The time now is 01:05 AM.