When you click on links to various merchants on this site and make a purchase, this can result in this site earning a commission. Affiliate programs and affiliations include, but are not limited to, the eBay Partner Network.
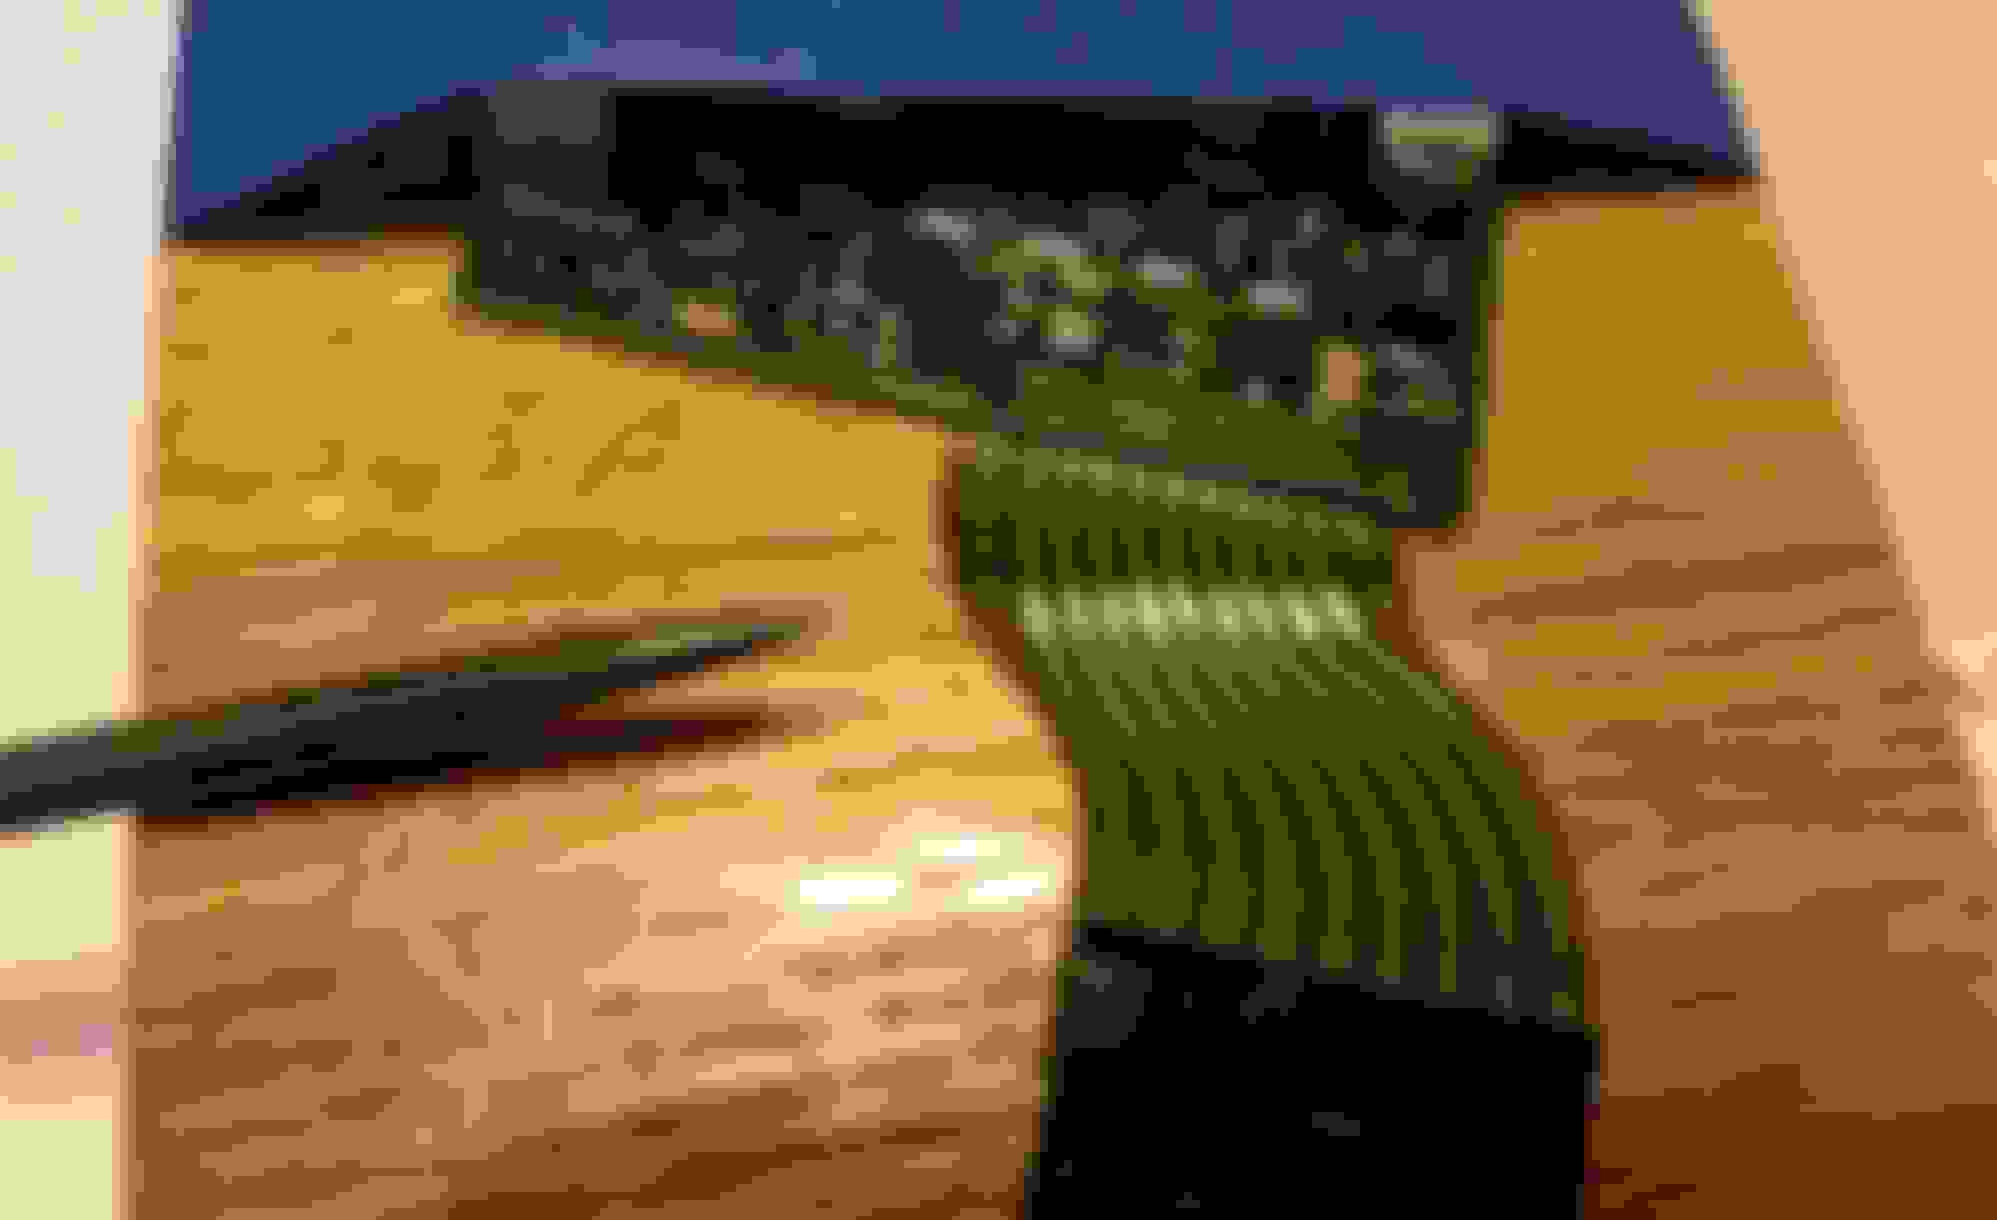
Does anyone have experience dissecting the overhead console? On mine (see photos) the third garage door button (with the three dots) hangs down very low. I presume there is a broken piece of plastic that secures it in place (it looks much worse in person than in the attached photo).
I have looked for an entire replacement console, but no luck thus far.
I'd like to open it up to see if I can repair it, but the plastic is welded shut in the three shown locations, plus in one more under the garage door controller.
Has anyone had experience taking this console apart to reveal the garage door button mounting location? I presume I can grind off the plastic welds - but am a bit hesitant to do so without first hearing if anyone else has successfully done this.
And to reassemble it - does one just epoxy it back together?
Any experience with this is appreciated.
Thank you all!
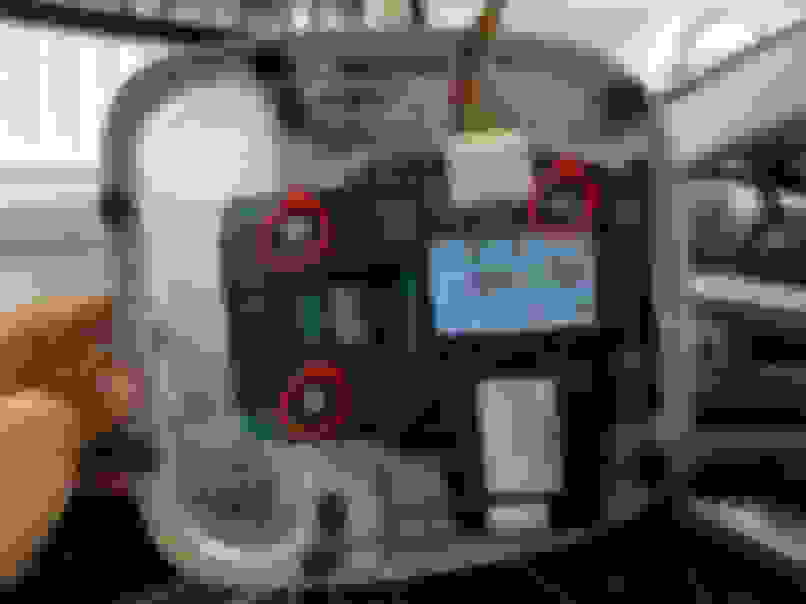
This is the unit I am talking about. See the hanging rightmost garage button. It looks worse in person.
Here you see three of the plastic welds I believe I would have to grind off to separate the parts and gain access to the back-side of the garage buttons.
I had a similar problem on my old XK8 and had to disassemble the center control stack. I used a soldering iron and assorted knives and diagonal clippers to get it apart. Reassembly was actually pretty easy; I used small screws with fiber washers to reattach where I removed the welded plastic. It was probably stronger AFTER I took it apart and put together.
Don't be nervous, just get in there and figure out reassembly later.
Thank you Cee Jay - that is good to hear. And I like the idea of the screws for reassembly - much better in case I have to get in there again. Why they did not do that in the first place .... one may never know. :-)
This is a clear cut case of planned obsolescence. My wife complained to me a couple of days ago that the garage door button as loose and wasn't working properly. Dutifully, I went into the garage to check it out. After confirming the button was loose and upon not seeing a clear way to remove the offending trim piece without risking breakage, I came back in and found this thread. Murry's outstanding picture of the underside of his panel showed me where the clips were and I removed it without further ado.
I confirmed that my assembly had the same PITA plastic welds, but they looked like they would succumb to the proper application of cutting force--and they did.
Here's where the advice comes in...
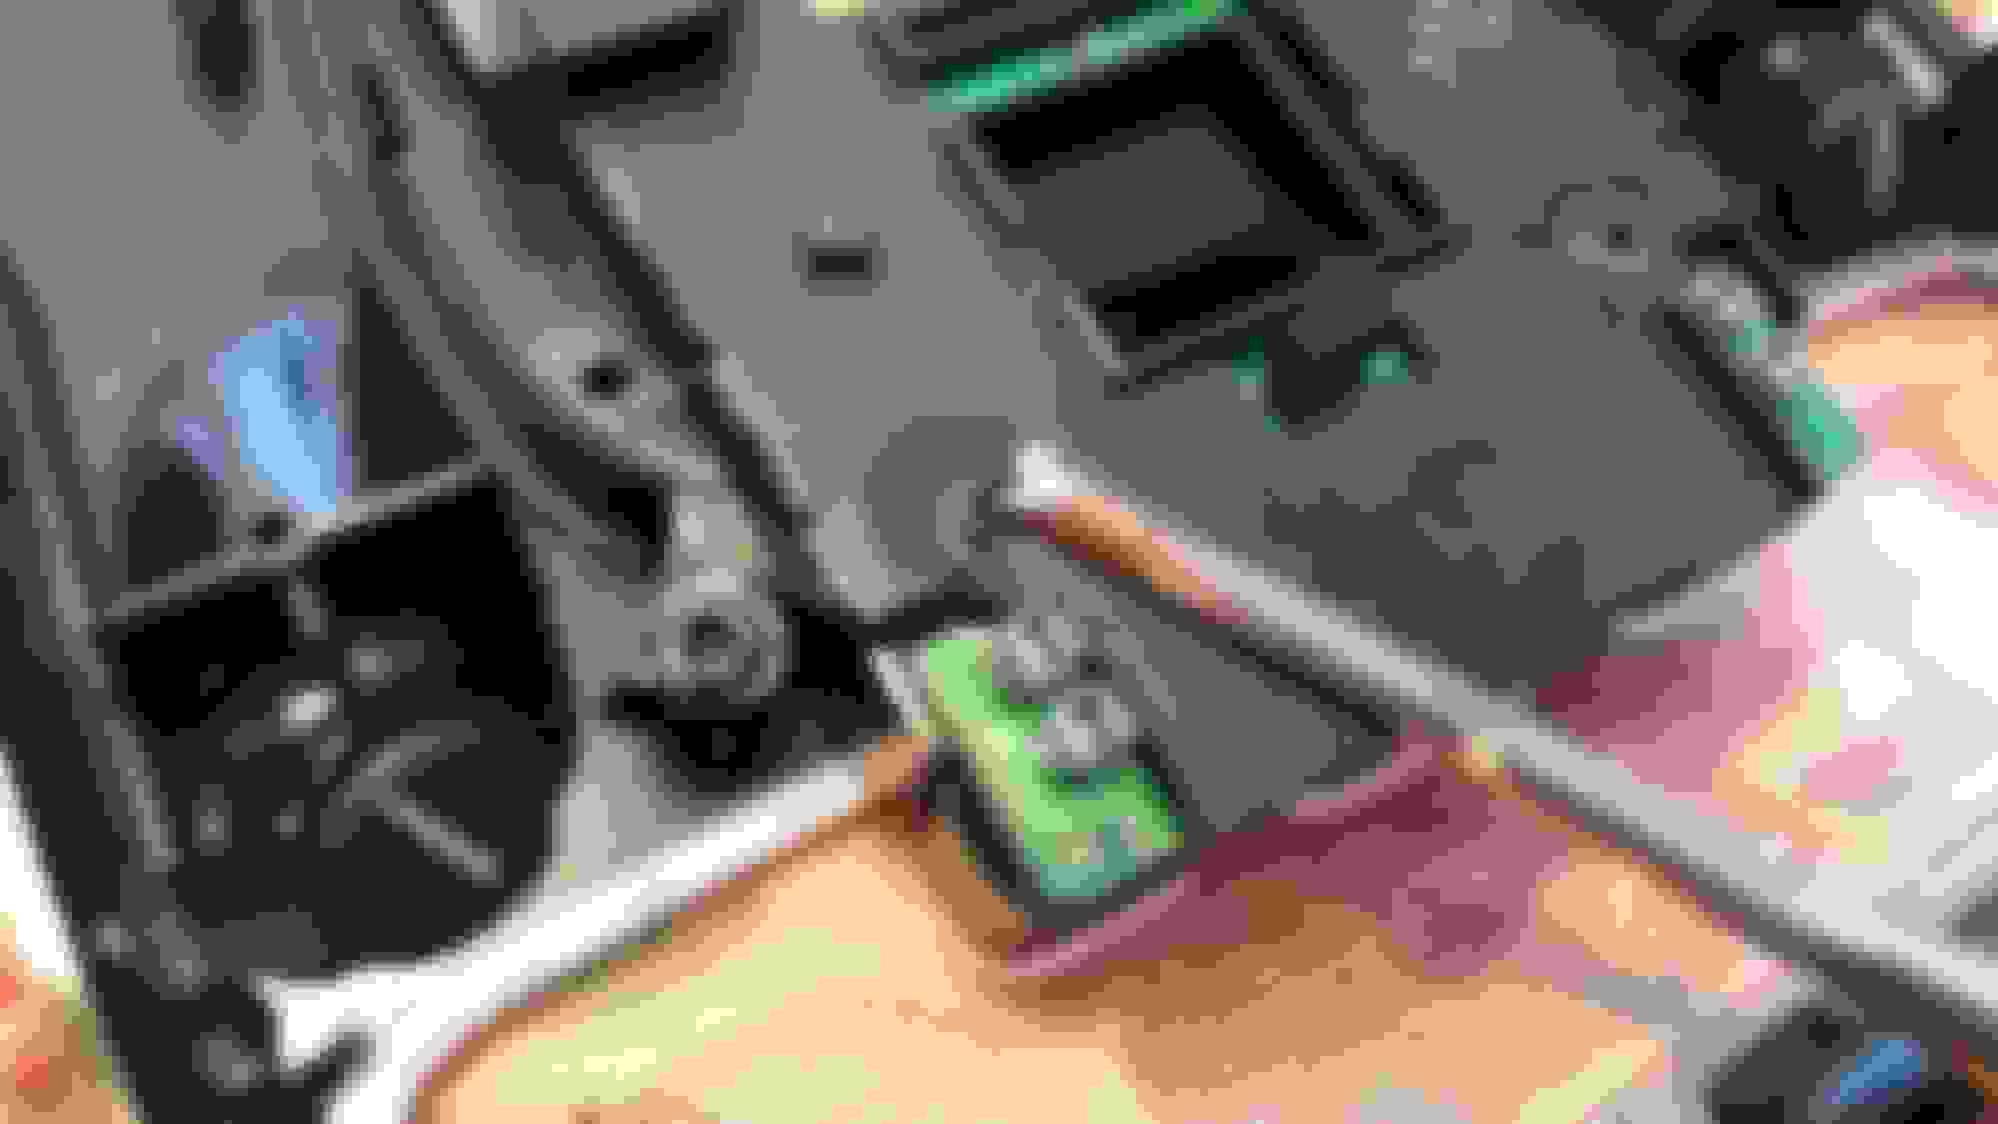
Unplug and remove the damn Garage Door Controller before you start cutting the welds or you might slice right through the #%@&*!! connector ribbon!
Any bets on the entire overhead panel having to be replaced as a $600 unit??
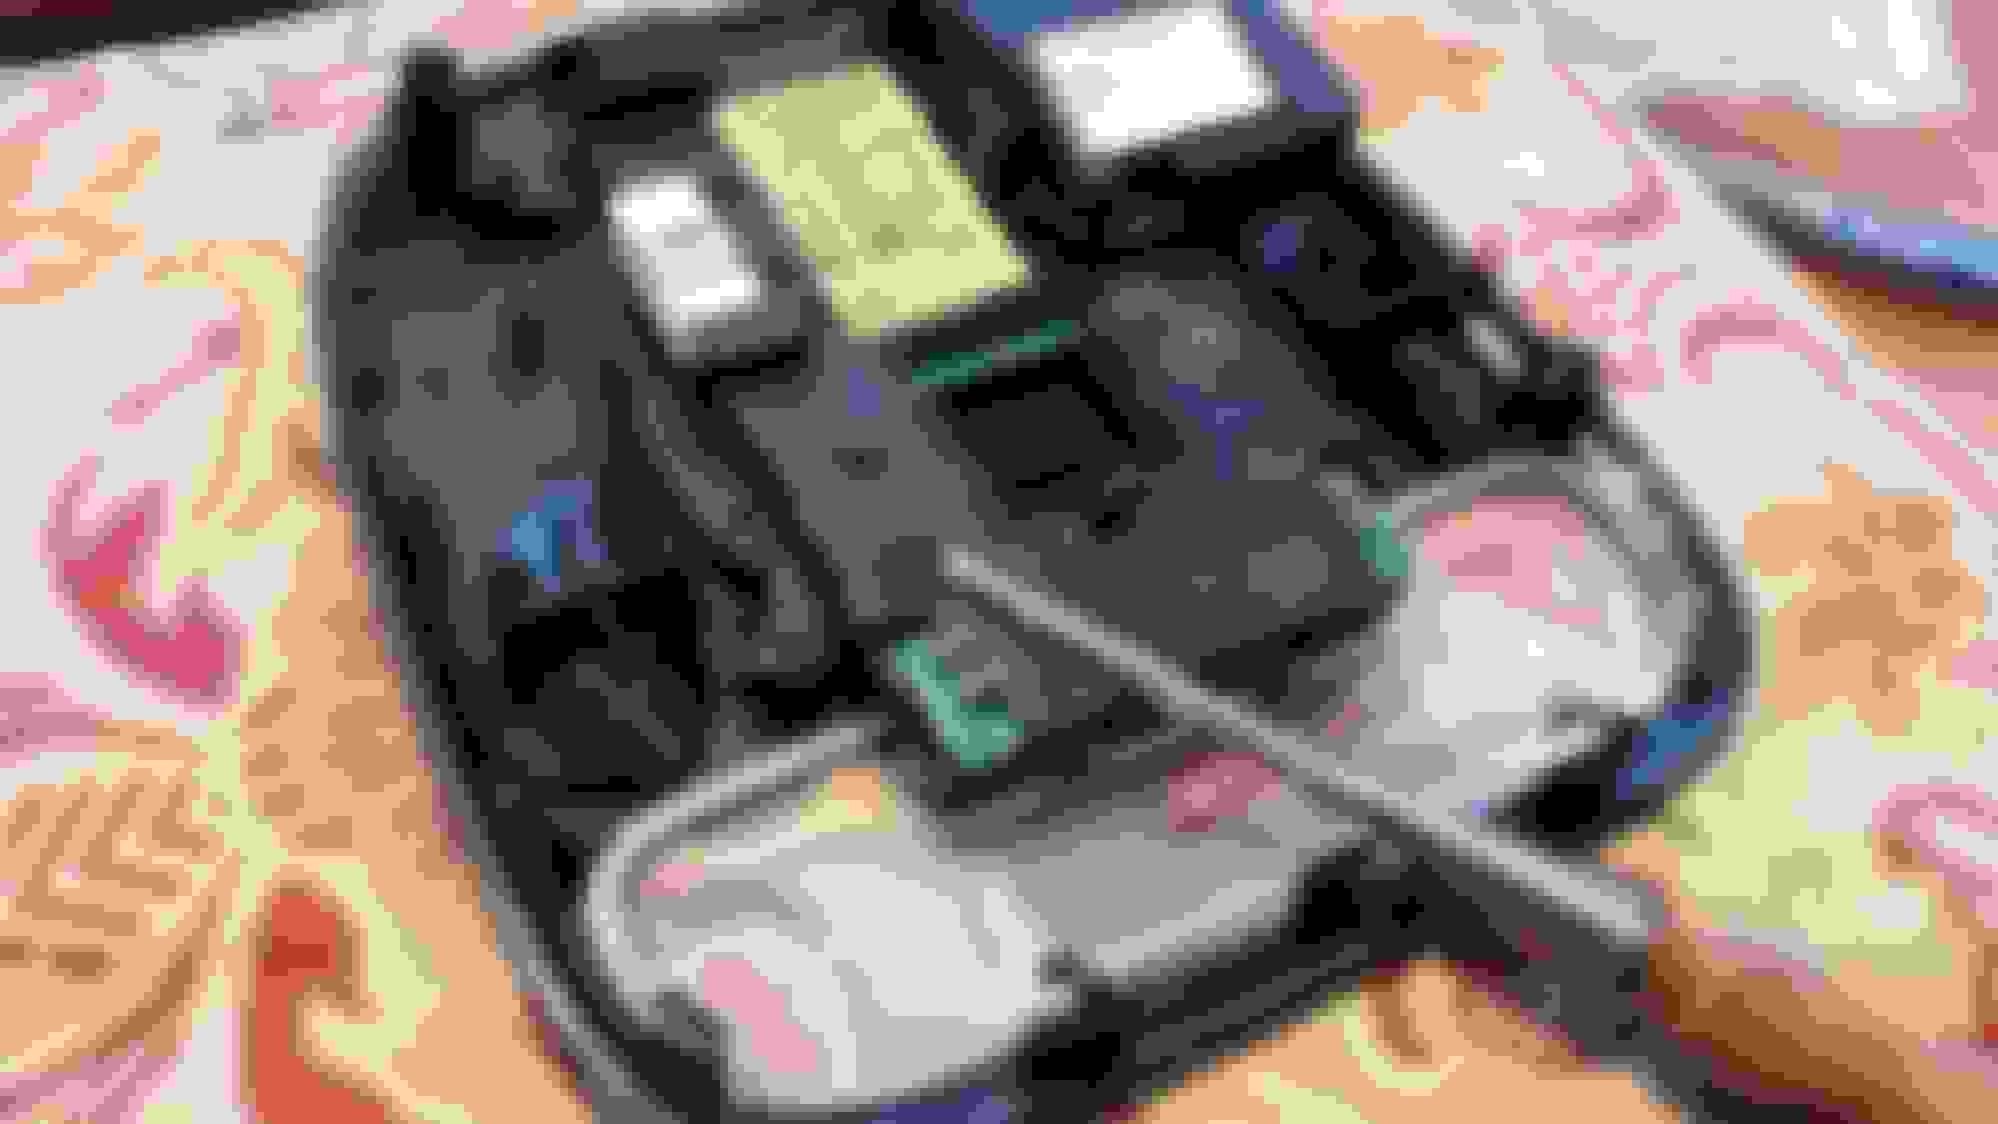
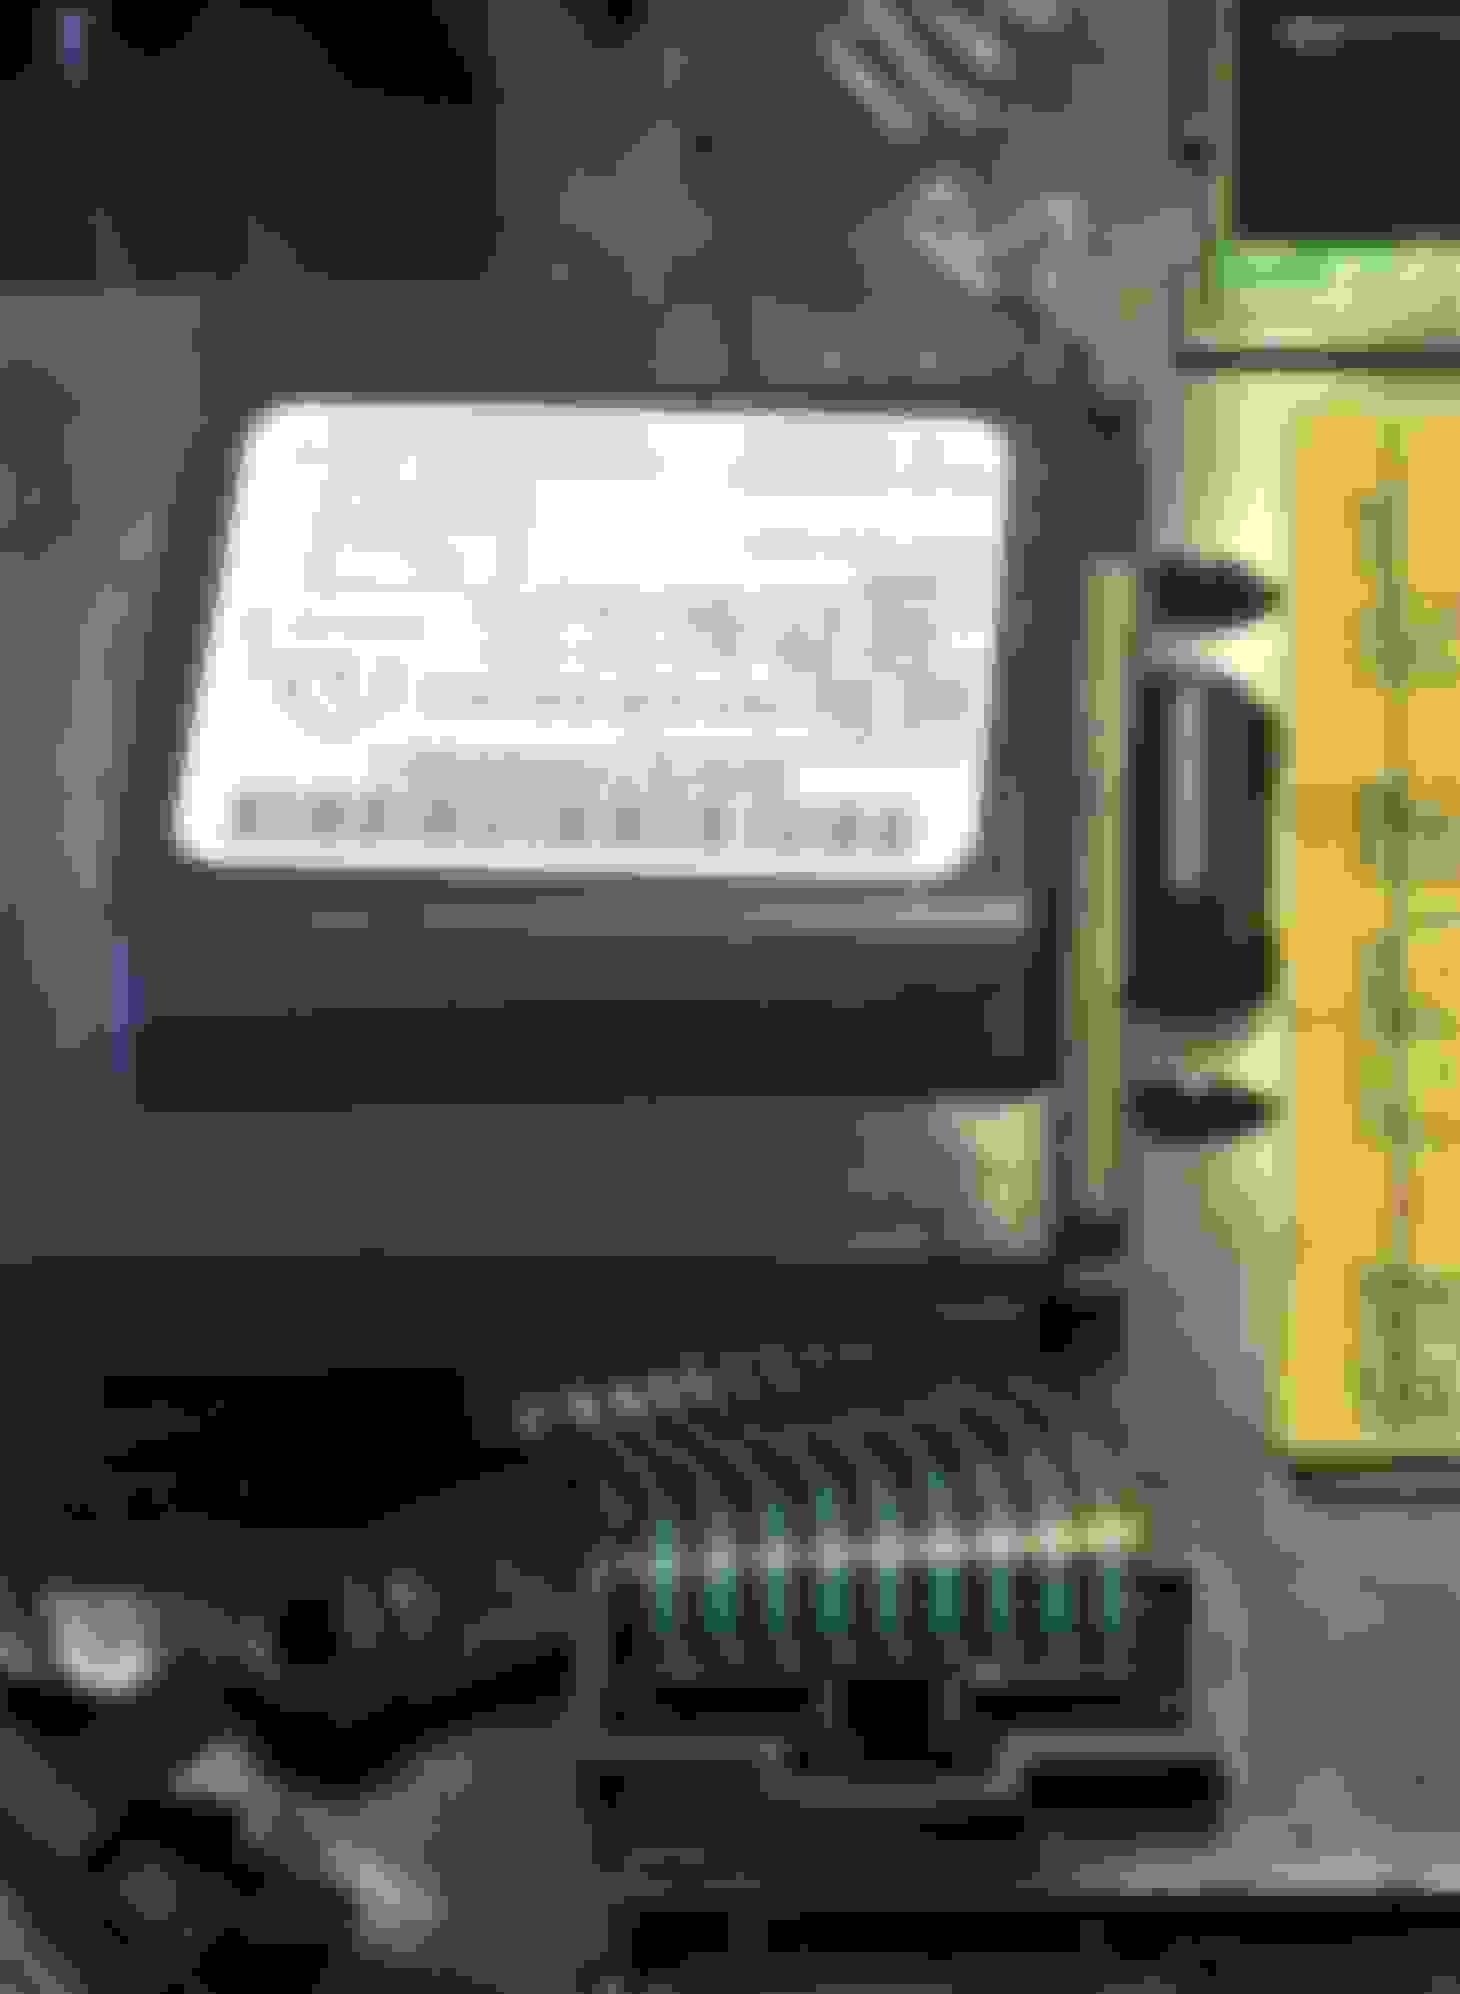
As for the planned obsolescence, here it is in all its glory:
A three micron thick plastic "hinge" on an input button that is cycled multiple times daily. Thank you JLR.
For those of you using the center button--beware! It's only 2/3 the "strength" of #1 & #3.
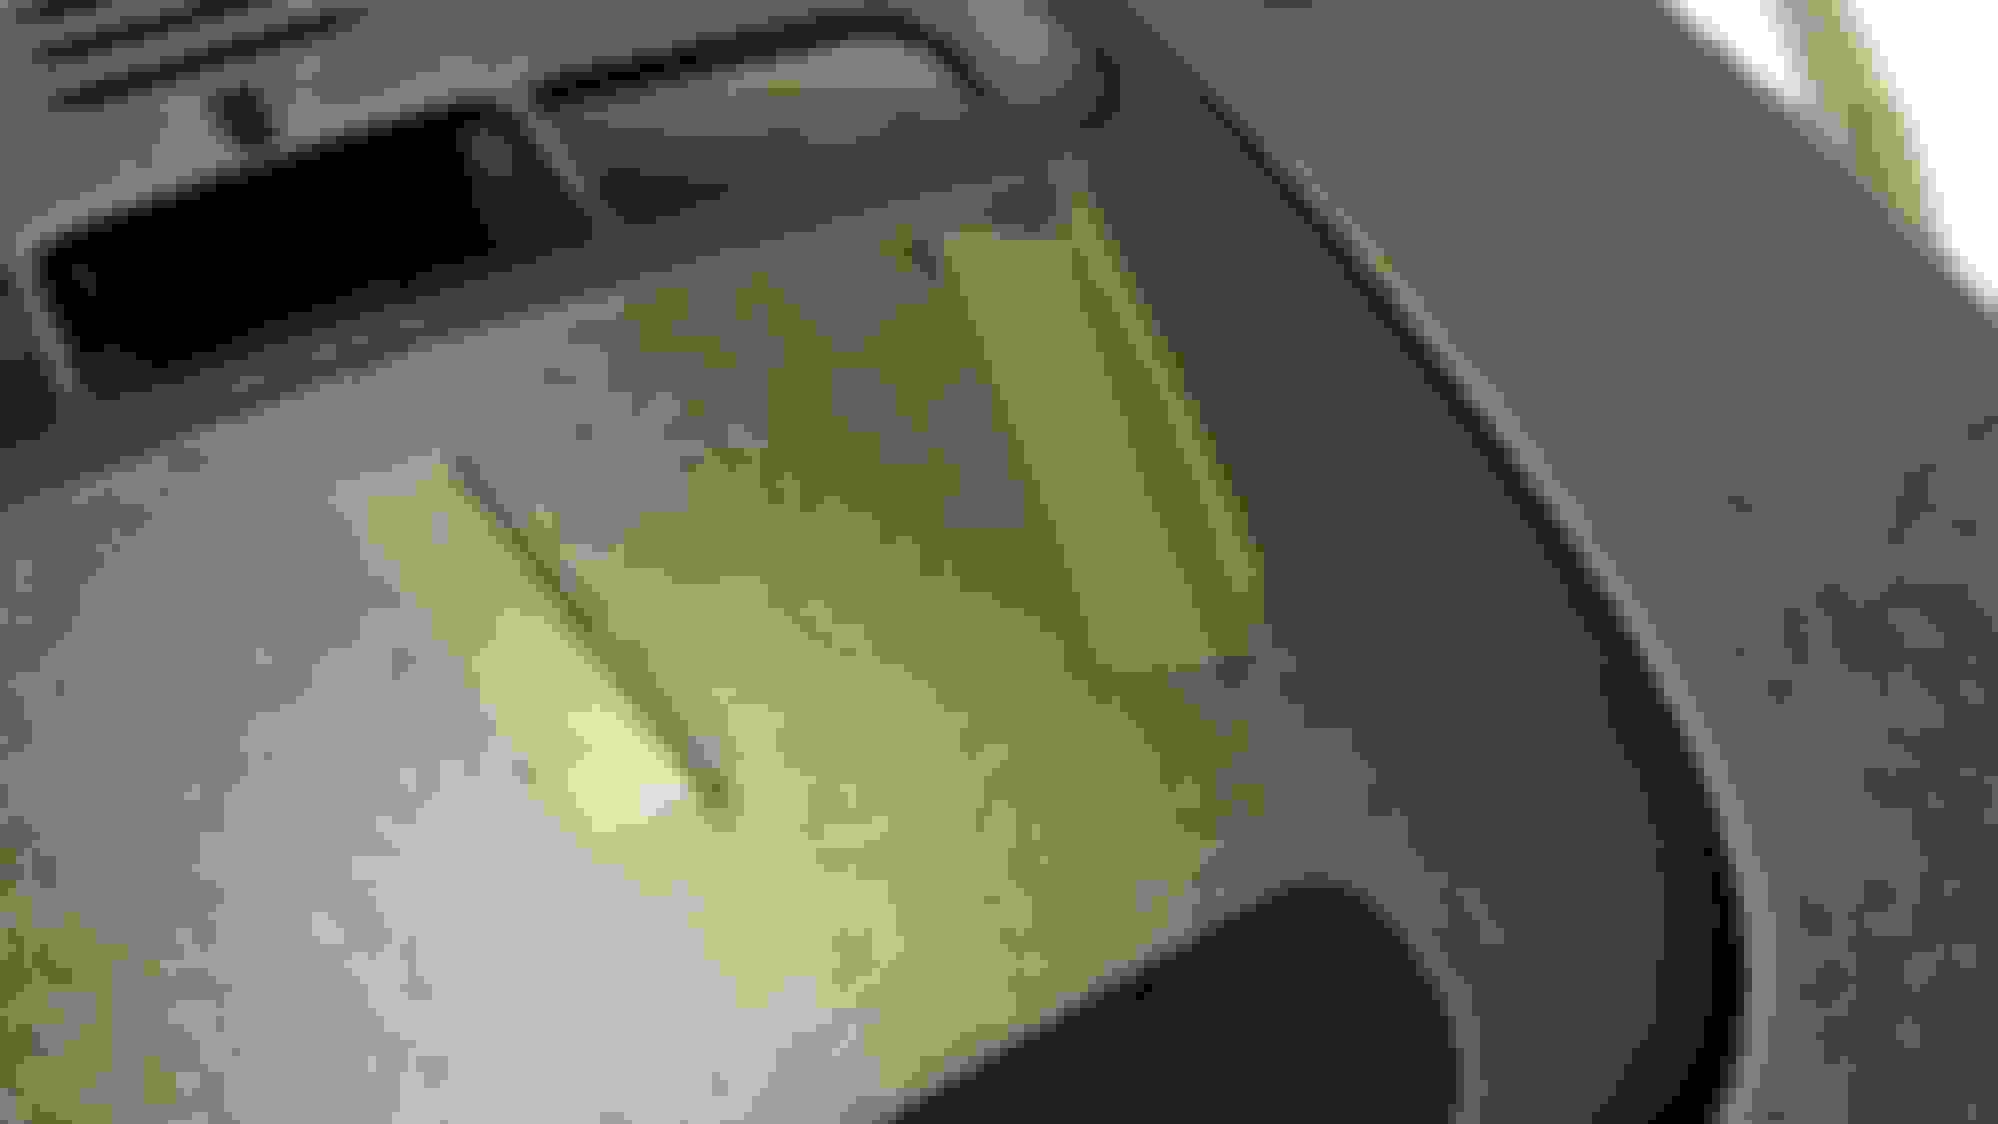
Finally, while this panel is off, can anyone tell me what the two small grilled openings on either side of the garage door panel are for? I thought they were actually functional--like for super tweeters or aux mics or even vents--but they are plugged closed in my XK coupe. Do they have a function in a vert or XKR?
I don't know specifically about those little vent holes, but some vehicles have a Passenger Detection System that monitors the position of the passenger/driver with little radar things in the overhead, behind vents much like those ones. The theory is to vary the airbag implementation times by microseconds to better affect the impact on the human.
Old Radar - thank you *very* much for those great photos (and hard-won lessons). I have not taken mine apart yet because I was not sure there was a whole lot I could do once I got in there.
It seems to me, based on your photos, that we could possibly glue a flexible piece of plastic with a 90-degree bend in it - one side to the broken button tab, and one side to the raised plastic "wall" that rises from the original flex-point.
I am not sure if that makes sense (it's a poor description) - but essentially I am talking about reattaching the broken flex point with the help of some epoxy and a piece of plastic bent 90-degrees.
I will search for some suitable flexible plastic before I take it apart - but you have given me the extra info I needed to make this next step.
Thank you!
And BTW - the two little holes you refer toe are also plugged on mine (as you can see in the image) and non-functional. I was wondering the same thing.
I originally thought the little holes were where the phone mic was, but later found out it was in the A-pillar.
I now think they�re for the ultrasonic alarm, available in some cars.
I had the same problem. Fortunately, it happened years ago when my XKR was under factory warranty, so my dealer replaced it without charge.
Mine broke because I was pushing the button too hard. They're breaking now because of age and use, and old, brittle plastic takes much less pressure to break. Shame on Jaguar for such a poor design.
Save your money and don't replace that damaged overhead console. Try programming another button and see if that works. If not, use the handheld remote that came with your garage door opener. If you don't have it, replacements are inexpensive and are available at Home Depot, Lowe's and Amazon. Just make sure it's compatible with your opener.
It seems to me, based on your photos, that we could possibly glue a flexible piece of plastic with a 90-degree bend in it - one side to the broken button tab, and one side to the raised plastic "wall" that rises from the original flex-point.
I think this is the way to go. I initially tried just to superglue the three-micron hinge and its just too weak. I have some JB Weld and am looking for some suitable plastic.
Originally Posted by Stuart S
I had the same problem. Mine broke because I was pushing the button too hard. They're breaking now because of age and use, and old, brittle plastic takes much less pressure to break. Shame on Jaguar for such a poor design.
Same cause for mine. When it comes to mechanisms, my lovely bride demands instant gratification and if-it-doesn't-work-press-harder.
Thanks for the vector, but even filtering with what I know about the connector ribbon/flex strip, (9 conductors, approx 1.25 inches long) they're either no longer available, or I have to by 1000 of them.
Of course the module is no longer available from Jaguar--so I'm left with the risk of buying someone else's used part or repairing the ribbon I sliced. I've seen that they are repairable and am told professional car stereo installers have experience making these repairs. I think I will explore that avenue before buying someone else's problem.
I think this is the way to go. I initially tried just to superglue the three-micron hinge and its just too weak. I have some JB Weld and am looking for some suitable plastic.
Do let us know how it works out. I am right behind you. I'd have tried mine already but am traveling a bit.
I also plan to follow CeeJay's advice and use small screws to reassemble (being careful not to split the posts).
Thanks for the vector, but even filtering with what I know about the connector ribbon/flex strip, (9 conductors, approx 1.25 inches long) they're either no longer available, or I have to by 1000 of them.
Of course the module is no longer available from Jaguar--so I'm left with the risk of buying someone else's used part or repairing the ribbon I sliced. I've seen that they are repairable and am told professional car stereo installers have experience making these repairs. I think I will explore that avenue before buying someone else's problem.
One of the other possibilities would be to get an old ribbon cable used for older ATA computer drives. Peal off 9 conductors, cut to length and solder.
Well, a lot of things got in the way of this repair�life mostly, but I finally got around to completing it.
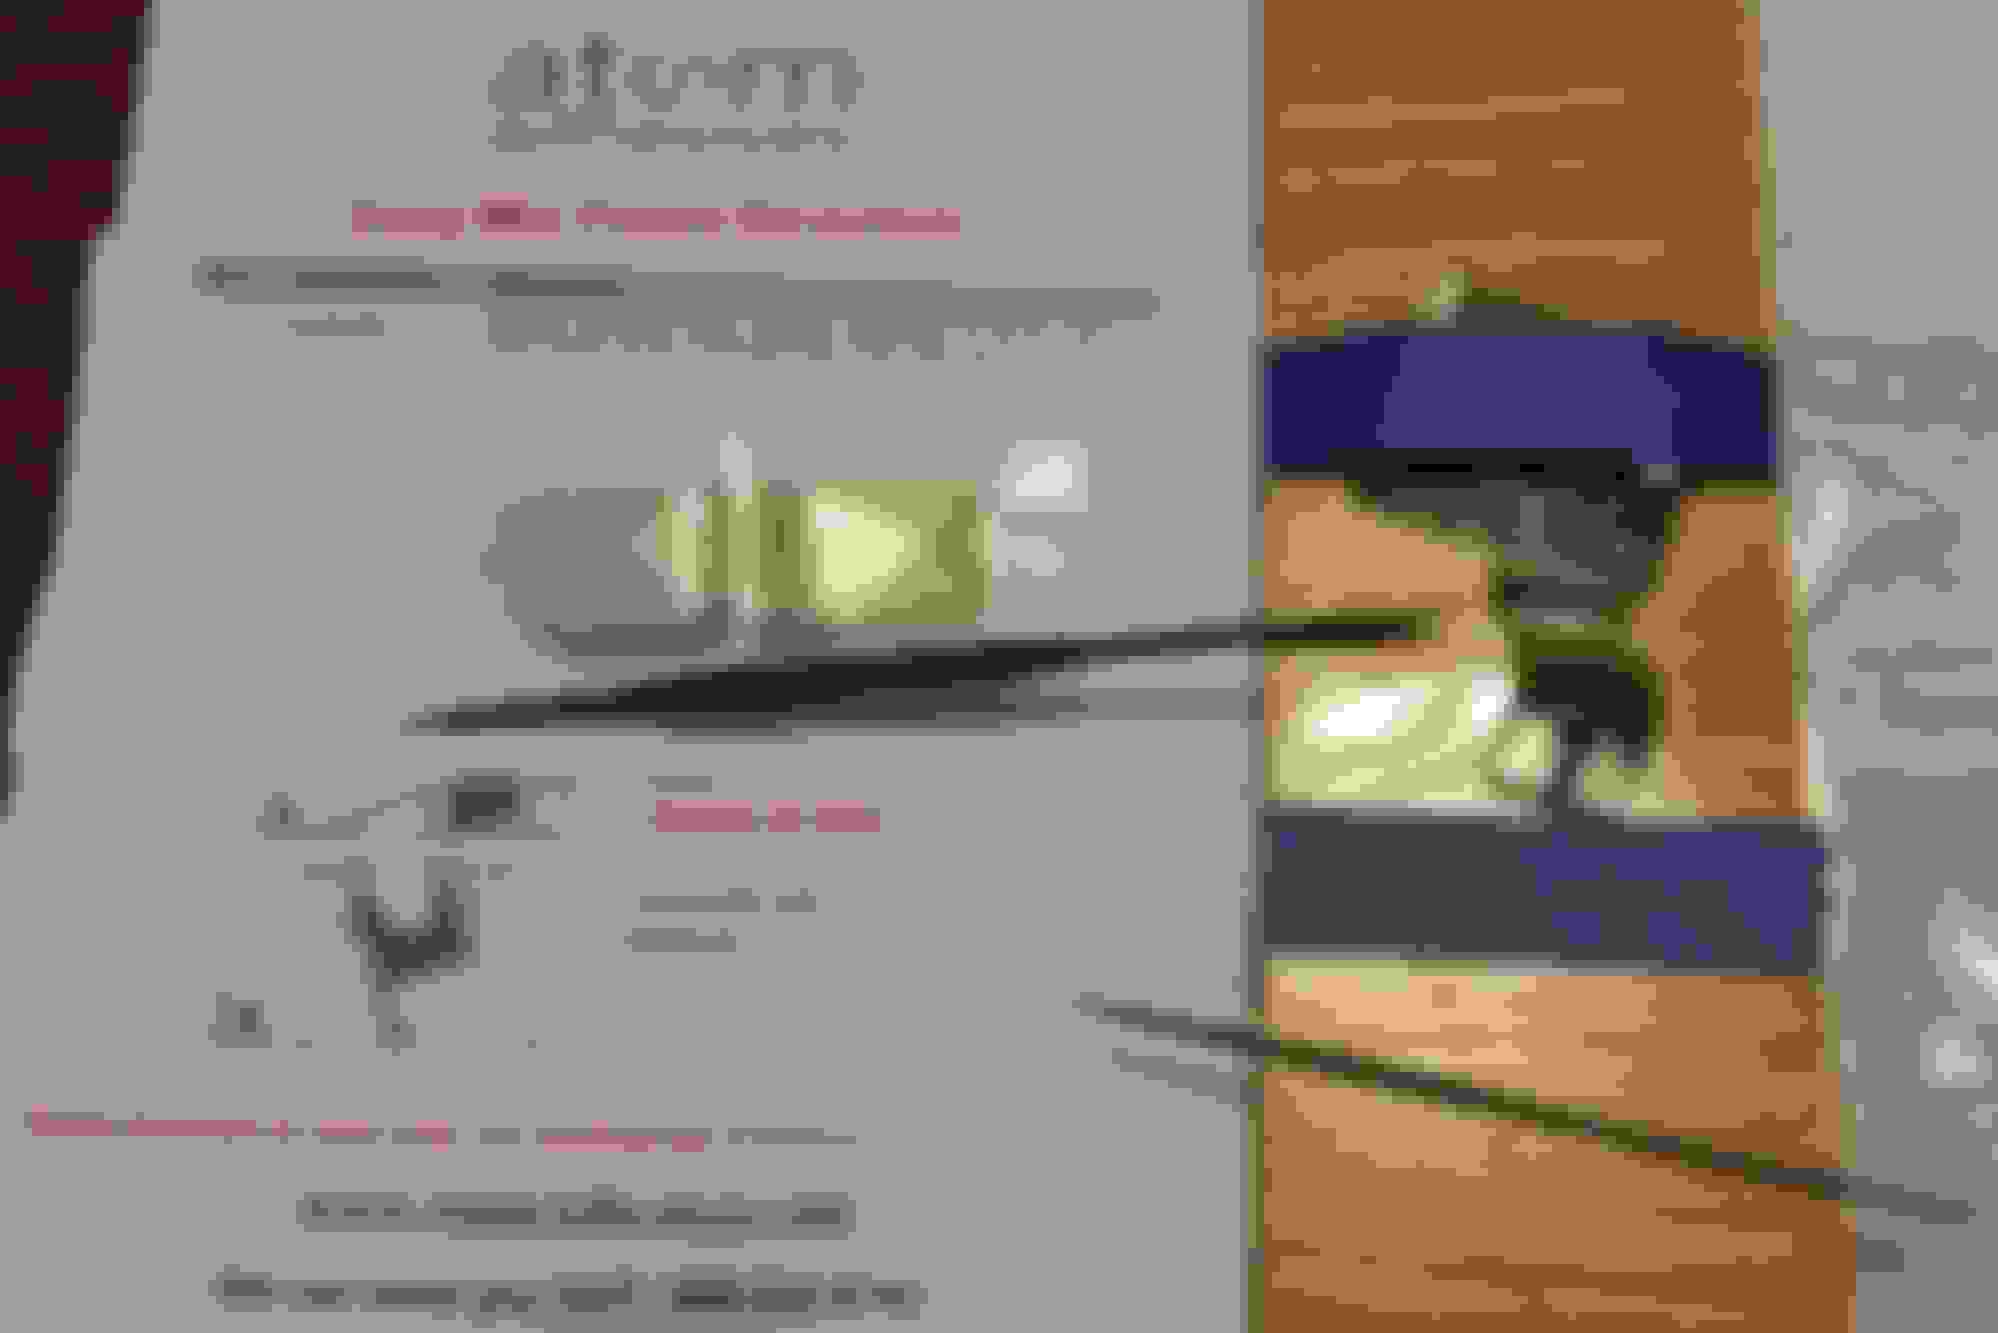
The repair required two phases. The first was to correct my unfortunate shearing of the garage door opening module electrical ribbon. I ordered some electrically conductive, silver epoxy adhesive from Atom Adhesives (AA-DUCT 902). https://www.atomadhesives.com/AA-DUC...Epoxy-Adhesive I ordered the 2.5 gram pack�save yourself a couple of bucks and get the 1.5 gram pack�you won�t use 1/100th of it.
I had previously found on a google search a site that describes repairing this type of flat ribbon�(Self Trained Computer Wizkid: How to repair broken ribbon cable). The page is ten years old and the links to the photos are no longer valid, but there are comments as recent as two months ago. The procedure is fairly straightforward.
- File or sand the insulation on one side of the ribbon to expose about 1-2mm of the wires along the break from both halves. The ribbon has an obvious side to file, as you can see and feel the wire underneath the insulation. The other side is smooth.
- Place some packing tape sticky-side up and align the two ribbon fragments wire-side up onto the tape to prevent movement. If necessary apply some less-sticky masking tape over the ribbons to keep them down, but leave the exposed wire area, well, exposed. I used a smooth block of wood (instead of a table) so I could move the operation if necessary.
- Mix the epoxy according to directions. I used a sharp metal scribe to gently apply the epoxy to the very narrow pairs of wires.
- Leave it alone for 24 hours.
After 24 hours the epoxy was hard and I covered the exposed wires with a layer of packing tape for insulation�and added support.
While the epoxy was drying, I started phase two of the operation, which was the actual repair of the flimsy little hinge holding the garage door remote button.
As MurrayG suggested above, I used some plastic bent at 90 degrees from one of those hard-shell containers that they sell things in that they really don�t want you opening without a chainsaw.
I used J-B Weld (another epoxy) to glue the broken button back into position. Since I had everything open and all the materials at hand I decided to perform some preventative maintenance and reinforce the other two buttons while I was at it.
I did forget to make the first two buttons independent by cutting a gap in the plastic before I glued it in place. Had to hot-knife it to correct it.
The last thing to be done was find some screws to substitute for those irksome plastic welds. Luckily, I keep most of the little screws I liberate from other projects for just such occasions.
To be honest, I really wasn�t sure this was going to work, so I was very happy after reprogramming the opener to see the garage door go up! Just to be safe, I did retire button #1 and now use the reinforced button #3 for opening & closing tasks.
I hope this helps anyone else who has this problem. Cheers!
Wow - excellent work and very valuable write-up. Thank you!
About one week ago, a second of the three garage door buttons on my car broke in the same manner - so now I have two out of three hanging down. So I'll be following in your footsteps (except, hopefully, for the part about cutting the ribbon cable :-).
Thank you for this! I will be very curious how the new plastic holds up. I presume eventually it, too will crack - but I suspect it will last a long time as the amount of bend it is subject to is quite small.
Thanks and you're welcome Murray! As for the longevity of the repair, as I told my lovely bride, the button needs only a single, short, gentle push to activate the desired response of opening or closing the garage door. If, for some reason, the desired response is not forthcoming, another single, short, gentle push is warranted.
At no time is it necessary to aggressively or repeatedly punch the button nor is it necessary to force and hold the button against the roof of the vehicle.
We've all done it, but if it takes that kind of input, something else is wrong and we're only damaging an innocent part. Yes, the repair, like the original part will likely eventually fail. The timeline depends on how operators treat it.
If anyone needs a cool repair trick for the remote button "hinges".
If they are not completely broken you can reinforce them as follows:
Using a watchmakers screwdriver, fill the hinge plastic "groove" with a tiny bit of baking soda.
Using a pick, carefully saturate the baking soda with a small droplet of crazy glue (I like Rhino Glue)
Let it set and you should be good to go!
Since I got a notification of activity on this thread today, I'll note for anyone interested that after nearly four years of use, the repair is still going strong and showing no signs of wearing out.
 09-17-2019, 12:08 PM