When you click on links to various merchants on this site and make a purchase, this can result in this site earning a commission. Affiliate programs and affiliations include, but are not limited to, the eBay Partner Network.
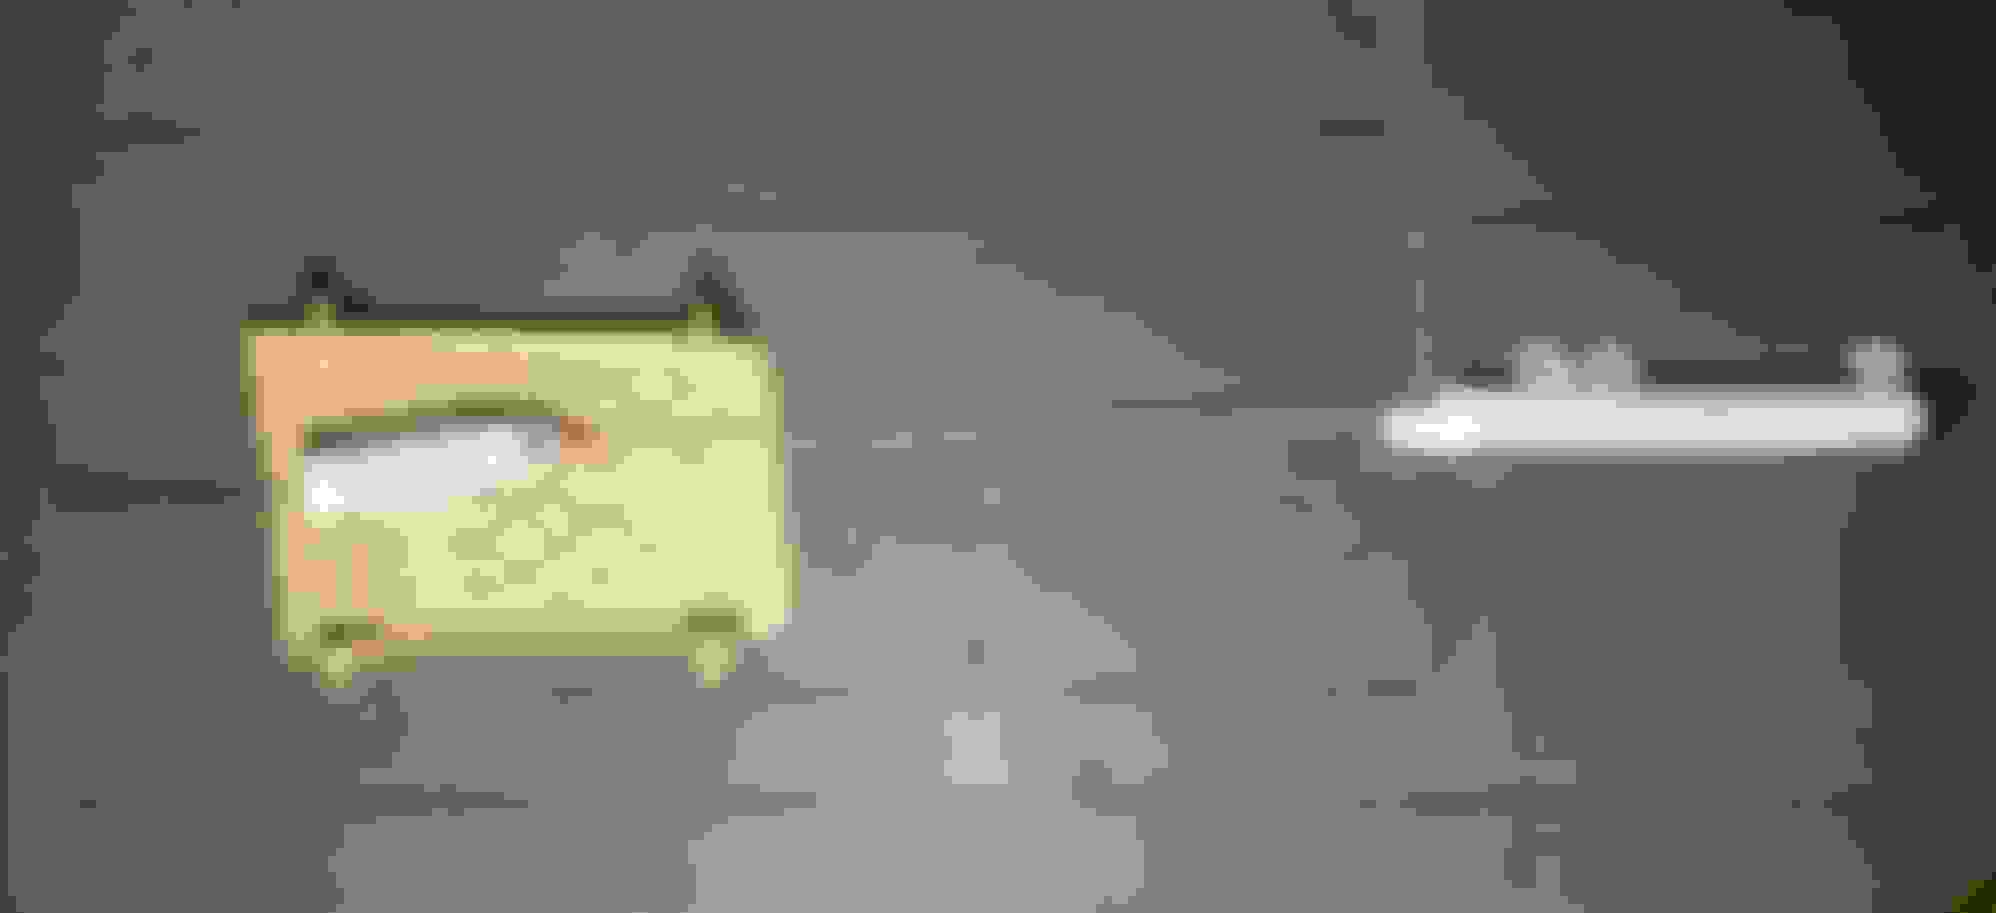
I hope the title I have given is explanatory; I don't know what to call this item. Hopefully the picture will help. I think something snagged somewhere as the hood was folding down and there was a POP and the cord that pulls the hatch across the opening in the tonneau snapped.
I am trying to replace the broken cord, and nothing else seems to be damaged in any way.
I have got to the stage shown in the photo above, using 100lbs braided fishing line and a cable end crimping tool.
Obviously, I now need to get the pre-tension in the springs that pull the cord correct, so I either need to know how long the free length of the cord should be before fitting it, or I need to fit it, tension the cord to suit, and them crimp the cord end. The problem with the second approach is lack of access to apply the final crimp.
I suppose I could use a trial and error approach, I have plenty of line and crimps.
But I wondered whether anyone else had to do this job and evolved a good technique, or know what length the cord needs to be, please?
Thanks for your prompt reply. That sounds as if it could be really helpful, and just what I need to know!
But .....
Please don't take offence, but could you clear up a couple of points for me?
1) I think you mean 400mm, don't you? Or 40cm? I guess, like me, you grew up with feet and inches?
And
2) "eyelet to eyelet" leaves me a little uncertain. I think I know what you mean, and have tried to mark it on my photo but failed because I am too new to all this (too OLD for all of this, some would say), and I haven't found out how to draw on photos yet. Perhaps you could draw on mine? You see the cord that comes from the obvious eyelet (the black dot above the two red crimps) and enters the long air-damper on the right, goes the full length inside, goes through a hidden eylet inside the top end then comes back to be attached to the visible eyelet at the bottom end. Am I right that the 400mm length is from the black eyelet to the bottom end of the airdamper, where there is an eyelet but this cord is not attached to it until it has gone up and back inside the spring inside the damper?
A picture could be worth at least 50 words here, but I hope I have explained myself.
I am really grateful for your assistance; thank you.
John T
from the inside of the outermost portion of each eyelet (string). Imagine the circles are the looped string formed into an eyelet.
my original had frayed and broke but I could see that a little stretch had taken place...the one I made out of fishing leader was actually 396mm and fit fine. I don't think +/- 5mm matters, but I have been mistaken once or twice during my lifetime.
WymJym
Thanks for trying, I've been trying to draw on my photo again.
To be clear, is the 400mm length A, B, C or D on my clumsy drawing please?
I'm sure your right that +/- 5mm won't matter.
Part of my original broken cord had fallen into the abyss below the folded hood frame, so I can't get any measurements from what I have left.
Last edited by Jaunty; 10-09-2023 at 05:31 PM.
Reason: improve clarity

 10-08-2023 | 10:50 AM