When you click on links to various merchants on this site and make a purchase, this can result in this site earning a commission. Affiliate programs and affiliations include, but are not limited to, the eBay Partner Network.
This is a guide on how to install a Quaife ATB torque sensing limited slip differential (diff for short) in a 2007 4.2 XKR. Thoroughly read and understand each step before proceeding. Working under a car is inherently dangerous. No warranty expressed or implied! This vehicle was equipped from the factory with a standard open differential which limits getting the power down by allowing one wheel to spin. This cures it. The 2010 and later models have an "E-diff" and can't use nor need this improvement. Other generic terms are 'limited slip' and 'posi-traction' This is a TORSEN type. More information can be found here...
This is not a cheap solution but it's the only one. By installing it yourself you can save thousands and transform your vehicle. This tutorial expects you to have decent mechanical skills and tools. Some specialty items you may not have are mentioned.
Large 'squeeze' type snap ring pliers.
Transmission jack. (don't even try it without it, $150 from harbor freight)
Dial indicator.
Parts:
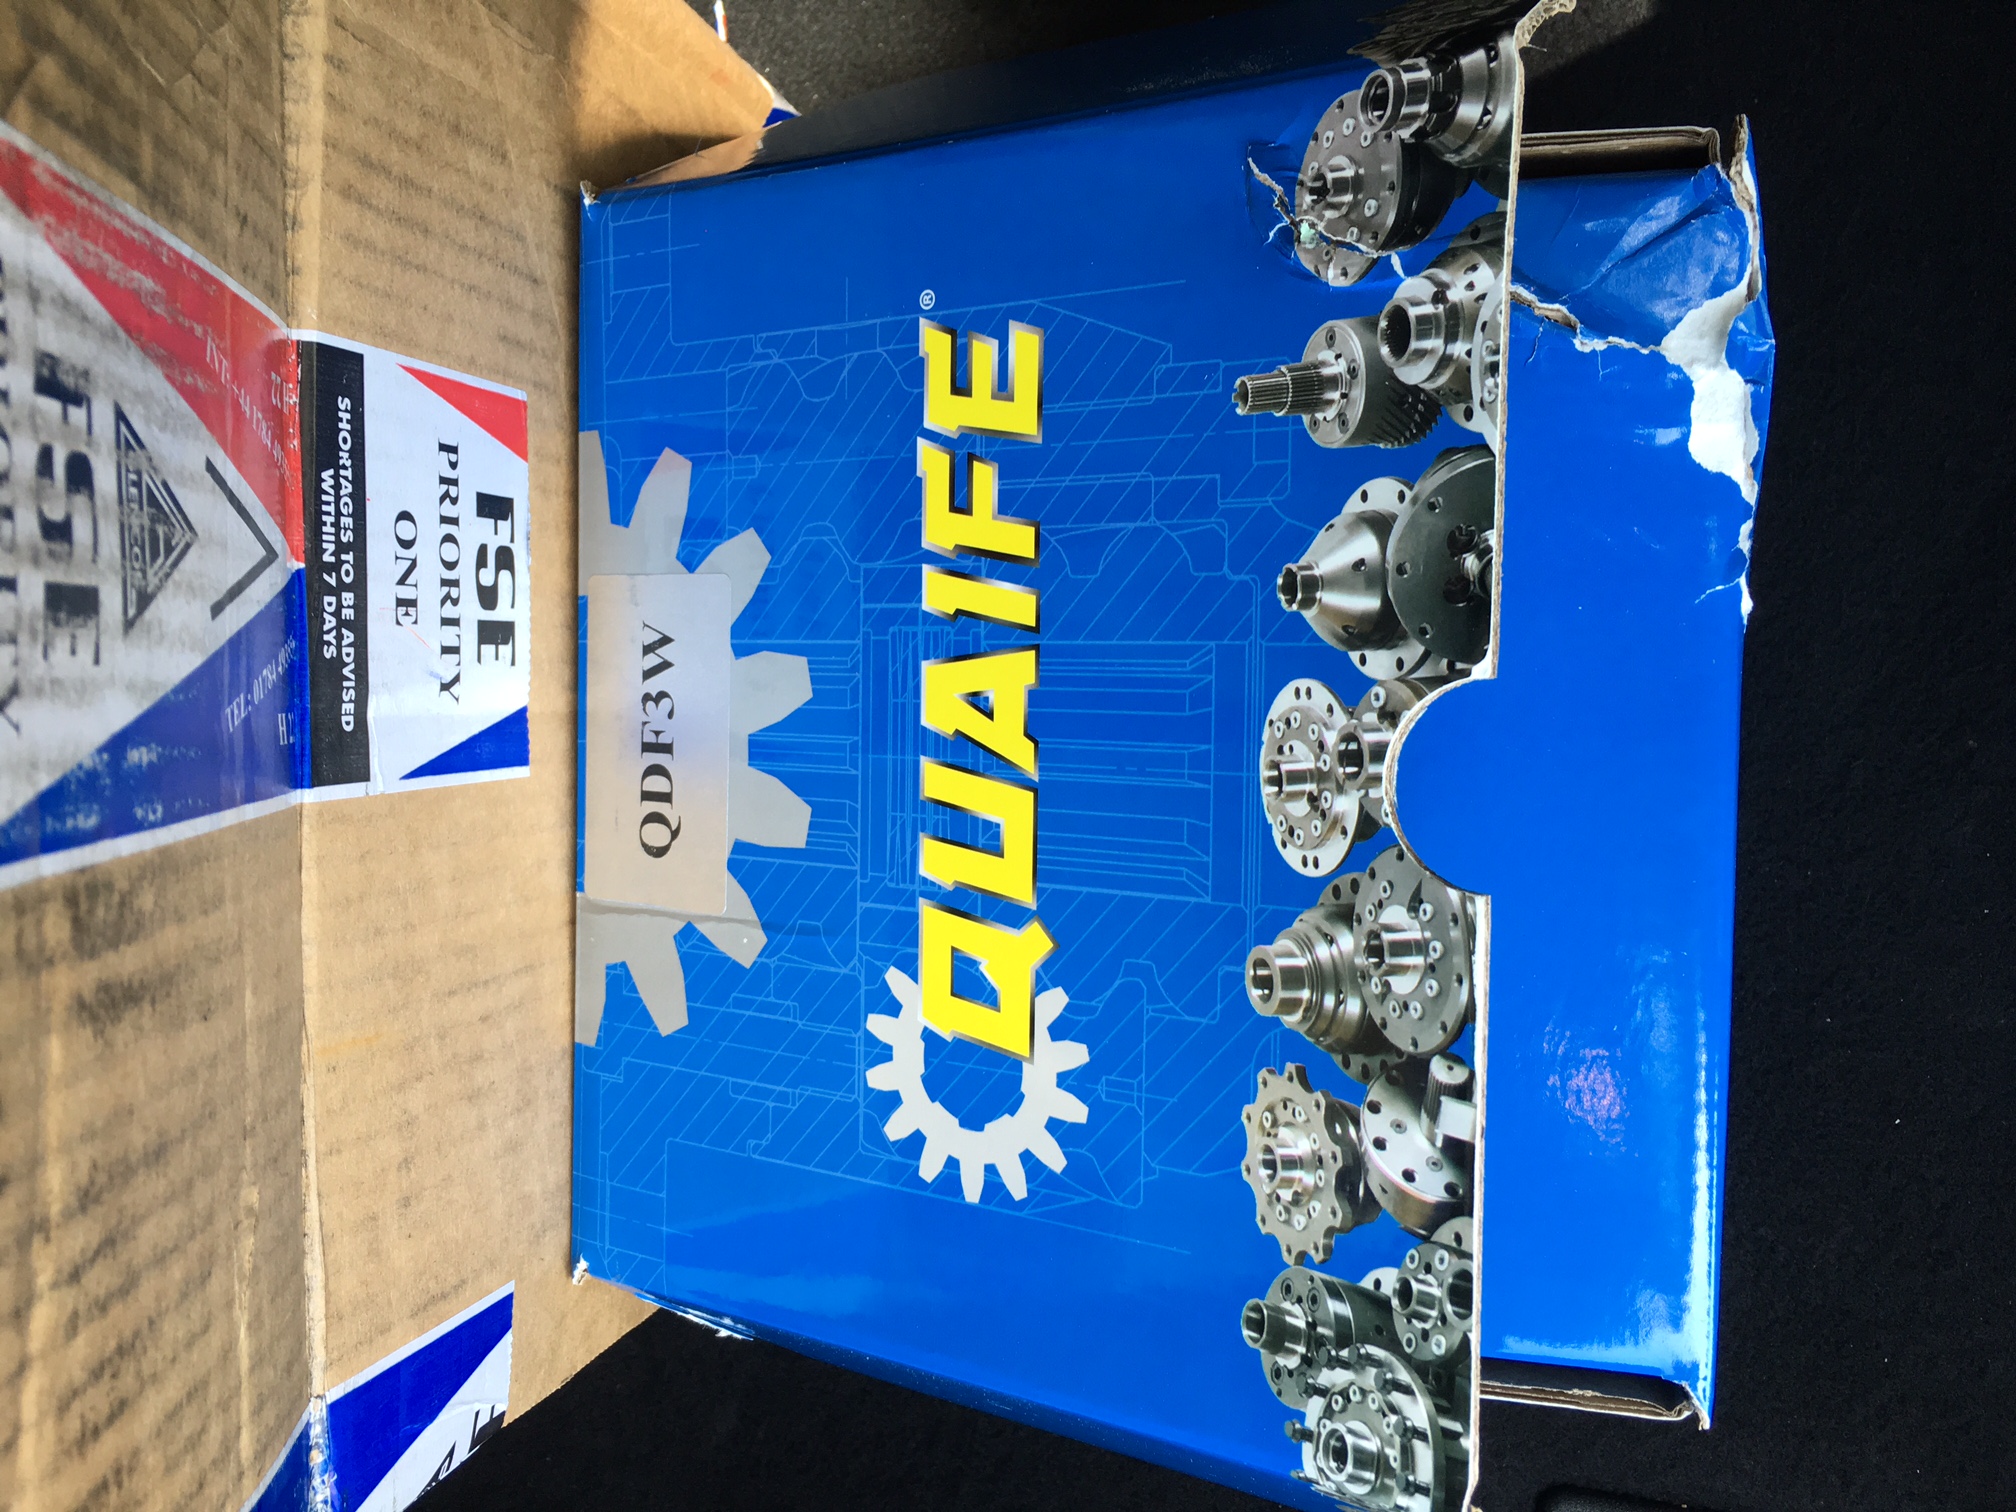
Quaife QDF3W ATB
2 Timkin LM603049 bearings (Use this brand specifically)
2 Timkin LM603012 bearing races (Use this brand specifically)
2 Jaguar half shaft seals (diffentail) Part XR821244
2 quarts Motorcraft 75w-140 synthetic diff oil (from local Ford dealer)
Permatex Gear Oil RTV gasket maker #81182
Parking brake on. Jack the vehicle up and get it at least 18" of the ground. I never go higher than the second to last notch on the jackstands. Personally I double them because I don't want to die under a car.
Remove the back wheels.
Open hatch/trunk, remove everything to get to the battery. Loosen but don't remove the ground wire. Leave hatch/trunk open.
Open both doors.
With foot OFF the brake push Start to wake up car. Now with foot on the brake shift to neutral and release the parking brake.
Jump out and remove the negative from the battery. Put a rag over the latch hole so the hatch/trunk doesn't latch shut when you lower it. Now you can open/close doors and turn the driveshaft.
Remove rear muffler:
Remove two bolts from the front/middle hanger of the muffler between the 'in' pipes.
Loosen the two pipe clamps. Penetrating oil is good here.
Unplug the vacuum lines from the exhaust valves at the valve.
Remove the two rubber hangers from the back of the muffler. A long screwdriver and WD40 helps.
Place the trans jack under the muffler.
Wiggle left and right while pulling and the muffler should slide out of the mid pipe. Set aside muffler.
Remove the aluminum heat shield.
Loosen the two bolts of the big black bracket (known as the "k" bracket).
Remove the two white plastic vacuum line guides from the k bracket but leave them up there.
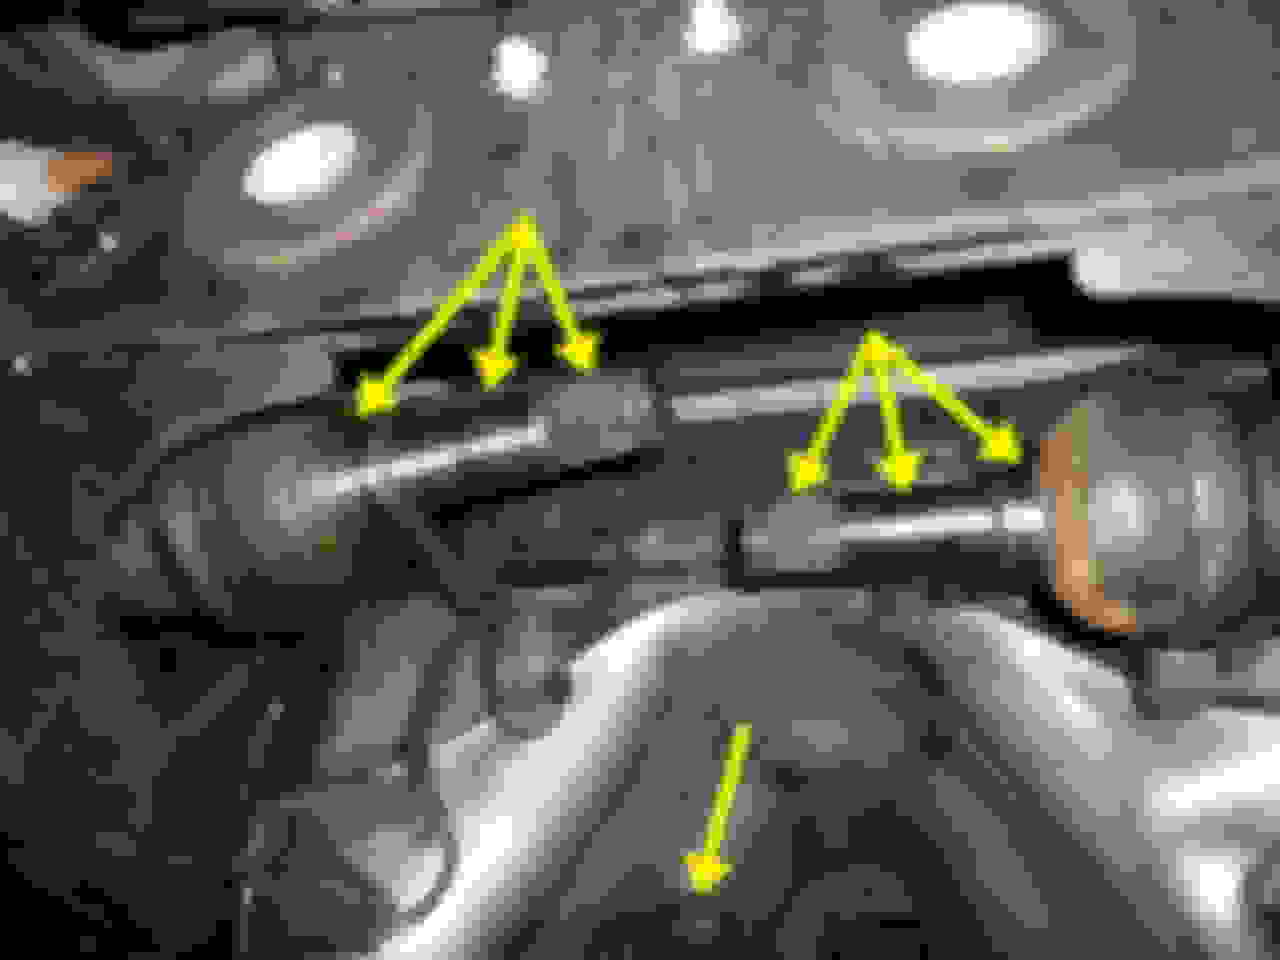
Rear suspension (both sides):
Unplug the ABS sensor and tuck wire. (1)
Remove the brake calipers and suspend with bungee cords or similar. DO NOT LET THEM HANG ON THE BRAKE LINES.
Remove the upper control arm knuckle (2). 18mm/8mm. You'll see at the bottom there is a little hex. That's where the 8mm goes to prevent it from spinning as you loosen.
Or you can use a crow bar and downward pressure to keep the knuckle from spinning while you loosen.
Remove the lower toe adjustment arm. (3)
Suspend everything like so...
Remove center exhaust:
Remove center steel bracket.
Loosen foward clamps.
Remove rear hangers from brackets. (again long screwdriver and WD40)
Wiggle pipe free and set aside.
Remove the heat shield.
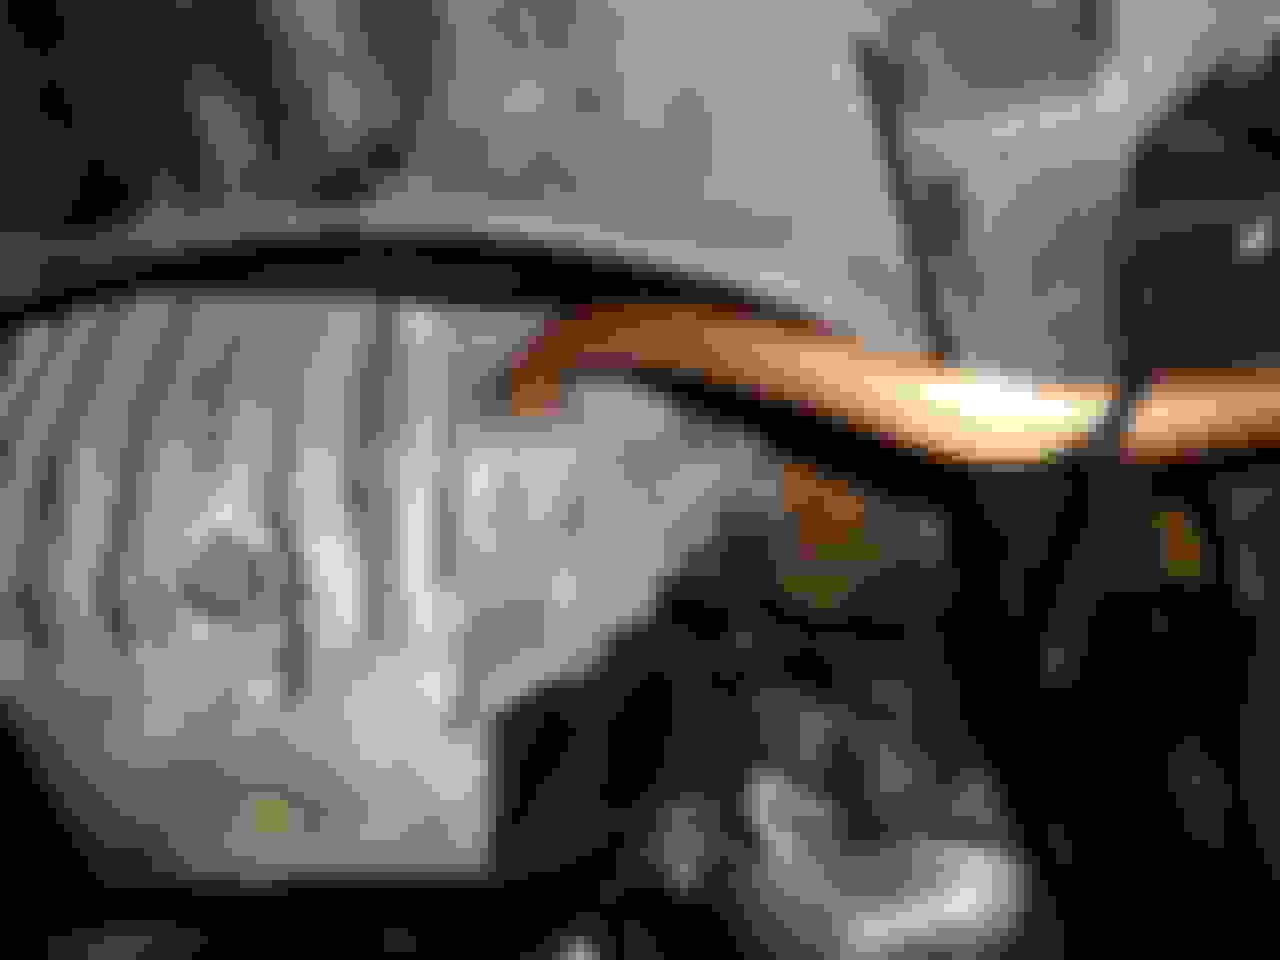
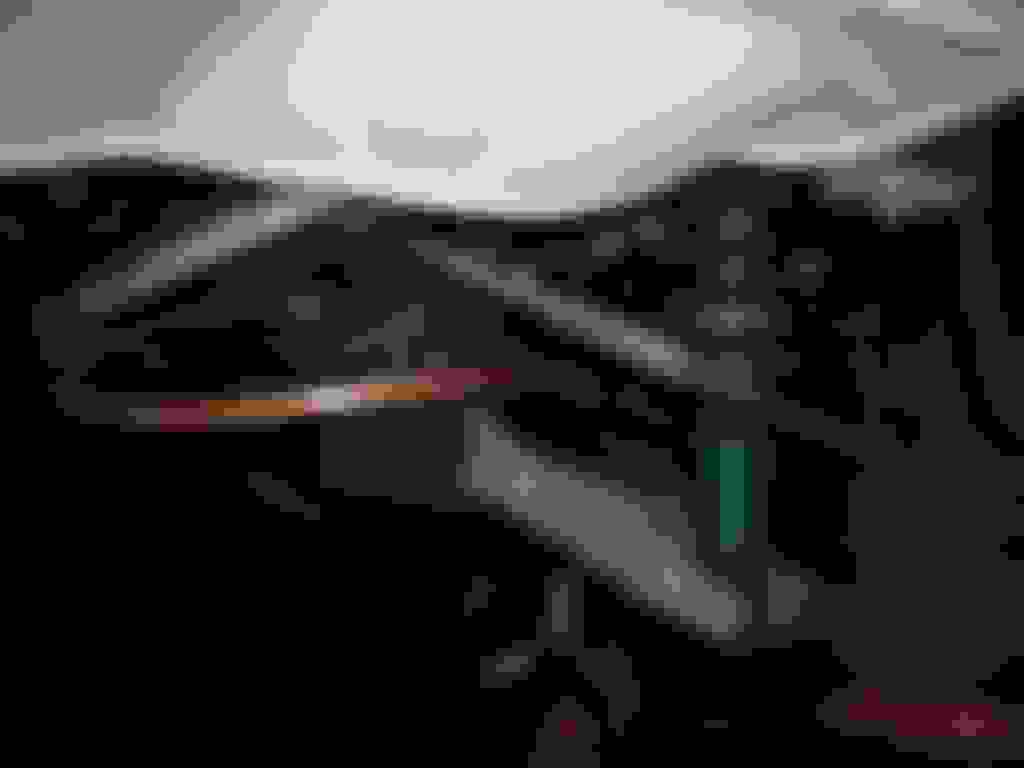
Driveshaft: There is a rubber coupling between the driveshaft and the diff. You will be removing the coupling from the diff. THE COUPLING MUST STAY ATTACHED TO THE DRIVESHAFT. Mark the diff and the coupling so you can assemble it the exact same way. Also note and mark any extra nuts on the bolts and there location. This is for balance. I use white-out. You will need to support the shaft once removed. I used a spare jackstand. Have something ready.
Remove the three bolts between the diff and coupling.
Remove the two bolts at the carrier bearing in the center of the driveshaft.
With the stand between the diff and the carrier bearing push the driveshaft forward away from the diff and rest the shaft on the jackstand. Should go an inch or two.
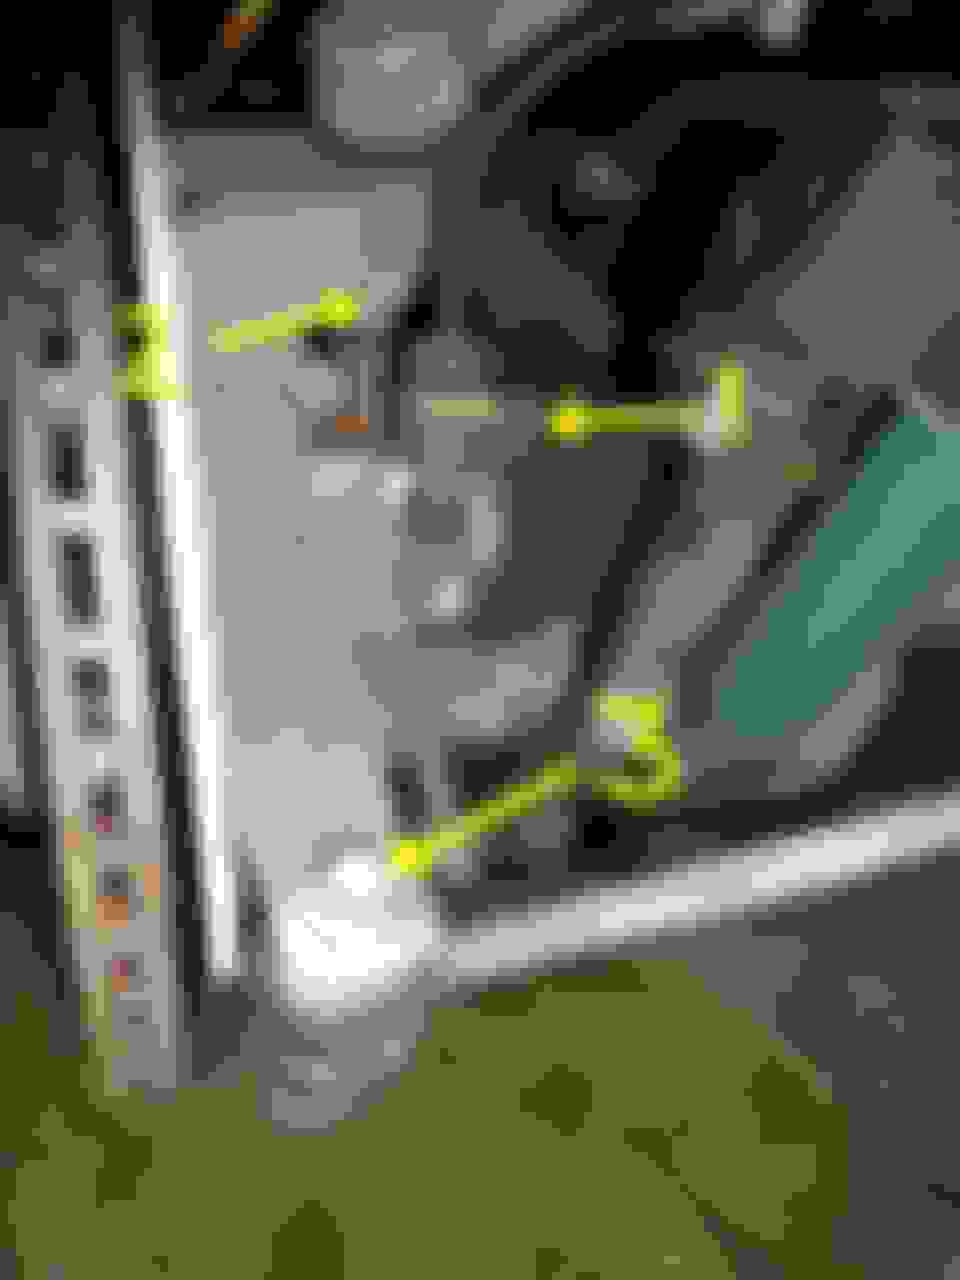
Remove the "K" bracket:
Using a standard floor jack support the diff.
Remember those two you loosened earlier in the back above the muffler? Unscrew them to about 3/4 to a 1 inch gap.
Remove the two bolts of the bracket just behind the diff.
Remove the two bolts with the big "washer" part.
Remove the three big bolts (each side) at the front end of the bracket near the sills.
Supporting the bracket remove the last two bolts about a foot in from the 3 big bolts. You'll be putting these back in soon. Lower the bracket to the floor and remove the bolts in the back dropping the bracket.
THIS IS IMPORTANT. The bracket should be free but trapped in the jack. DO NOT LOWER THE JACK UNTIL YOU RE-INSTALL THESE BOLTS.
Here's the important bolt location...
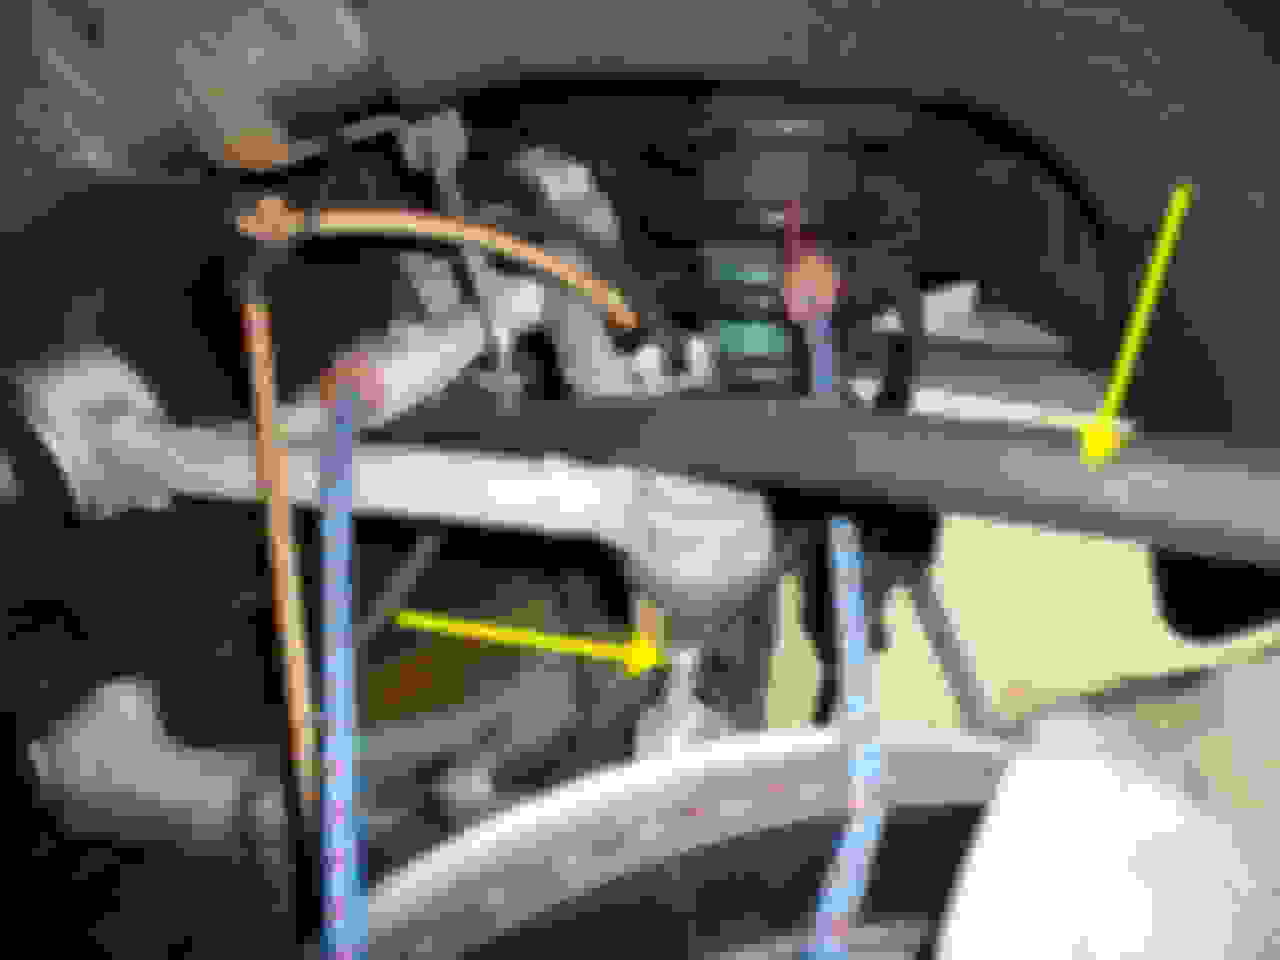
Here is the bolt installed without the K bracket. This supports the diff carrier and must be in before you remove the jack from holding the diff.
Once you install the bolts (they were blueish purple in mine) you can lower the jack and remove the "K" bracket. Watch the muffler vacuum lines and push them aside. I left mine connected and just kept them out of the way.
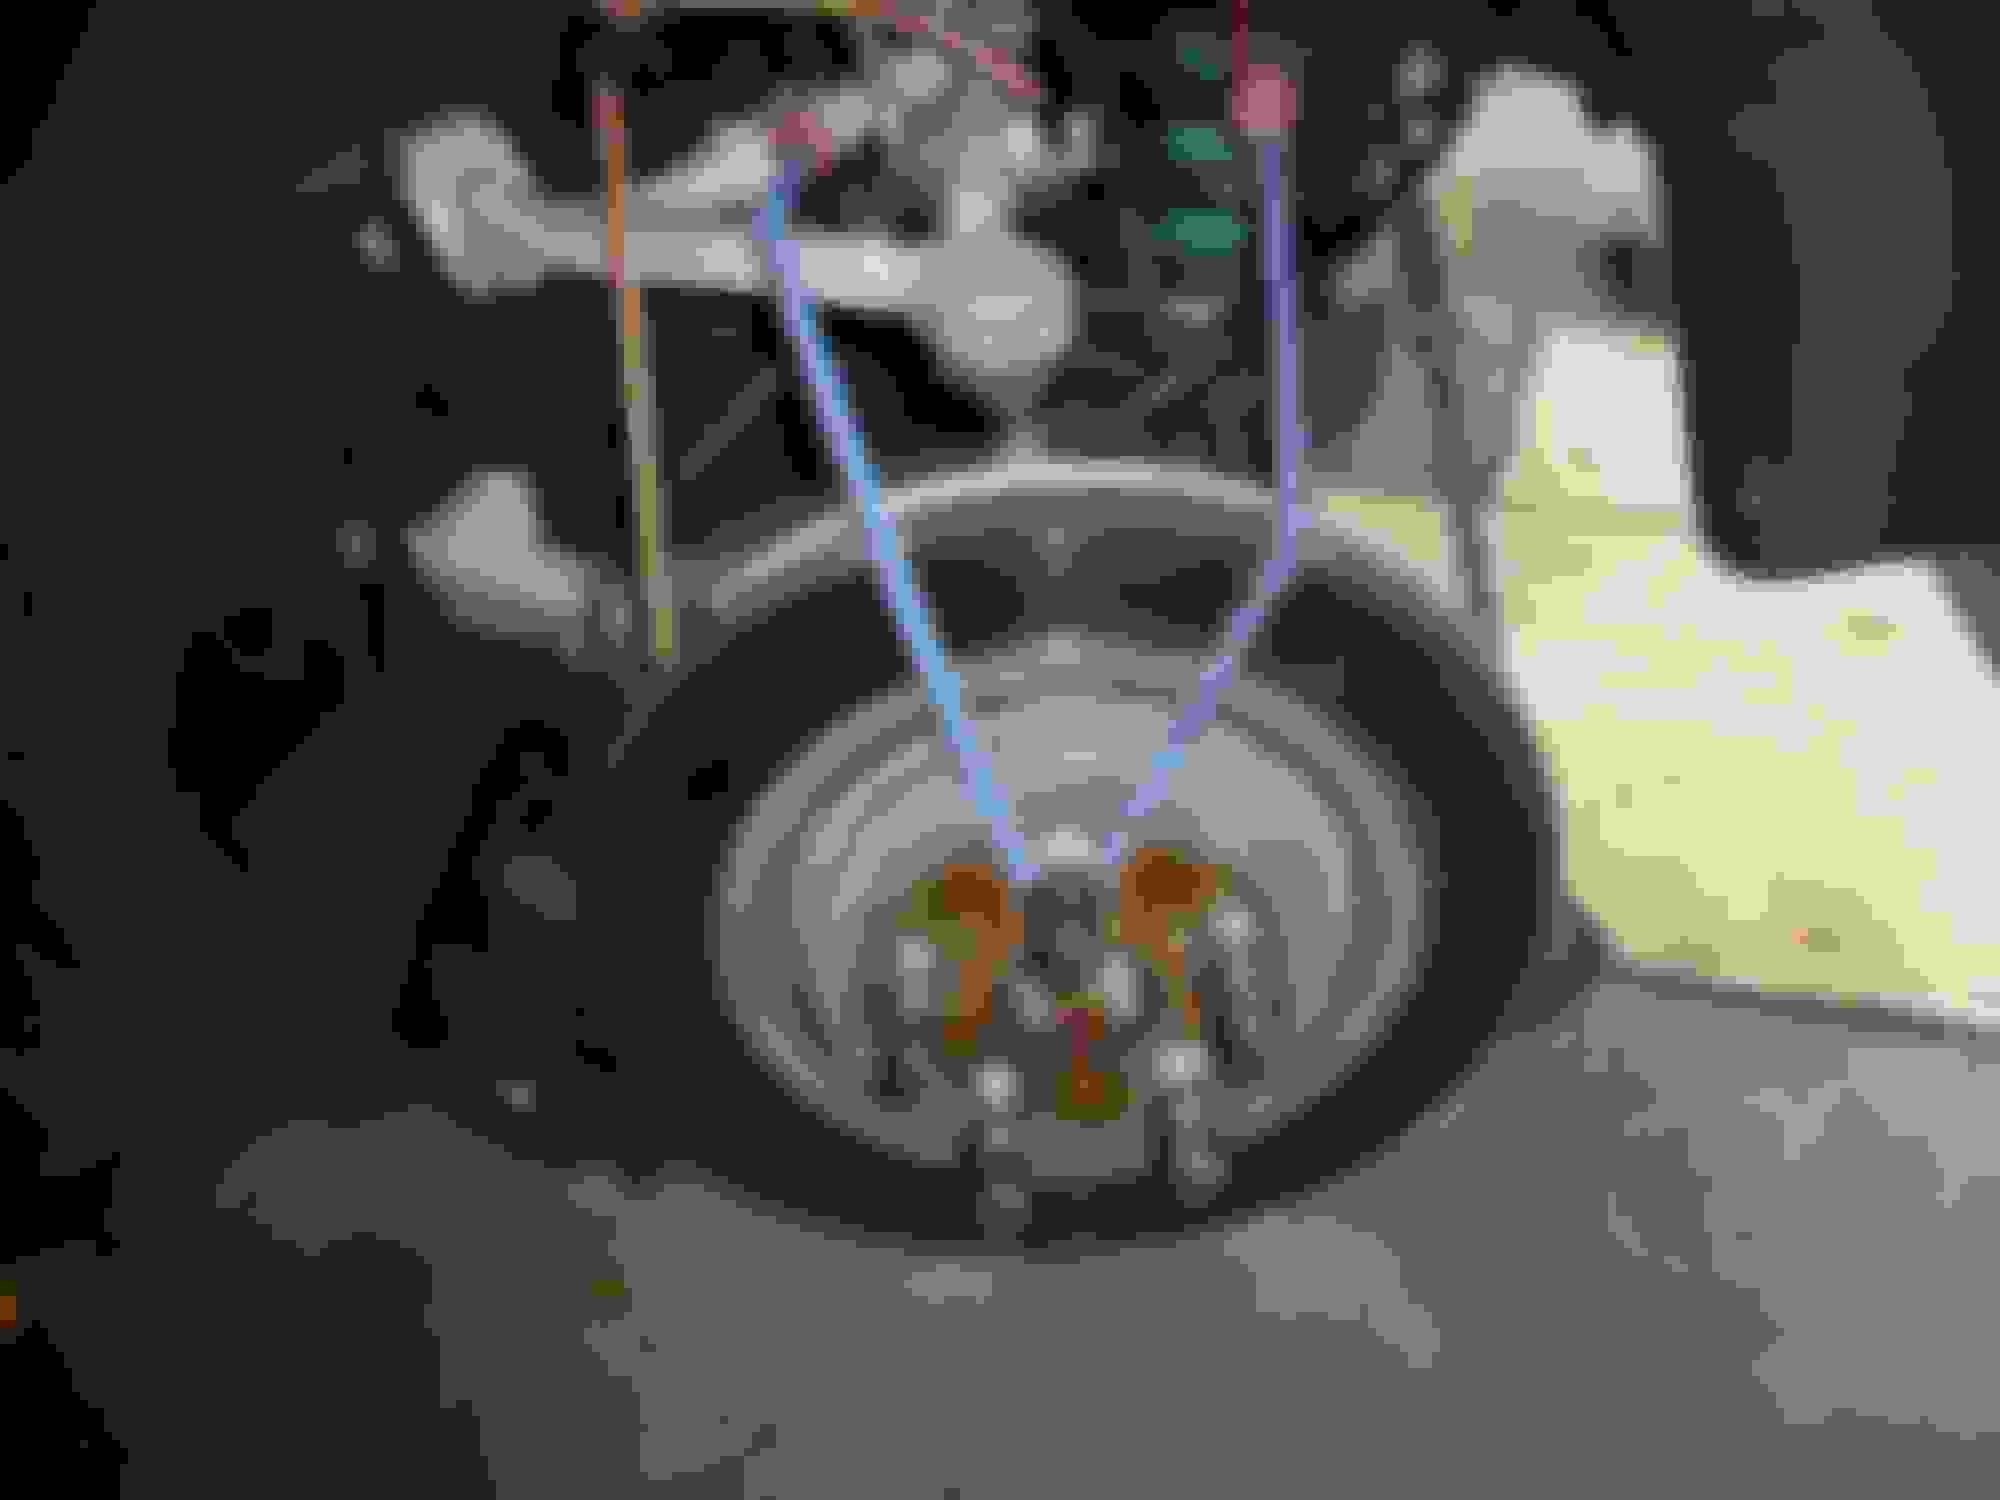
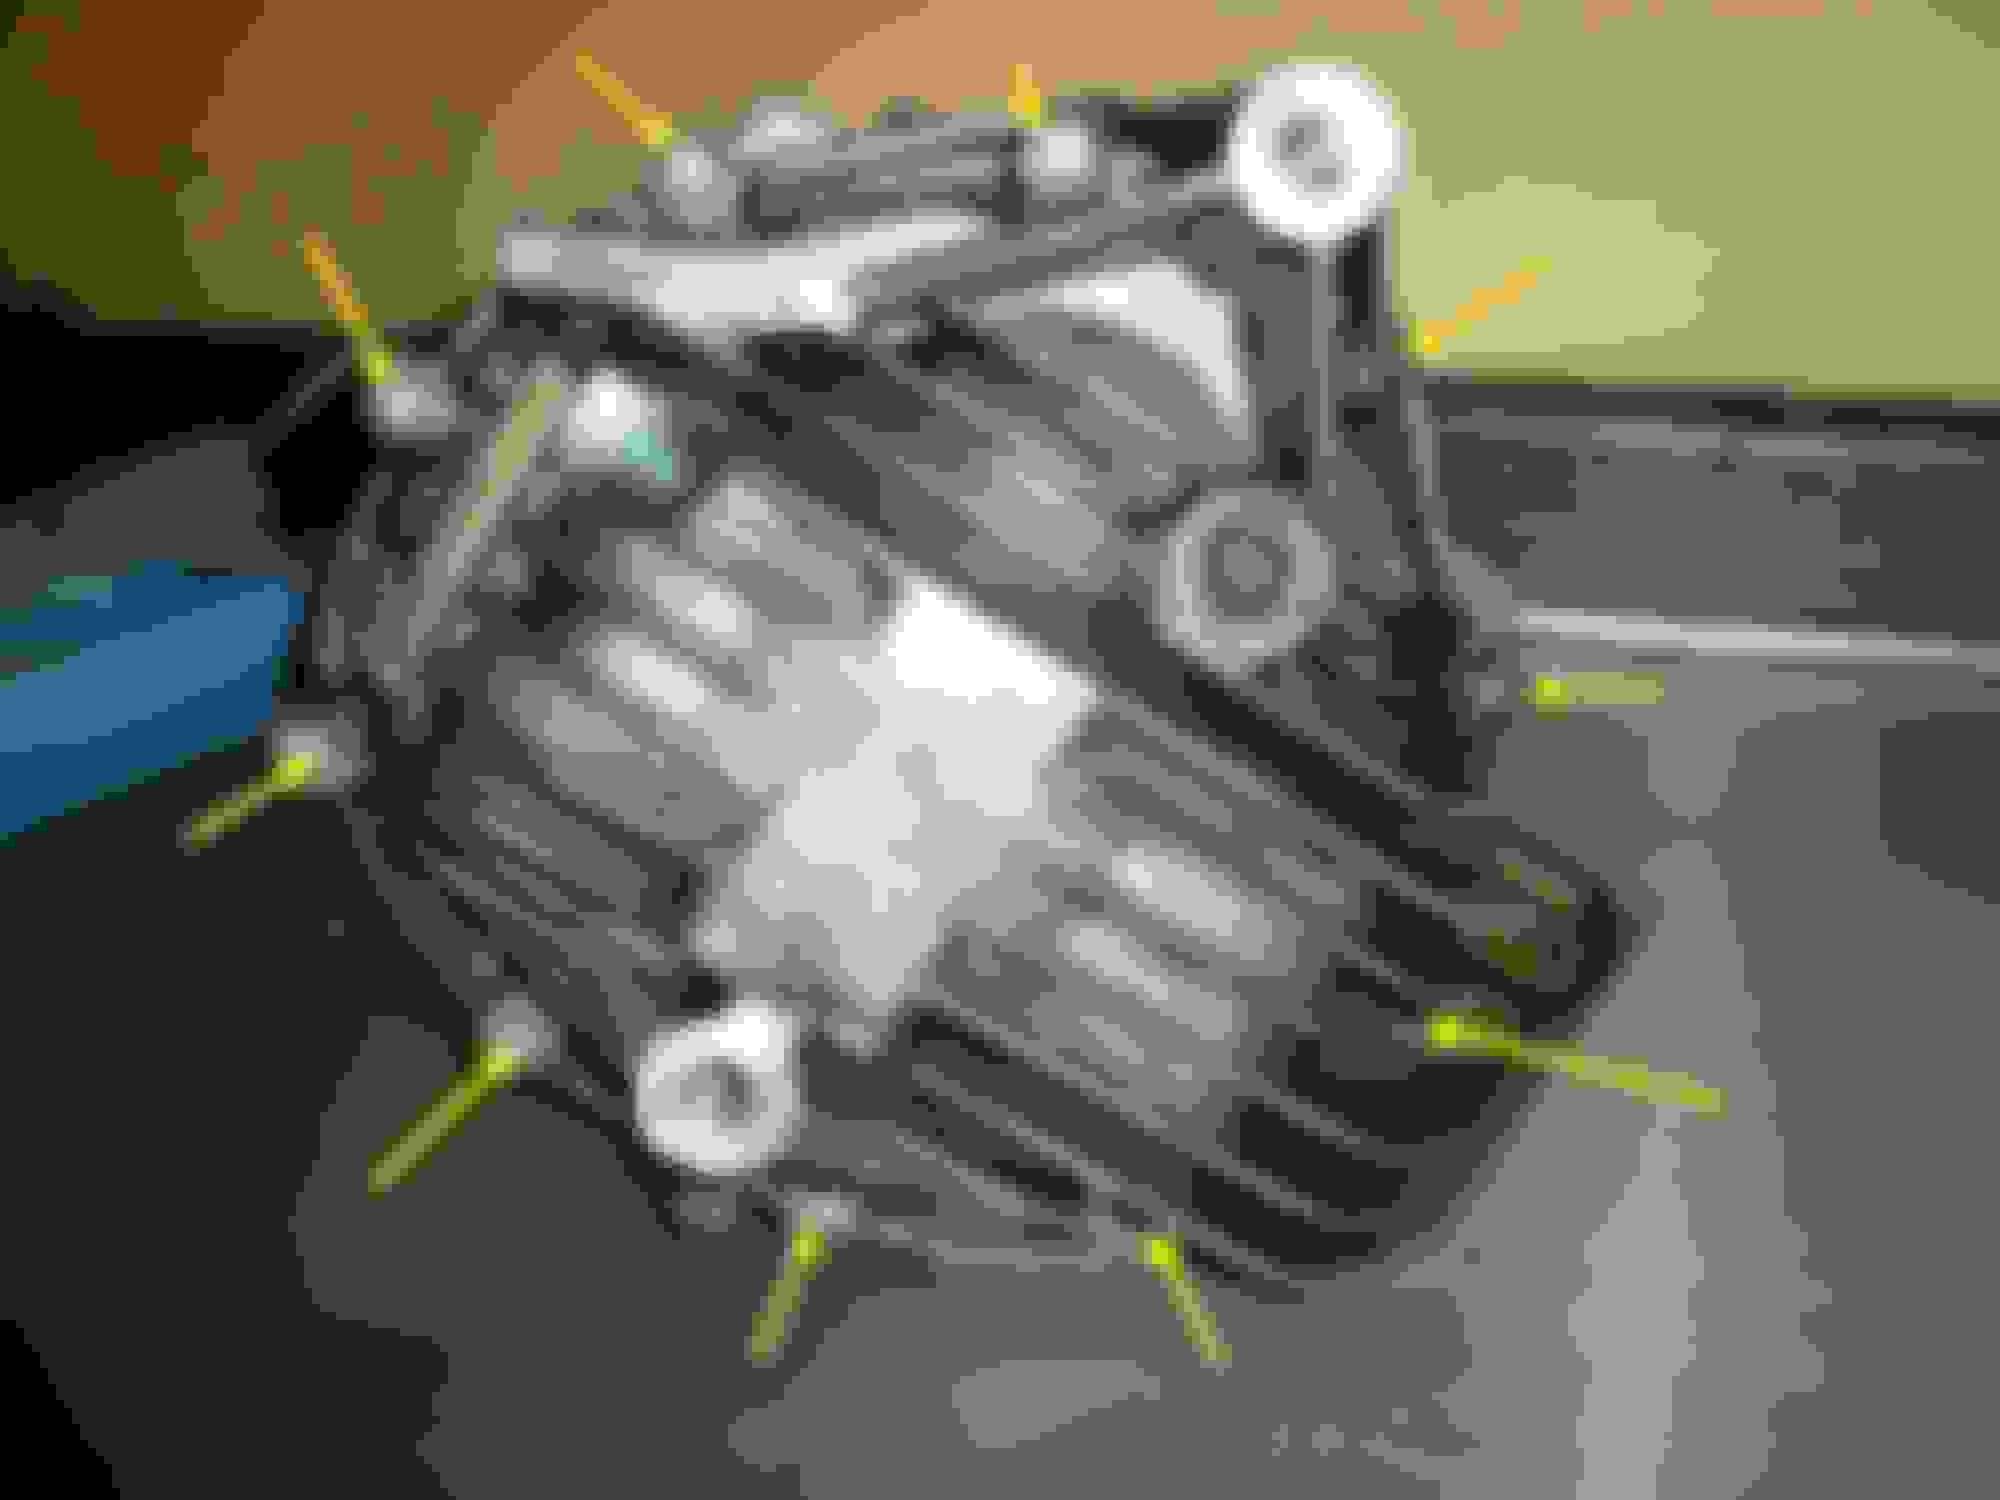
Diff removal:
Crack the two 18mm bolts in the back of the diff. I used a 3/8 drive/short socket and a "persuader" for this.
Crack the forward vertical bolt.
Position the trans jack under the diff. A 2x4 in the front will help. Apply slight upward pressure to support the diff.
With a helper to catch the brake disc, remove the bungee cords supporting them.
Using a long screwdriver or crowbar gently pry the halfshafts out of the diff. They should pop easily. When you do this the disc will 'splay' outward and this is where your helper comes in. He can gently 'splay' the disc until it's resting.
Remove the two 18mm bolts in the back of the diff.
Remove the vertical bolt in the front of the diff.
Carefully lower the diff and remove.
After removal: Re-install the bungees to re-support the brake discs. "Un-splay" them.
Clean the halfshafts.
The other arrow is the driveshaft and shows the approximate position needed for diff removal.
Tools and supplies: Those big snap ring pliers I mentioned earlier.
Dial indicator.
Gear marking compound.
Gear oil specific sealer/adhesive.
Motorcraft synthetic 75W-140 gear oil. THIS IS JAG SPECIFICATION!
The diff has 1.25L of fluid inside. Remove the fill plug and sit upright to drain. Once it's drained (I left mine overnight) put the diff in a tray on a workbench.
Remove the half shaft seals.
Remove the diff cover bolts.
Using a dead blow plastic hammer remove the diff cover. No gasket per se. Just adhesive.
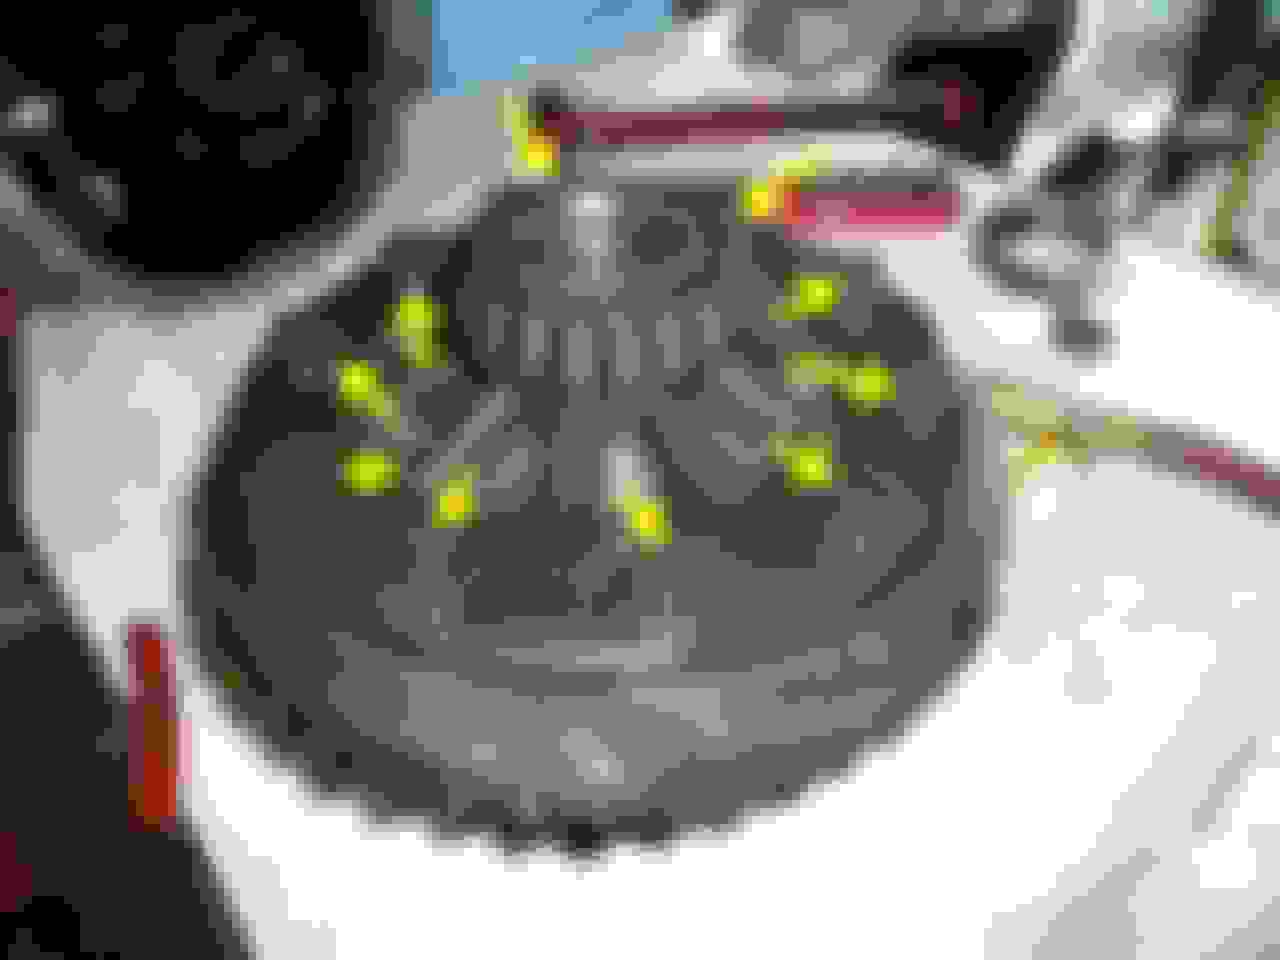
Now your staring at the cheap *** open diff. Using the dial indicator measure the backlash on the ring gear and make a note of it.
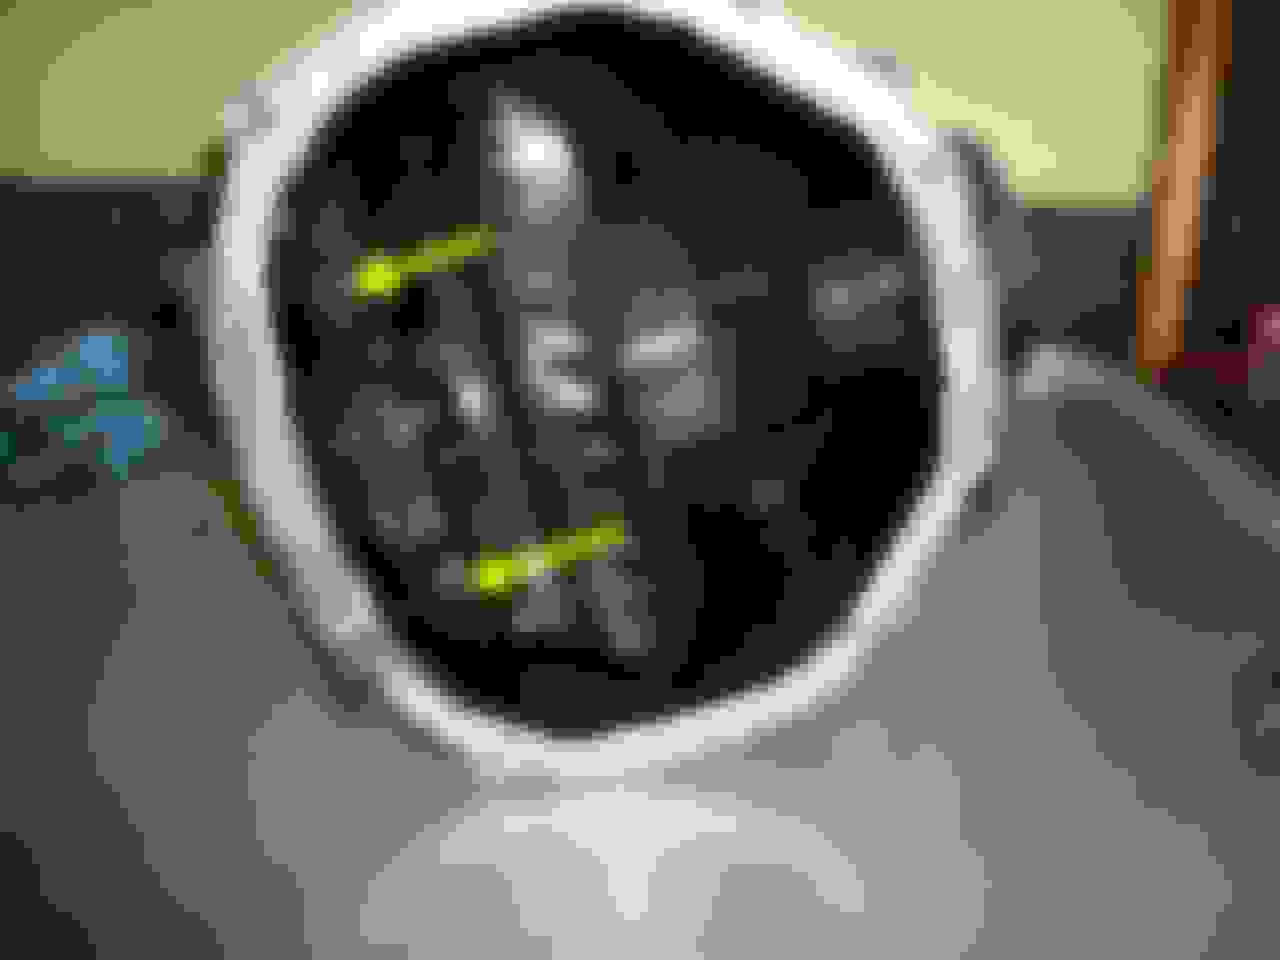
Remove the two bolts holding the race and bearing.
Remove the snap ring on the right side.
This snap ring has a specific thickness and the one they chose at the factory for pinion/gear settings. Mark the outside so you can install it the same way.
Now you can remove the guts. Once out clean the pinion gear and the inside of the housing.
IMPORTANT: When you remove the diff there is a spacer on the left side. Again this was used to properly setup pinion/gear settings at the factory. Note the direction of position and remove.
With the diff and ring gear on the table remove the 10 bolts holding the ring gear on the diff. Clean the bolts.
Remove the ring gear EVENLY from the diff. I had to use a dead blow hammer enthusiastically.
Once removed clean the gear until it's oil free. Soaking it in very hot water makes it easier to install on the new diff. Now's the time to do it.
Now onto the Quaife!
Install the new Timkin bearings onto the diff just like they are on the old one. Make sure the bearings are all way down on the diff NO DAYLIGHT under the bearing. You can use a press or a hammer and socket. If you use the hammer/socket method make sure the socket only touches the inside race of the bearing or you'll ruin it. Keep the bearing even as it goes down.
Install the ring gear onto the Quaife. (thoroughly dry if you soaked it first) Once again dead-blow plastic hammer is useful.
Install the ten bolts and tighten to pull the ring gear tight to the diff EVENLY.
Remove all ten bolts.
Put red (high strength) threadlocker on the ten bolts and finger tighten.
Torque all bolts in two steps in a star pattern. 50ft/lbs first then 85ft/lbs final.
Put a few drops of oil in each bearing and spin to coat. Smear a thin film inside each race.
Holding the races against bearings the insert the right side first then the left.
Install the snap ring on the right side.
Tap the spacer behind the race on the left side.
Re-install the bearing cap on the left side. 80ft/lbs.
Apply gear marking compound to the ring gear. Follow instructions on any drying time.
Rotate the gear several times through the pinion in both directions.
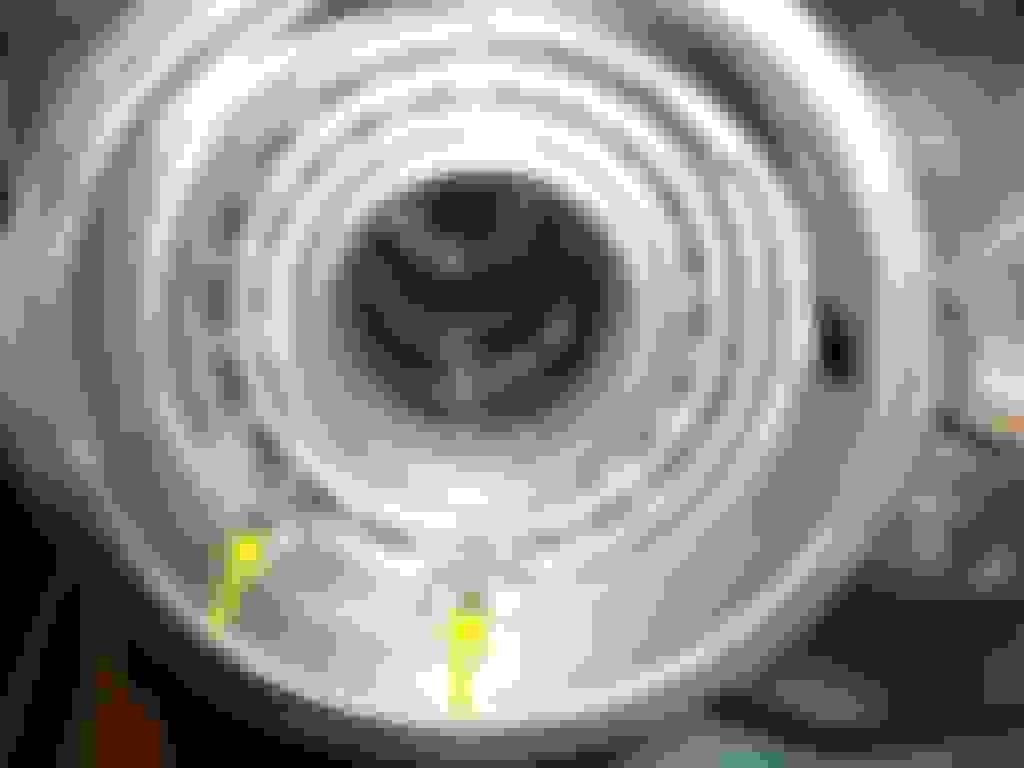
You want the contact spot to look like this. In the center in a nice oval.
IMPORTANT! If it doesn't have this pattern it's time to take it to a reputable differential shop and have them setup the diff. By the time you buy the shim kit and snap rings you've already paid enough for someone who does this for a living to do it! If it's wrong you'll eat your very expensive diff.
Check your backlash. It should be a few thousandths tighter with the new bearing but should be no tighter than .005. As long as it's tighter but not too tight. Mine went from .017 to .012-ish. Up to you to verify.
Remove all the old adhesive from the diff cover and sealing surface on the diff housing. Make sure both surfaces are clean and dry. Squeeze a 1/8 or 3/16 inch bead of the Diff sealer in the channel of the diff cover. Follow the instructions of the sealer. Mine required finger tightening, leave for one hour then torque to spec in a star pattern. I had to leave mine 24 hours to dry. I waited 36 to be safe.
Install the new halfshaft seals.
Reinstall the diff in the car. Reverse of above.
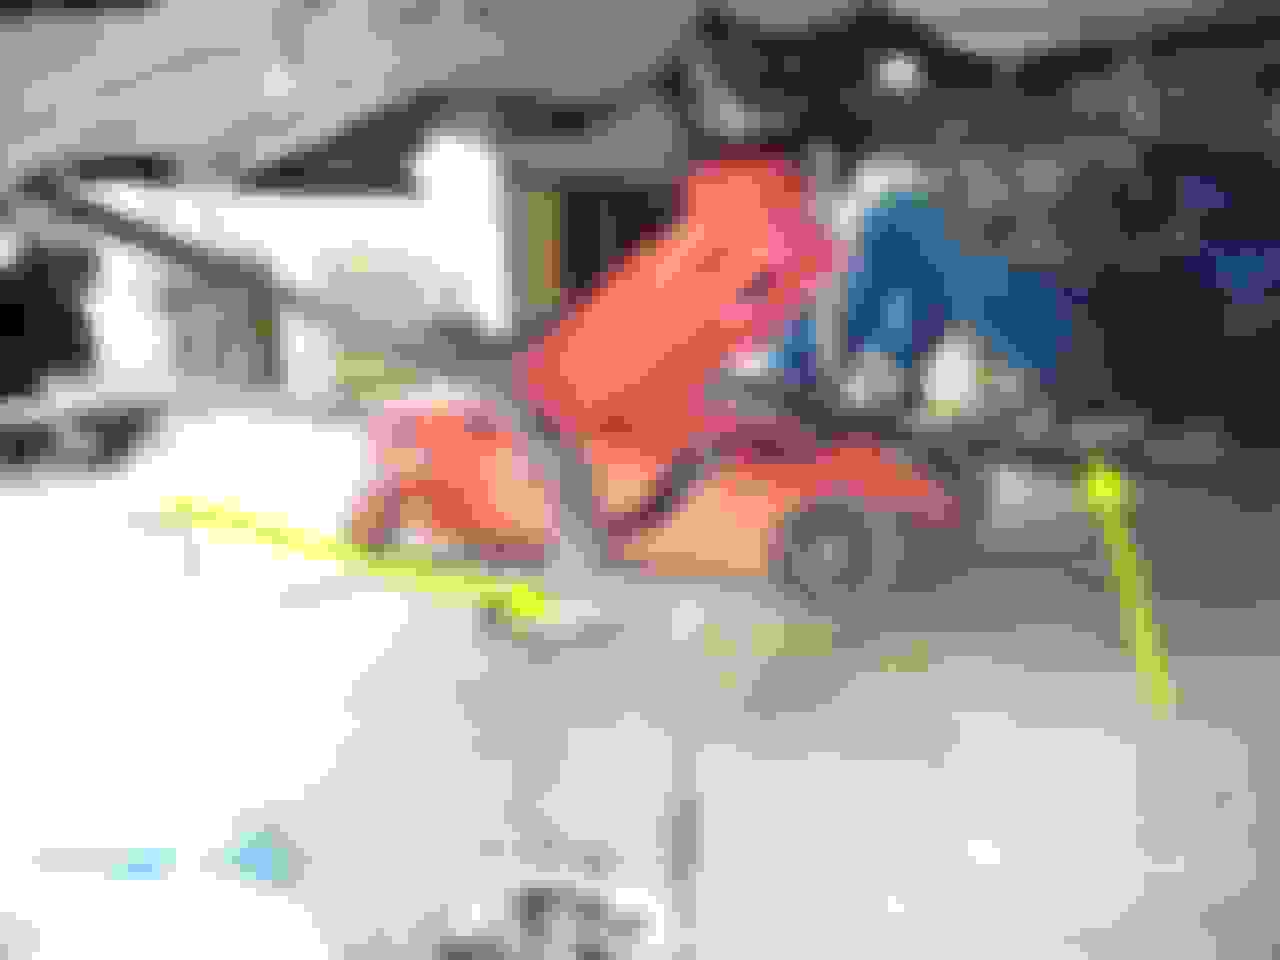
Fill diff with fluid. Capacity is 1.25L so buy 2 quarts. Fill until it comes out of the fill hole. I used some 1/2 inch coil copper pipe and 1/2 inch ID plastic tubing to refill the diff. Using a funnel and a small step ladder it looked like this...
This stuff is thick and goes slow. The warmer the fluid the better.
I spun the tires around a few time before driving.
The improvement in driving is....stunning. Off the line it's like a jack rabbit. No more 'one wheel peel'! Never again will a Prius out pull me from a traffic light in the rain! At the limit it's much more communicative and predictable. Leaves equal length "11's"! Catching the rear from a drift is much less violent. Almost too easy. I think this is the single best improvement you can do to this vehicle. I wish the rear anti-roll bar was a little softer to facilitate a little understeer under deceleration that's correctable with throttle input.
Tools and supplies: Those big snap ring pliers I mentioned earlier.
Dial indicator.
Gear marking compound.
Gear oil specific sealer/adhesive.
Motorcraft synthetic 75W-140 gear oil. THIS IS JAG SPECIFICATION!
The diff has 1.25L of fluid inside. Remove the fill plug and sit upright to drain. Once it's drained (I left mine overnight) put the diff in a tray on a workbench.
Remove the half shaft seals.
Remove the diff cover bolts.
Using a dead blow plastic hammer remove the diff cover. No gasket per se. Just adhesive.
Now your staring at the cheap *** open diff. Using the dial indicator measure the backlash on the ring gear and make a note of it.
Remove the two bolts holding the race and bearing.
Remove the snap ring on the right side.
This snap ring has a specific thickness and the one they chose at the factory for pinion/gear settings. Mark the outside so you can install it the same way.
Now you can remove the guts. Once out clean the pinion gear and the inside of the housing.
IMPORTANT: When you remove the diff there is a spacer on the left side. Again this was used to properly setup pinion/gear settings at the factory. Note the direction of position and remove.
With the diff and ring gear on the table remove the 10 bolts holding the ring gear on the diff. Clean the bolts.
Remove the ring gear EVENLY from the diff. I had to use a dead blow hammer enthusiastically.
Once removed clean the gear until it's oil free. Soaking it in very hot water makes it easier to install on the new diff. Now's the time to do it.
Now onto the Quaife!
Install the new Timkin bearings onto the diff just like they are on the old one. Make sure the bearings are all way down on the diff NO DAYLIGHT under the bearing. You can use a press or a hammer and socket. If you use the hammer/socket method make sure the socket only touches the inside race of the bearing or you'll ruin it. Keep the bearing even as it goes down.
Install the ring gear onto the Quaife. (thoroughly dry if you soaked it first) Once again dead-blow plastic hammer is useful.
Install the ten bolts and tighten to pull the ring gear tight to the diff EVENLY.
Remove all ten bolts.
Put red (high strength) threadlocker on the ten bolts and finger tighten.
Torque all bolts in two steps in a star pattern. 50ft/lbs first then 85ft/lbs final.
Put a few drops of oil in each bearing and spin to coat. Smear a thin film inside each race.
Holding the races against bearings the insert the right side first then the left.
Install the snap ring on the right side.
Tap the spacer behind the race on the left side.
Re-install the bearing cap on the left side. 80ft/lbs.
Apply gear marking compound to the ring gear. Follow instructions on any drying time.
Rotate the gear several times through the pinion in both directions.
You want the contact spot to look like this. In the center in a nice oval.
IMPORTANT! If it doesn't have this pattern it's time to take it to a reputable differential shop and have them setup the diff. By the time you buy the shim kit and snap rings you've already paid enough for someone who does this for a living to do it! If it's wrong you'll eat your very expensive diff.
Check your backlash. It should be a few thousandths tighter with the new bearing but should be no tighter than .005. As long as it's tighter but not too tight. Mine went from .017 to .012-ish. Up to you to verify.
Remove all the old adhesive from the diff cover and sealing surface on the diff housing. Make sure both surfaces are clean and dry. Squeeze a 1/8 or 3/16 inch bead of the Diff sealer in the channel of the diff cover. Follow the instructions of the sealer. Mine required finger tightening, leave for one hour then torque to spec in a star pattern. I had to leave mine 24 hours to dry. I waited 36 to be safe.
Install the new halfshaft seals.
Reinstall the diff in the car. Reverse of above.
Fill diff with fluid. Capacity is 1.25L so buy 2 quarts. Fill until it comes out of the fill hole. I used some 1/2 inch coil copper pipe and 1/2 inch ID plastic tubing to refill the diff. Using a funnel and a small step ladder it looked like this...
This stuff is thick and goes slow. The warmer the fluid the better.
I spun the tires around a few time before driving.
The improvement in driving is....stunning. Off the line it's like a jack rabbit. No more 'one wheel peel'! Never again will a Prius out pull me from a traffic light in the rain! At the limit it's much more communicative and predictable. Leaves equal length "11's"! Catching the rear from a drift is much less violent. Almost too easy. I think this is the single best improvement you can do to this vehicle. I wish the rear anti-roll bar was a little softer to facilitate a little understeer under deceleration that's correctable with throttle input.
Too bad it's way above my abilities as a Sunday afternoon shade tree mechanic. My DIY ability maxed out with Steve's (White XKR) remote top kit.
Would you consider doing it again for a fee?
Stuart
P.S. I'll buy the Stout, too!
Thanks Stuart! With the whole liability thing I may consider helping someone for a fee. I never even researched how much an indie would charge to just do the remove/install job. Leaving the actual Quaife install to yourself. Might not be too bad. I do have the trans jack but borrowed the snap ring pliers and dial indicator. Considering how much you save DIY it wouldn't suck too much to just buy them. It took me around 3 hours to get the diff out. About the same for reinstalling it. I'm old and slow but meticulous. You have a vert, I have a coupe and I have no idea where your battery is! Not that I couldn't find it. It seems intimidating but it's relatively easy. Just step by step. Much easier than removing an engine or transmission.
Thanks Stuart! With the whole liability thing I may consider helping someone for a fee. I never even researched how much an indie would charge to just do the remove/install job. Leaving the actual Quaife install to yourself. Might not be too bad. I do have the trans jack but borrowed the snap ring pliers and dial indicator. Considering how much you save DIY it wouldn't suck too much to just buy them. It took me around 3 hours to get the diff out. About the same for reinstalling it. I'm old and slow but meticulous. You have a vert, I have a coupe and I have no idea where your battery is! Not that I couldn't find it. It seems intimidating but it's relatively easy. Just step by step. Much easier than removing an engine or transmission.
Nice job and thanks for sharing the info. Very enlightening to the group. I've done ring and pinion swaps in Corvette's which was somewhat similar and can respect the amount of time that it took . Also doing it under jack stands is a trick too as all of my working were under a lift . So my hats off and enjoy the drive.
Well I guess I now know what is next on the project list. I've been dying to do this myself as well as have a gear made to liven her up (May be able to manipulate the speed sensor to correct).
Well I guess I now know what is next on the project list. I've been dying to do this myself as well as have a gear made to liven her up (May be able to manipulate the speed sensor to correct).
The diff in the 4.2 is the Ford Visteon 8" unit, same as what's used in the S-Type, X350 XJ, early XF and the Lincoln LS.
The Lincoln had a 3.58:1 diff from the factory, which is a bit of an improvement over the XK/XKR's 3.31:1
Interesting! I've always wished the motor turn lower RPM in top gear! Good info!
Driving impression update:
Got to drive it on rain slicked roads yesterday morning. THIS IS A DIFFERENT VEHICLE! I've never had more confidence in this car. Very sure footed. Never stepped out once even from accelerating during a turn after a traffic light. Just smooth forward thrust. The diff is as quiet as stock with no perception of it working. Shame on Jaguar for not installing this at the factory! I can only assume they didn't want this car faster around a track than the Aston Martin V8 Vantage. Too late now! For those on the fence keep in mind this car is going on 10 years old and only made 3 years. I don't know how long Quaife will make this diff for us. It's a micro-tiny niche product. Buy one while you still can!
The gearsets available from the various model Jags and Lincoln/Thunderbird are 2.69, 2.87, 3.07, 3.31, 3.58
Your description of the car after fitting the Quaife reminds me of when I fitted one to my XJR. It totally transformed the car, especially in wet weather. Best mod I ever did on that car.
And yes it was all political why Jags no longer had LSDs, the last models being the X300 and the XJS, until the E-Diff arrived after Ford had sold the company. No way were the Jags allowed to be faster or "better" than Astons, all politics from Ford.
I'm dying to do this now. Especially with the positive feedback each has given. I'm putting this on my to-do calendar along with a possible 3.58 gear coupled with it. Really appreciate the write-up.
So this begs for the following questions...
Does Ford (or is it Eaton) not supply a LSD in this very casing?
Yes, I'm converted. Is it available in the 3.58:1 ratio?
Thank you everyone for your info and insights! I too had the Quaife in the XJR. And the behaviour was nothing short of fantastic. Now I'd like to see the options for the XKR.
Differential torn apart, interesting to note the original fluid was perfectly clear and not discolored, looked brand new. Also no wear or metal particles inside. A very clean diff for 8 years old!

 01-10-2016, 09:26 AM

 This vehicle was equipped from the factory with a standard open differential which limits getting the power down by allowing one wheel to spin. This cures it. The 2010 and later models have an "E-diff" and can't use nor need this improvement. Other generic terms are 'limited slip' and 'posi-traction' This is a TORSEN type. More information can be found here...