When you click on links to various merchants on this site and make a purchase, this can result in this site earning a commission. Affiliate programs and affiliations include, but are not limited to, the eBay Partner Network.
Okay I went over to the bodyshop today. They put the car on the lift, removed the splash guard below ( ? 6 clips ) and then was able to get to back of grill and unscrew original growler badge and remove it, said it was tight but did it.
I put this on the other thread also.
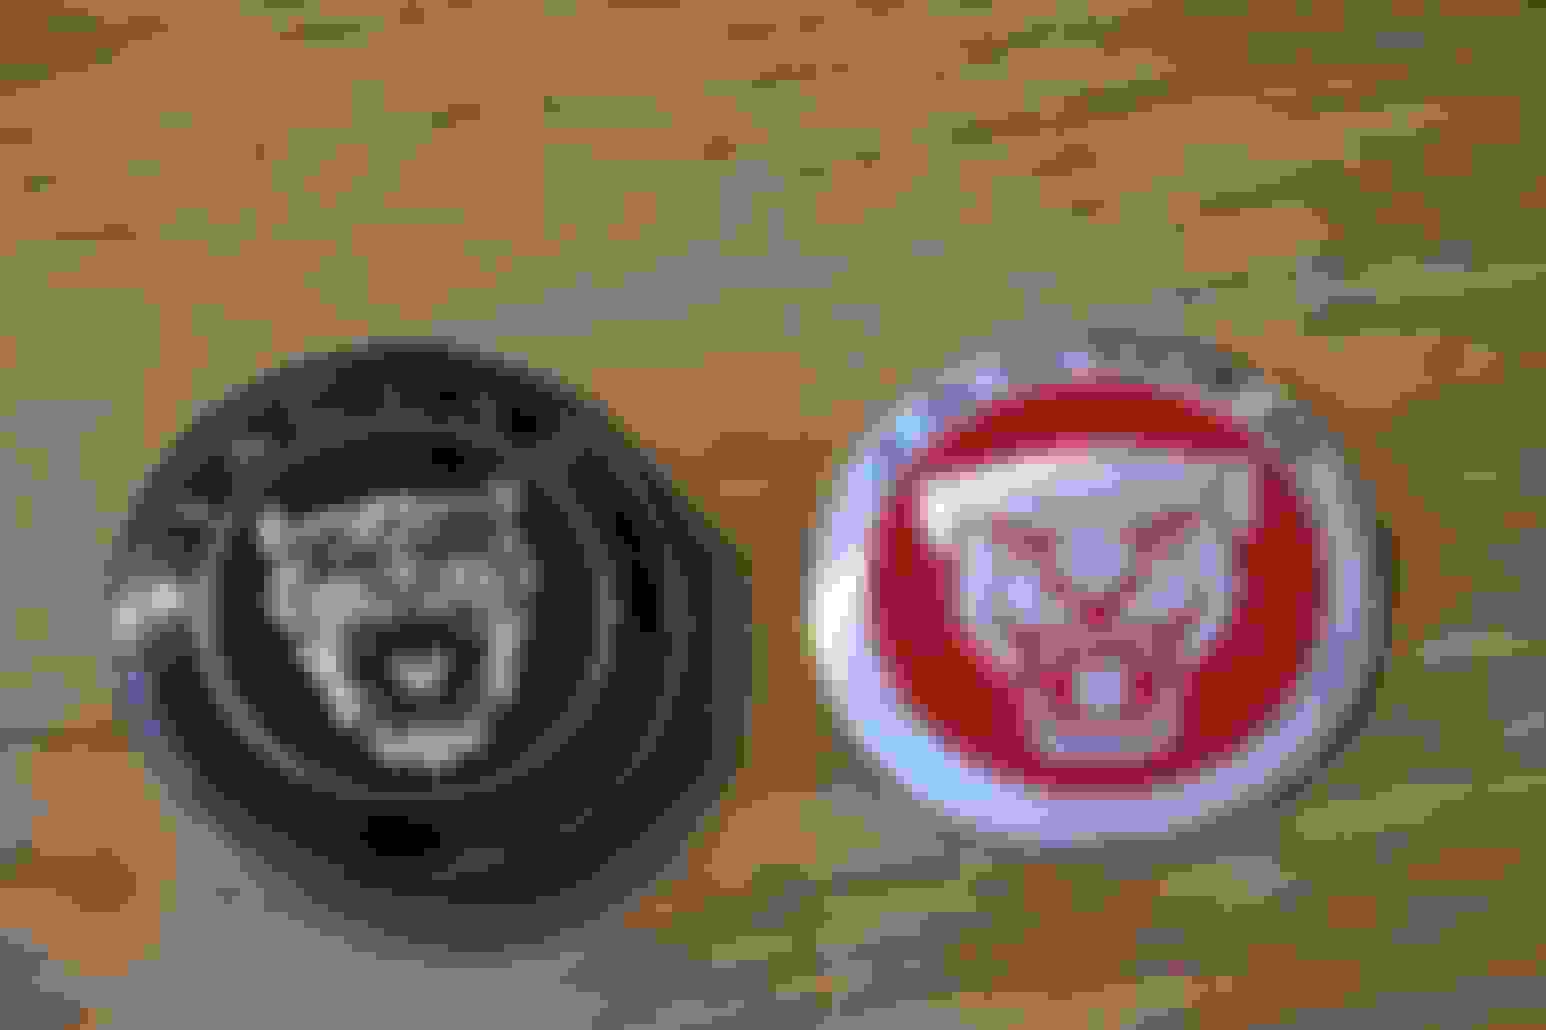
Are you saying that you can replace the original black growler badge with the red one without having to make changes to the red badge and install it as it comes from the factory?
Are you saying that you can replace the original black growler badge with the red one without having to make changes to the red badge and install it as it comes from the factory?
yep, that's what I am saying, I don't know if they cut off the two little plastic pieces that stick out from behind the red badge or not, suspect they did not. see my prior pictures
ok, there is an allen type nut in the middle with a depression in it about 3mm. no way I am going to get a screw to thread in there, could glue a nut or two over it and screw into these. how long of a screw does it need?
What is the size of this badge. I measured my 2012 OEM black badge and it is 85MM. I have not seen any on ebay that size so I guess I need to go to a dealer. Nice job by the way.
What is the size of this badge. I measured my 2012 OEM black badge and it is 85MM. I have not seen any on ebay that size so I guess I need to go to a dealer. Nice job by the way.
the part number is mentioned earlier in this thread, yes it is 85mm
Just completed a RED growler conversion on my 2010 XKR....no need to even het the car off the ground!!!
Open bonnet........remove all bolts on top of the bumper......pop the top of the bumper panel off of the three securing bosses......hold back the bumper and squeze your arm down to push on the tabs protruding from the back of the grille plate (i used the back end of a screwdriver).....while pushing on the tabs i used a plastic putty filler knife to put in the gap between the badge and the bezel......once wedged in carefully work your way round the badge to pop it out......the Black plastic part can actually be dissasembled from the outer bezel and growler.
now you could paint it red but i chose to use red reflective tape which kind of glows when light hits it at night!!!! Looks really good.......cut the tape to fit the black bezel....re-fitted the growler/bezel and double side 3M taped it back into the grille.....all told takes about an hour.
Hey Mates,
With all of the popular banter surrounding adding these Red Growlers to our Jag rides, I'm thinking we should create a "Red growler" society. LOL!
Something like .....
Hey Mates,
With all of the popular banter surrounding adding these Red Growlers to our Jag rides, I'm thinking we should create a "Red growler" society. LOL!
Something like .....
I have been looking everywhere for a red grill badge to replace the black one on my 2007 XK
i wanted to keep the horizontal bar so options are limited as the original badge is 62mm.
I could only find the fluted badge in 72mm or 85mm diameters.
I bought this pressed aluminium badge as a temporary fix but I really like it!
I wanted to keep the horizontal bar. The old badge was stuck on - carefully prized off with a small screwdriver 1mm aluminium slightly domed badge. The diameter is 62mm matching the original.
Whilst Ive had the bumper off previously in this instance I was simply able just to realease it from the top and get a socket on to nuts then remove them by hand
You can retain the OEM Growler badge and save money by simply painting the black background with red enamel. That's what I did with my 2013 XJ a few years ago. I used Testor's dark red gloss enamel model paint that I bought at my local hobby store. It's a close enough match to my OEM red Growler wheel center caps.
I was pleased with the results, particularly since it cost under $2 and I have over half the bottle left. Pretty big bang for the buck.
Before
After
Closeup
Testor's
Yeah, I know, I'm a cheapskate. But not so much as this guy!
 11-12-2014, 09:39 PM