When you click on links to various merchants on this site and make a purchase, this can result in this site earning a commission. Affiliate programs and affiliations include, but are not limited to, the eBay Partner Network.
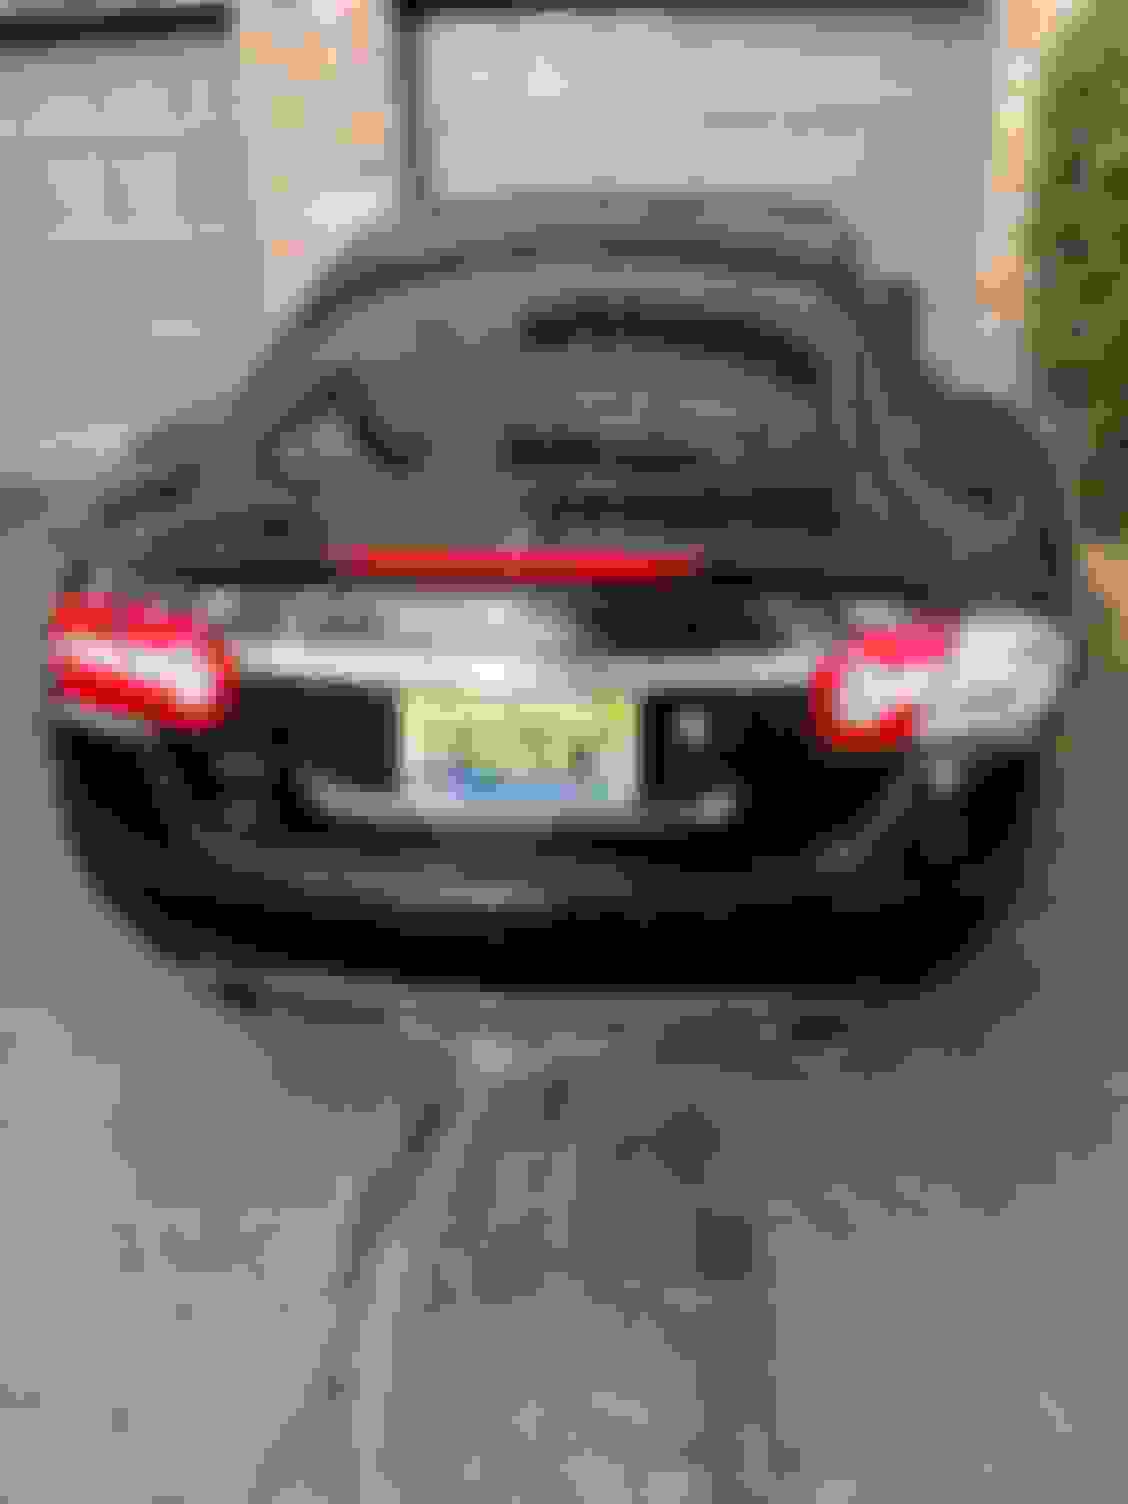
Hi! I'm searching to replace a missing part of the right rear outer tail light on my 2010 XK. There is a red cover that sits over the tail light assemblies. I have the left one complete, but the right one is missing the red cover. It works perfectly, just missing the red that distinguishes it as one of the brake lights. I've been searching, but all I have found are complete tail light assemblies for the right (Part Number C2P21451) which go new between $780 to $1150 and used for around $400-$700. All I need is the red covering plate. I did find a product which is a red translucent decal to place over the tail lights and it is only $55 https://lamin-x.com/jaguar-xk-07-11-...tml?sku=JG205R, but I don't know how that would look.
It�s a complete assembly never intended to be disassembled. You�ll need to replace it with the correct part number. Quite common on eBay and sometimes available from forum sponsor SNG Barratt.
Thanks! That explains why the previous owner didn't replace the light before I got the car. I guess if I found a non-working tail light but with the outer lens complete I could get at a salvage yard, but there aren't that many salvage XKs at least in the Southeastern US.
@billqs I�d not recommend trying to piece one together as it was never intended to be done that way. For one thing, they�re heat fused in a factory. And with the previously electrics having been exposed to the elements for who knows how long, you�re at great risk for something going wrong plus not likely you�ll find a broken tail light with an intact lens.
Best just do it right and replace it as it was designed to be.
Bill... I have a spare non working tail light from a 2011XK (same side) that has bad leds in it. I was saving it in case I ever needed a spare... I can ship you the whole unit at shipping cost (it is pretty large). I don't want to mess with trying to pry off the red lens, but if interested, send me a PM - Sean
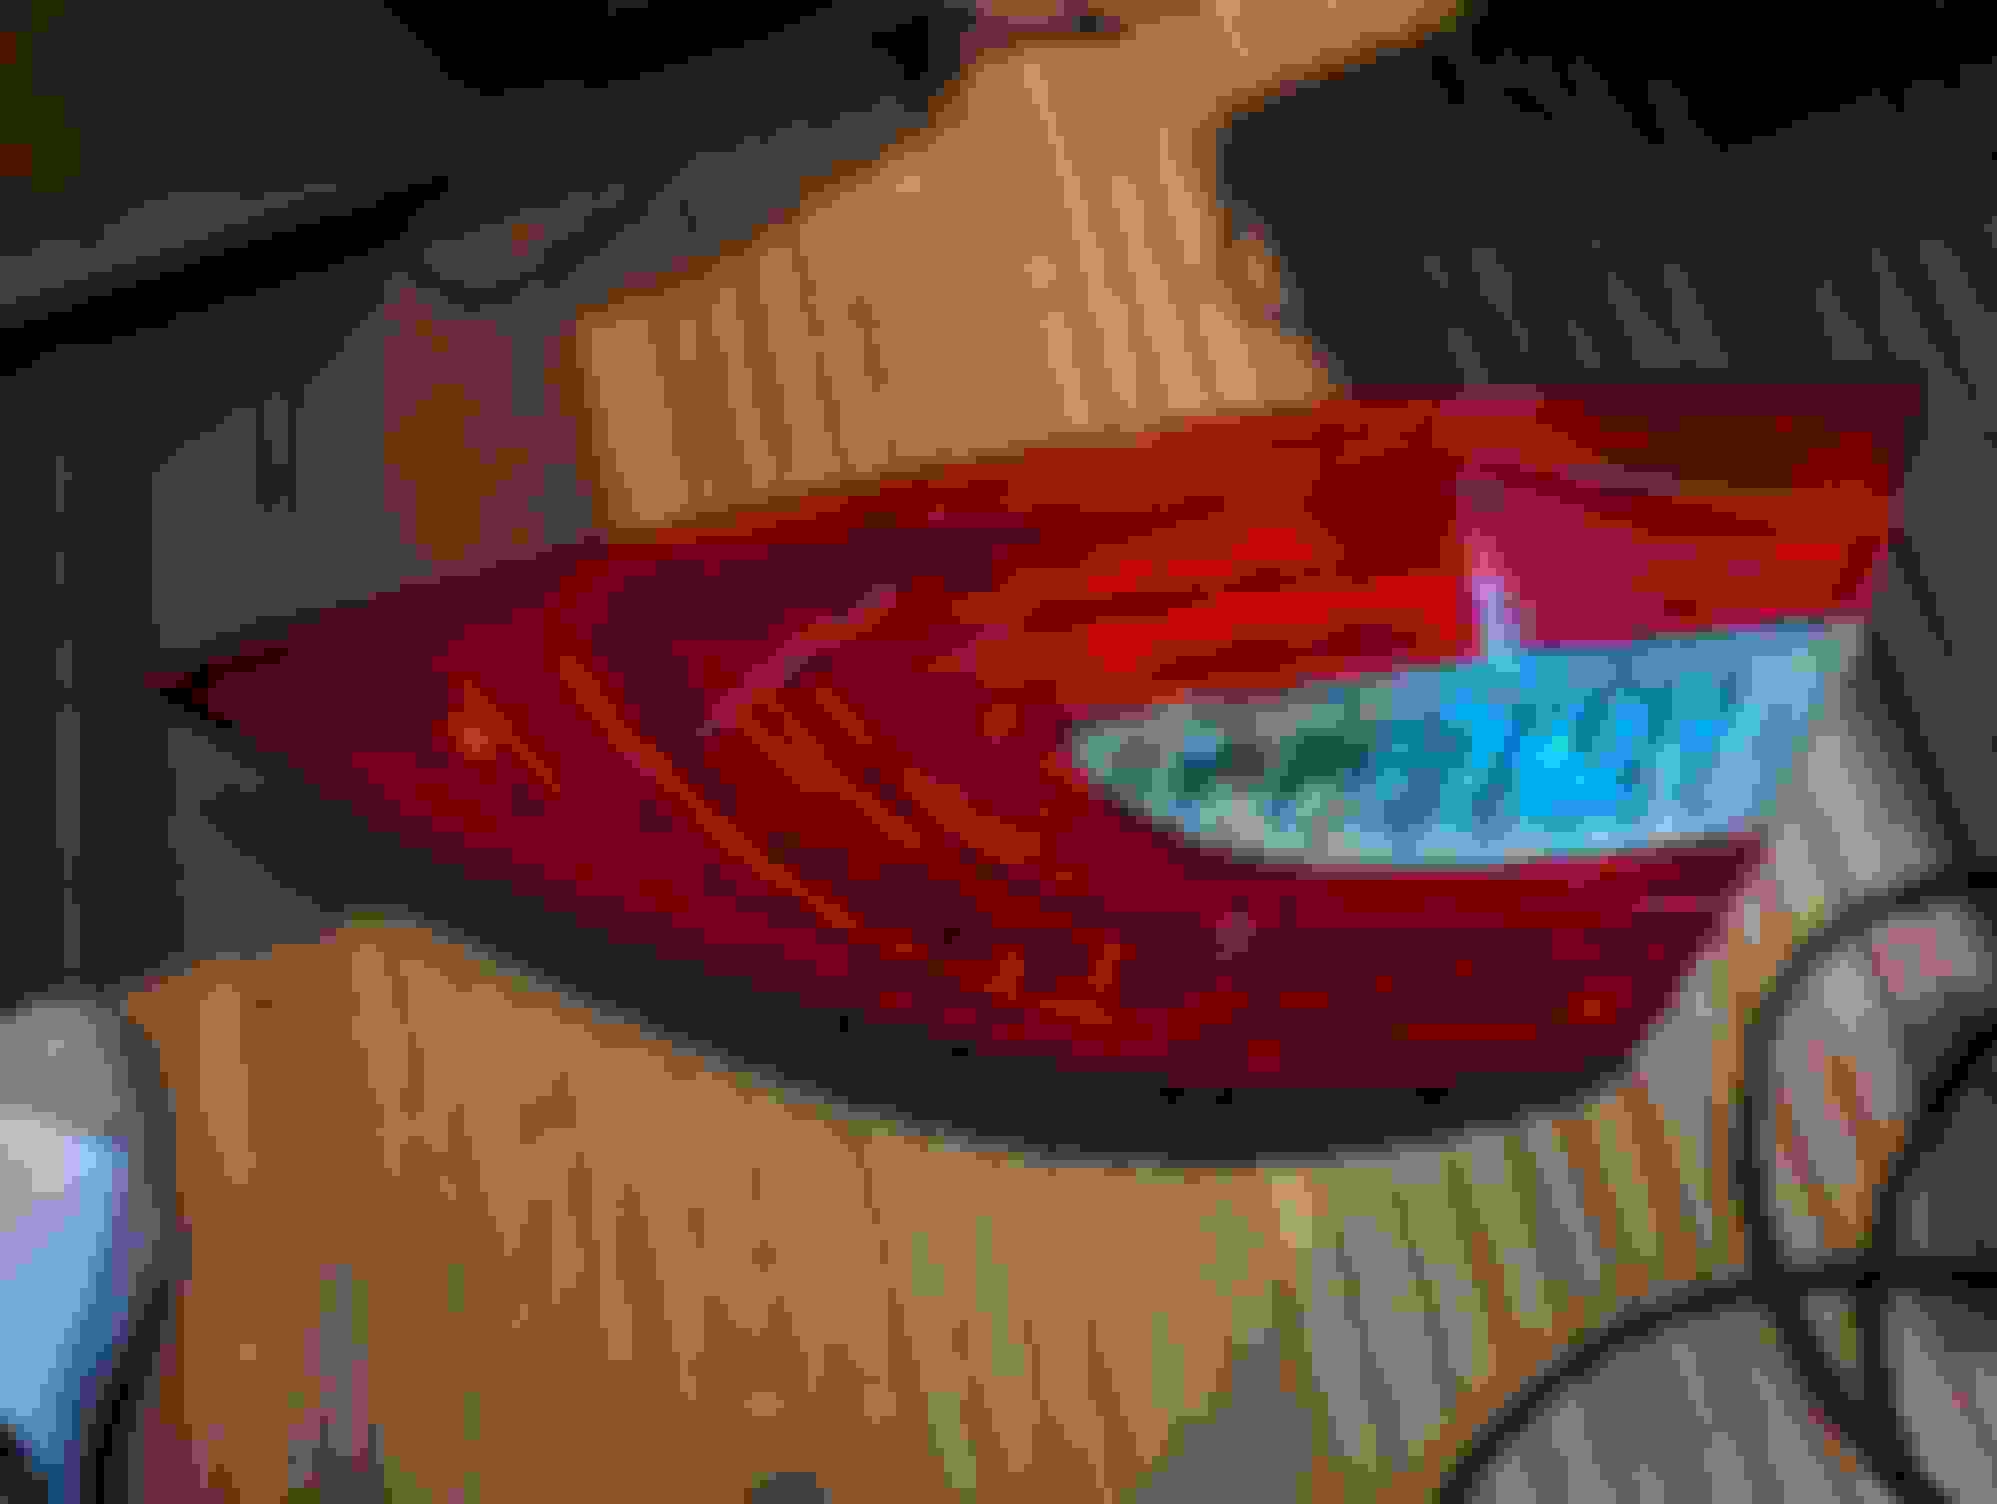
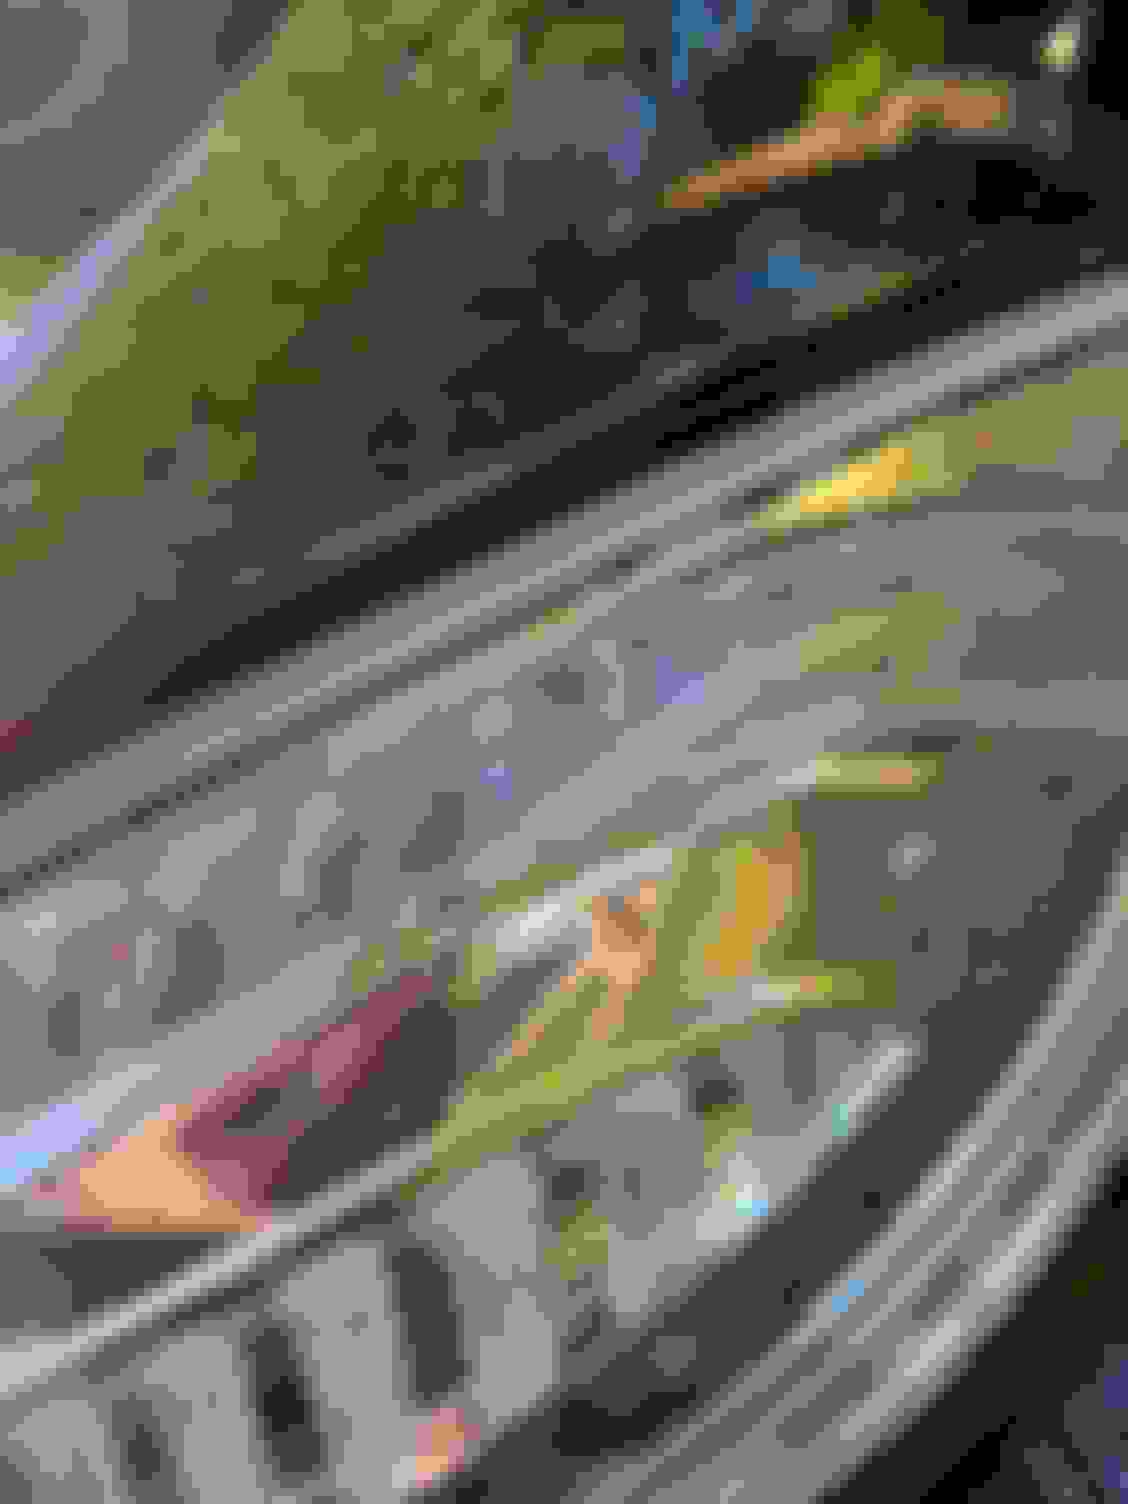
I can't quite tell from your photo if it is an exact match... here is an (upside down) photo....
@SeanU- Thanks for sending me the tail light! Generosity like this is what makes Jaguar Forums so amazing!
Now the question becomes how to remove the red lens from the non-working tail light and adhere it to the working tail light that I have. There are a couple of possible ways to proceed.
1. Using a heat gun to get the plastic to come apart.
2. Use a cutting tool to physically cut open the donor tail light, take that piece, cut off the same piece from the working tail light and replace it with the red front donor. (In a Youtube video the guy used a dremel tool with a cutter attachment.)
3. Bake the tail light in the oven and then pry off the red lens.
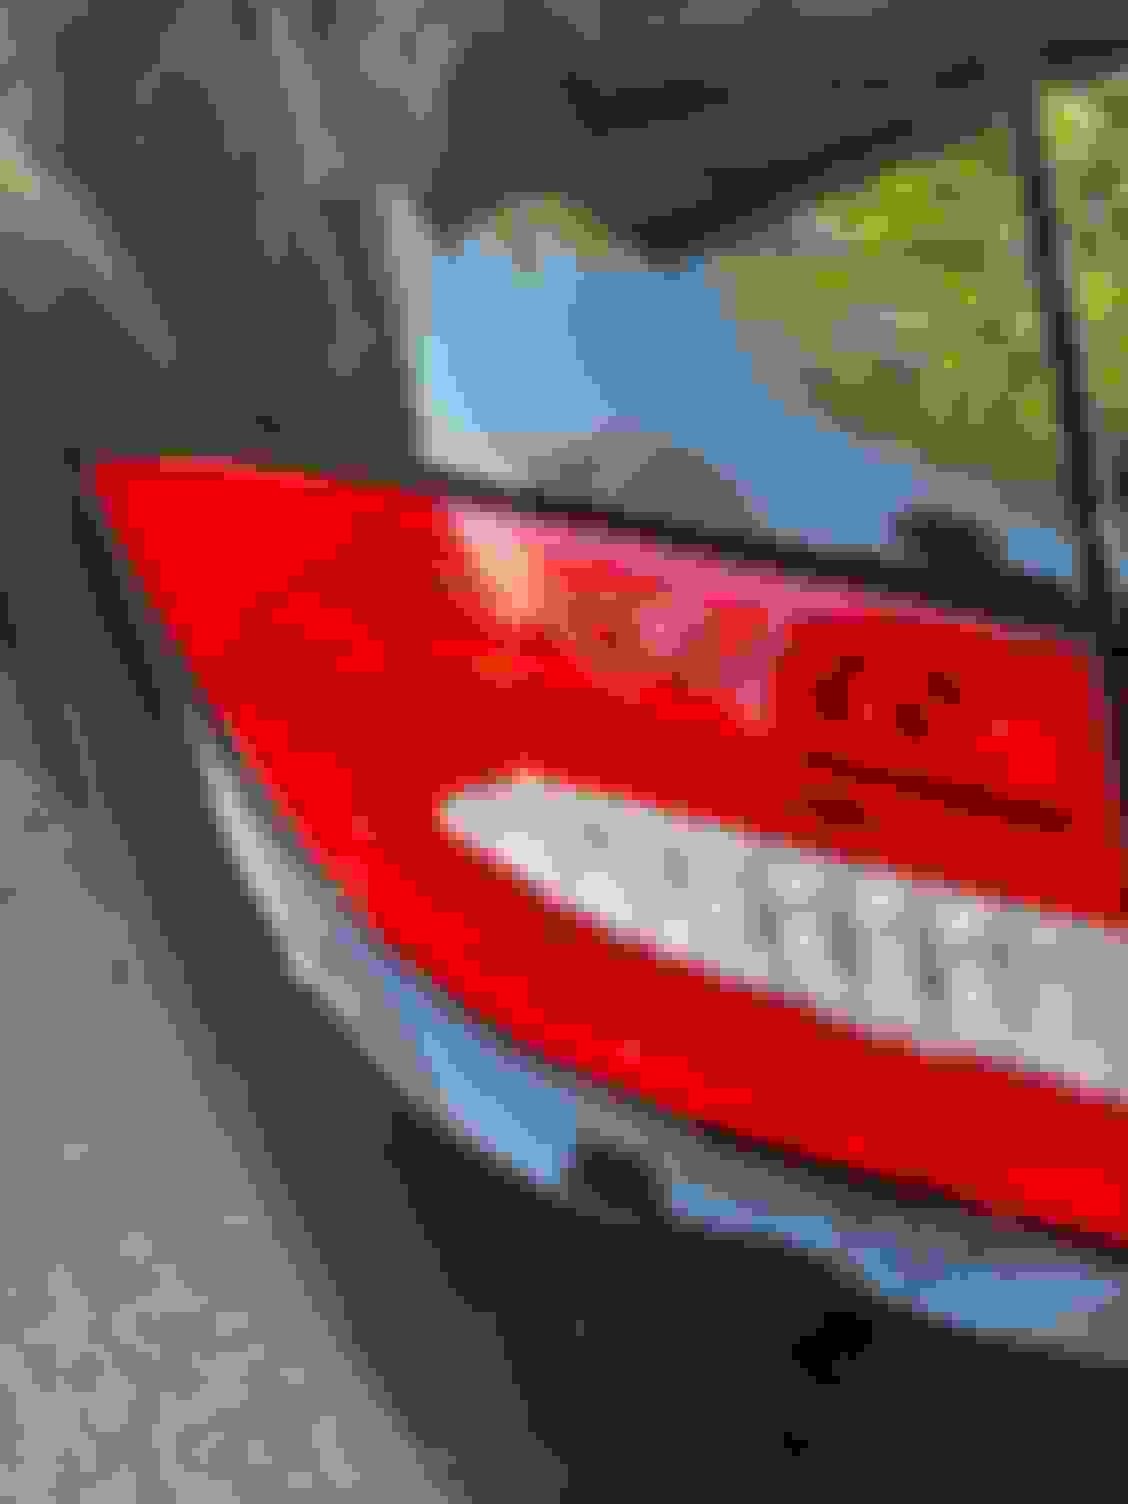
For those that couldn't tell from my first picture, there is a clear lens over an enclosed tail light. There is red lens that fits over the clear top that was adhered to the clear lens to make the tail light assembly.
@SeanU- Thanks for sending me the tail light! Generosity like this is what makes Jaguar Forums so amazing! ......
+1 SEAN - very generous.
BILL: I was suprised to read your first post about the red section being missing. Trying to make out how it was fixed from your photo but the definition isn't high enough to see if it's "spot" or "continuous" bonding.
Let us know how you get on separating the red section from the clear section on the one Sean has sent.
Hey bill.. just want to emphasize... lets figure out how the red lens was attached to the old light... show us some close up pictures and it might help figure out an approach before you start anything that might be destructive. I am actually surprised that the Red lens is separate... but i guess it makes it easier to serve different markets that have different lighting requirements.
Hey bill.. just want to emphasize... lets figure out how the red lens was attached to the old light... show us some close up pictures and it might help figure out an approach before you start anything that might be destructive. I am actually surprised that the Red lens is separate... but i guess it makes it easier to serve different markets that have different lighting requirements.
+1
I’m also surprised the assembly’s first layer’s clear and additional red layers placed on top. I’d Be worried about contamination, fogging or dirt. Also makes putting it together a bit of a challenge.
I�m also surprised the assembly�s first layer�s clear and additional red layers placed on top. I�d Be worried about contamination, fogging or dirt. Also makes putting it together a bit of a challenge.
I am surprised there is a clear layer as well. I will snap some close up photos. The car came to me like this, but I like the look of the clear if the other side were to be the same, except for that whole illegal thing. As far as I can see I believe it was plastic welded together, at least I haven't been able to notice adhesive.
I was busy today (and will be tomorrow) with a brake job on my 2017 Jaguar XE.
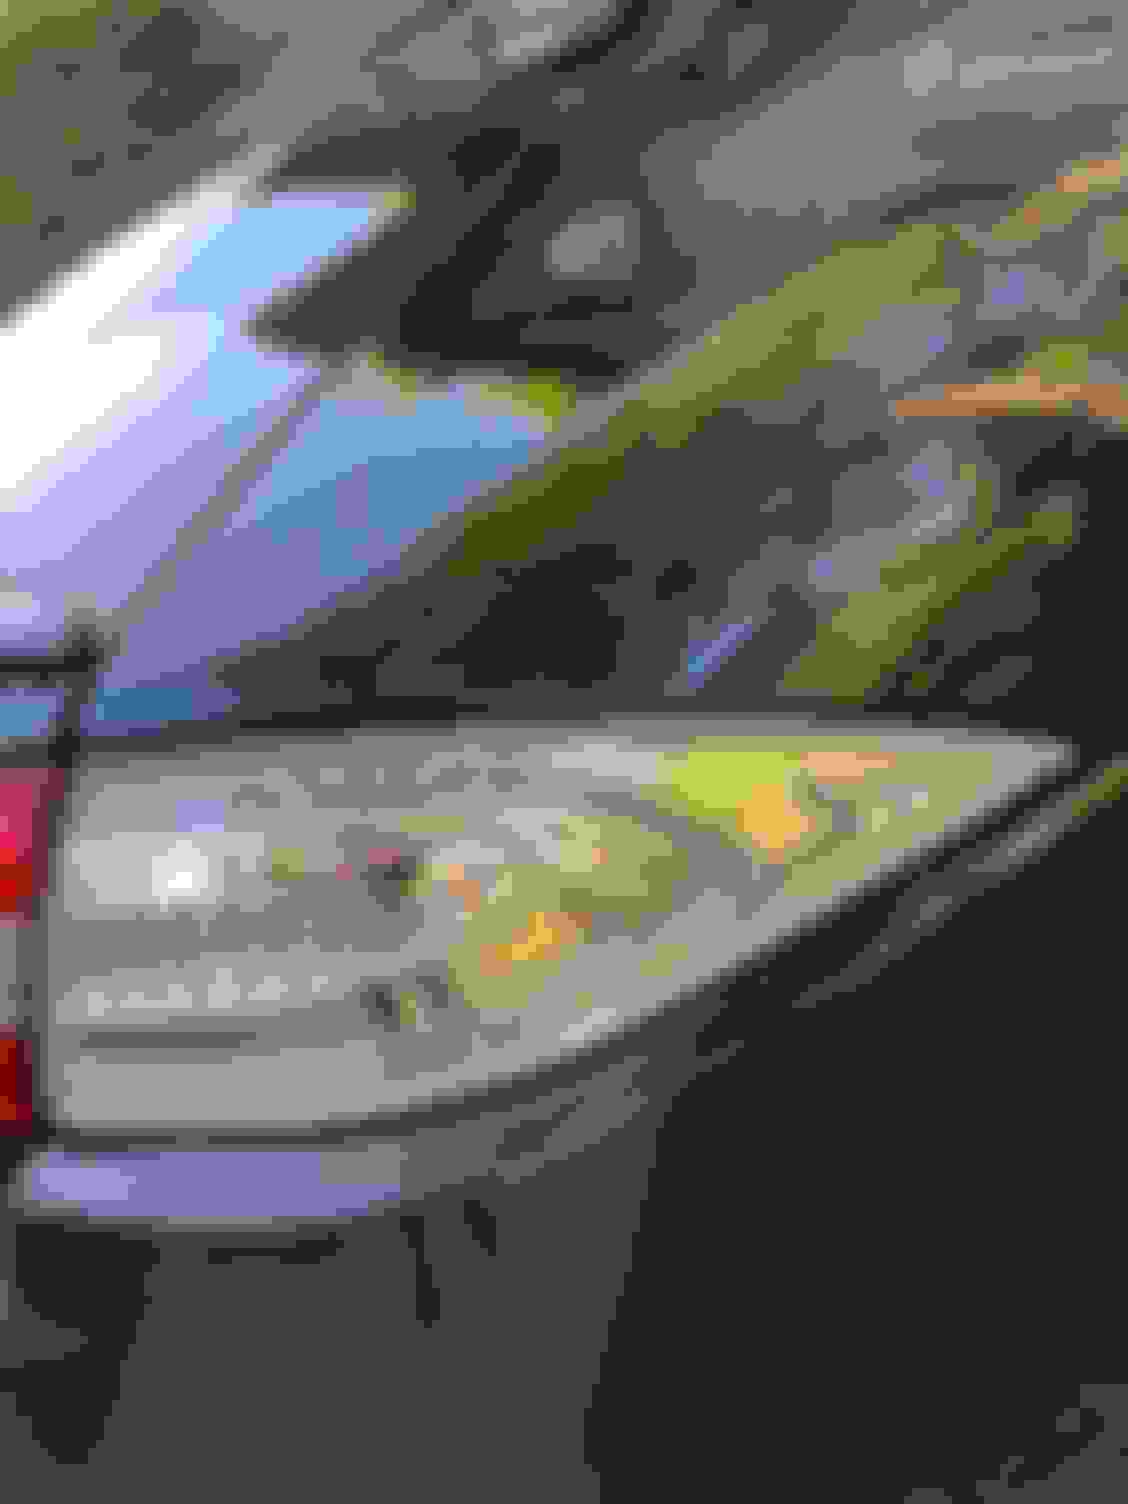
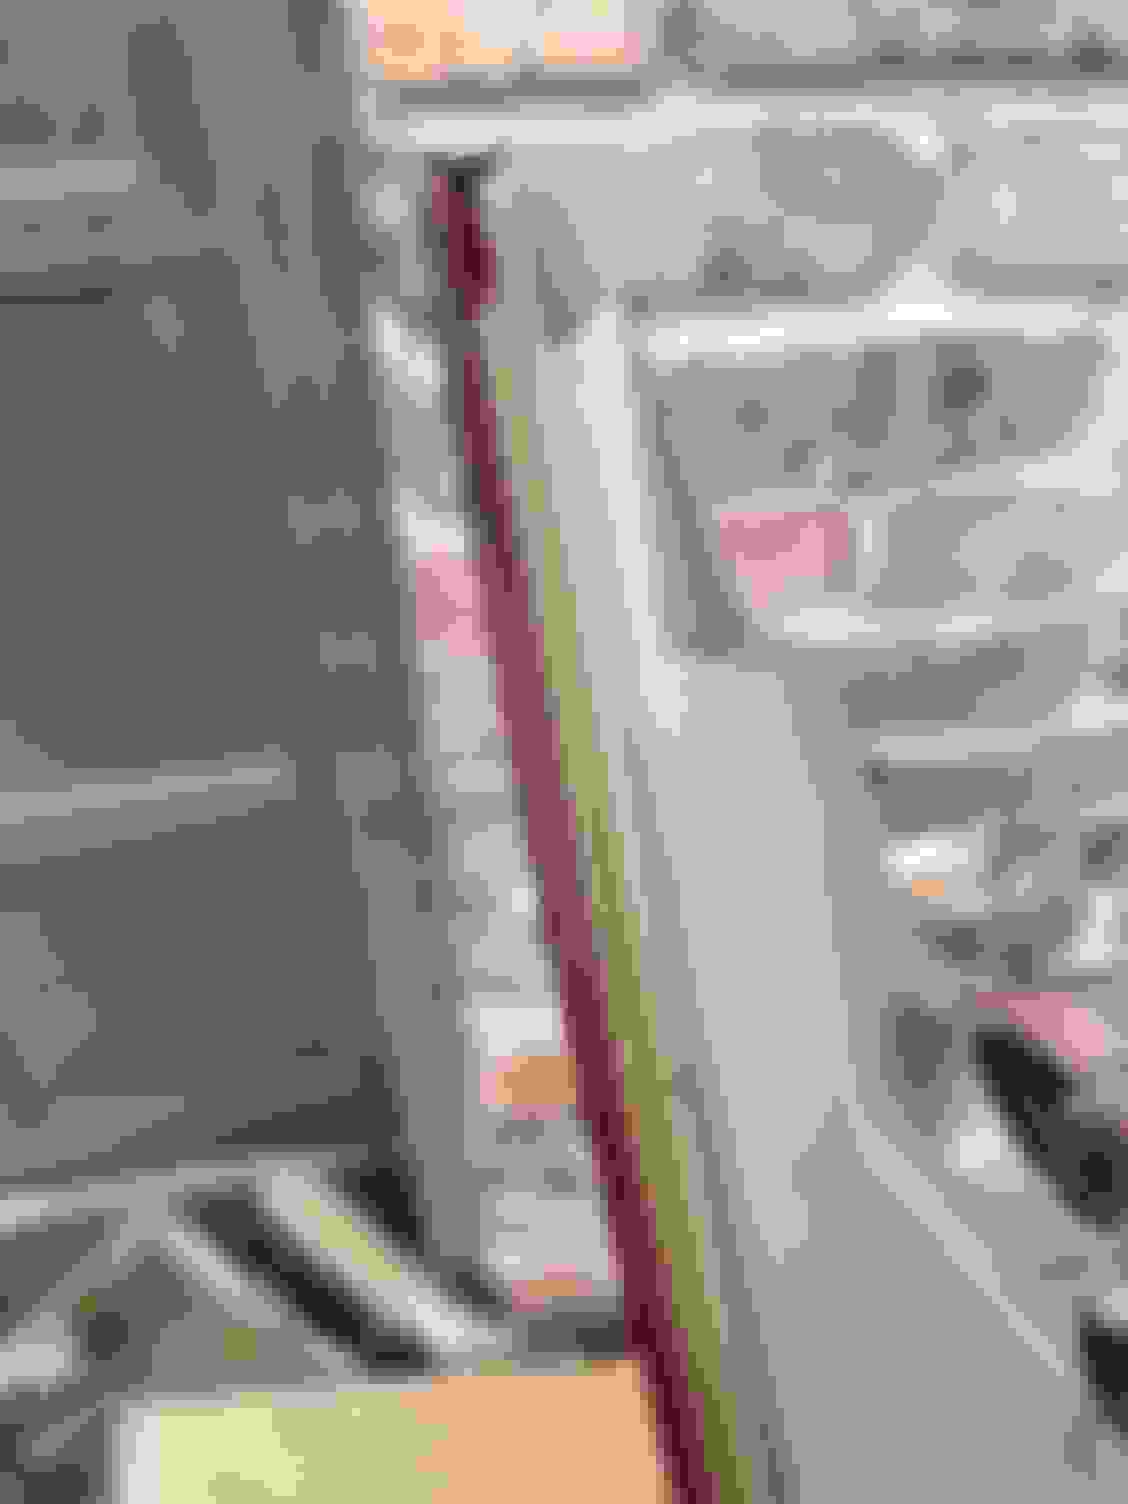
Here are some closeup pics of both tail lights on my XK and on the part Sean sent me. This closeup does show a line of adhesive around the clear layer. The adhesive isn�t visible on the light with the colored lens. I think this adhesive is visible around the part Sean sent though I want fresh eyes on all these to come to a good conclusion on how this is put together in order to help take it apart😀
Do you think a hair dryer would do it? Or should I purchase a heat gun? I already have the hair dryer so that might be a good start...
I don't think you would need the heat a heat gun would pump out - a hairdryer on low would be a start to warm the whole unit up and then try the high setting - that is if the "glue" is heat sensitive, may not be.
Perhaps cutting away the body of the light unit along this line with a Dremel would give better access to the joined parts?
This could make it easier to pry or even cut apart. Doesn't matter too much what the rear of the red section looks like as long as the outer face is undamaged.
I've actually removed the red cover, it can be pried off with a flat head after heating with a hair dryer,
The glue is not that strong and the red plastic part is fairly sturdy.
bgpenguin21 (04-23-2024),billqs (04-22-2024),Cee Jay (04-22-2024),CurtJ (04-23-2024),GGG (04-22-2024),jahummer (04-22-2024),kj07xk (04-22-2024) and 2 others liked this post. (Show less...)

 04-08-2024, 05:55 PM