Removal of fuel rail X150
#21
This project-removing a fuel rail and replacing the injectors- took more than 8 hours over two days because I got stuck several times and wasted hours because of it. Now that I’ve completed the task it once I’m sure I could do it again in 1/3 the time. It’s only a bit harder than replacing the spark plugs. Four replacement injectors cost me about $350 and the injector tool cost about $100.
Lessons learned:
Lessons learned:
- I purchased Bosch fuel injectors online for about 1/3 the price of the 'Jaguar' components.
- Sitting in the drivers seat facing the engine bay: cylinders 1/3/5/7 are the right side of the engine, 2/4/6/8 are the left side.
- Remove fuse 33 from the fuse box between the rear seats, remove the gas cap, then start and run the engine until it stalls. Crank the engine another 20 seconds or so to fully depressurize the fuel system. Tips can be found here: https://www.jaguarforums.com/forum/x...cation-215362/
- Disconnect the negative side of the battery before working under the hood. Remember to lower the door windows slightly before doing so to make entering the car possible, and keep the physical key handy to access the trunk while the power is disconnected.
- Removing the tubular steel strut tower brace makes more room for accessing the end of the fuel rail near the firewall. This requires a large torx bit which I happened to have. The windshield wipers and plastic trim below the windshield may need to be removed to do that, which is a quick and easy job. Push the center pin of the trim clips downward about 1/4 in / 5 mm to loosen and remove them.
- The spark plug coils must be pulled out to access the fuel rail. You might as well remove, inspect, clean and (if needed) replace the spark plugs once you have the coil packs off.
- I unclipped but did not remove the power rail while pulling the spark coils and injector plugs. The whole assembly was lose enough to lift out of the way to access the fuel rail and injectors.
- Even after removing the bolts and fuel line, the fuel is held on very tightly by the friction of the injector o-rings. I pulled and pried it to no avail until finally I crafted a makeshift slide hammer using with a heavy hammer and a loop of tow strap that I had hooked to one end of the rail. Swinging the hammer against the loop dislodged one end of the rail very easily, then the I was able to use the same technique to remove the other end of the rail.
- I bought an aftermarket version of the Jaguar injector tool online. I hate buying expensive tools that I'll only use once, but using it made removing / installing the injectors a breeze. The injector tool does not fit securely on an injector while the metal tension clip is in place, so remove the clips (they slide on/off each injector vertically) while using the tool. Keep your skin away from the edge of the slide while hammering--Pinches hurt!
- After 10 years and over 65K miles (100K km) of driving, the injector ports were dirty with grime. I used a shop vac and some scrap hose to vacuum them clean.
Last edited by tractioninc; 06-04-2019 at 08:32 AM.
The following 3 users liked this post by tractioninc:
#22
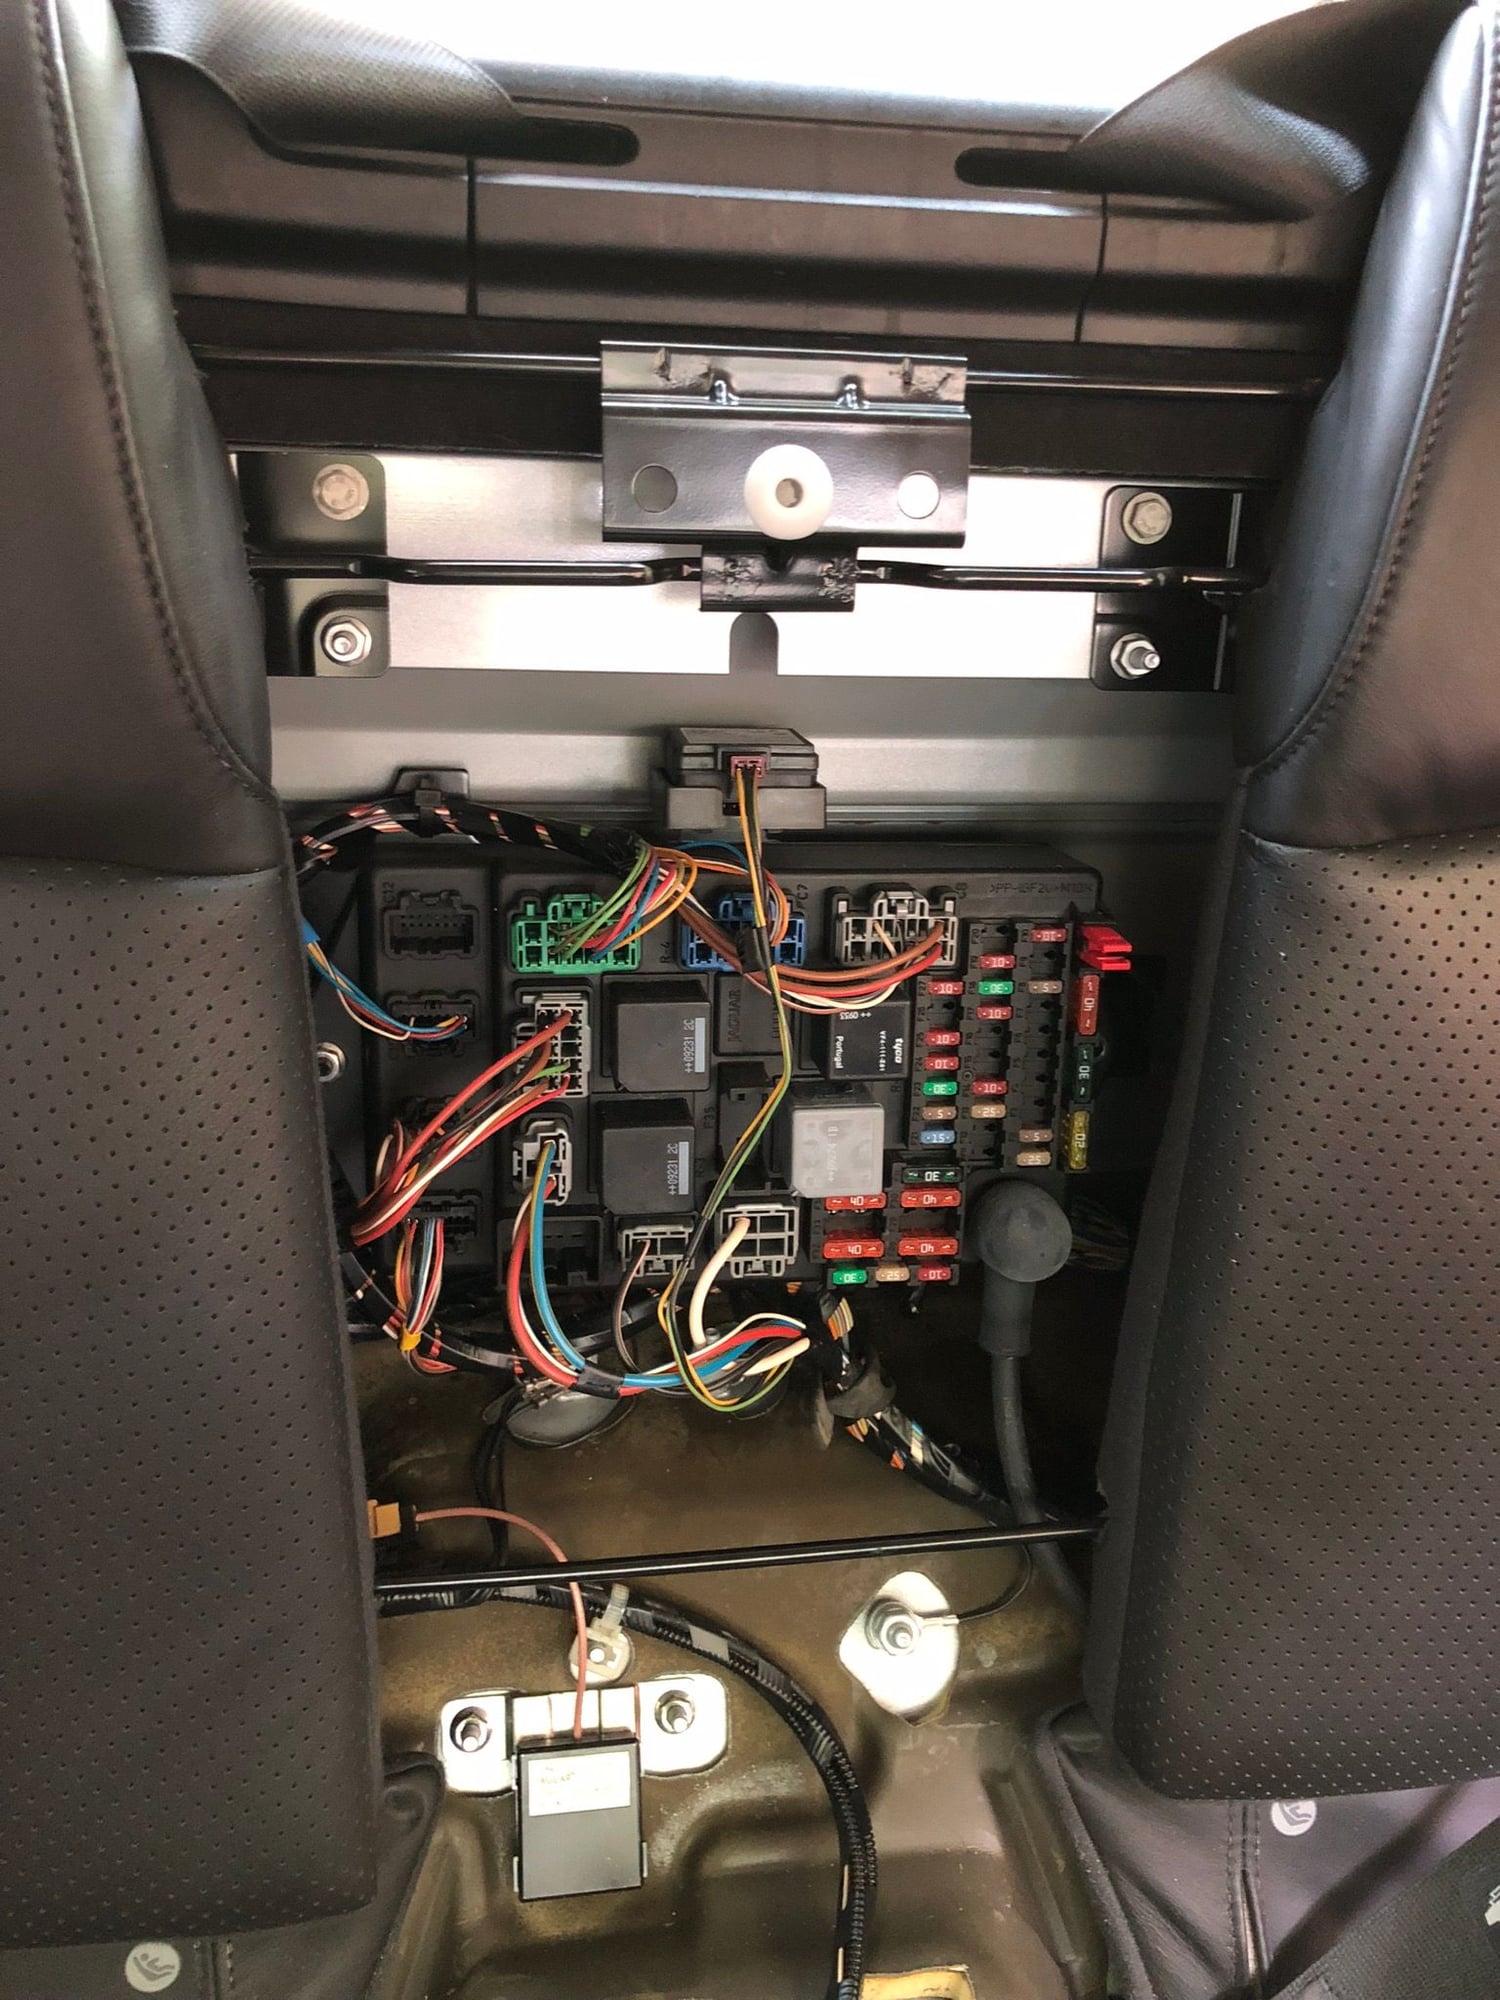
Fuse box between the rear seat backs. 30 amp Fuel Pump fuse #33 (removed in this photo) was between the two red 40 amp fuses two columns to the left of the round rubber pluf shown in the bottom-right corner of the fuse box.
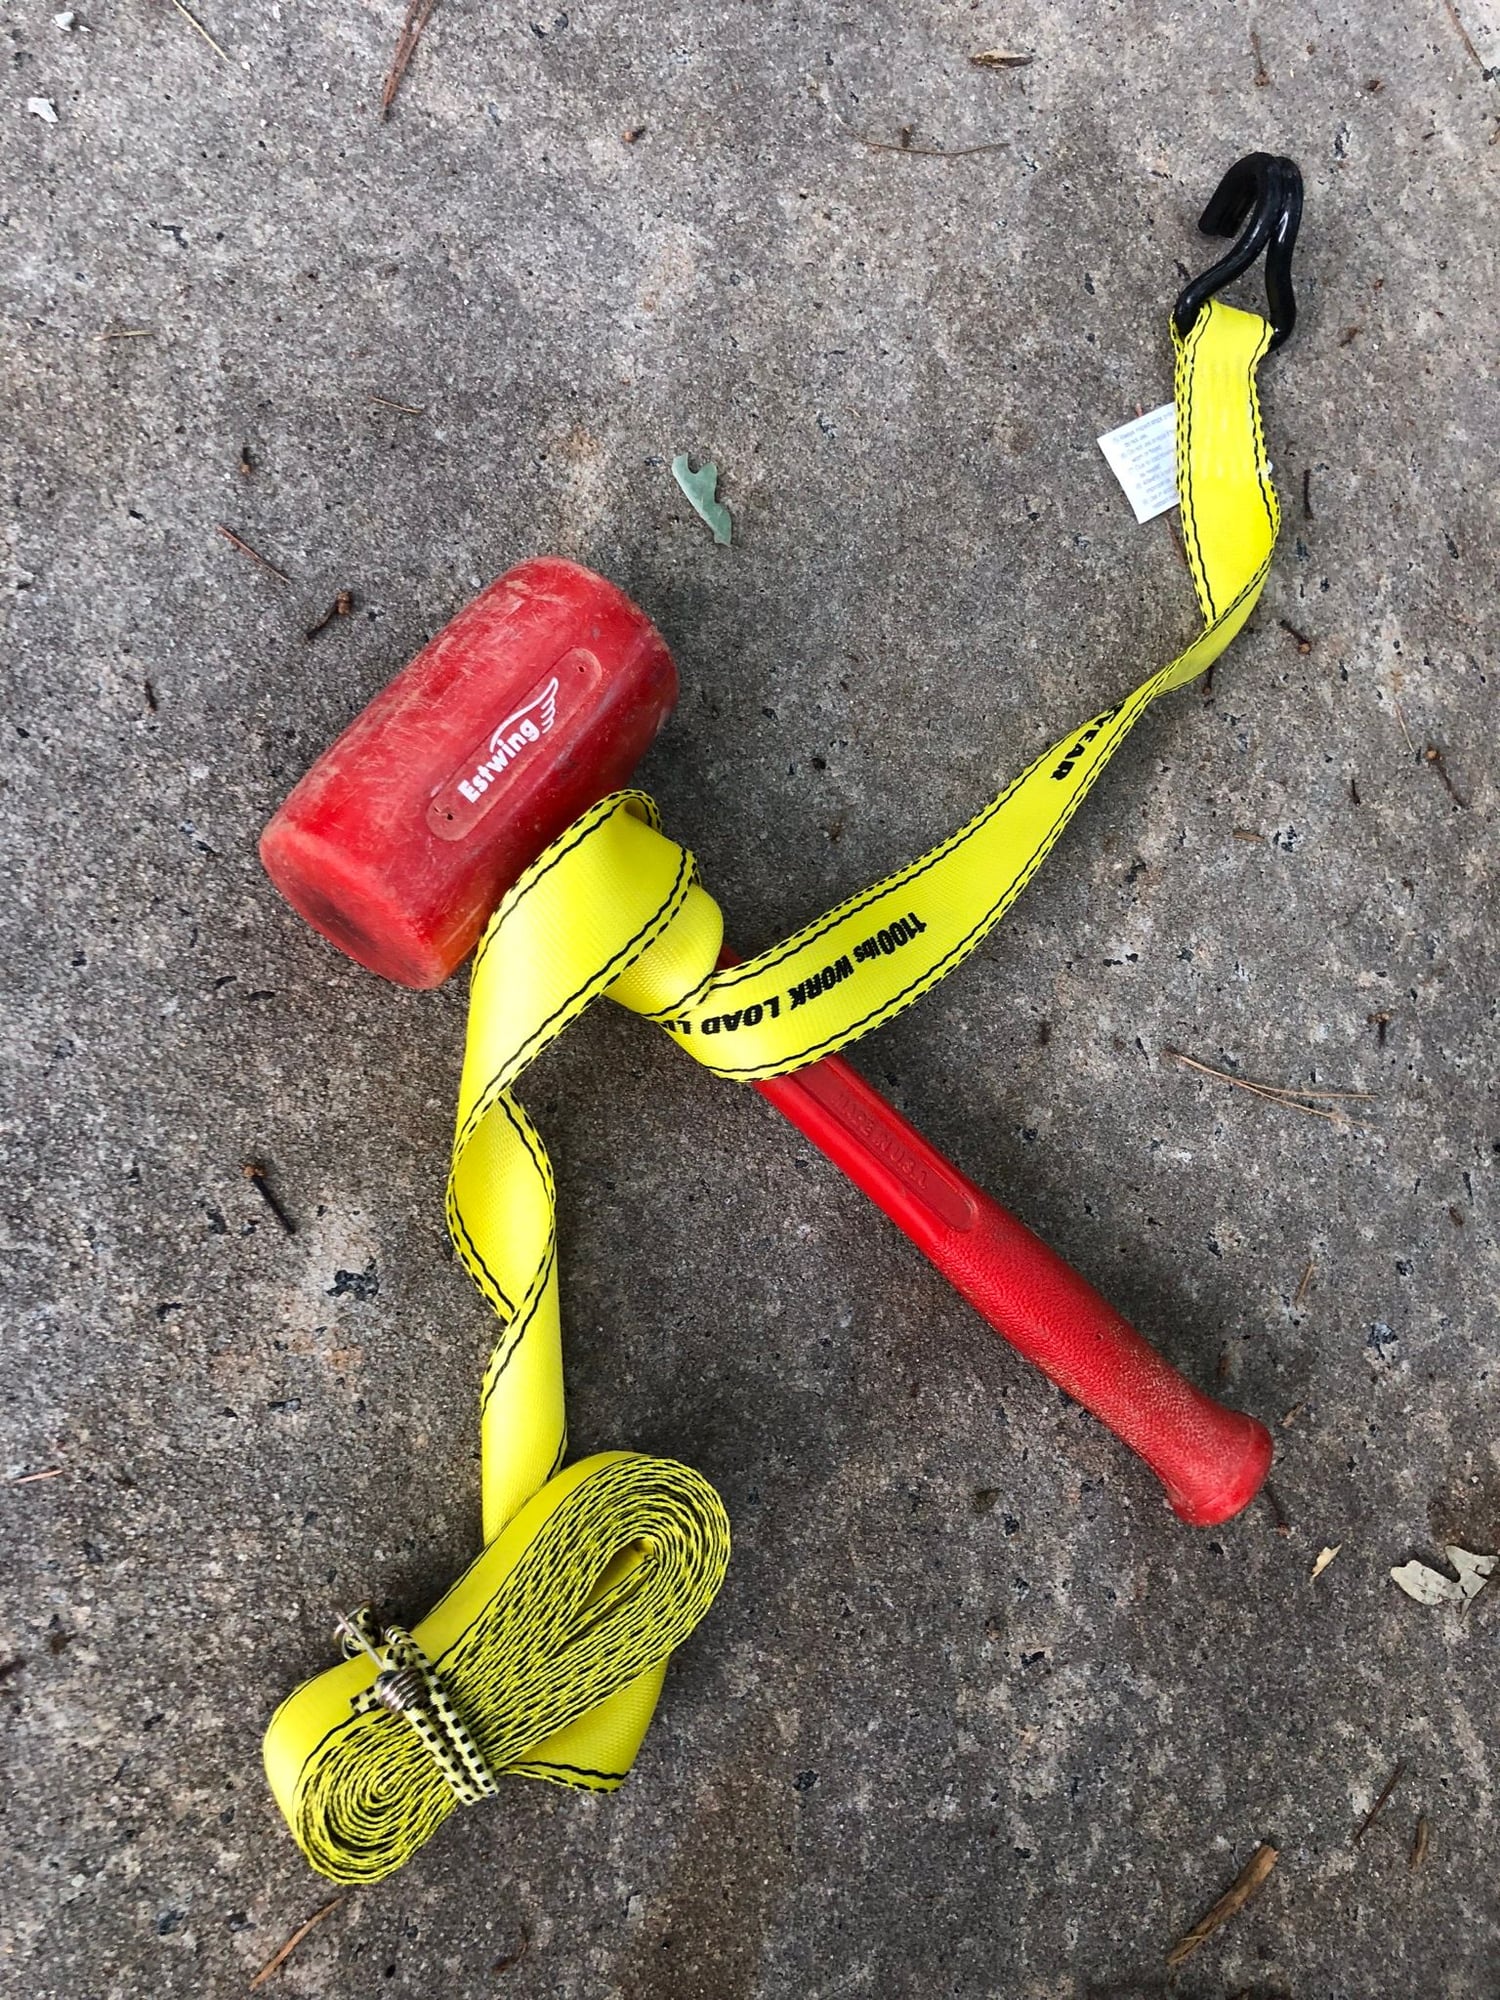
My makeshift ‘slide hammer’ made it possible to remove the fuel rail.
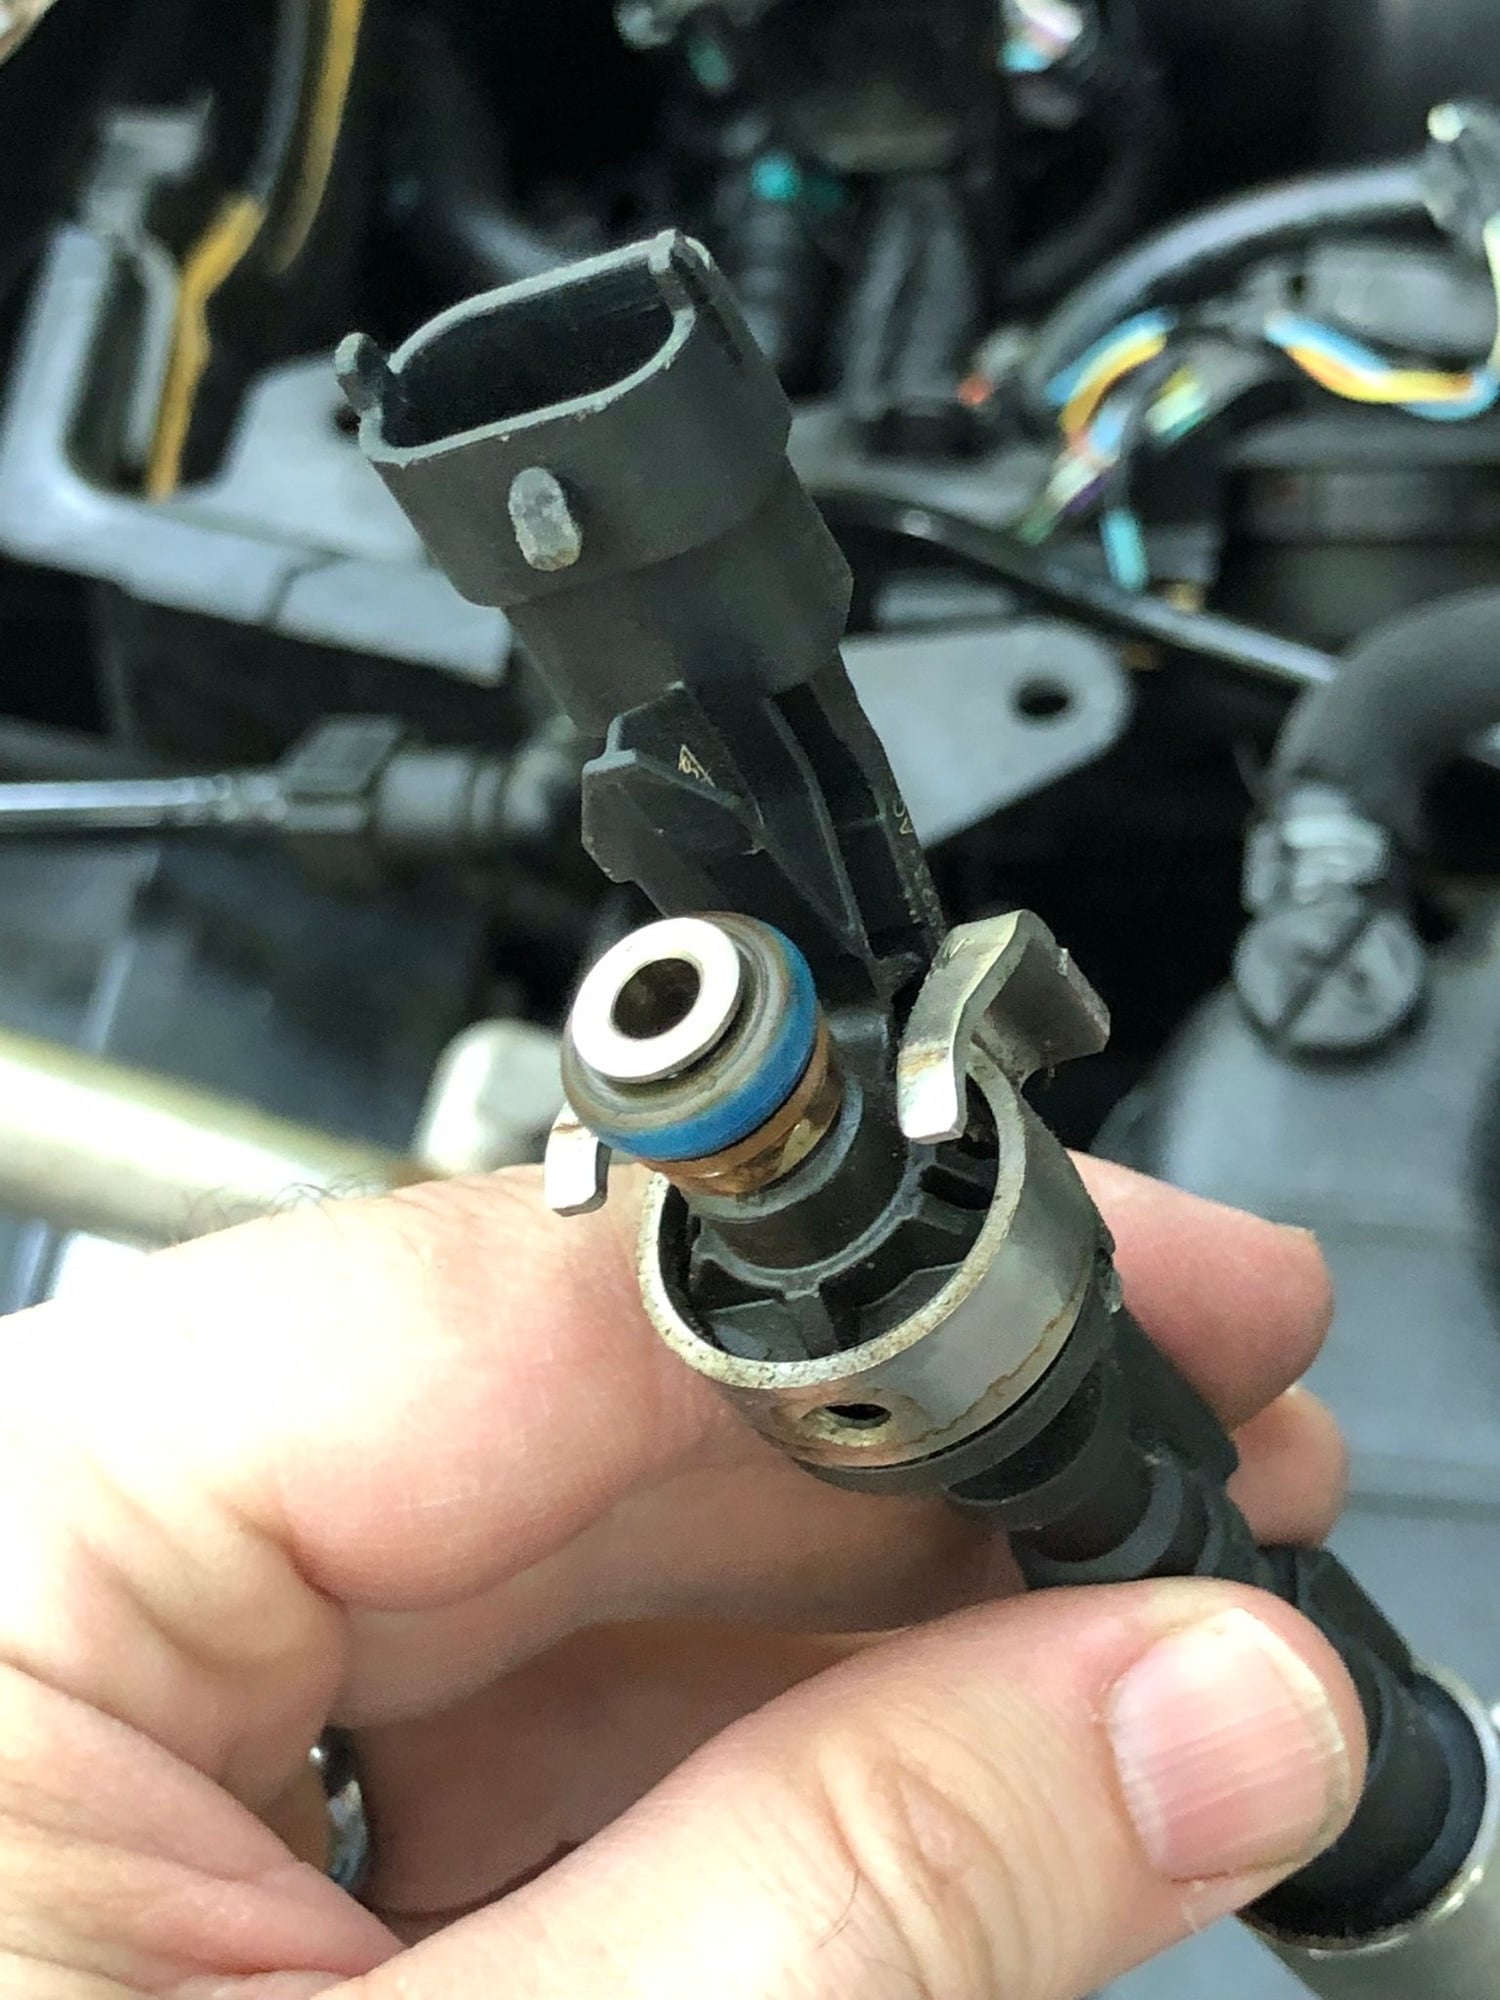
Injector clips slide on/off vertically. Remove them in order for the injector tool to fit securely during removal/install.
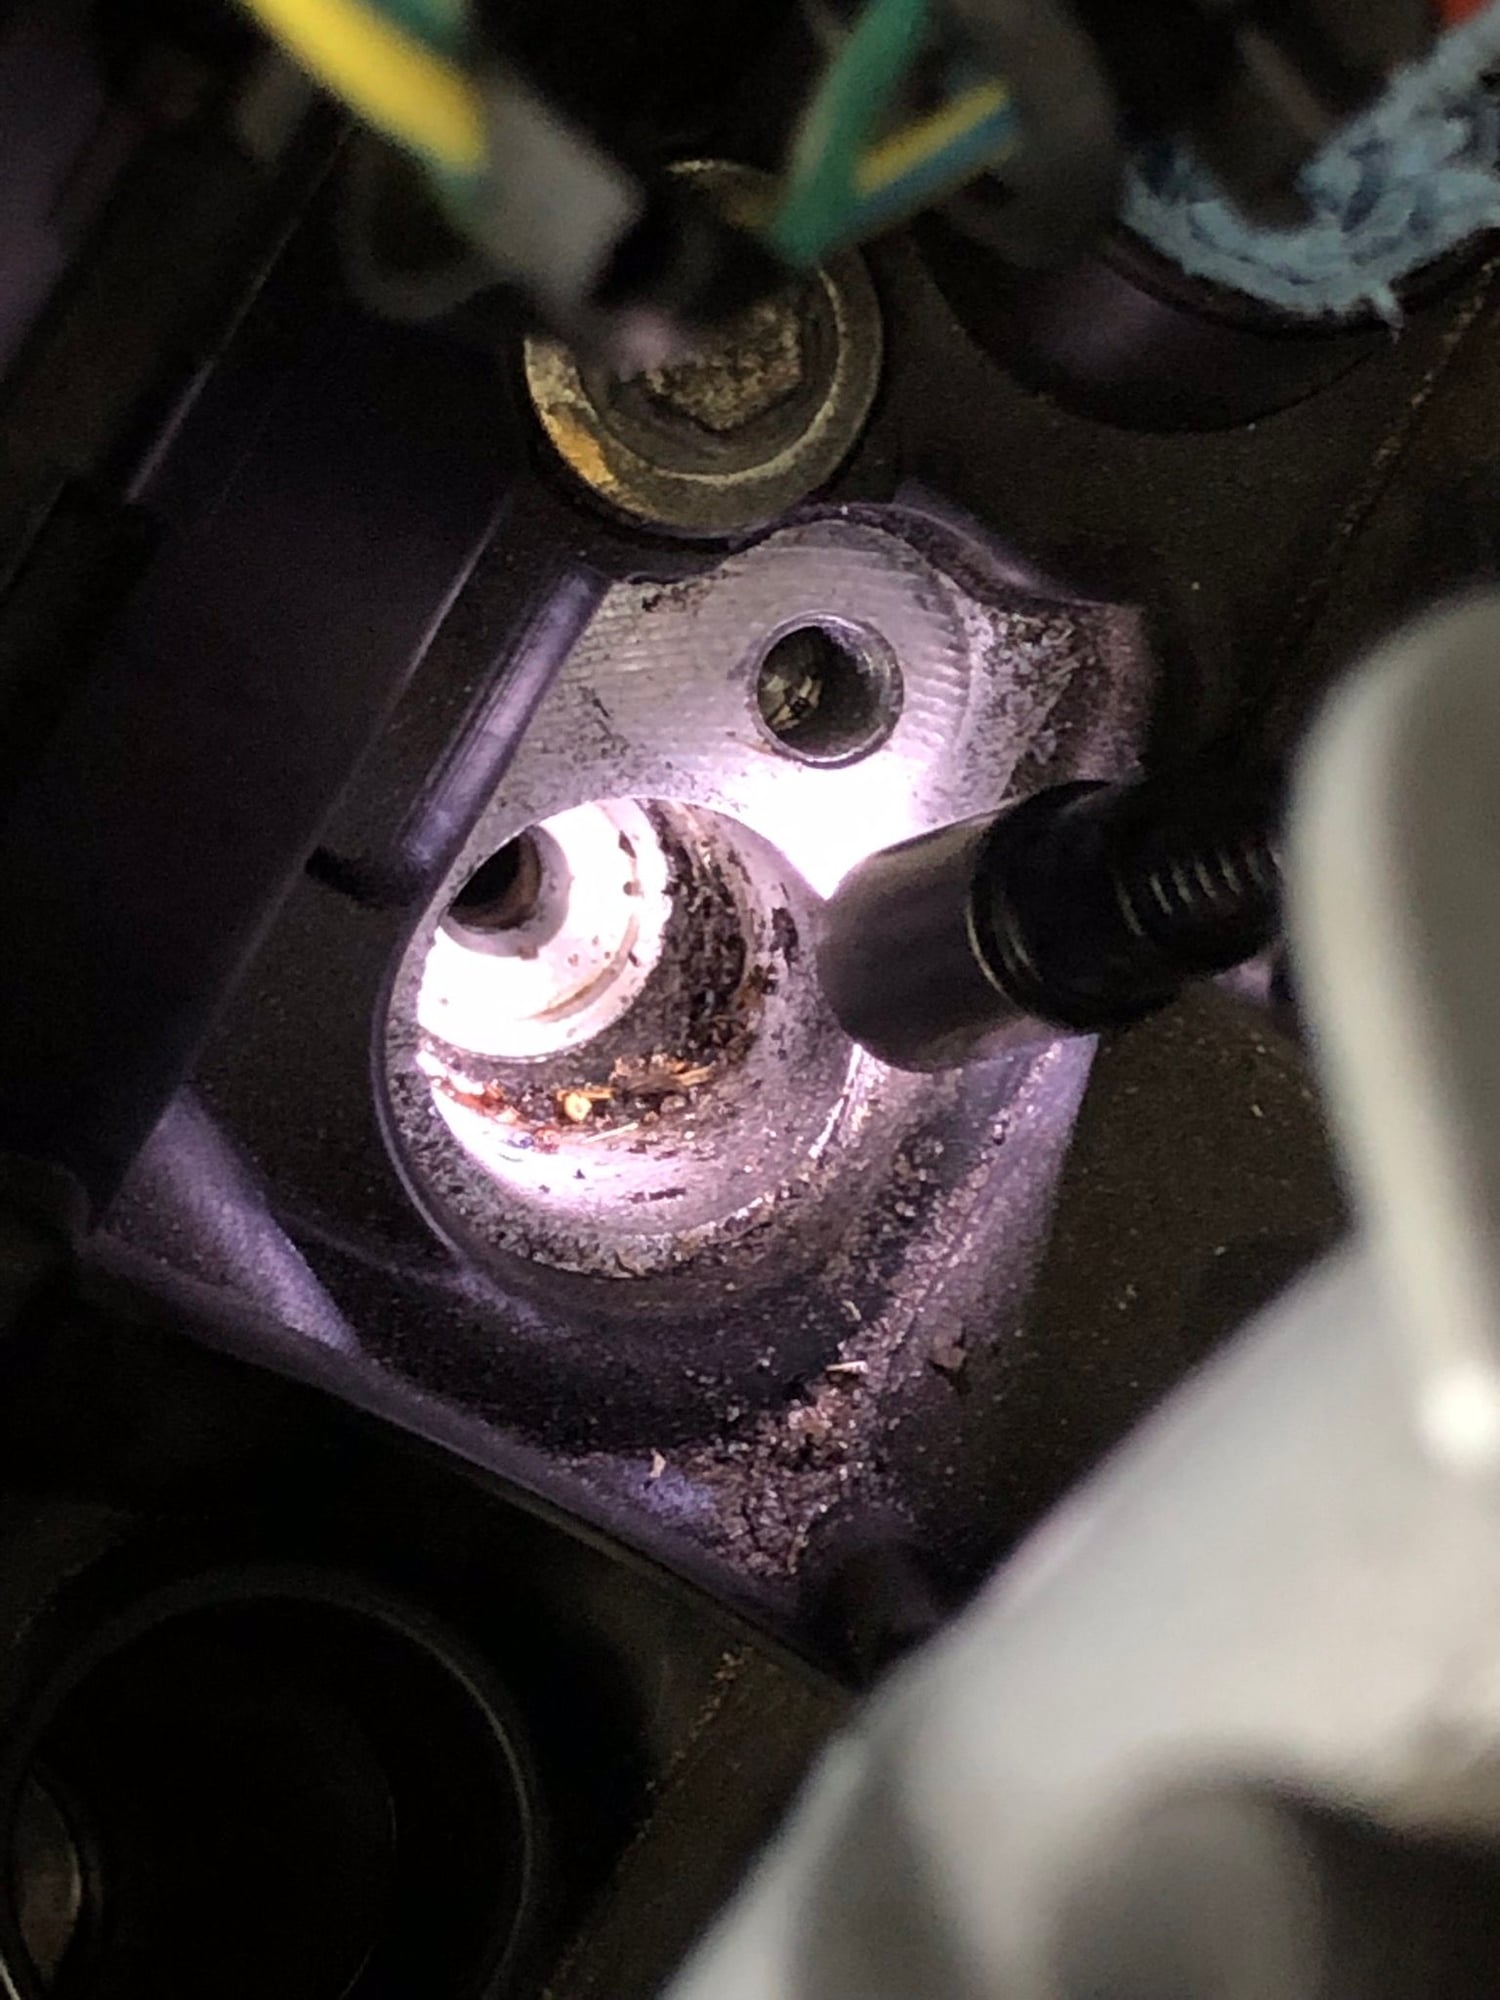
The injector ports were grimy, so I vacuumed them clean with a shop vac connected to a scrap of hose long and narrow enough to fit into the ports.
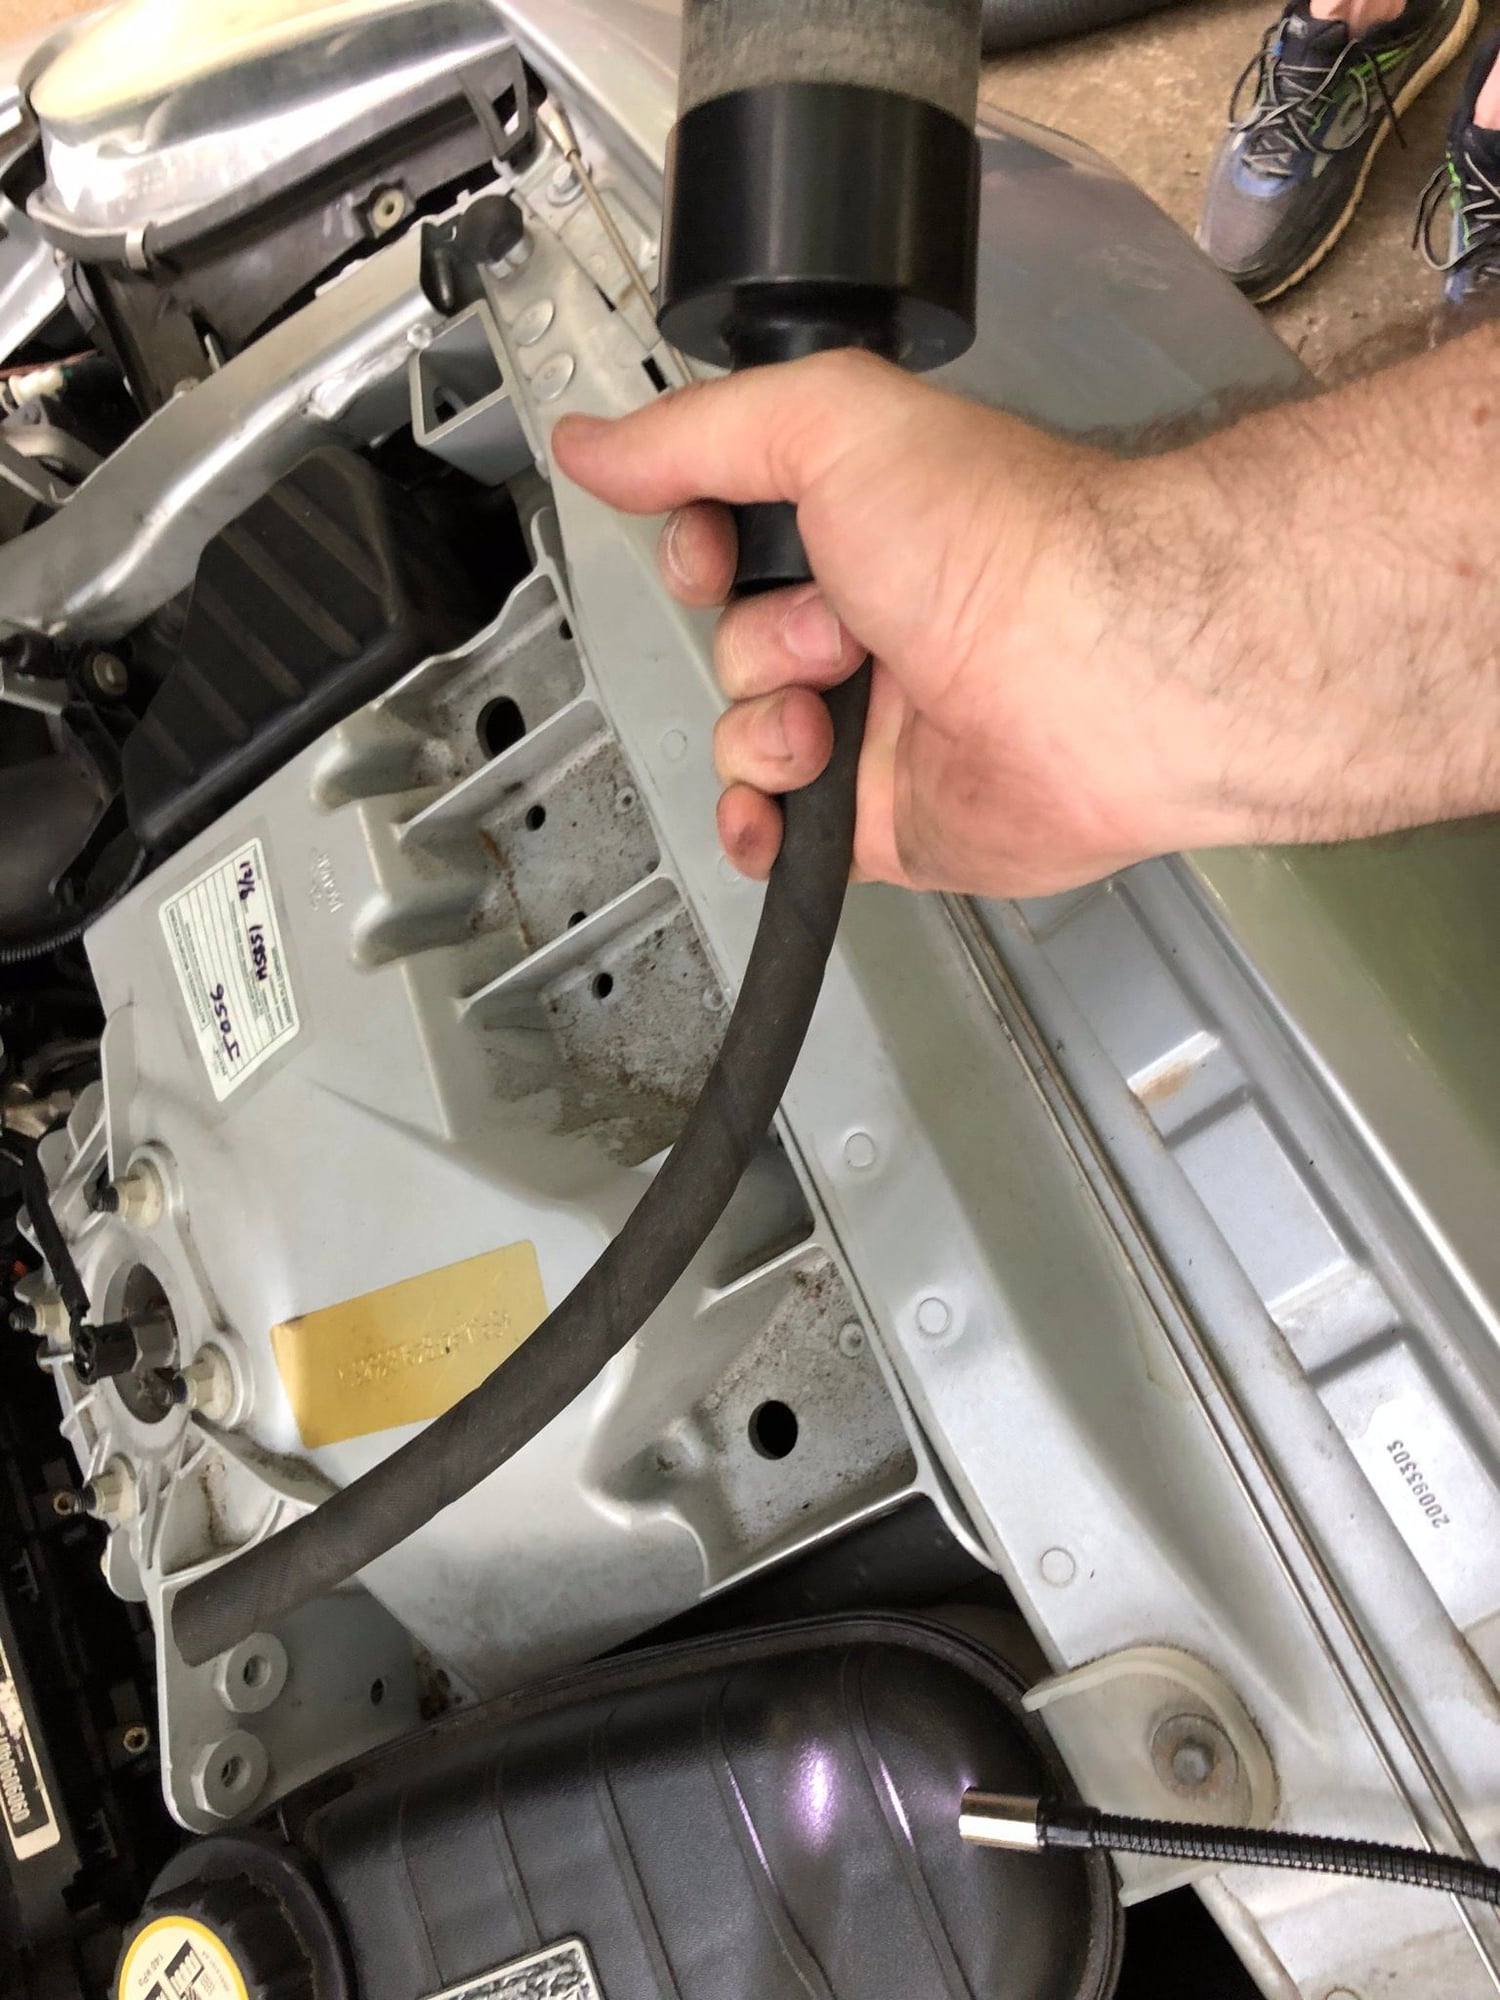
Makeshift shop vac attachments used to clean the injector ports.
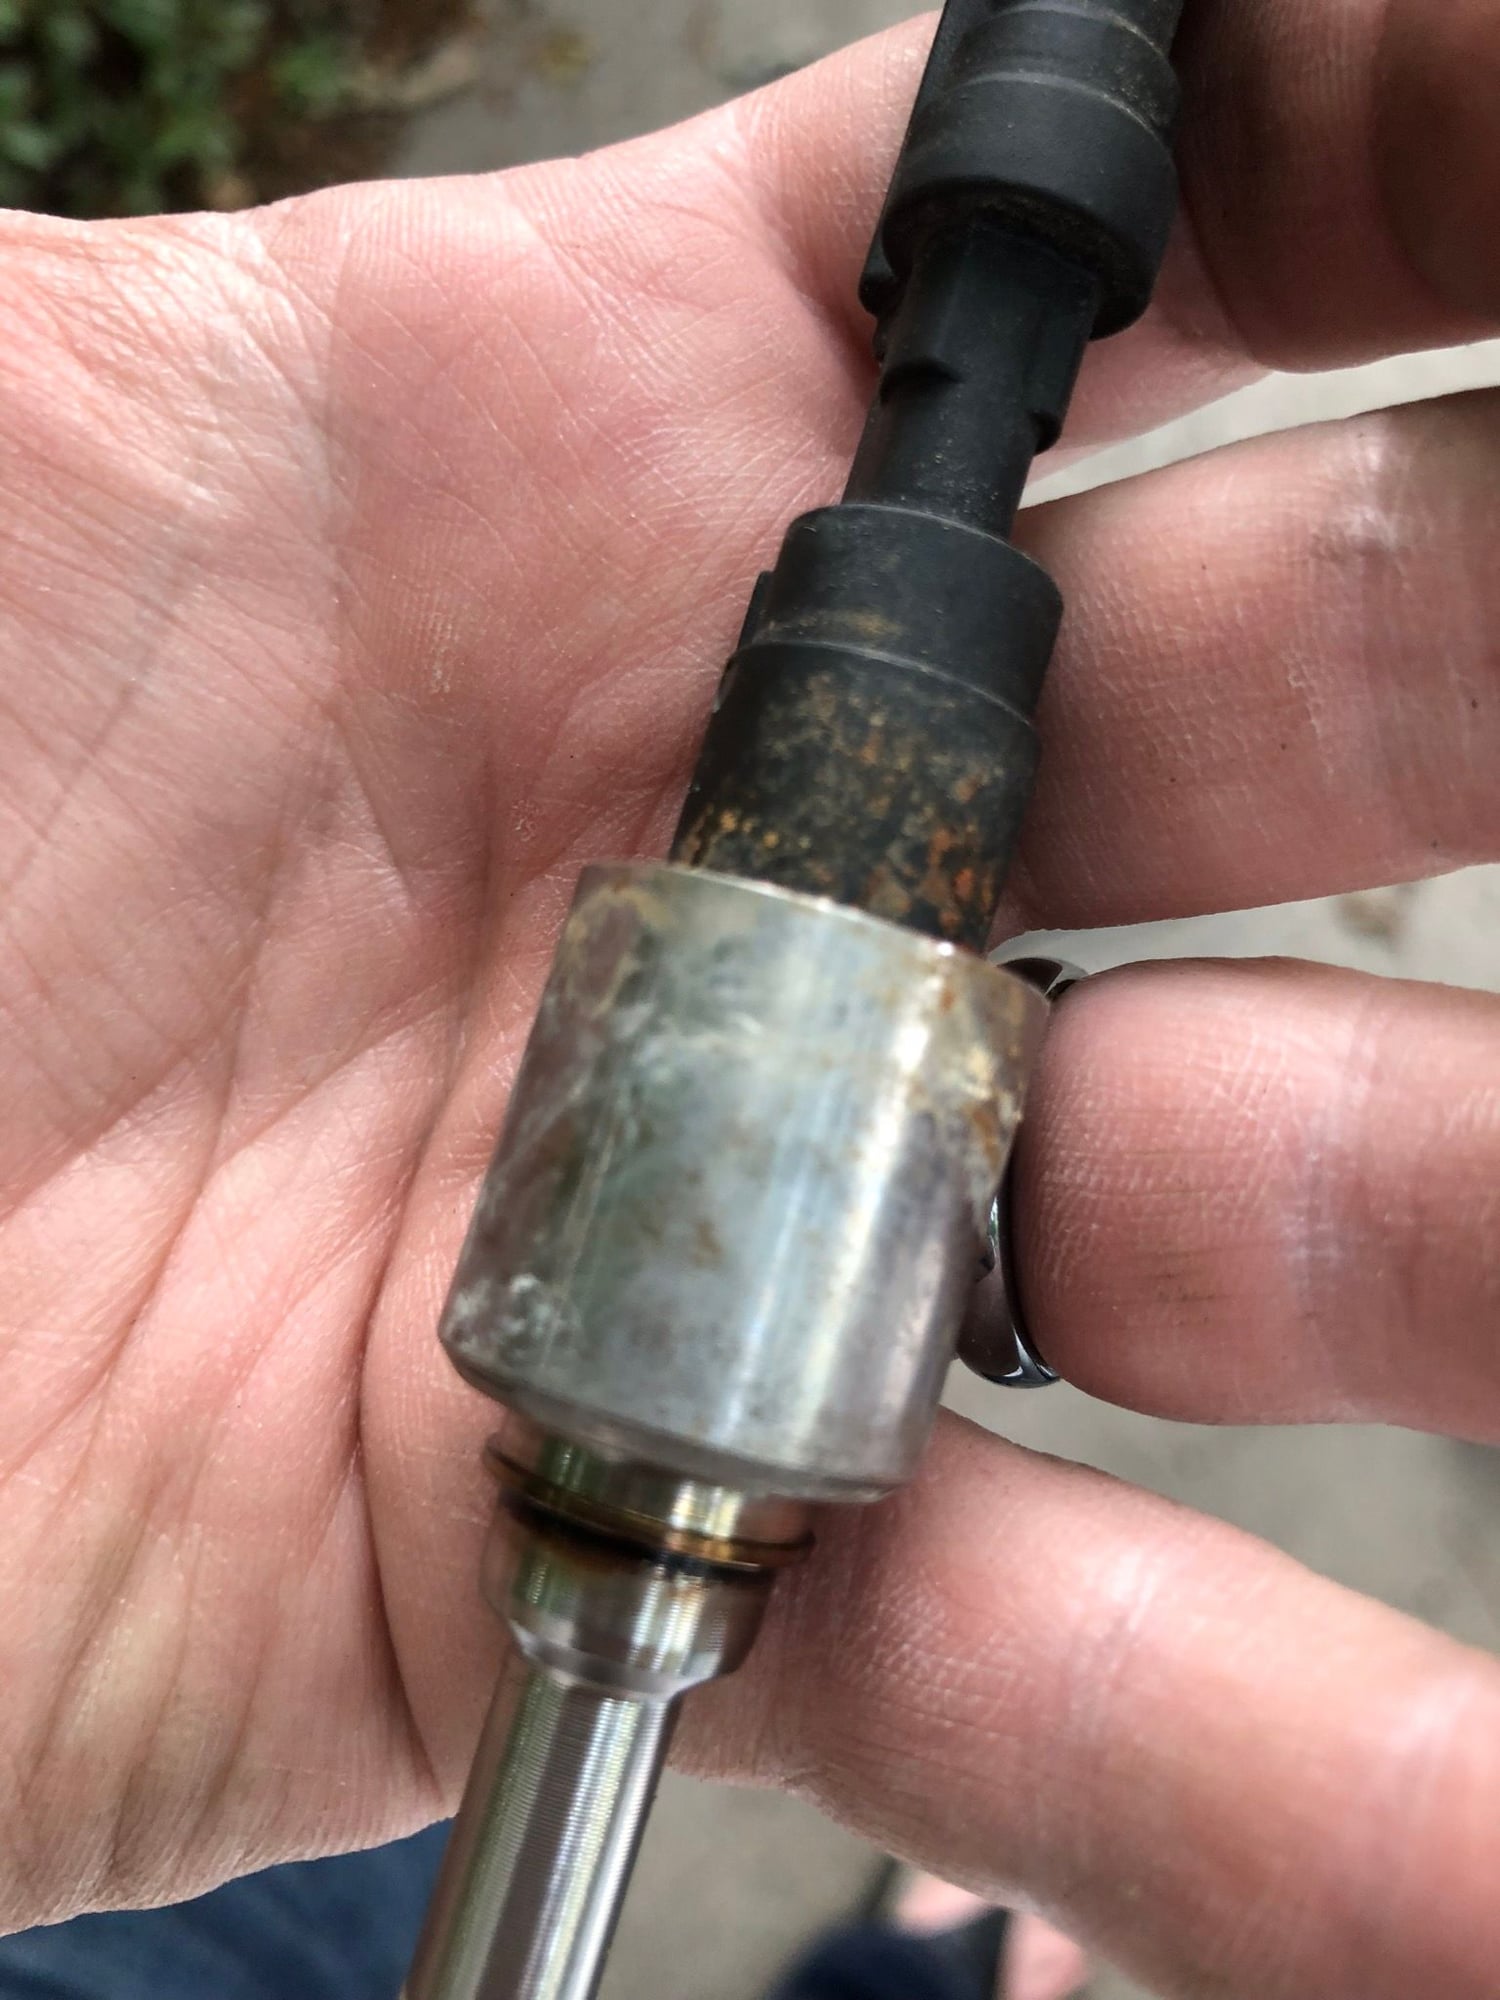
Signs of grime on the injector body.
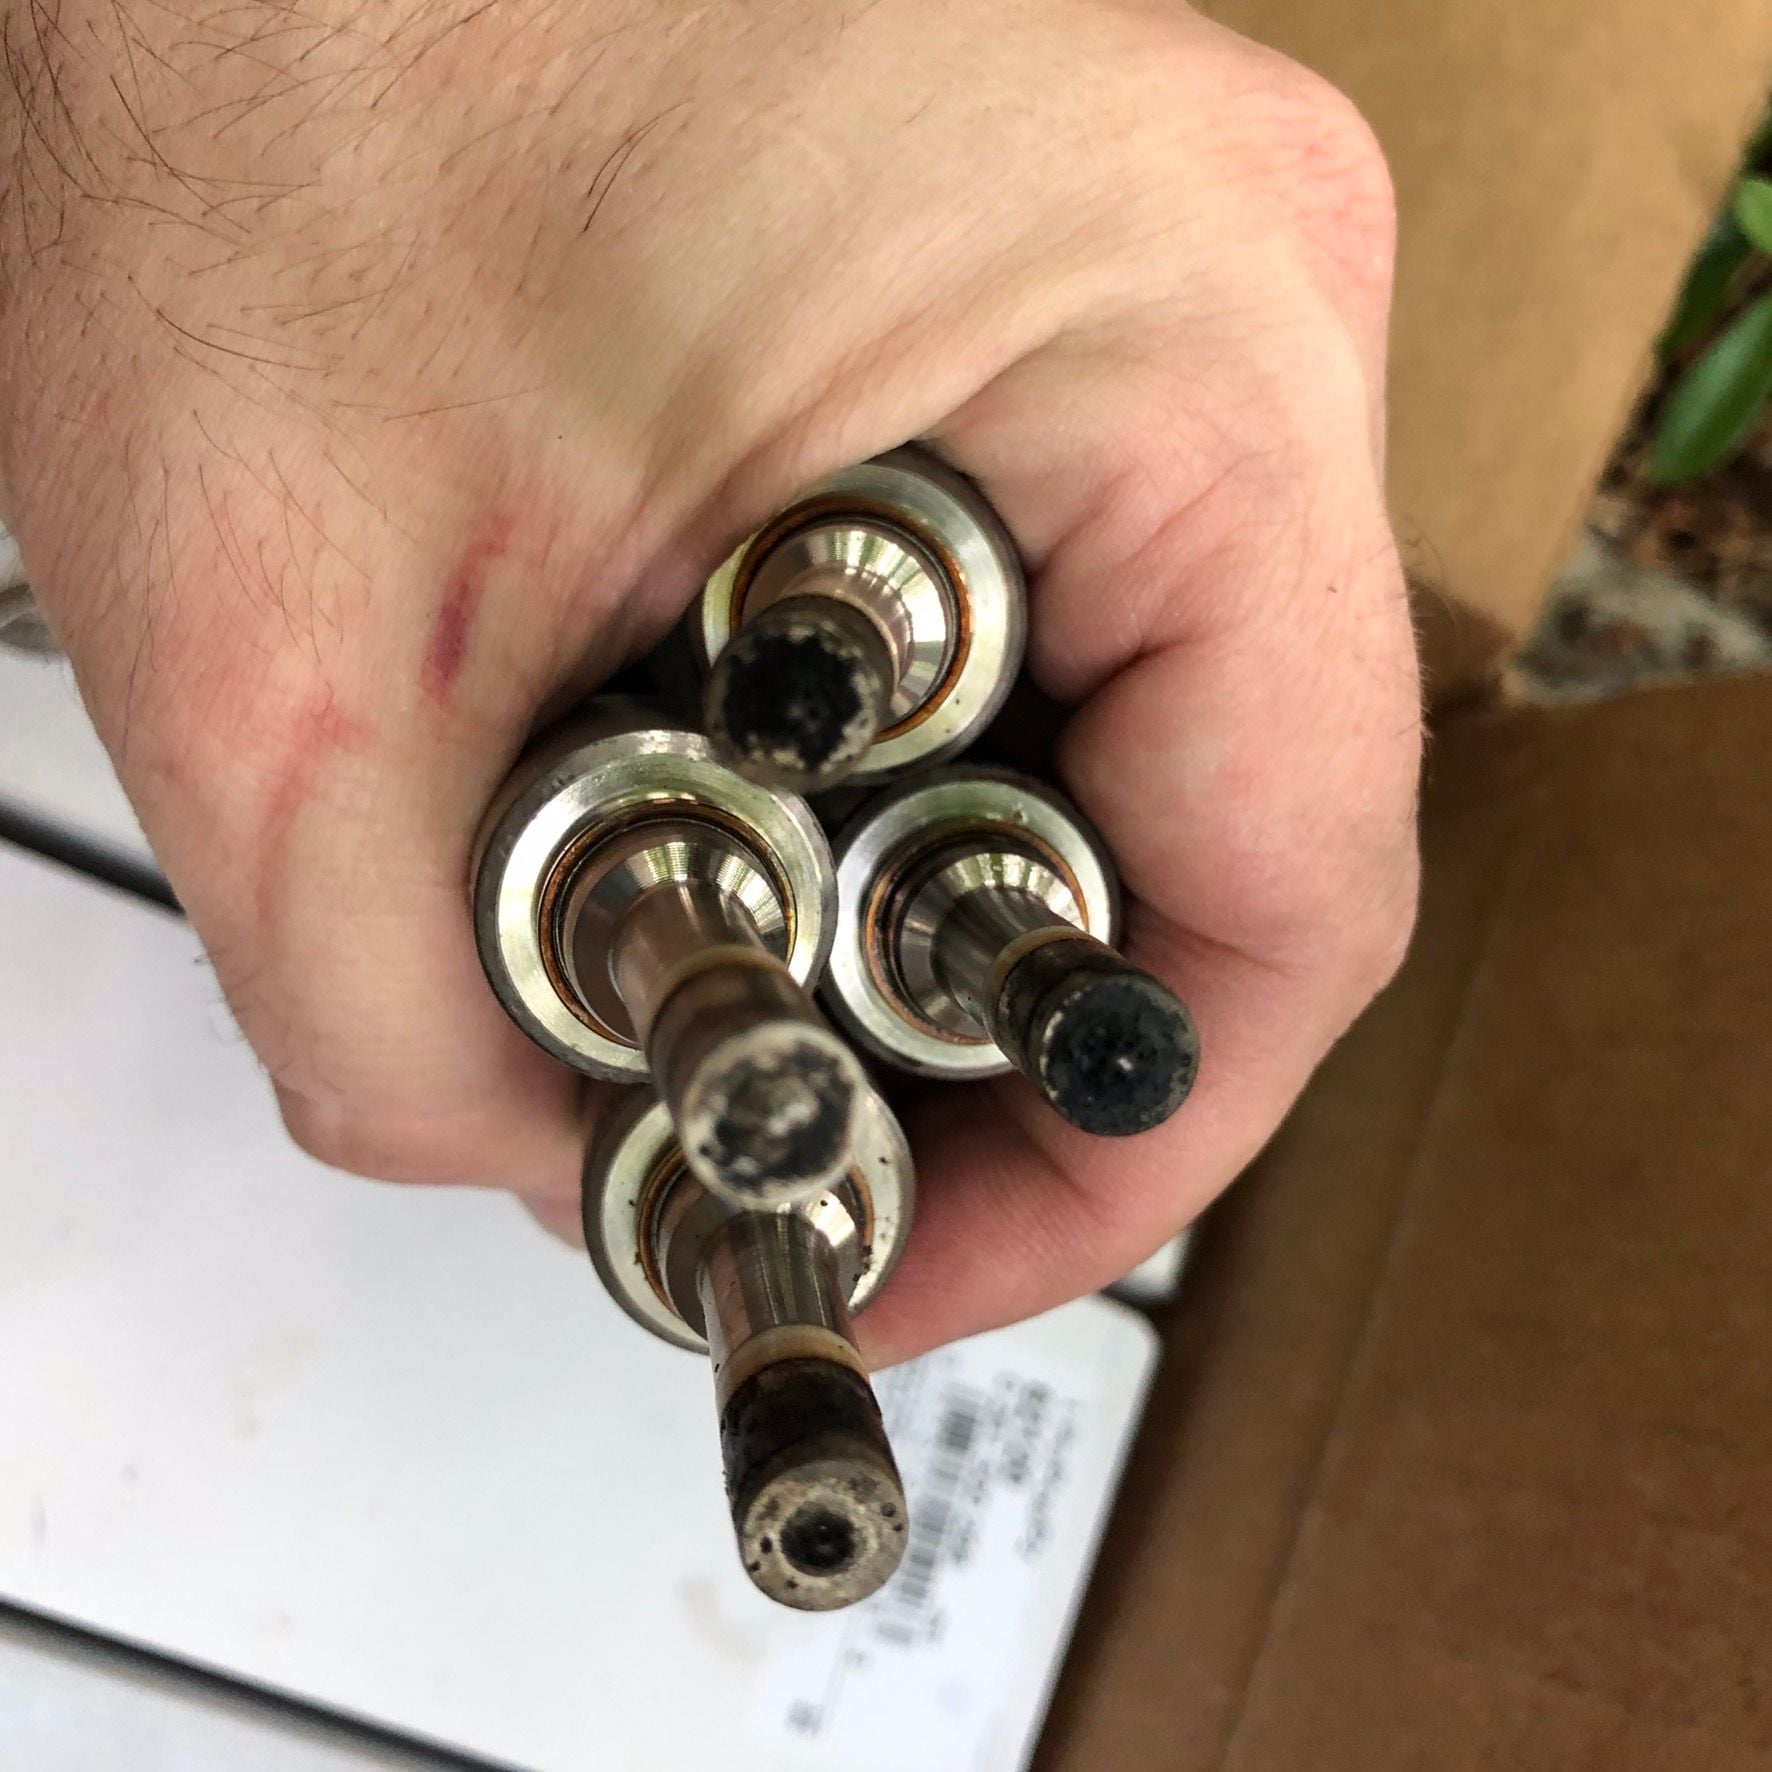
The old injectors were seriously fouled.
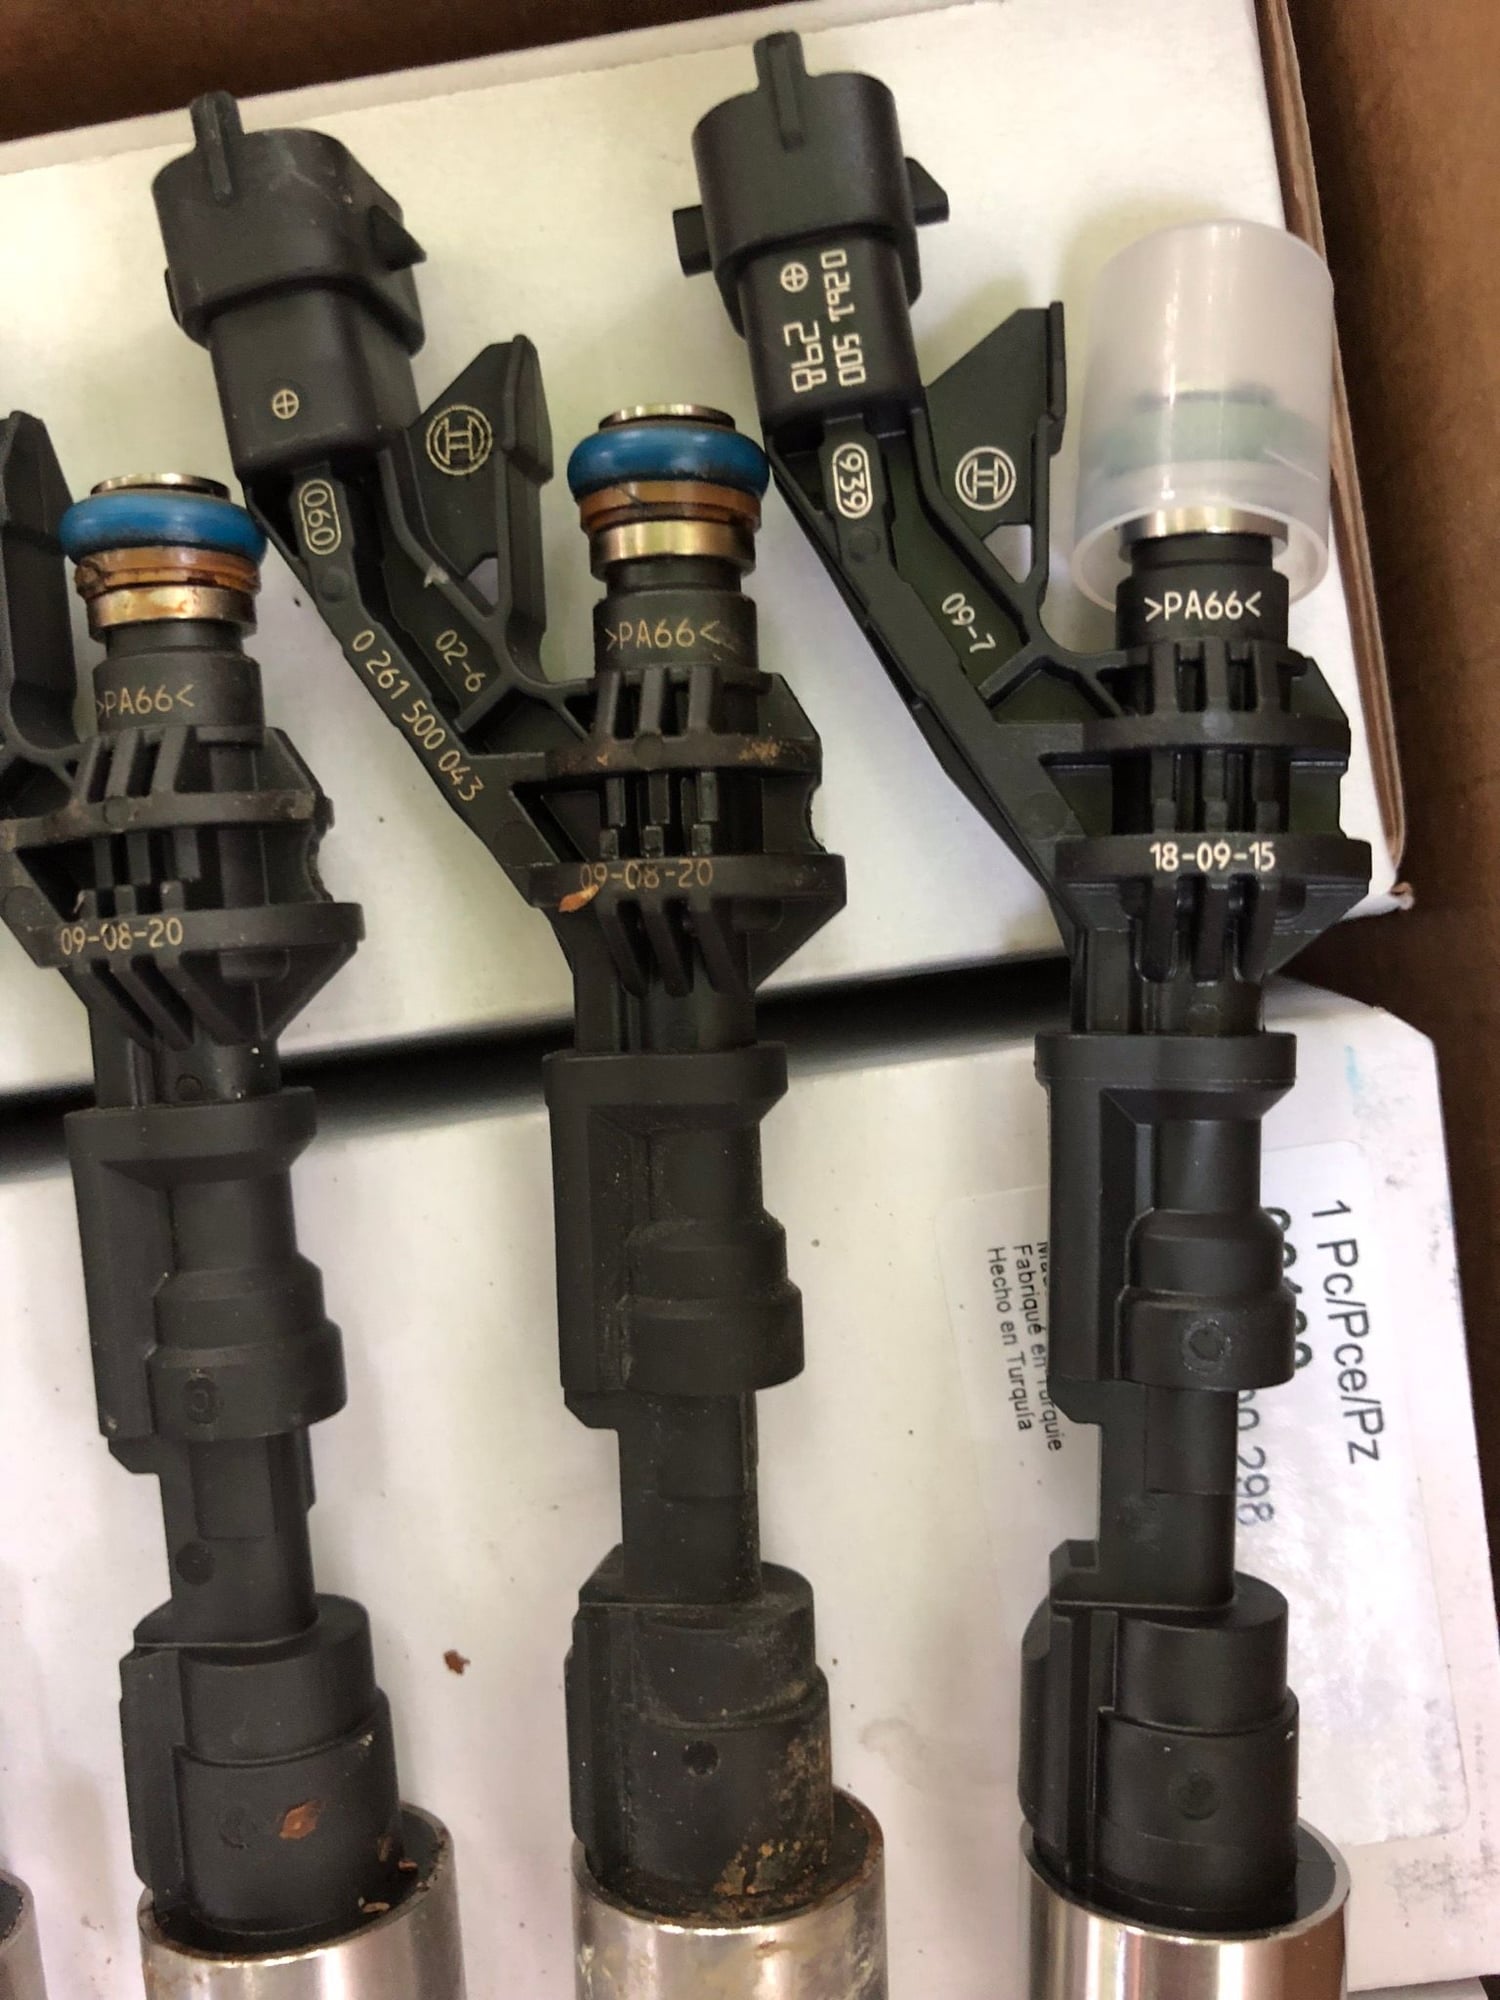
OE vs. Aftermarket injectors.
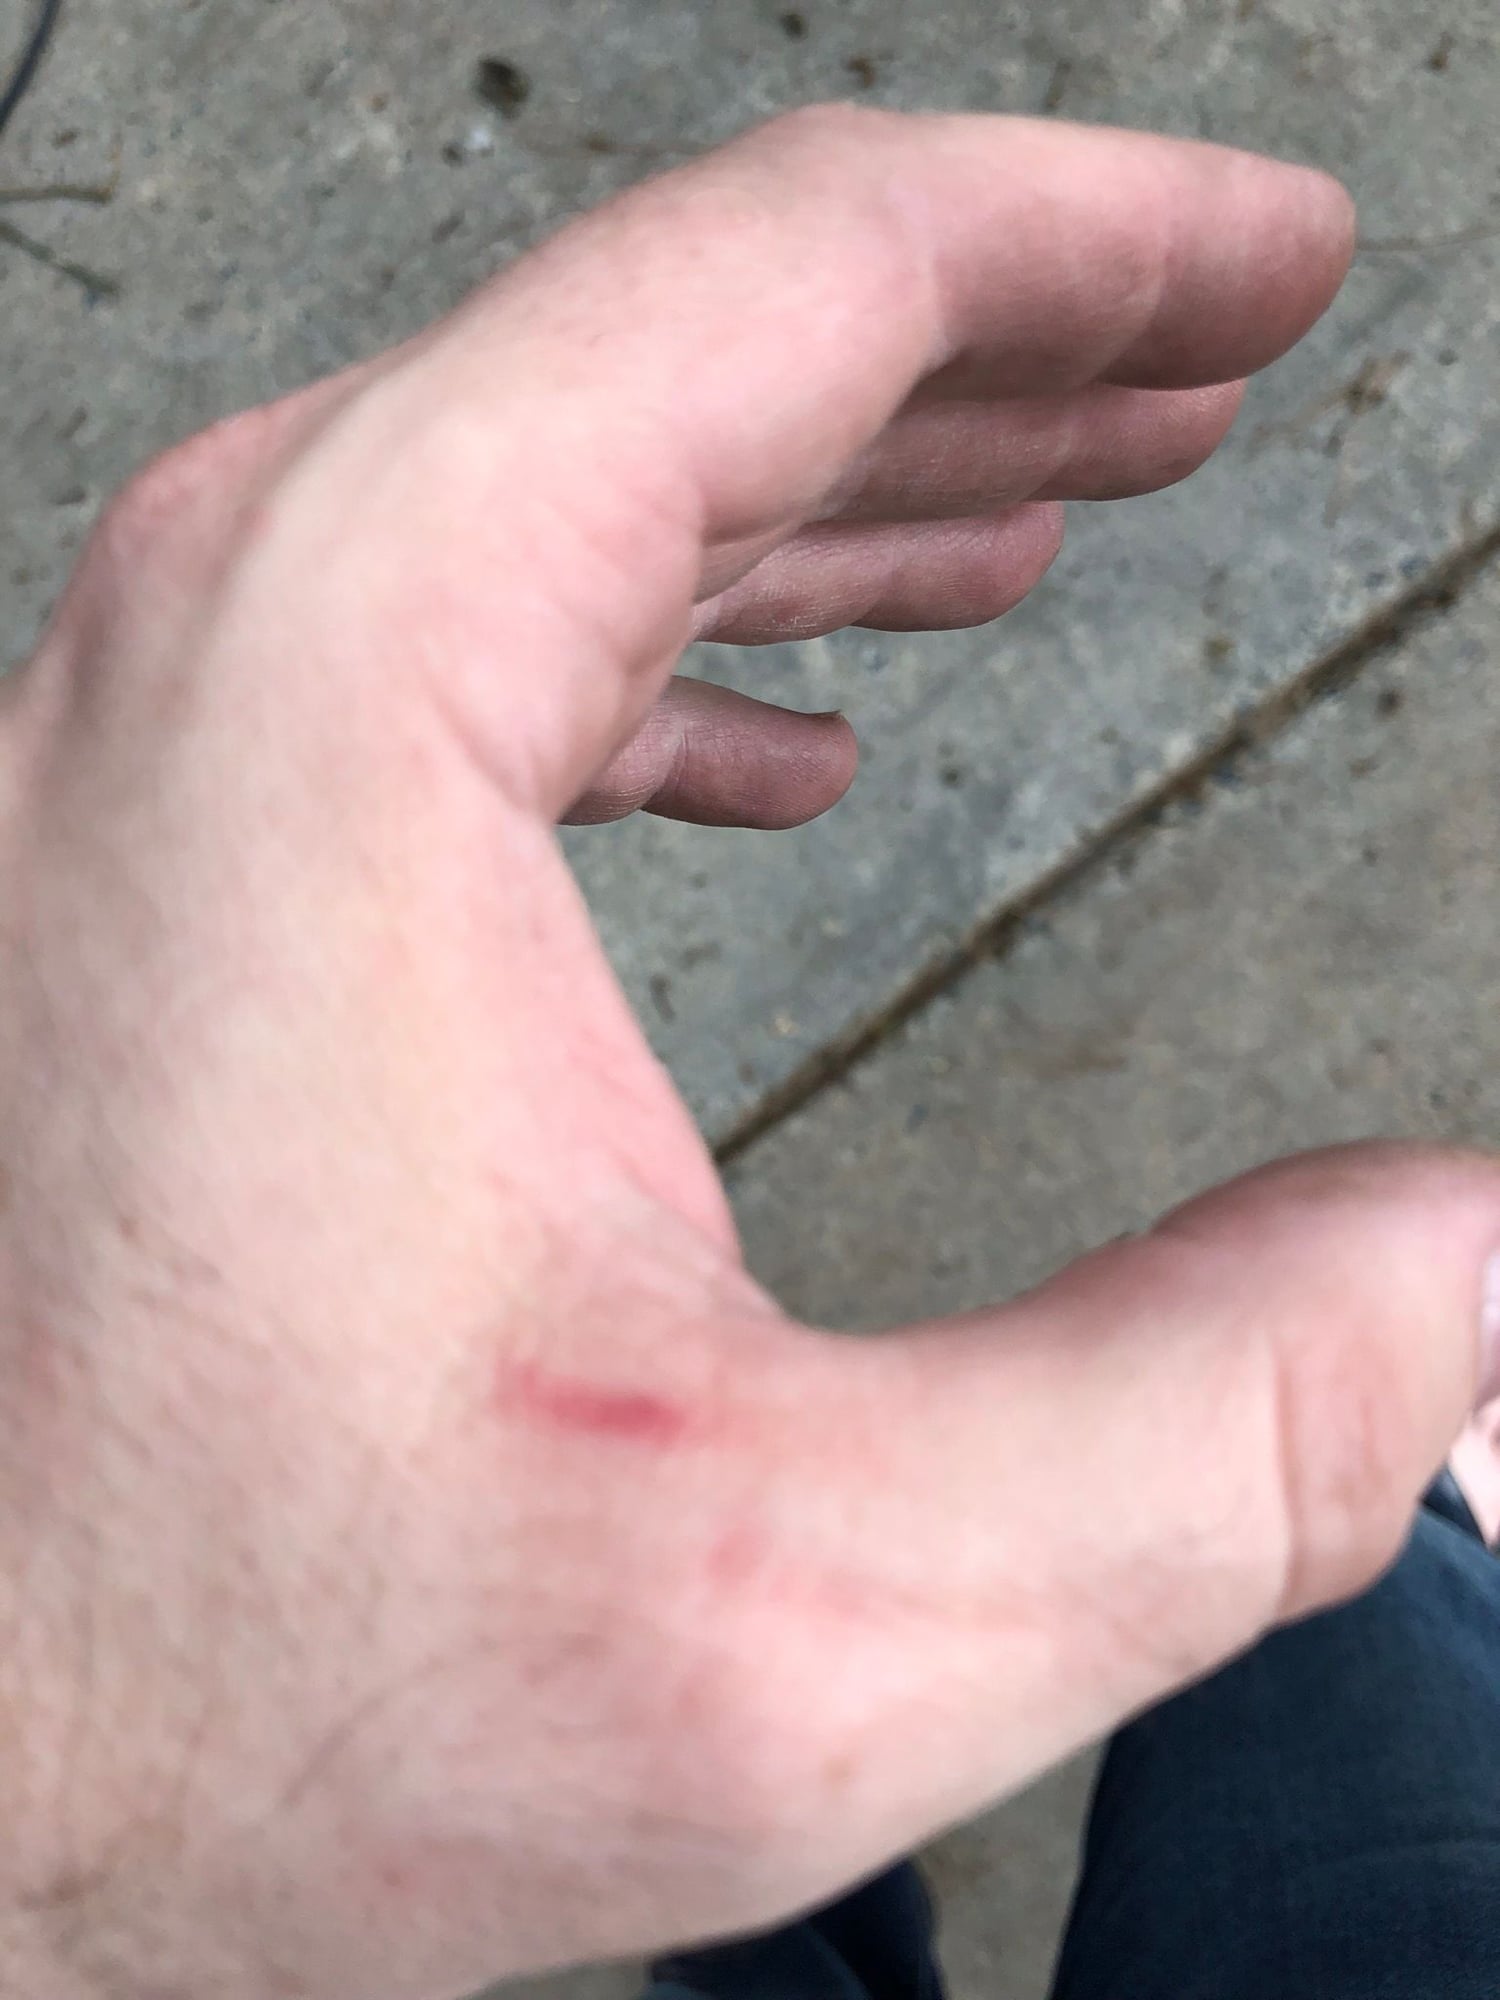
Keep the web of your hand clear of the hammer slide while using the injector tool--that pinch hurt!
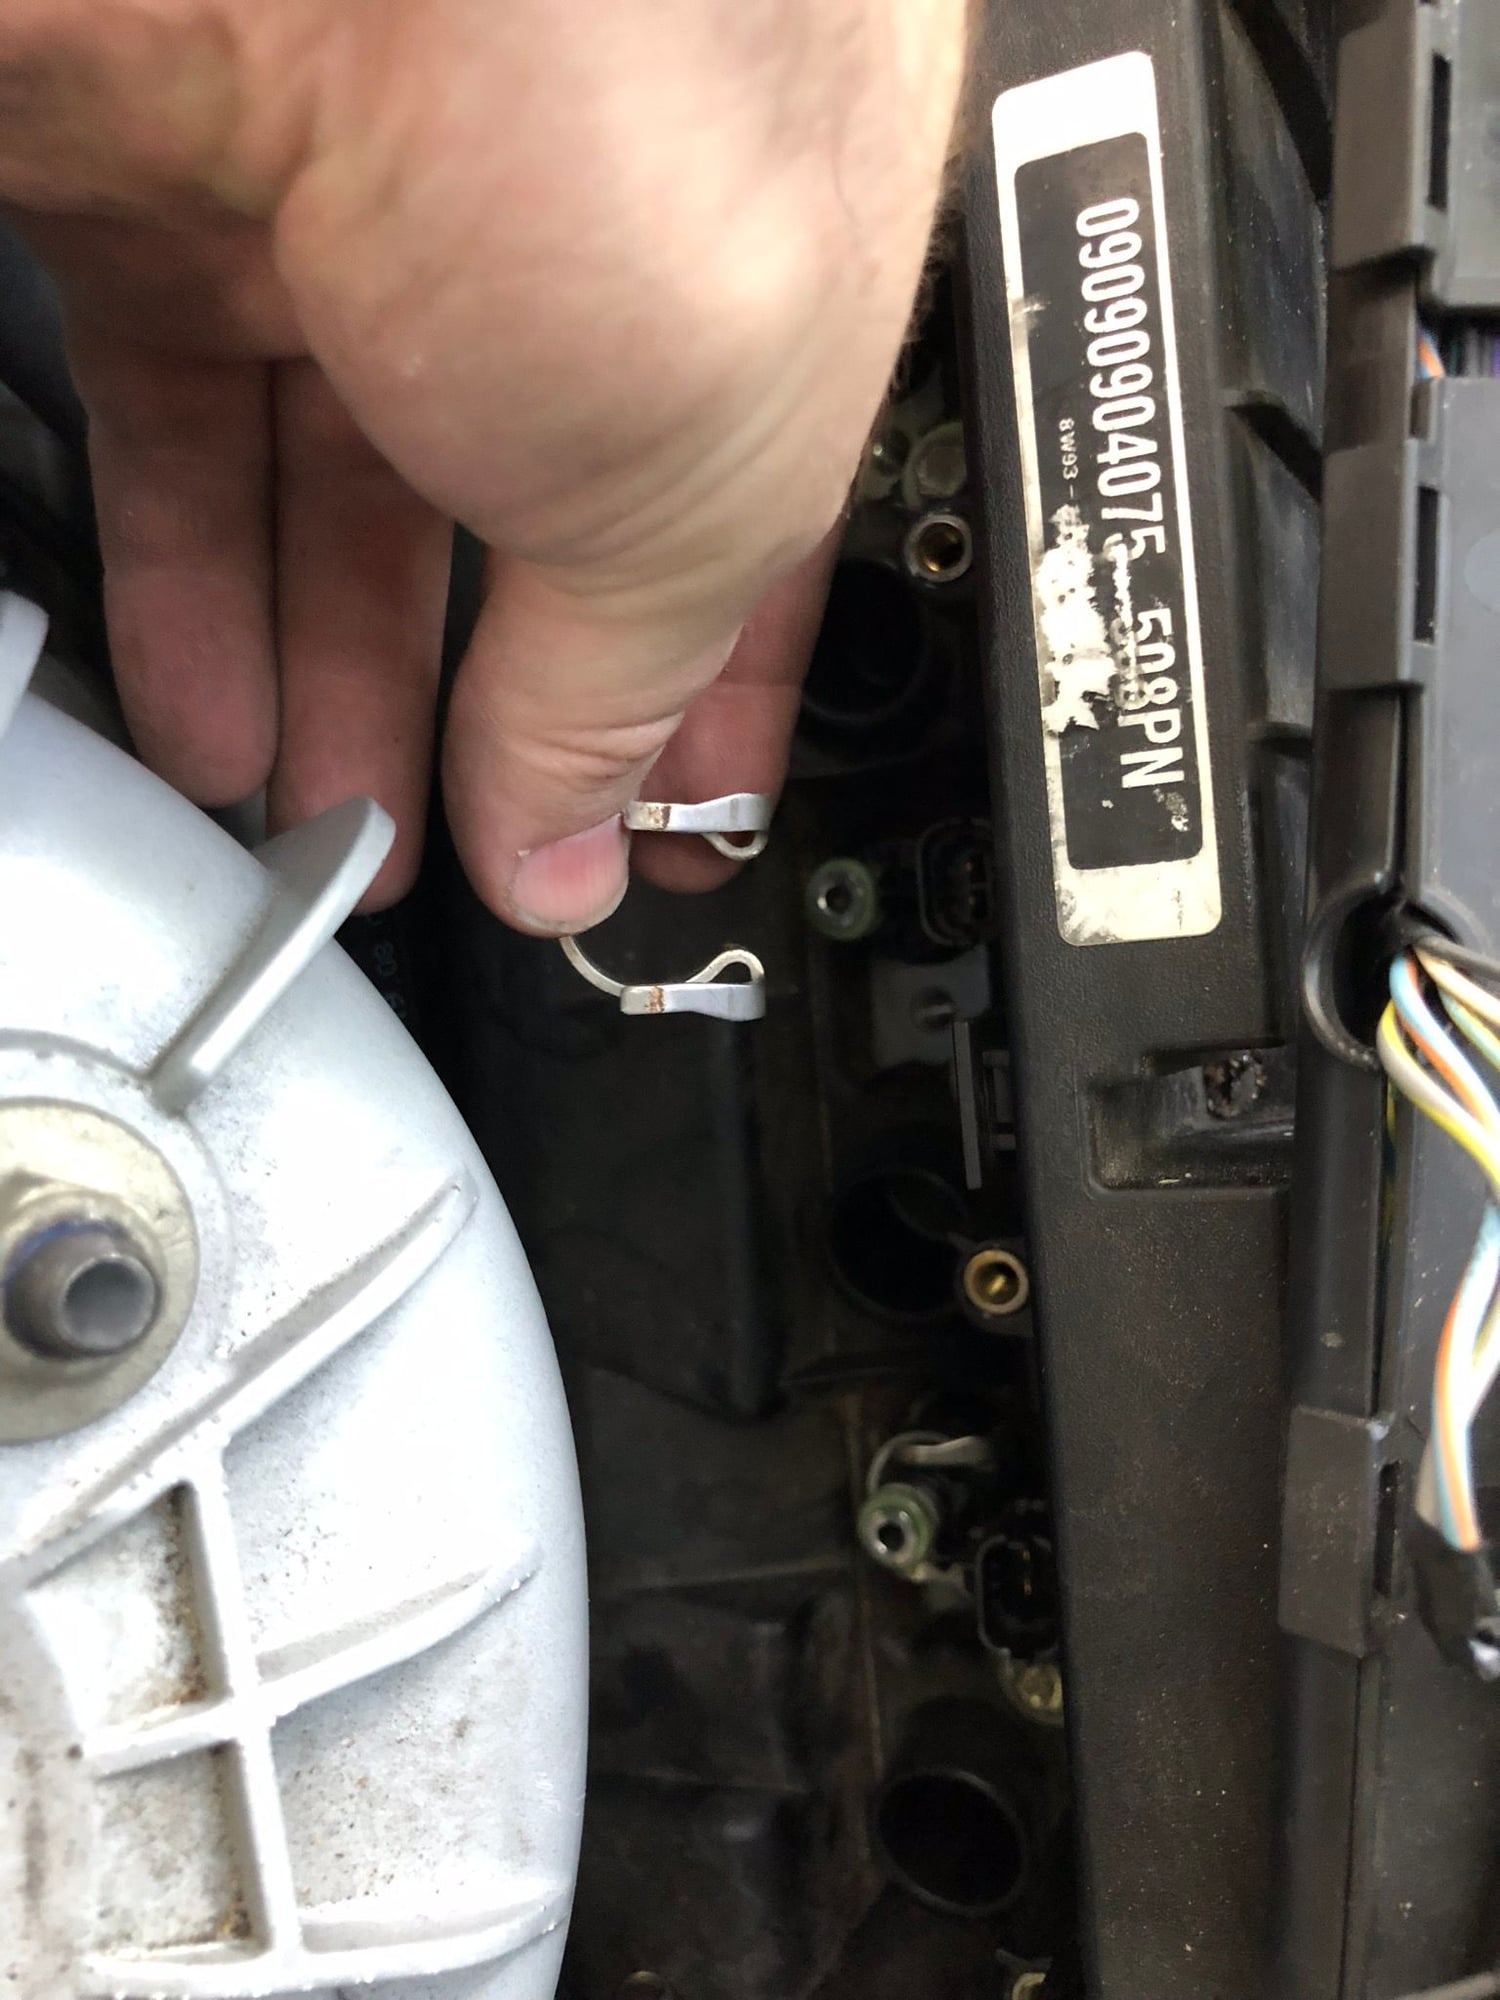
Tension clips slide on easily after installing the injectors.
Last edited by tractioninc; 06-04-2019 at 08:24 AM.
The following 9 users liked this post by tractioninc:
gkubrak (07-22-2019),
guy (06-04-2019),
hafren (06-04-2019),
kj07xk (06-04-2019),
Patrick Wong (06-04-2019),
and 4 others liked this post.
#23
#24
The bolts on the engine compartment brace require a T50 Torx bit in case this helps someone in the future. I had a TP50 (Torx Plus) and it didn't fit so I got a set a of large regular Torx bit sockets.
"Removing the tubular steel strut tower brace makes more room for accessing the end of the fuel rail near the firewall. This requires a large torx bit which I happened to have. "
"Removing the tubular steel strut tower brace makes more room for accessing the end of the fuel rail near the firewall. This requires a large torx bit which I happened to have. "
Last edited by hendercc; 07-21-2019 at 10:37 AM.
#25
Hi,
I have 2011 XKR and I'm in a process of replacing fuel injectors on drivers side of the engine, ( what a pain!!) I go to step of removing a fuel rail, removed screws and I cant pull up the fuel rail, I tried using tow straps but the rail will not even move... is there anything else other ethen 4 bolts and fuel line that holds the rail?
any tips on how to pull the rail?
thanks !
#26
Join Date: Jan 2012
Location: Newport Beach, California
Posts: 5,628
Received 2,626 Likes
on
1,810 Posts
Hi,
I have 2011 XKR and I'm in a process of replacing fuel injectors on drivers side of the engine, ( what a pain!!) I go to step of removing a fuel rail, removed screws and I cant pull up the fuel rail, I tried using tow straps but the rail will not even move... is there anything else other ethen 4 bolts and fuel line that holds the rail?
any tips on how to pull the rail?
thanks !
I have 2011 XKR and I'm in a process of replacing fuel injectors on drivers side of the engine, ( what a pain!!) I go to step of removing a fuel rail, removed screws and I cant pull up the fuel rail, I tried using tow straps but the rail will not even move... is there anything else other ethen 4 bolts and fuel line that holds the rail?
any tips on how to pull the rail?
thanks !
The following users liked this post:
Peterek82 (01-10-2022)
#27
Join Date: Jan 2012
Location: Newport Beach, California
Posts: 5,628
Received 2,626 Likes
on
1,810 Posts
It bears mentioning that some injectors may come out with the fuel rail while others require the slide hammer to remove them from their bores. It's not uncommon for some injectors to require fifty or more strikes with the slide hammer to work them free, so be patient. It's a good idea to add some penetrating lubricant around the injector bores and let it soak before attempting to remove them if they're still in the cylinder head.
Once the injectors are removed, thoroughly clean the injector ports using brass wire brushes for both the injector port bore and the nozzle bore. The nozzle bore can have a significant carbon build up if the vehicle has more than 100,000 km.
Once the injectors are removed, thoroughly clean the injector ports using brass wire brushes for both the injector port bore and the nozzle bore. The nozzle bore can have a significant carbon build up if the vehicle has more than 100,000 km.


