When you click on links to various merchants on this site and make a purchase, this can result in this site earning a commission. Affiliate programs and affiliations include, but are not limited to, the eBay Partner Network.
i have that specific engine bar. i think if you used it to lever the supercharger up by lifting one side, you'd be risking the bar slipping loose from its feet both in the axis it's supposed to rotate and in the one it isn't supposed to rotate and it could end badly.
that bar is fairly heavy itself, and the legs are a bit wobbly even when used properly. the system relies on the weight it takes up to keep those rubber feet set in the rain channels. the feet are really only held stationary relative to the bar with the torque you put on the knobs. once it is bearing weight you can't really do anything except raise/lower the hooks. and if that's all you do, then it would crack a seal loose for you no problem if that's the hurdle here. you'll still need two people to lift bar+supercharger out and i guess the car's hood would have to come off first.
OK, here's the first video of my engine repair saga. The video editing is turning out to be more difficult than working on the car, but at least my hands don't get dirty. .....
I watched the video. Excellent content but the presenter isn't as good as the young guy who used to do the XK8 ones.
You rightly discounted the Workshop Manual as not covering your needs for this repair. However, the AJ133 5.0 Litre V8 Engine - Technical Training in section 5 (Engine) of the XK/XKR - 'How To' / DIY Repair & Maintenance sticky has useful information which I think will help.
I also agree you made the right choice not to use TOPIx but for the wrong reasons:
1. a YEAR 'time' purchase is unnecessary. One DAY would be more than enough to download ALL the data for your vehicle
2. it would not help as TOPIx gives you no more than the Workshop Manual you have already seen in XK/XKR - Workshop Manuals & Electrical Guides sticky
Excellent video! Looking forward to more of your saga.
Spark plug looks like an iridium electrode which is quite small compared to the old style electrodes when thunder lizards ruled the Earth.
I like the chain hoist/pulley idea to a ceiling joist to lift the supercharger. Or maybe on a 4x4 between 2 step ladders.
You might put the hood in the service position (remove the lift arms and raise the hood to about vertical and put a bolt through the holes that will line up) to give a little more room around the top of the engine when lifting the supercharger.
I hate asking for favors. Or favours. If I ask him to help, next thing you know he's going to want me to mow his grass when he's on vacation.
Originally Posted by GGG
I watched the video. Excellent content but the presenter isn't as good as the young guy who used to do the XK8 ones.
Surprisingly, the old guy's wife is much more attractive than the young guy's wife. Weird...
Originally Posted by GGG
You rightly discounted the Workshop Manual as not covering your needs for this repair. However, the AJ133 5.0 Litre V8 Engine - Technical Training in section 5 (Engine) of the XK/XKR - 'How To' / DIY Repair & Maintenance sticky has useful information which I think will help.
I also agree you made the right choice not to use TOPIx but for the wrong reasons:
1. a YEAR 'time' purchase is unnecessary. One DAY would be more than enough to download ALL the data for your vehicle
2. it would not help as TOPIx gives you no more than the Workshop Manual you have already seen in XK/XKR - Workshop Manuals & Electrical Guides sticky
Looking forward to following your progress.
Graham
Thanks! I was considering buying a brief subscription to Topix. I didn't know what was in there.
Now that I've been using AllData, I have to admit that I'm not a fan of their abbreviated maintenance info. A picture with nothing that shows the orientation can be really hard to figure out. Am I looking as it from above? From the side? From below...?
Originally Posted by V7Sport
Excellent video! Looking forward to more of your saga.
Spark plug looks like an iridium electrode which is quite small compared to the old style electrodes when thunder lizards ruled the Earth.
I like the chain hoist/pulley idea to a ceiling joist to lift the supercharger. Or maybe on a 4x4 between 2 step ladders.
You might put the hood in the service position (remove the lift arms and raise the hood to about vertical and put a bolt through the holes that will line up) to give a little more room around the top of the engine when lifting the supercharger.
I didn't realize the X150 had a service position. My old X100 did. BRB... going to the garage.
WOW!!! I just looked. There's a service position! I was going to move the hood to the service position right then, but I'll include it in a video and give you credit.
WOW!!! I just looked. There's a service position! I was going to move the hood to the service position right then, but I'll include it in a video and give you credit.
I believe the best way is walnut blasting . Common solution in the Audi world.
alcohol works but slowly. It doesn�t do much just idling around at less than 3000 rpm. You need the flood of fuel over the valves to do that.
That�s why American gas pumps have 10% ethanol. You need an additional sensor to use E85 which is 85% ethanol ( alcohol) which both cleans and adds about 10% more power.
If you are sure all the bolts are out, you just have to wiggle the intercooler housing off two dowels
that position it when installing. They often corrode and make removal difficult. You can pry up gently from the sides, but not against the cam covers,
they will crack. One person can lift it off when free, but installing really takes two people to keep everything in place.
I used to follow the workshop manual and it's pretty good although it does sometimes
omit a step like a wire or a hose connection.
alcohol works but slowly. It doesn�t do much just idling around at less than 3000 rpm. You need the flood of fuel over the valves to do that.
That�s why American gas pumps have 10% ethanol. You need an additional sensor to use E85 which is 85% ethanol ( alcohol) which both cleans and adds about 10% more power.
With a DI engine you do not get fuel flowing over the valves.
just saw this thread so I will add my personal experience. This thread brought back some unpleasant memories. Very common problem with the old Ferrari 3 liter V-12’s. It’s called “sudden valve seat rejection”. The many cycles of heating and cooling off of the aluminum head can cause the exhaust seat to become loose usually causing catastrophic damage. This happened on #6 cylinder which at the rear of the engine probably runs hotter. You were lucky that it didn’t break the valve stem which is what happened to my Ferrari and the resulting broken parts wreak havoc on the combustion chamber and piston.
I'm following this thread with great interest. I applaud you for taking on this job. That quote from the dealership (labour alone) is also beyond what I'd accept. Those valve alloy steel seats should be a shrink fit in the aluminum heads. If that one loosened up sufficiently to displace, the pocket in the head may be damaged. Once the head comes off, you'll find out and also see if anything else shows contact damage. Do you have any idea what used or rebuilt heads cost? I've seen many of your previous instructional video posts. Very helpful. I hope forum members can now somehow reciprocate and help you. Please keep posting your progress!
Good luck with it @Reverend Sam . I've used the AllData site over the years and have also found them lacking. I ended up with the pdf version of the shop manual. Since they cover all of the engine options for the vehicle, it can be like a treasure hunt.
Harbor Freight is your friend for one time use tools.
As another posted alluded to I would think that this failure is either from overheating of the alloy head or just poor workmanship. With the junk plastic used in Jaguar cooling systems, overheating is an "when", not "if".
Props to you for taking on this project. I replaced the AC compressor in my wife's 2009 XF. You have to love a company that requires that you remove the steering rack and driver's side engine mount to replace the AC compressor.
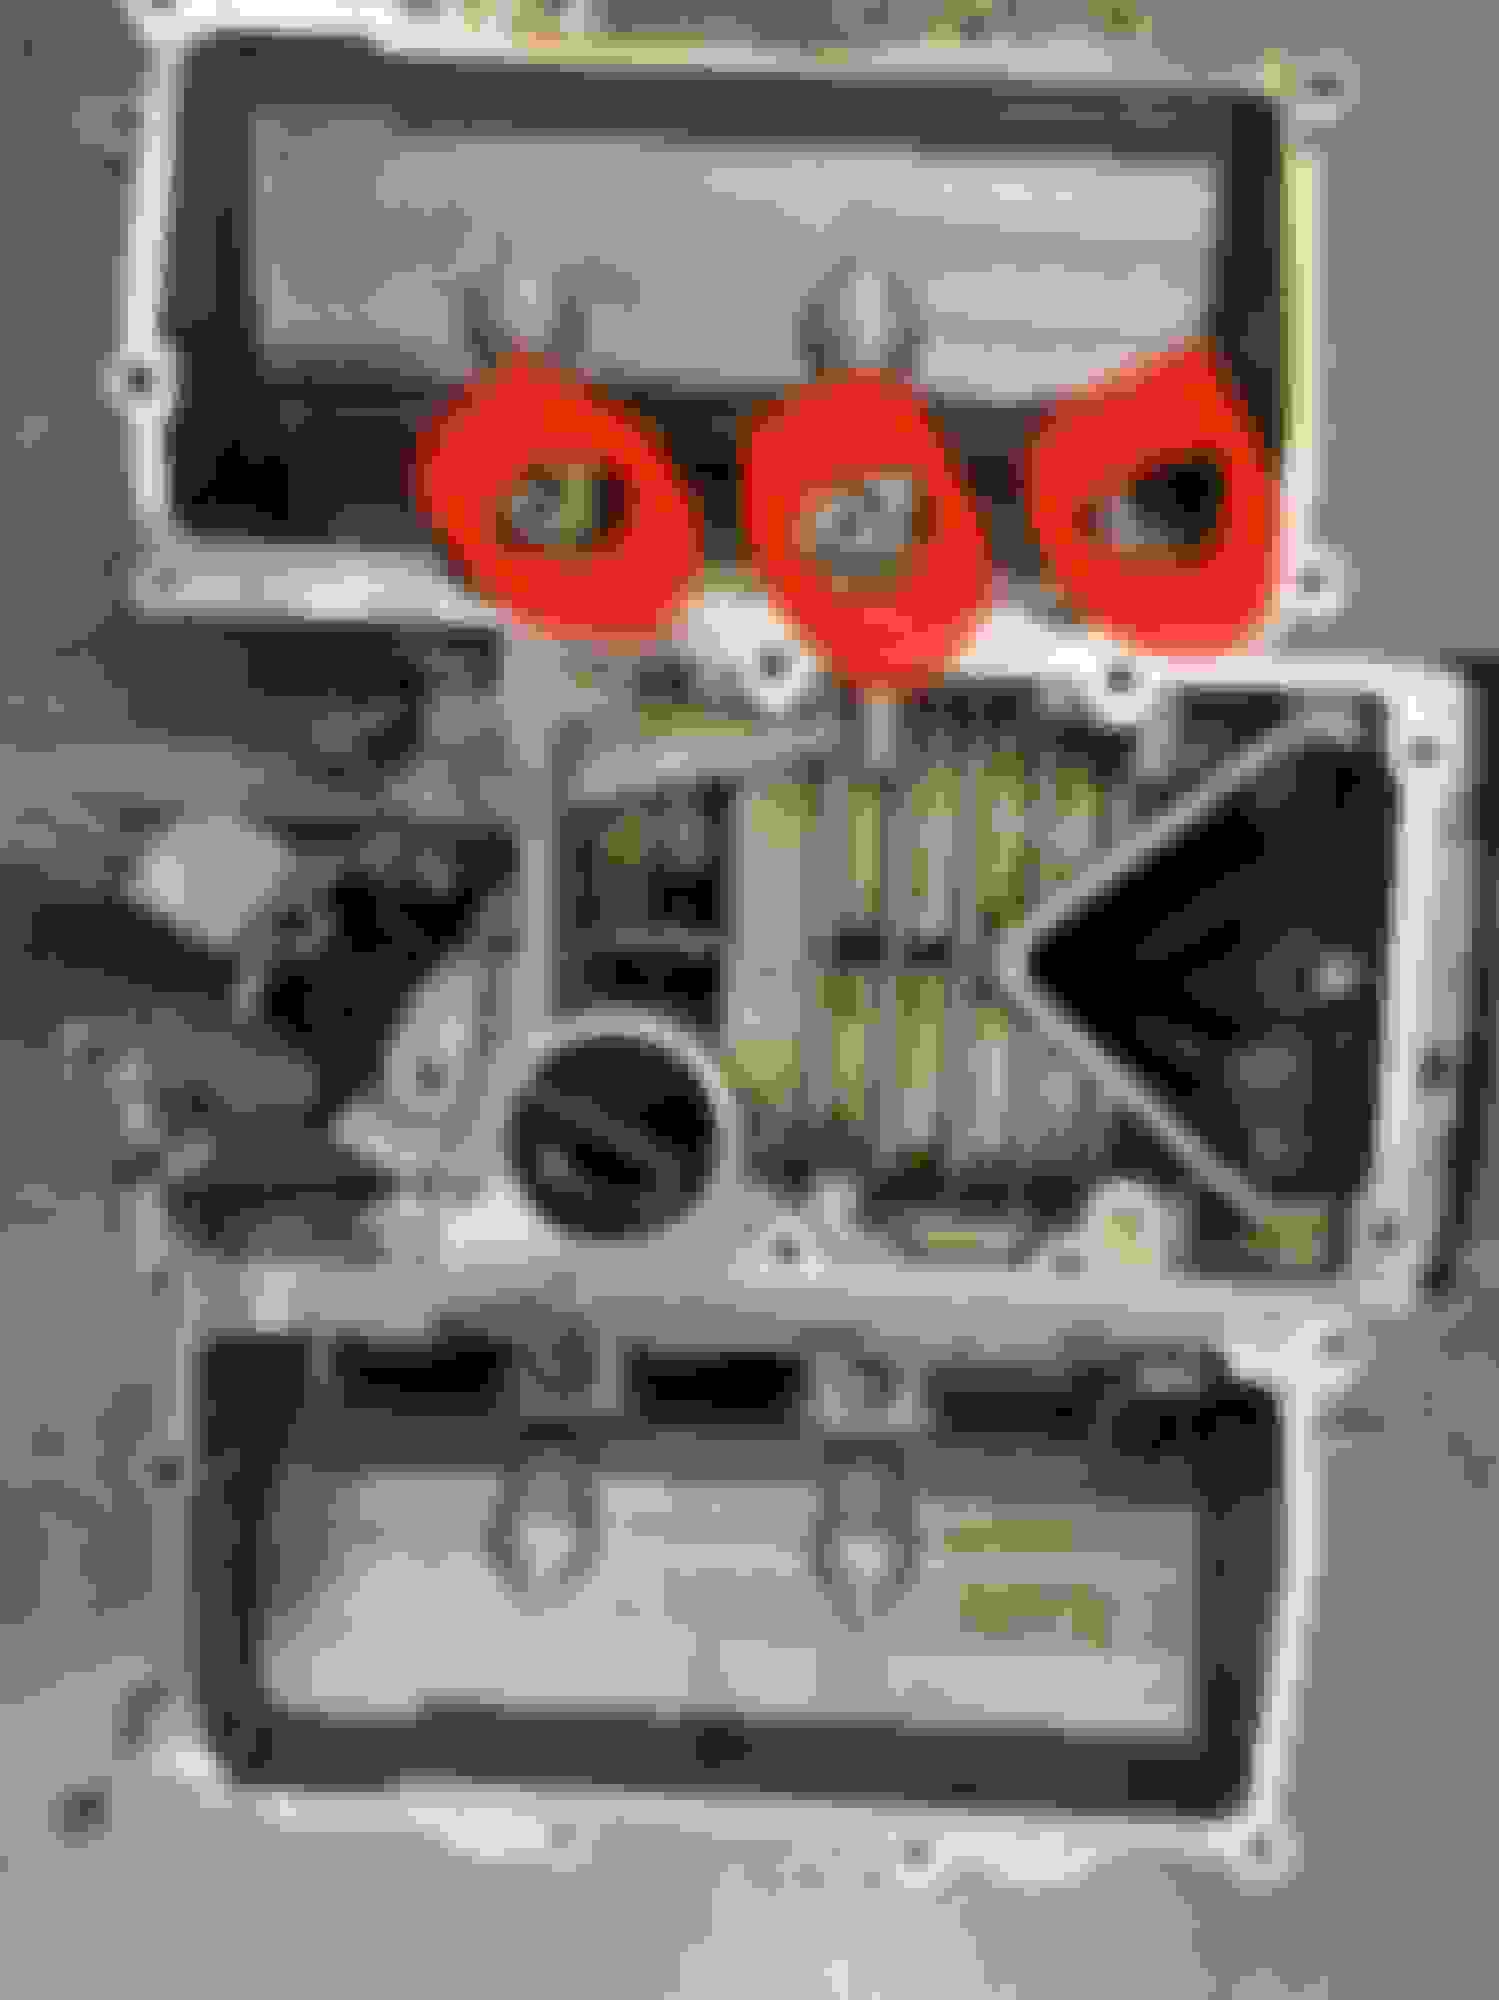
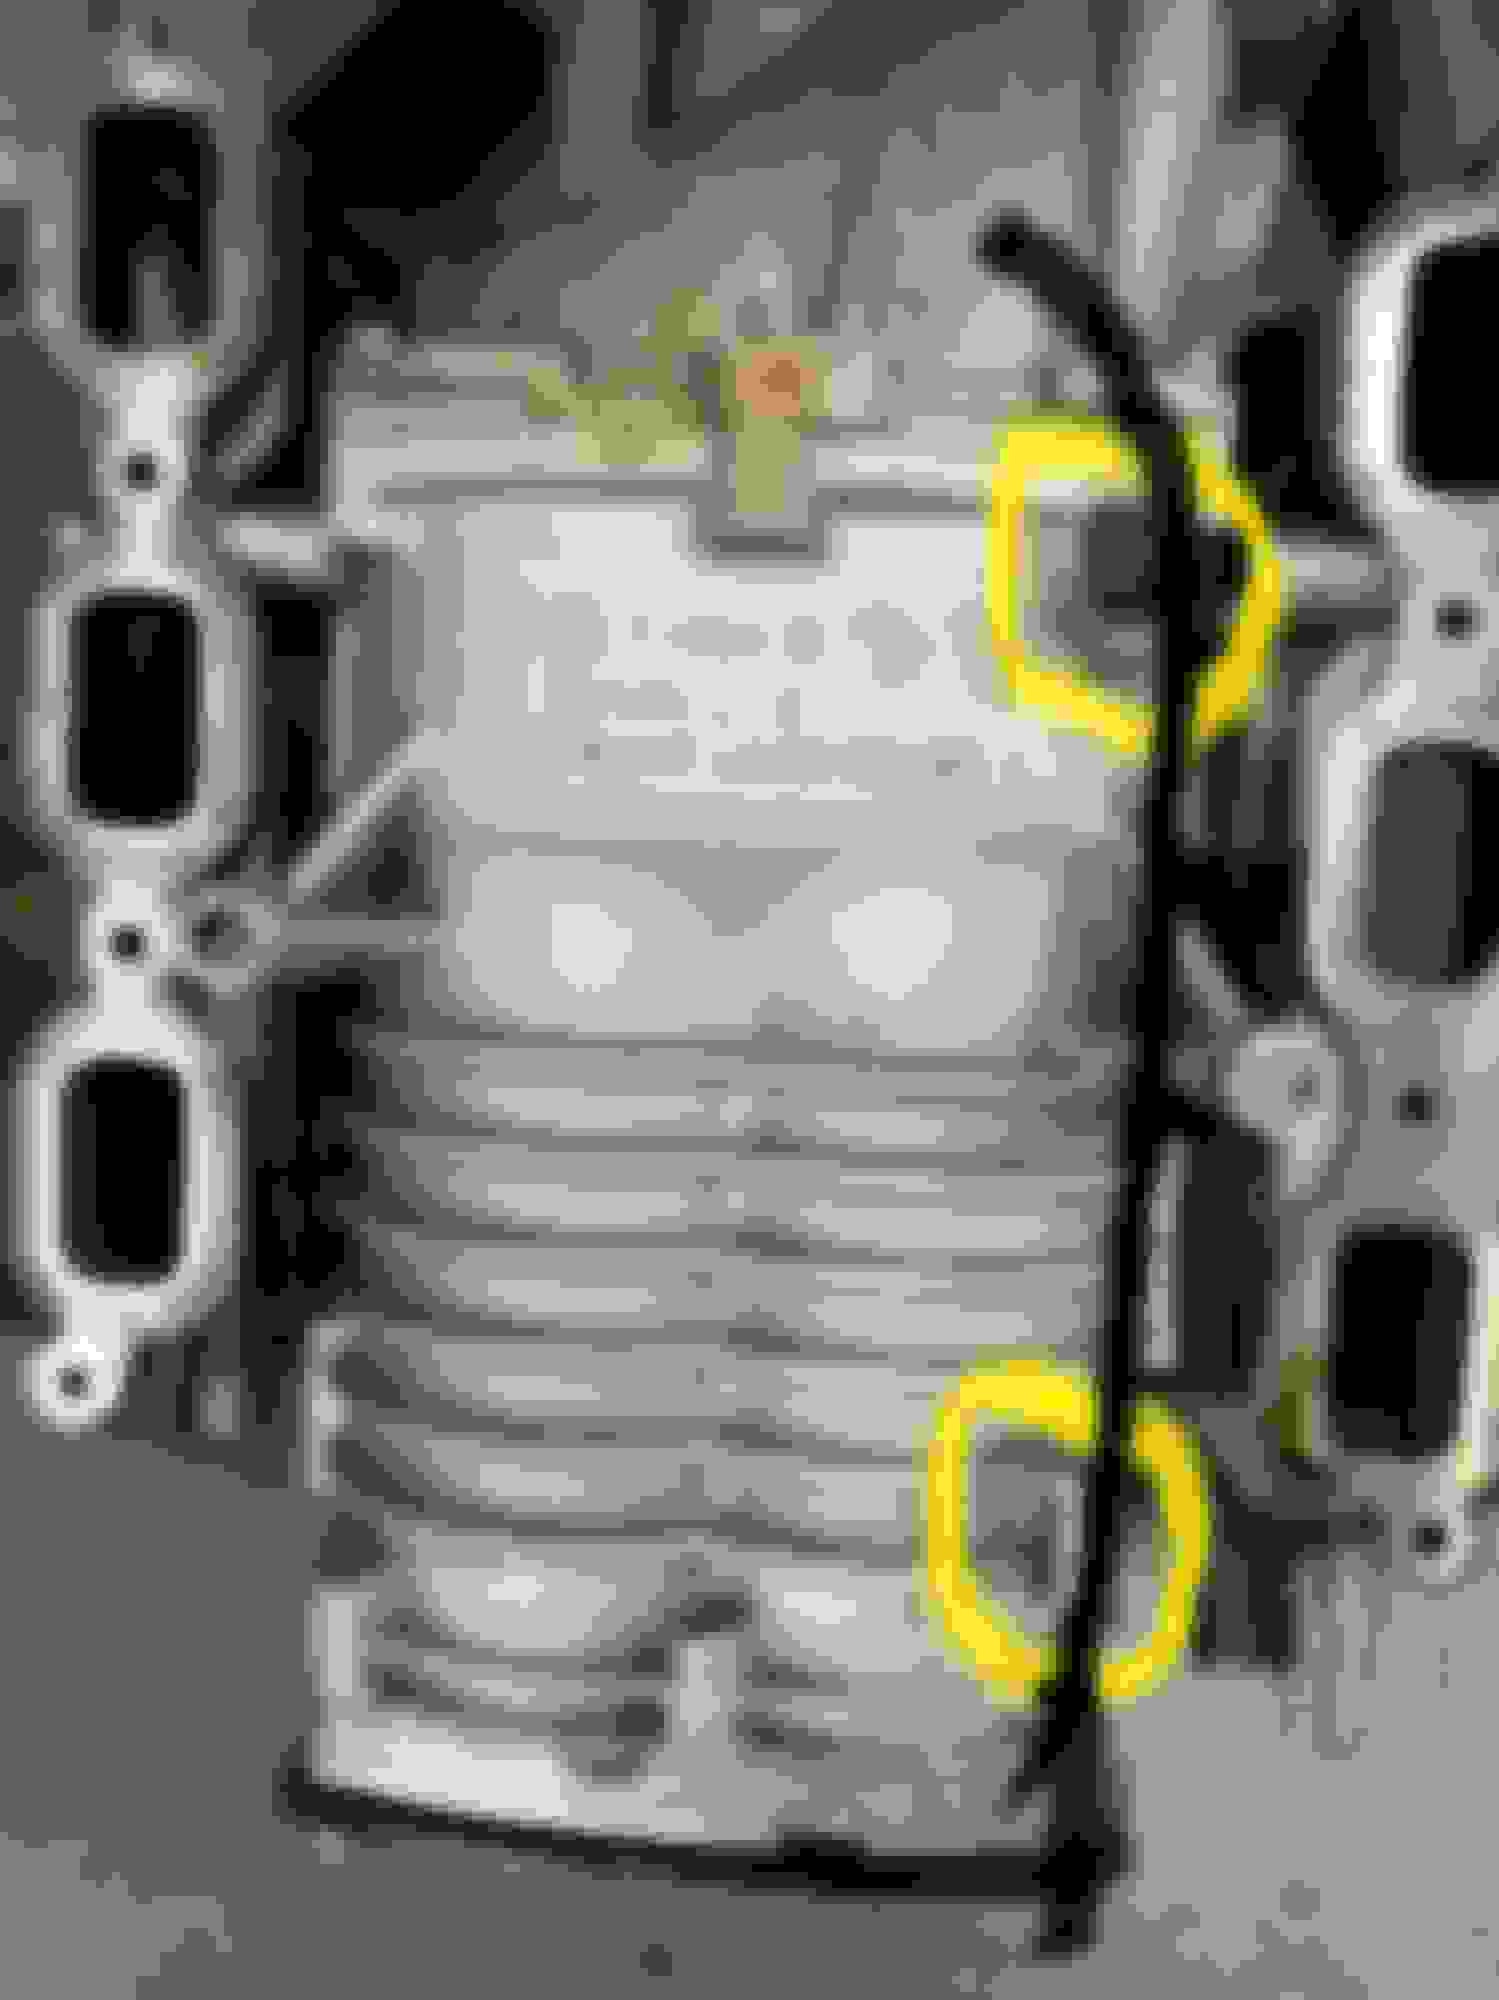
Reverend, I have to get back to work but I�ll make this quick. This is from a 3.0 V6 but since yours is an 8, this is all we got here. The photo shows 3 (circled) bolt holes but yours will have 4 on each side. Get those 8 bolts out.
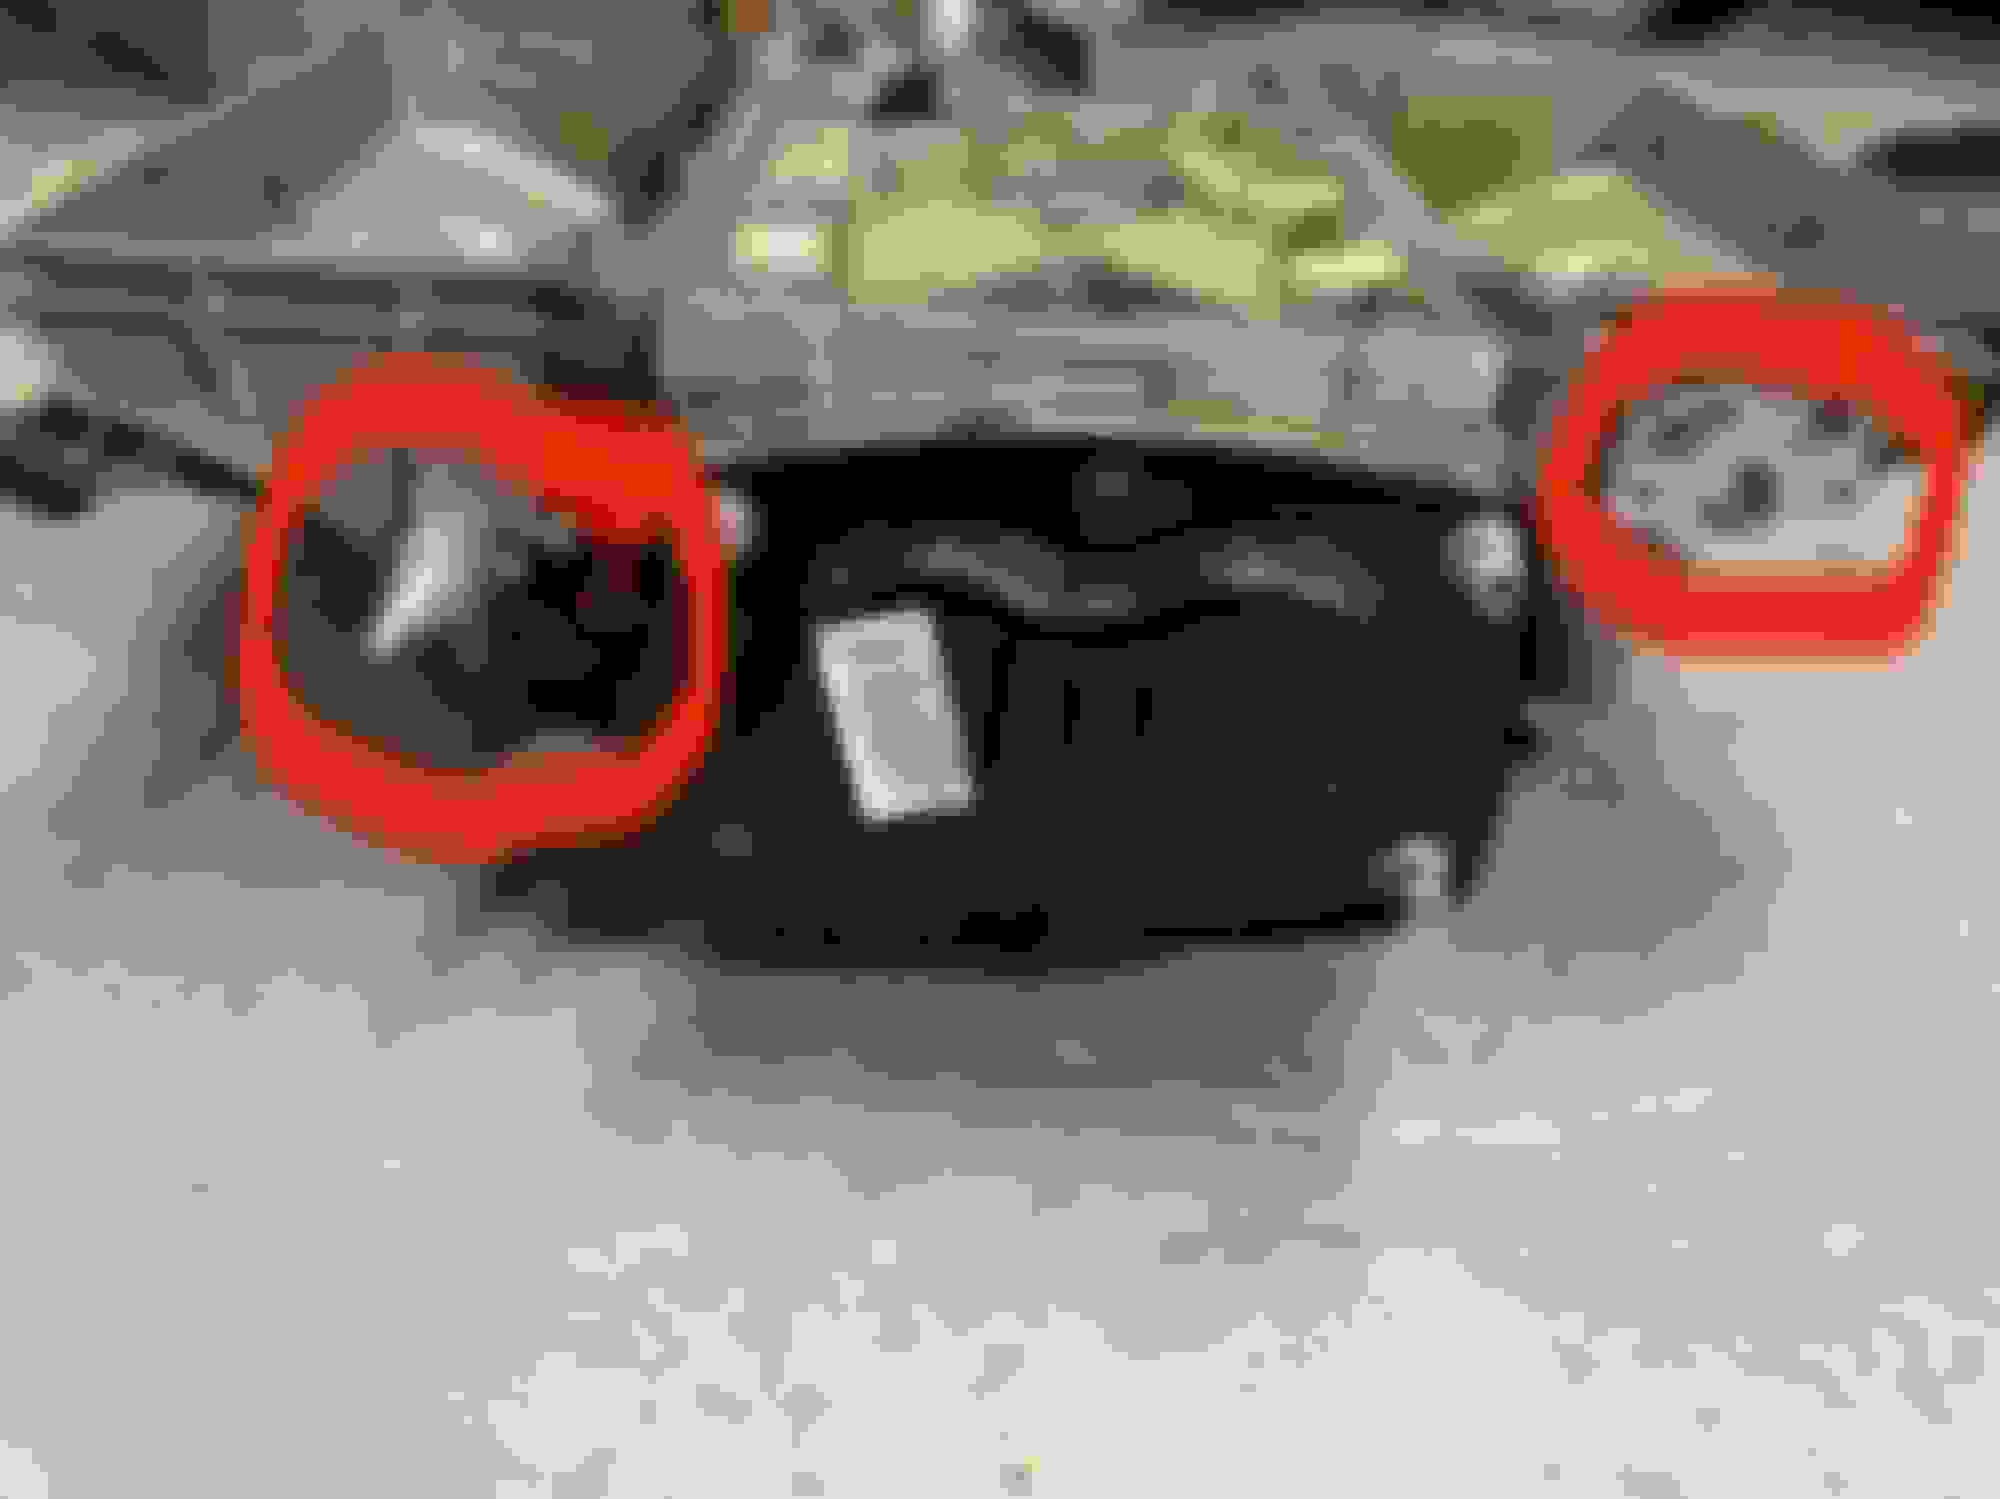
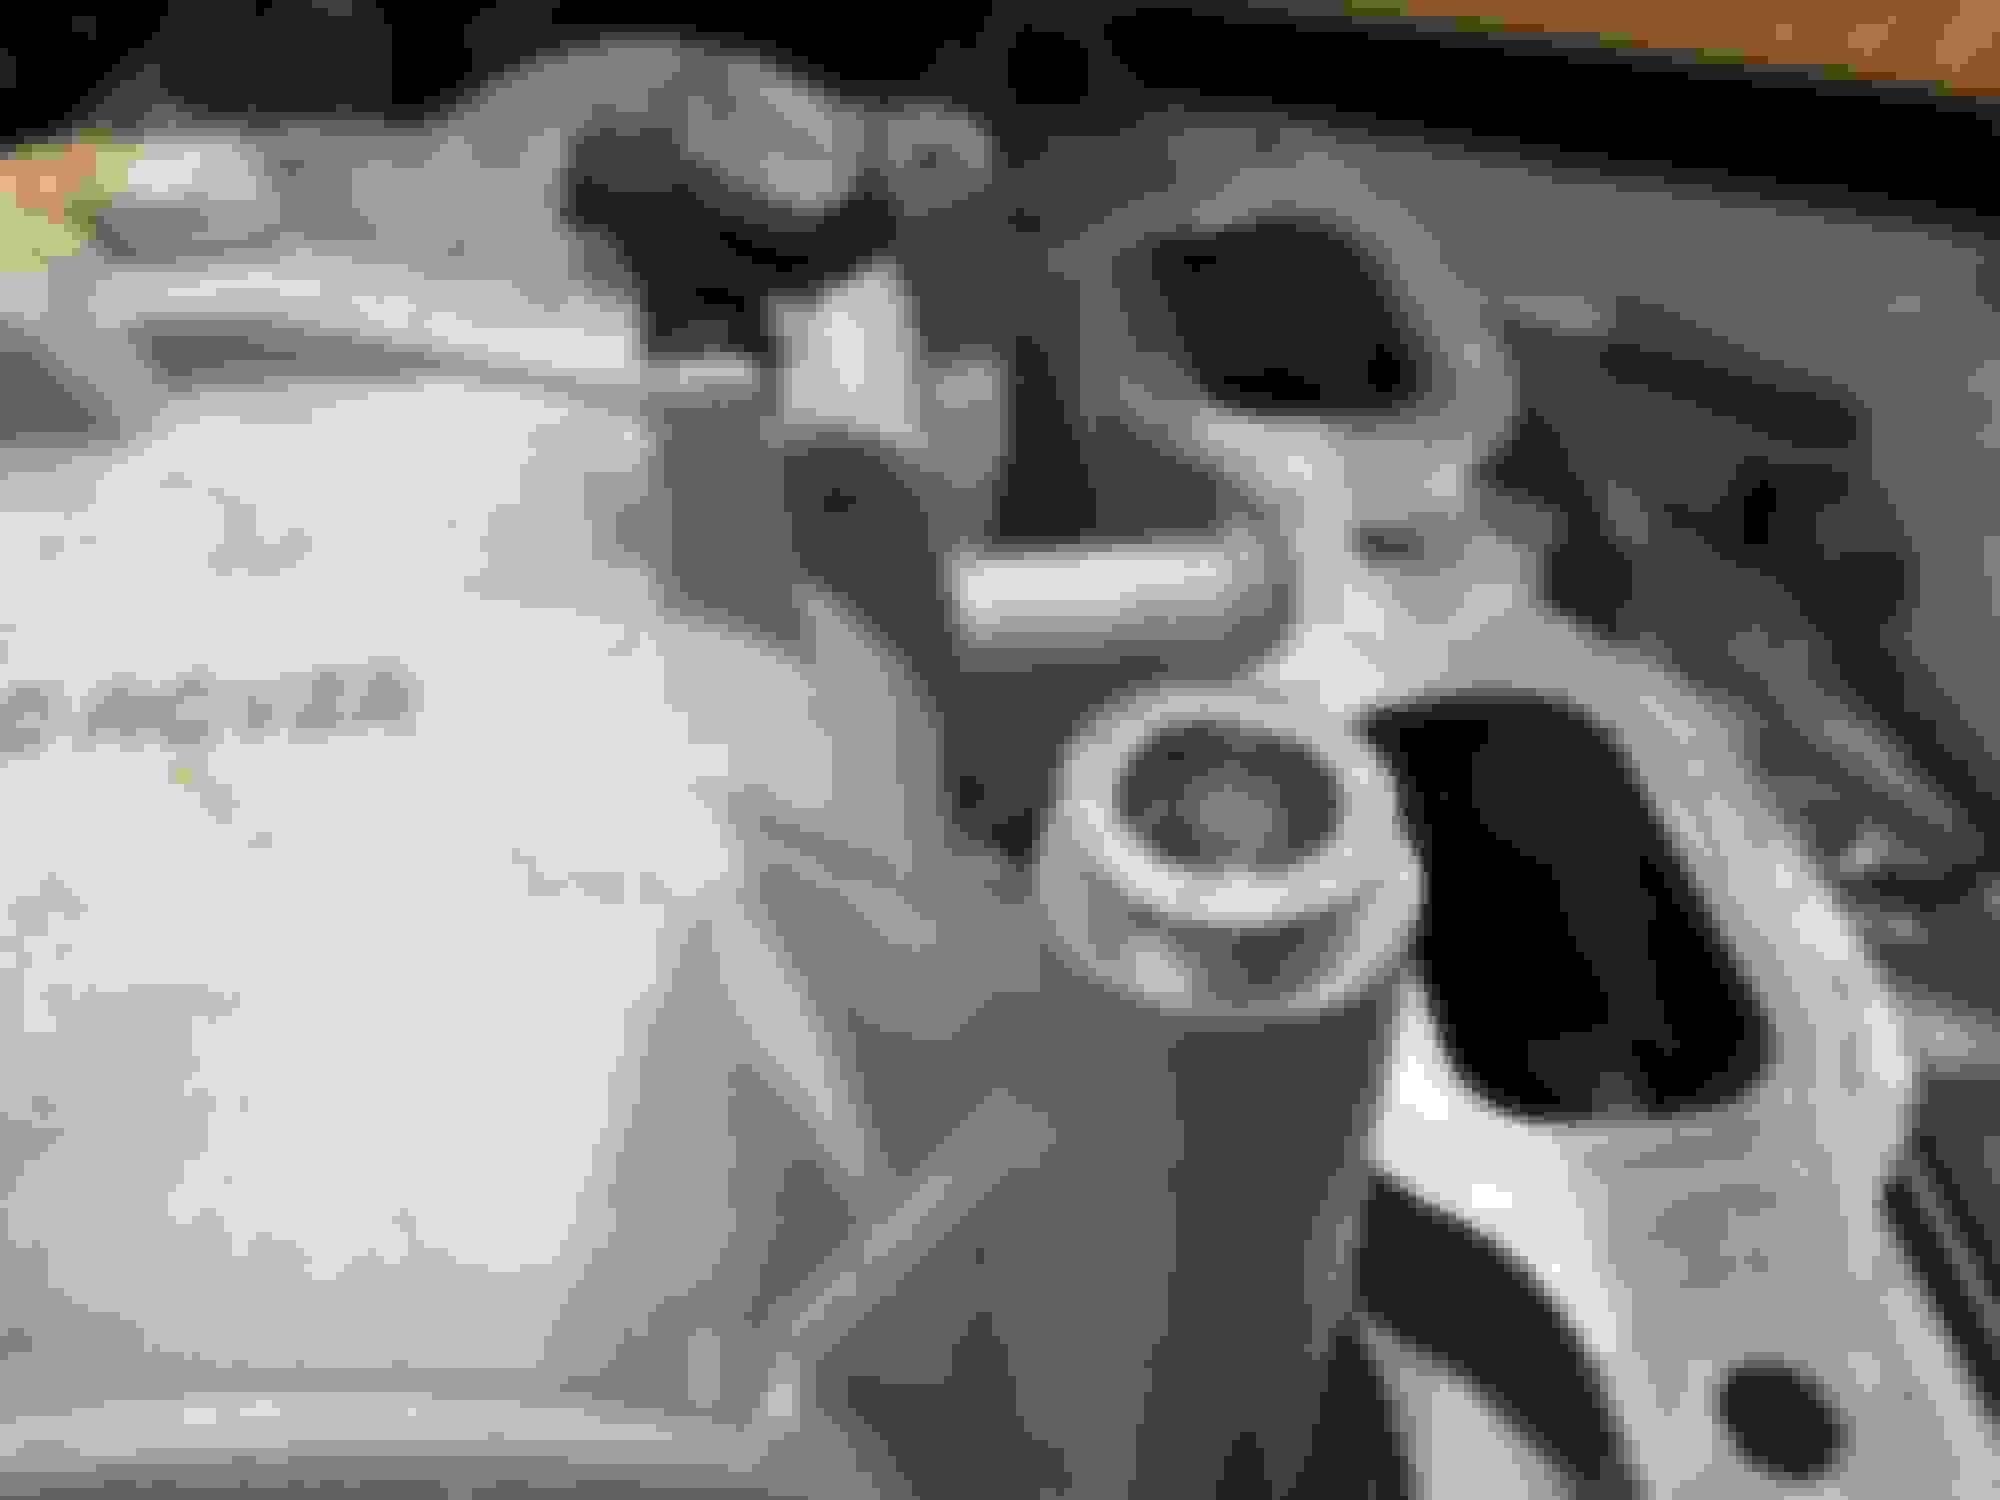
This is the back of the blower you�ll want to keep an eye on. The left has a vacuum port as well as an electrical plug to disconnect. The right you may have a hose bolted on there (the F types are anyways) or maybe just a delete plate.
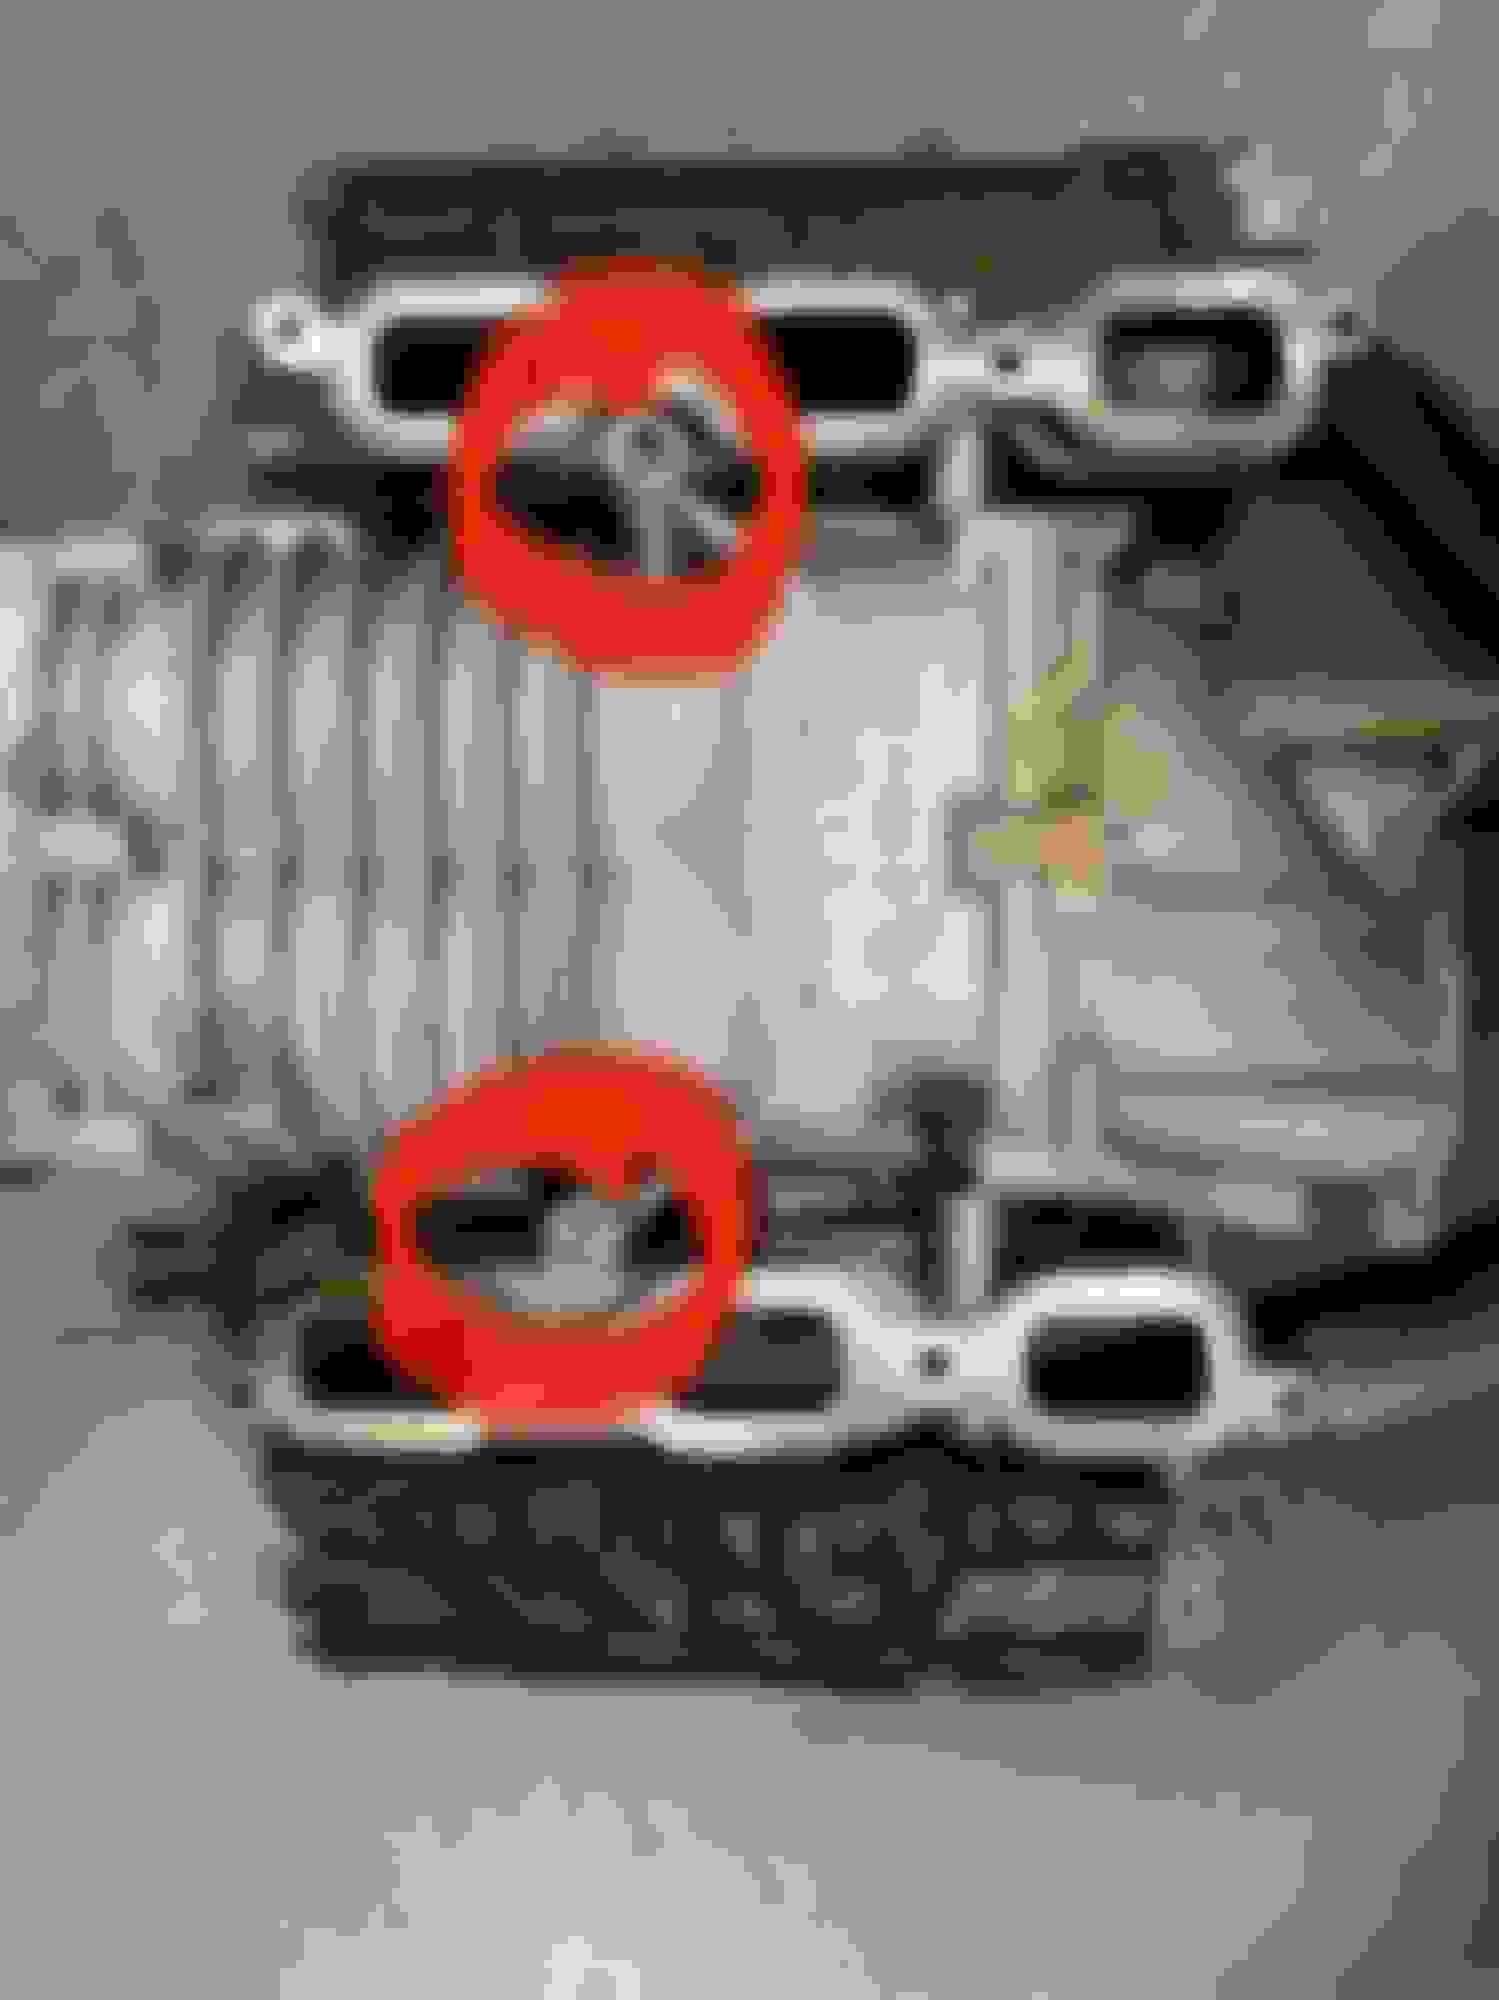
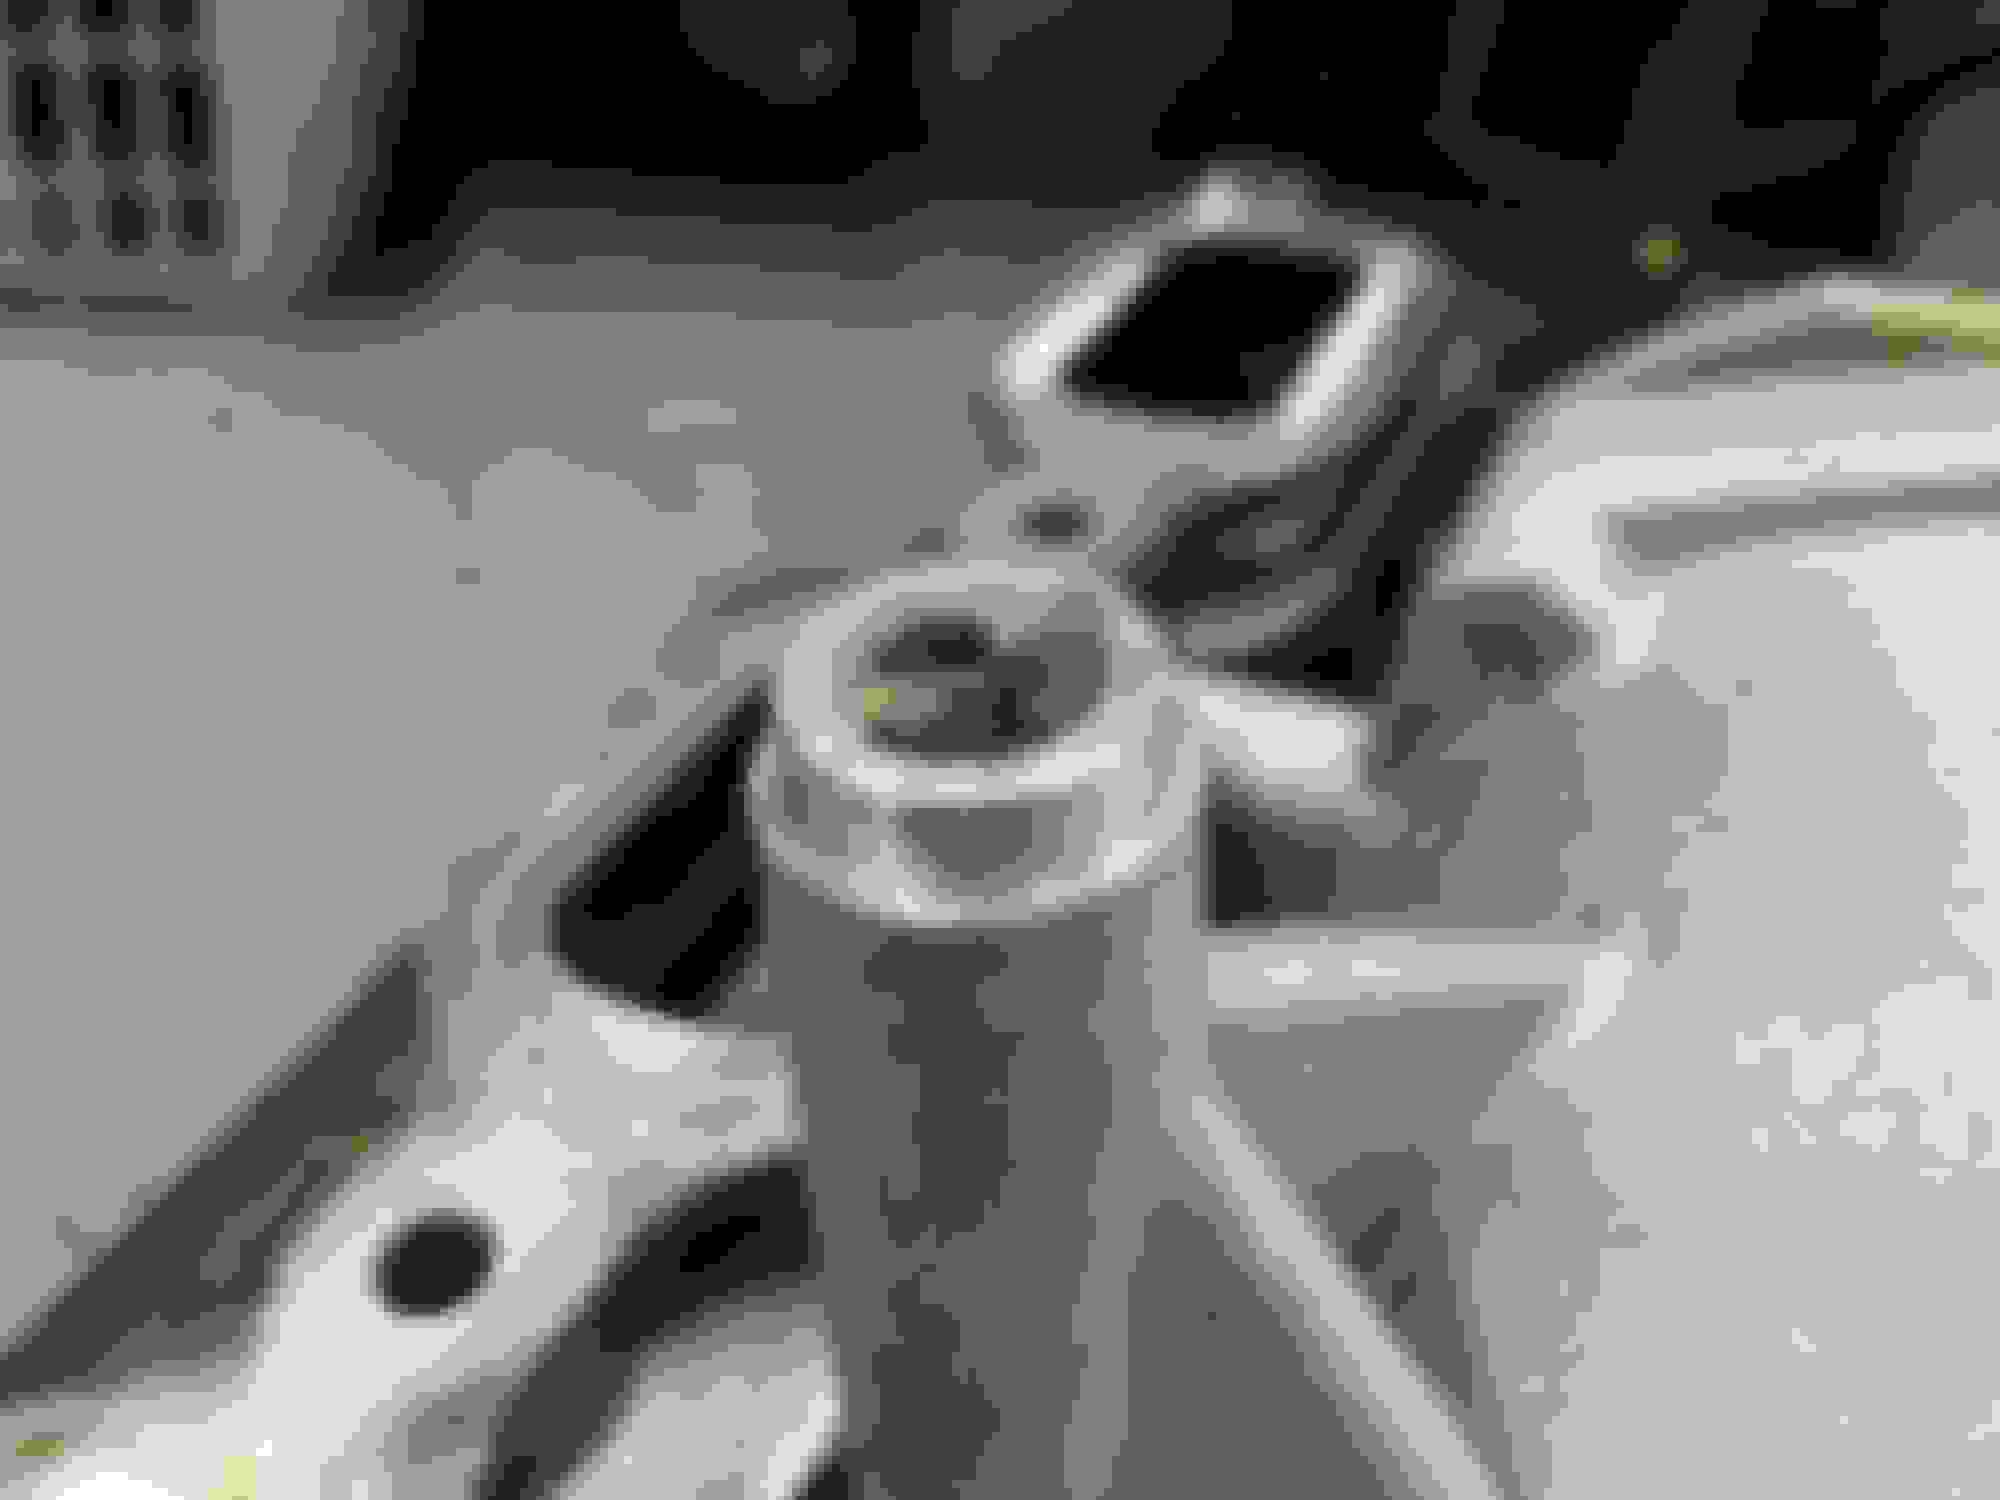
This is what you�re after. 2 dowels that are stuck in the blower and the block. Without a dowel. Has a broken dowel that I didn�t break.
There�s 2 black clips that will likely break off when you lift the blower. They hold a coolant hose going to the rear of cylinder head, plastic crossover pipe. The long slightly angled prybar will be your savior. This happens to be a 3� craftsman prybar. Replace that rear plastic crossover pipe when you get to reassembling.
Did I read this wrong: "I drilled a tiny hole in the intake pipe"? Please explain?
There is a popular spray cleaner, CRC Turbo and Valve Cleaner, that you spray into the intake. The easiest and most direct route is to drill a tiny hole in the plastic intake T fitting directly in front of the throttle body. Use the supplied spray tube, then put a sheet metal screw or similar into the hole to seal it until next time you do the procedure.
Using that engine brace, it becomes a simple one-man job. I would not have been able to do without that.
Re the CRC intake cleaner, I don't believe it will do anything if the valves are already built up like that. But it may be worthwhile to use it as a preventative measure after the valves have been cleaned up properly. My valves looked like that at 118K miles and it took me several hours of soaking and scrubbing over the course of a few days to get them clean.
GOT IT OFF!!! Thanks for your help, everyone. I'm done working on the car for this evening. I'm going to put together video #2 to document this part of the process. Looking at all of that room in the engine bay now, it makes me wonder what the stuff into that space on the normally aspirated cars. And why.
 06-29-2021, 09:31 PM


 Thanks for your help, everyone. I'm done working on the car for this evening. I'm going to put together video #2 to document this part of the process. Looking at all of that room in the engine bay now, it makes me wonder what the stuff into that space on the normally aspirated cars. And why.