When you click on links to various merchants on this site and make a purchase, this can result in this site earning a commission. Affiliate programs and affiliations include, but are not limited to, the eBay Partner Network.
There are many threads on this forum mentioning that a reverse camera can be mounted on the XK.
Below follow my steps on how to mount a camera to a 2010 XK Portfolio Convertible.
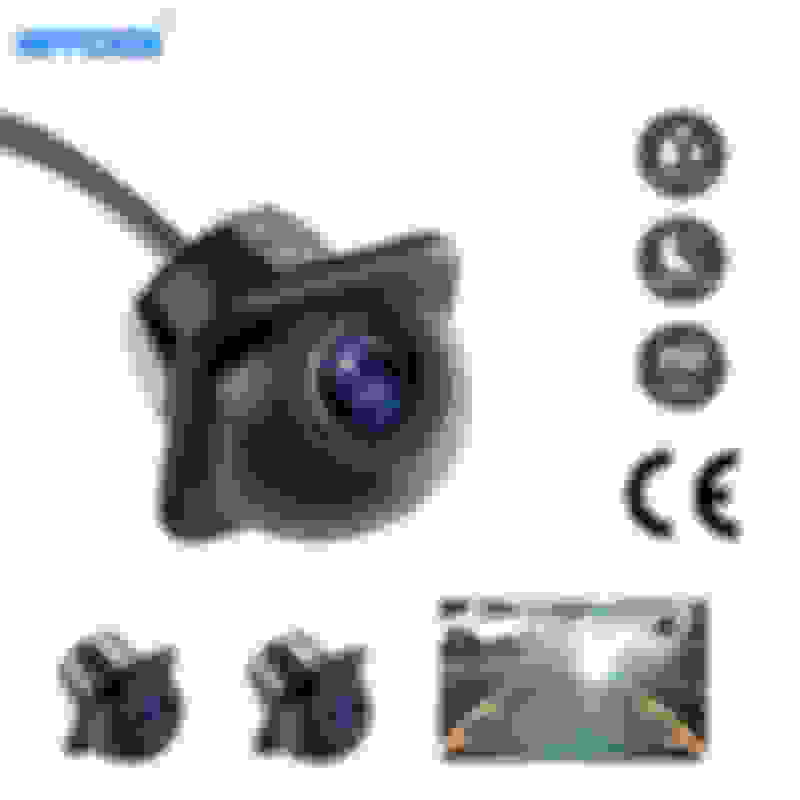
- ca. 6 m shielded cable with cinch connections on both sides (usually supplied with the camera)
- power supply cable (power will drawn from the boot lid wiring)
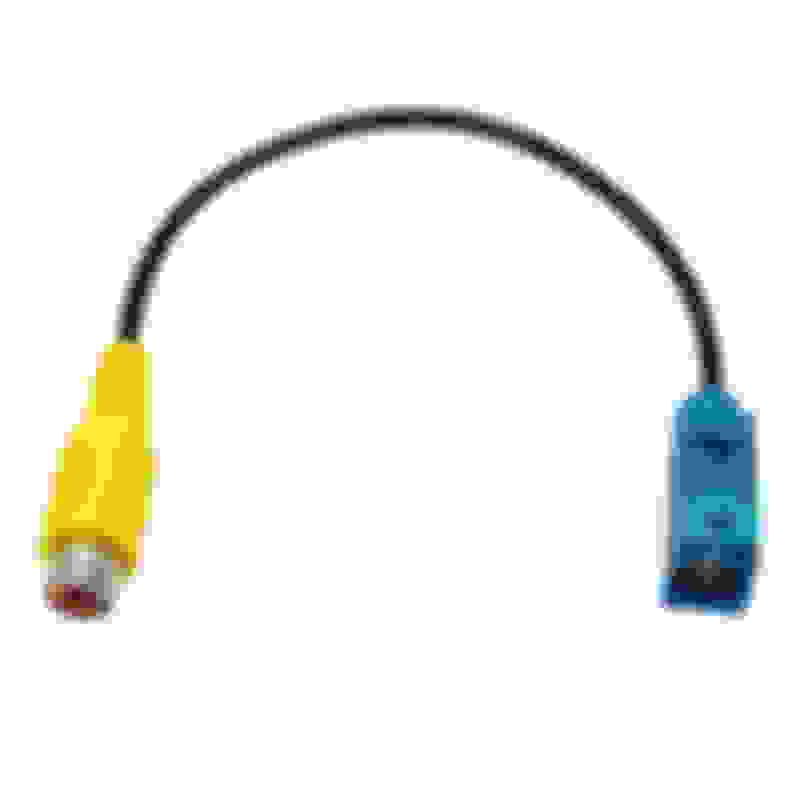
- a cinch to Fakra conversion cable (I bought this one) Mounting procedure:
1. The multimedia unit can easily be removed:
a. Remove the radio surround bezel trim carefully. You can start by hand at the bottom by grasping the rims. By pulling gently and working your way to the top will get it out. Some trim removal tools may help you in the process.
b. Protect the gear selector area, preferably with some soft cushioning material. If you have the J-gate stick, put it backward
c. remove 6 screws (3 on each side) to dismount the multimedia unit
d. pull it forward
e. connect the cinch to Fakra conversion cable to the Fakra connector closest to the center at the back of the monitor module (brown)
2. Installation of the camera wire:
f. on the left side (driver side on LHD cars, passenger side on RHD cars), gently pull the bottom of the center console cover towards the outside of the car.
Do not force any thing, it is just about creating space behind it to put the cable.
Carefull: this center piece stays connected with three screw tabs to the top of the center console, Do not break these tabs...
g. using a rigid guiding wire to draw the camera wire from below the center console (close to the dashboard) and pull it through towards the back side of the multimedia module.
This may be fiddly, so take your time, take breaks etc. not to force anything.
h. connect cinch plug of the camera wire to the cinch to Fakra converter cable, so the camera wire is connected to the multimedia unit.
i. Although you could mount the multimedia unit back to place (including the surrounding trim). I tend to leave things open until they are tested to work.
j. From the back seat, remove the center cushion and the left-side rear seat bottom cushion, Both can simply be pulled upward and removed.
k. Gently remove the plastic center cover between the center cushion and the center console. This allows for easier mounting.
l. Route the camera wire below the left-side center console cover towards the back.
m. Once wired backwards, the left-side center console cover can be gently clicked back to place
n. Route the camera wire along the existing cable looms towards the left side below the rear seat back cushion.
o. using the rigid drawing wire to draw the camera wire into the boot area. At the bottom left, below the rear seat back cushion, you will note a wiring loom going backwards.
p. nicely secure the parts of camera wire below the rear seat, e.g. using tie rips. You do not want the isolation of the cable to rub away over time against the car metal parts.
q. place back the left bottom seat cushion, the plastic center cover and the center cushion. The interior of the car is done now.
r. In the boot, ensure that the camera wire stays below and away from any area reachable by the convertible roof.
3. installation in the boot lid
We will be using the left-hand side rubber cable guide between the car body and the boot, since the right-hand side already is filled with too thick cable to allow the camera cable to pass
s. Remove the inside trim from the boot lid (convertible cars)
t. Insert a rigid drawing cable, or a longer metal stick into the rubber cable guide from top to bottom, connect a curled part of the camera cable (not the connector itself!) to the stick using tape
and gently draw the camera wire through the rubber cable guide. The wire is now close to the camera connection.
the rubber cable guide can now be mounted back on both the car side and the boot lid side.
u. drill a hole on the bottom chromed plastic of the boot lid, well centered to the left of the opening button.
you do not need to remove the boot lid handle at all from the car.
My camera needed a 14.5 mm opening, so I used a 4mm drill first, followed by a circular saw drill of the right side.
v. drill a hole into the metal of the boot lid to allow passing of the camera signal and supply wires.
w. put a wire guiding grommet into the drilled hole to ensure safe and water-tight passing's of the camera signal and supply wires.
x. on the left side you will find a 10-pin connector and cable loom. To power the camera, I used pin 4 (reverse light + AKA connector TL001/4, Orange/Green) as power source, and pin 7 (reverse light ground GND, AKA connector TL001/7, Black/White).
On both wires, I pulled some isolation apart and soldered the camera power and camera ground wires to these wires respectively).
Make sure to properly isolate the soldered connections with isolation tape to avoid issues later.
y. Nicely wrap up the cable work using tie wraps and place back the boot lid trim.
Position the camera. You could use some rubber kit if needed.
z. If you have not yet done so, place back the multimedia unit and the surrounding trim.
4. Activation of the reverse camera
The reverse camera can be activated using SDD in engineering mode. You need to use the SDD option to change the car configuration, and activate the "reversing camera option".
A dealer can also do this for you.
You can check that the reversing camera option is properly enabled as follows:
- if the camera was not yet installed: the center display will turn blue if you select reverse gear
- if the camera was installed: you will see the reverse image if you select reverse gear
I hooked up my camera I think six years ago. About two months ago it stopped working, all I get is a blue screen. I've not dug into it yet to see what failed since it's winter and all, but I do expect it to be the cheap(ish) camera I bought.
I will now re-peruse the original thread to see if I have any entry in it to tell me what kind it was which I purchased.
I did however run a FAKRA cable the entire way.
ALSO, no dealer can activate the rear camera unless you get the head tech. Dealers aren't allowed Engineering Mode most often.
I hooked up my camera I think six years ago. About two months ago it stopped working, all I get is a blue screen. I've not dug into it yet to see what failed since it's winter and all, but I do expect it to be the cheap(ish) camera I bought.
Agreed. Your programming is fine or you wouldn't see the blue screen:-)
I hooked up my camera I think six years ago. About two months ago it stopped working, all I get is a blue screen. I've not dug into it yet to see what failed since it's winter and all, but I do expect it to be the cheap(ish) camera I bought.
I would say: pop out that old camera, buy a replacement and get going again.
Possibly the power supply to the camera does not work?
The guys on the E38 forum have taken installing back up cameras to a new level...they use newer OEM components retrofitted to 2001 technology. It is pretty neat. Driving a land yacht like that (E38) you need to practice bumper-tapping to get into a spot, unless you have a camera of course.
 12-29-2022, 09:18 AM