When you click on links to various merchants on this site and make a purchase, this can result in this site earning a commission. Affiliate programs and affiliations include, but are not limited to, the eBay Partner Network.
Well it looks like it's one piece!! Not easy to get out, right? have to remove trim on both sides? and then what? bend the carpet back somehow? This is worst than going thru engine compartment with my camera IMHO.
Am I wrong?
Help an old man please!, Adrian
Well it looks like it's one piece!! Not easy to get out, right? have to remove trim on both sides? and then what? bend the carpet back somehow? This is worst than going thru engine compartment with my camera IMHO.
Am I wrong?
Help an old man please!, Adrian
I Just got this done!!!
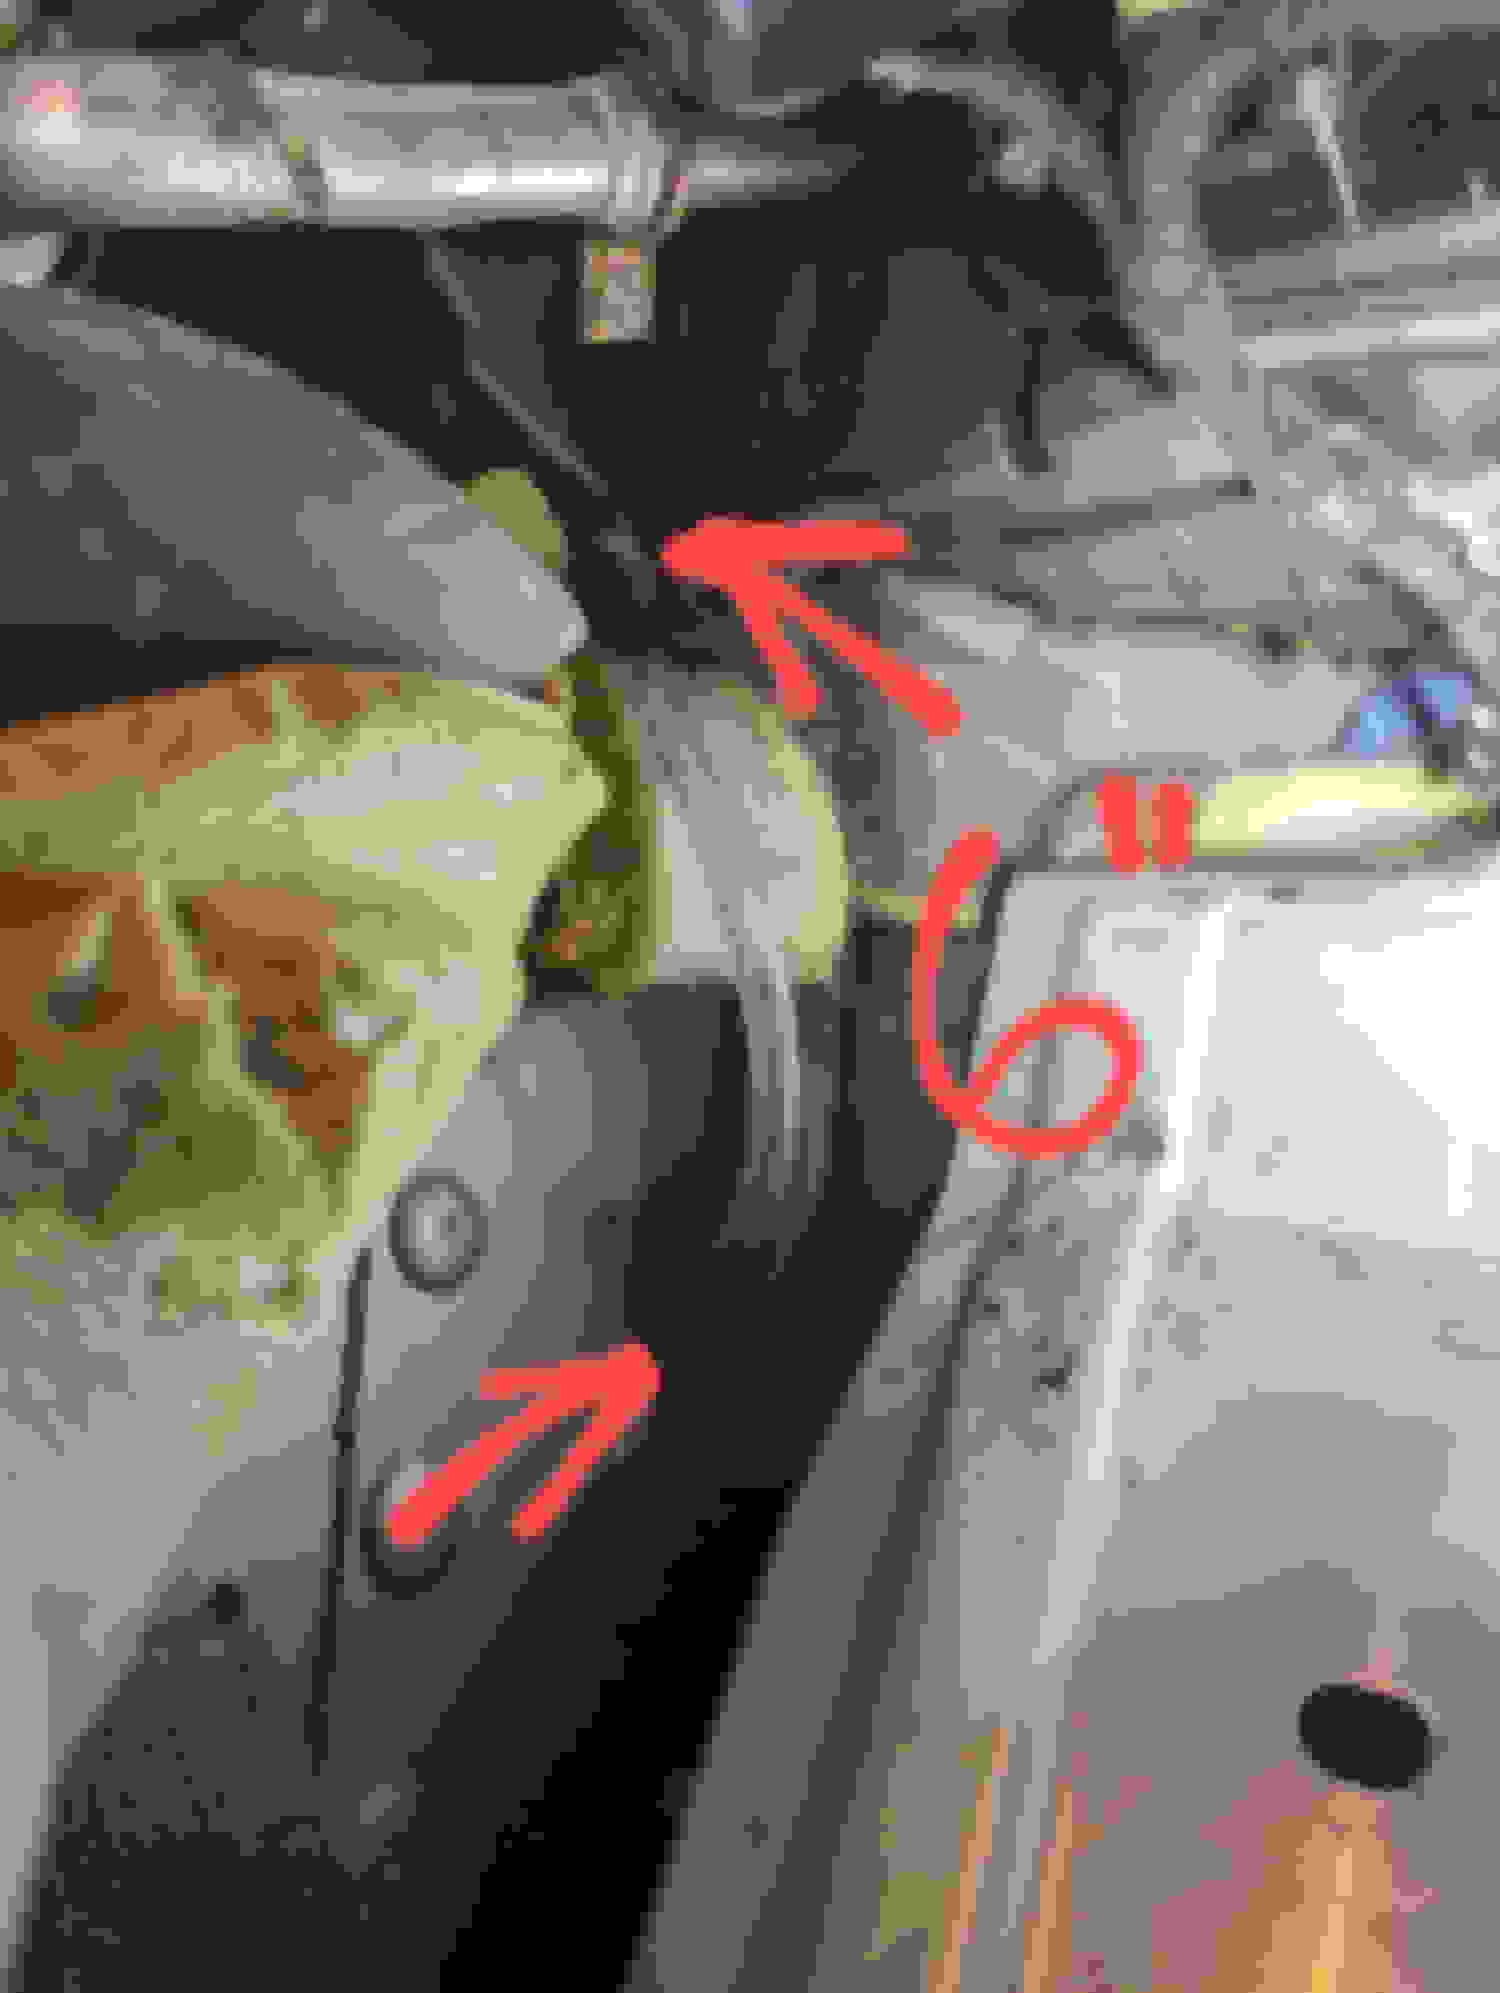
There are 3 clips below the glove box that you need to squeeze and push towards the front of the car to remove, then you need to pull on the flap of the center console that is entering the passenger footwell, after that you can remove the top foam sound insulation, and then pull up the left corner of the carpet. I highly recommend doing with the AC on full blast recirculate with all the vents closed, then insert your rod and whack the area in the picture its very tight and not much room, you will need a flash light as well.
whack it hard repeatedly and check underneath the car and look for a puddle.
:icon_banan a:
update**********
I had a little bit of water (barely a few drops) in the footwell this morning
after using the heater... I wonder if the heater is causing the duckbill to
stick closed due to heated water flowing out.
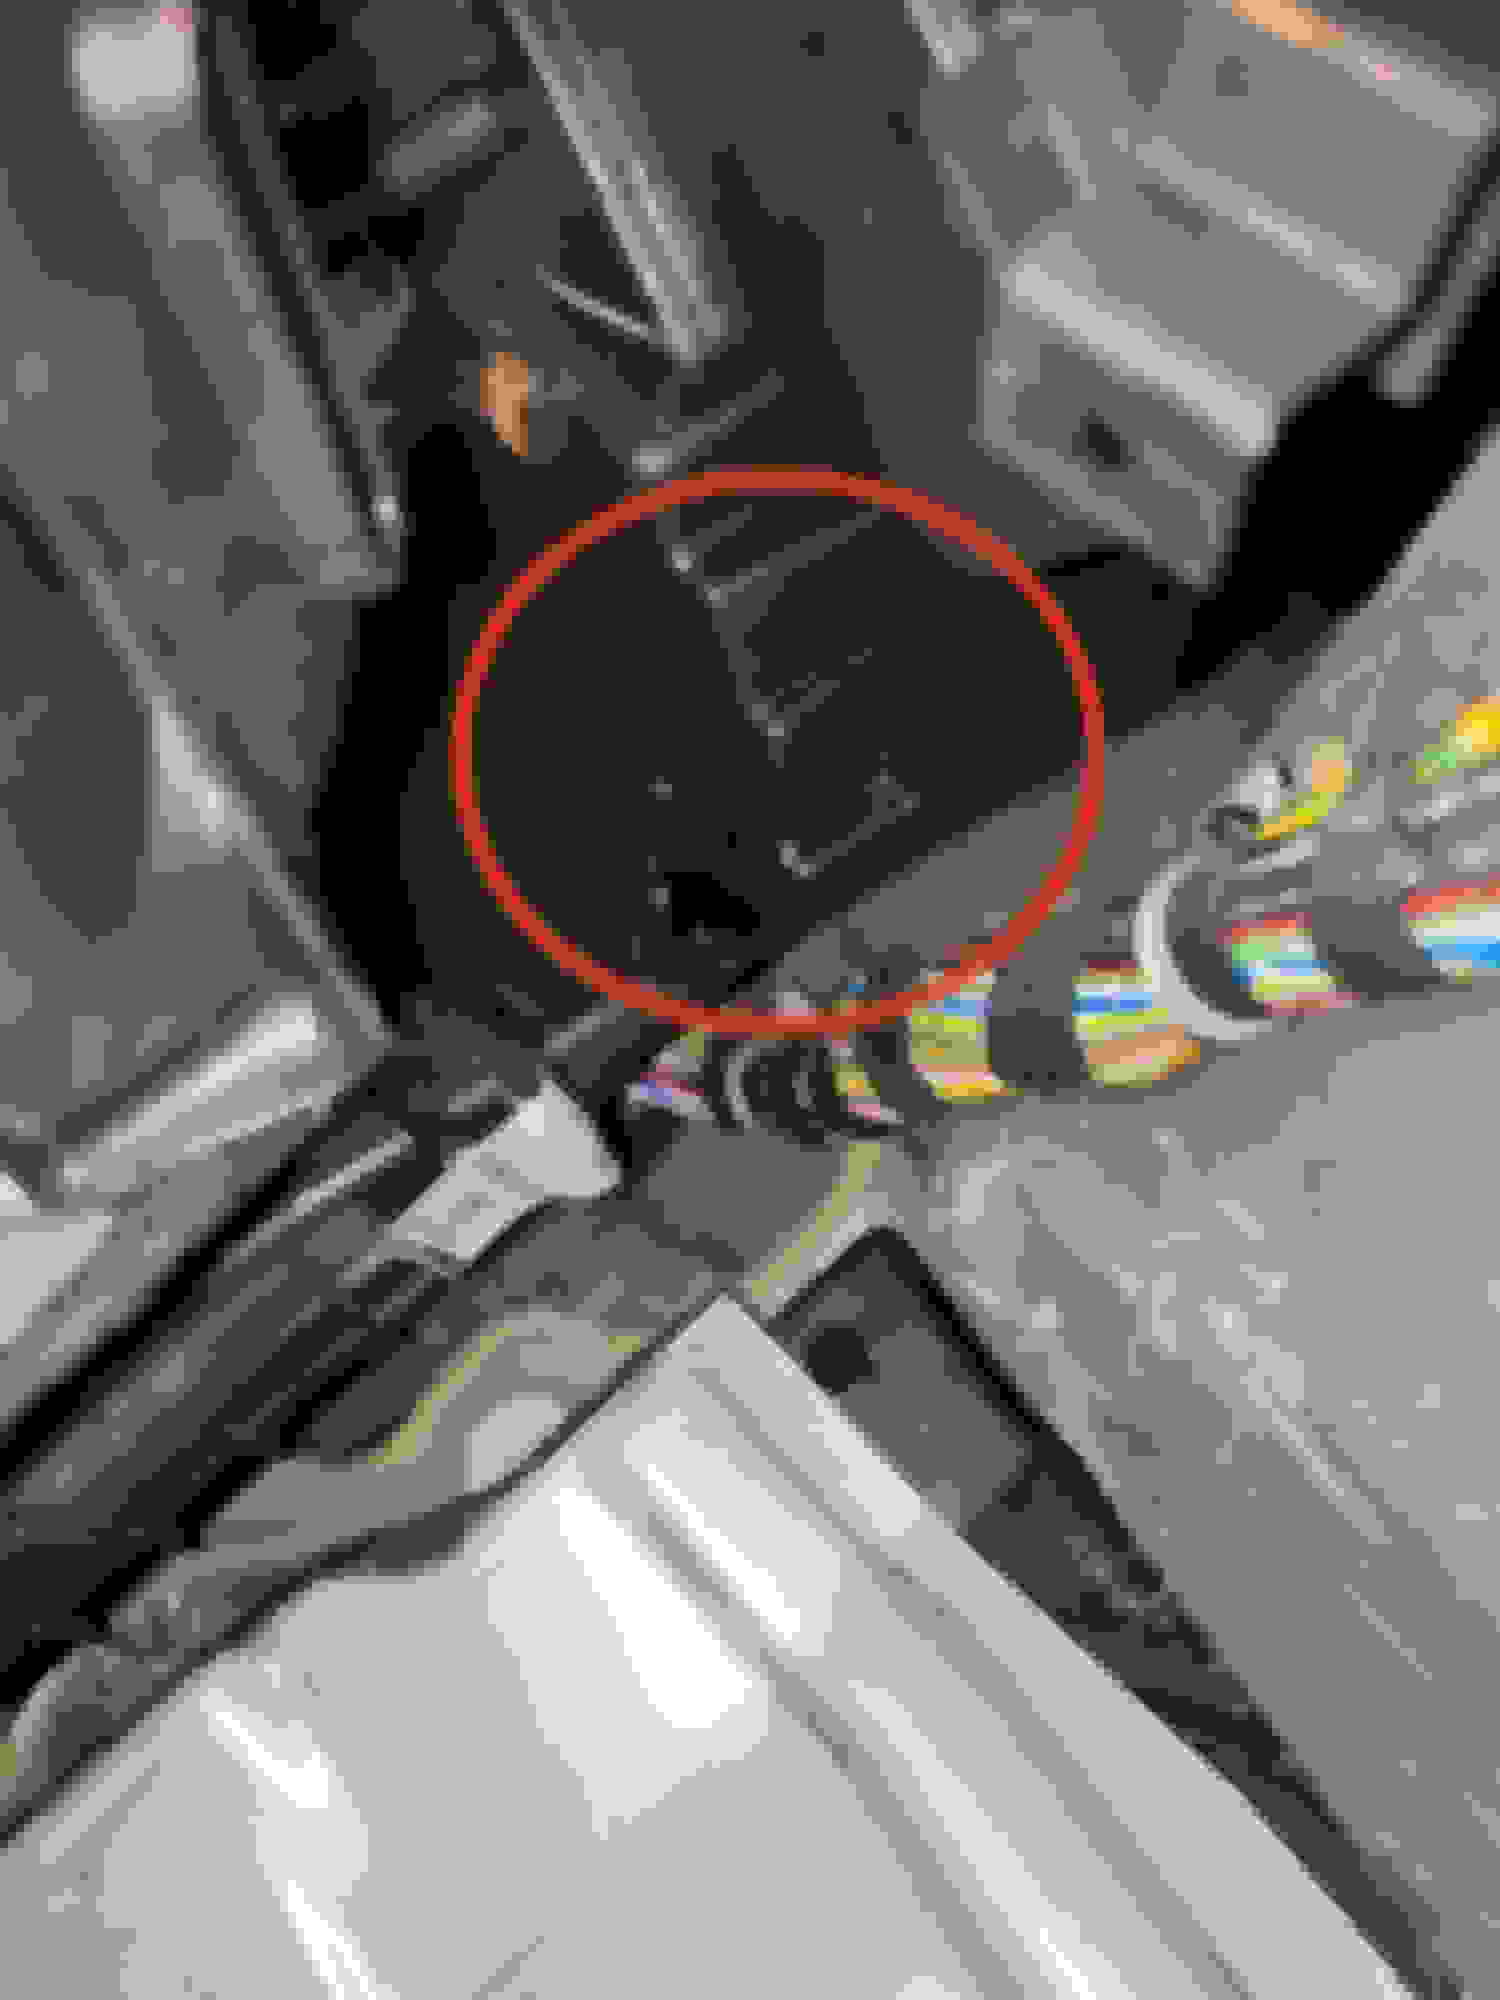
Sorry guys, I should have been more clear regarding the area. Yes, DpezXK8 circled the correct area for the drain in red. The black plastic condenser housing has a little triangular shaped "funnel" over the center of the tranny tunnel that has the drain tube attached to the bottom. You can't see the drain tube from the passenger foot well, but you can easily see the funnel and get to it for a little whacking. I wouldn't recommend hitting it too hard as I guess it could break. I hit it 5 or 6 times about as hard as I would hit a finish nail in carpentry. The car is still draining properly now after a couple weeks.
Good luck,
Harve
thank you ! ! !
I really thought this was a joke, but I went ahead and did it, next thing I know water is coming out from under my car and the AC no longer leaks.
This is great information but I wonder if you could clarify exactly where the triangular piece is - for the life of me I cannot identify it in your photo! Where exactly do we whack???
That was a great fix. I went at the blockage from the engine side of the firewall on my 4.2 XKR. Had to slide hand in space between tranny and drain box. Gave it my finger. Waterfall! About an hour +.
It looks like the area he mentioned, left center of photo and is probably connected to the drain tube. Black thing hanging down in the center of the dash but maybe he can confirm.
I'm not sure I'm getting it...is that part circled in red the top of the duckbill or something leading to the said duckbill?
I'm not sure I'm getting it...is that part circled in red the top of the duckbill or something leading to the said duckbill?
Hi all
Thank you all for your great posts and pics on this issues.
I tried the razor blade tip and that didn't really work very well.
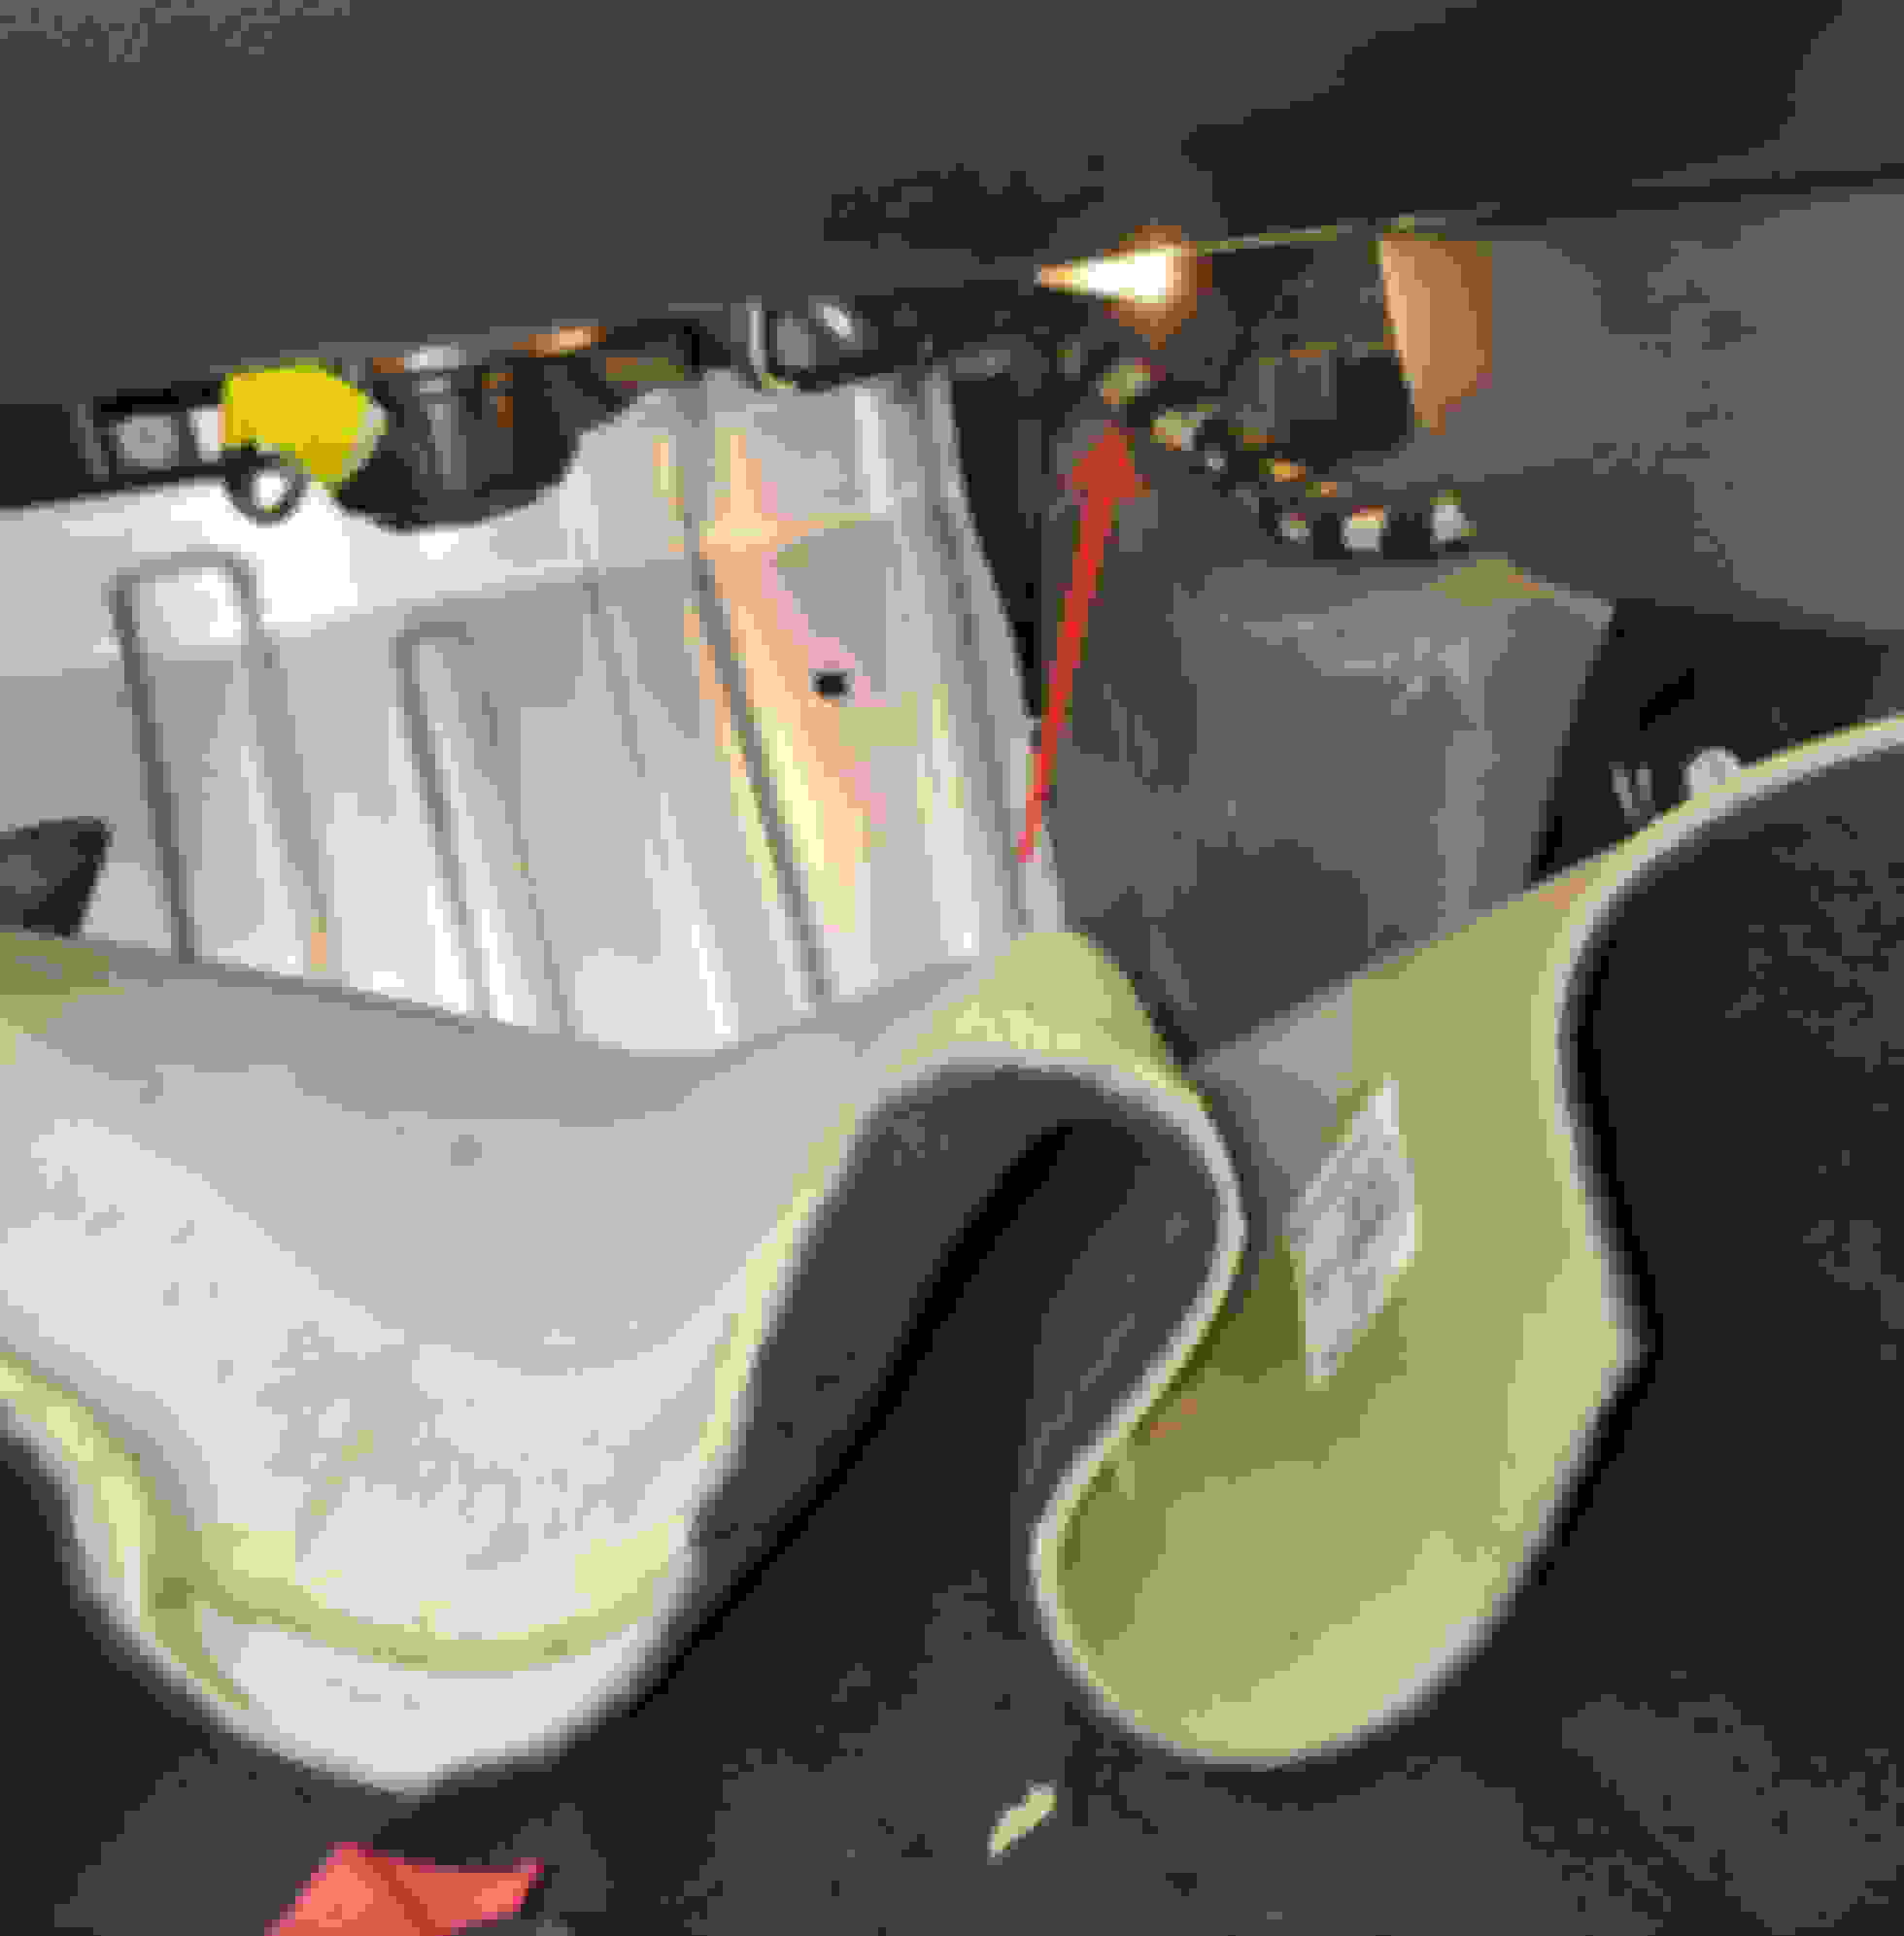
However, I decided to aim at making a new tap at the bottom of the airbox and re-plumb it to a new hole in the firewall.
Per @DpezXK8 post/pic the area circled in red is the bottom of the air box
I drilled a 5/16 hole un the very bottom and found some tubing from my brake bleed kit (use about 8")
I then peeled away that rigid insulation away from the transmission hump and drilled another hole about 6" below.
Inserted and used silicone to seal the tube in place.
Tested and works
Thank you all for your great posts and pics on this issues.
I tried the razor blade tip and that didn't really work very well.
However, I decided to aim at making a new tap at the bottom of the airbox and re-plumb it to a new hole in the firewall.
Per @DpezXK8 post/pic the area circled in red is the bottom of the air box
I drilled a 5/16 hole un the very bottom and found some tubing from my brake bleed kit (use about 8")
I then peeled away that rigid insulation away from the transmission hump and drilled another hole about 6" below.
Inserted and used silicone to seal the tube in place.
Tested and works
Hi, thanks for this pic! So this is a shot of the passenger footwell, right?
And does this trick actually bypass the duckbill?
Which means you can still get water in the passenger footwell if the duckbill is clogged, right?
When the duckbill is jammed the condensate reservoir will fill up until it overflows into the footwell. The drain pipe mod is tapped into the bottom of the reservoir so it constantly drains out and never reaches the overflow level. It doesn't matter whether the duckbill is totally or partially clogged as it is now bypassed.
Just travelled from UK to South of France in my 06 XK converible - wife complaining of wet fett all way due to AC water flowing into passenger well.
Tried this fix - nto a drop of wayer came out of the tube but she's still getting wet.
I drilled the hopefor drain hole as indicated but no joy.
When I get home I'll Hve to bight the bullet and put into a jag garage to get repaired.
I've had this issue on and off since I bought my 2009 5.0xkr and although I could initially use the closing vents trick to force water out, lack of driving over COVID seemed to finally force the duckbill to seal up tighter than a duck's butt...I have been turning corners and hearing big swishing sounds from the blower as the trapped water washed back and forth.
I'd tried going down the engine bay but with the 5.0s and the sound deadening and fat arms it felt impossible. This, was soooo easy! I was skeptical, but I hit it 3 times with a piece of 1*0.5 and a mallet and looked under the car and water was pouring out!
A few tips for the RHDers and the 5.0ers amongst us-
Pulling the carpet back on the passenger side - start with the edge nearest the transmission tunnel, as you pull, the leatherette centre console trim piece will unclip a few bits, giving a bit of flexibility. Then pull from the top of the carpet (behind the blower) down and wedge it under the blower itself. Doesn't need to come out any further than that
Get a torch and follow the blower and big square tubing to the centre - there's a bit where it crosses a wiring loom which has a couple of perfectly designed corners to wedge a stick in. That's where you want to wedge your wood/bar/whatever
It took less force than I thought it would
looking at the photo, follow the top of the barcode sticker right, and above the 3rd velcro loom wrap you'll see a small triangle indent in the black plastic tube - that's where I wedged my stick. The photo is looking into the passenger footwell, and the loom runs along the transmission tunnel, with the metal footplate being the top right hand corner of the footwell, behind the carpet
Gentle whacking of the triangle does actually work!
I had the drain problem in my 2006 4.2 XK.
Knowing my luck I didn't expect much, but just a few gentle strikes with a metal rod and the water broke
@hloucks, thank you so much!
Just in case, attaching the pictures showing the are that I hit.
I had the blocked drain a few years back, I removed the plastic engine cover and slide my hand down between the engine block and the firewall and found the drain hole in the bodywork, but my hand was to large to allow me to slide my finger all the way in. So I got my son who's hands were thinner to stick his finger in the hole and he could feel the end of the "duck bill". I told him to wiggle his finger around and all of a sudden the water poured out. I then put a big blob of Vaseline on the end of his finger and got him to coat the end of the drain, (so the rubber wouldn't dry out and stick together again). Still ok 4 years later, but I do regularly close all the vents and turn the fan on high to blow the water out, so far so good. If you don't have someone with a skinny hand and long fingers you could try a scope, which was my next go to.
Have an XKR. Removed the supercharger plumbing next to firewall. Ran a scope down to duckbill area to check out the situation. Have small hands and long arms so it was easy to reach down and manipulate the duckbill (which was stuck together). No more passenger footwell leaks. Fine for now but expect I'll have to go back in at some point and cut off the duckbill. So glad we have this forum to share solutions.
 12-12-2016, 04:18 PM