When you click on links to various merchants on this site and make a purchase, this can result in this site earning a commission. Affiliate programs and affiliations include, but are not limited to, the eBay Partner Network.
Because my headliner was sagging, I decided to recover it. One thing leads to another and I decided it would be nice if the sun visors matched. I was able to take apart one visor without damaging anything. Thought it might be interesting to everyone.
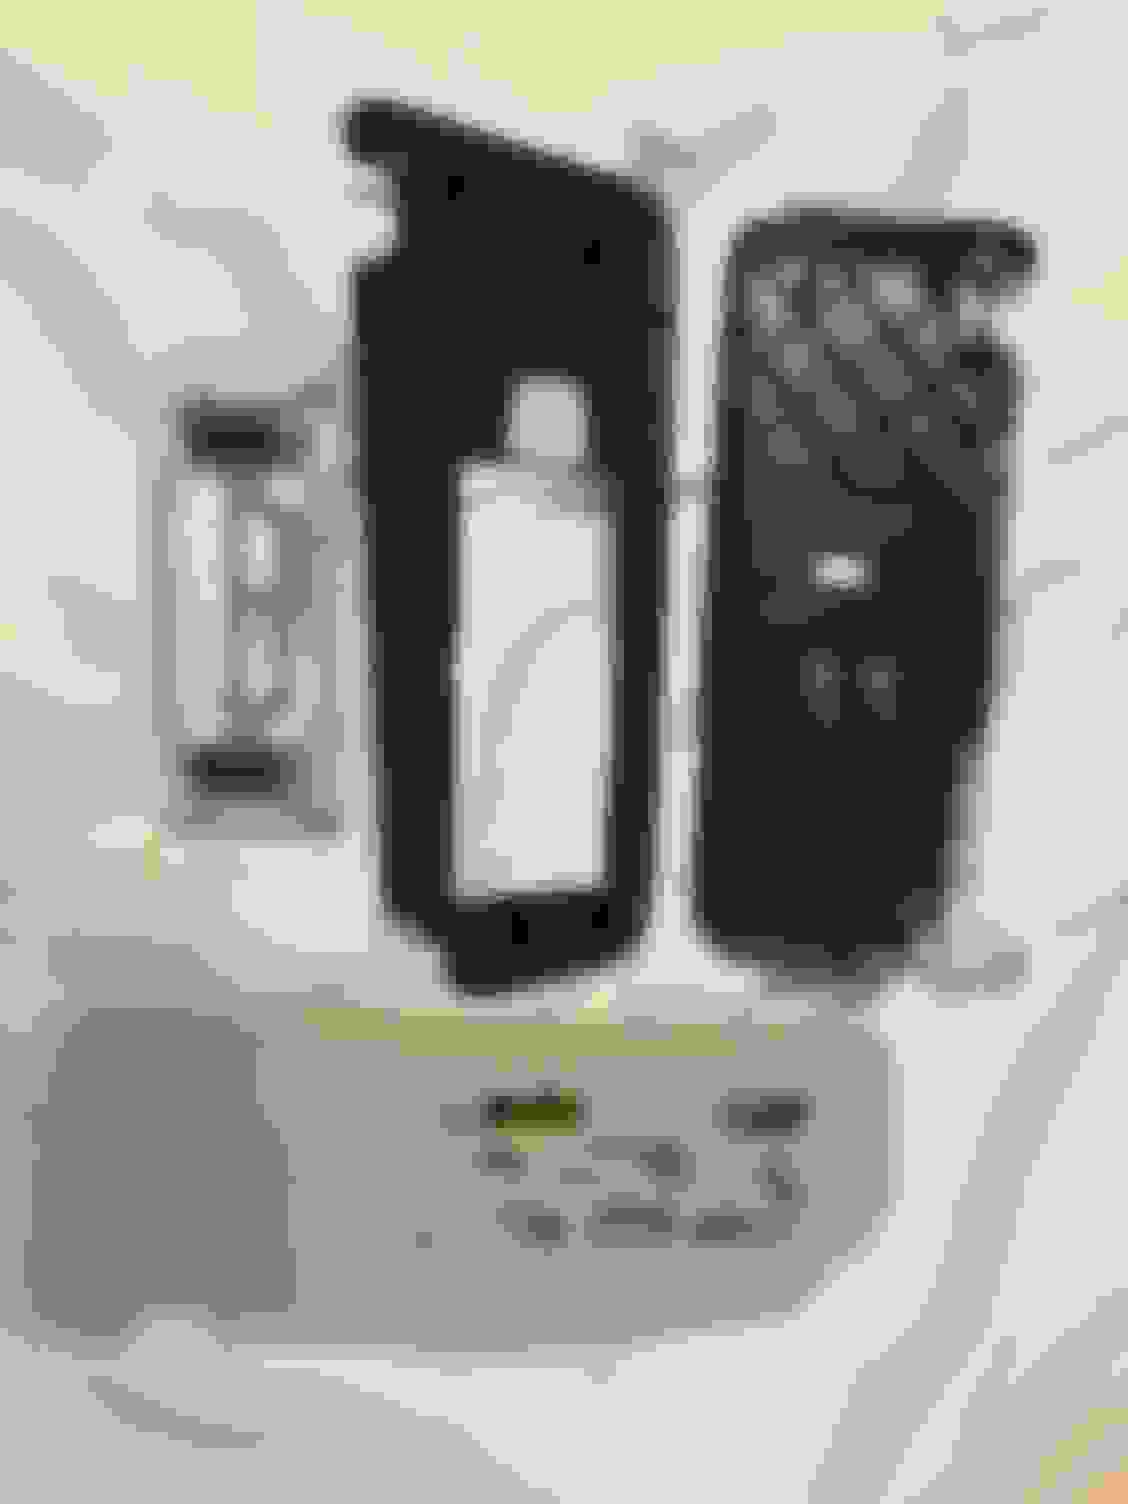
The pieces:
To disassemble, first remove from car.
Mirror pops out with four clips.
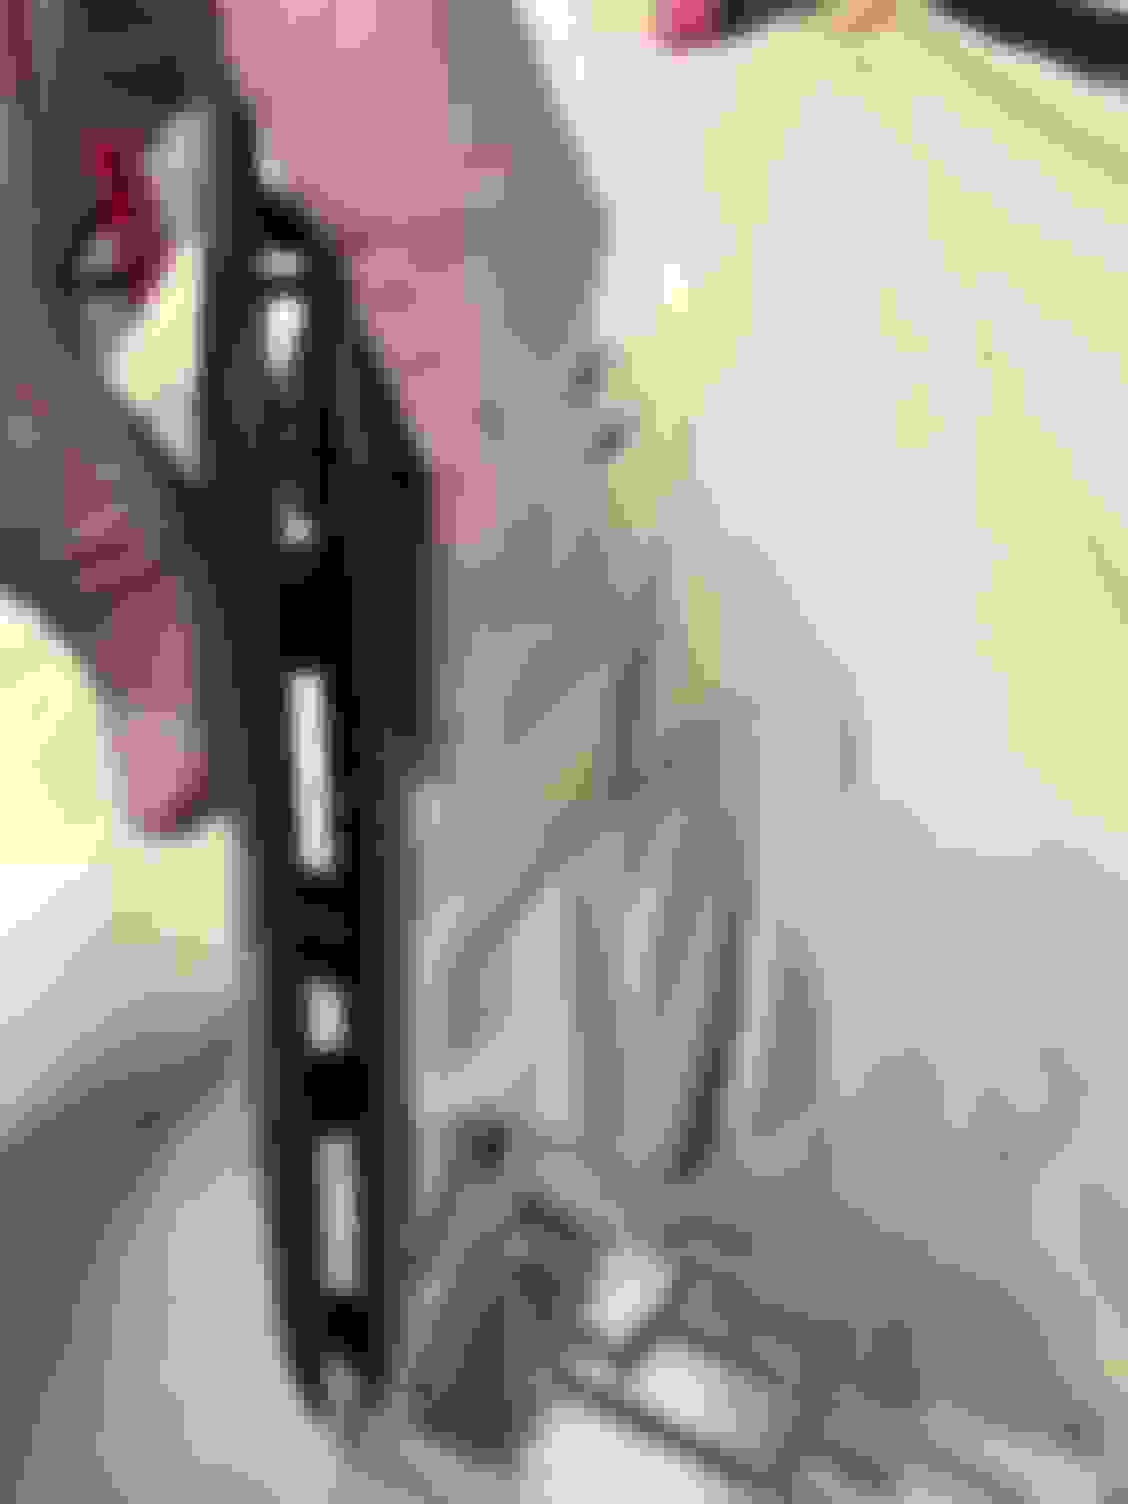
I used a one inch putty knife to push the fabric out the end of the visor. First pull the fabric away from the document clip. Go slow but there is enough stretch to the fabric to pull off the clip. Insert putty knife between the fabric and the black plastic. Gently push out on the "Seam" farthest from the hinge. The material is just pushed in. There is no stitching.
Picture shows where the material is pushed in. Gap is much smaller when the visor is clamped together.
Once you have the material loose from the end, begin turning it inside out. Gently pull. The rod for the clip can be pulled out with a pair of long nose pliers. It is shiny metal and hard to miss. This frees up the half round cut out. Carefully stretch the fabric past the half round cut out, while turning the material inside out. Think in terms of a pillow case for the visor.
I desoldered the electrical wires from the visor.
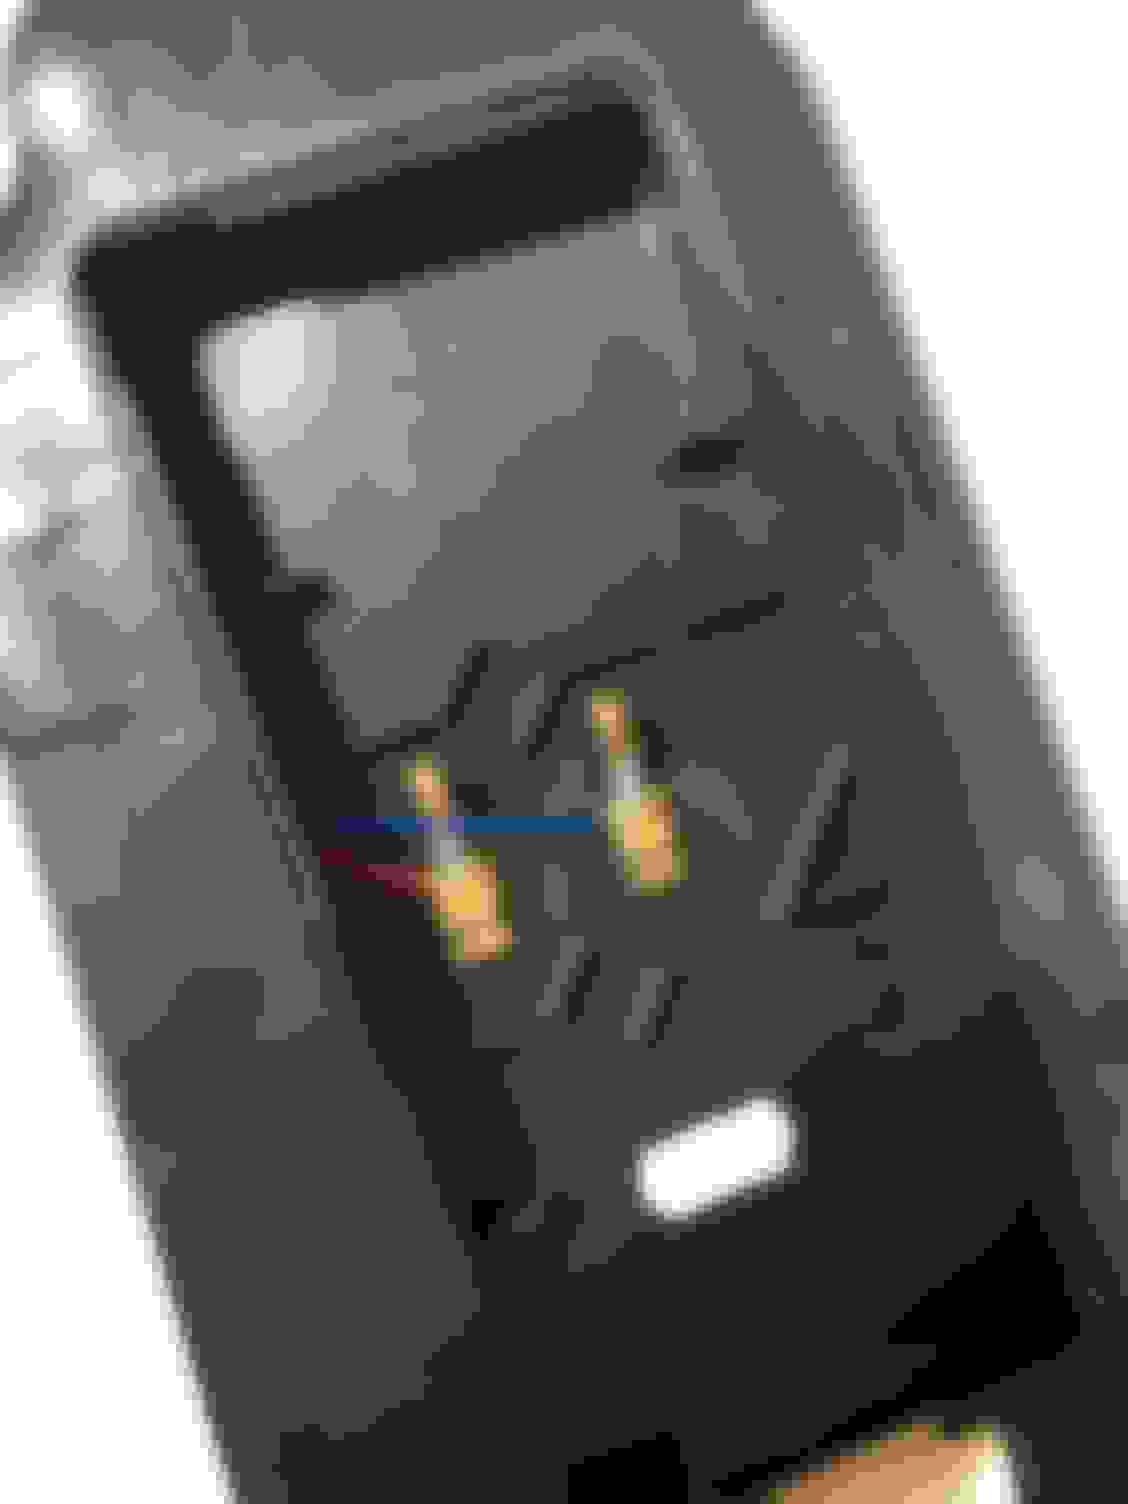
There is a key on the hinge that needs to be lined up to remove .
There is a metal clip in the hinge that tightly holds the rod. It makes it quite difficult to pull the hinge rod out.
Once the hinge rod is out the fabric cover is easy to remove.
The the two sides of the visor easily come apart.
To recover the visors the same way the factory covered them requires stretchy fabric, about an inch per six inches. There are three small spots where the cover is not stitched a gap is left. 1/4" gap for the hinge rod. Two 1/4" gaps for the rod nearest the rear view mirror. There is also a six inch opening at the widest part of the material. The extra fabric is pushed into the gap between the two sides of the visor and it imitates a seam. The half round cut out the is stitched means the fabric must stretch enough to get it over the wide portion of the visor.
If you choose to use non stretchy material you will need to hand sew the half round together once it is on the visor.
I could put the factory cover back on the visor, nothing was damaged.
The material I bought as "Passion Suede" is not stretchy enough to go past the half round cut out.
The factory foam backing is around 1/16" inch. I believe 1/8" foam backing would be too thick.
So now I am trying to find some stretchy suede material with a 1/16" foam backing.
I plan on embroidering the Leaping Jag logo in the same color as the visor material for a "ghost'" logo. This will get rid of the "Airbag" sticker
Because my headliner was sagging, I decided to recover it. One thing leads to another and I decided it would be nice if the sun visors matched. I was able to take apart one visor without damaging anything. Thought it might be interesting to everyone. .....
Good post. Always useful to have detailed photos.
Thread added to XK/XKR - 'How To' / DIY Repair & Maintenance sticky under Section 7 - Interior.
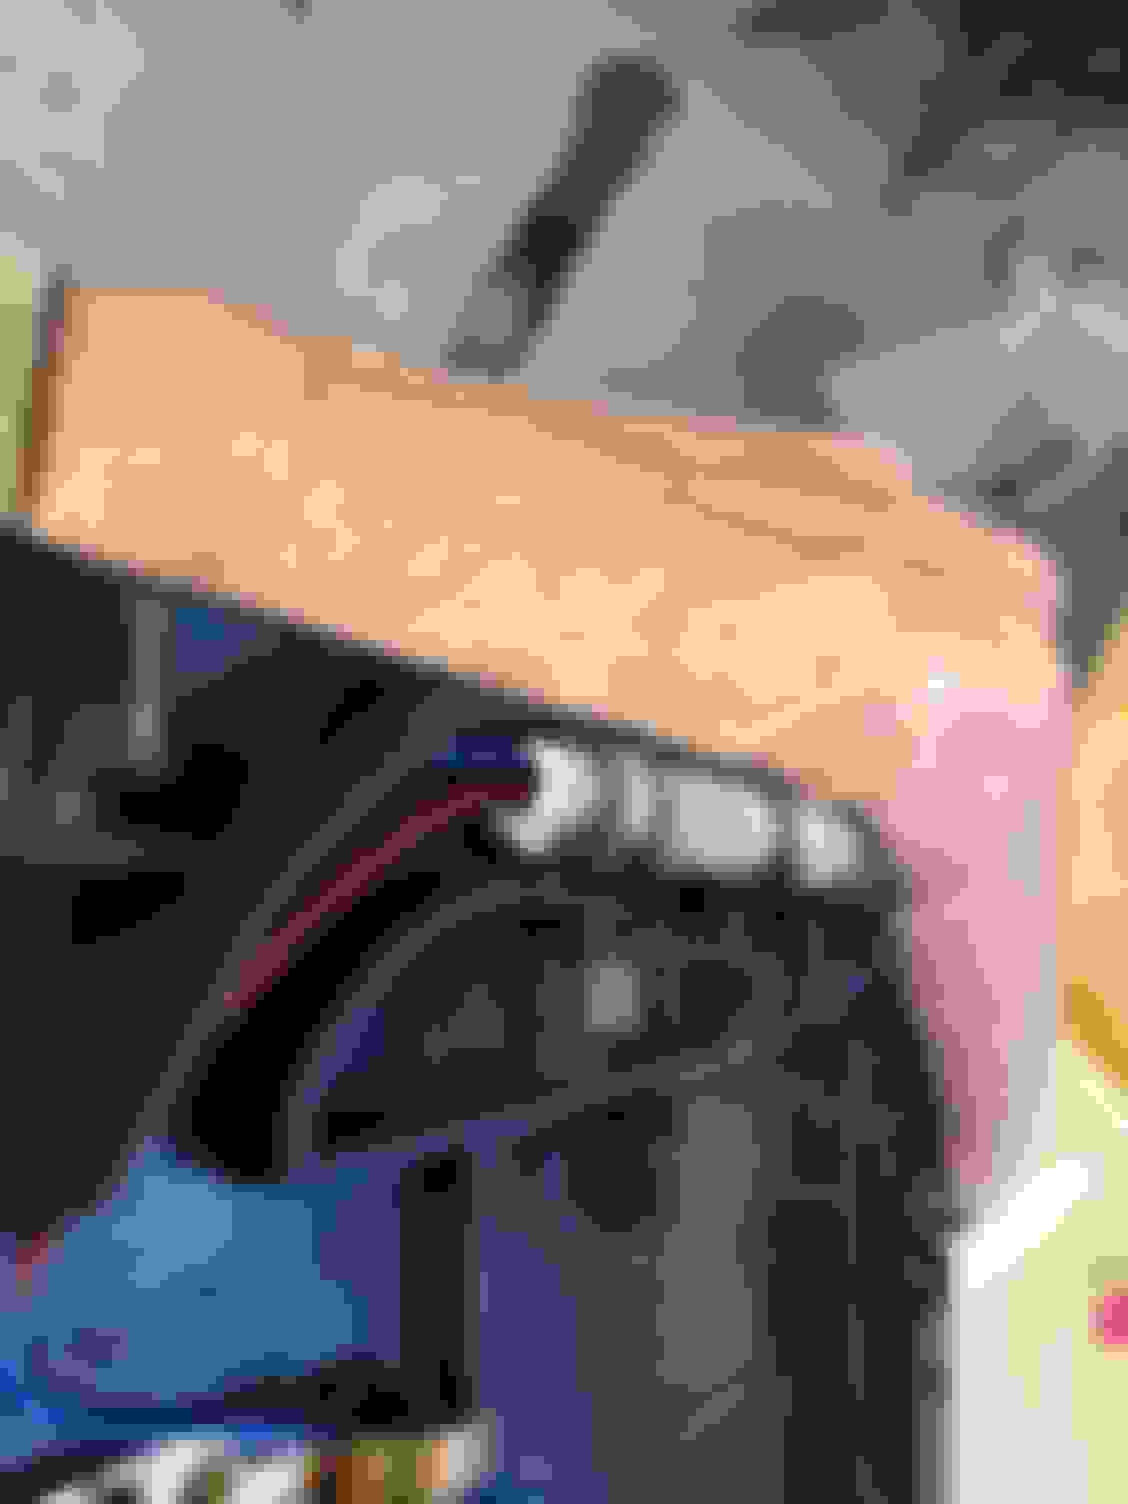
Two pieces that didn't make the first post. The copper colored rod pulls out from the gap between the two black pieces The plastic piece slips over the rod. So to install, push the rod in until it just begin to show in the half round gap. Install the plastic sleeve. Finish pushing the rod in until is abut a 1/16" into the black plastic pieces.
Installation of these pieces is done after the visor cover is put on but before the large opening of the cover is pushed into the end on the visor.
Used about a 250 grit sandpaper the 600 to remove the Air Bag decal. Then ran a rag soaked in Lacquer thinner over the scratches. The lacquer thinner melts the plastic and smooths the scratches. Finish is close to factory.
bgpenguin21 (07-14-2024),jons (03-20-2022),kj07xk (03-18-2021),PDMiller (11-12-2021),ralphwg (03-17-2021),Sean W (03-17-2021) and 1 others liked this post. (Show less...)
Replacing the sun visors in my X150 might be the easiest auto repair I've ever accomplished. Pry off plastic cover and remove single torx screw. One easy connector. Removing and replacing the visors was easier than figuring out the part numbers!!
Absolutely Stunning!!!� Would you be able to embroider mine? I have an 2011 XK coupe
Originally Posted by Craniac
Finished the visors.
Used about a 250 grit sandpaper the 600 to remove the Air Bag decal. Then ran a rag soaked in Lacquer thinner over the scratches. The lacquer thinner melts the plastic and smooths the scratches. Finish is close to factory.
These are stunning my friend!!!.. Are you in the UK? I�m here in the States mid west Wisconsin.. I have a metallic Black 2011 XK coupe�
 03-07-2021, 04:18 PM