When you click on links to various merchants on this site and make a purchase, this can result in this site earning a commission. Affiliate programs and affiliations include, but are not limited to, the eBay Partner Network.
Lack of integration with cooled seats would be a deal breaker for most, I�d think.
For me, that was an additional motivation to swap for performance seats (and yes - I'm not in FL, CA, AZ, TX like climate). This screen is a good mod anyway - worth considering, as it's so much better vs OEM screen.
Yes, better in every way.
A big improvement is the sound, I have the base audio in my car and it sounded crap. After the swap even my wife could hear the difference!:-)
Yes, better in every way.
A big improvement is the sound, I have the base audio in my car and it sounded crap. After the swap even my wife could hear the difference!:-)
Joying denies it but folks on the XF forum are convinced it's made by them. I tried asking them for help on something and they politely declined any knowledge and hung up on me but this in the know say they use the exact same software on there units but if you go out to the Joying website, you won't find these models listed.
The only thing I can find is that they are a standard Spreadtrum brand screen.
Excellent thread everyone. One further question: does the Climate system support the heated front screen?
And a thought: if having to wire in an external mic I would probably run it into the overhead console using one of the blanked off circular grill ports.
Excellent thread everyone. One further question: does the Climate system support the heated front screen?
And a thought: if having to wire in an external mic I would probably run it into the overhead console using one of the blanked off circular grill ports.
No it doesn't support heated windshield @DorsetJag . Also if you follow tmich's recommendations you should be satisfied with the mic. Just make the wires long enough and add a disconnect in case you need to remove the faceplate.
Just recieved my unit and will do install soon, Question did you use the provided GPS ant. or can the OEM be used. If the provided one has to be used, where did you mount it?
Just recieved my unit and will do install soon, Question did you use the provided GPS ant. or can the OEM be used. If the provided one has to be used, where did you mount it?
Thanks
Can't use the OEM. I put mine inside the dashboard behind the unit, No problem with gps signal.
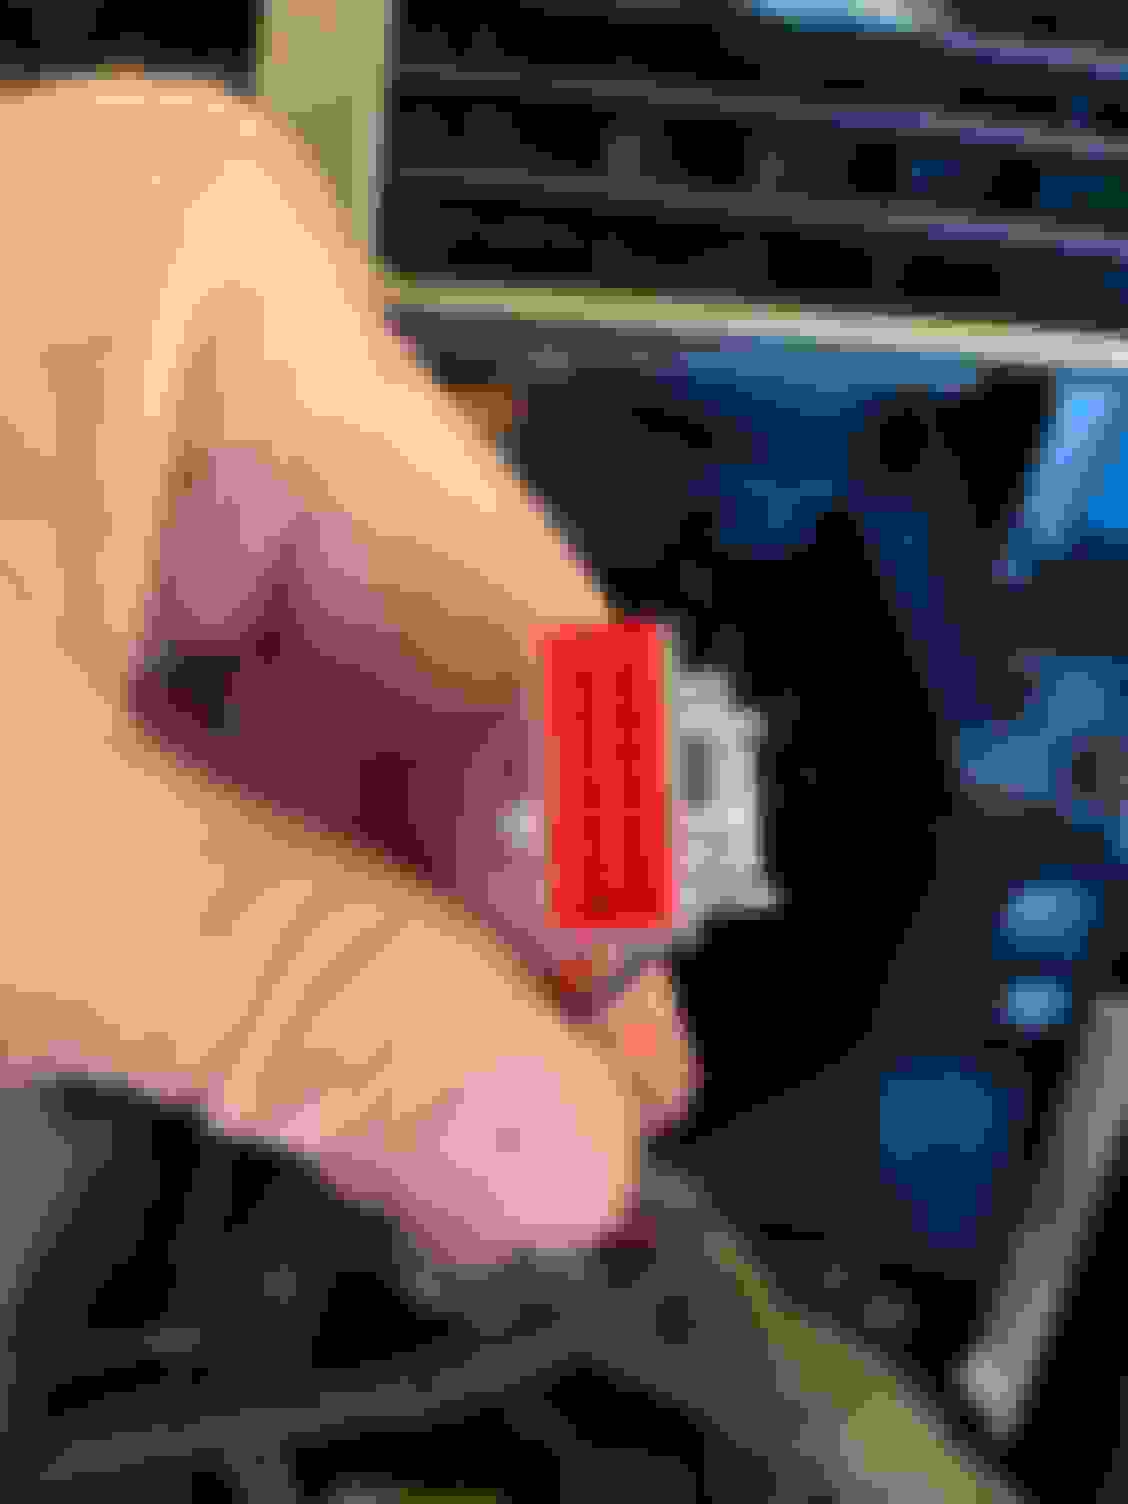
Installing Tesla style head unit on a 2008 XKR. the manufacturer or should I say the place I bought it from are worthless in tech-support. The head unit doesn’t control the cabin fan, doesn’t show the temperature setting for the climate control, control the heated seats or read any of the vehicle information. All duties hat were supposed to be performed by the unit. I have a couple connectors that have no mates. I have one set that it seems that I need to trim down the male plug to fit into the female. I’m gonna send pictures, if anyone can help I would greatly appreciate it.
This is from the new stereo panel face, seems to plug into the emergency flashers switch Comes from the car side. Comes from car side Comes from car side I believe it is the mate to the emergency flasher switch, but it is alittle wide and the two molded channel guides on the back of the. Plug doesn’t match the female plug. Comes from the new stereo head unit side.
My apologies for posting BEFORE I read the plethora of material has already been ran over pages before on this thread. I am American and well, that�s all I got for excuses�. I will try harder.
�Elizabeth� is at the mechanics shop for a couple days. When She gets back, I will outfit her again with all the advise I have learned��.
Funny story about her mechanics visit�.. I had her towed to shop because the loud, loose, loud, slap, loud, banging noise I was getting coming out of the top of the engine. It really scared the �Bejesus� outta me. Did I mention it was really, really loud!! I thoughts of this noise was that I had threw a bearing on the supercharger. This noise made me think that there was loose metal shards flying all around and too awfully close to the intake manifold�😶. So 2 weeks of waiting for the appt. was killing my nerves. I figured if I got out of there with a 5000 dollar bill I was gonna be lucky. Along with having the thoughts of parting her out because I wasn�t gonna want to do an engine swap/rebuild if everything went to *****. Well, Liz�s mechanic called me and that apocalyptic sound from hell was� drumroll please�. the water pump. Yeah, the stinking water pump that barely bolts onto that engine. It was seizing and the sound just traveled up that engine�. Now they weren�t gonna let me outta there with just that. Elizabeth needed me to prove my love. But after a new water pump, a used OEM alternator, a reducer intake manifold hose and a replacement transmission mount. I ain�t even gonna hit 2000.00. Anywho, I still love her. Now let�s see if I can get this frickin� headunit to work properly.
This is from the new stereo panel face, seems to plug into the emergency flashers switch
Yes you are correct - this operates the hazard lights and the air bag light. The small end of the connector plugs into the bottom of the facia plate. The larger one - you have to cut away some of the plastic as it doesn't match the ten pinOEM Black connector you have pictured below. Match the black wires of both connectors and you should be good to go.
Originally Posted by robariz;2493568[i
Comes from the car side.
The blue connector is GVIF (Gigabite Video Interface) and was used to transmit images from your OEM Navigation unit to the original head unit. It's not used in the new set up. Just tuck it away. Do not cut it as you can't go back.
Originally Posted by robariz;2493568[i
Comes from car side
That is the power connector to the OEM touch screen and like the blue connector, it is not used. Tuck it away.
Originally Posted by robariz;2493568[i
Comes from car side I believe it is the mate to the emergency flasher switch, but it is alittle wide and the two molded channel guides on the back of the. Plug doesn�t match the female plug.
This is the OEM connector that operates the flashers and airbag light on the new unit. Leave this connector as is and cut away three sides of the large white connector I mention above. Align the black wires and you will have flashers and the air bag light will briefly light on startup.
Originally Posted by robariz;2493568[i
Comes from the new stereo head unit side.
This is the large connector that connects to the large gray connector pulled from your CD unit. It provides sound. I can give you more info but need to know if you have premium sound or base sound system.
thank you for the insight. I have made the modification to the female side of the flasher/ emergency connector. Also I have the rca plug setup for the stereo sound, so all good there. Will tuck away the 3 connectors that aren’t needed. I have also removed the OEM microphone on the Tesla headunit and am going to replace with a better mic. The old one is junk. I still got issues to tend to, I.E. climate control, seat warmer controls, fan controls, car info, steering wheel controls… however, moving forward gives me hope.. But again thank you so much for the help.
@robariz go into your vehicle settings and make certain you have the correct Jaguar Can Bus selected. There are two options. One is for the XF. Functions your describing will appear but will not do anything. You want to make sure you have the XK selected.
There are only two connectors that aren't used. Which on is the third you refer to?
As to the mic, it's not crap so much as where it's located. If you cut and extend the wires, you will see a round receptor on the back side of the facia that holds the mic. Solder in about 8-10 inches of extra wire so you have room to maneuver if you remove the facia.
Sean W. The connectors, I believe, that I will tuck away/not use are the blue connector and the power connector. These are both on the vehicle side of wiring. Along with the large grey connector that is for sound. This one is on the new headunit side of wiring. I believe this is not needed because I get my speaker connections from the RCA plugs.
I will check the settings when I get to reinstall the unit.
thanks for the input on the mic!! I will consider that mod instead.
I can’t wait to get started on the install again. Thank you for your help!!

 11-18-2021, 02:21 PM