What did you do to your X150 today?
#961
Nicely done and looks great! And you saved lots of $$$ and didn't have to remove and reinstall that cover. 
With all the masking, I presume that you used a spray can. What did you do for surface prep other than a light sanding? What grit did you use and did you use a primer? Or a matte finish clearcoat?
I suggest that you start a new thread for this topic, as it may be of interest to others. You could include more details and follow-ups to report on how it's holding up.
I sanded with an 800 grit because I was just trying to smooth the scuffs some , I used a wax and tar remover and then simply washed it and allowed it to dry. After masking, I sprayed without primer because the product (Rustoleum Trim and Bumper) said it adheres directly to the clean plastic surface.
All done, Iíd say it looks really good. Carefully masking made it a breeze and the smallest overspray on the chrome was removed using my fingernail. Being the impatient guy I am, I didnít allow adequate time between coats, so the drying will be ongoing. Because itís more decorative than functional, nothing ever really touches it so that wonít be a problem...I hope.
#962
#963
#964
#965
Got the dreaded "Tire Pressure System Fault" yesterday so today I had the TPMS modules replaced at the local tire shop. It took awhile for them to realized they had to program them to replicate the old ones. After 10 minutes of driving my tire pressure alarm disappeared. Of course, my "Smart Key Battery Low: alarm came on. Damned CR2032's don't seem to last long.
#966
Join Date: Jan 2015
Location: Naperville, Illinois USA
Posts: 4,654
Received 1,979 Likes
on
1,329 Posts
Not necessary to program them to replicate the old ones, our cars relearn the new codes, so your warning would have disappeared after that drive without programming them.
#967
#968
I'm getting new rear tires tomorrow so I used up the last bit of old ones today. Dang, tire smoke sure can fill a cabin with the roof down.
Anyway, cleaned up all the wheels and threw my four new TPMS sensors in the front seat to have those installed also. Maybe those stupid dash lights will go away now? I dunno, not holding my breath.
I used Mother's Foaming Wheel & Tire Cleaner and it worked probably better than anything else I've tried so far. I will never believe that you can merely Spray-N-Rinse to get wheels clean without first a good ceramic coating, so I did some mild wiping. Took about four minutes per wheel. I love the look of Hyper Silver, even though my wheels are just a bit scuffed up on the edges.
Put some new Headlight bulbs in that I've had sitting since last year, went in quick. Since Not Night I don't know how they will do. Guess I'll have to meander tonight just to check.
Tomorrow I'll know more about both the TPMS situation with new Siemens Sensors and the new Headlights.
#969
Got the dreaded "Tire Pressure System Fault" yesterday so today I had the TPMS modules replaced at the local tire shop. It took awhile for them to realized they had to program them to replicate the old ones. After 10 minutes of driving my tire pressure alarm disappeared. Of course, my "Smart Key Battery Low: alarm came on. Damned CR2032's don't seem to last long.
The following users liked this post:
badicedog (10-17-2019)
#970
If you want the maximum possible battery life for your Smartkey fob, replace the original 2032 battery with a 2035 battery. It's identical to the original CR2032, except for the thickness. They're both 3V and 20mm in diameter, while the CR2032 is 3.2mm thick and the CR2035 is 3.5mm thick. That additional 0.3mm of thicknesses may provide more capacity and a longer life, and make better contact with the prongs if they've been stretched or bent.
I always buy my keyfob batteries locally so I can get a genuine name brand and check the date code to be sure that I'm buying new stock. An buy 2-pack so you can keep a spare in your glove box.
https://www.ausbatteries.com/cr2032-cr2035-difference
I always buy my keyfob batteries locally so I can get a genuine name brand and check the date code to be sure that I'm buying new stock. An buy 2-pack so you can keep a spare in your glove box.
https://www.ausbatteries.com/cr2032-cr2035-difference
#971
#972
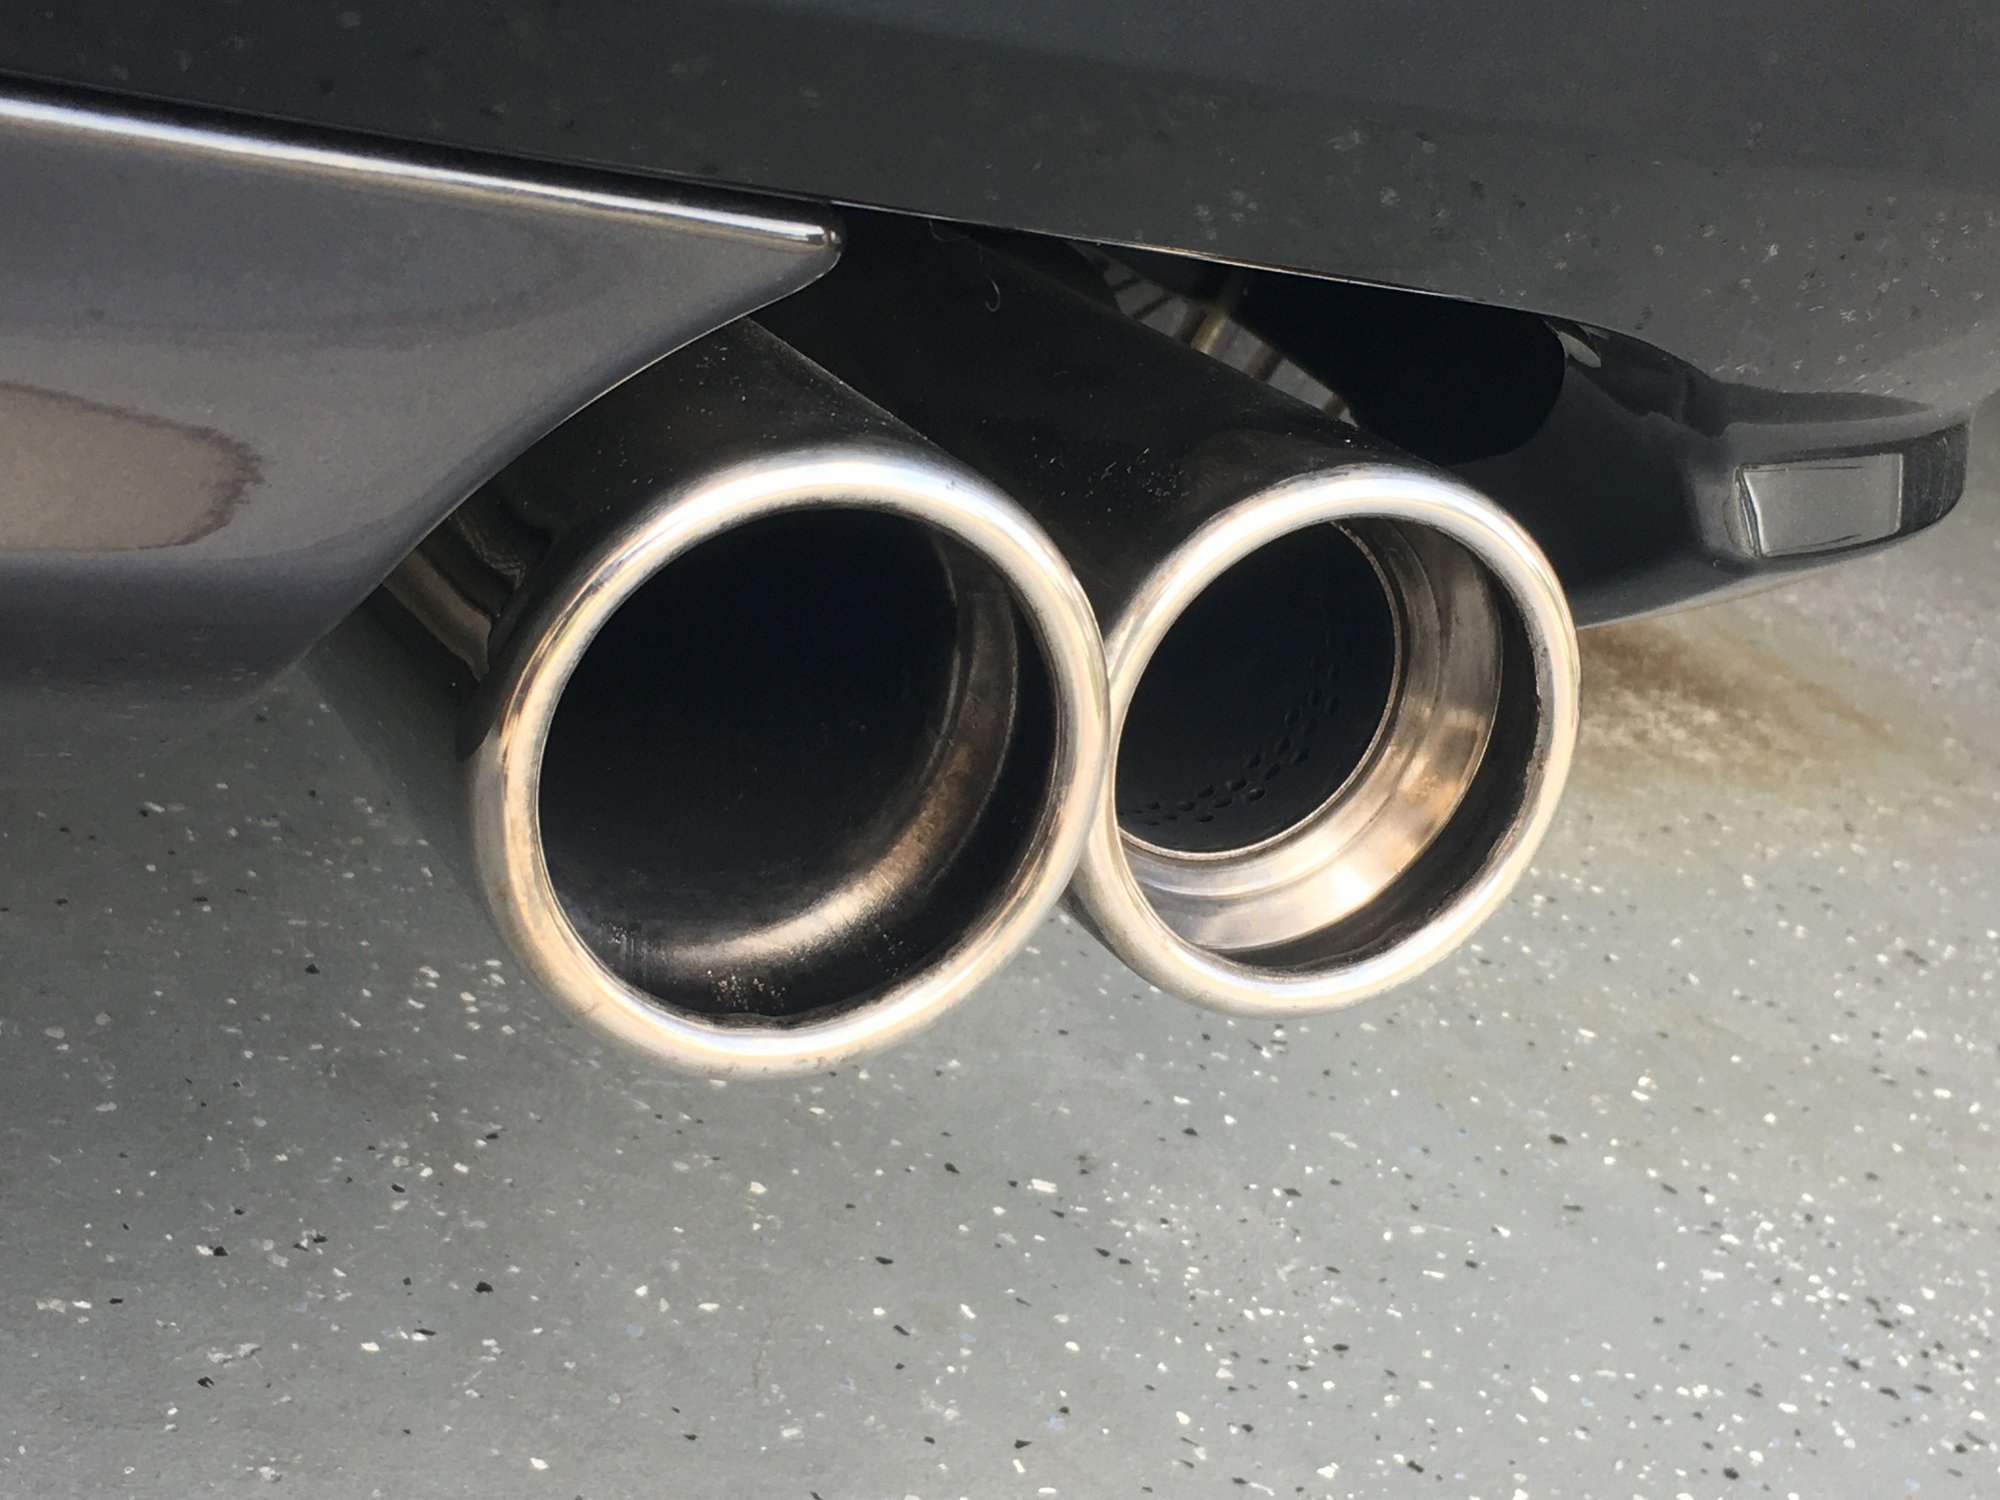
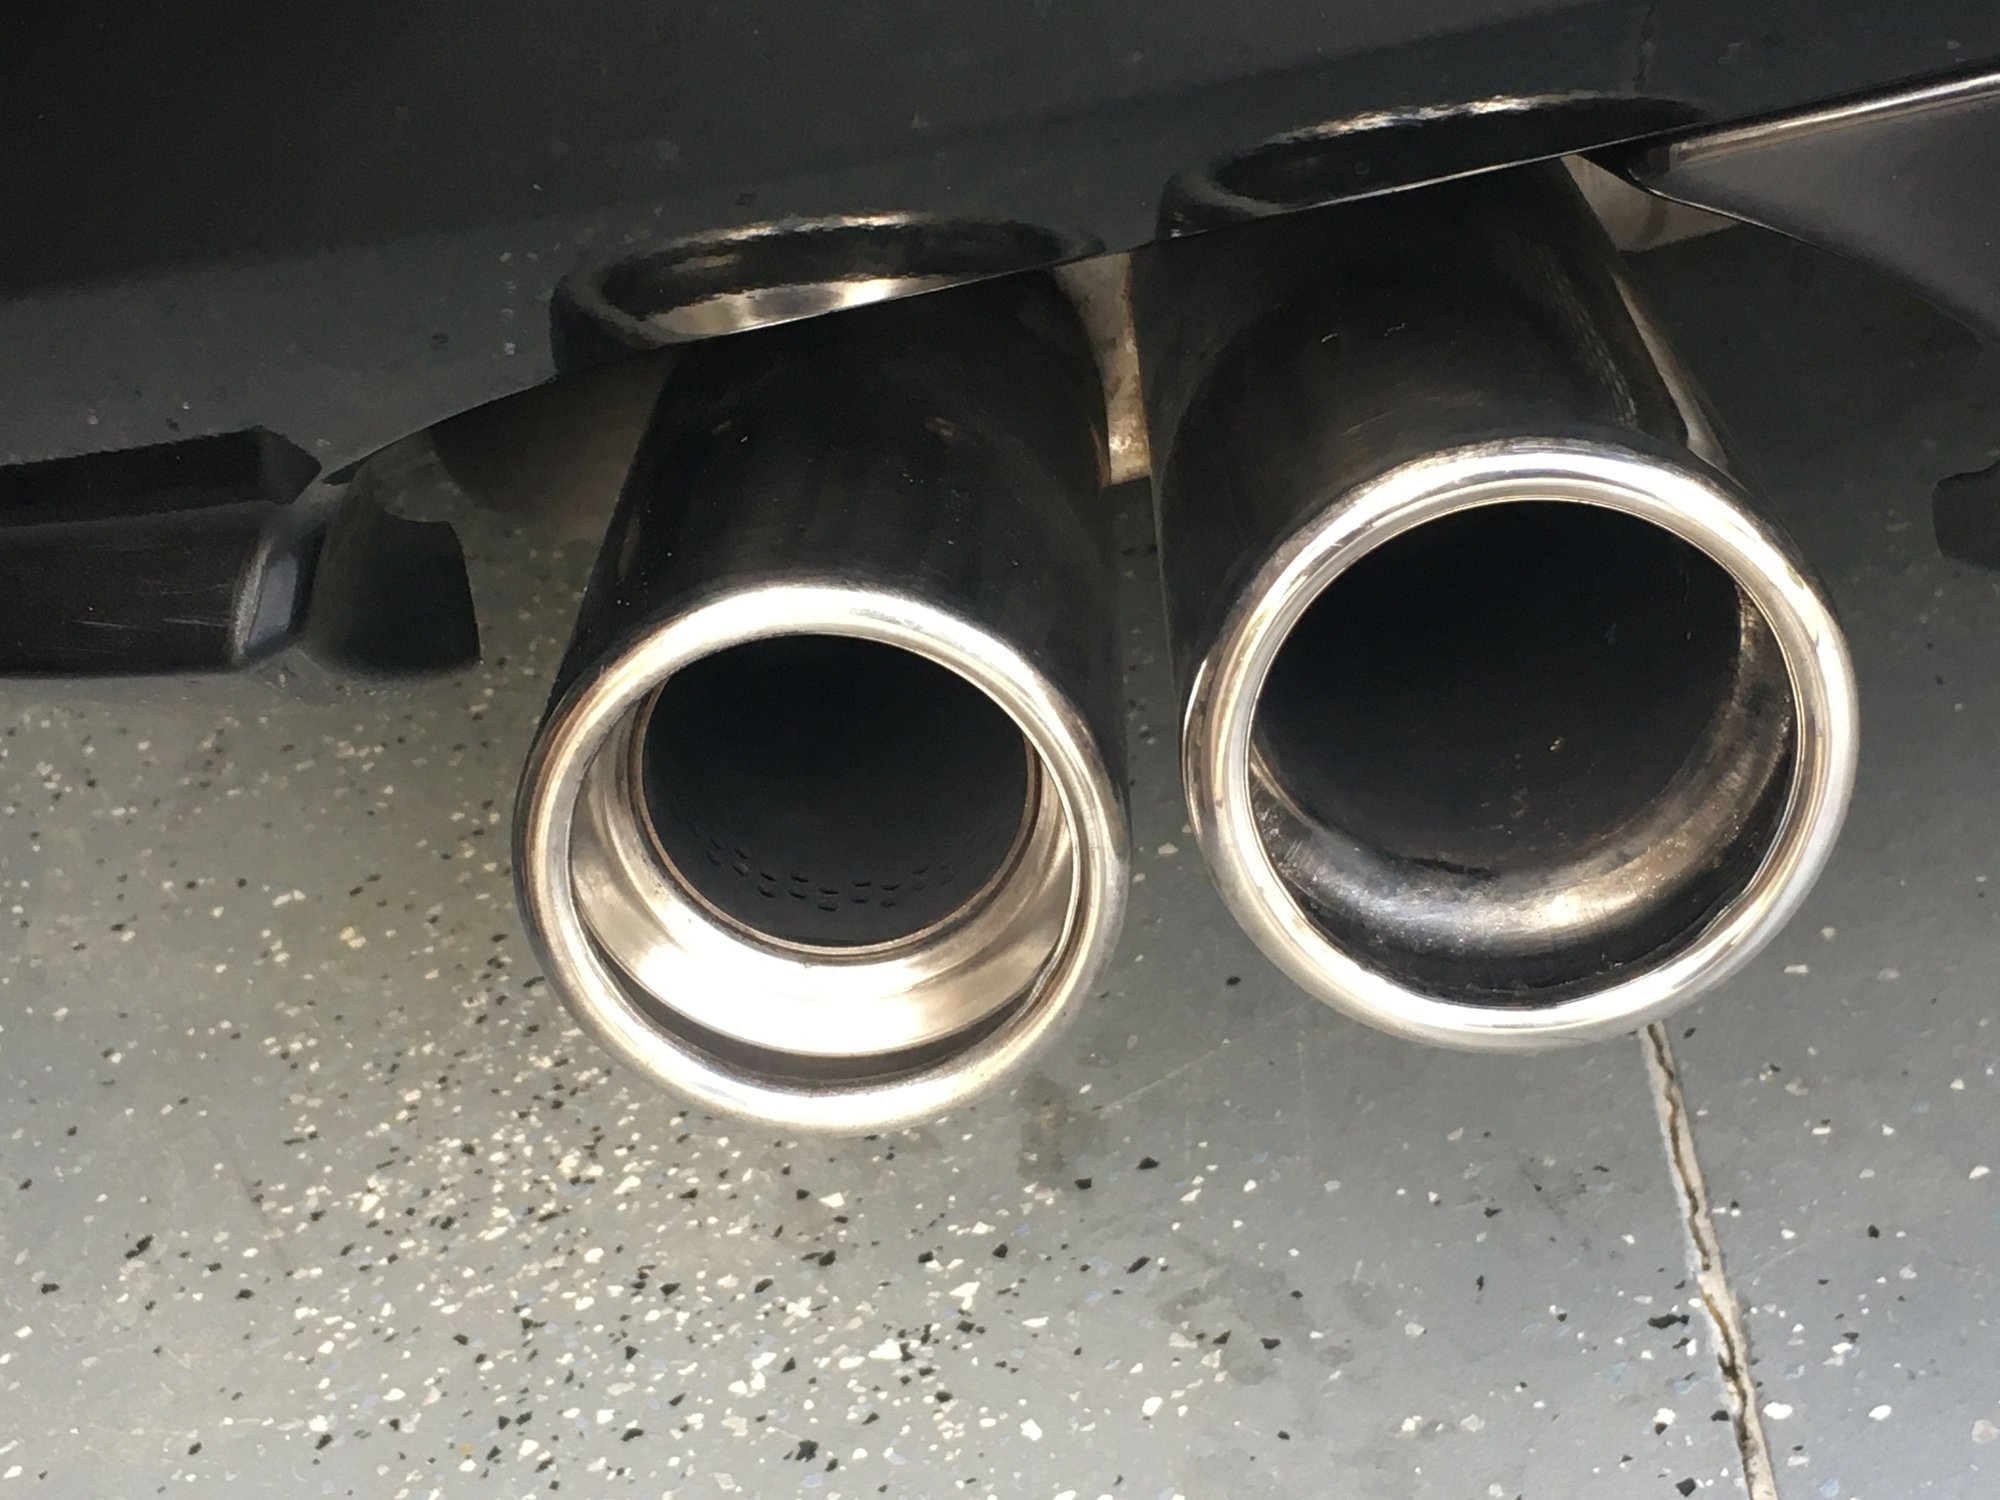
Well...the previous owner of this feline wasnít nearly as attentive. I had to use my Dremel with a soft wire tip to break most of the crud free.
#973
The following 2 users liked this post by TexasTraveler:
George05 (10-19-2019),
Queen and Country (10-18-2019)
#975
#976
#978
#980
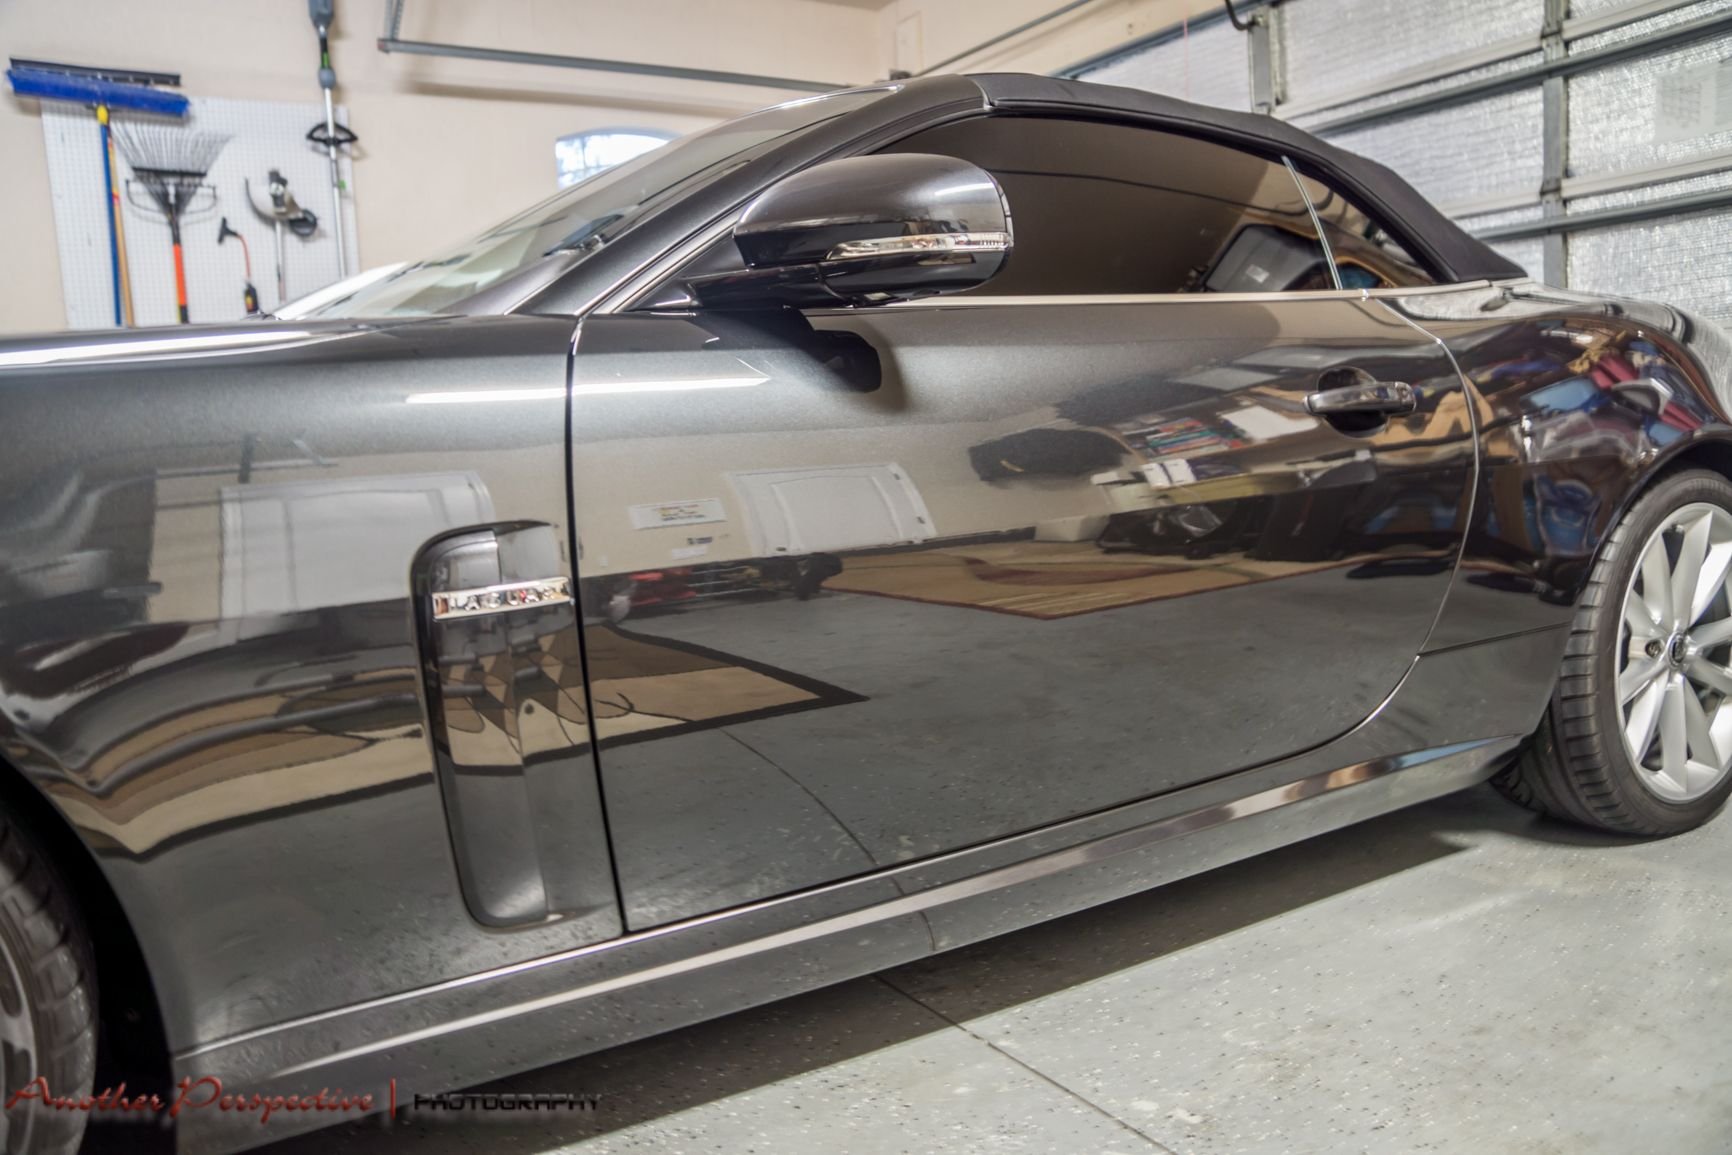
Orbital machine polisher, a couple of grades of compound, plus a few hours of time. Thoroughly wash the car first of course and then claybar it to remove any imperfections and residues (you'll be surprised how much the clay bar picks up). After the machine polishing, apply a nice ceramic glaze and the car will stay much cleaner for much longer, even in bad weather. My car is Lunar Grey like yours and tends to 'look clean' even when it isn't, but a decent ceramic coat keeps it much cleaner for much longer, as dirt and dust can't stick so easily. YouTube has tons of videos on car detailing to give you some basic guidance.
The XK(R) is such a lovely shape I enjoy cleaning it more than most cars I have owned. It's like caressing the body of a beautiful woman (© Swiss Tony)
The XK(R) is such a lovely shape I enjoy cleaning it more than most cars I have owned. It's like caressing the body of a beautiful woman (© Swiss Tony)

Last edited by barnsie; 10-20-2019 at 12:41 PM.
The following 2 users liked this post by barnsie:
badicedog (10-20-2019),
TexasTraveler (10-20-2019)


