When you click on links to various merchants on this site and make a purchase, this can result in this site earning a commission. Affiliate programs and affiliations include, but are not limited to, the eBay Partner Network.
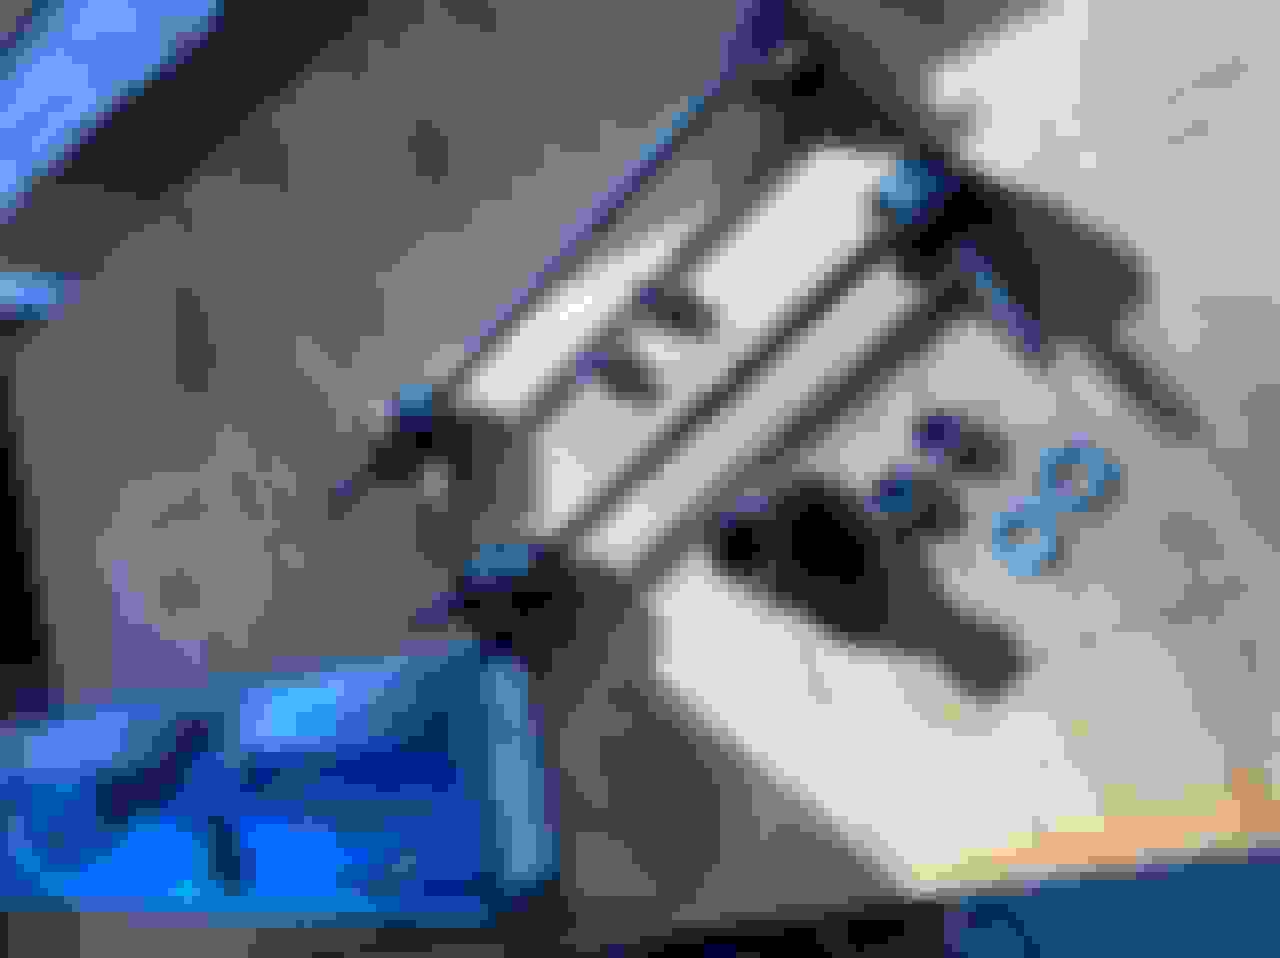
Boots were shot on the original links although the ball joints themselves seemed fine. Got replacements from Rock Auto at about $22 each.
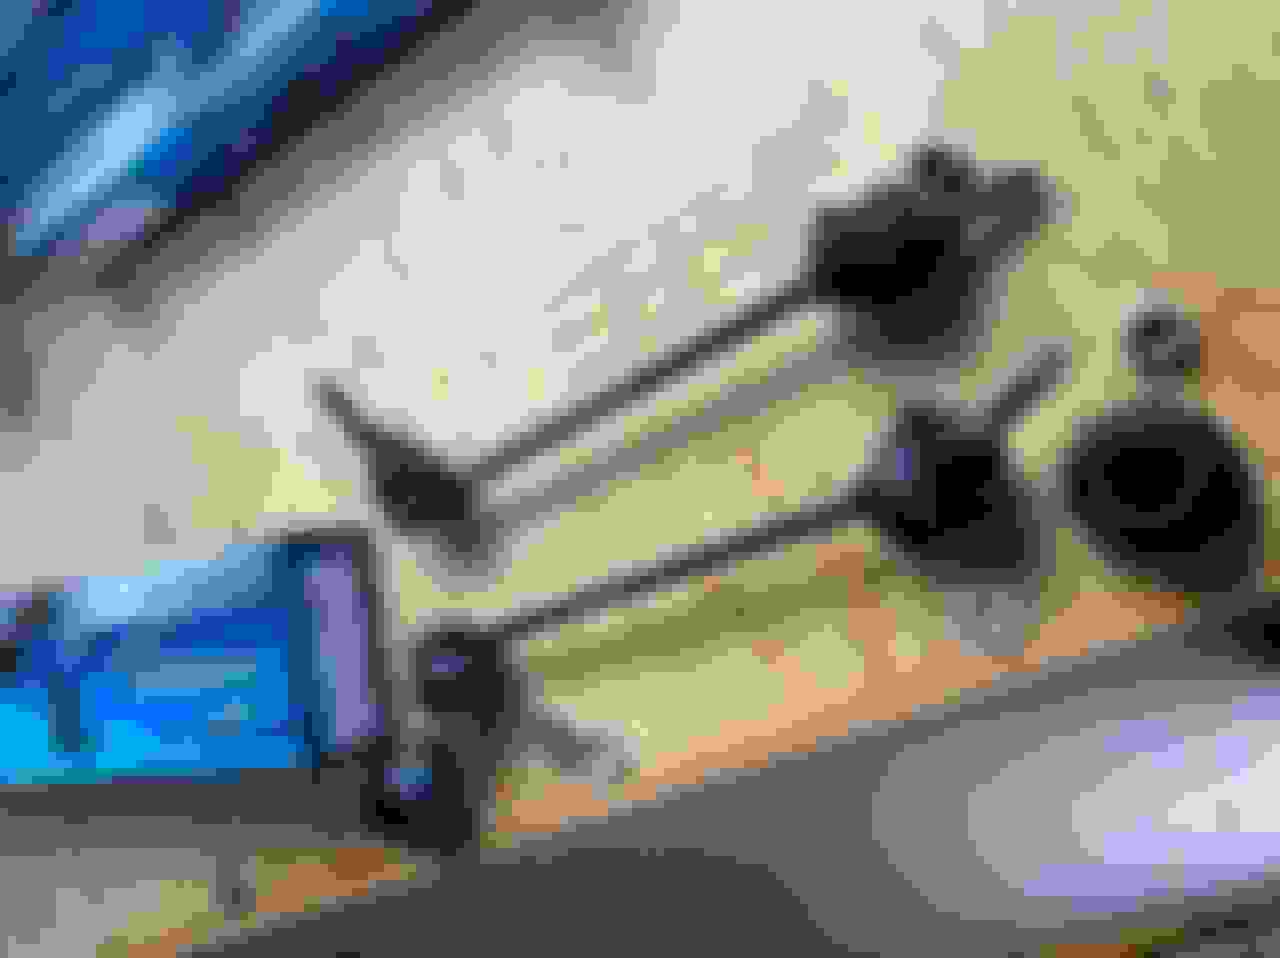
Right side replacement and original with torn boots
And left side replacement and original link
Replacements were made in Turkey and seemed to be good quality. They came with extra �umbrella� boots which would cover the small end of the ball joints but I chose not to use those due to potential interference with cinching the nuts up.
The new NYLOC nuts were not flanged as the originals were, so put flat washers under the nuts. Original nuts took a 15 mm spanner while the replacements were 17 mm. All tightened up nicely. socket held the threaded rod on the ball joint while loosening/tightening the fixing nut. Tied the parking brake cable up to give more clearance to access the upper ball joint nut.
I did clean up the bump stops with WD40 which was on hand. They were dirty but no sign of checking or deterioration. Applied liberal amounts of Gummi Phlege rubber treatment to preserve them which also made it easier to tighten the PITA top ball joint nut through the holes in the side of the stops (the stop flexes more with the wrench movement when tightening one flat at a time).
Cleaned and lubed bump stop
Finished left side link is shown below.
A good day of maintenance😻 Rear tie rod boots are next on the list!
Last edited by V7Sport; 10-07-2020 at 10:07 AM.
Reason: Fix auto correct error
barnsie (10-08-2020),Clellandm (10-08-2020),Firm (10-07-2020),guy (10-08-2020),kj07xk (10-06-2020),Sean W (10-06-2020),wsn03 (10-07-2020) and 2 others liked this post. (Show less...)
I did clean up the bump stops with WD40 which was on hand. They were dirty but no sign of checking or deterioration. Applied liberal amounts of Gummi Phlege rubber treatment to preserve them
I've always used silicone grease for rubber for marine use - is this Gummi Phlege the same type of thing?
I've always used silicone grease for rubber for marine use - is this Gummi Phlege the same type of thing?
Hadn't thought of silicone grease so will check that out for use on hidden bits.
No, Gummi Pflege is not a grease at all. Water based rubber lubricant and preservative butI don't know what is in the stuff. Appearance is kind of a thin, milky liquid that soaks into the rubber. My main use is on door seals etc where a grease would be a mess.
I did my rear links a few weeks ago, using those same MevoTech Supreme replacements, those top bolts with the rubber bumper in the way are a royal PITA, but otherwise not a terrible job.
Hadn't thought of silicone grease so will check that out for use on hidden bits.
No, Gummi Pflege is not a grease at all. Water based rubber lubricant and preservative butI don't know what is in the stuff. Appearance is kind of a thin, milky liquid that soaks into the rubber. My main use is on door seals etc where a grease would be a mess.
I took to using the "marine" grease because it seems to stand up to anything related to salt, water, damp etc. In 8 years of using it (ordered from any marine site it appears to be just called silicone grease) it has kept rubbers perfect. On motorbikes rubber grommets holding plastic panels disintegrate- but mine don't. I'll take a pic tomorrow of the label for you
I took to using the "marine" grease because it seems to stand up to anything related to salt, water, damp etc. In 8 years of using it (ordered from any marine site it appears to be just called silicone grease) it has kept rubbers perfect. On motorbikes rubber grommets holding plastic panels disintegrate- but mine don't. I'll take a pic tomorrow of the label for you
With time on my hands while waiting for parts, I decided to port match my intake elbow to the supercharger inlet and smooth out the transitions. It's a surprisingly rough internal casting.
Nice one SBS
I also have a 07 and had cambo retrofit the later model touch screen, it really modernized the vehicle that plus elimination of the TPMS I would put down as essential 😁😁
Great job and great idea! How difficult was that? Plug and play or was additional wiring needed?
Great job and great idea! How difficult was that? Plug and play or was additional wiring needed?
His work is top notch was a retro fitted item (Digital radio, upgraded speakers/sub and newer screen) also have the wiring in place for reverse camera as well
My button went from slightly cracked to a cavernous void. After weeks of procrastination, I finally decided to fabricate a solution.
Using a knock-out from a standard electrical box, which looked almost perfect by itself, I flattened it, ground off the burs and dulled the edges, and brushed it slightly to smooth the transition from where it was connected. I ordered this perfectly-sized sticker (Ebay $6.50 I think) and, after making sure the knock-out was both clean (alcohol) and sufficiently scuffed (100 grit), I used tweezers to affix it to the KO. I then applied some Gorilla gel to the edge of the KO and carefully placed and aligned it. Finally, I used some simple blue tape to hold it in place while it dries.
It looks amazing (lack of light penetration aside)! I know I could have drilled holes in the KO and the sticker, but I was afraid the sticker would lose some of its look doing so. I just hope i can get it to stick and stay. I considered using some strong double-sided adhesive, but the height would've been more obtrusively obvious.
I will update the thread with an AFTER after things have cured.
"The cover is high quality urethane rubber so it matches the contour of your current button and your finger is comfortably cradled in its soft cover, unlike other hard convex curved outward embossed covers other sellers offer.
The cover is NOT TRANSPARENT so the illumination from the stock start button does not show through.
The adhesive backing is very strong, and cannot be re-positioned easily after it is placed, be careful when installing, I use tweezers. It can be removed if necessary."
That is exactly what I bought, Stuart. It is thin and pliable, so it would NOT do more than cover the hole. One press and it would also fall in. Without something rigid behind it, it wouldn�t serve any purpose for me. It would, however, possibly work well if someone only has cracks.
Thanks for the clarification. Actually, no clarification needed because your previous post covered everything. It was my fault for not remembering the hole in the OEM button. My wife is right; I suffer from CRS disease.
I removed the window tint from my front driver and passenger windows. The tint was there when I bought the car, but I never felt good about having it on the windows. I felt the tint contributed to a hazy view from the front windows, and did not like that.
I researched methods of removing tint and concluded the best way to approach the job was to use a heat gun. Turned out this was not the best way to go with the tint that was on my car. Perhaps there are different adhesive compounds, or I did not follow the online procedure properly. In any event, after the heat gun method failed, I just grabbed the tint sheet and began to peel without heat or solvent. It worked better than the heat gun. Not perfect - this method left some adhesive on the window glass - but much less than with the heat gun.
To remove the adhesive, I started with Goo Gone, but while that helped it did not do the job cleanly. A lot of residue remained, and it was hard to remove. I then tried rubbing alcohol - a polar solvent that I've used for many tough cleaning problems - and that worked much better. I finally cleaned the windows with a diluted ammonia solution - a great suggestion of the boss (OKA the wife).
I've always used either Carb Cleaner or Brake Cleaner on a rag. Gotta be careful to not get it on any other surfaces, but man it removes sticky gunk super-fast.
I've always used either Carb Cleaner or Brake Cleaner on a rag. Gotta be careful to not get it on any other surfaces, but man it removes sticky gunk super-fast.
They're strong solvents, and I'd be concerned about the possibility of damaging any printing on those sticky buttons.
 10-06-2020, 07:00 PM