When you click on links to various merchants on this site and make a purchase, this can result in this site earning a commission. Affiliate programs and affiliations include, but are not limited to, the eBay Partner Network.
Good Morning!
My XK 2007 glove box hinge (plastic, really!!) had broken and obviously I’m unable to open glove box without it falling off!! Can anyone let me know do I need just a new glove box door or is it the whole unit that the glove box door goes into that would have to be replaced?
Also, if someone could tell me who/where I should go to order parts for my jag that would be fantastic! Thanks so much!
sharon moss
The glove boxes are over 500$ when I remember looking, but that may be the huffed paint speaking. When I was installing the Auxilliary Audio kit from Jaguar, I had to remove my glovebox from the car. It always slammed open, and the gap between the top of the glovebox and the bottom of the dash wood fascia was garbage. When I had it out, I ended up finding the plastic covered in muppet fur was cracked and straight up gone for one of the two top securing screws. I ended up using fiberglass cloth and resin to rebuild the recessed spot that the screw would screw through to the dash structure; and I put a washer in the resined bit that the screw could push against to spread out the force; I did that for the missing hole and the one that was cracked. Tightened up the gap nicely. The slam open was related to the plastic that holds this spring dampened little loop of string being busted too; so I repaired that with fiberglass cloth and resin. Looks like garbage behind the scenes with the white cloth and goo; so I used black vinyl paint over it. Worked great..
Anywho, you can buy a used unit and possibly have some messed up bits; pay a bunch for a new one, or maybe fix yours for a little time and under twenty bucks. Mine was cosmetically immaculate just functionally damaged on some hidden plastic bits; so I went with fixing it.
Buying new I often find the part number and go to a few different sources, assuming its really an OEM only part; I like SNG Barratt (I think forum sponsor?), jaguarparts.com, and Terry's Jaguar Parts (I like like an hour away so cheap shipping still is super fast!). I am associated with none of those places but have ordered parts from all of them as well as dealers all over.
While the box is out, it would be a good time to repair the "Soft open" feature. A 1/8" drill and a cotter pin are all that is needed. May keep the box from breaking again.
The plastic arm that attaches to my glove box broke off completely. Used ones in good condition are hard to find - and about $500. So even though it looked like mine was ruined, I figured I had nothing to lose by trying to fix it.
I could not be happier with the result.
Here are the steps I took:
1) I put the broken arm in the door - on mine it went in about a 1/4 inch - to make certain it could "seat" properly.
2) Once seated, I carefully put tape on the arm where it met the (inside) skin of the door. I could not go completely around, but enough so that I could finish taping when I removed the arm.
3) When seated there is still a space between where the arm sits and the leather side of door. So I removed the arm and carefully screwed a sheet rock screw up from the bottom into a hole I pre drilled in a plastic cross brace. I was careful to center it properly. I played with the screw depth so when the arm was reinserted the tape l put on still lined up with the door skin (with the screw head extended about 3/16 below bottom of arm).
4) I then filled the arm with JB Weld original glue. I left about 1/8 inch to increase interior surface area.
5) Once cured, I drilled a small hole just above the 1/8 glue line and pushed a cotter pin in and cut and filed it smooth on both sides (to prevent any possibility of my inserted glue/screw from pulling out)
6) With the arm removed, I taped all around the door cavity.
7) I made small strings (one at time) out of JB Weld epoxy putty (it comes in a roll you mix with your fingers) and put them inside the door cavity - pushing the strings in with the short side of an alan key. My goal was to create a "containment area" inside the cavity while retaining "interior edges" a pool of glue could flow into and under...I used multiple small strings because the putty sets up quickly. I could not see if I did it perfectly - I doubt it - but JB Weld Original glue is not runny.
8) With card board spacers (and a roll of toilet paper to hold the door open) I practiced putting the arm in and taping the spacers to see if everything stayed in place (JB Weld Original takes about 6 hours to set up - 24 to cure).
9)Once confident in the steps I needed to take, I used a butter knife to push the JB Weld Original epoxy into the door cavity - filled it to the top - and then pushed in the arm. There was not much excess coming out - but I carefully cleaned most of it (leaving tape on still), then taped the arm (with spacers) and stuck the roll in to keep the door open and to make sure everything was line up perfectly.
10) I waited 24 hours and removed the tape, I had to use an xacto on some spots. My (thin) finished glue line along the bottom of the joint was not as dark as the interior door, but I touched it up perfectly with a Sharpie.
The quarter inch of exposed plastic on the arm that gets pushed into the pool of glue may be enough to hold the arm in place, but I think having the pool flow around the tapered sheet rock screw head gives you insurance.
If you have not done so already, you should fix the cable connection issue at the other end of the arm while you have the box out.
These instructions may not apply to your situation, but it may help others.
I may have gotten lucky, but my repair is totally invisible and solid as a rock.
Good luck.
Last edited by Steven07XK; 05-22-2021 at 10:39 AM.
Steven, good post. Has the fix held? I had updated the damper-cable attachment method a number of years ago but noticed recently that the door would only open halfway unless I pulled hard. Upon removing the glovebox, I saw the problem (which I could have noted without removing the glovebox): the arm was partially broken at the attachment point within the door. For expediency, I merely disconnected the cable to the damper and put things back together. I'll live with the dropping door for now. However, at some point I may try your method.
I am happy to say my repair is still solid as a rock and probably stronger than new.
My arm had broken completely though, and it was a clean break. And the break occurred under the plastic (that it is inserted into) that is visible. I assume that is where yours broke? Can you push your broken edge in a quarter of an inch to "seat it"? It does not sound like yours is completely broken, yet. I bought my car used and thought the wiggle I originally had with the arm was normal....until it broke completely.
With the glovebox back in place, only the slightest movement of the arm up and down in the door is possible, and there is no opening to add JB Weld. However, I'll give this more thought based on your success.
There is a string at the end of the arm that is supposed to be attached to a damper - so the glove box opens slowly. On most XKs - its gets disconnected. Search the forum and you will see how that issue is fixed ( drilling a hole in the end of the arm and inserting a pin so the string has a better attachment point). When the string is not attached - the glove box drops down hard. If yours does not drop down (and you are not the original owner) it may already have been fixed. Because I do not think its a question of if it will detach, but when.
If you don't fix the attachment issue - over time it can cause damage to how the arm is attached to the cover.
When I bought my car the glovebox had both broken hinges and was mising the end of the dampner arm.
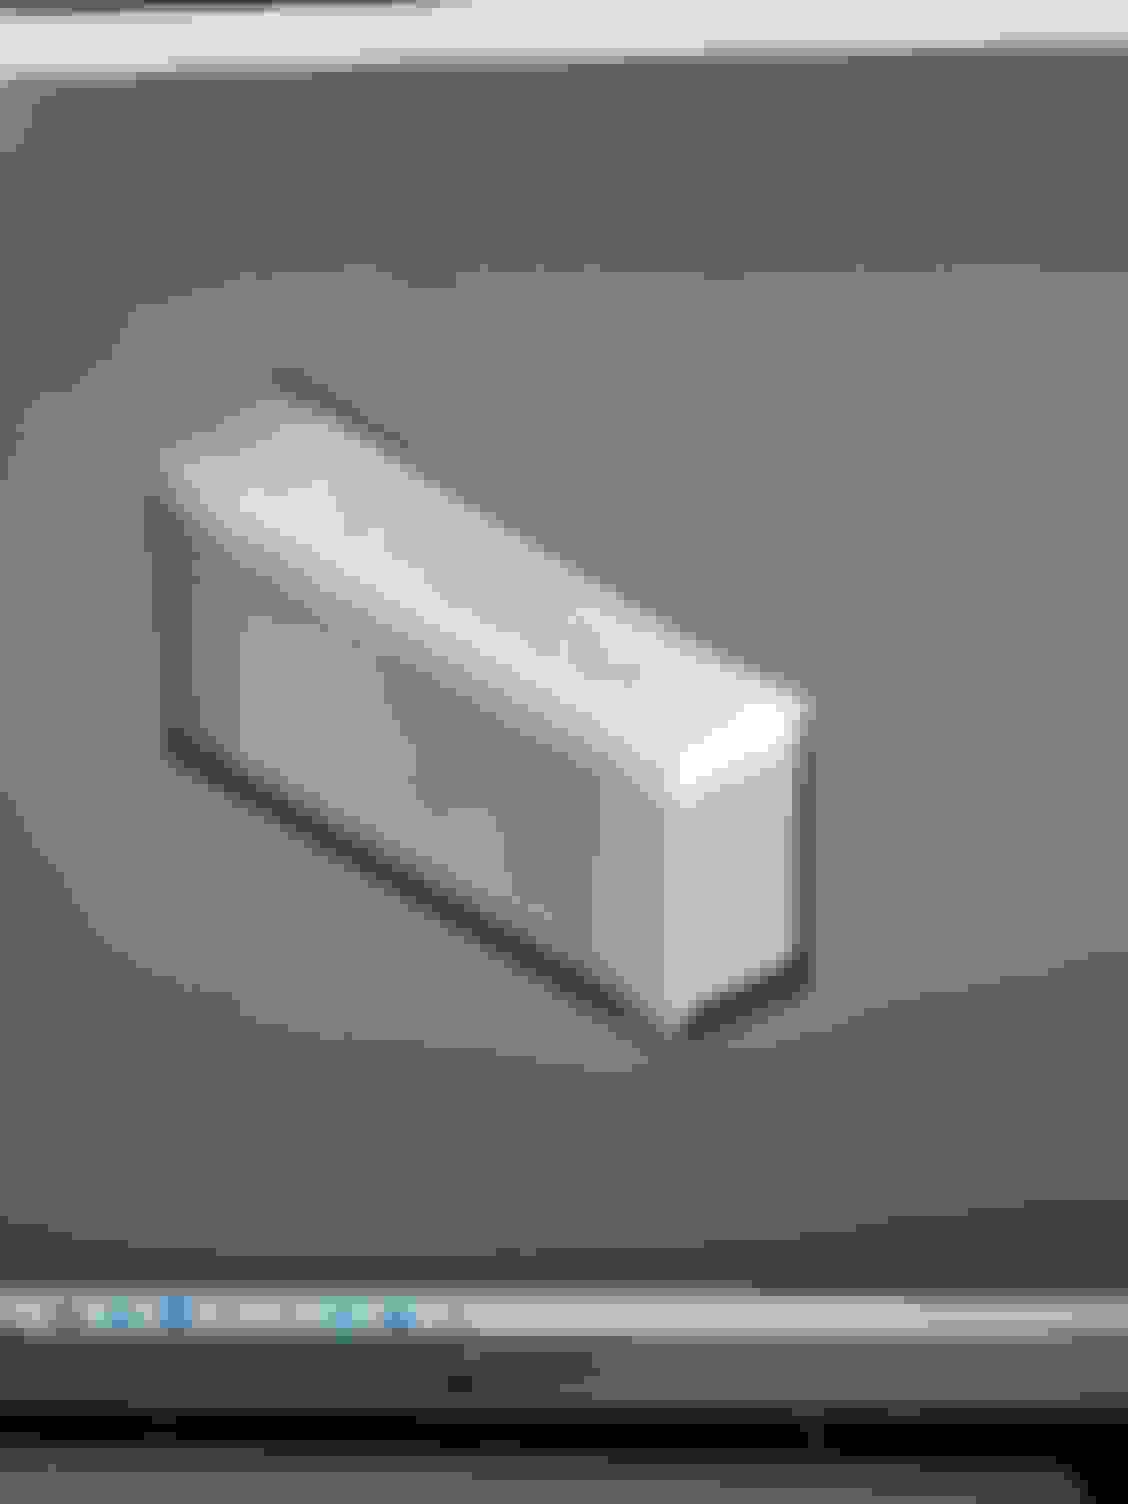
I 3d printed a couple new solid plastic pieces and a solid plug to epoxy everthing together much stronger then original.
1. broken bits: Completly printed a solid piece Dampner end piece New hinge New hinge installed the angle was a bit off so cut it flush with drimel tool Plug to fill other hinge hollow for solid connection Box now works great to rattel or give
When I bought my car the glovebox had both broken hinges and was missing the end of the dampener arm.
I 3d printed a couple new solid plastic pieces and a solid plug to epoxy everything together much stronger then original.
..............................Box now works great to rattle or give
Good job.
I do things like this all the time. Usually I do it all by hand using wood, blocks of plastic, whatever I have laying around. I don't have a 3-D printer.

 05-20-2021, 09:28 AM