When you click on links to various merchants on this site and make a purchase, this can result in this site earning a commission. Affiliate programs and affiliations include, but are not limited to, the eBay Partner Network.
Over the years, there's been a couple of posts on here about this "sliding flap" thingy, and it was a challenging part to find, cuz most of the online Jaguar parts places don't have it listed in their exploded drawings. I managed to track one down a couple years ago, and finally replaced the broken one in my wife's car. See my post here: https://www.jaguarforums.com/forum/x...3/#post2425526
for where to find one. I thought that was a good fix, but recently it hung up again, causing the plastic panel to get deformed and causing me to wonder, "Crap! Do I have to buy another one of these things?" It was a little pricey, over $200. Well, luckily, I was able to use a heat gun and straighten out the old one (which I saved) to where it looked darn good, and this time I wanted to make sure it didn't break again. Now, if I remember right, last time I was able to pop the new one in without tearing everything apart. This time, I dug in a little further, and now I know why the last fix didn't last. Since I know others have experienced this problem, I figured I'd post a little how-to with the things I found.
First, you should have a copy of the X150 Service manual. I'm not gonna re-post any of those pages here, it's available from many posts on this forum, and if you can't find one, PM me and I'll email the .pdf to you.
Go to the section on "Rear Quarter Trim Panel - Convertible (76.13.73)" on page 3185. It tells you to:
1.) Remove the "Rear Seat Backrest (76.70.38). Do this by popping out the rear seat bottoms, "Rear Seat Cushion (76.70.37)", then the "Rear Seat Armrest (76.70.39)". Both of these just snap out, lift up on the front of the seat bottoms, same with the middle arm rest. Next, remove the "Rear Seat Backrest (76.70.38)". There are 2 Torx screws at the bottom of the backrest and then it's loose and you can remove it.
Come back to the Trim Panel section (76.13.73). Continue with those instructions.
2,3.) Remove the rear seat safety belt stalk. It's held in with one Torx bolt. Don't lose the springy washers.
4.) Remove the scuff plate trim panel. (One Torx bolt)
5.) Support the convertible top lid. I did this with the top not quite fully down, supported with a wood block. I thought that was a little better position, not sure it's all that important.
6.) I skipped.
7.) Remove the outer waist seal. Just carefully pull the end of the rubber gasket away from the rear quarter interior trim. Then...
8.) Remove the convertible top lid seal. This is the chrome trim piece at the base of the top, that you can see from the outside of the car. Just pull straight up, it comes off pretty easy.
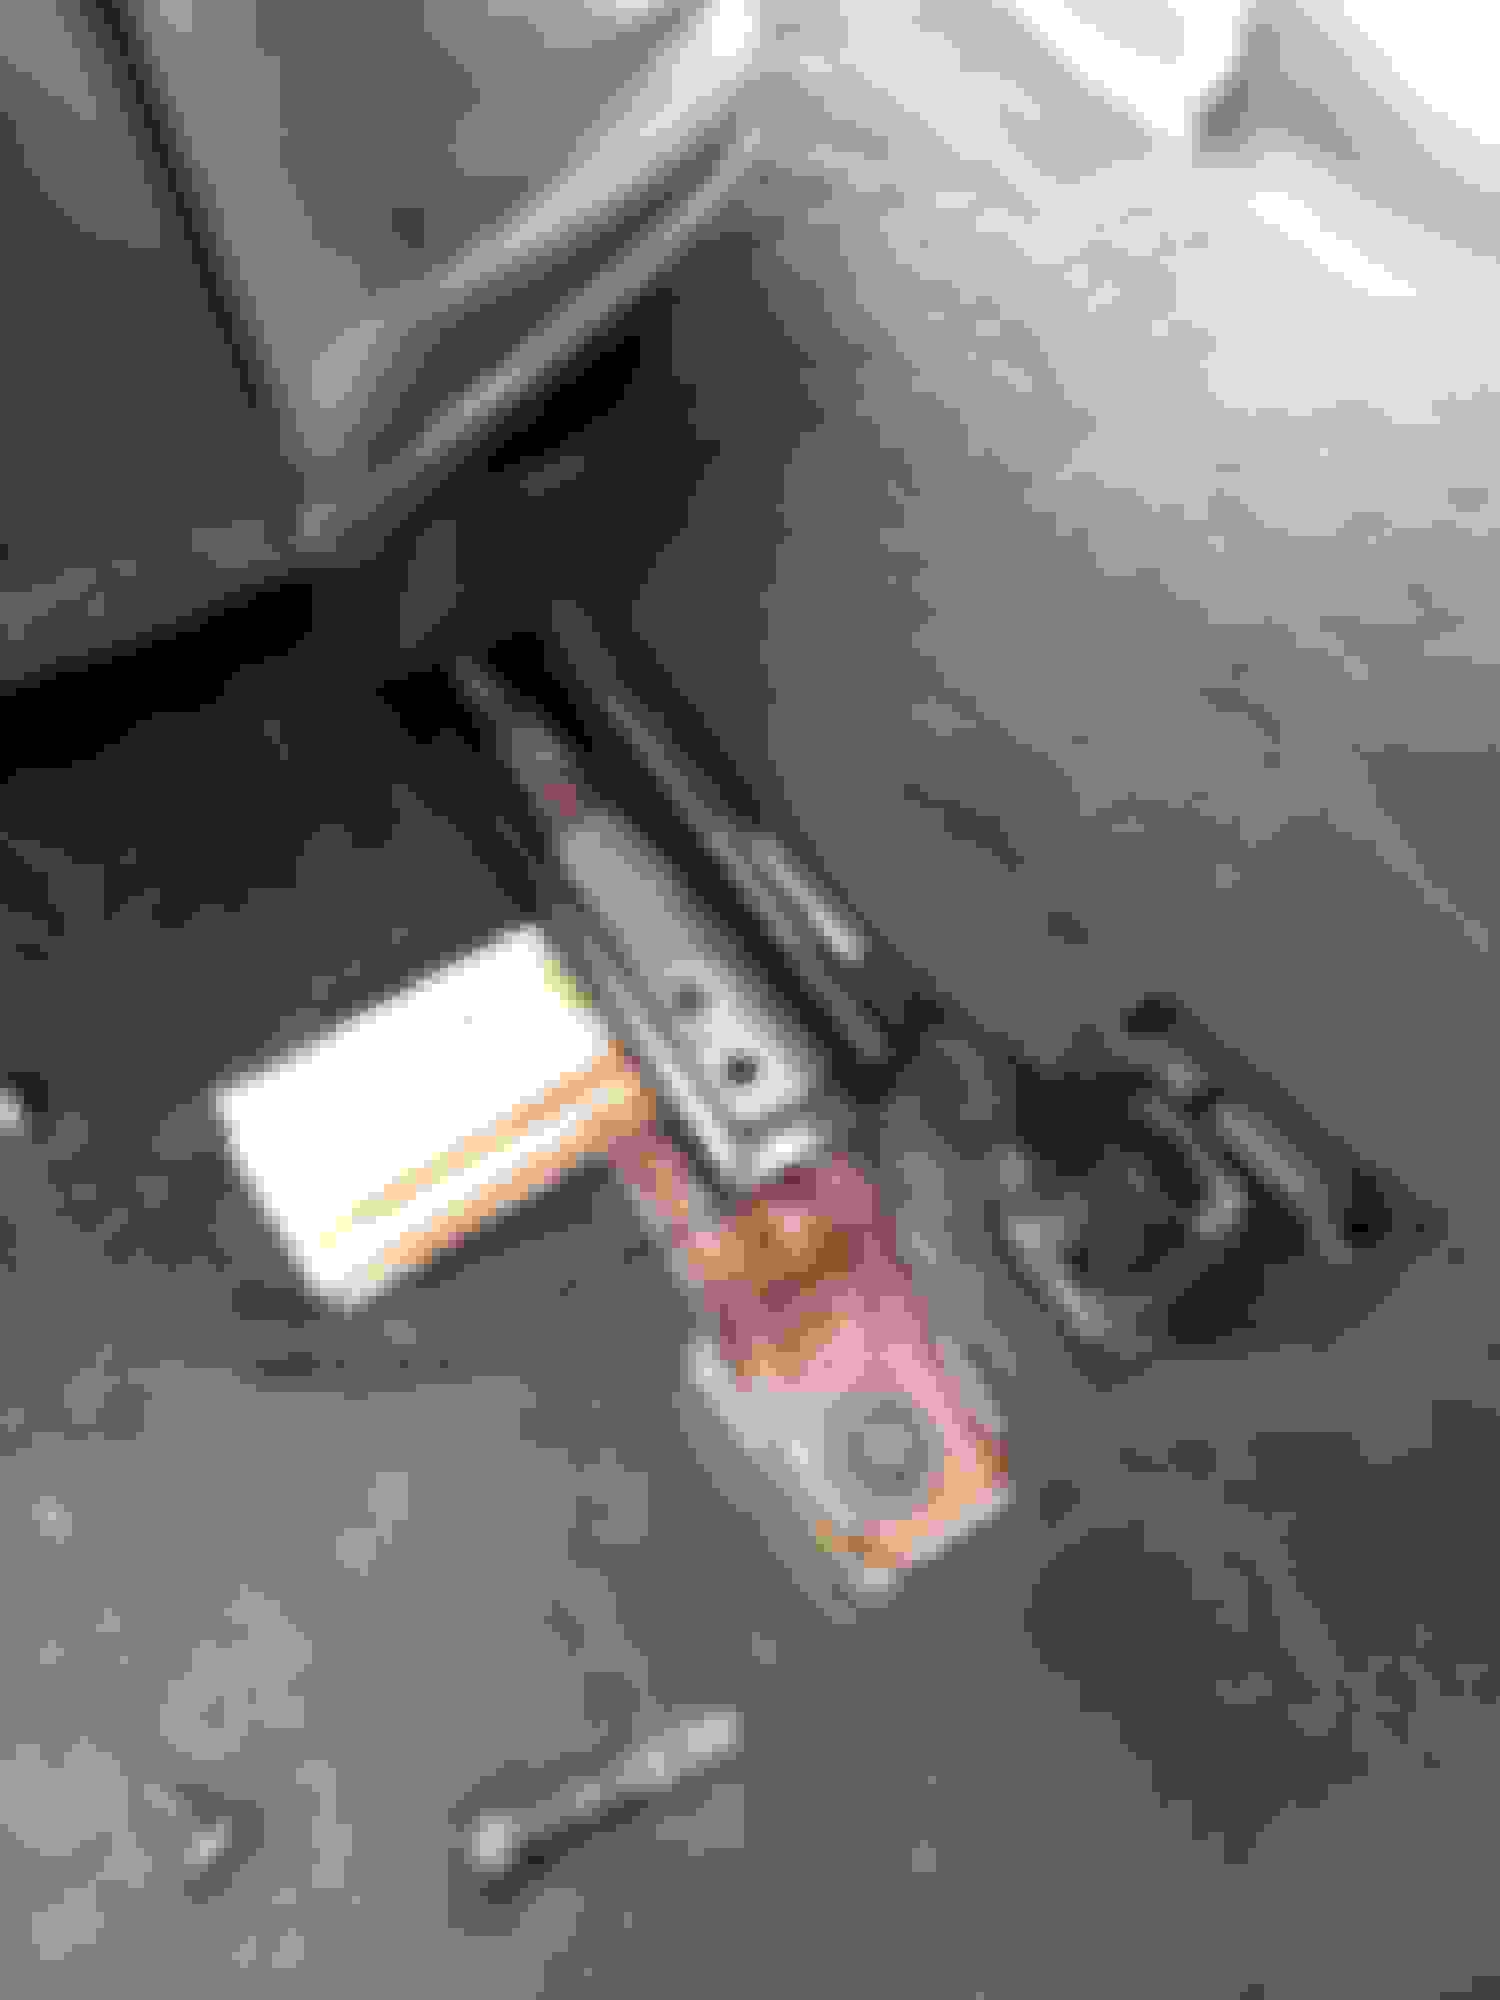
9.) Release the front safety belt lower anchor. There is where it gets a little tricky. You can't get to that bolt because the front seat frame is in the way. So I had to remove the 4 Torx bolts that hold down the back of the seat, and then prop it up with some wood blocks so I could get a Torx driver in there. Here's a picture:
It also says "Remove and discard the Torx bolt.". That must be a safety thing like maybe you need a new bolt from the factory to make sure it has the right amount of threadlock on it? I didn't do that. I used it over. If it's that hard to get out, there's no way it's gonna fall out by itself.
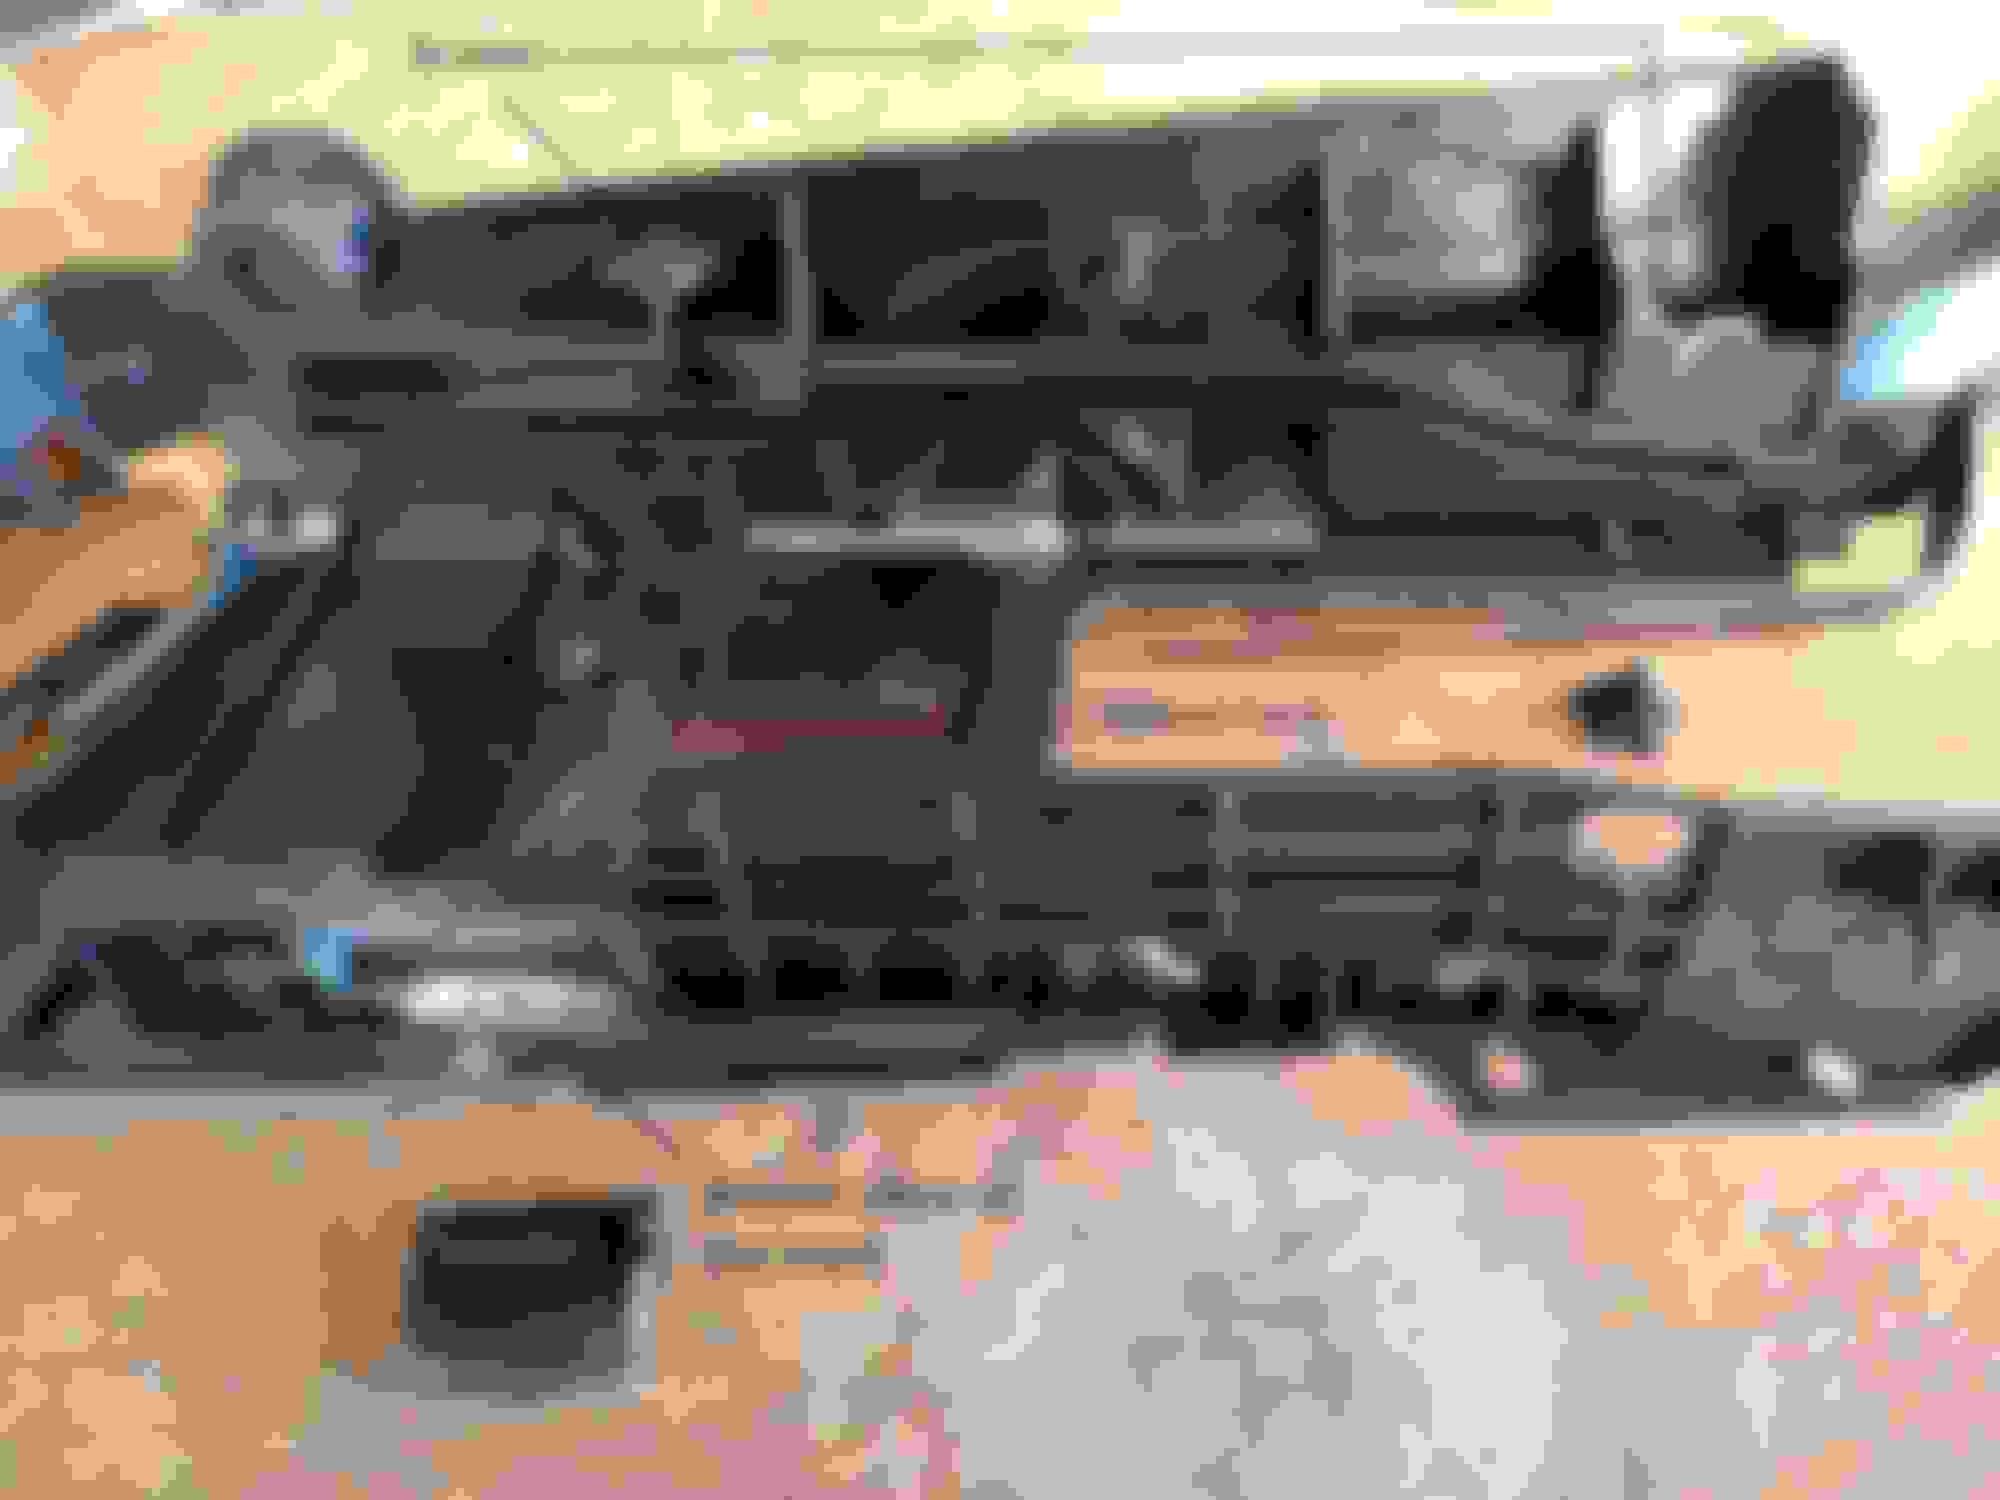
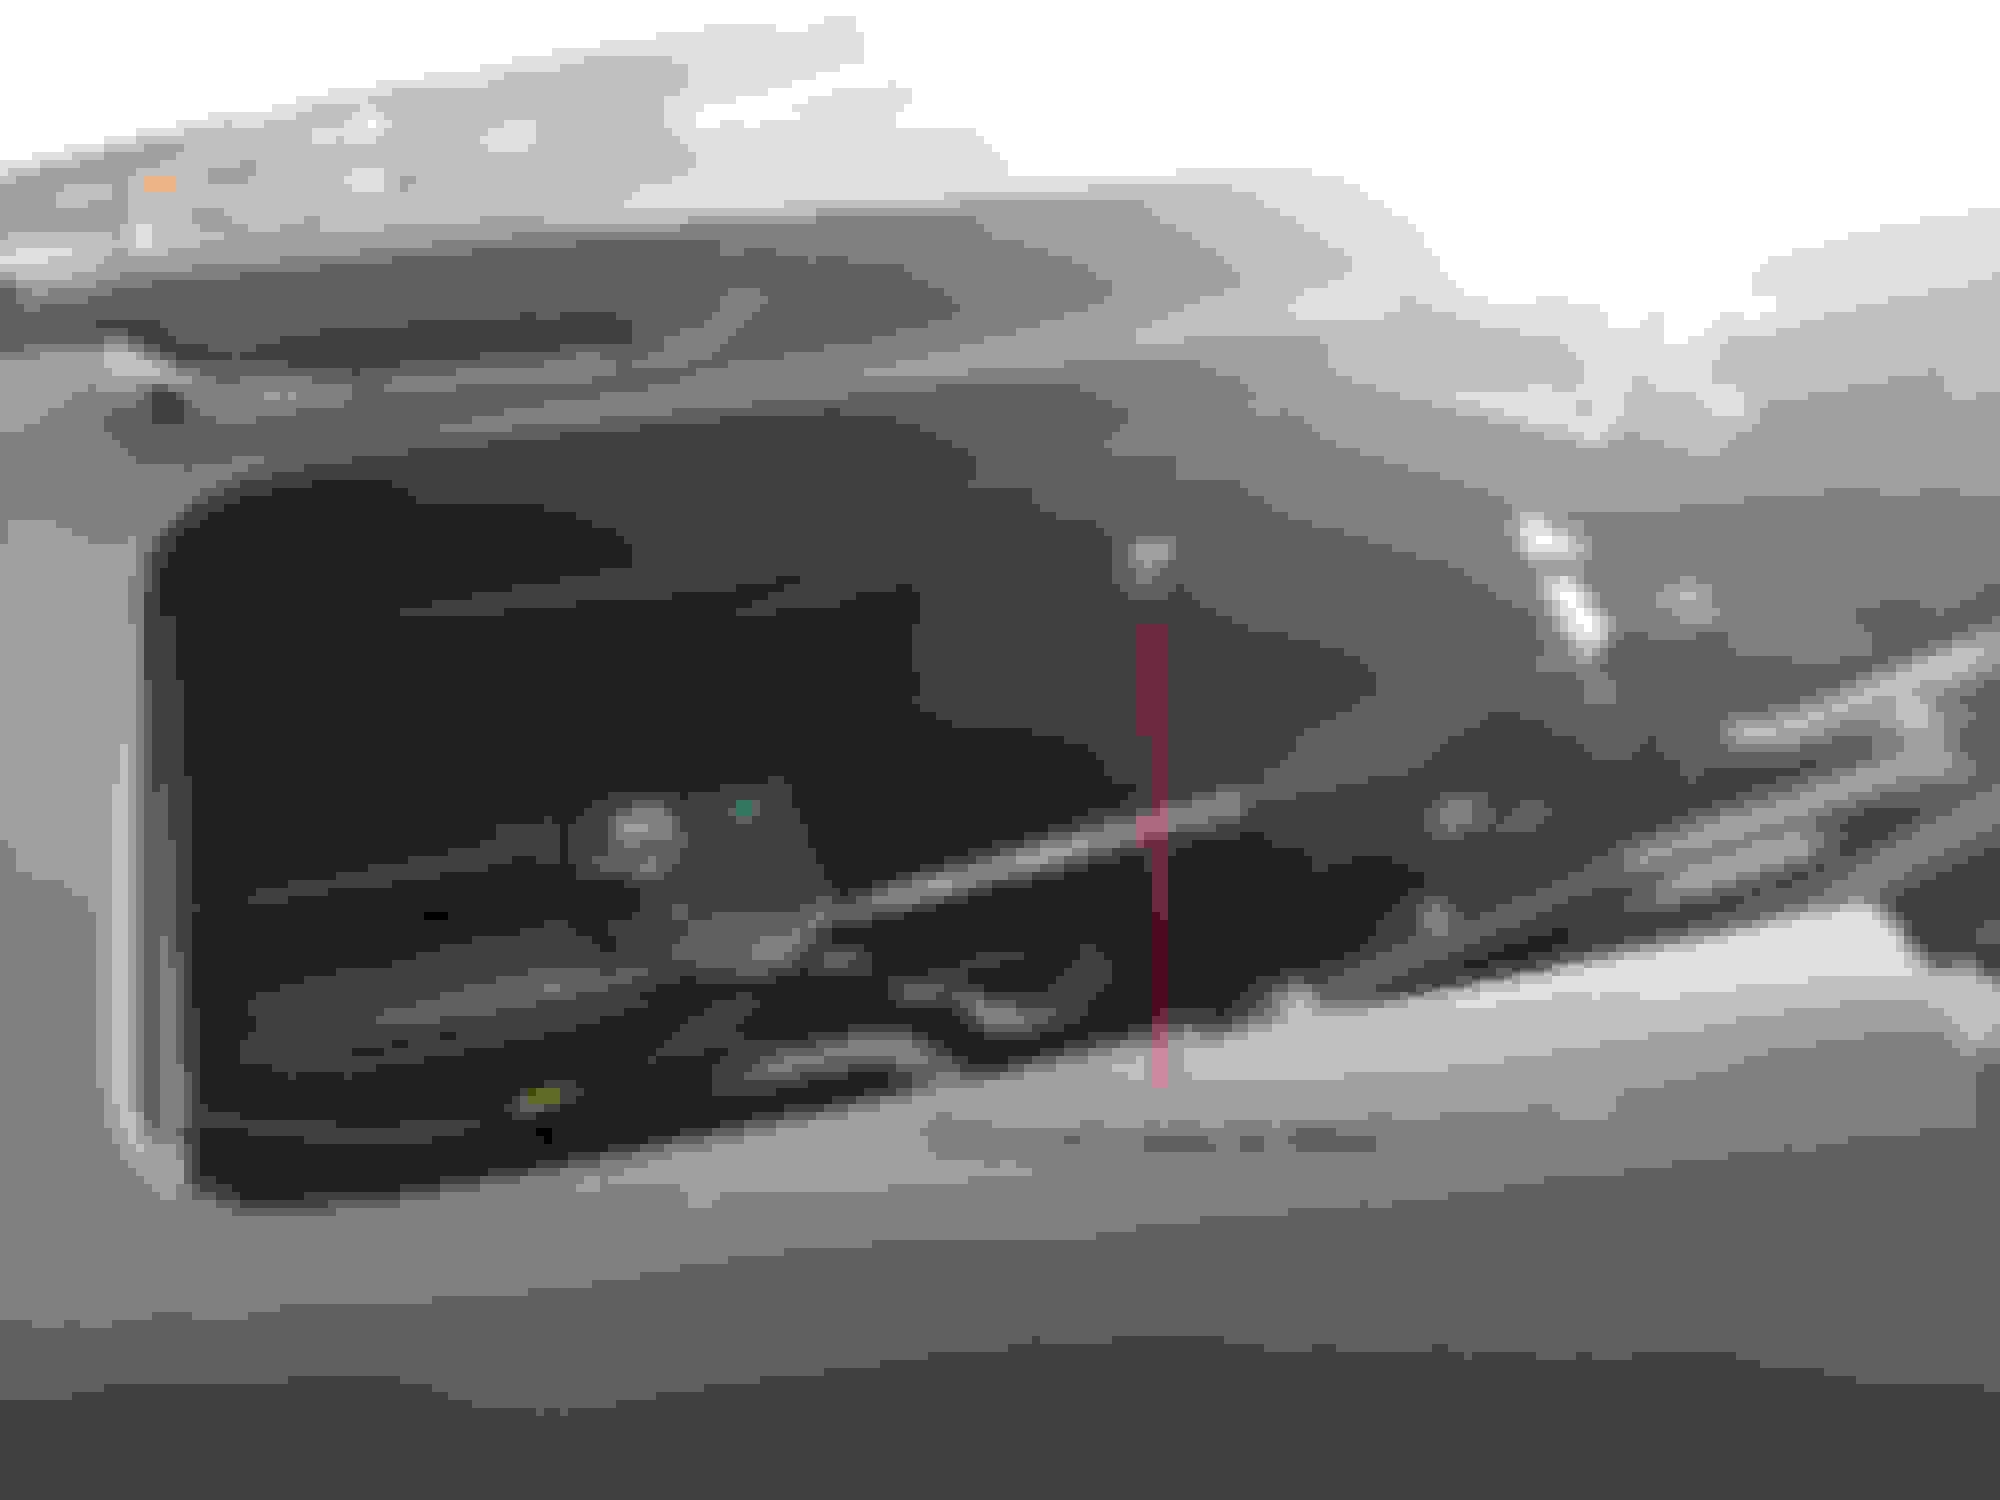
10.) The Money Shot! Remove the rear quarter trim panel. This says "Remove the 4 Torx bolts." There's actually 5. Here's some shots of where they are:
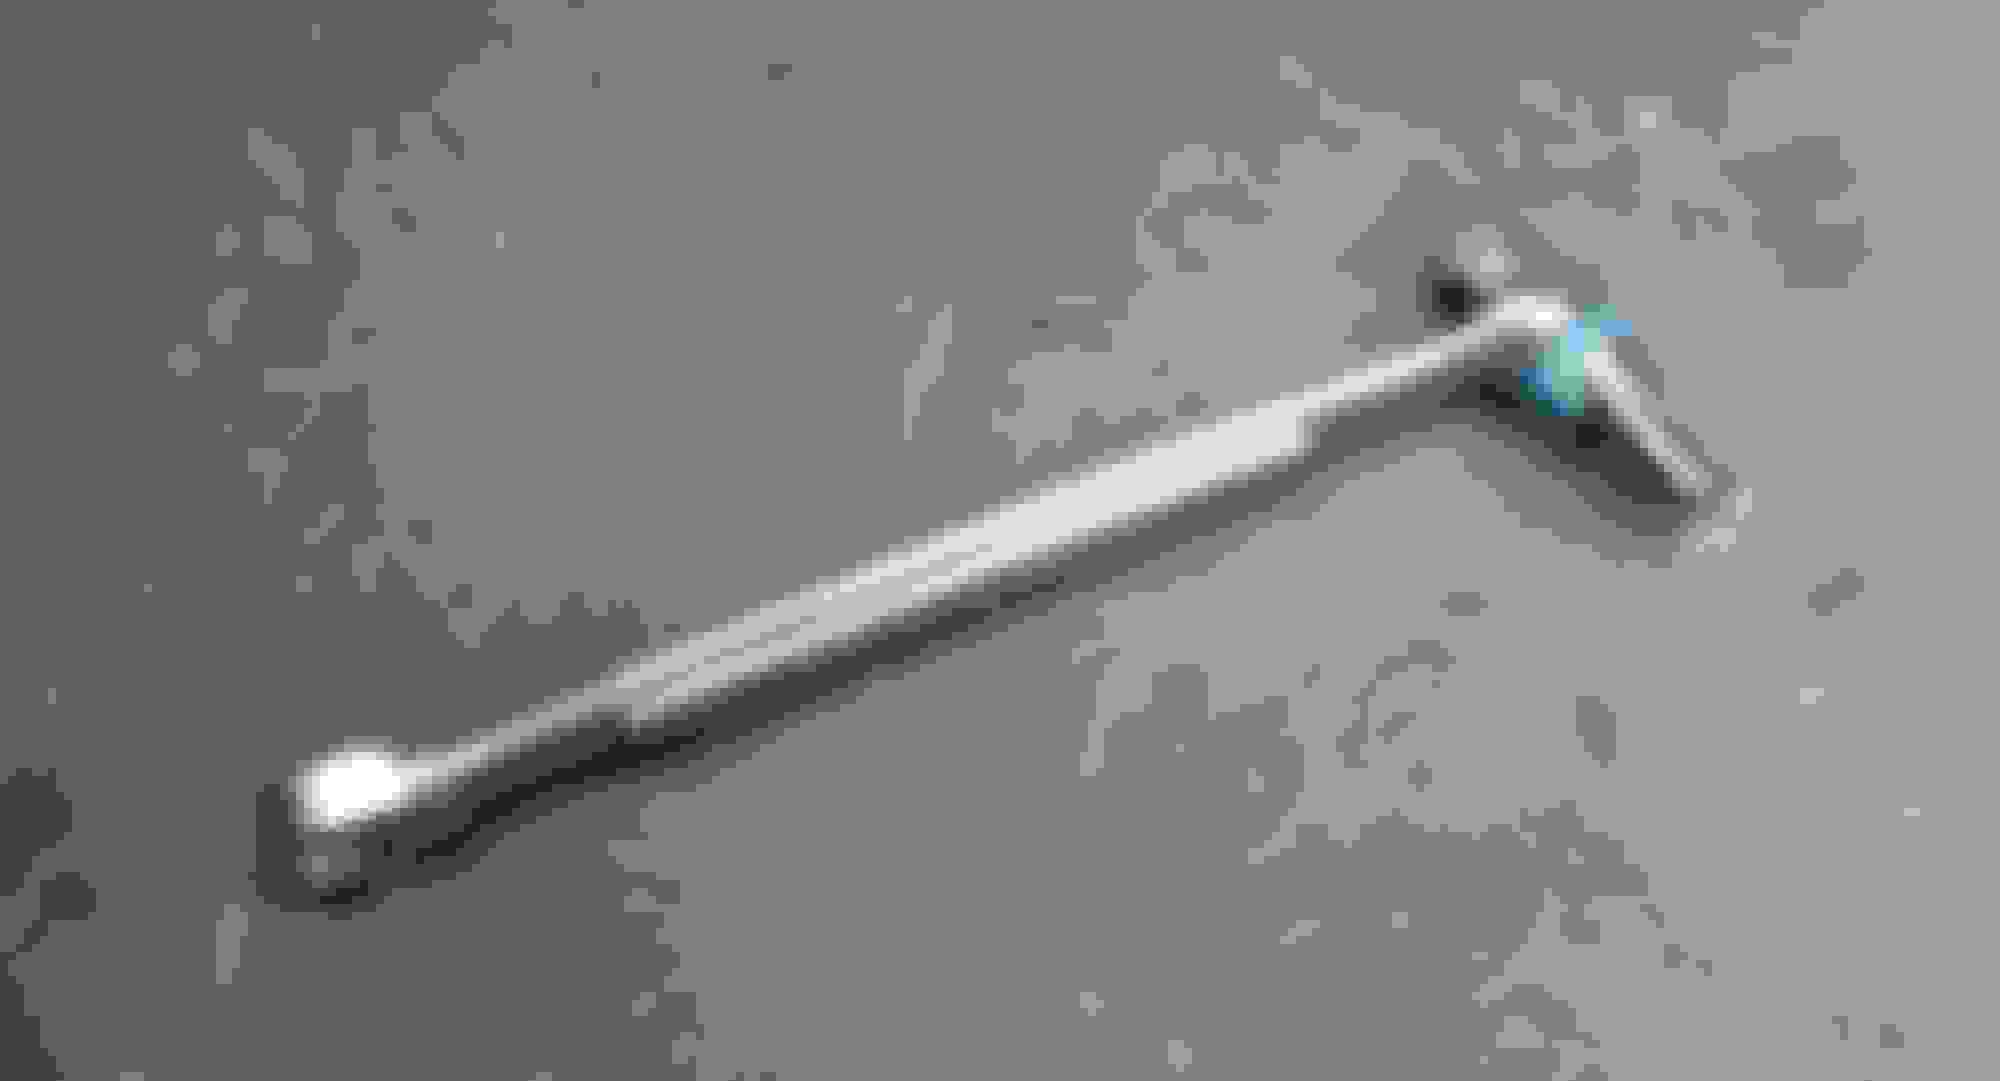
That one in back is a bear to get to, I had to make a special tool from a T30 Torx bit, a 1/4" box-end wrench, (oops, sorry, "spanner") and some blue masking tape.
Then you pull the panel straight towards the center of the car, there's 4 plastic push fasteners holding it.
Once removed, the problem was obvious. Somebody before me broke the plastic on the track that the sliding panel runs in, and that's why the thing screwed up. It musta slipped out at one point, jammed, and then the top mechanism practically crushed it in that space. Here's some pictures of the break, along with a couple of places where the plastic broke just taking the screws out:
That's the problem in Florida. We don't have the salt and rust like the northeast, but we have hot days like, 364 a year, and on a 14 year old car, the plastic starts to get pretty brittle from all that heat. Anyway, here's how I glued it back together, first with some "Bob's" super glue to hold the pieces where they're supposed to be,
...and then with my favorite JB Weld, to beef up the repair so it (hopefully) stays put!
Side Note: Stuart, if you're reading this, I know you're a fan of Rhino glue. I had some of that, too, but when I grabbed it for this project it was hard as a rock. Bob's is a similar product that my son turned me on to when he was doing school projects. It works pretty good too!
All back together!...
Hope someone finds this useful!
BTW, I have proof that this Jag is really a Ford:
Last edited by fritzthecat; 03-02-2023 at 04:34 PM.
Reason: It was a little misleading where the 5 Torx were...
I found a Jaguar TSB on the sliding panel. It's JSB00199NAS1. Attaching it here. This one correctly specifies that there are 5 Torx bolts on the interior panel - see step #9 of the disassembly section.
Over the years, there's been a couple of posts on here about this "sliding flap" thingy, and it was a challenging part to find, cuz most of the online Jaguar parts places don't have it listed in their exploded drawings. I managed to track one down a couple years ago, and finally replaced the broken one in my wife's car. See my post here: https://www.jaguarforums.com/forum/x...3/#post2425526
for where to find one. I thought that was a good fix, but recently it hung up again, causing the plastic panel to get deformed and causing me to wonder, "Crap! Do I have to buy another one of these things?" It was a little pricey, over $200. Well, luckily, I was able to use a heat gun and straighten out the old one (which I saved) to where it looked darn good, and this time I wanted to make sure it didn't break again. Now, if I remember right, last time I was able to pop the new one in without tearing everything apart. This time, I dug in a little further, and now I know why the last fix didn't last. Since I know others have experienced this problem, I figured I'd post a little how-to with the things I found.
First, you should have a copy of the X150 Service manual. I'm not gonna re-post any of those pages here, it's available from many posts on this forum, and if you can't find one, PM me and I'll email the .pdf to you.
Go to the section on "Rear Quarter Trim Panel - Convertible (76.13.73)" on page 3185. It tells you to:
1.) Remove the "Rear Seat Backrest (76.70.38). Do this by popping out the rear seat bottoms, "Rear Seat Cushion (76.70.37)", then the "Rear Seat Armrest (76.70.39)". Both of these just snap out, lift up on the front of the seat bottoms, same with the middle arm rest. Next, remove the "Rear Seat Backrest (76.70.38)". There are 2 Torx screws at the bottom of the backrest and then it's loose and you can remove it.
Come back to the Trim Panel section (76.13.73). Continue with those instructions.
2,3.) Remove the rear seat safety belt stalk. It's held in with one Torx bolt. Don't lose the springy washers.
4.) Remove the scuff plate trim panel. (One Torx bolt)
5.) Support the convertible top lid. I did this with the top not quite fully down, supported with a wood block. I thought that was a little better position, not sure it's all that important.
6.) I skipped.
7.) Remove the outer waist seal. Just carefully pull the end of the rubber gasket away from the rear quarter interior trim. Then...
8.) Remove the convertible top lid seal. This is the chrome trim piece at the base of the top, that you can see from the outside of the car. Just pull straight up, it comes off pretty easy.
9.) Release the front safety belt lower anchor. There is where it gets a little tricky. You can't get to that bolt because the front seat frame is in the way. So I had to remove the 4 Torx bolts that hold down the back of the seat, and then prop it up with some wood blocks so I could get a Torx driver in there. Here's a picture:
It also says "Remove and discard the Torx bolt.". That must be a safety thing like maybe you need a new bolt from the factory to make sure it has the right amount of threadlock on it? I didn't do that. I used it over. If it's that hard to get out, there's no way it's gonna fall out by itself.
10.) The Money Shot! Remove the rear quarter trim panel. This says "Remove the 4 Torx bolts." There's actually 5. Here's some shots of where they are:
That one in back is a bear to get to, I had to make a special tool from a T30 Torx bit, a 1/4" box-end wrench, (oops, sorry, "spanner") and some blue masking tape.
Then you pull the panel straight towards the center of the car, there's 4 plastic push fasteners holding it.
Once removed, the problem was obvious. Somebody before me broke the plastic on the track that the sliding panel runs in, and that's why the thing screwed up. It musta slipped out at one point, jammed, and then the top mechanism practically crushed it in that space. Here's some pictures of the break, along with a couple of places where the plastic broke just taking the screws out:
That's the problem in Florida. We don't have the salt and rust like the northeast, but we have hot days like, 364 a year, and on a 14 year old car, the plastic starts to get pretty brittle from all that heat. Anyway, here's how I glued it back together, first with some "Bob's" super glue to hold the pieces where they're supposed to be,
...and then with my favorite JB Weld, to beef up the repair so it (hopefully) stays put!
Side Note: Stuart, if you're reading this, I know you're a fan of Rhino glue. I had some of that, too, but when I grabbed it for this project it was hard as a rock. Bob's is a similar product that my son turned me on to when he was doing school projects. It works pretty good too!
All back together!...
Hope someone finds this useful!
BTW, I have proof that this Jag is really a Ford:
I been looking for this fix forever. Thank you so very much
 03-02-2023, 04:22 PM


 and some blue masking tape.