XK120 XK140 XK150 1948 - 1962

1953 SE DHC

Thread Tools
 
Search this Thread
 
  #1  
Old 04-14-2023, 07:26 PM
dsnyder586's Avatar
Veteran Member
Thread Starter
Join Date: Jun 2011
Location: Costa Mesa, CA
Posts: 2,134
Received 542 Likes on 423 Posts
Default 1953 SE DHC

Hi All!

Just picked up this beauty- I will be putting everything back together FIRST, then get her running and stopping, then full restoration.

Looking forward to this project, Ive been looking for a looong time.


Snug as a bug in a rug

Some pieces missing, but most in boxes.


Plenty of original stuff here.
 
The following users liked this post:
David Lagonda (08-06-2023)
  #2  
Old 04-15-2023, 03:41 AM
Fraser Mitchell's Avatar
Veteran Member
Join Date: Dec 2009
Location: Crewe, England
Posts: 9,409
Received 2,451 Likes on 1,949 Posts
Default

Good luck. Hope you have a big budget !
Worth it when it's finished, though.
 
  #3  
Old 04-20-2023, 07:57 PM
dsnyder586's Avatar
Veteran Member
Thread Starter
Join Date: Jun 2011
Location: Costa Mesa, CA
Posts: 2,134
Received 542 Likes on 423 Posts
Default

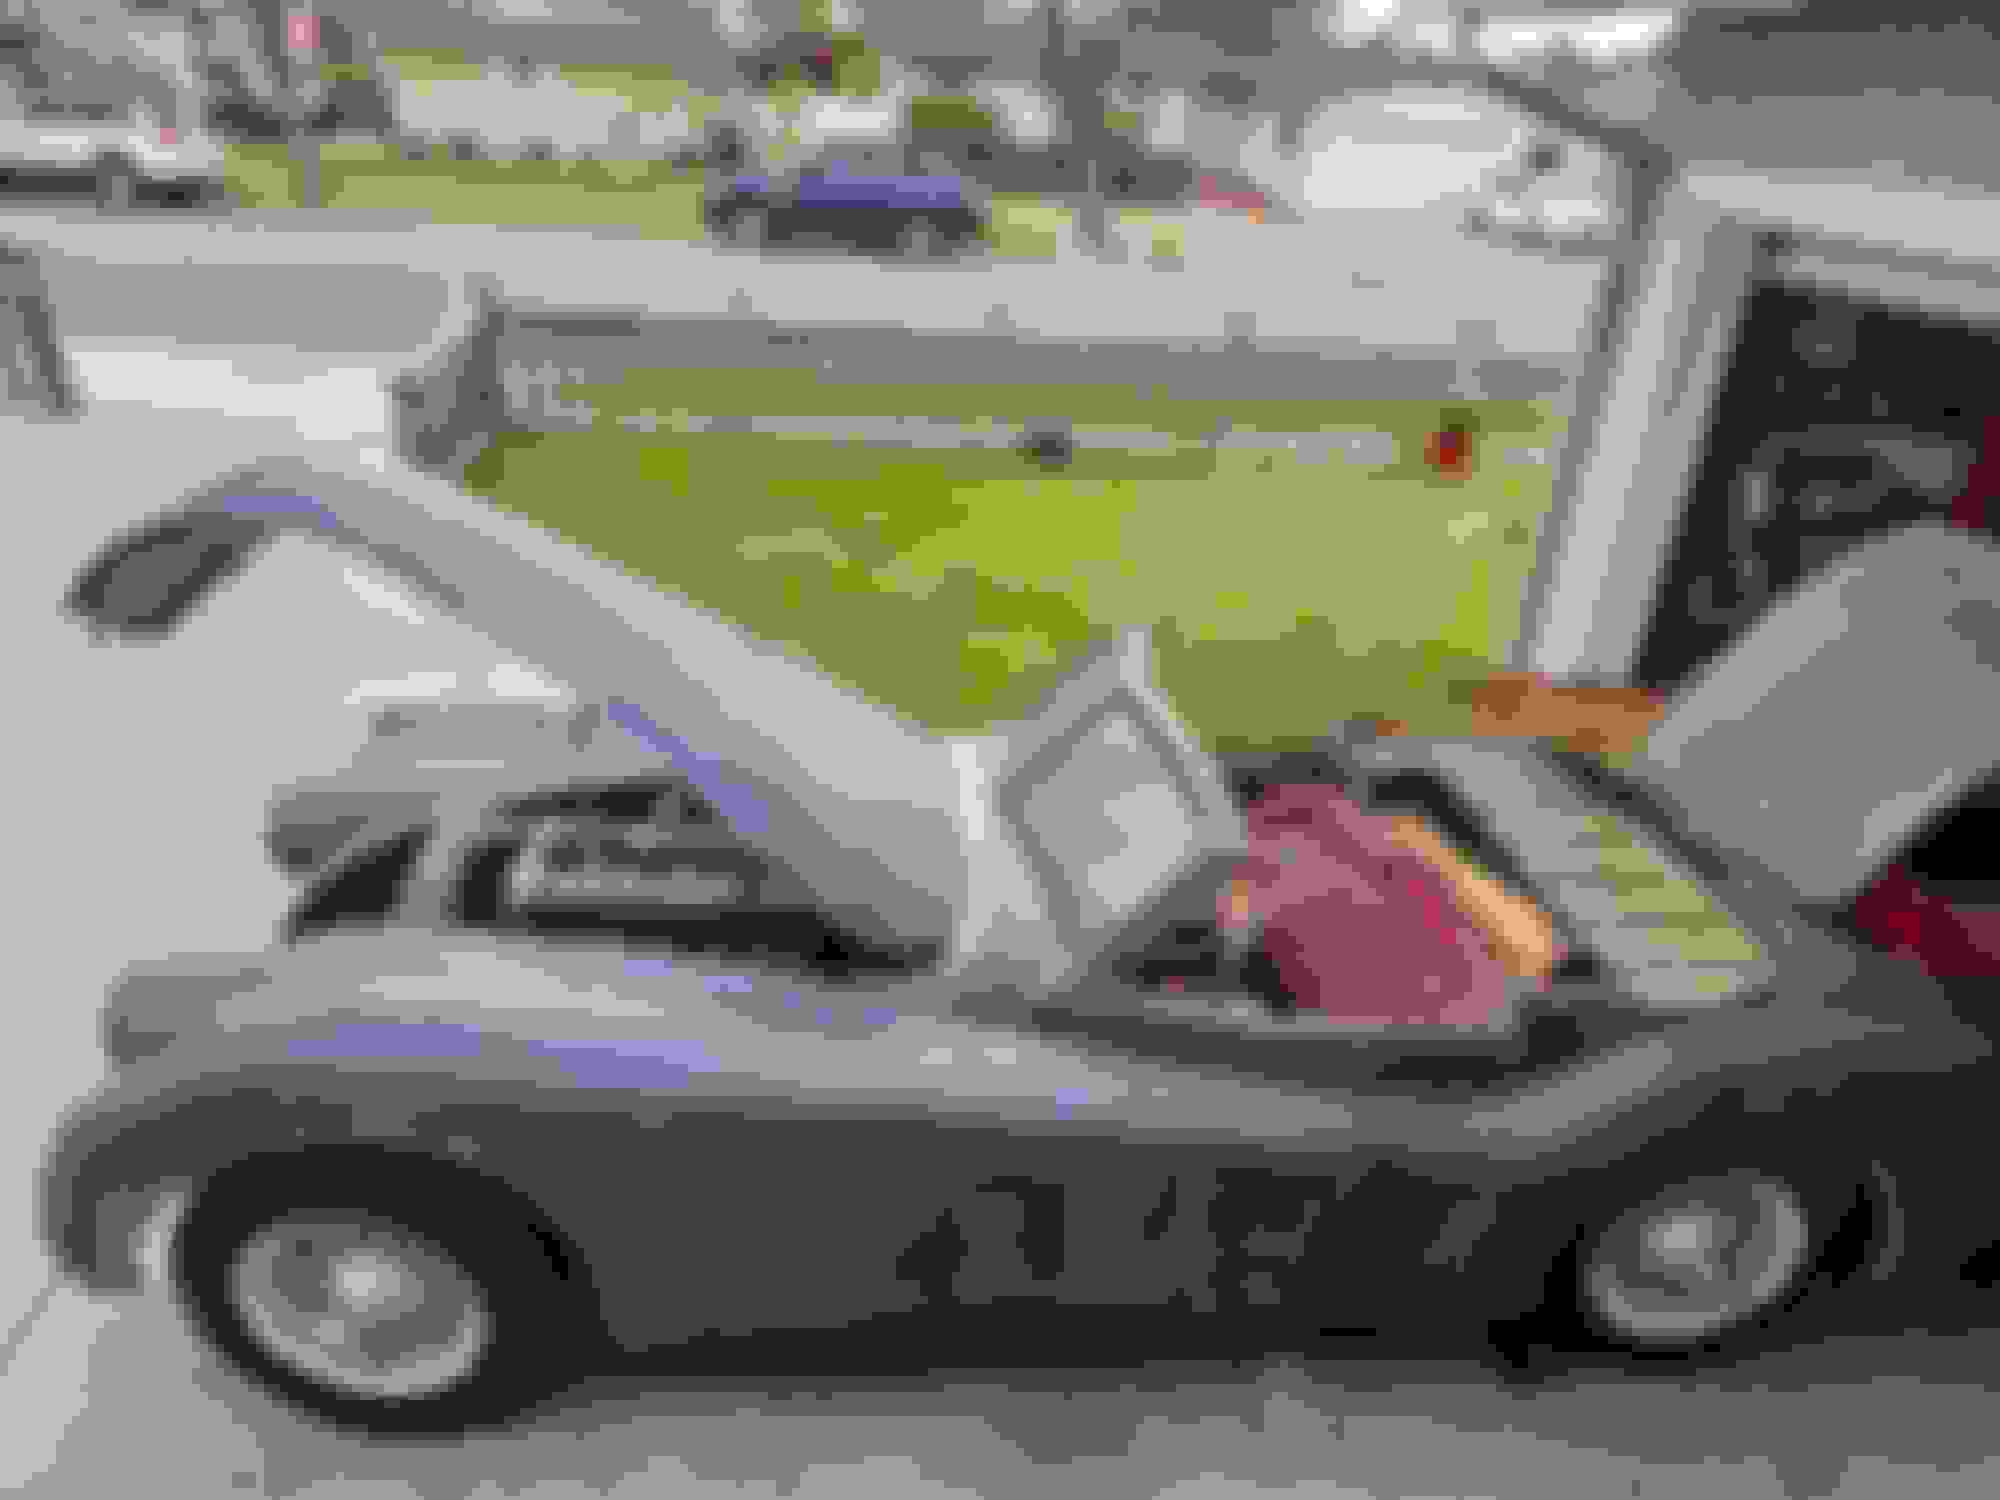
I'll be doing 90% of the work myself, but I imagine parts will be pricey. Most of the chrome has already been rechromed, and they are all but a few pieces there. Here are some pics from my excavation of whats underneath the primer (nothing horrible thank goodness) and I am working to unsieze the motor slowly and with caution. Head may need to come off this weekend though if I dont see more progress.

Original paint and patina under there

ugh. this looks like the biggest challenge though, bodywork wise


The chin will get VERY much attention as it is the showpiece of the car.
 
  #4  
Old 05-01-2023, 11:16 PM
dsnyder586's Avatar
Veteran Member
Thread Starter
Join Date: Jun 2011
Location: Costa Mesa, CA
Posts: 2,134
Received 542 Likes on 423 Posts
Default

Ok, head off, got the engine to turn- Pulled the motor out the bottom with my lift- VERY EASY.

Now on to the rebuild.

 
The following users liked this post:
David Lagonda (08-06-2023)
  #5  
Old 06-23-2023, 09:40 AM
dsnyder586's Avatar
Veteran Member
Thread Starter
Join Date: Jun 2011
Location: Costa Mesa, CA
Posts: 2,134
Received 542 Likes on 423 Posts
Default

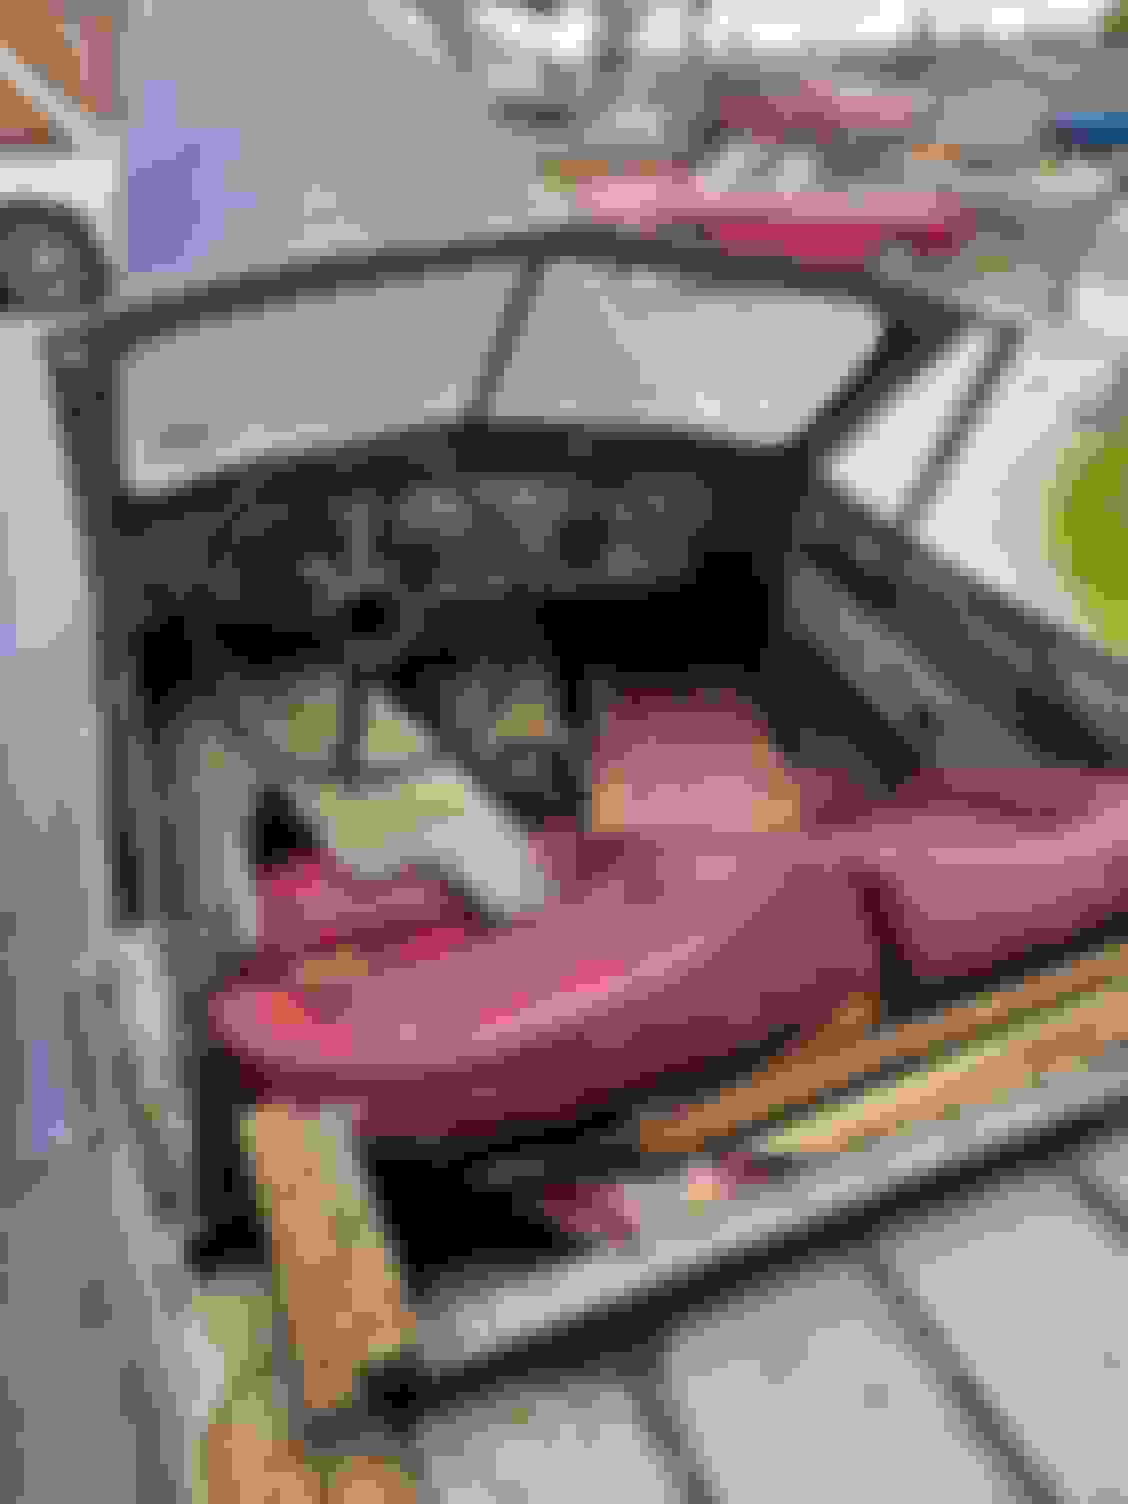
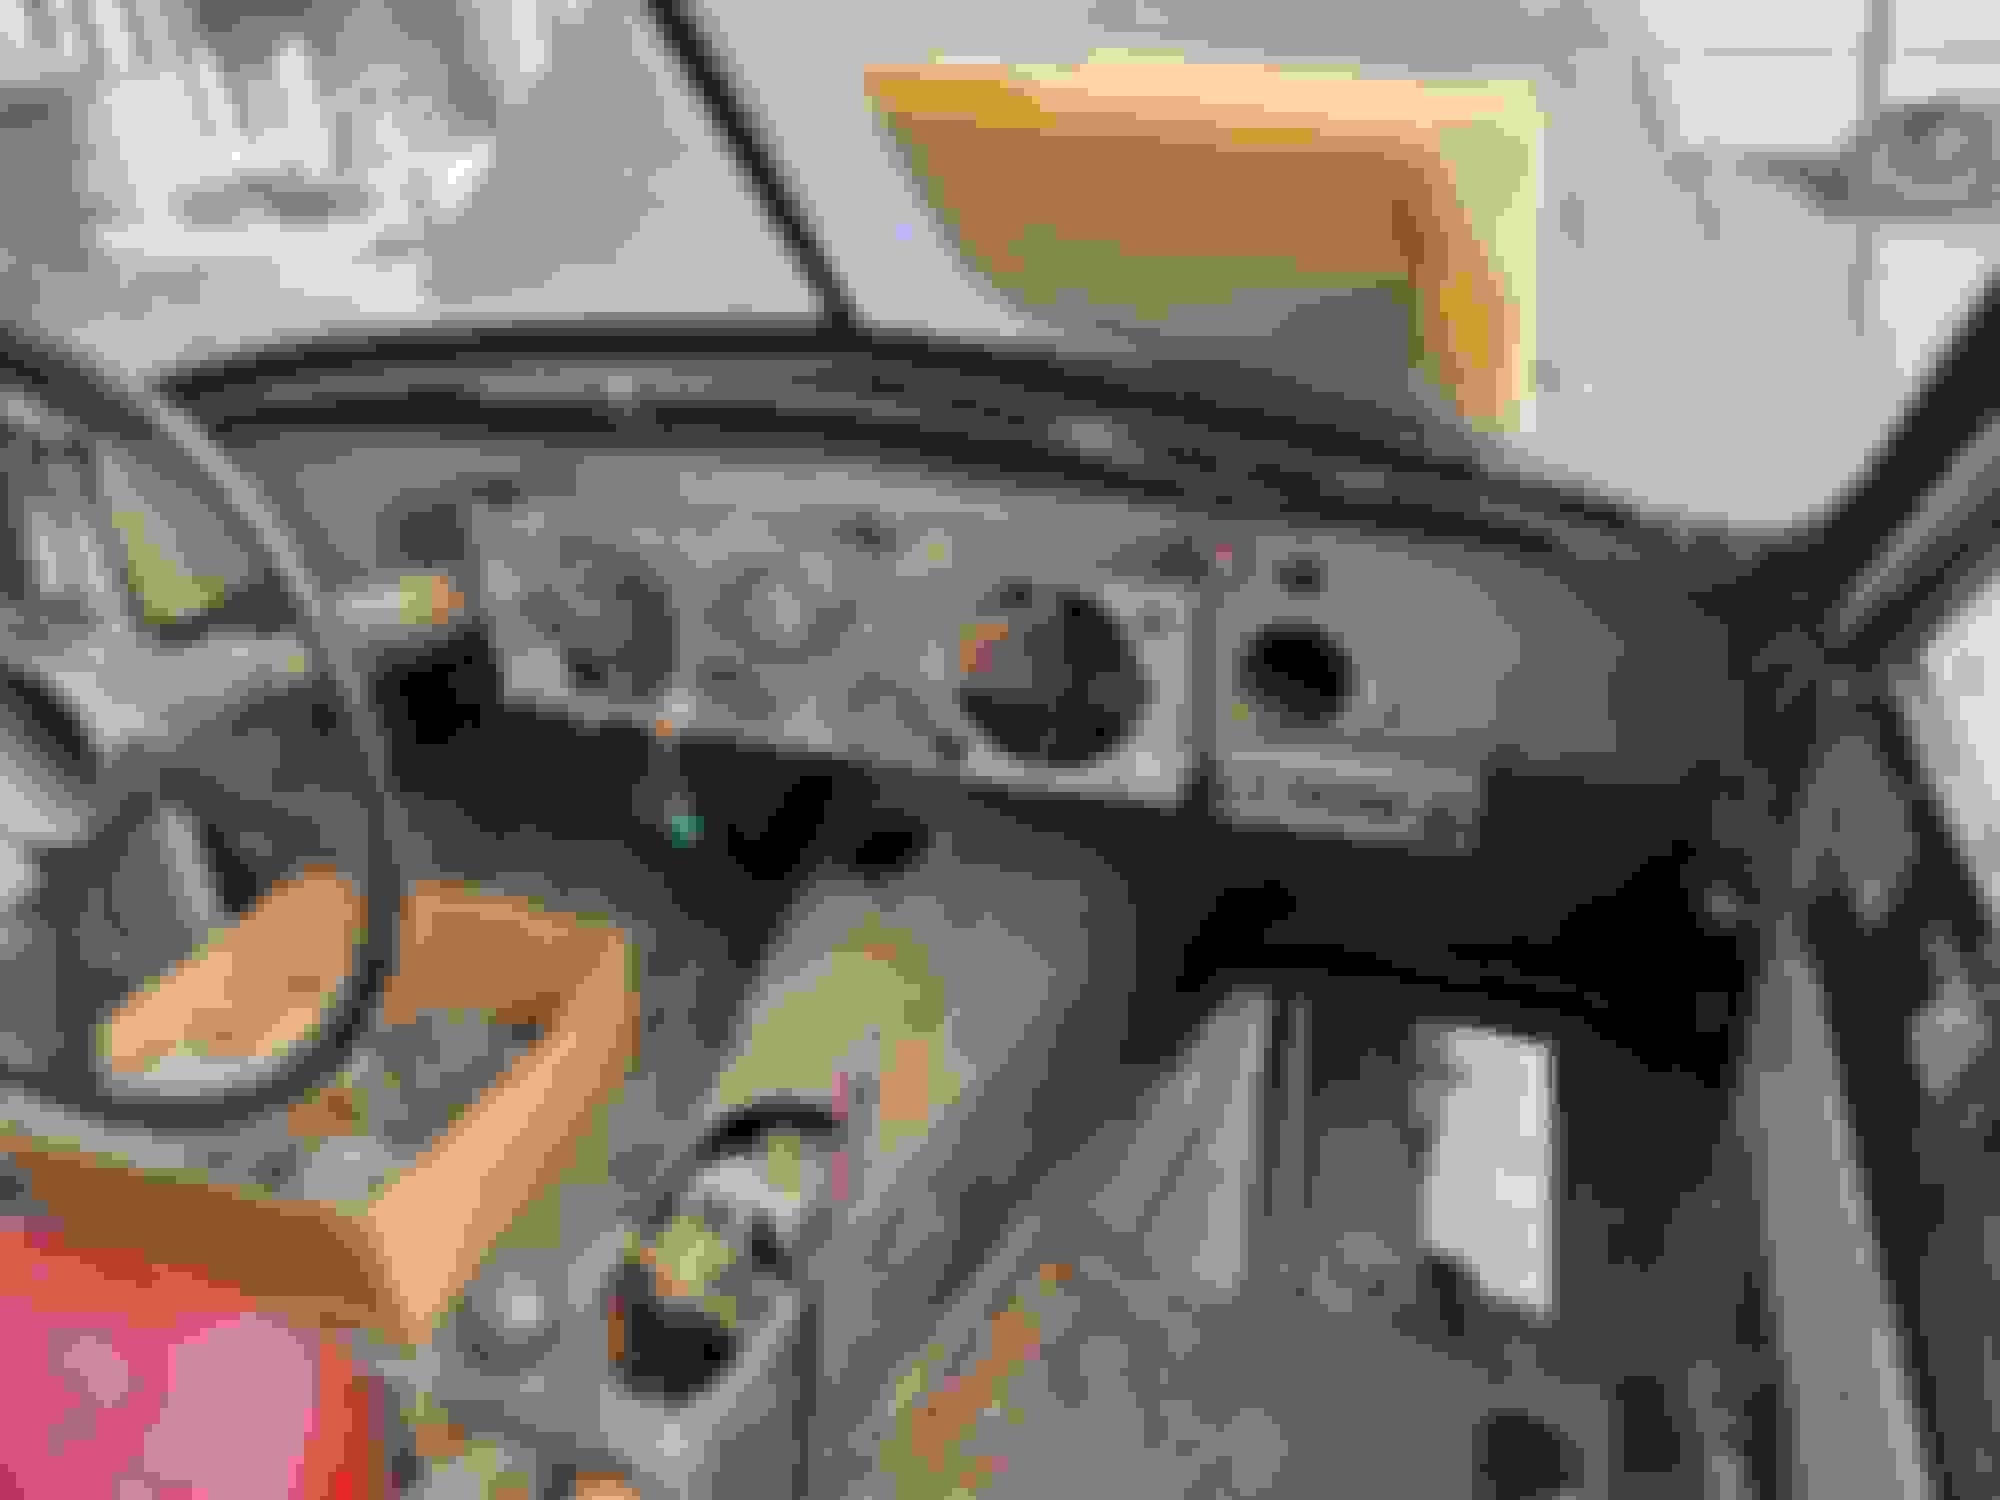
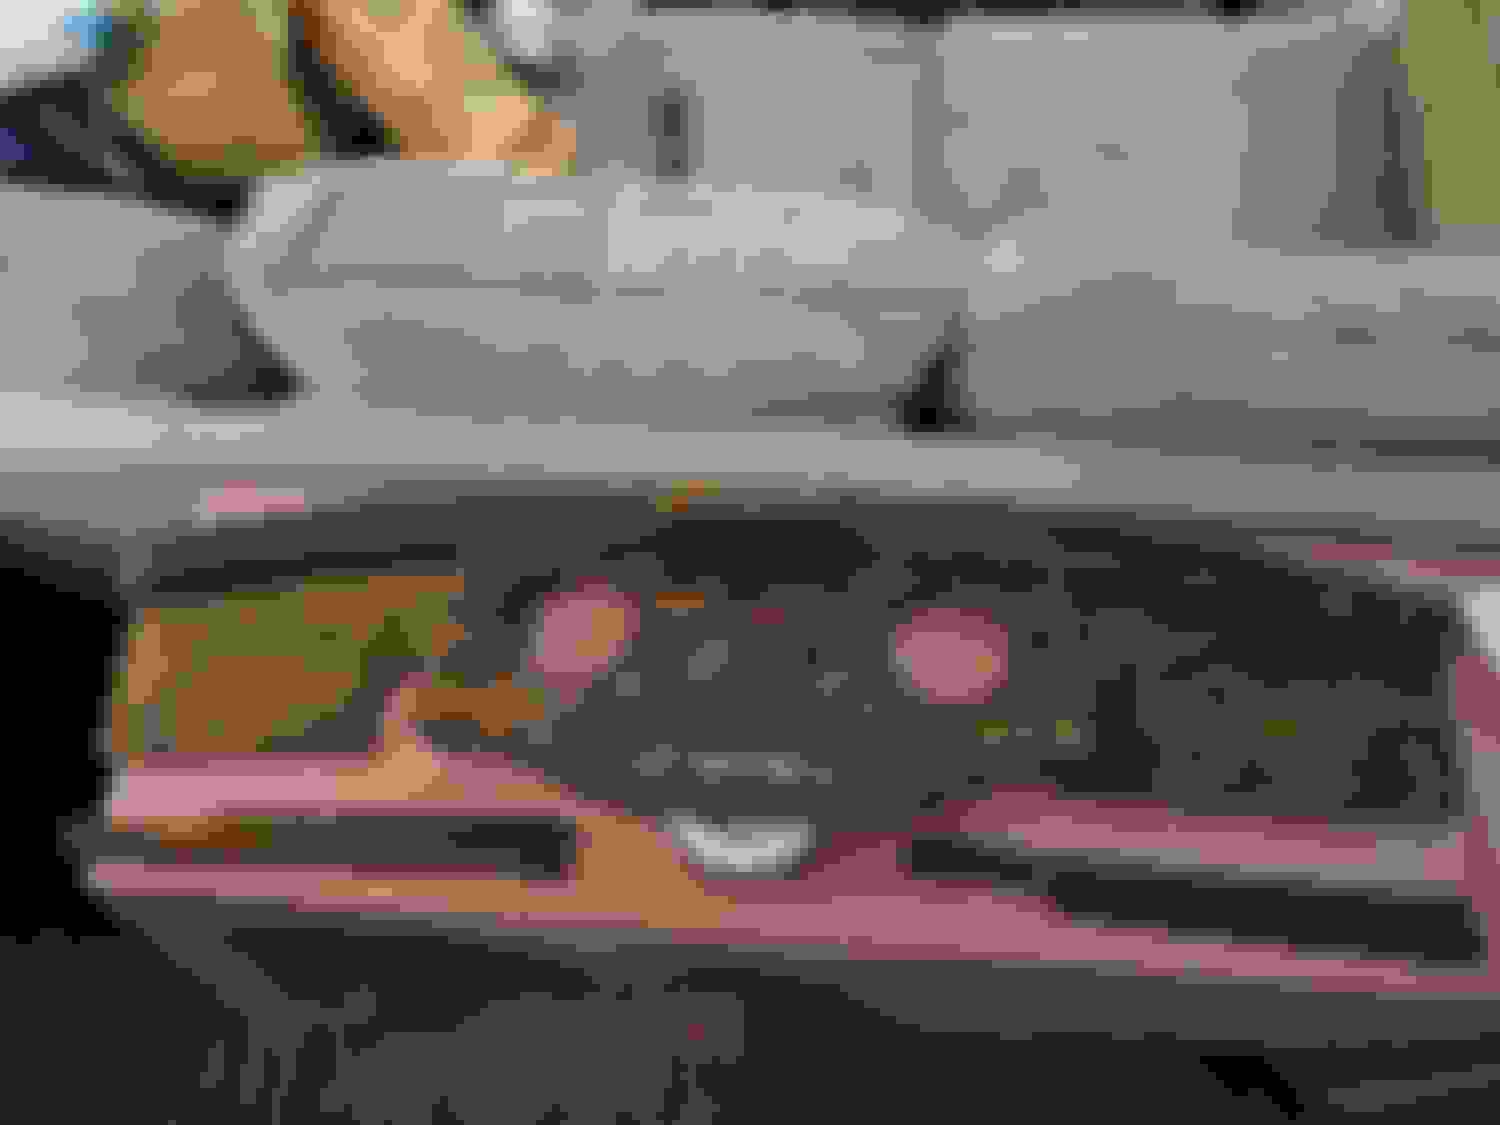
I hopefully will update this thread with progress pics more down the road, but here is the dash after I re veneered and then after 12 coats of varnish- note the boock matching and the door caps mirror pattern. expensive. Also curved the veneer into the bezel using wizardry and brainstorming with a good friend.


. (likely will do another 5 with sanding) any tips and tricks for finish coats are welcome!)

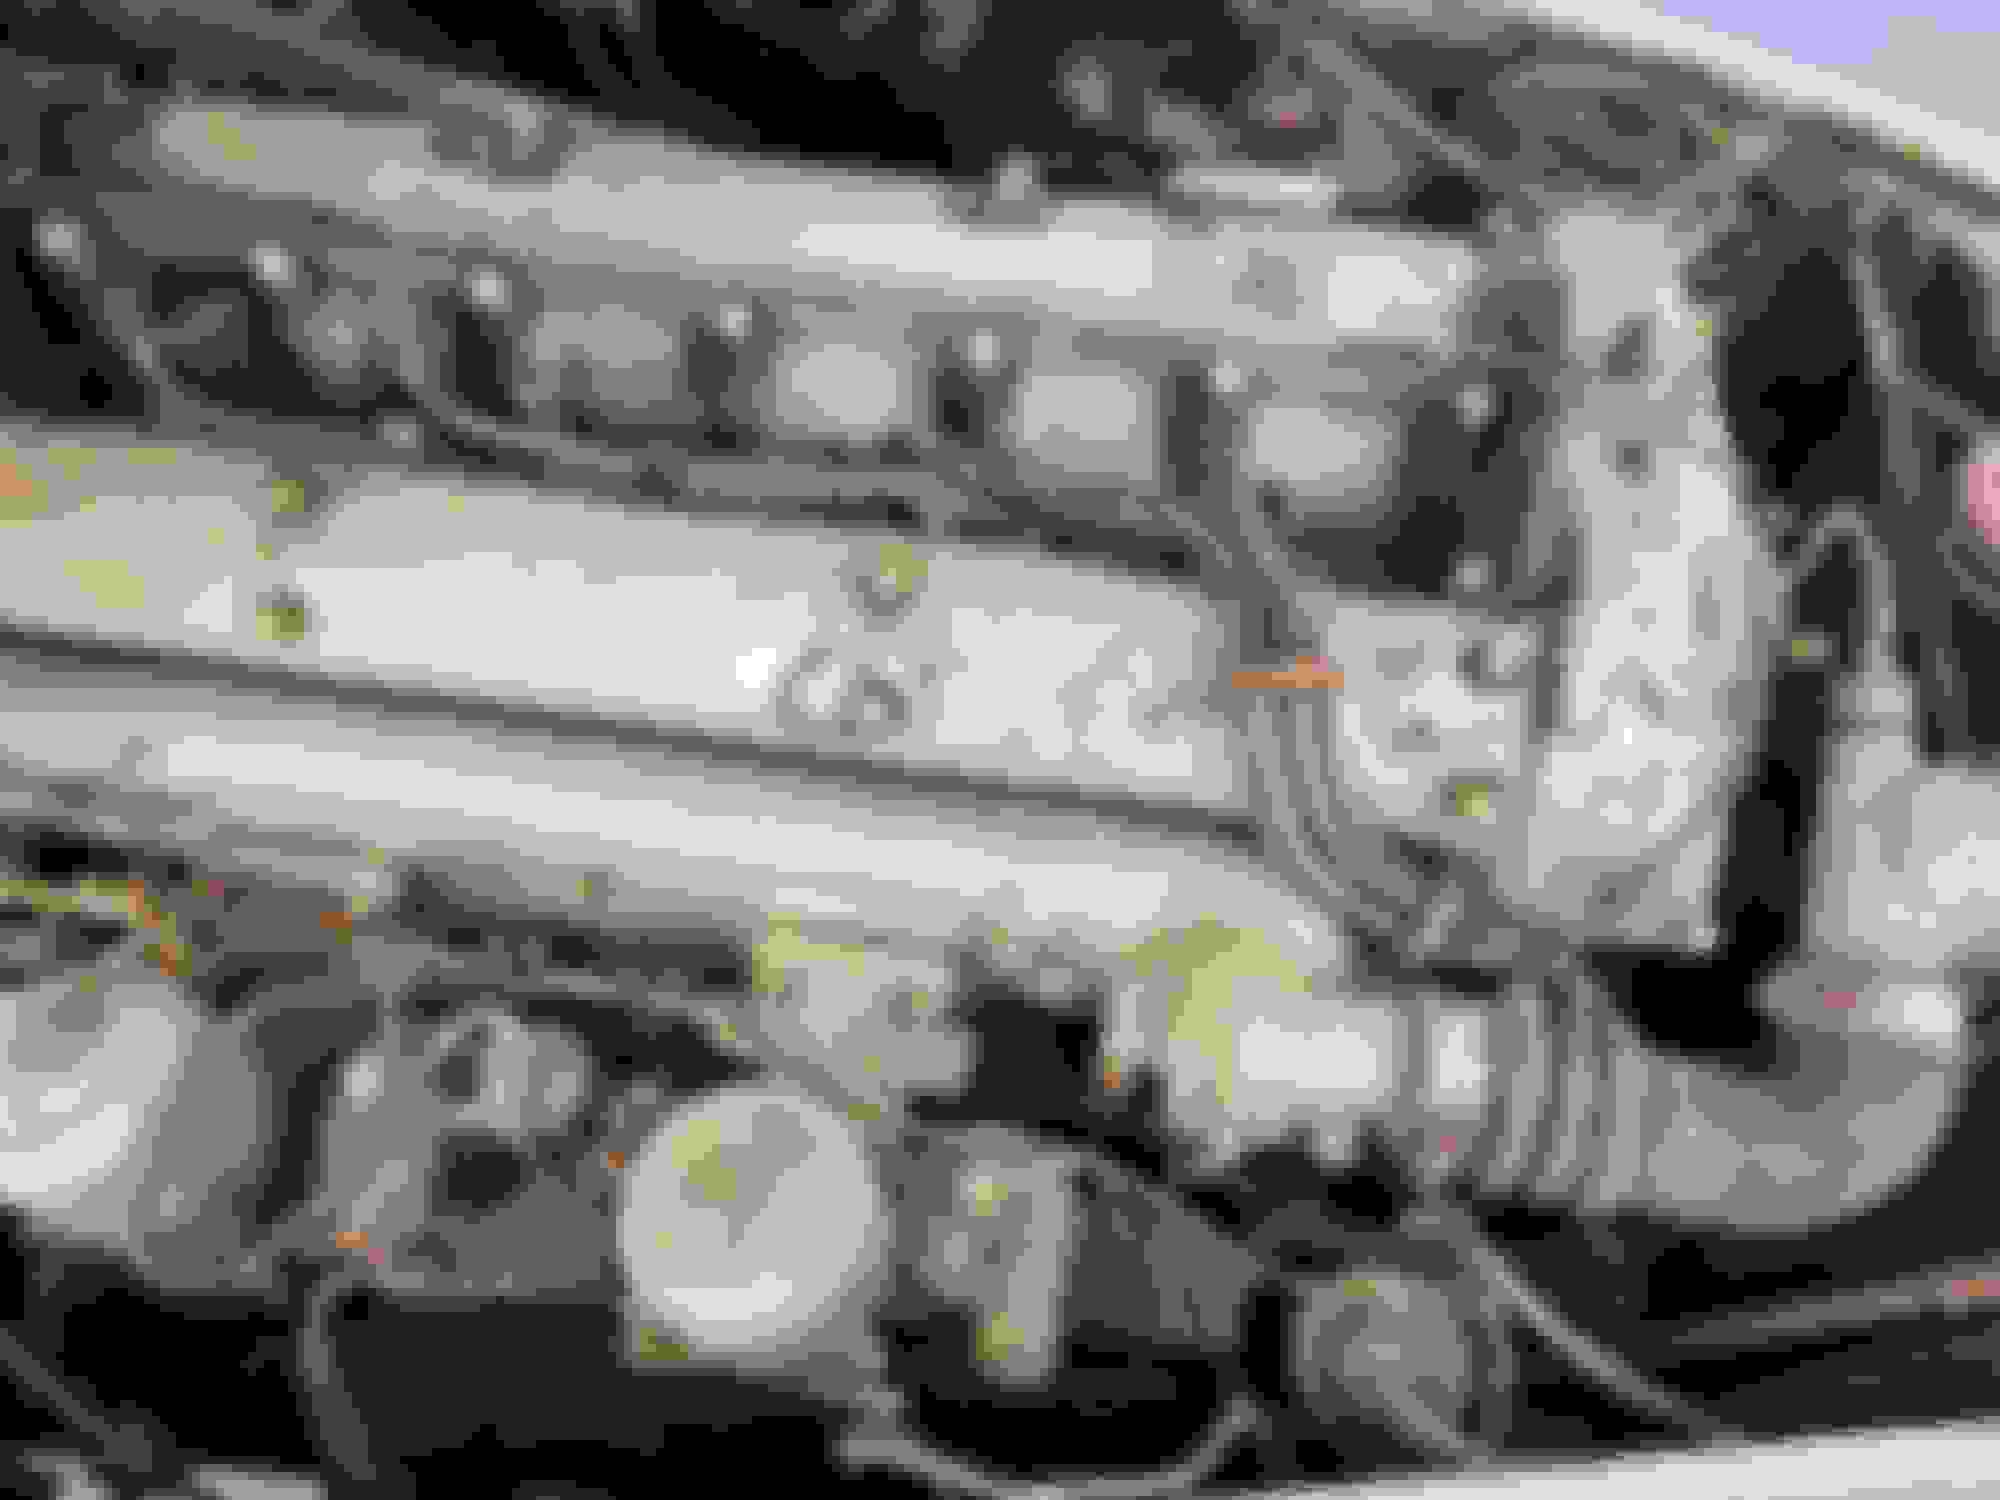
Block and crank back from the machine shop, so that is next up for attention...
 
The following 2 users liked this post by dsnyder586:
David Lagonda (08-06-2023), Rotomike (08-12-2023)
  #6  
Old 08-10-2023, 09:55 PM
David Lagonda's Avatar
Member
Join Date: Jul 2023
Posts: 74
Received 28 Likes on 22 Posts
Default

Wow, the wood looks really great. What's the "SE" all about in XK-120 SE?
 
  #7  
Old 08-11-2023, 04:41 AM
Fraser Mitchell's Avatar
Veteran Member
Join Date: Dec 2009
Location: Crewe, England
Posts: 9,409
Received 2,451 Likes on 1,949 Posts
Default

Originally Posted by David Lagonda
Wow, the wood looks really great. What's the "SE" all about in XK-120 SE?
It means "Special Equipment", mostly performance-related
 
The following users liked this post:
David Lagonda (08-12-2023)
  #8  
Old 10-12-2023, 06:08 PM
dsnyder586's Avatar
Veteran Member
Thread Starter
Join Date: Jun 2011
Location: Costa Mesa, CA
Posts: 2,134
Received 542 Likes on 423 Posts
Default

Progress.... Bottom end is rebuilt, now to finish the engine compartment and install.


Related Topics
Thread
Thread Starter
Forum
Replies
Last Post
F12guy
F-Type ( X152 )
9
11-10-2017 07:41 AM
Daim
Photography
7
07-11-2014 02:45 AM
Wes_R
Detailing / Car care
3
09-06-2013 05:54 PM

Currently Active Users Viewing This Thread: 1 (0 members and 1 guests)


Quick Reply: 1953 SE DHC


All times are GMT -5. The time now is 01:35 PM.