When you click on links to various merchants on this site and make a purchase, this can result in this site earning a commission. Affiliate programs and affiliations include, but are not limited to, the eBay Partner Network.
We are doing a clients 02 XKR Airbag cover and shift knob that hack cracks in the enamel. We are in the process of stripping it now, but we need to find out where we can get the gold Airbag/ Jaguar decals that are underneath the enamel. I can't seem to find anywhere that has them and would like to make sure it is exact for the customer. Is there anywhere that they can be purchased?
What country are you in ? Probably a water slide transfer.
Seems like an impossible task as its only 0.1mm thick wood on the metal base .
Better to buy a complete set from say Auto reserve
Last edited by Pistnbroke; 05-29-2023 at 12:39 AM.
We are in Florida, USA. Well the decals we definitely plastic/vinyl of sort as they came up and melted when heating the enamel up.
Impossible, no...only the enamel was cracked, the veneer is fine. We already cleared it off by first soaking it in an enamel remover (Jasco - Paint and Enamel remover - per another member post in another thread)
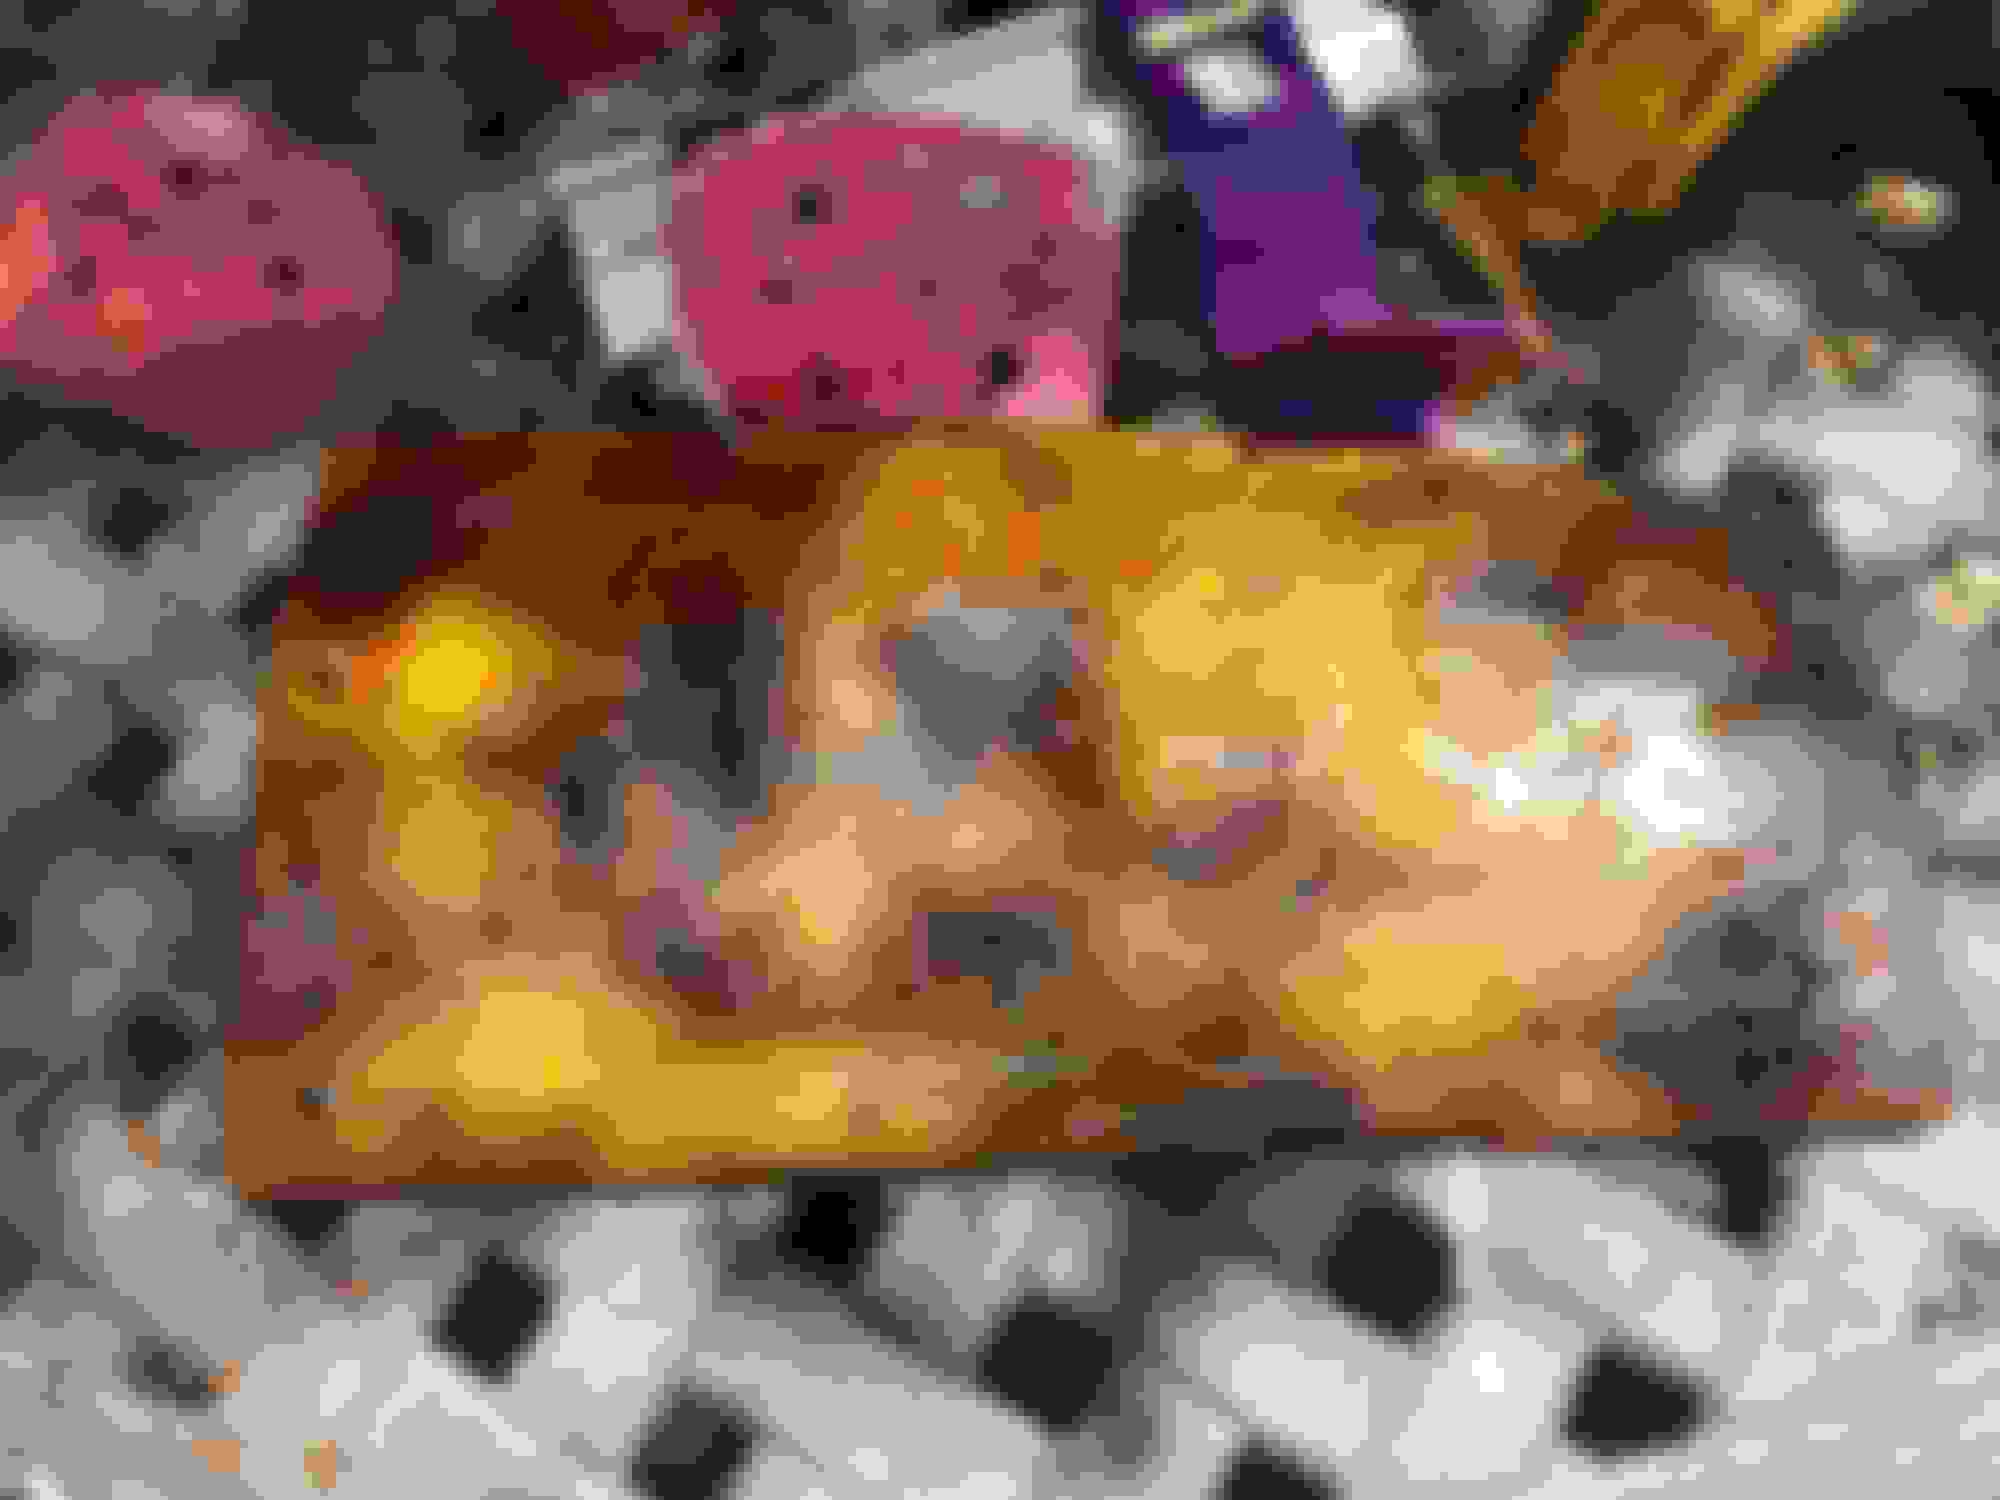
Then hit it with a heat gun with really high temps and it cracked and softened it. At first we used a plastic scrapper and the tool would slowly melt away with scraping sticking to the enamel. Then we used the edge of a wood paint stir stick (softer wood) and it came off like butter. We have a vinyl plotter and can probably print them out using a gold vinyl but the only problem is the airbag symbol. That's why we were hoping for some already made. We did also reach out to the Coventry Foundation with hopes that they might know a place but we'll see when we hear back. Here are some images of progress so far.
Pics of us stripping it. (We went around the whole thing with high temp gun heat to get the enamel to pop, then we went back over with heat and scraping.)
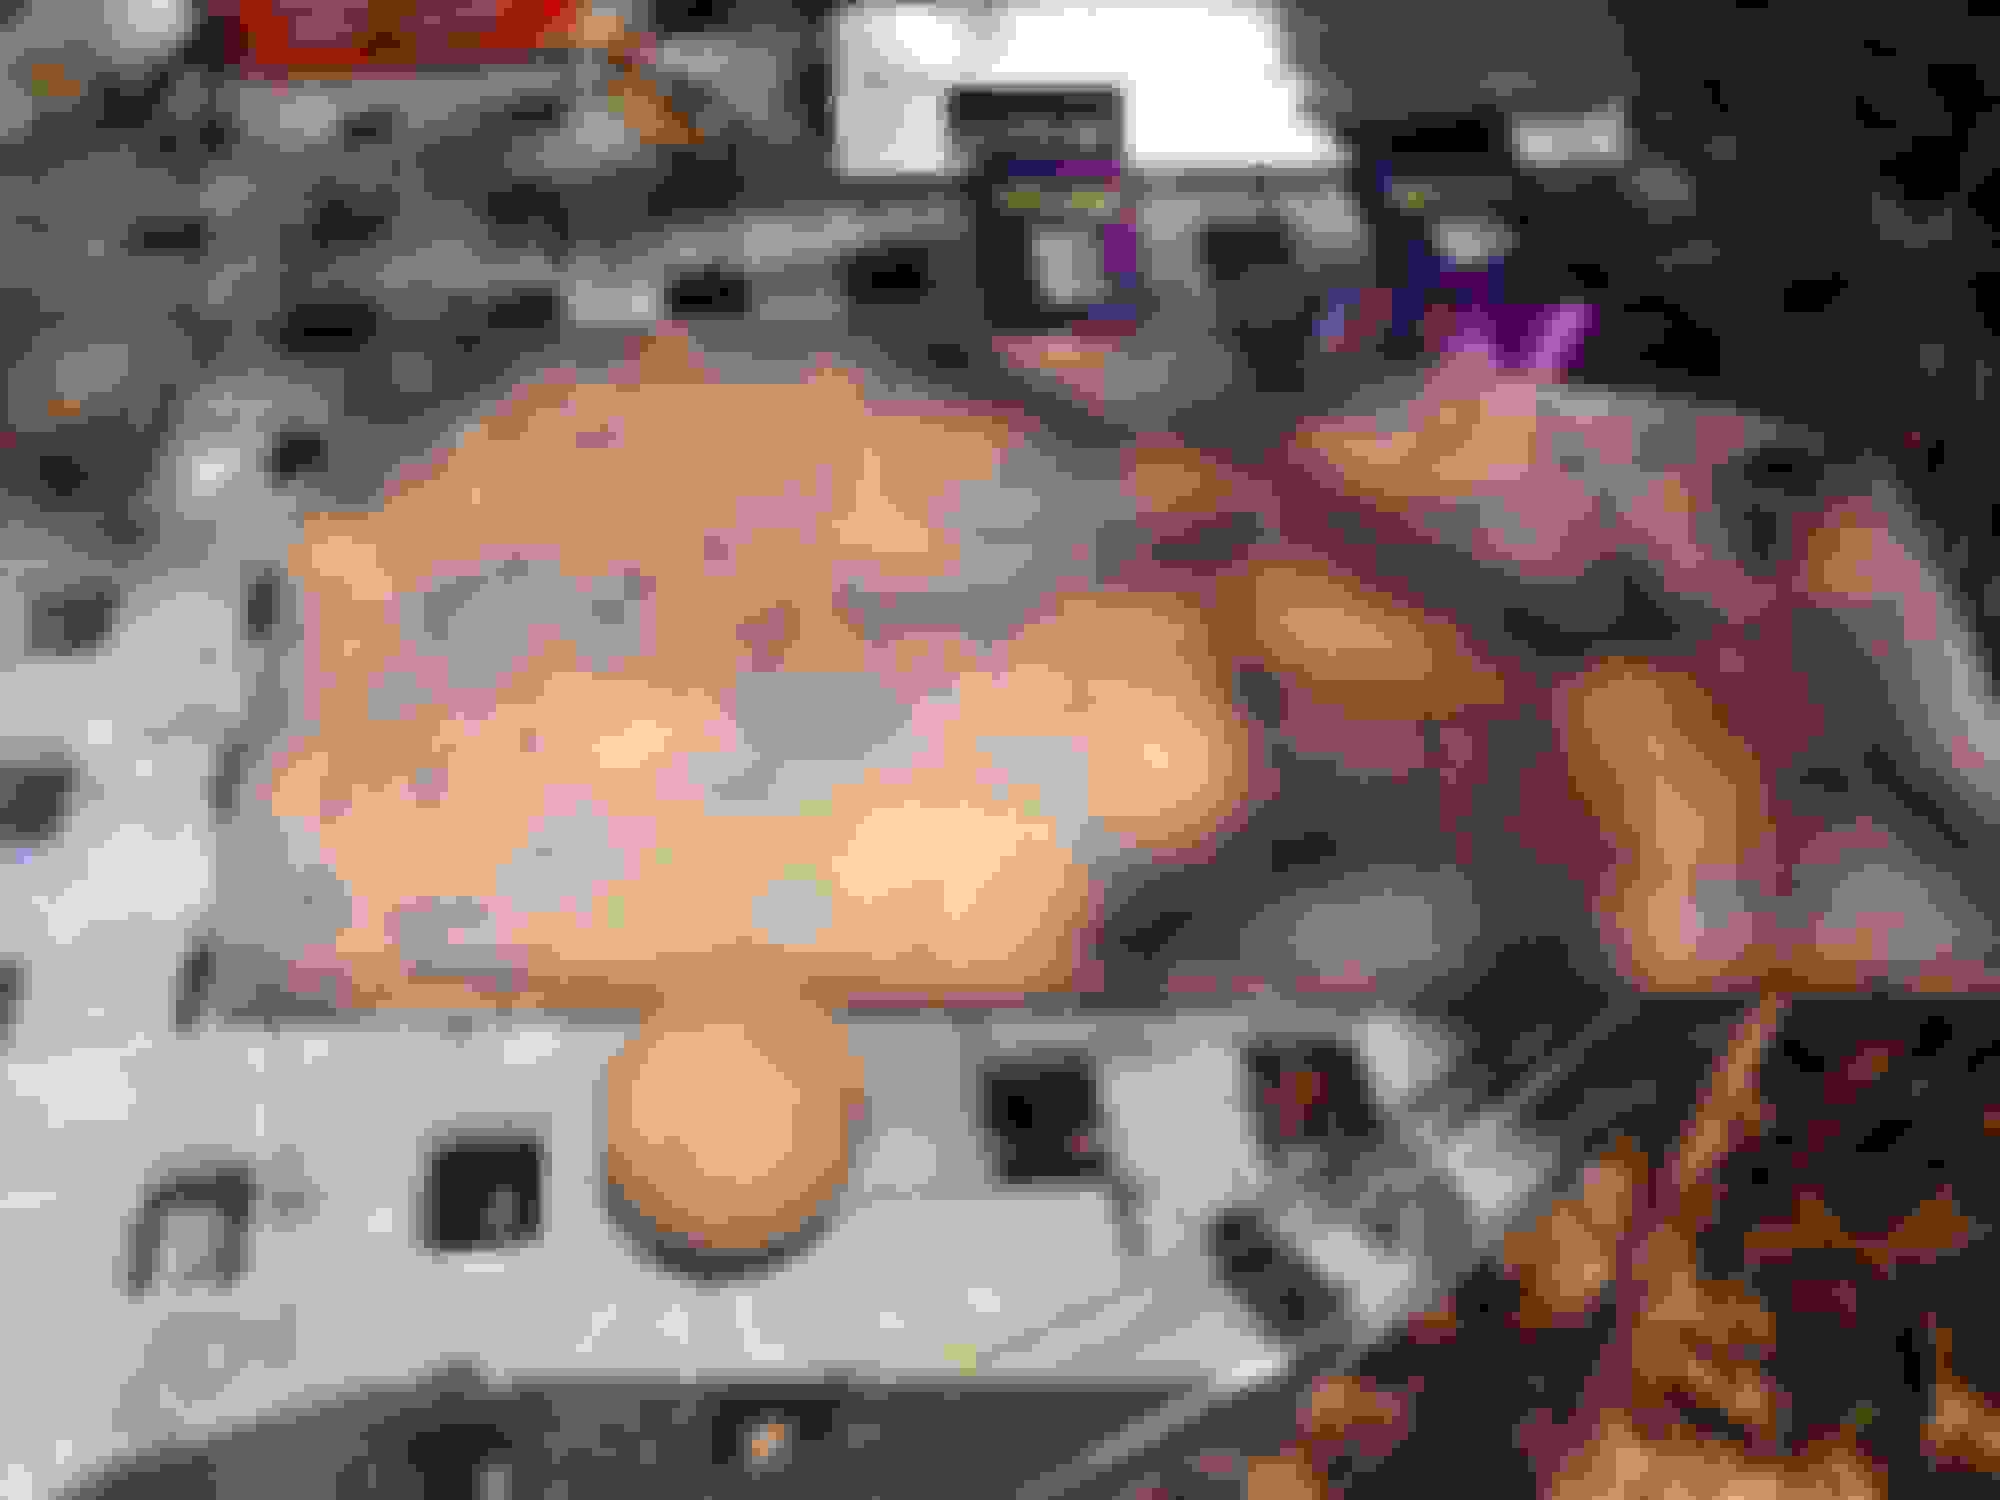
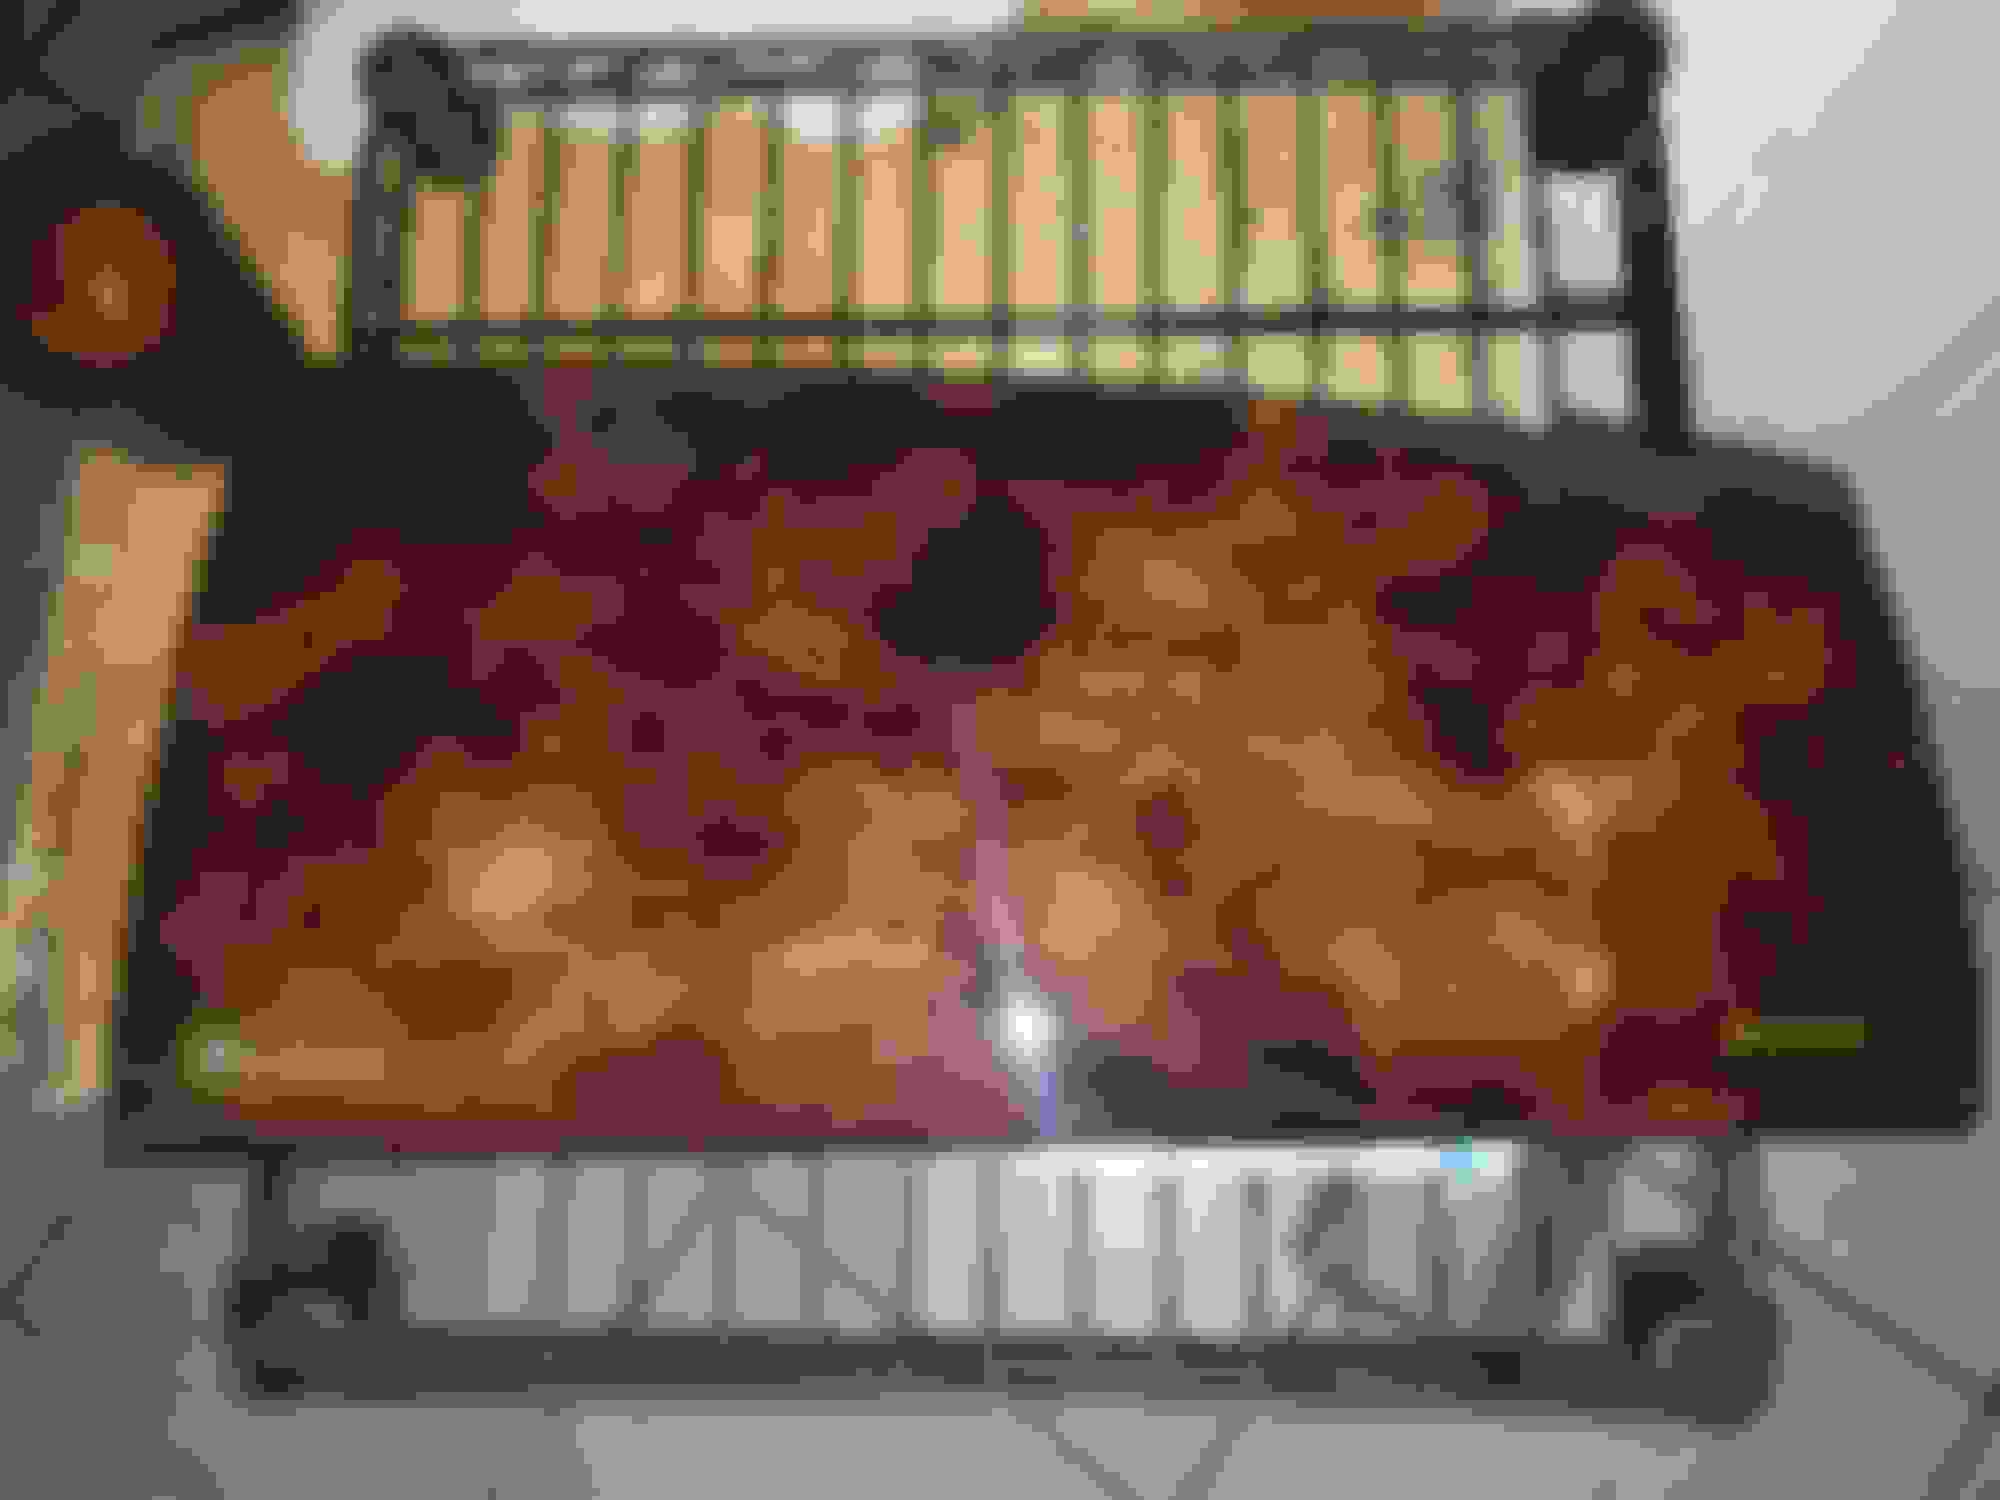
Airbag Cover and Shift knob completely stripped of enamel. You can see a line where the enamel was cracking, which was removed with a little wet sanding at 1500grit.
Here's another pic after we wet sanded a little. There some sort of glue or plastic where the airbag symbol was and a hair of enamel on the top middle right we still have to clear off, but overall not really hard. We just need the decals and we'll go back over it with some UV Cured Clear Enamel. We don't want to re-stain it as we don't want it to look different from the rest of the panels.
Ok here's an update. We looked around and didn't find any premade decals. We also called around the prices for the stickers were just out of hand for such tiny stickers (starting at $75), so since we have a plotter decided to cut them ourselves. We will be offering them for anyone who needs them, and will also upload the cutter files for people wanting to cut it themselves. More info in our last post upon completion.
****AIRBAG LIGHT NOTE**** The Airbag light decal is is not a decal, the gold circle around it is, but the actual airbag symbol is a clear plastic insert with the black color molded into it. We failed to realize we should try to remove it before removing the enamel and ended up melting it. So be careful if trying yourself when heating up that section, if you can remove it do it. We had to tape off the wood around it, re heat the plastic and push it flat. Then wet sanded it to make it clear as possible. We then used a micro black paint pen and a flash light on the back side to color in the areas that should be black.
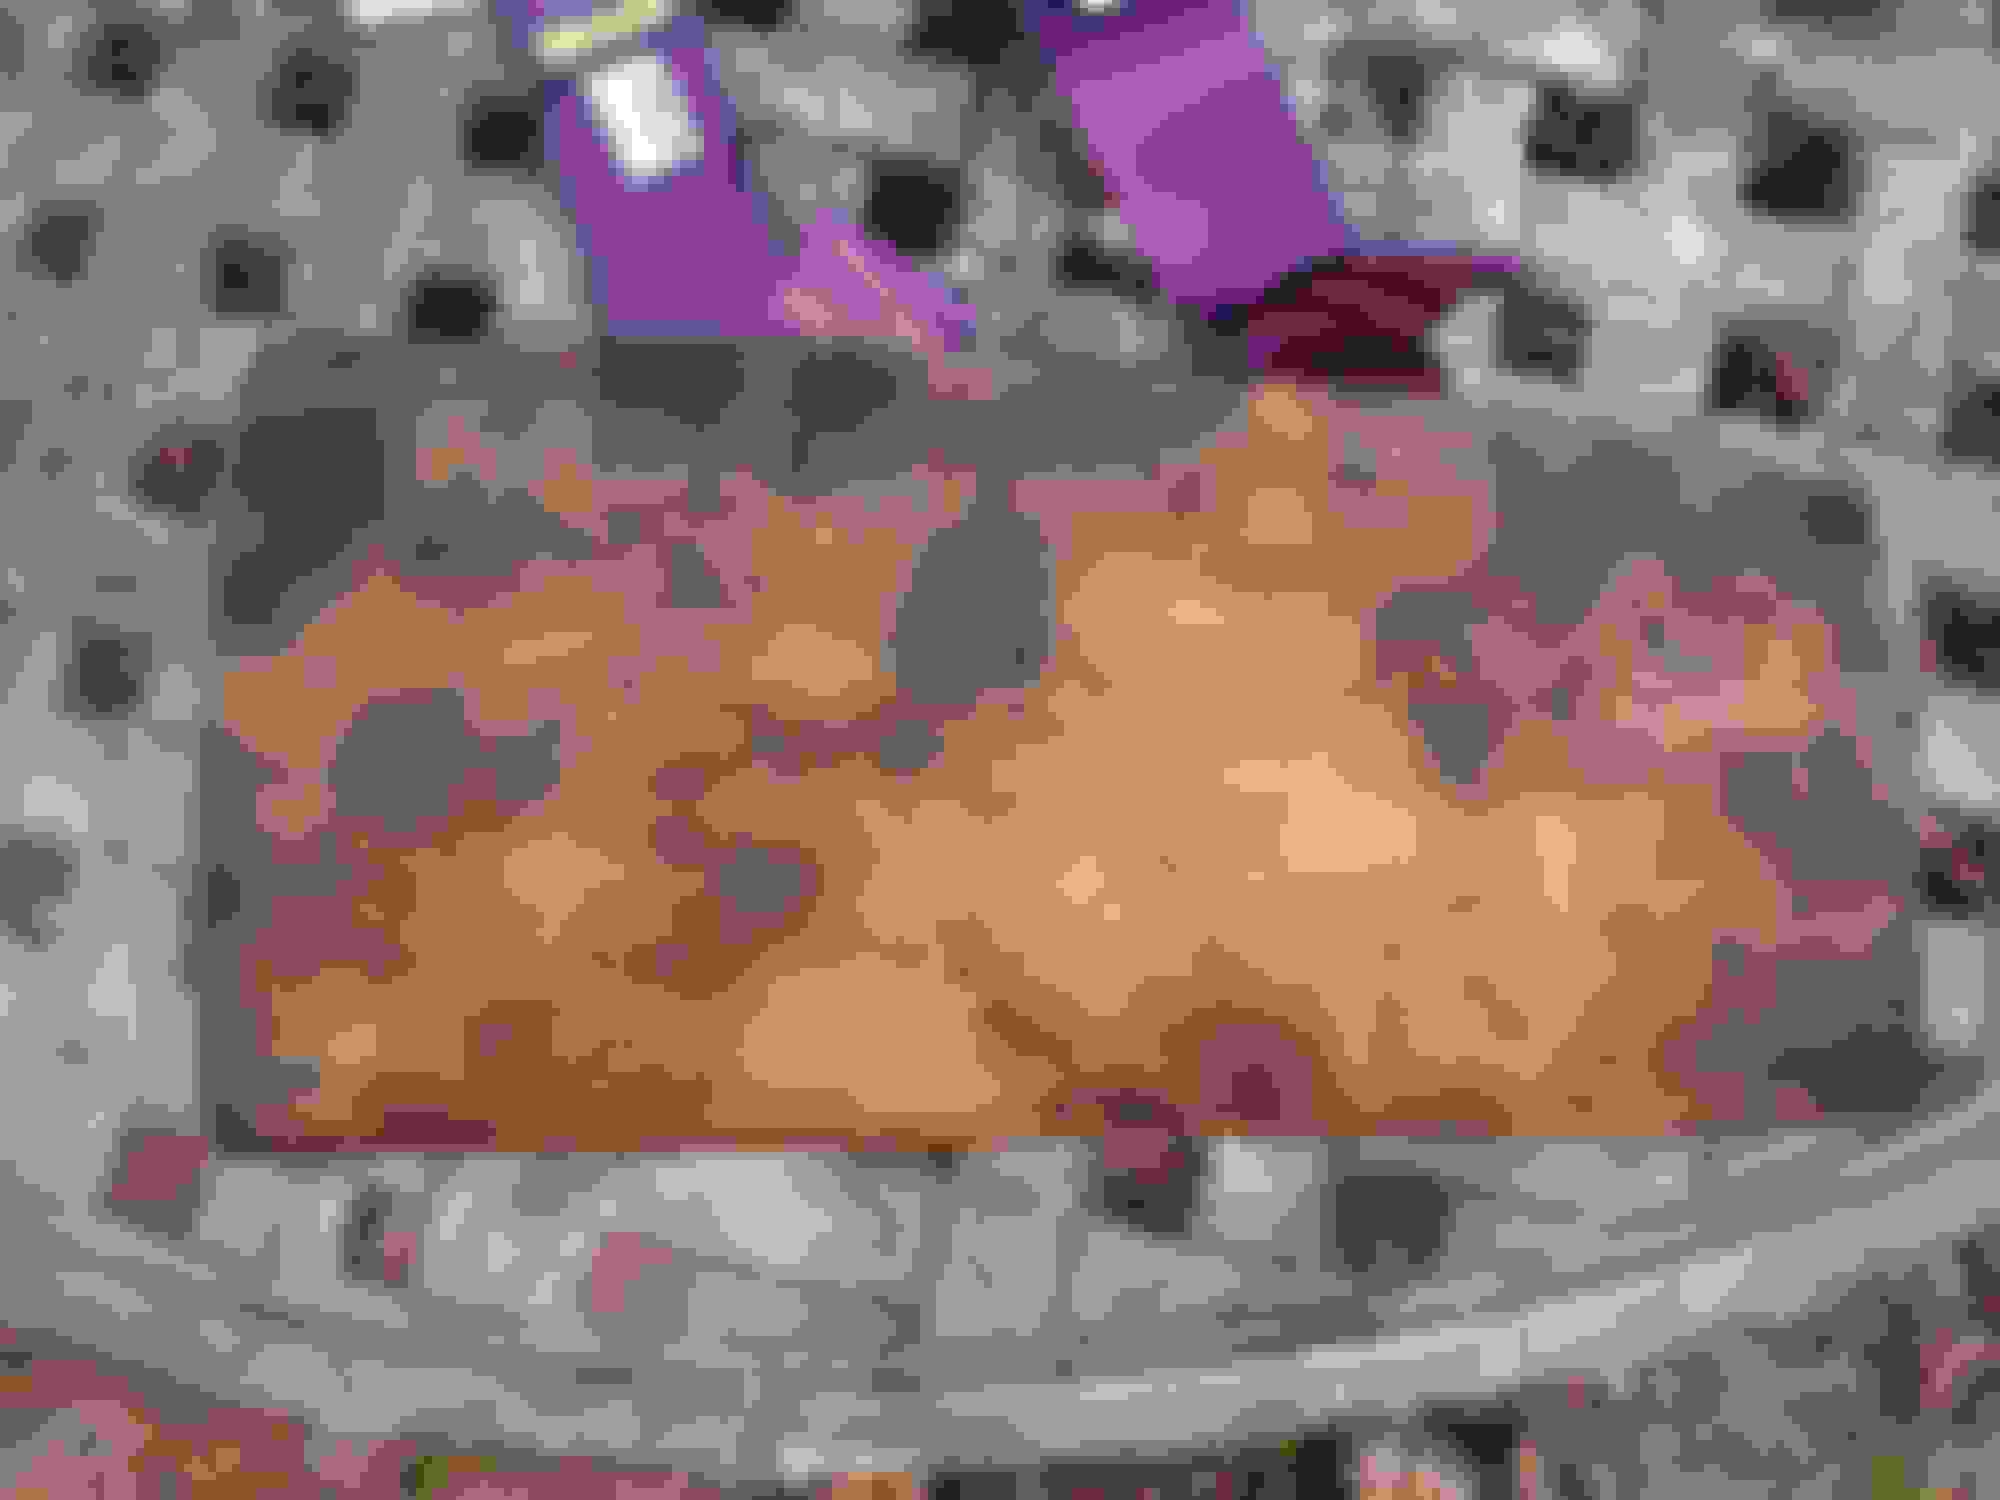
Airbag Panel before UC Clear Enamel with Gold Decals
OK, We are putting down the Clear UV Enamel...and we had to actually strip it and redo it since we used a cheap brush and it kept dropping brush fibers and particles, then we tried a sponge brush and that seemed to have made it worse, so we went and got a $20 Redtree Enamel brush. Here is what it looks like laying down.
Wanted to post an update and here what we found out. The "TotalBoat 200g UV Cure Clear Acrylic Resin" was really a pain to work with for this size project. When you buy it, it comes with a small UV flashlight (awful) and we ended up buying 4 18in blacklights from Spencers gifts (you really need a high end UV light for this). We had lined a box with aluminum foil and put the parts in it with the blacklights and closed it off occasionally moving the lights around. While the flat surfaces cured beautifully the corners just wouldn't cure, and stayed tacky. We did about 4-5 coats all together having to strip it once in between (with the same enamel stripper we used previously). We got about 2 decent coats on it that was flawless but still the edges wouldn't cure or hold enough of it. So we sanded it with 320 grit and decided to clear coat over the enamel and that gave us the coverage we wanted, especially on the edges. We will do a final update once reinstalled with links and a list of stuff used.
Here is a pic of it clear coated.
Clear coated airbag cover with shift knob ready to be reinstalled.
If I ever refinish dash wood again I will go with the UV cure. Buy the lamps and be done with it. An acquaintance builds guitars and after see just how quickly the clear can be considered cured and ready for duty, just blew me away.
After many years of refinishing MB dashes I wish I had had this back then.
So a question, how did you handle these drips? Cut them off, sand?
wj
So that particular picture was taken literally right after application, so it was still wet and running off. I let it sit there since it won't cure till it is hit with the UV, for about 45mins, and every 5 mins or so I would go around the whole thing with a brush to break the surface tension and get it to be smooth. But because my UV wasn't curing it fast enough I did end up with 3 of those drips around it which at first I did try to use a razor, but then I just sanded it off. I also still had the seatbelt straps and aluminum support bar still attached and taped off in a plastic bag under it so I could angle it during curing to get the drips to be where I wanted. It's actually hovering a little higher than it looks in the pic.
Don't get me wrong this stuff is great if you have the right UV light, there's a nice handheld one for about $400 that will cure it in like 2 secs but being we don't typically do resto stuff like this we didn't invest in one.
We restored the airbag cover and shift knob, and did a custom Apple Carplay screen in place of the OEM nav.
Airbag cover/ shift knob restoration.
1. Stripped the airbag cover and shift knob first by using Jasco - Paint and Enamel remover (Bought at Home Depot, Gel version). Letting it soak up 2 coats of it.
2. Pre heated around the parts with a high temp heat gun to get the old enamel to "pop". (You will see it pop up when you add enough heat, then just keep doing that all around.
3. Then went back over with a high temp heat gun and the edge of a wood paint stir stick to scrape the old enamel off carefully. ***(Be careful around the airbag light with the heat gun)***
4. Wet sanded the veneer using 1500 grit, not too much, but enough to get any marks from the old cracked enamel when it pressed against the veneer.
5. Used a vinyl cutter to cut out the airbag/ Jaguar logos, we used
**** Here's a link to .eps files for a vinyl cutter. There's 3 files, the circle, airbag, and jaguar...all you need to do is toss it in your cutter software and hit print or take them to a vinyl cutting business. You will obviously need to adjust your cutter pressure and knife depth for this material. This link is good for 1 year, after that if you want them you'll have to message me. I don't know what other Jags they will work for. Jag .EPS files
***If you want me to cut these for you since I have a lot of extra material I will charge $20 for 1 set, and $30 for 2 sets of the 3 cuts (circle, airbag, jaguar), just message me.
2 coats, if you use this make sure you have a high power UV light or you will create a lot of extra work for yourself.
7. Wet sanded the enamel with 320 grit sand paper.
8. Applied 2 coats of Gloss Clear coat with a pro spray gun and compressor.
9. Wet sanded the clear coat with 1500, 2000, 3000, 5000 grit sand paper.
10. Buffed and Polished it with a cut and polish compound and pads.
***Note: During the heating you may warp the wood a little, which we did have happen, but we did not want to cut into the veneer and use CA glue to push it back down as we didn't want to risk damage to the grain. So we compensated with the enamel and clear coat and wet sanding to get it to be smooth.
Last edited by Vidar Customs; 06-11-2023 at 01:38 PM.
Perhaps it is just the photo but to me the refinished veneer piece looks considerably darker than the original veneer pieces. Is your customer okay with that?
Yes, the customer actually likes it a lot, loves how it looks "new". If you look through the pictures you can see that 1. The old enamel (20+ years old convertible) has yellowed. 2.When we wet sanded the wood we drenched it in water. It has gotten lighter with sunlight as it dried out, and I believe it will get a little lighter with more sunlight. However, I am no veneer expert and maybe someone with more experience will chime in. It possible when we wet sanded we took off some stain we were real careful not to do too much sanding, just enough to get rid of marks from the enamel cracking. But looking at the image of when we were stripping it the wood underneath is pretty dark on its own.
@Jon89 So it looks like the customer wants to do the gauge cluster and 2 air vents to match. I will do those as well and update this thread on those steps too.
@Jon89 So it looks like the customer wants to do the gauge cluster and 2 air vents to match. I will do those as well and update this thread on those steps too.
Originally Posted by Vidar Customs
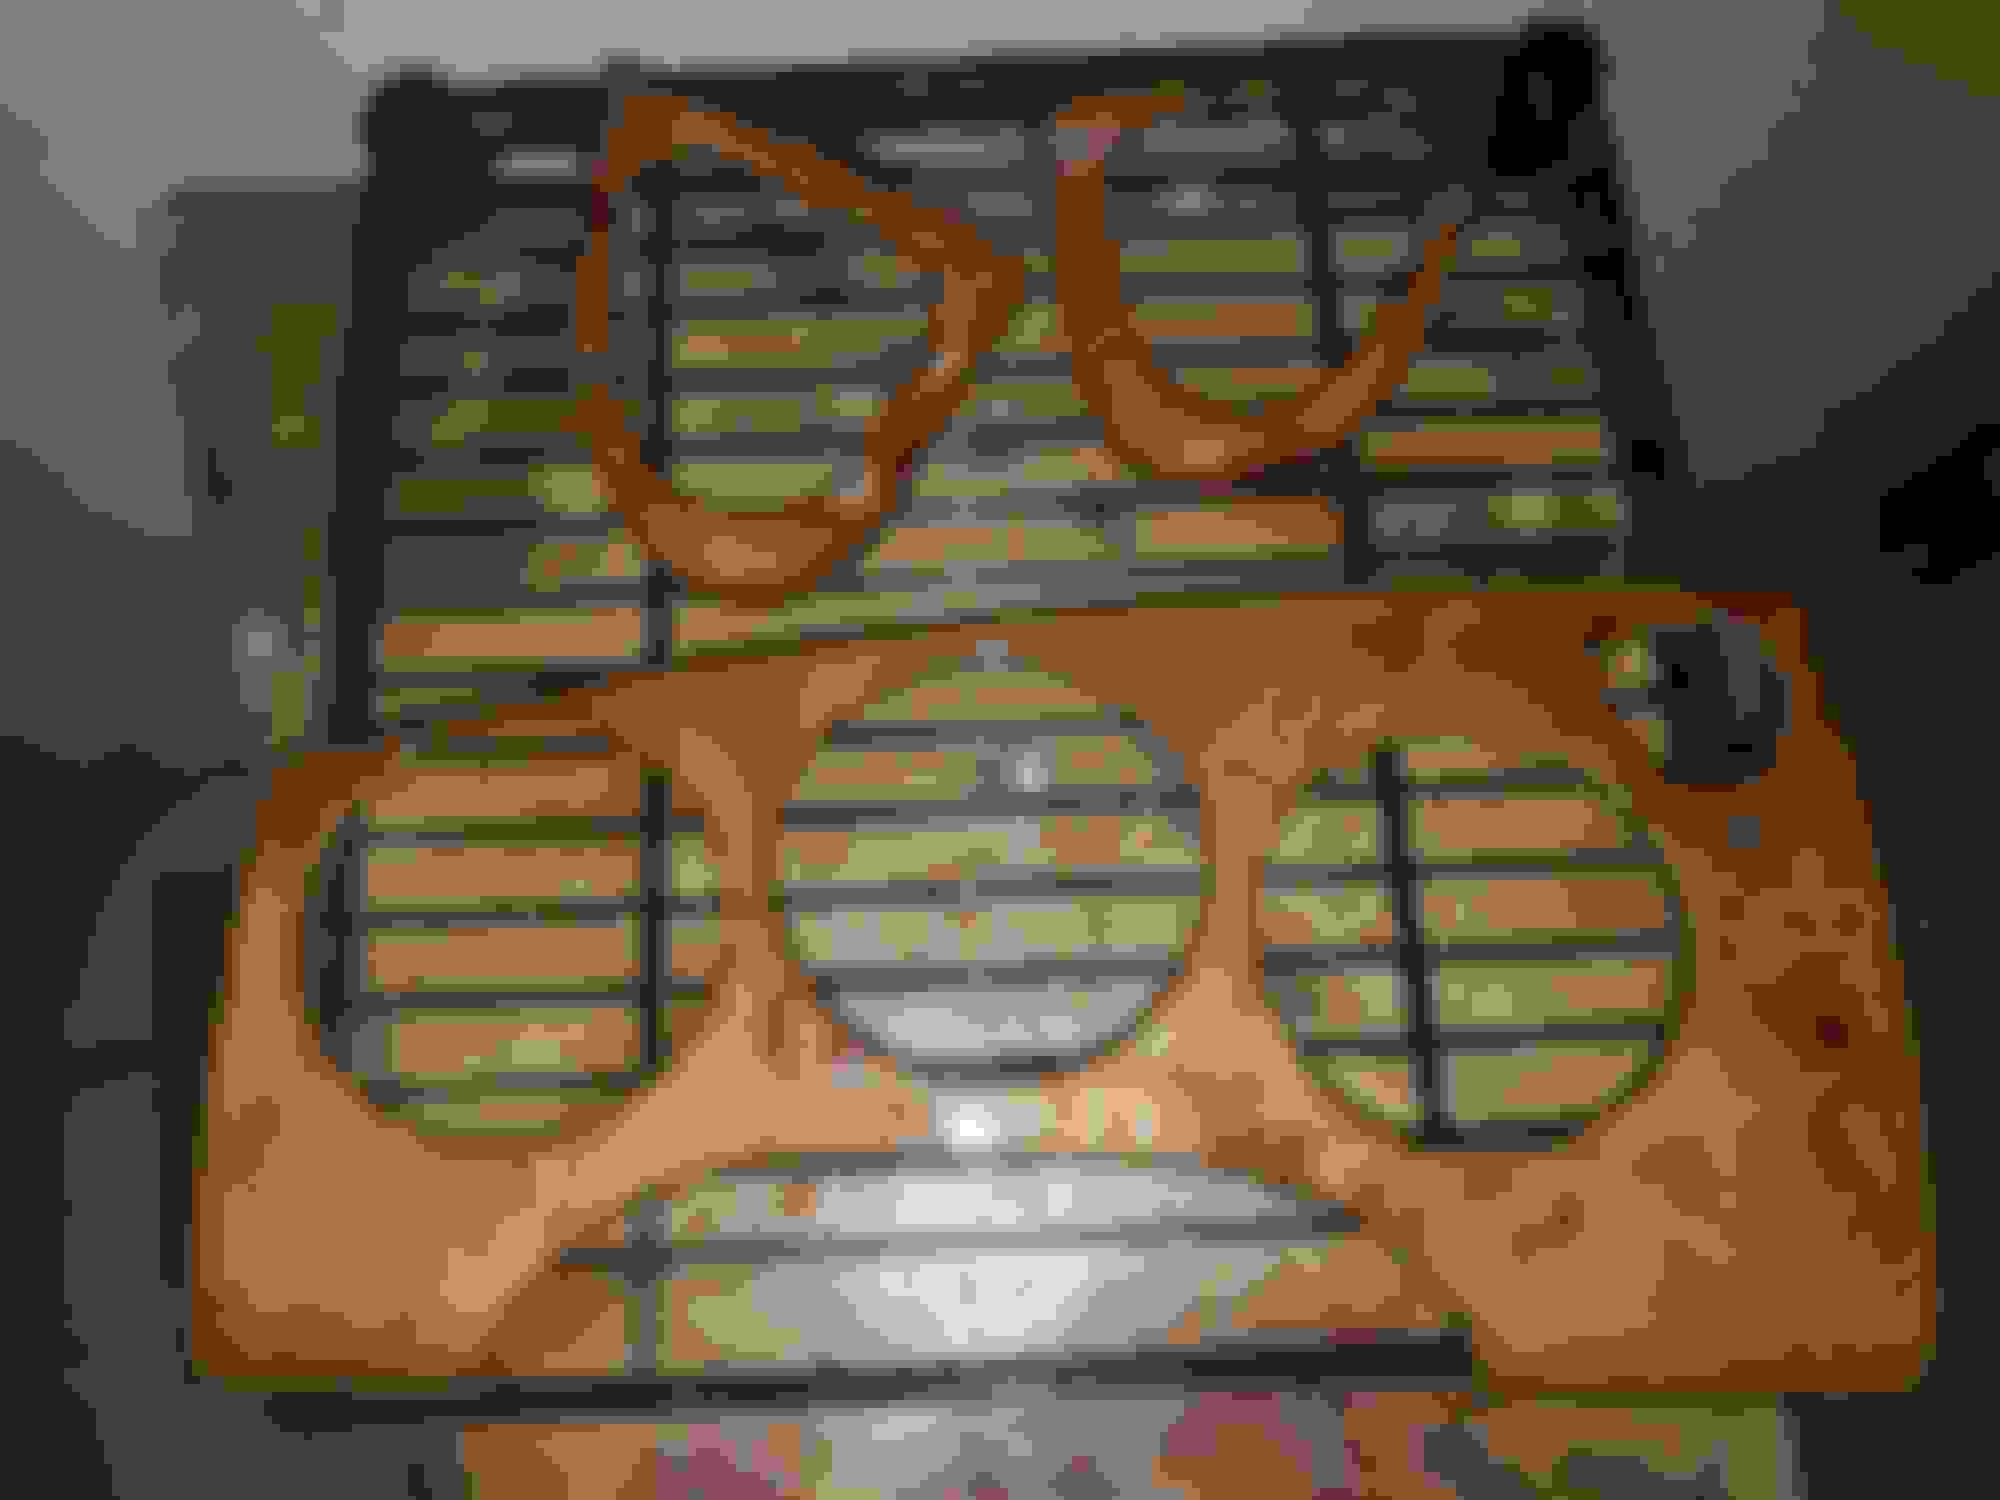
Ok here's a before pic of the gauge cluster and air vents before we start restoring them.
I may be a day late and a dollar short (airbag cover), but I question if all of this would be a candidate for Saul at British Autowood near Orlando. He did my custom shift knob, and I have heard nothing but praise for his work. He has a website.
@Dr. D So at first we were only doing the custom Carplay screen for the customer in place of their broken oem nav. At the time since we had to do body work to the center peice we suggested wrapping everything in a vinyl wood grain and clear coating it. However, they opted to keep the center piece a satin black like the lower portion of the dash. Upon finishing the screen they asked us if we could fix the cracks on the airbag cover and shift knob. Generally we don't do resto stuff, only custom stuff, however, we figured we'd give it a shot. There are very few things we turn away, but it has been a great learning experience. However, yes a day late and dollar short. In the future we may point similar projects to such people as "Saul at British Autowood near Orlando" now that we know he's there and does such stuff.
Alright so we separated the plastic button housing and cluster spacer from the gauge bezel. Here's what wee did.
Red: Removed phillips screws and plastic supports
Yellow: Removed 4 bottom metal clips and 2 top hidden under felt. Be careful with these as they are hanging onto a thin piece of aluminum attached to the base. You should be able to wiggle them off slowly and carefully.
Blue: Some sort of hardened adhesive. We tried to heat it up and the plastic was starting to get soft before the adhesive would, so we stopped. We ended up using a very small chisel and carefully scraping and getting under it little by little with some goo gone. Gotta slide under it little at a time and let the goo gone get it to separate, will take quite some time. There is 3 aluminum tabs that are attached to the trip button housing. We ended up having to cut 2 of these and will need to glass this piece back in. We heated up the adhesive on the base and it came right off, but will have to sand it off the plastic parts to avoid melting them.
Again we heated the pieces all over to get the enamel to "pop" all over before going back over again with high heat and a paint stir stick. The outside edges took the longest and lots of heat since the enamel was really thin there.
Then here's what we have after some 1500 grit wet sanding and were ready for enamel application. Will update more once enamel is down.
Last edited by Vidar Customs; 06-14-2023 at 08:10 AM.
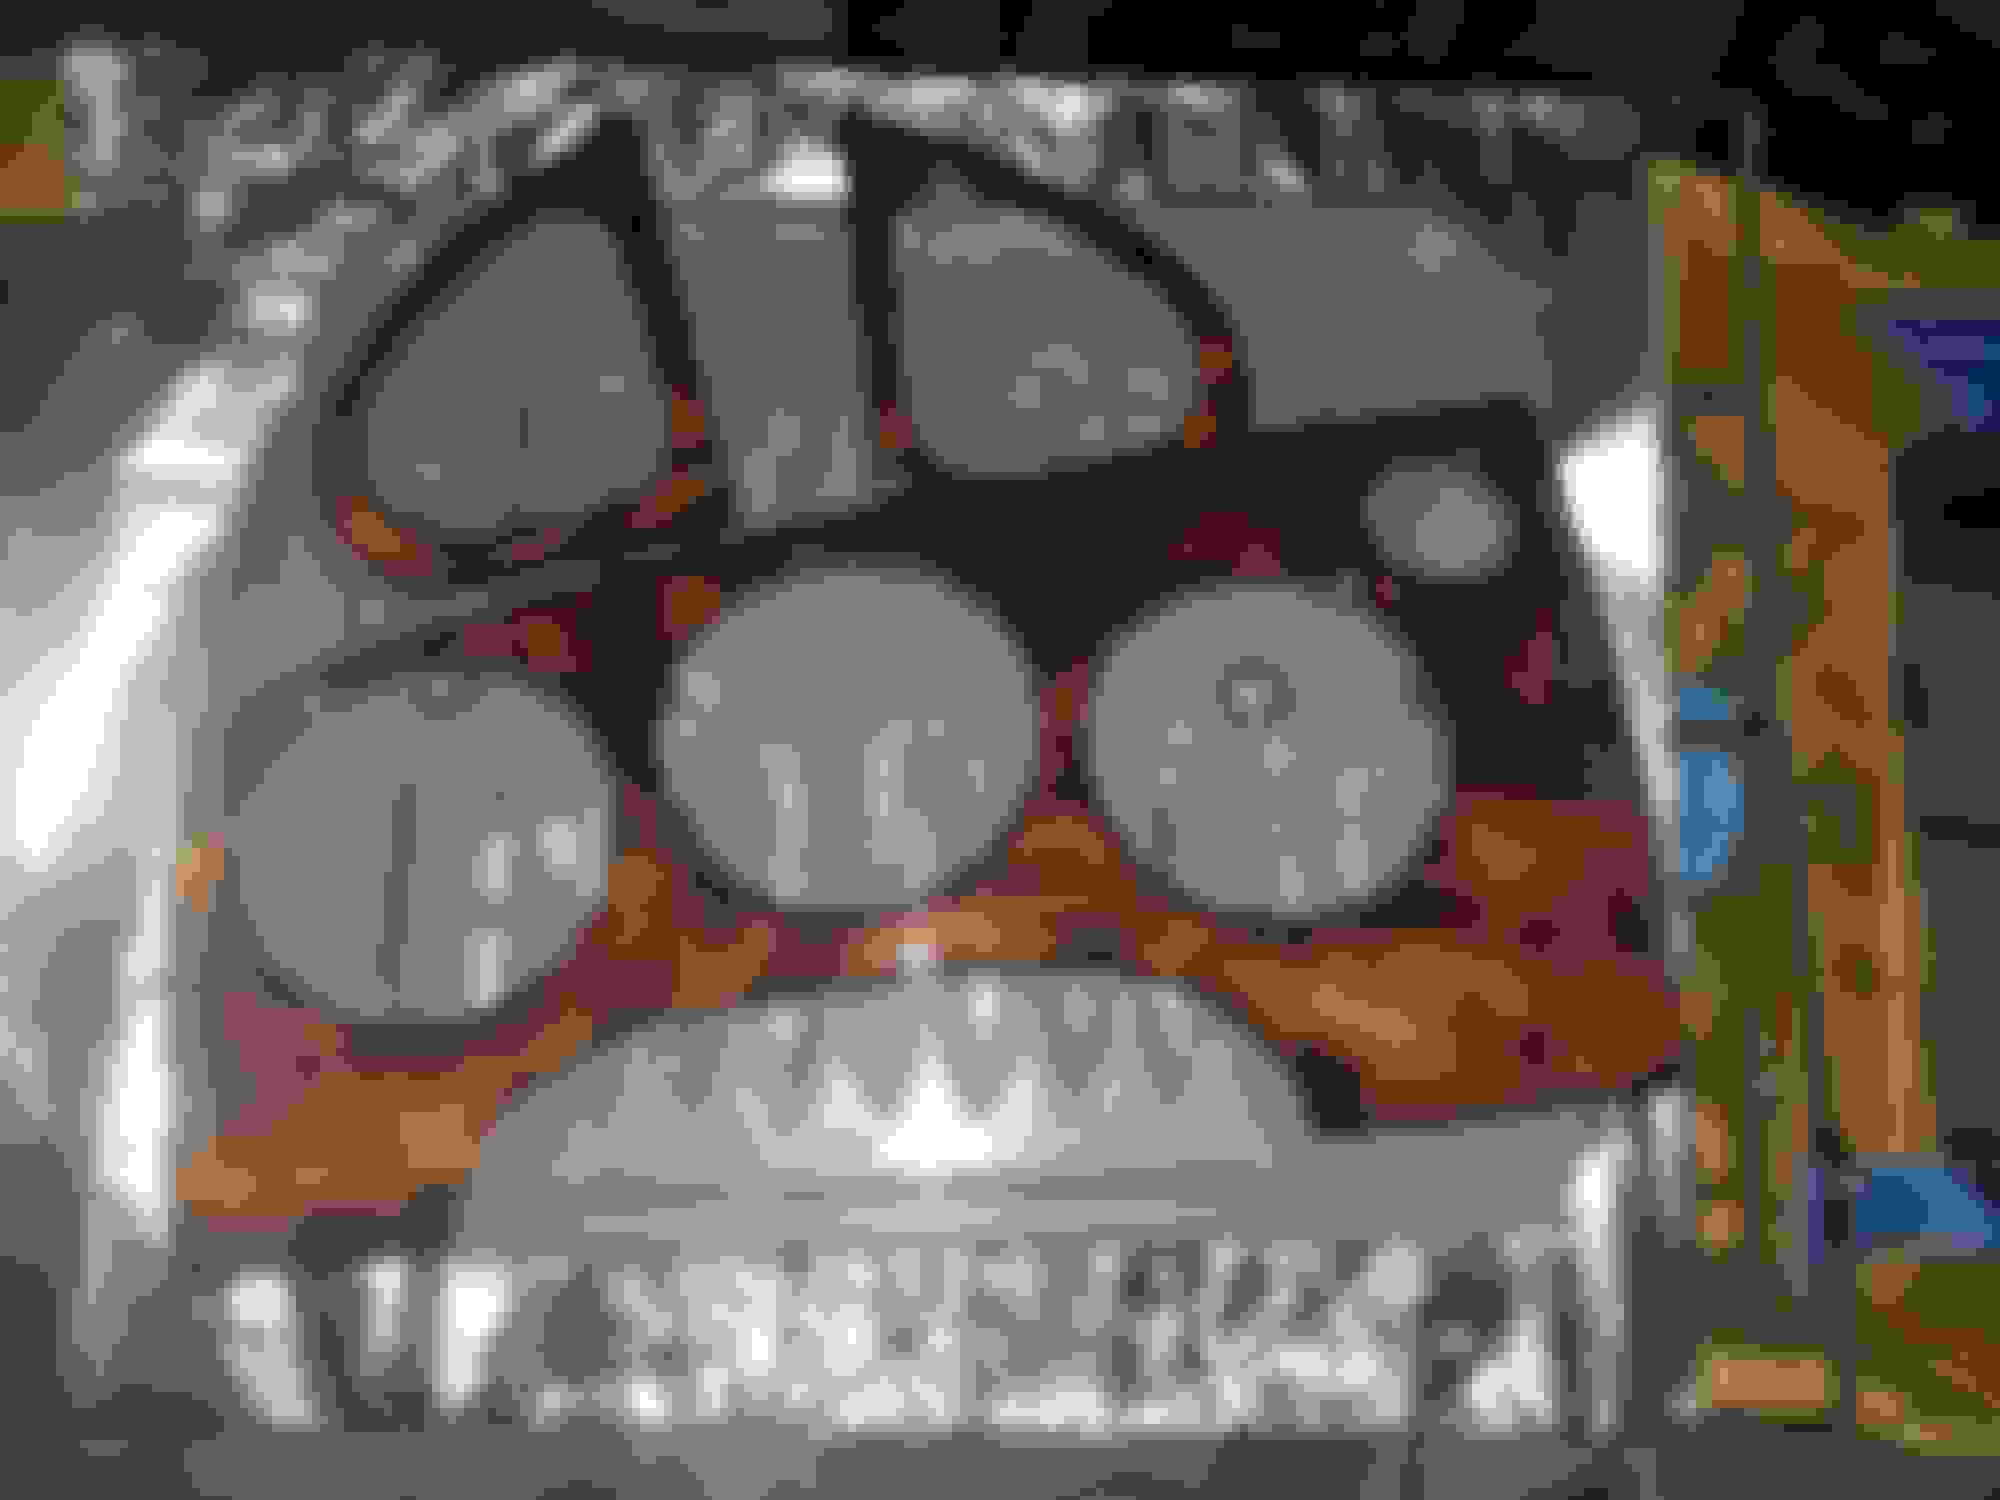
OK we just poured on a regular 2 part acrylic resin instead of messing with the UV stuff. While there is a much longer dry time, we won't have to mess with the UV lights. Dry times are 12 hours dry to touch, 24 95% cured, and fully cured in 72 hours. In 8 hours we'll add a second coat and the whole time from now till second coat and after we'll keep it in an oven where we powder coat so there's no dust particles to get on it. We cut up some glue sticks and stuck them to the bottom of the gauge cluster to keep it elevated, and the air vent pieces have little "legs" of their own.
Last edited by Vidar Customs; 06-14-2023 at 12:20 PM.

 05-28-2023, 10:51 AM