2002 XK8 Cylinder Head Bolt Threads Pulled From Block
#1
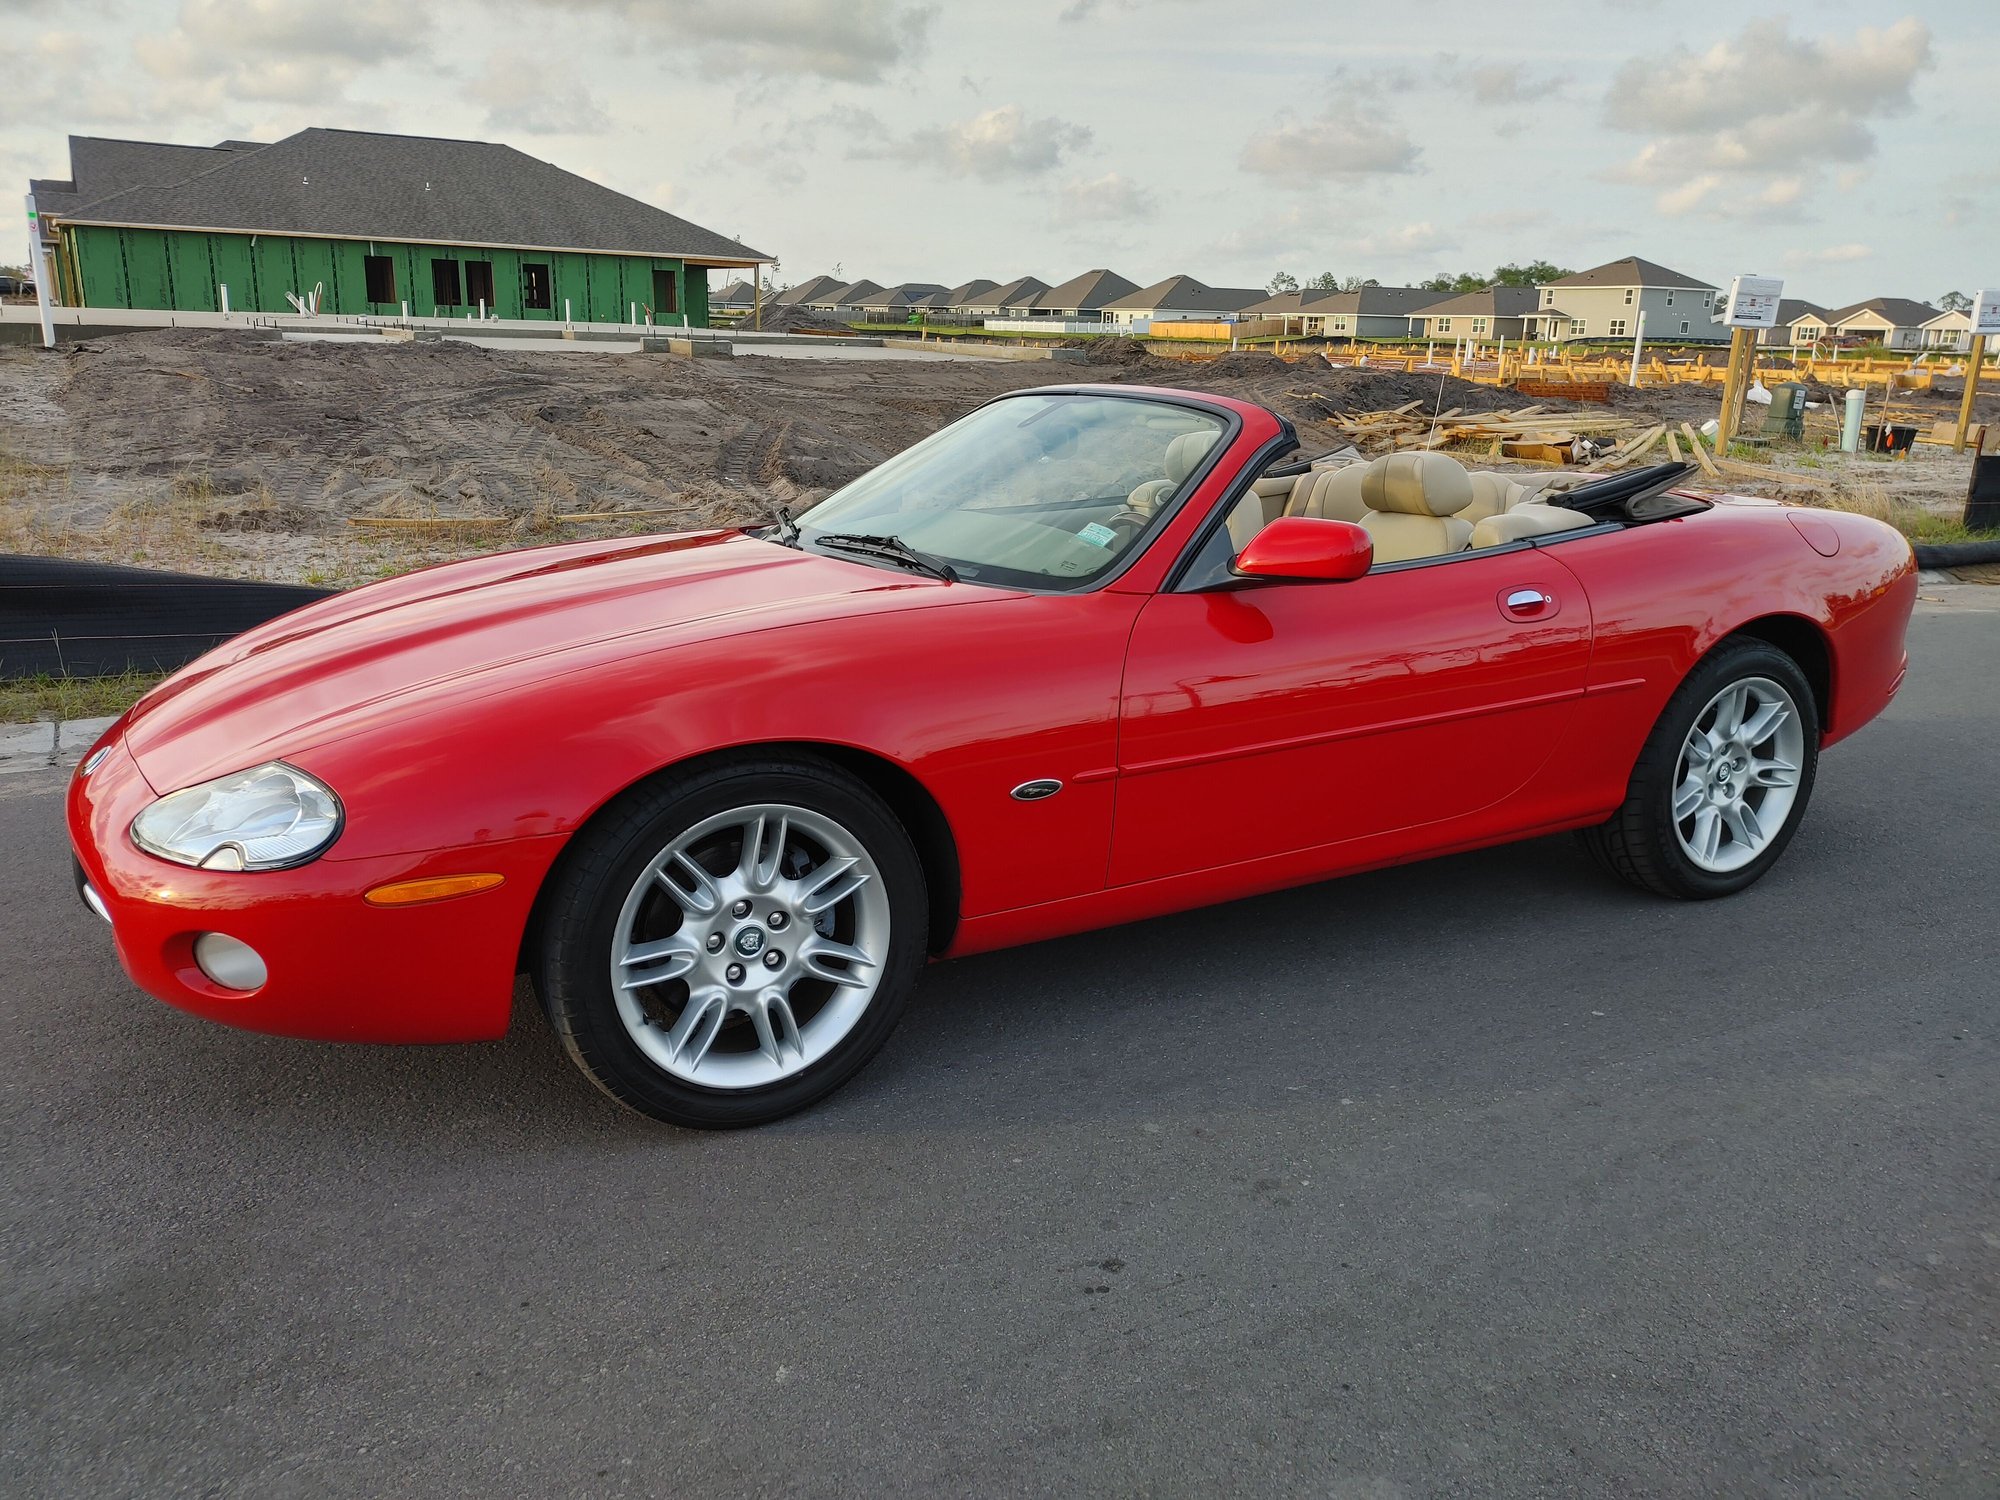
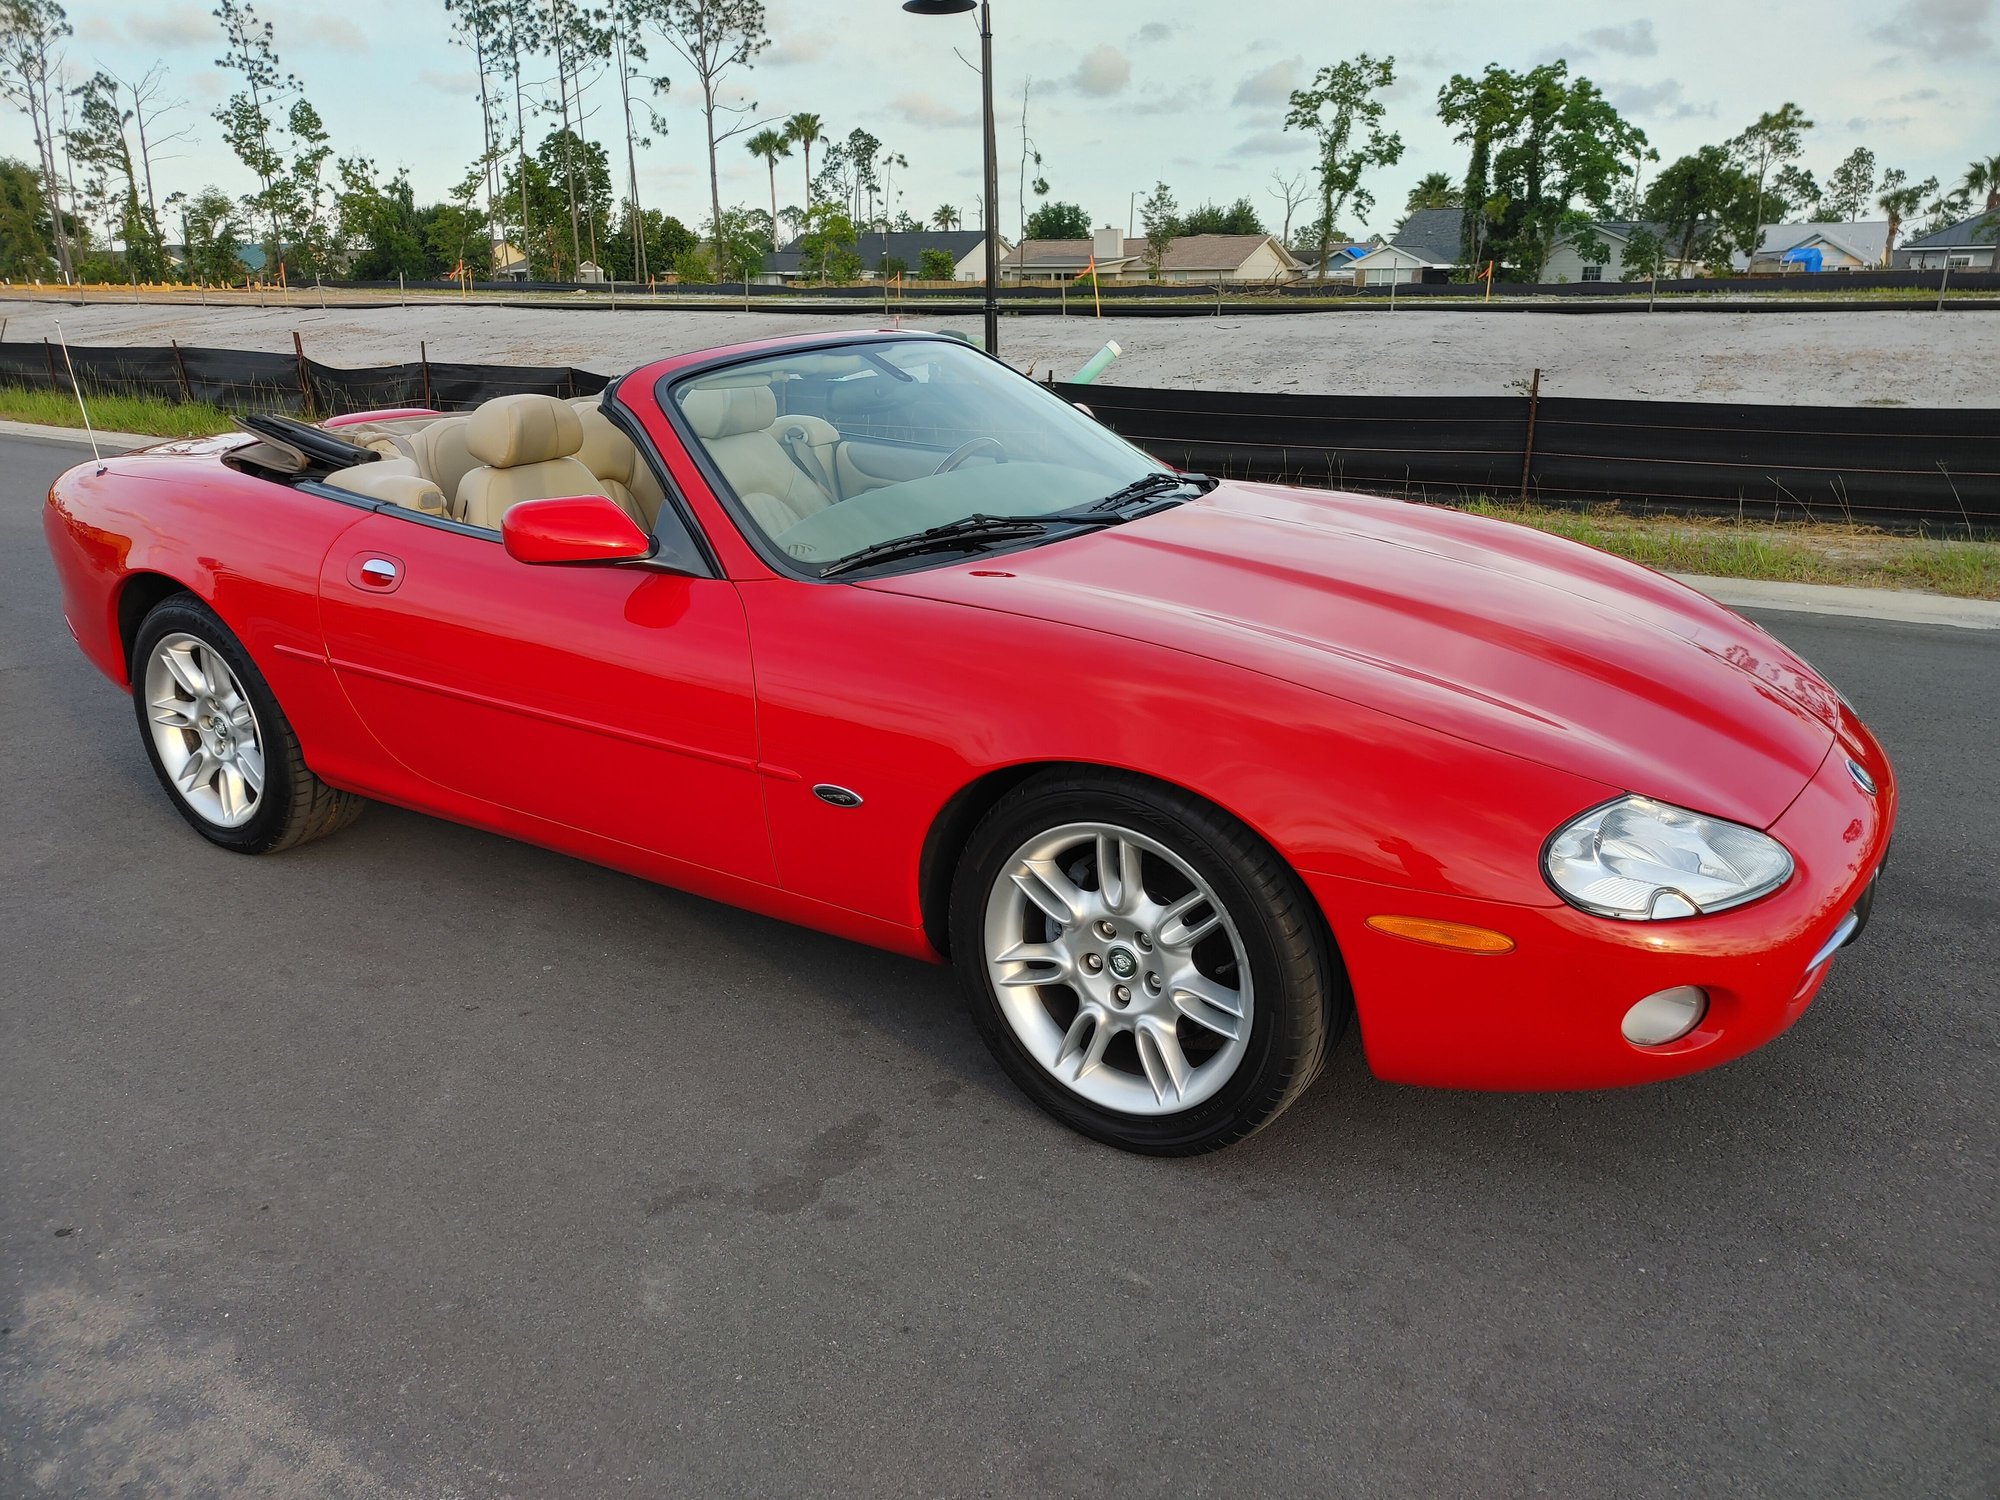
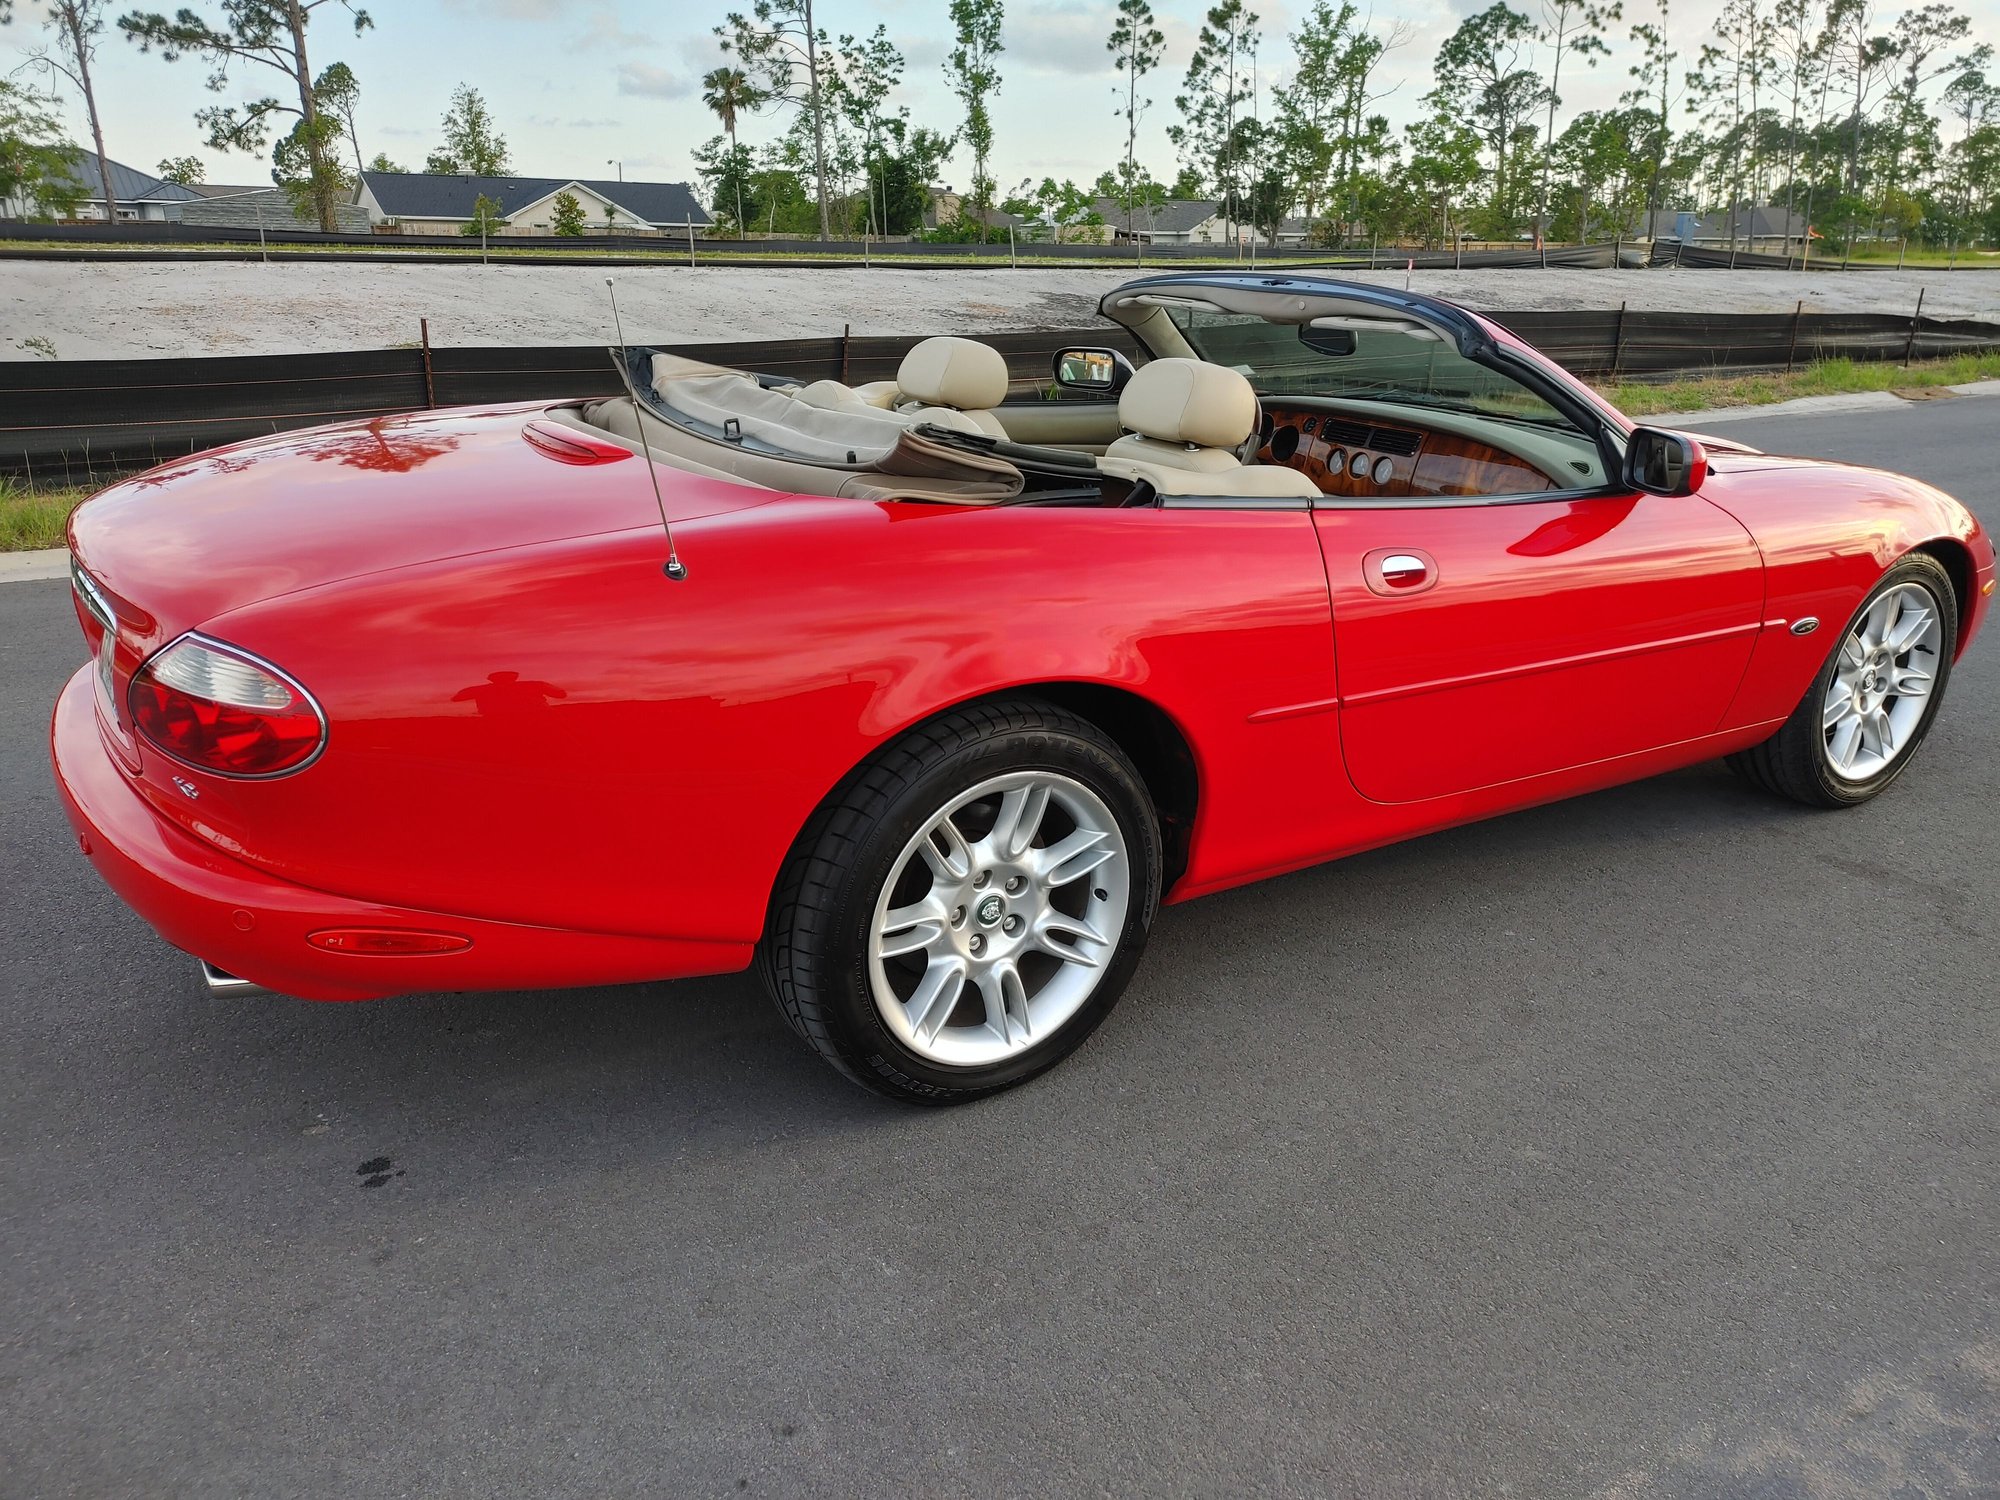
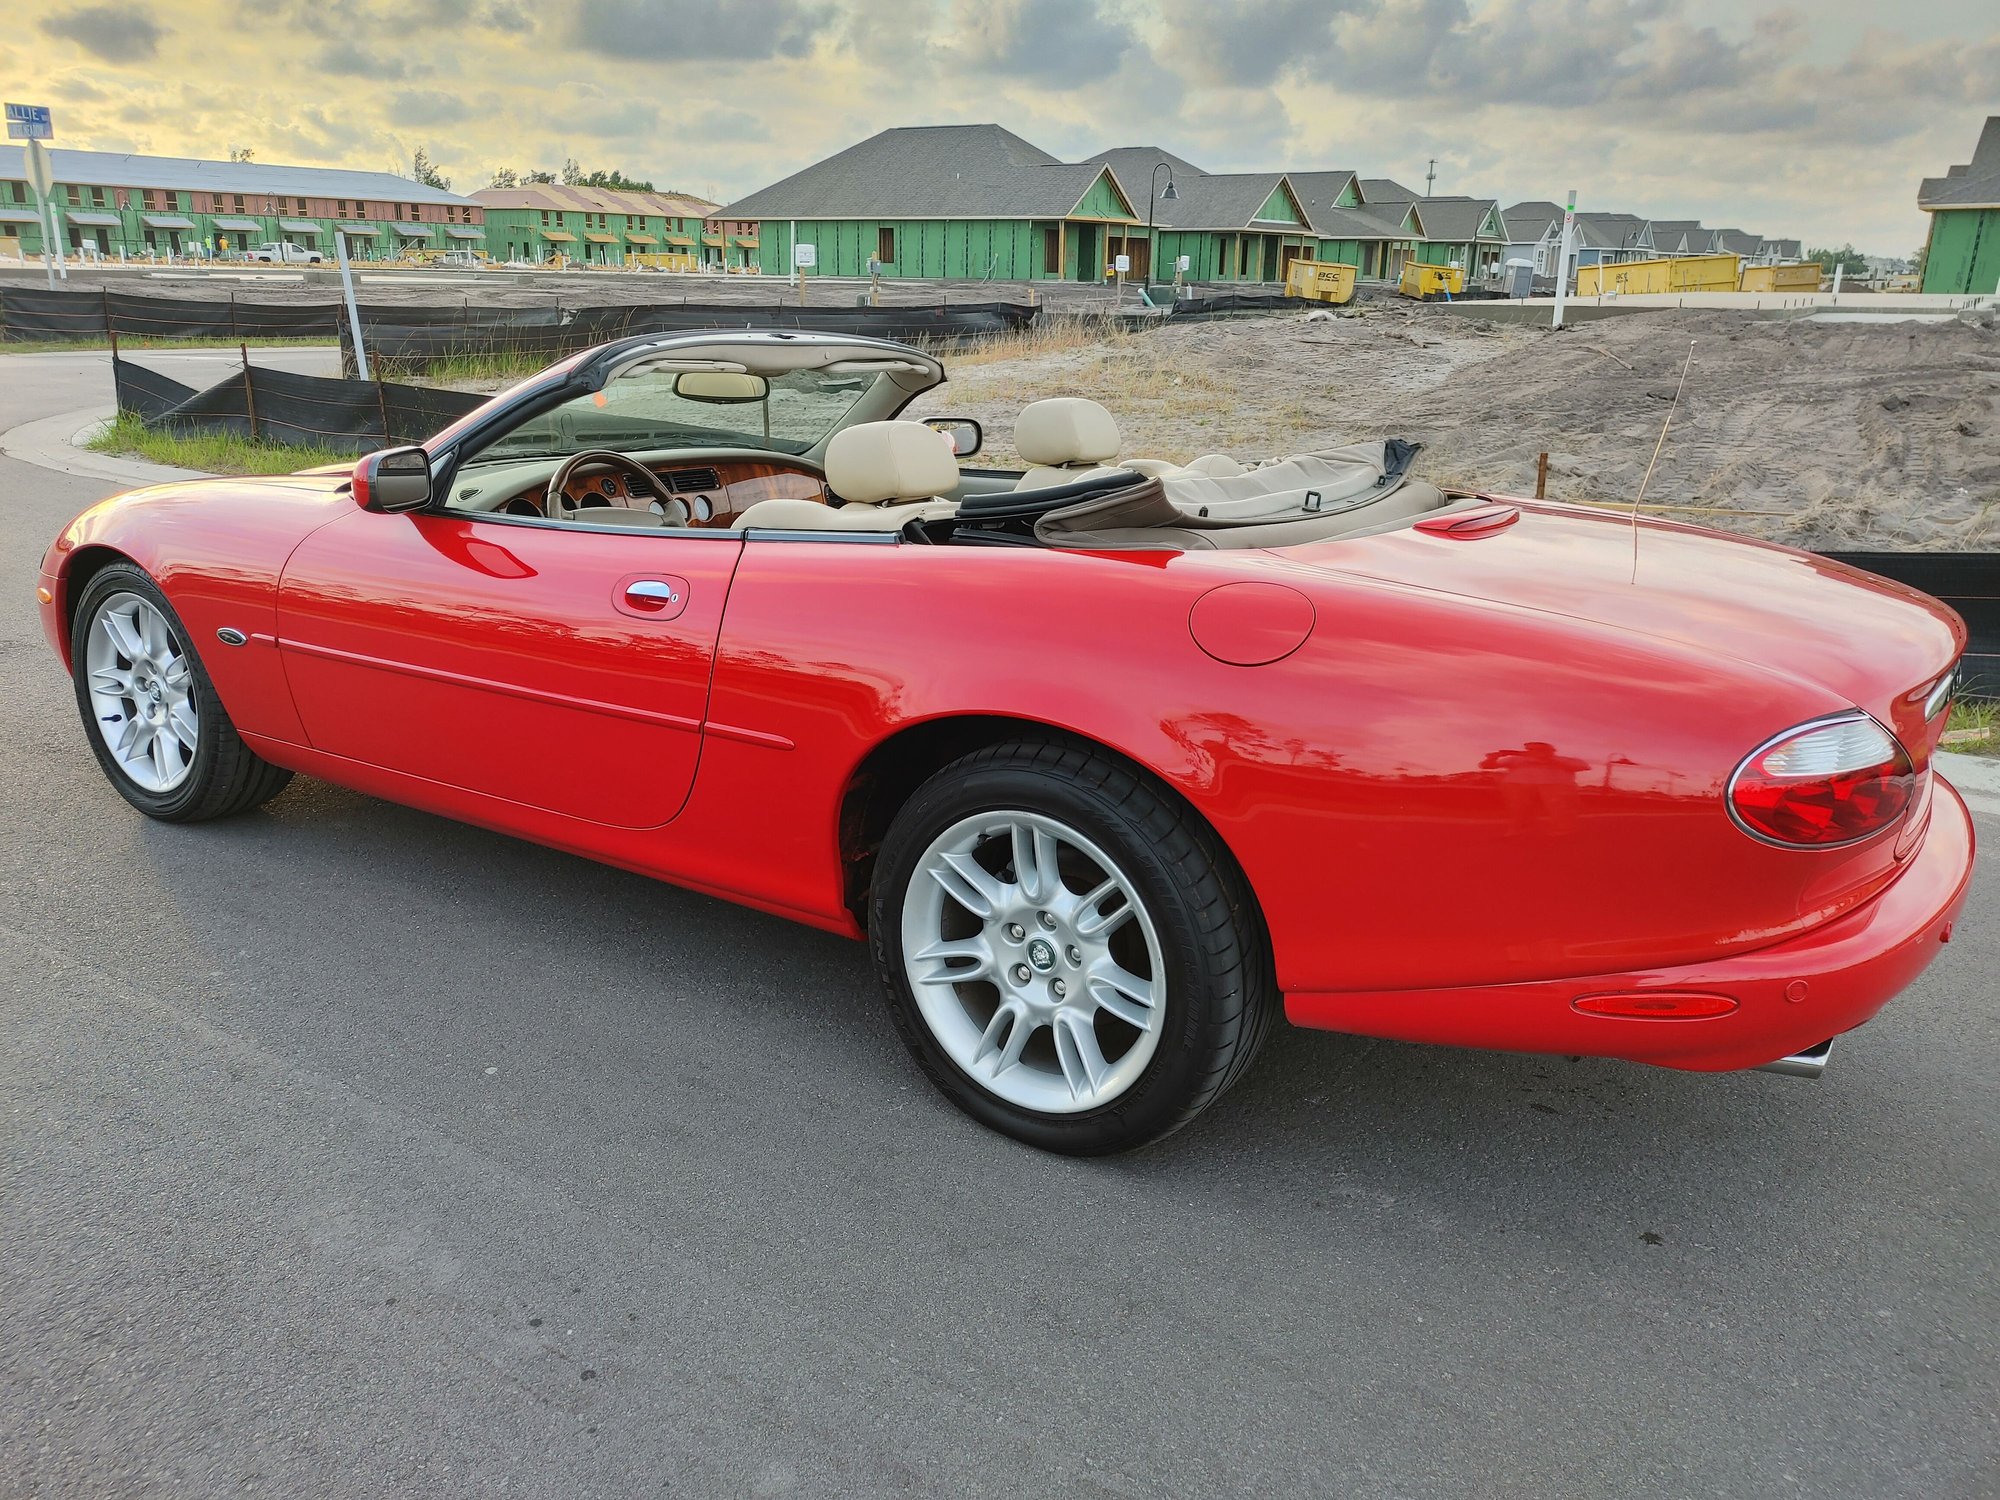
So I purchased this 2002 Jaguar XK8 which had been sitting for 2 to 3 years. The previous owner said the car sprung a radiator leak, over heated and died while driving and it never ran again after that. They took it to a shop which told them the engine was "seized" and needed to be replaced to the tune of $5,000 (hence why it had been sitting for almost 3 years). I bought the car for $2,000 and found out that the engine did indeed crank over. I did a compression check on all cylinders and found there was zero compression in the #8 cylinder. I proceeded to pull the head off and found that one of the valve seats dislodged and was holding the valve open. I sent the head to a machine shop, got it fixed and was reinstalling it on Friday. I was following the tightening instructions per the repair manual 20nm - 35nm - 90* - 90* with all new head bolts and was able to get all of the bolts through the first 90 degree turn. When I went back to bolt number one and started turning it for the final 90 degree turn it broke loose. To my dismay when I pulled the bolt out the helicoil from the block was on the threads of the bolt. I have seen others post about this very same problem. Has anyone had any experience using the Time Sert kit that's apparently available to repair it? In this case would you reuse the new head bolts or replace them (again)? Are the torque values listed in the manual possibly too high? I was using a calibrated torque wrench so I feel like inaccurate torque wasn't a problem. Has anyone stopped at the first 90 degree turn and been successful? just curious what other's thoughts are on this. Thanks!
#2
#3
#4
Yeah, so, pulling the engine is pretty much the last thing I want to do lol. I have ordered the M10x1.5 Universal head bolt repair kit p/n 7577 from Time Sert. I'm going to give that a shot and see how it goes. Seems like people have been successful using it. Unfortunately is cost $450 but if it works then it's worth the money to me. And to answer the other question the threads were clean and I did not oil the new head bolts when I installed them but I'll probably put a small amount on them next time around.
#5
I did that repair several years ago. The customer was removing the heads and noticed the damaged threads but did not feel confident enough to continue the repair so the car was sent to me.
The TimeSert kit was expensive but the customer paid for it and kept the kit with unused inserts.
The repair went well and saved the block.
The TimeSert kit was expensive but the customer paid for it and kept the kit with unused inserts.
The repair went well and saved the block.
The following users liked this post:
Ken Rose (09-13-2020)
#6
Yes motorcarman, I actually saw a post that I think you wrote talking about the Time-Sert repair and that's what led me to purchase it. Since the top of those threads start about 3 inches below the mating surface how did you go about setting the proper depth on the threaded insert after tapping the block? I see that some of the kits come with the bevel tool used for creating a seat for the lips on the insert but that seems impossible in this application. Also, after you completed the repair and reinstalled the head did you oil the head bolts prior to installing them? Finally, I had purchased new head gaskets and stretch bolts which i used on the first attempt installing the head when the threads pulled out. Any thoughts on reusing the head gasket and bolts a second time?
#7
Trending Topics
#8
So the head bolt threads issues seems to finally be resolved. After using the Time-Sert kit to replace the threads on the damaged bolt I began to reassemble the head again. I made it to the first 90 degree turn on the repaired bolt and it held. I moved to the second bolt and the threads pulled out of the block. I took it back apart and used the Time-Sert kit to replace all 10 inserts in the drivers side of the block. After that I put it back together and tightened all the bolts to only the first 90 degree rotation. I was not going to risk having the insert pull out of the block because then it would be game over. I had purchased a timing chain / tensioner kit several months earlier and proceeded to install that. When I went to install the large chains they did not fit. The chains that came off were similar to a bicycle chain with links. The chains that came in the kit were of a different design and appeared to used on gears with more teeth or something. Regardless, I installed all the timing parts and reused the old large chains. After getting it all back together (with the fuel pump relays out) I primed the engine several times for 15 to 20 seconds to get oil into the tensioners. It was finally time to bring her back to life! I cranked her over and to my dismay it wouldn't start. It didn't sputter or have any indication it was going to fire up. I pined open the Schrader valve on the fuel rail, turned it over and nothing... So then I got to order a new fuel pump and pull the gas tank out of the car. After reading several stories of the horror show trying to get the fuel lines disconnected under the car I was not looking forward to the job. I jacked the car up, slid under and located the fuel lines (using an empty antifreeze bottle as a pillow makes the job much better too). I purchased a fuel line removal kit from Amazon and used the 5/16 disconnect tool to get the lines off in about 30 minutes. It was not nearly as bad as I was expecting. So I replaced the fuel pump, put the gas tank, battery and relays back in and the whole job took about 2.5 hours. After that the car fired right up and runs great. I ended up having a small oil leak from the drivers side rear valve cover and a pin hole leak in the expansion tank coolant line. The valve cover is off and I will put a dab of black RTV in the corner where it is leaking. The valve cover gasket has little circular tabs where the bolts go through and that got pinched during assembly. I ordered up the coolant line from PartsGeek tonight so hopefully the car will finally be done soon.
The following 4 users liked this post by Ken Rose:
#9
So the head bolt threads issues seems to finally be resolved. After using the Time-Sert kit to replace the threads on the damaged bolt I began to reassemble the head again. I made it to the first 90 degree turn on the repaired bolt and it held. I moved to the second bolt and the threads pulled out of the block. I took it back apart and used the Time-Sert kit to replace all 10 inserts in the drivers side of the block. After that I put it back together and tightened all the bolts to only the first 90 degree rotation. I was not going to risk having the insert pull out of the block because then it would be game over. I had purchased a timing chain / tensioner kit several months earlier and proceeded to install that. When I went to install the large chains they did not fit. The chains that came off were similar to a bicycle chain with links. The chains that came in the kit were of a different design and appeared to used on gears with more teeth or something. Regardless, I installed all the timing parts and reused the old large chains. After getting it all back together (with the fuel pump relays out) I primed the engine several times for 15 to 20 seconds to get oil into the tensioners. It was finally time to bring her back to life! I cranked her over and to my dismay it wouldn't start. It didn't sputter or have any indication it was going to fire up. I pined open the Schrader valve on the fuel rail, turned it over and nothing... So then I got to order a new fuel pump and pull the gas tank out of the car. After reading several stories of the horror show trying to get the fuel lines disconnected under the car I was not looking forward to the job. I jacked the car up, slid under and located the fuel lines (using an empty antifreeze bottle as a pillow makes the job much better too). I purchased a fuel line removal kit from Amazon and used the 5/16 disconnect tool to get the lines off in about 30 minutes. It was not nearly as bad as I was expecting. So I replaced the fuel pump, put the gas tank, battery and relays back in and the whole job took about 2.5 hours. After that the car fired right up and runs great. I ended up having a small oil leak from the drivers side rear valve cover and a pin hole leak in the expansion tank coolant line. The valve cover is off and I will put a dab of black RTV in the corner where it is leaking. The valve cover gasket has little circular tabs where the bolts go through and that got pinched during assembly. I ordered up the coolant line from PartsGeek tonight so hopefully the car will finally be done soon.
That had to be gut wrenching turning those head bolts! I cringed a little/lot.
Good for you and job well done. Bob (aka motorcarman) is the man,,, and gives it to you plain!
Good show!!!
#10
#11
#12
The MORSE style 'silent-running' primary chains are only used on the very late 4.0 liter AJ27 engines.
The early AJ27 and all AJ26 use the common 'roller' chains.
A different oil pump, engine block, oil pick-up, VVT units, crank sprockets and guides are used for the MORSE chains.(not interchangeable)
The early AJ27 and all AJ26 use the common 'roller' chains.
A different oil pump, engine block, oil pick-up, VVT units, crank sprockets and guides are used for the MORSE chains.(not interchangeable)
#13
The MORSE style 'silent-running' primary chains are only used on the very late 4.0 liter AJ27 engines.
The early AJ27 and all AJ26 use the common 'roller' chains.
A different oil pump, engine block, oil pick-up, VVT units, crank sprockets and guides are used for the MORSE chains.(not interchangeable)
The early AJ27 and all AJ26 use the common 'roller' chains.
A different oil pump, engine block, oil pick-up, VVT units, crank sprockets and guides are used for the MORSE chains.(not interchangeable)
#14
The following 6 users liked this post by Ken Rose:
BobRoy (05-30-2021),
CA Jag (07-10-2021),
Markel (05-30-2021),
michaelh (05-30-2021),
motorcarman (05-30-2021),
and 1 others liked this post.
#15
Ken,
I just finished having Heli-coils installed on 3 of my Head-Bolts....This after my Radiator, Water Pump and all but one Radiator Hoses Blew-out....The cause of course was the 2 Head Bolts on 1 side and 1 Head Boll on the other decided to pull-out...Thus allowing the Engine Compression to enter the Water-Jacket of the Engine and pressurize the system....This caused the Radiator to blow--out along with the Hoses and other Water-Jacket related items......In case you didn't know.....The Hoses for an XKR cost well over $600.00, plus the cost of the Radiator and Water Pump! I had those Heli-coiled and all three accepted the 90+90 Head Bolt tightening procedure....along with the other Bolts which were all replaced and torqued
I certainly hope that your only torqueing to 90 degrees procedure will hold.....I surely wouldn't want to get on it very hard under the circumstances....If those Bolts pull out of the Block again.....You will require a new Block, Bolts, Head Gaskets and no telling what all! Basically a new Engine.....I certainly wish you good Luck with your rebuild! That's a pretty little Red Convertible and hopefully everything will hold together! as your next Engine repair will be a costly one! Makes me wonder about using an Aluminum block...My repair was not cheap and the problem was strictly Aluminum!!!
Billy Clyde @ Cinco Ranch
Last edited by bcprice36; 06-01-2021 at 12:24 AM.
#16
And the saga continues. After putting the new coolant line on and fixing the leaking valve cover gasket the car was running great. I didn't have registration or insurance on it so I was only driving it around my neighborhood to make sure there were no leaks or issues. After driving it for about 20 minutes or so I pulled in back into the garage to inspect everything. During that point I removed the expansion tank cap and noticed that the coolant was low. I topped it back off and everything else looked fine. I took it out again for about 20 to 30 minutes then checked the coolant and again it was low...At this point i really started looking around for any leakage on the back of the engine that just may not be making it to the ground, I found nothing. I used a coolant bleeder funnel and ran the car for about 30 minutes with that on there. During that time I would occasionally see an air bubble release. I figured oh good, there was just some air in the cooling system and it's all out now. Put everything back together, got temp tag and insurance and took it out on the road. I made it about 10 miles from my house and started to smell coolant. Soon after that the temp started to rise and I immediately pulled over. At that point there was coolant leaking from the passenger side front tire area where the overflow tank is located behind the fender splash guard. I figured that tank must be cracked and that's why it was losing coolant. I got the car back to my house and removed the splash fender splash guard to inspect the overflow tank. I could not see any obvious damage or cracks and it appeared that the coolant was being pushed out from the top of the tank. This is when I knew I had a big problem. Since I only had replaced the drivers side head gasket I focused my attention on the passenger side. I removed the spark plugs, expansion tank cap, thermostat housing cap and performed a cylinder leak down test on each cylinder and nothing appeared to be wrong. Then I checked the other side and again everything seemed fine. After racking my brain trying to figure out what might be wrong and not coming up with anything I went to the local auto parts store and picked up a bottle of Blue Devil head gasket sealer. I have never used a head gasket sealer before and really didn't want to but I was running out of options because I had no idea where the coolant was going other then assuming is was being consumed by the engine. Before using the Blue Devil I decided to give it one more shot with the leak down tool. This time, I stared with cylinder 1 at TDC, attached the tool and dialed the air pressure up to 40 - 50 psi. I repeated this process on cylinder 2 and then 4. I was losing hope and was about to give up. I decided to do cylinder 3 just for the hell of it and within 4 to 5 seconds I was getting air bubbles at the thermostat housing! Needless to say I was very excited to finally get an indication of where the leak was actually coming from. I ended up returning the Blue Devil and tore the engine back down to removed the passenger side cylinder head. As of today the cylinder head is at the shop being reworked and having new valve stem seals installed and I will change the head gasket. Considering what I went through on the drivers side when I was reassembling the head with the threads pulling out I think I may just put inserts in the passenger side as well. Some of the bolts didn't feel very good when they were coming out, haven't decided 100% on that yet or not.
#17
#18
The following users liked this post:
motorcarman (07-09-2021)
#19
Welp, it's been a while now so I thought I give another update on this car. After removing the passenger side head and brining it to the shop I decided to install Time-serts in all of the head bolts in the block. All of them went in without any issues except for one. I would tap out the holes using the supplied tap, spray it out with compressed air, then spray it with brake cleaner, then spray it out with air again. After that I would cut the new threads, repeat the cleaning process and then install the insert with red Loctite. Once I finished using the insertion tool I would measure down to the top of the insert to make sure it was seated all the way in. This worked great on all but one. After I installing the insert I started to remove the tool. It was very tight and as I was removing it and I could tell that the insert was backing out some at the same time. At this point there was nothing I could do except continue removing the tool, which I did and it came out while the insert remained in the block. I measured down to the top of the insert and it was a few mm higher than all the rest but not terrible. I put the cylinder head back on and just like on the drivers side I torqued all of the bolts to the recommended values and then rotated them an additional 1/4 turn (not 1/4 then 1/4 for 1/2). They all held tight, including the one that didn't seat properly during installation. While I was deep into the engine a second time I decided to order the correct timing chain set this time and I replaced all the chains, guides and hydraulic tensioners. Let me tell you, the correct guides were much easier to install this time so that part went much quicker. I put the engine all back together and it fired right up. As of today I have put almost 600 miles on it and have not lost any coolant, the oil is clean as can be and there are no drivability issues or engine lights. On a side note, while I had the car disassembled I also decided to replace the upper front strut mounts. The original ones were completely deteriorating and there were big chunks of the compression material building up around the top strut nut. Changing these out made a big improvement in the way the car drives and greatly reduced road bumps from transferring up through the steering wheel. The only issues I have left to deal with is an air bad code 44 - Impact sensor circuit fault – pass side which i posted a separate thread on looking for help on that. It closing I must that it is nice to finally be driving this car instead of having it taking up a spot in my garage. =)
#20
Ken,
Sorry you had to go back in and fix the other side...In my situation, I changed both Heads, as I had had both of them Ported and Cut .20...I thought that just maybe the extra compression had something to do with the Threads pulling-out....So, I'm back to Stock Heads! I also have both Pulleys changed so that the bottom one is much larger and the top one is a good deal smaller, which creates a bunch of Boost.....All that worries me with these Heli-Coils....so maybe by lowering the compression a little bit......Maybe I won't have the Bolt problem anymore.....All this has been very costly and I'm not real Happy about it! If it goes again so goes the Car! Anyway, that's the way I feel today.....Can you believe that the Water Hoses and Radiator that blew-out cost over $1,200.00 Bucks? Good Luck with your re-build! I hope everything stays together this time!
Billy Clyde @ Cinco Ranch


