
After The Green Shower - Console Cleaning
#1
 03-03-2013, 05:54 PM

After having the green hydraulic fluid leak into the overhaed console and into the lights I had two courses of action. Buy a used one ($100 to 200 on Ebay) or see if I could repair it myself. If I broke it or it couldn't be fixed I would be buying a used one ayways. Here is the start.

The light area had filled up with green death and although some had drained out it was too ugly for me. I removed the console (proceedure is the same as replacing the mirror) from the roof and unplugged the single connector.
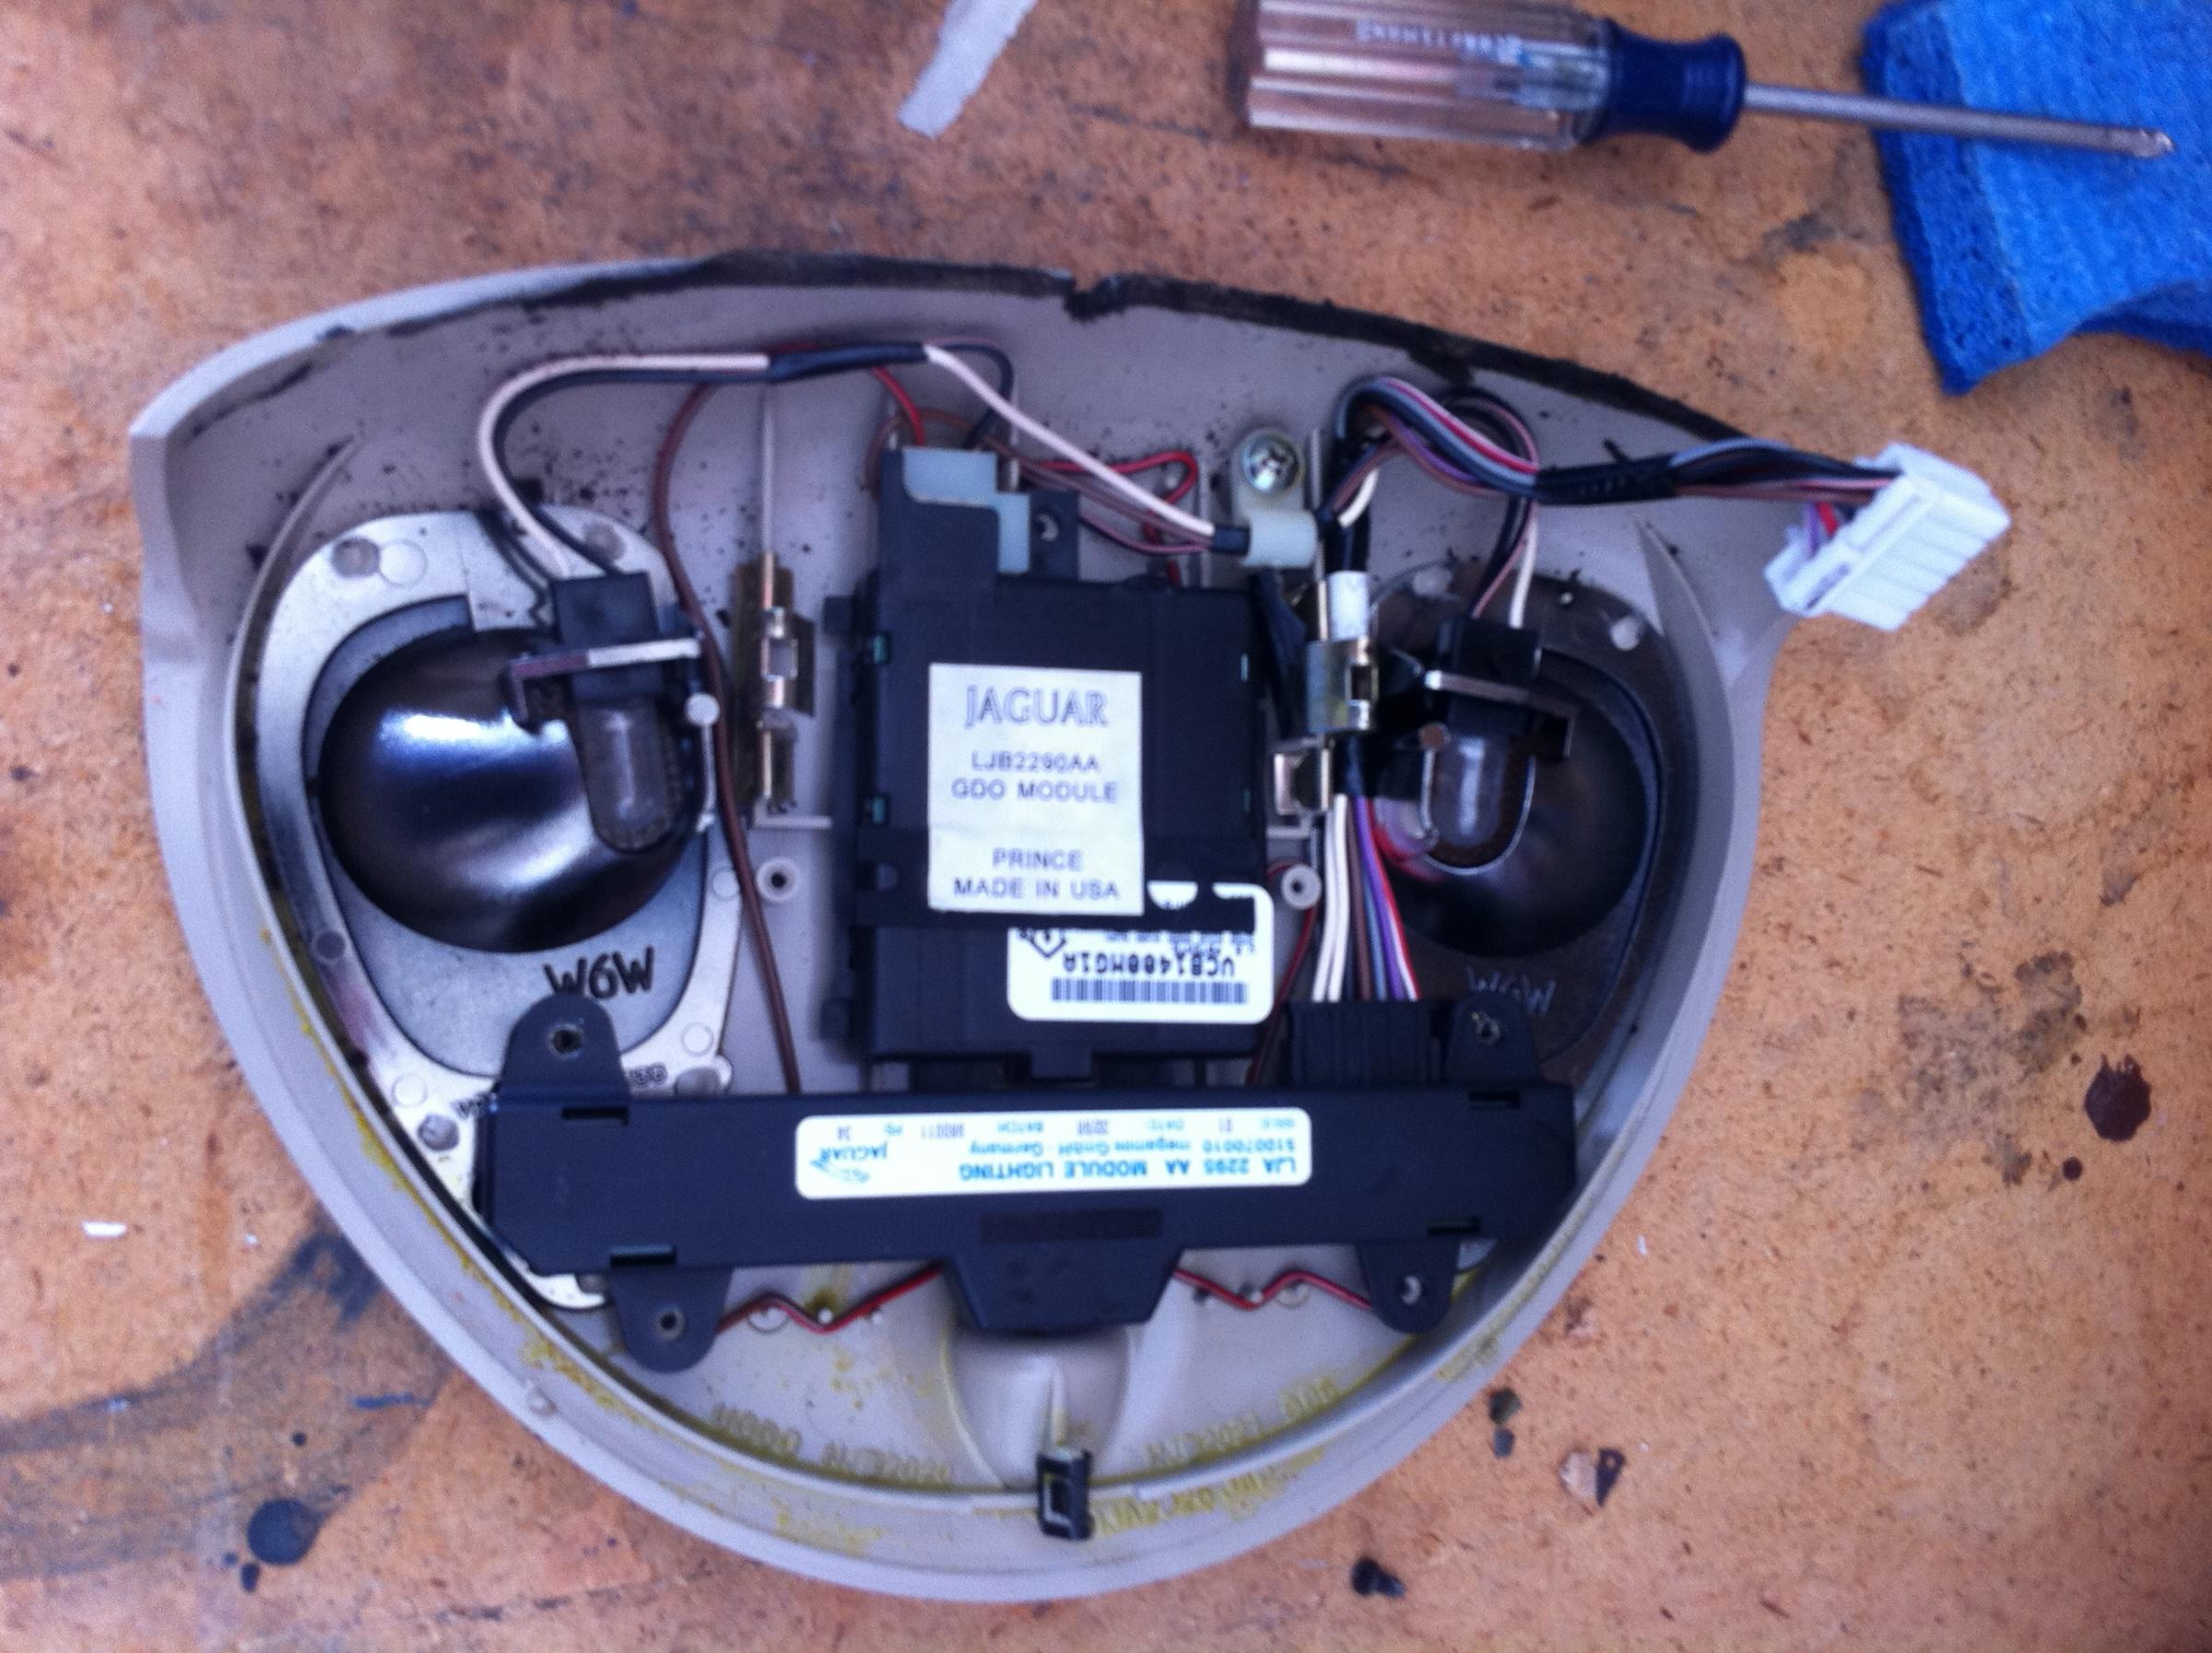
There are 7 screws holding in the Light module and GDO module plus 1 screw for wire management. Unplug the lights and lift out as one package. Be aware of how the GDO antenna is routed for reassembly.

Since the fluid would drain I decided to remove the lights. They wee installed by melting the plastic together. Using an Exacto knife I scraped off the top of the plastic weld (5 of them) and carefully pried it away from the console base. There are actually 3 parts to the light and there was green death on every surface.
I tried cleaning with Dawn with limited success and decided to use Goo Gone. Goo Gone worked perfectly and was totally clean in no time.
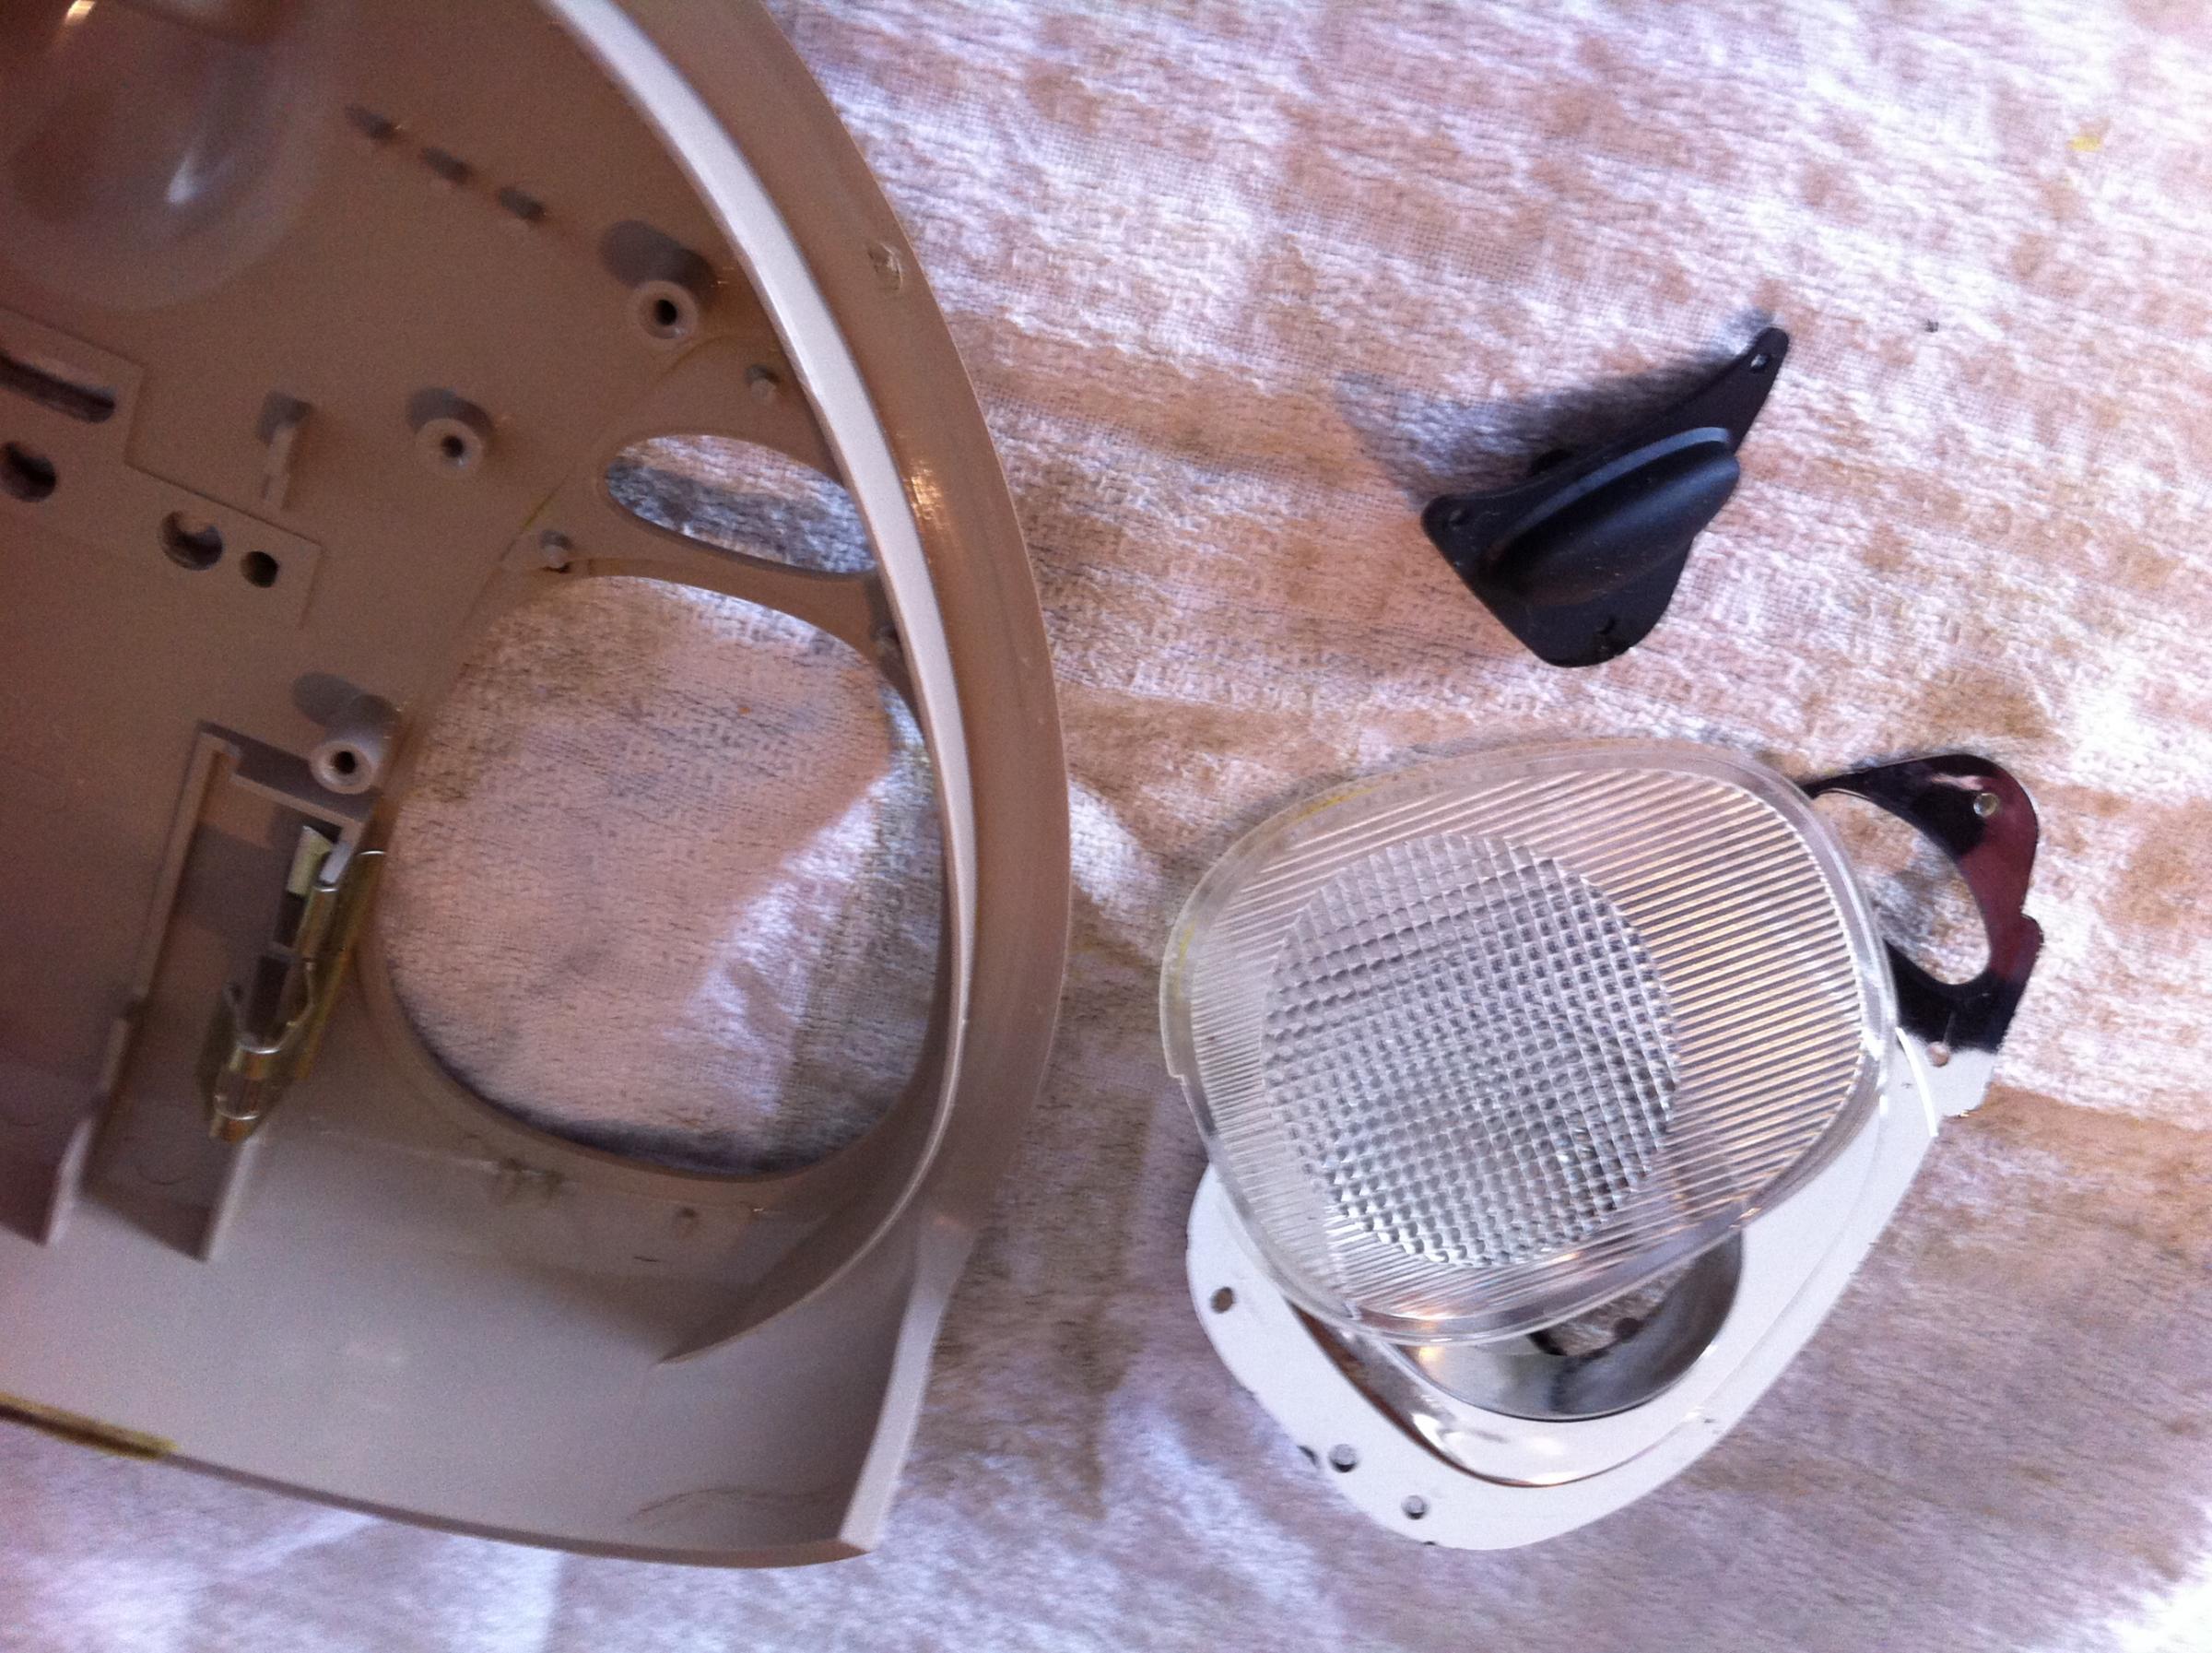
This is the after picture. Do the same process with Goo Gone for the Console base.
To reinstall the light assembly I cleaned up the area and used Crazy Glue where the original plastic welds were. I was a little concerned that when you pushed on the light button i mght break the bond. But, on reassembly found that the light module secures over the button and will hold it tight regardless.
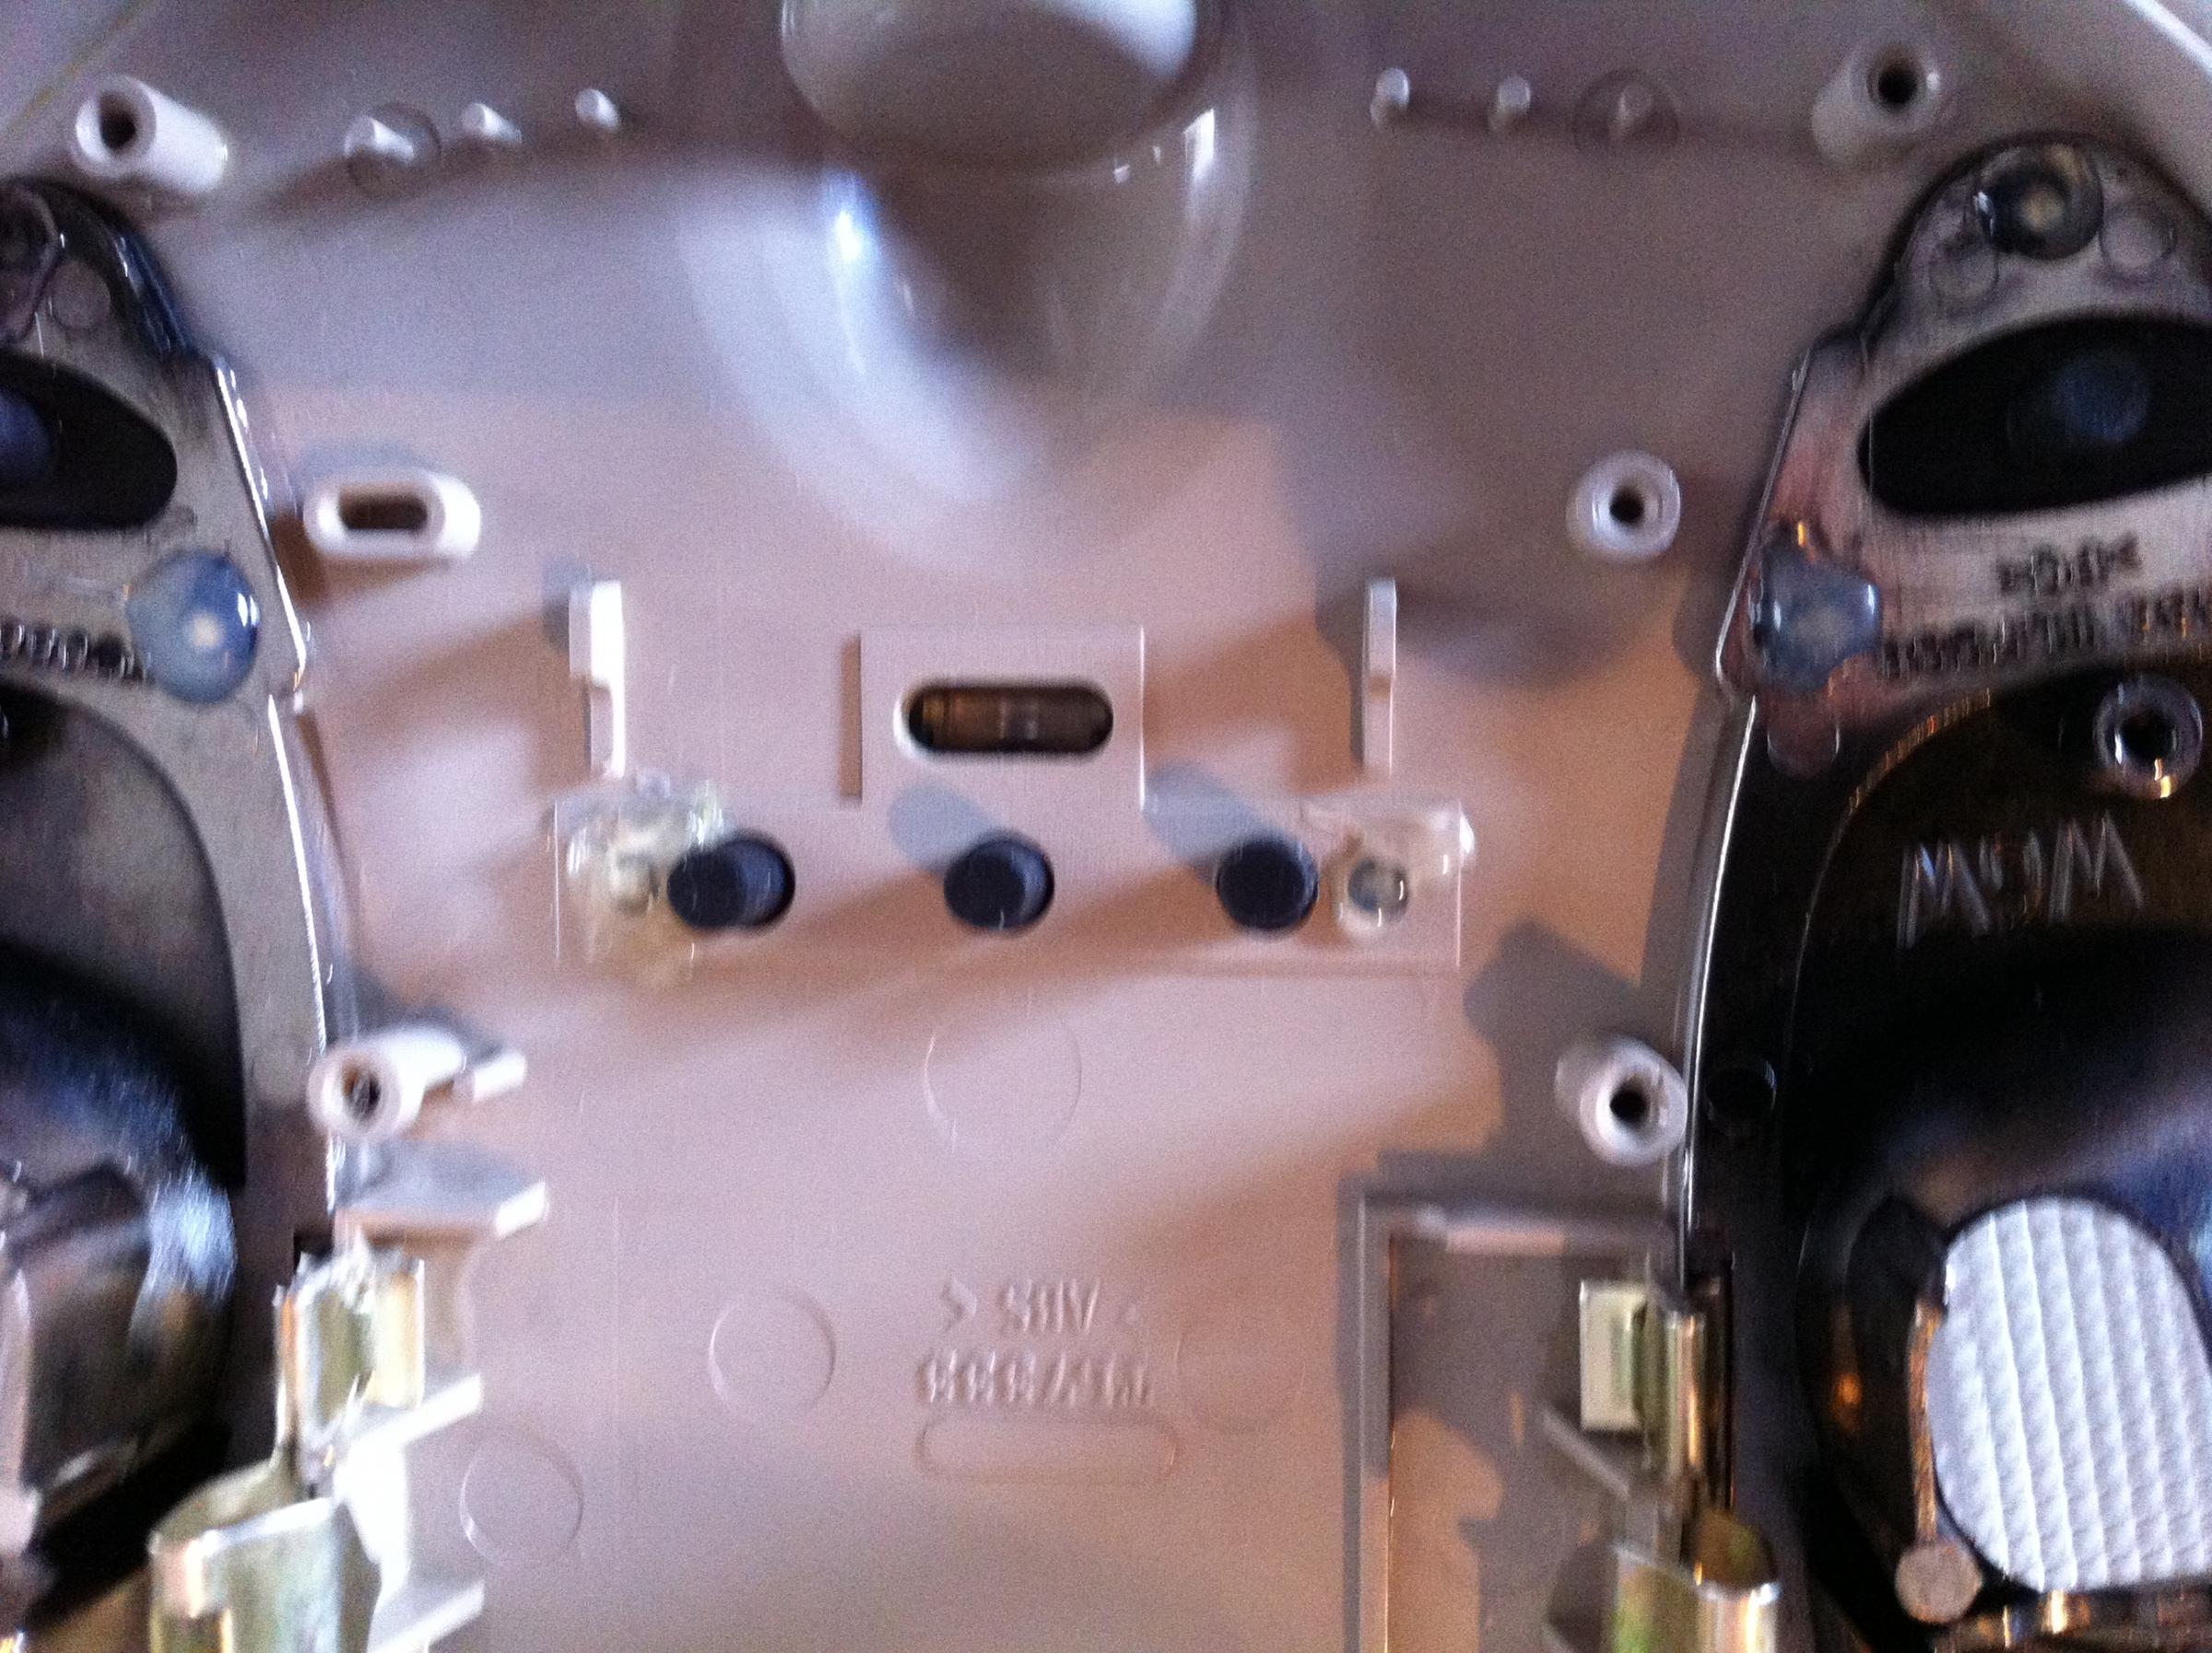
The garage door buttons were a different problem. The green hydraulic fluid causes the rubber button assembly to swell and actually broke one of the tabs off the button retainer. To reassemble the garage door buttons you will need to cut them apart into 3 pieces and trim space between each button so they will fit under the button holder. Put the 3 buttons through the holes, put the button holder over them, flip the console base and back to the Crazy Glue.
After everything has dried you can reassemble the electronics. Start with the GDO antenna (watch the routing) then the GDO module, the light module and snap the lights back in place. Screw it all down and you should have what's below.

I had two black marks that were on the exterior of the console base that i had tried to clean off on numerous occasions. I found the perfect solution in using a Mr. Clean Magic Sponge. and it worked like a charm. I think you can use it almost anywhere.
Saved a couple hundred bucks and learned a little more about my car.
The light area had filled up with green death and although some had drained out it was too ugly for me. I removed the console (proceedure is the same as replacing the mirror) from the roof and unplugged the single connector.
There are 7 screws holding in the Light module and GDO module plus 1 screw for wire management. Unplug the lights and lift out as one package. Be aware of how the GDO antenna is routed for reassembly.
Since the fluid would drain I decided to remove the lights. They wee installed by melting the plastic together. Using an Exacto knife I scraped off the top of the plastic weld (5 of them) and carefully pried it away from the console base. There are actually 3 parts to the light and there was green death on every surface.
I tried cleaning with Dawn with limited success and decided to use Goo Gone. Goo Gone worked perfectly and was totally clean in no time.
This is the after picture. Do the same process with Goo Gone for the Console base.
To reinstall the light assembly I cleaned up the area and used Crazy Glue where the original plastic welds were. I was a little concerned that when you pushed on the light button i mght break the bond. But, on reassembly found that the light module secures over the button and will hold it tight regardless.
The garage door buttons were a different problem. The green hydraulic fluid causes the rubber button assembly to swell and actually broke one of the tabs off the button retainer. To reassemble the garage door buttons you will need to cut them apart into 3 pieces and trim space between each button so they will fit under the button holder. Put the 3 buttons through the holes, put the button holder over them, flip the console base and back to the Crazy Glue.
After everything has dried you can reassemble the electronics. Start with the GDO antenna (watch the routing) then the GDO module, the light module and snap the lights back in place. Screw it all down and you should have what's below.
I had two black marks that were on the exterior of the console base that i had tried to clean off on numerous occasions. I found the perfect solution in using a Mr. Clean Magic Sponge. and it worked like a charm. I think you can use it almost anywhere.
Saved a couple hundred bucks and learned a little more about my car.
The following 6 users liked this post by DaveC:
beg3yrs (03-06-2013),
dsnyder586 (03-03-2013),
Frog (03-04-2013),
Jon89 (03-04-2013),
joycesjag (03-06-2013),
and 1 others liked this post.
#2
03-03-2013, 07:55 PM
Veteran Member
#3
03-04-2013, 01:56 AM
Veteran member
Thanks for the write-up. I have been trying to buy an ivory console with the UGDO buttons on eBay US for a while, because they are far more common than here in non-UGDO Europe. I would like to try and take the keyfob transmitter I have to open my garage door and somehow incorporate it inside the UGDO console. Having played around with yours, do you think this is a feasible project?
#4
03-04-2013, 10:33 AM
Frog,
The below has a overhead console available in interior color code NED (ivory)
DONALD BRANT [mailto:sabreats@att.net]
found him on the Detroit Craigslist. Wants $100 and it looks like it needs to be cleaned.
I think your idea could work. There is enough room and basicly all the buttons are doing is pressing another button. There is a strap that holds down the GDO module that could be refashioned. My only concern would be the range since you would not have an antenna and you are incasing it the headrail.
The following users liked this post:
Frog (03-04-2013)
#5
03-06-2013, 03:31 AM

My R is at the dealer right now getting the top fixed, warranty. Unfortunately they won't cover the headliner which, according to the dealer has hydraulic fluid on the back of it that will eventually soak through. They want $1000 to replace it, which I don't necessarily want to drop on it right now. They said they would "clean it up" the best they could but I will need to replace it at some time. How did you clean up any that got on your headliner, or does anyone have any suggestions?
#6
03-06-2013, 09:53 AM
I got lucky and my leak was with the roof up and not operating so I had no high pressure spray. I have seen other threads on headliner replacement. I would probably start with topsonline.com. I think they make the headliners and you could have a local shop install it. Certainly way less than the dealer.
http://topsonline.com
http://topsonline.com
#7
03-06-2013, 10:45 AM

My R is at the dealer right now getting the top fixed, warranty. Unfortunately they won't cover the headliner which, according to the dealer has hydraulic fluid on the back of it that will eventually soak through. They want $1000 to replace it, which I don't necessarily want to drop on it right now. They said they would "clean it up" the best they could but I will need to replace it at some time. How did you clean up any that got on your headliner, or does anyone have any suggestions?
Trending Topics
#8
03-06-2013, 11:28 AM
Veteran Member
My R is at the dealer right now getting the top fixed, warranty. Unfortunately they won't cover the headliner which, according to the dealer has hydraulic fluid on the back of it that will eventually soak through. They want $1000 to replace it, which I don't necessarily want to drop on it right now. They said they would "clean it up" the best they could but I will need to replace it at some time. How did you clean up any that got on your headliner, or does anyone have any suggestions?
#9
03-06-2013, 11:30 AM
Veteran Member
#11
03-17-2013, 09:40 AM
Great, thanks for the info. To answer Plums question about consequential damage, when I read the "fine print" of the warranty it specifically says it does NOT cover convertible tops, so I shut up and let them fix it. I didn't want to get into the argument of the mechanics of the convertible top versus the fabric and end up on the losing end and have nothing covered.

Thread
Thread Starter
Forum
Replies
Last Post
mls0036
XJ XJ8 / XJR ( X308 )
24
10-17-2015 10:03 AM
Jaguar Forums Editor
Jaguar Press release
0
09-10-2015 05:08 PM
280zx-turbo
PRIVATE For Sale / Trade or Buy Classifieds
0
09-10-2015 06:29 AM
Currently Active Users Viewing This Thread: 1 (0 members and 1 guests)