When you click on links to various merchants on this site and make a purchase, this can result in this site earning a commission. Affiliate programs and affiliations include, but are not limited to, the eBay Partner Network.
I've just finished my rear subframe refurbishment so I thought I'd share a few pictures and tips on things that worked for me. There are already some great forum write-ups on the main steps involved so I won't repeat those.
Obligatory before ...
during ...
and after shots.
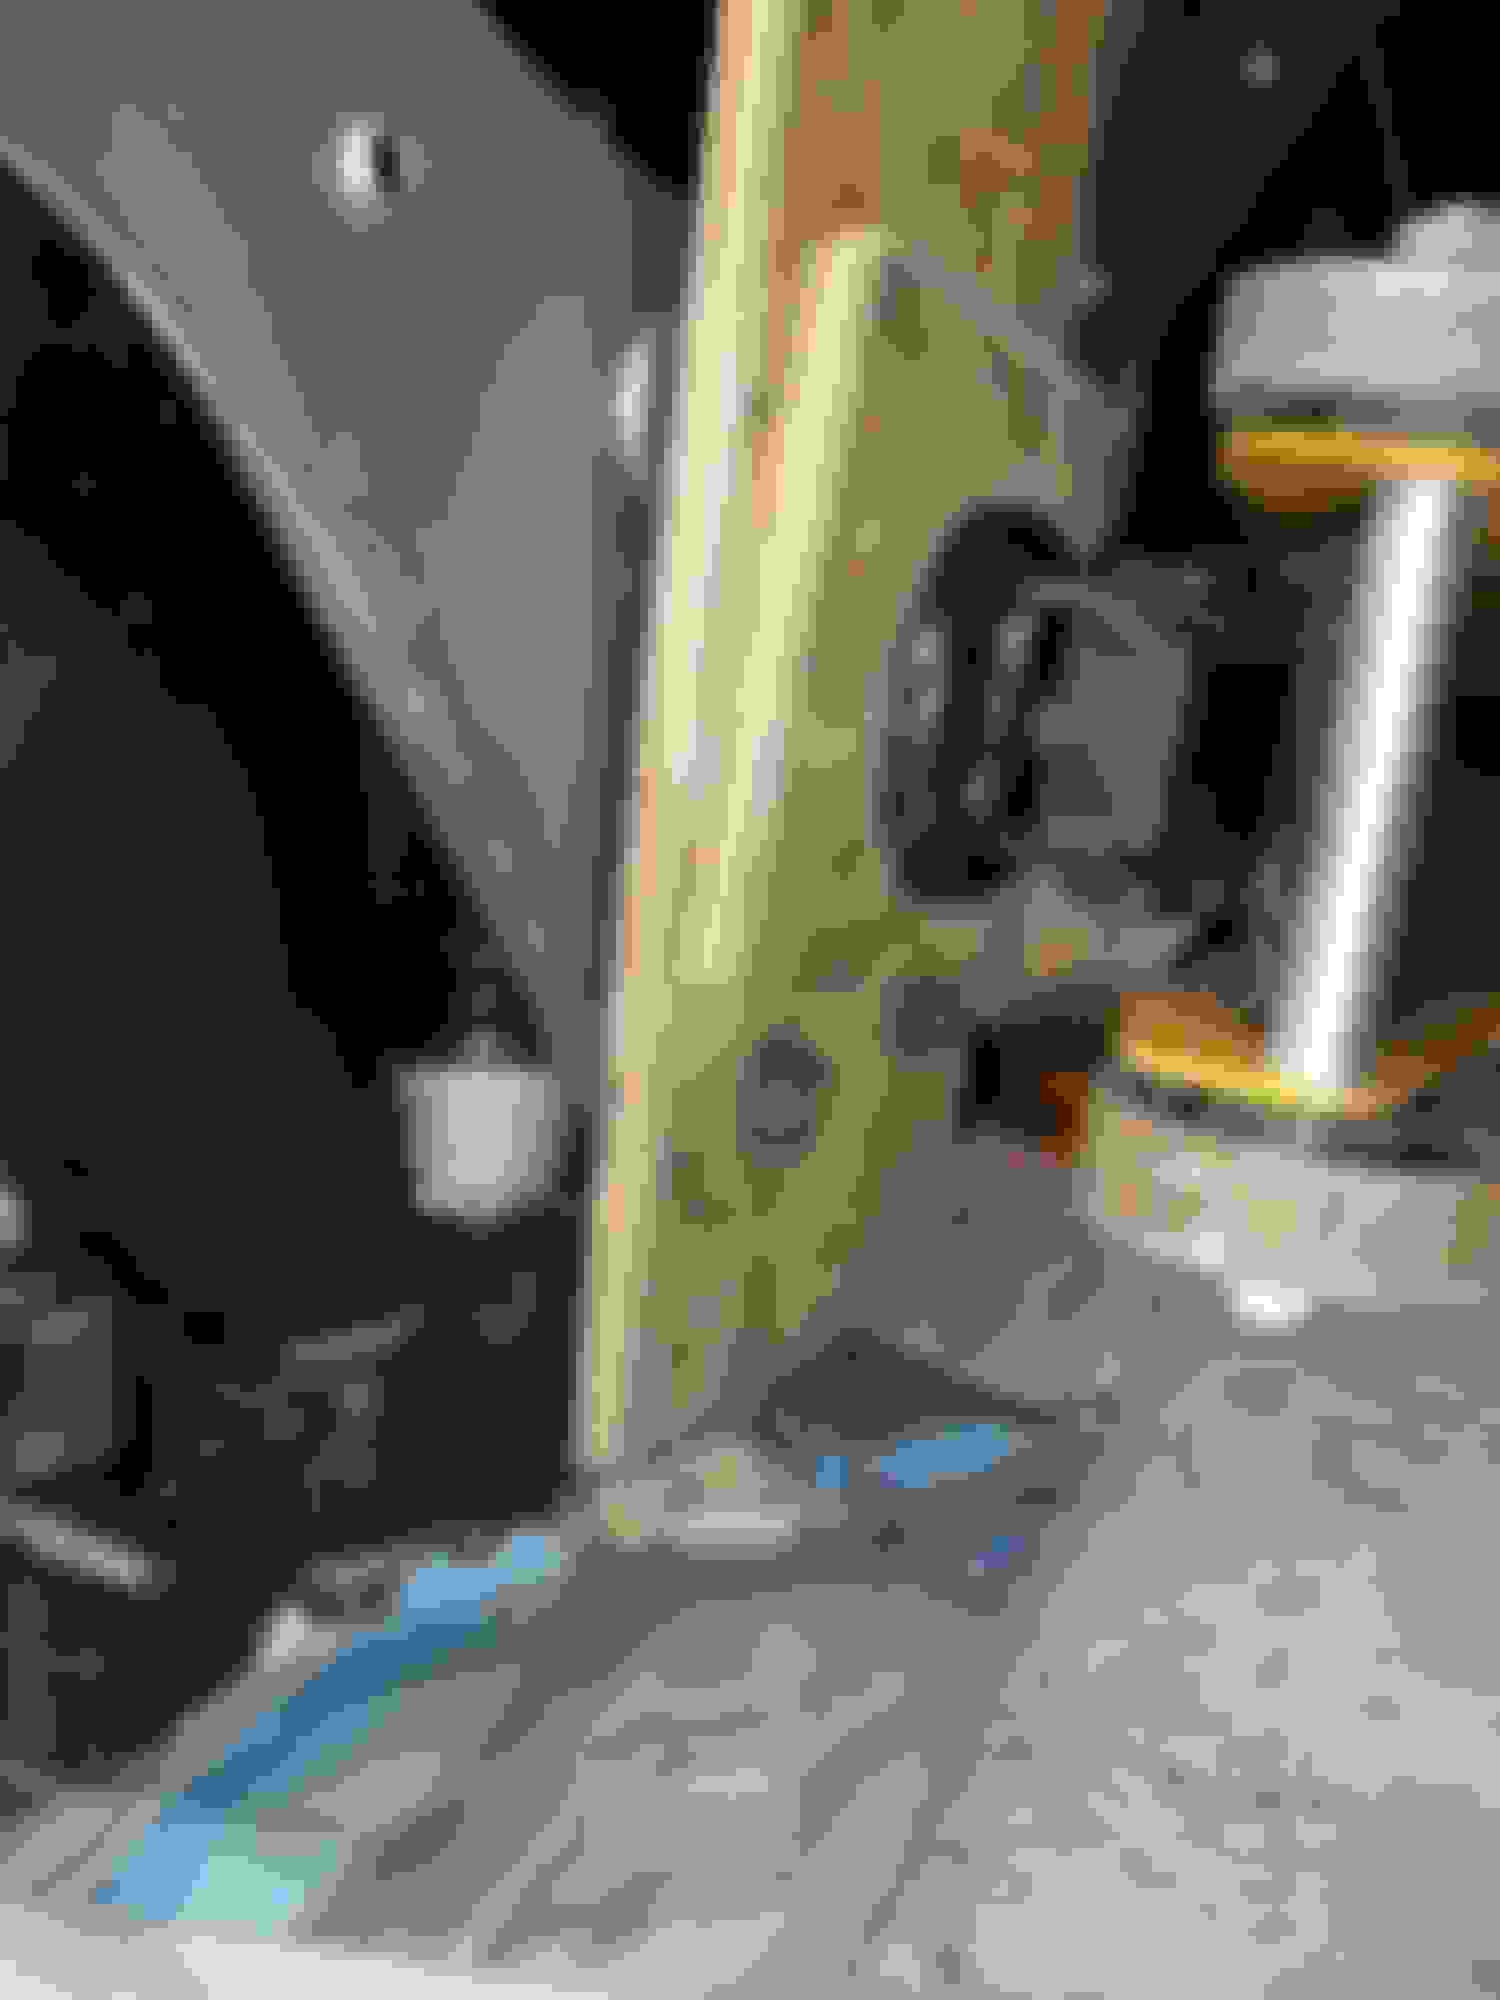
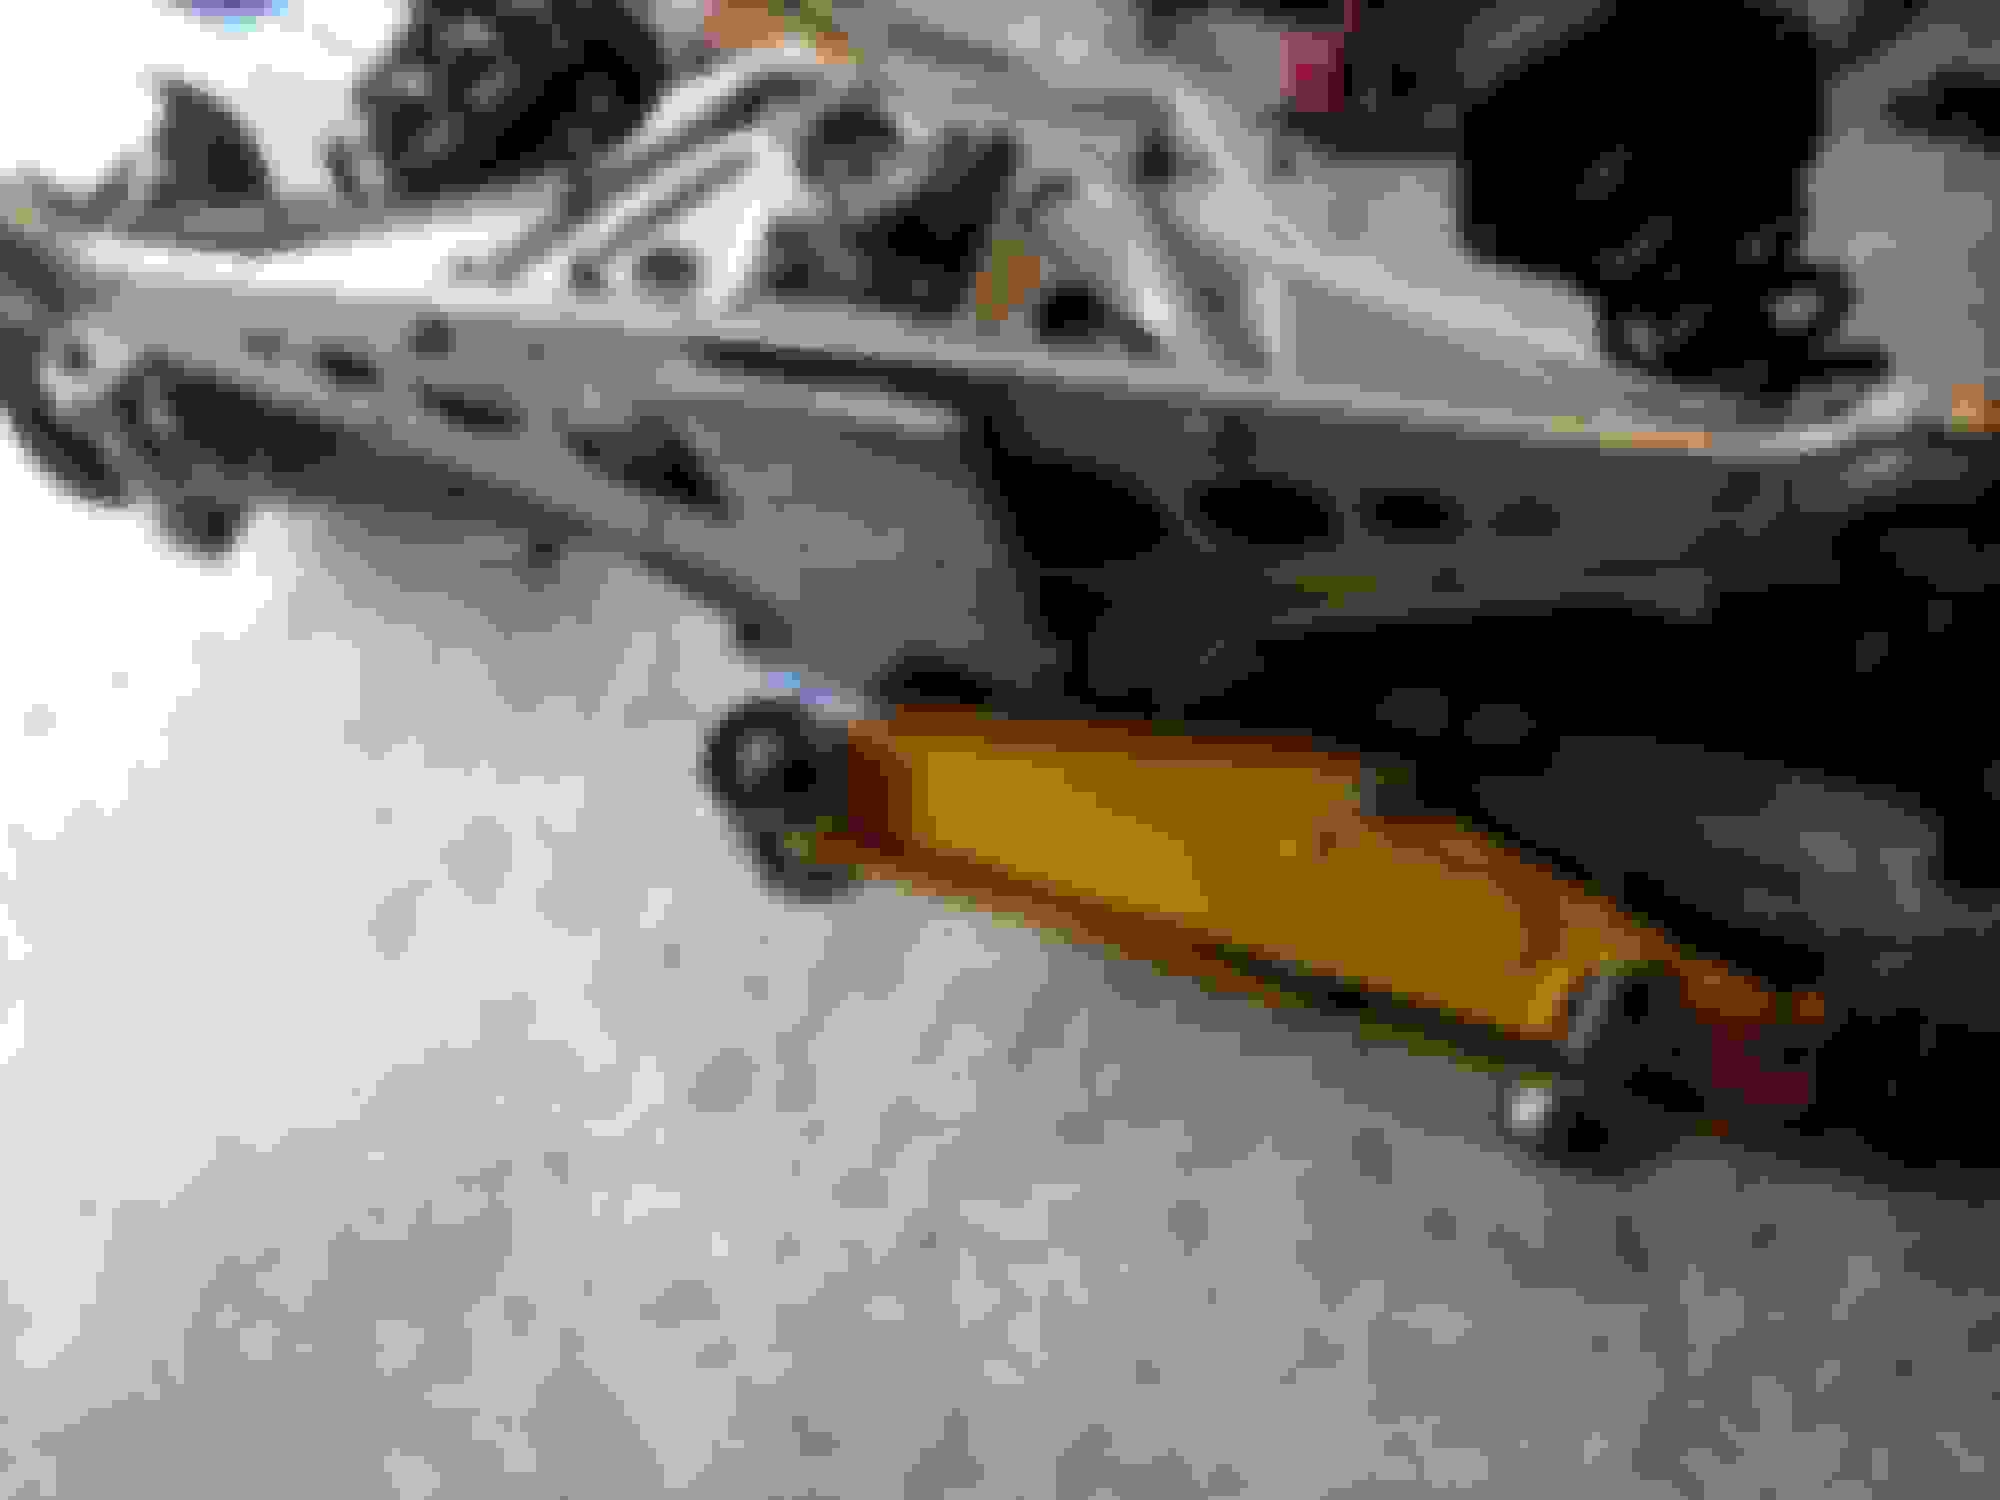
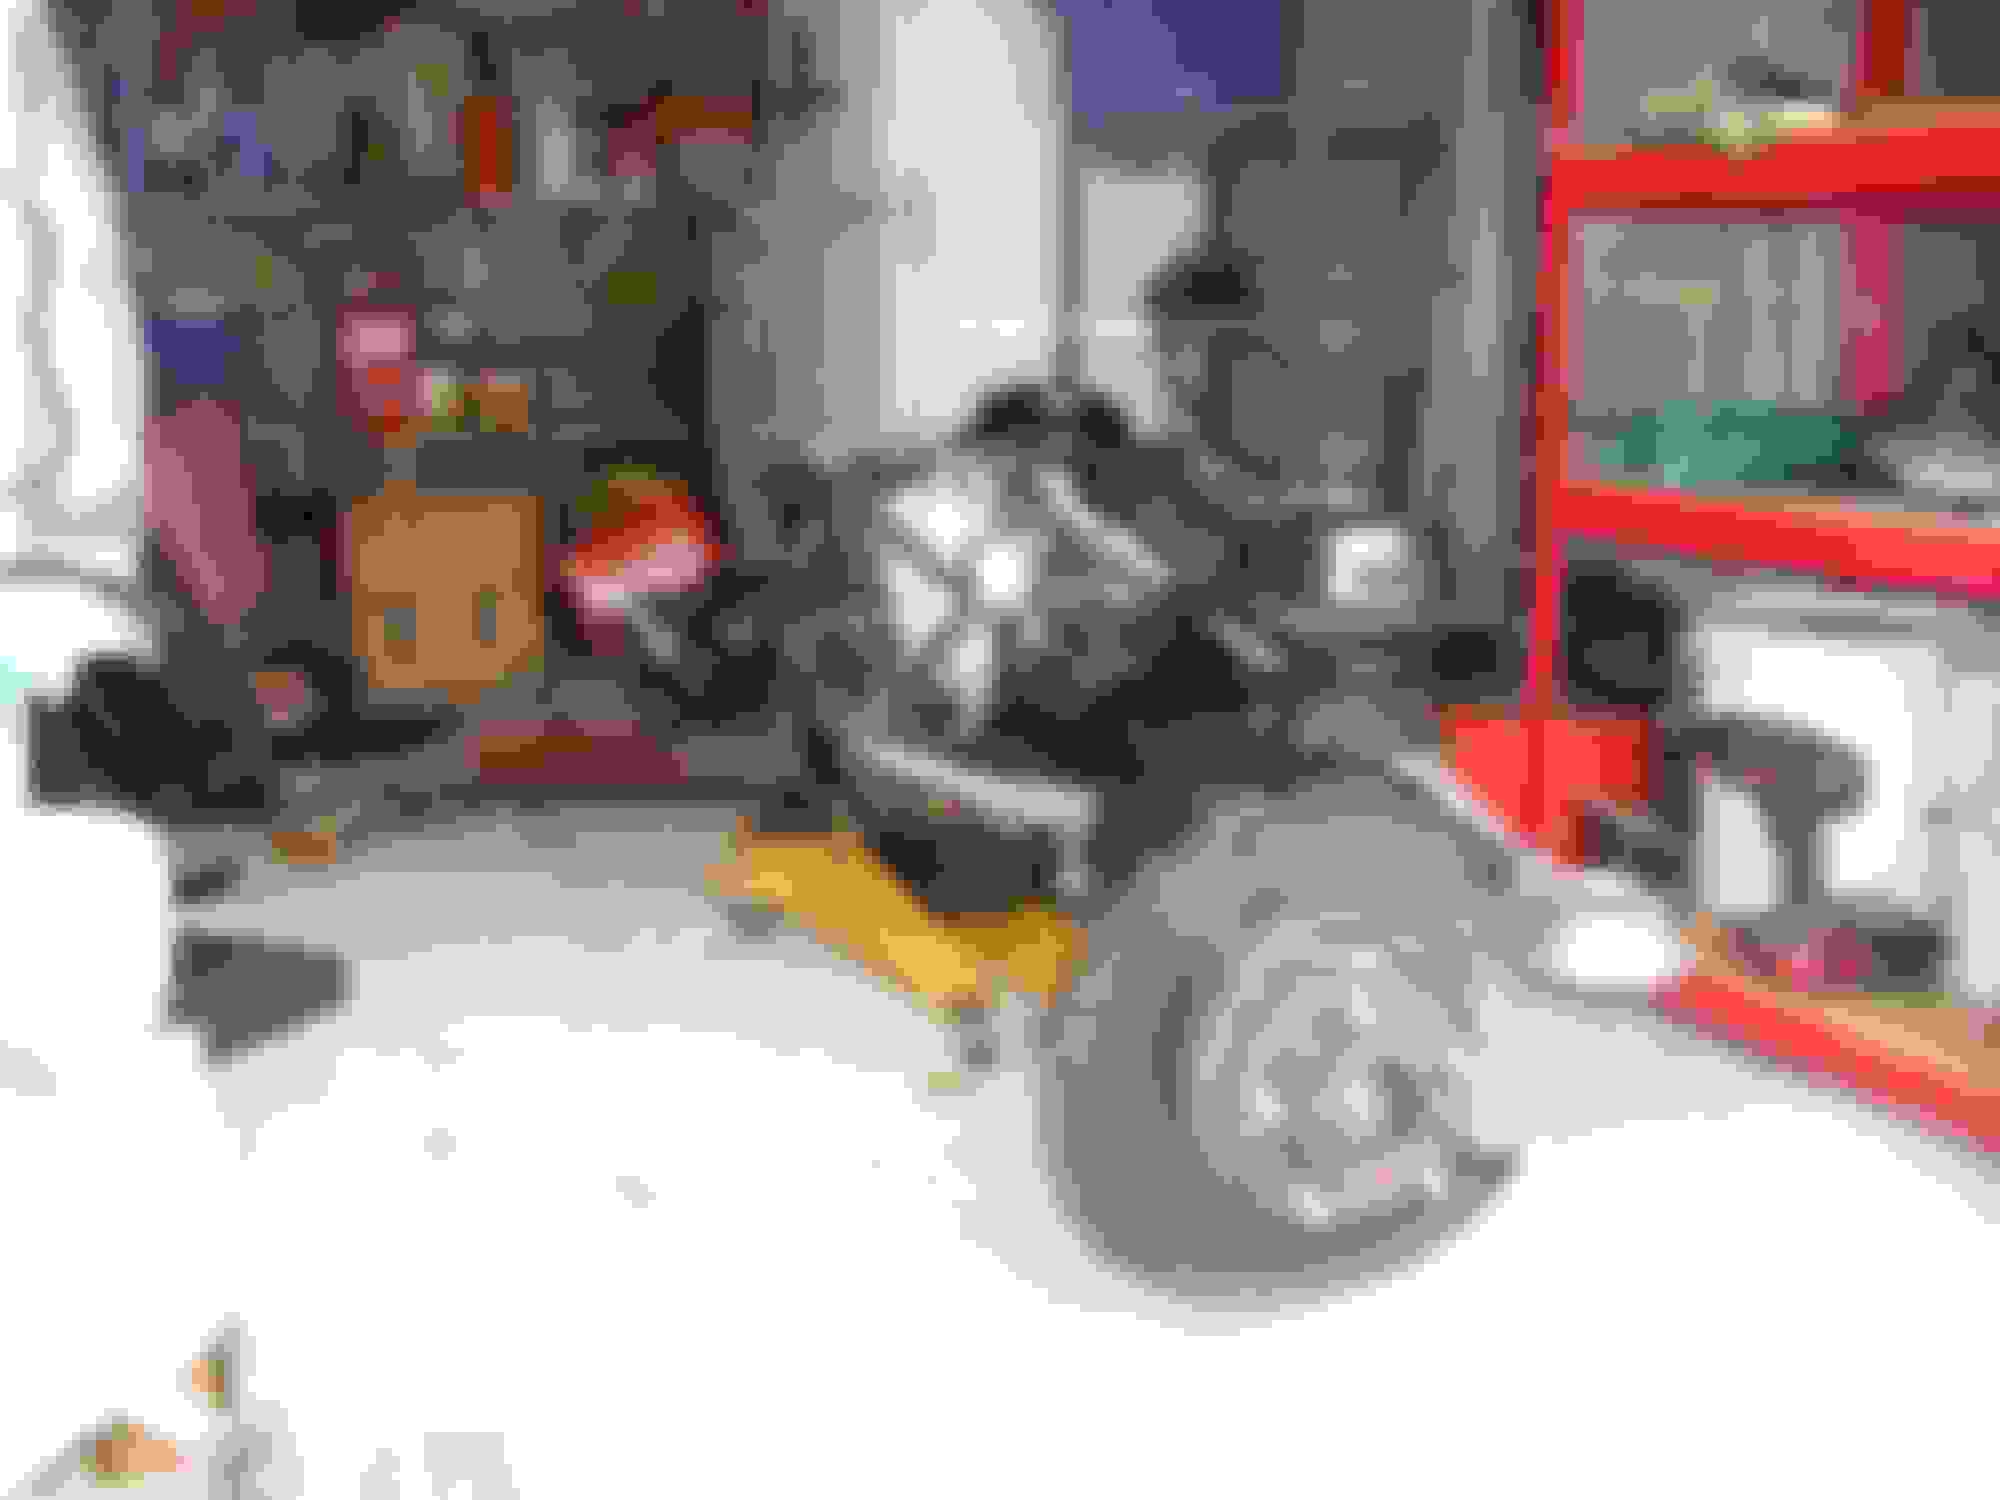
One of the challenges is how to safely support and manoeuvre the subframe - it's very heavy. I came up with a way of bolting the subframe to my trolley jack using a piece of scrap wood.
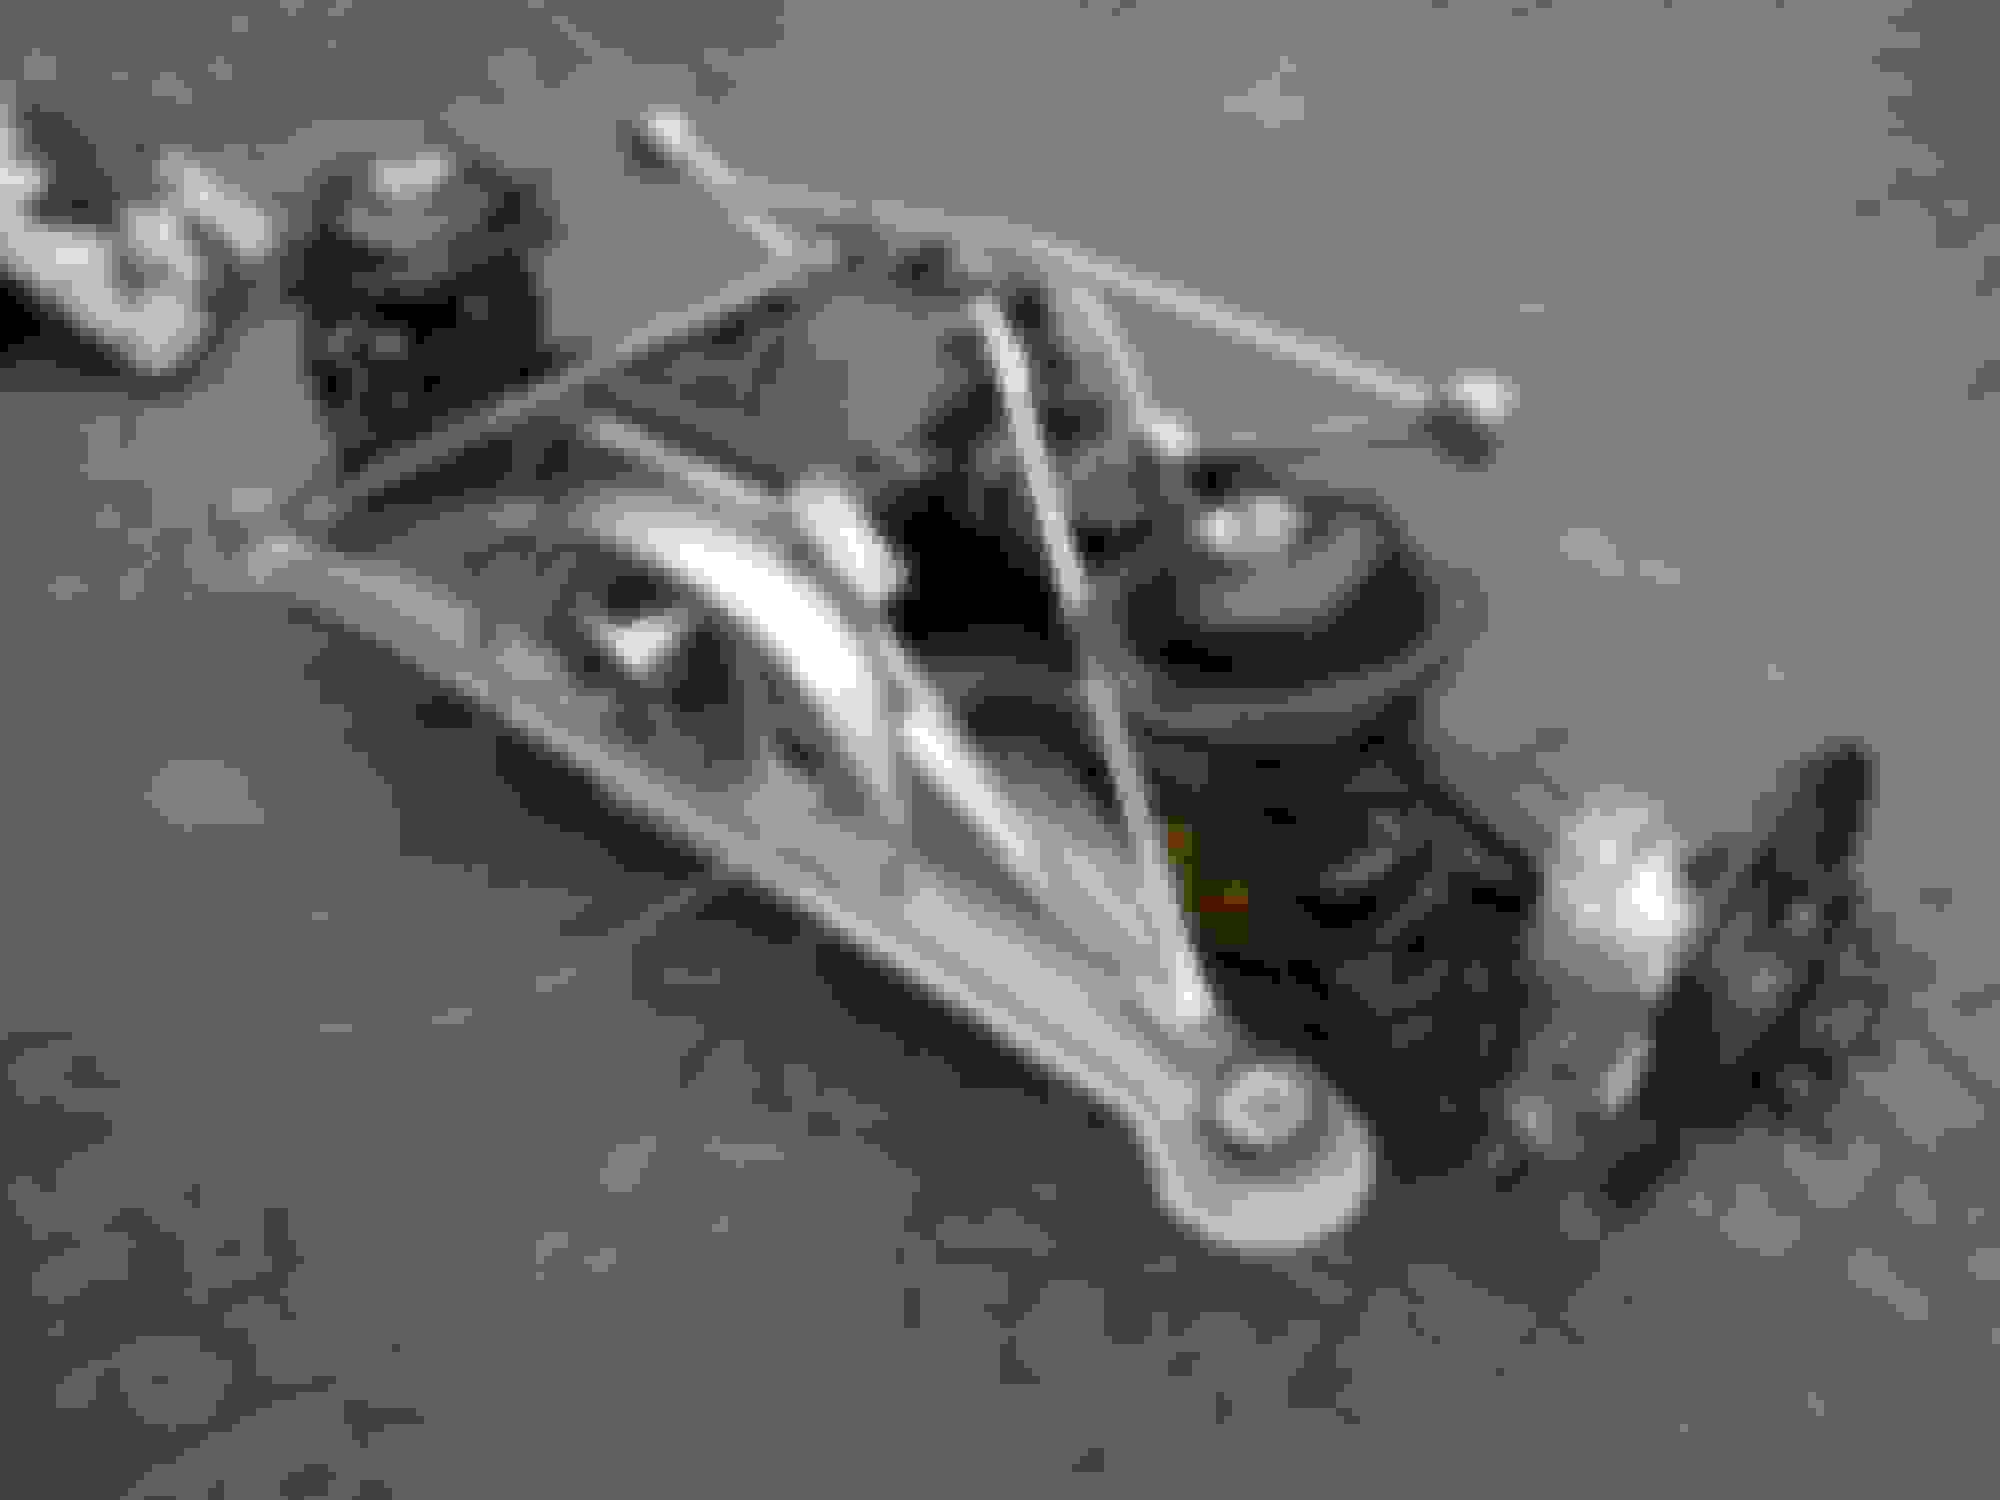
Trolley jack supporting subframe on it's way back into position.
I took these photos when reinstalling the subframe but removal is just the reverse. Roll the subframe onto it's side and remove the four bolts holding the diff to the A frame. There are two long and two short bolts. By using the longer bolts in the rear holes you can bolt a piece of wood to the subframe and trolley jack head. You can just see the nut on the bolt securing the wood to the trolley jack in the photo.
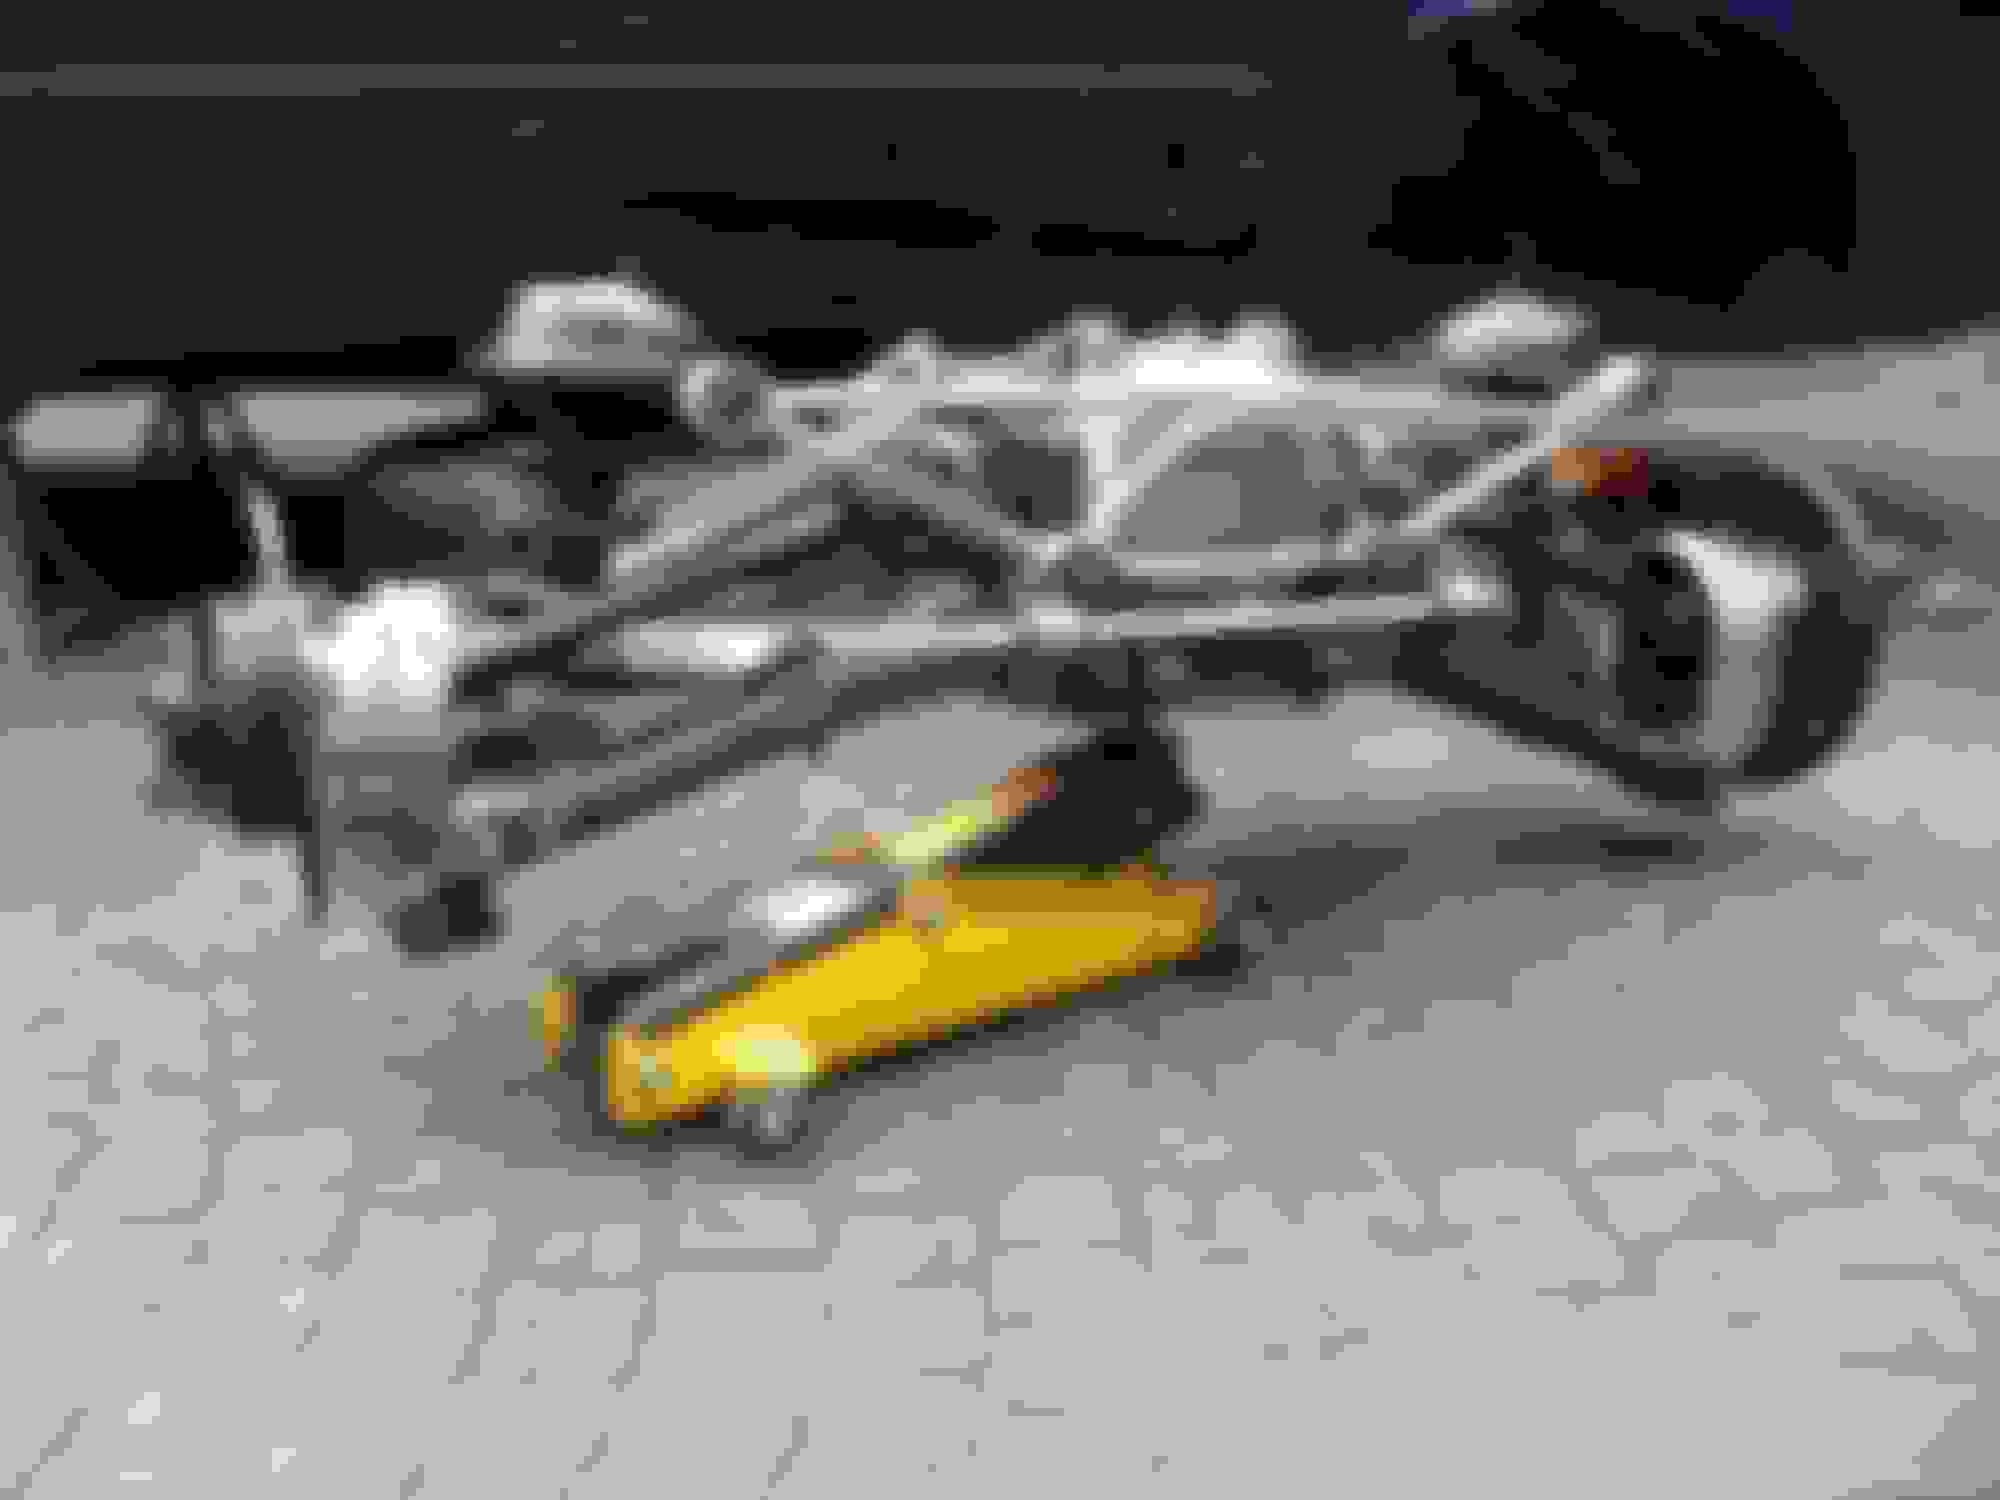
Wood bolted to trolley jack head and then trolley jack and wood bolted to the subframe.
The whole assembly can then be rolled over onto the trolley jack wheels.
Like this. No heavy lifting required.
If you get the head of the trolley jack under the hole in the middle of where the diff attaches to the A frame, the whole unit is very secure and perfectly balanced and I managed to move it around single-handedly.
It probably took me 4 hours to get the unit back in and boxed up. With the trolley jack it was easy to raise the subframe a bit at a time and check for positioning and fouling of the brake lines etc. as you go. The trickiest part is getting the exhaust hangar bolts back in - they are just fiddly to get started. I also recommend removing the studs for the shock 'top hats' before reinstalling the subframe. It's one less bit of alignment to have to worry about whilst lifting the subframe back into position. It's easy to put them in once the subframe bolts are in.
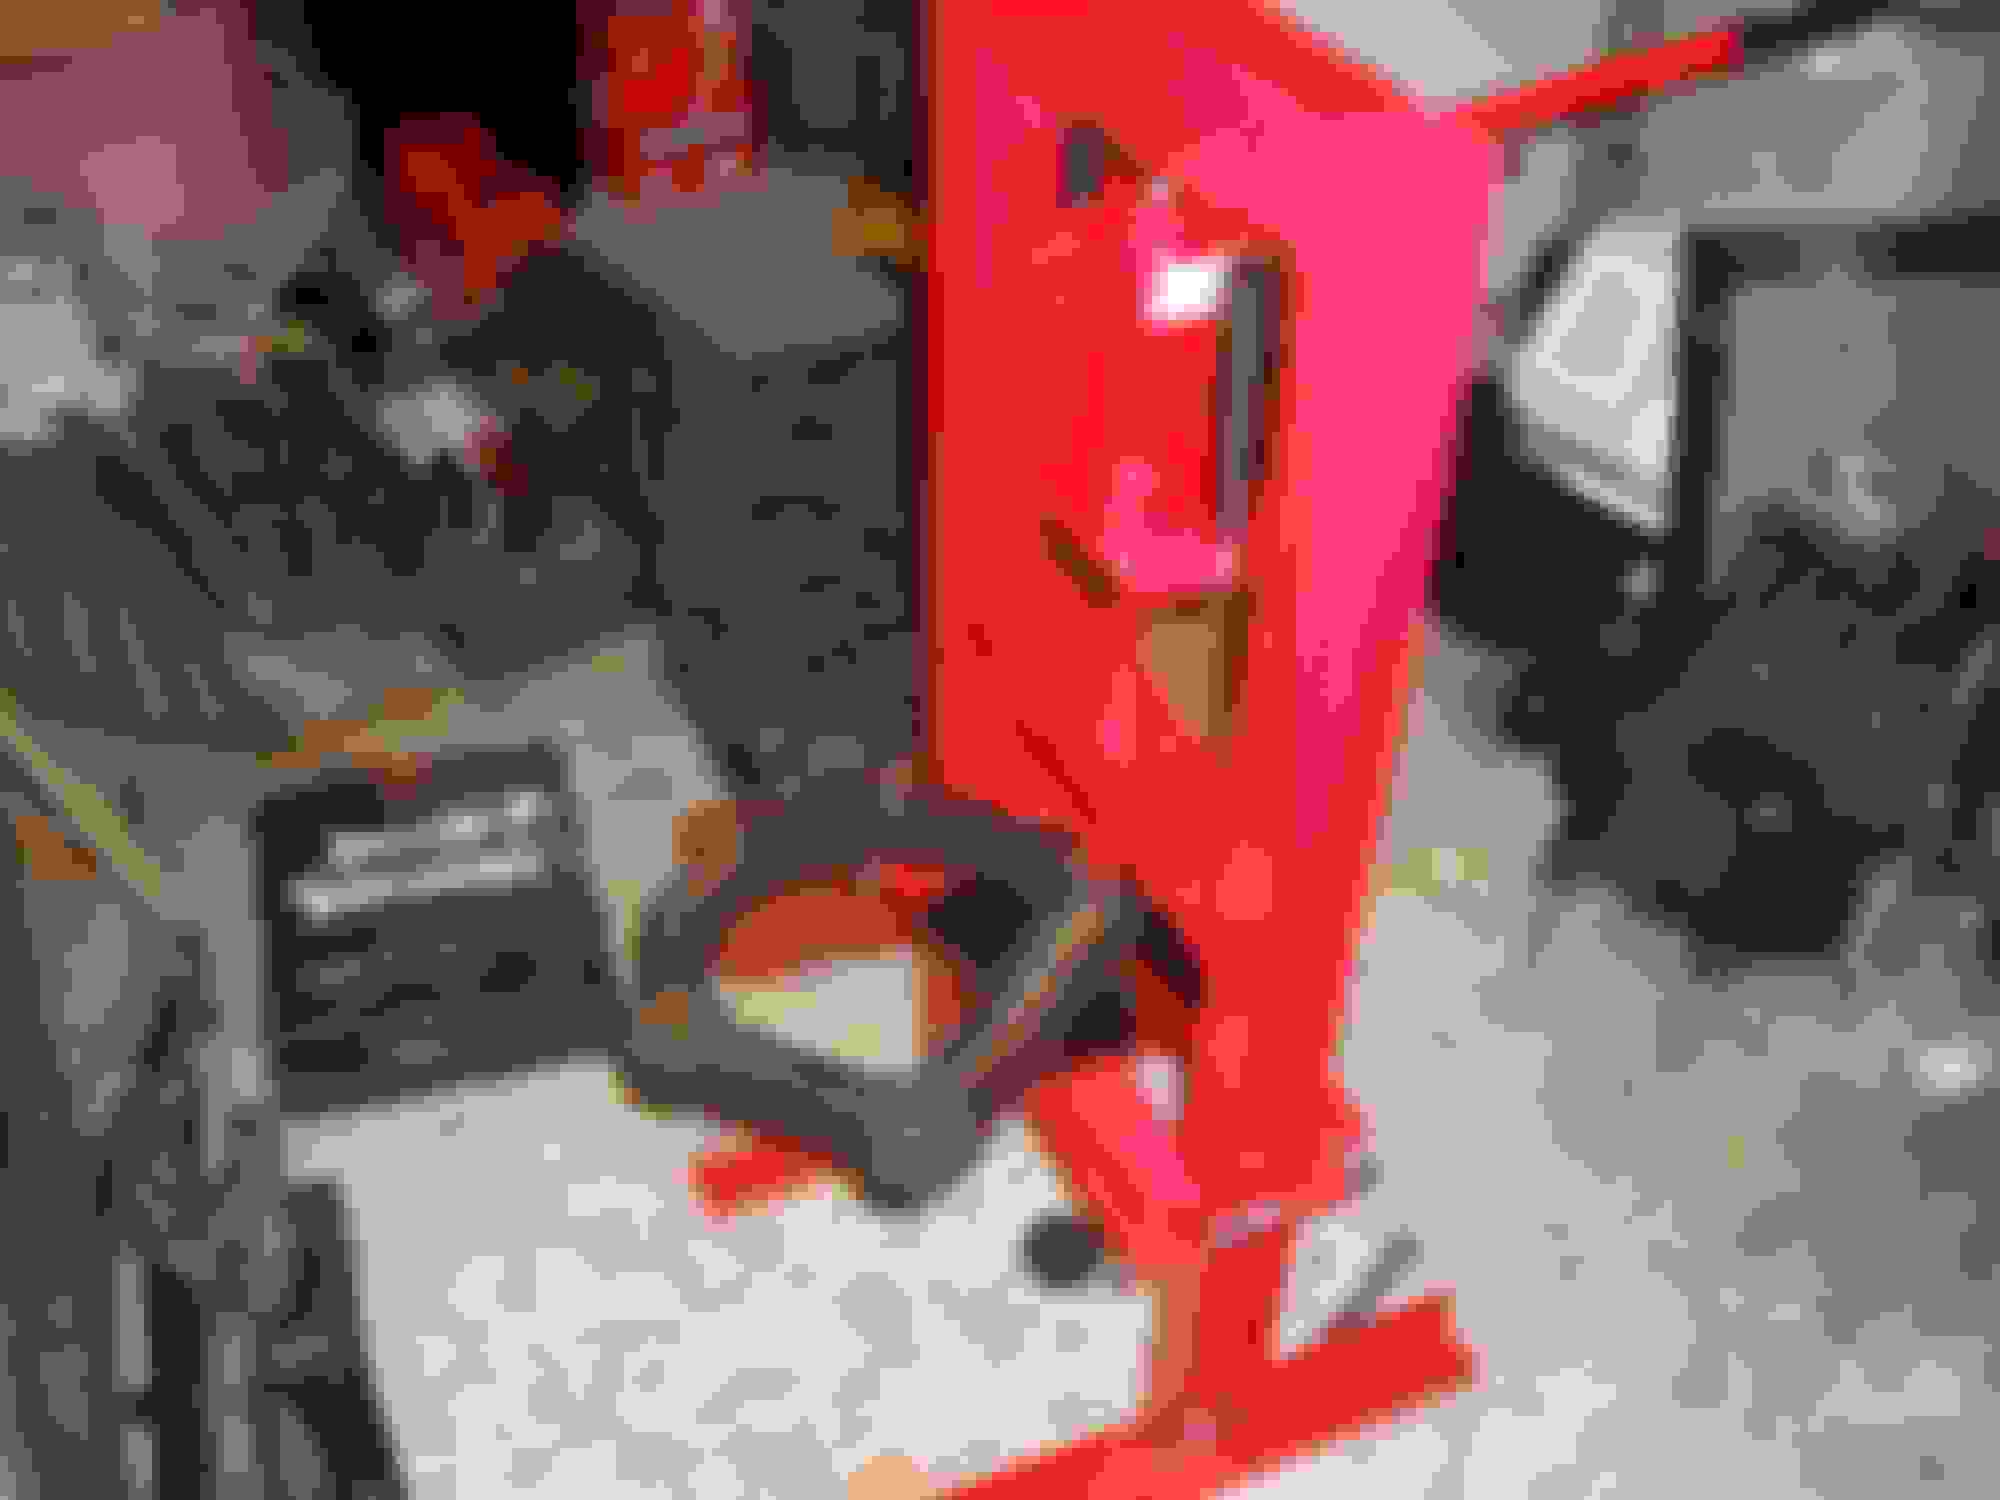
I replaced all the bushes as part of the project (I went with original spec rather than poly bushes) but I needed to buy a 6 ton press to get them in. It was only �59 on e-bay which is what I figured a local garage might charge to do it (I don't have any 'mates rates') and it made the job so much easier. In fact, there is no way the bushes were going in without a press although surprisingly the big A frame bushes were the easiest of the lot to get in.
6 ton press from e-bay. Worked a treat.
In hindsight I am not sure how much difference the new bushes made as the old ones were in good condition with the exception of the sway bar drop links. The springs however were showing their age and new springs have helped restore the ride height. The previous owner had installed new shocks so all the foam rings were in good order.
New springs maybe half an inch longer than the ones that came out.
I also replaced the oil seals on the diff but I'll put together a separate post on that if anyone's interested.
A sheet of plywood under the car could also make it a lot easier to manoeuvre the trolley jack for positioning. It can't have been easy on the block paving.
A sheet of plywood under the car could also make it a lot easier to manoeuvre the trolley jack for positioning. It can't have been easy on the block paving.
Graham
That was my plan B but in the end I didn't need it. The assembly can rotate a little on the trolley jack which makes it fairly easy to get it lined up with a bit of fettling.
What Paints did you use and how did you get the finned rear cover so nice looking?
The black is Jotamastic 87 which is a 2-pack epoxy that is supposed to be able to cope with less than perfectly prepared surfaces. I did get a quote for shot-blasting the parts but it was way more than I wanted to pay plus I'm nervous about getting shot/grit anywhere near bearings. In the end I cleaned up all the parts with a wire brush in an angle grinder which did a pretty good job albeit it's a bit tedious. I used brake cleaner to degrease the parts before painting.
The diff backplate was just cleaned up with wire brushes and then hit with a covering of cheap silver wheel paint from a rattle can. It's fine for my purposes but not exactly concourse standard!
 04-17-2016, 09:10 AM