When you click on links to various merchants on this site and make a purchase, this can result in this site earning a commission. Affiliate programs and affiliations include, but are not limited to, the eBay Partner Network.
The intake manifold and throttle body are off so now I'm replacing the 19 year old coolant hoses which are now accessible. FYI, they all look to be in good condition, no leaks or evidence of impending failure. I have the two valley hoses and the octopus hose. There are a few others that I'm trying to identify so that I can purchase them.
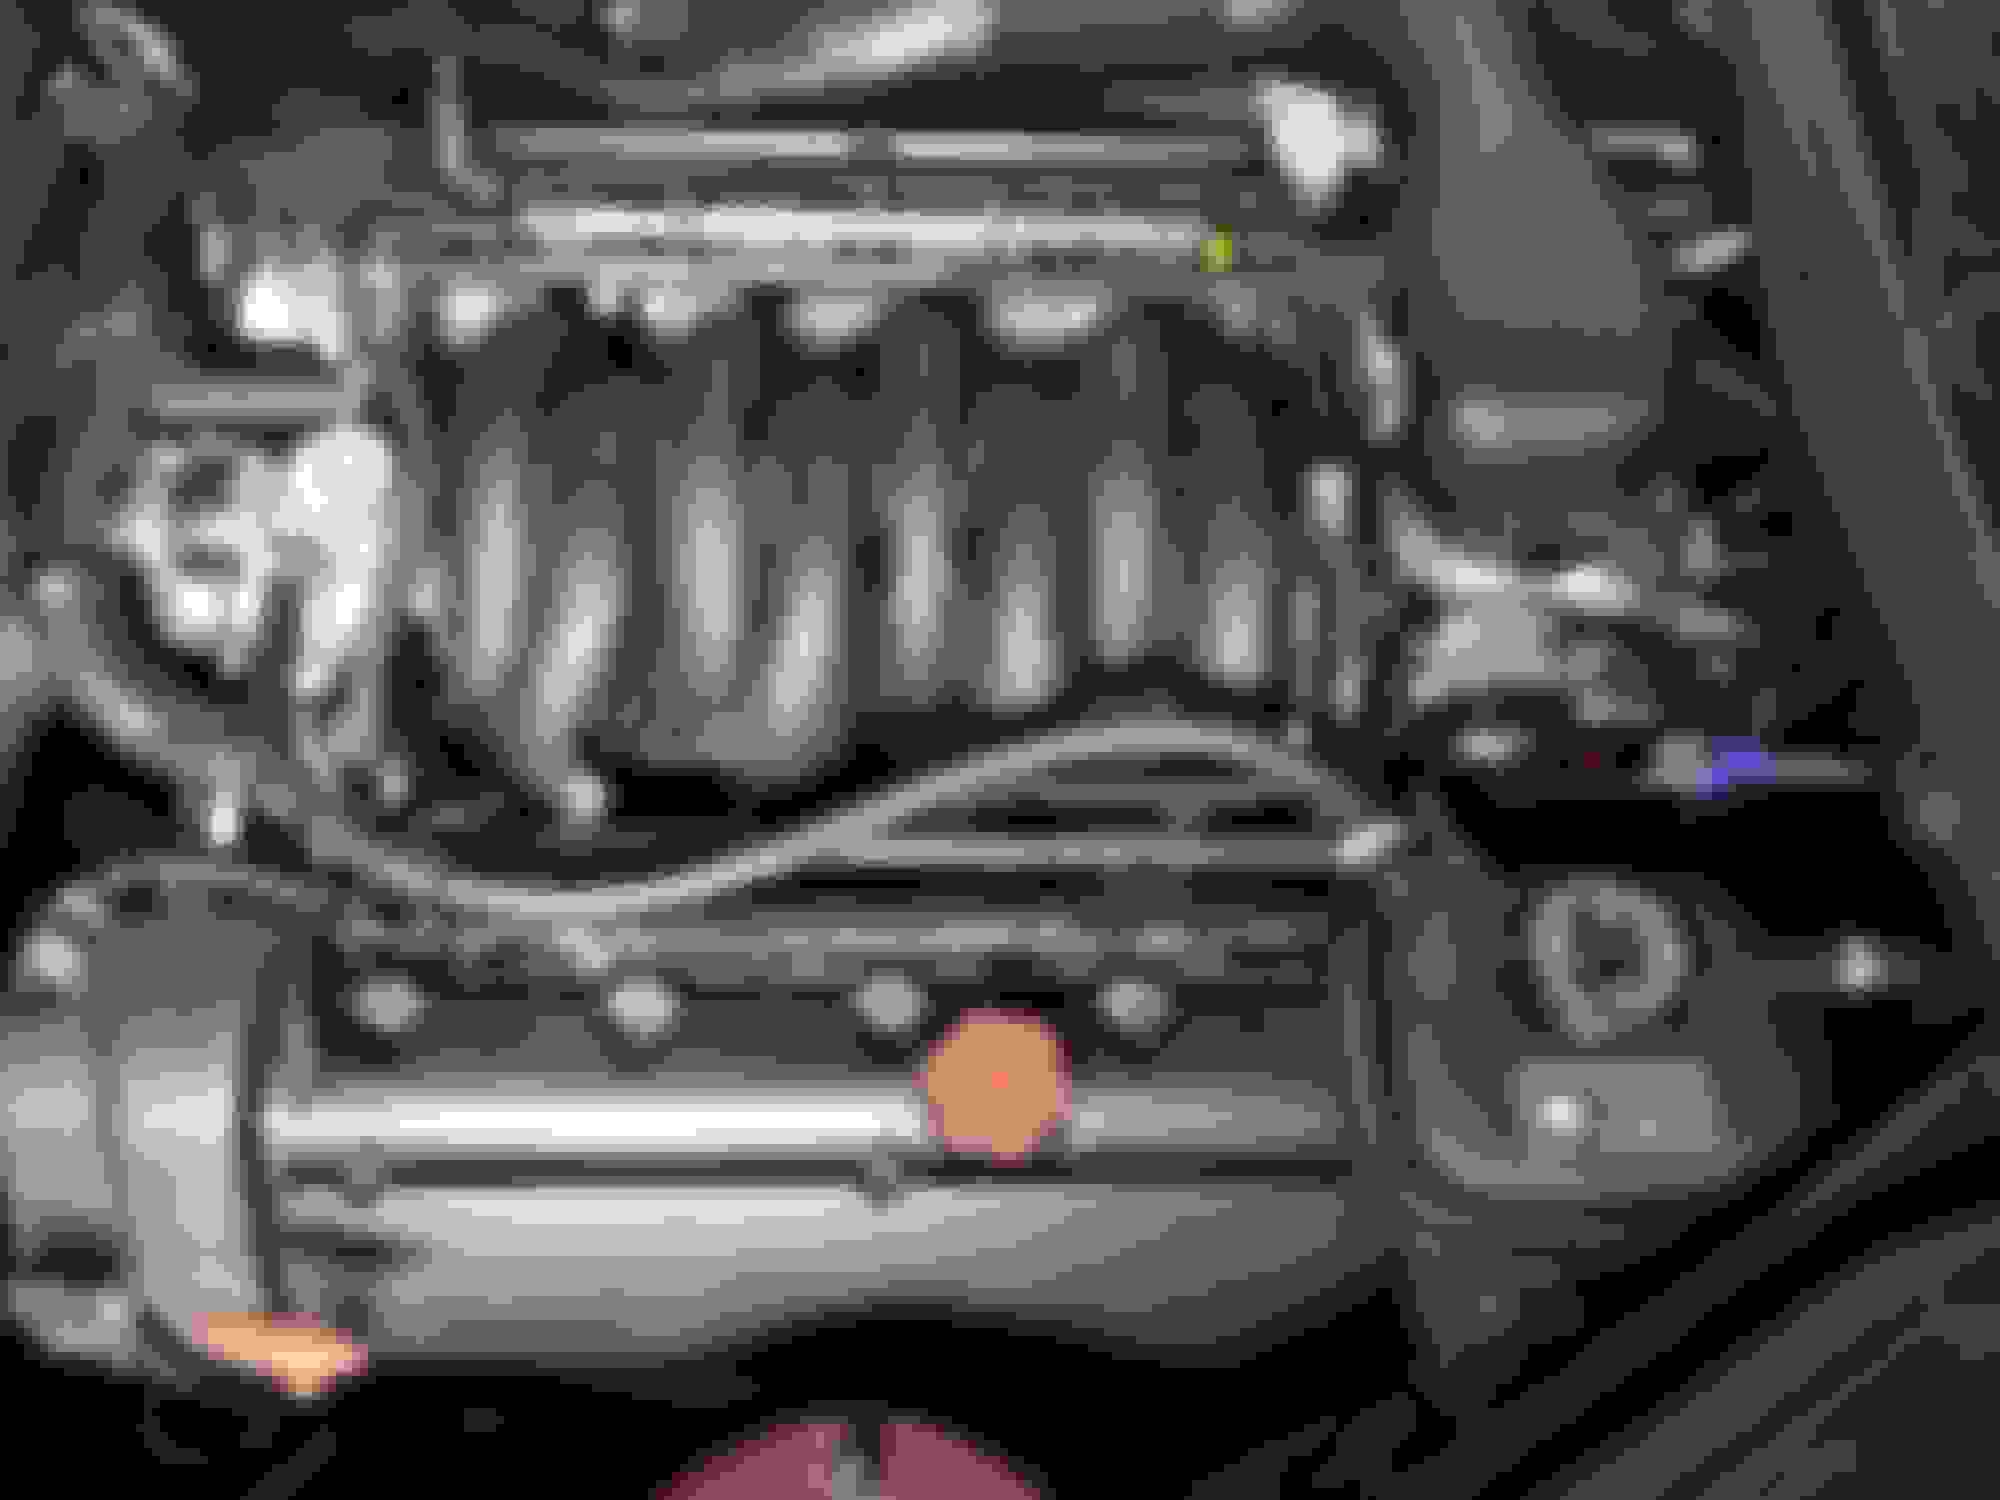
Here's where I am now in this project. The valley hoses have been replaced, no big deal for those, just spring clamps.
The octopus hose has five connections. They are 1- bottom of the coolant tank which we all know at the left rear of the engine bay, 2&3-the aft ends of both valley hoses, and 4&5-two connections on the inboard (right) side of the water valve which is mounted on the firewall beneath the coolant tank.
All of these are now disconnected except for the right side connection to a short metal pipe which connects to the valley hose. This is my first experience with a Norma connection. I'm not worried about damaging the old hose, but I would like to disconnect it correctly instead of beating it to death and possible damaging the metal pipe.
I'd remove the whole assembly and deal with it on the workbench but the short metal pipe is attached to a bracket that is also attached to a hard metal fuel line which isn't going anywhere. I guess attaching these components with a nut and bolt holding two brackets together was too complicated. Anyway,
There are a few other hoses that I'd like to replace with correct parts if possible.
The water valve has two hoses coming off the outboard side and one goes down to some connection on the firewall. The other goes up to a connection higher on the firewall (to the heater? I think that because there are two hoses here). The other hose goes down to a place that is a mystery.
So my questions are,
1-how do you disconnect a Norma connection?
2-What are the three hoses, two on the outboard (left) side of the water valve and the hose coming down from what I believe to the the heater next to where one of the hoses from the water valve terminates? I'm looking to obtain them.
All the power to you as you start to tear into this. Diagram below is the routing for the heater matrix and aux heater pump that the octopus feeds. The mystery hoses that disappear below the firewall are routed to the heater pump. Be very careful as misrouting these hoses on reassembly will cause almost immediate overheating of the engine (ask how I know...). This should also give you the names you're looking for to order them. I found a combination of FCP Euro, Rock and Carid had them in actual stock.
I remember the Norma connector being a press fit on once the shipping lock is removed. To remove I will defer to others as it has been a minute.
Thanks, that's the picture I needed. It will get me going again.
I suspected that the two mystery hoses went to the pump.
I'm glad that Jaguar included so many hoses and one resembles an octopus to the point that they needed a second water pump. Brilliant! Ugh!
OK, time to untwist brain and get back on track.
So I need 4, 5, and 6, which I assume includes the non return valve because they call it an assembly.
Does anyone have the part numbers that go with this illustration?
I am still looking for the trick to disconnect this Norma connection, which some British engineer must have named after his wicked ex wife.
I just ordered all of the hoses from Rock Auto. They had all of them.
I also ordered the little hose that goes to the throttle body.
$100 including shipping for four hoses so now I just wait for them to arrive.
Item number 6 does include the non return valve so it was the most expensive item.
They have the valley hoses which I already have so I don't need. They do not have the octopus hose but I already have that too.
Thanks again.
Now I have a week to figure out how to get this Norma connection apart.
The left hose connector (heater return) is a twist and unplug. (you should also replace the 3 way connector NNE3944BA)
The right side connector (heater feed) needs to have the plastic connector slide towards the rear to release the clamping 'fingers' and then twist and pull the connector from the steel pipe. You might spray some penetrating oil to get the rubber 'O'ring to soften a bit to ease the release.
I have had to remove the steel pipe from the throttle elbow and take the assy over to the vise to get more leverage. (corrosion)
I managed to get the Norma connector apart. I started prying bits of plastic off the connector and what was left of the plastic ring came off, then with liberal amounts of WD40 I was able to coax the octopus hose off the metal pipe. I'm not proud of the way I did this but I'm not ashamed either. It was barbaric but it worked.
Since I've ordered the hoses between the heater, pump, and water valve I figured I'd attack them next.
Note: I can't imagine doing this without first removing the throttle body and intake manifold so I'm glad I did.
The water valve is mounted to the firewall by a bracket that the valve shares with the pump. The pump is below and behind the valve. There is one hose on the front of the pump (see photo) which is easy to access but the other hose is a bit more difficult as you need to remove the bracket from the firewall and all 4 hoses from the water valve. Remove two 10mm nuts above the water valve to release the bracket (easy). You can't move the bracket and valve much until you get the four hoses on the valve removed (which I'm replacing anyway). Then you can tilt the bracket with the valve and pump on it to access the hose on the outboard side of the pump.
This is the only hose I have remaining to disconnect but it was time to quit for the day so I'll get that tomorrow.
This is one of those jobs where you replace everything at once and don't have to go back in there for at least a decade. I just hope I never have to replace that pump.
In the last picture you can see paint chipped off the top of the water valve. Many years ago I had a problem with hot air from the vents when I selected air conditioning. This valve is normally open, spring loaded open allowing hot coolant into the heater and electrically closed when the A/C is turned on to keep the hot side hot and the cool side cool. The valve was sticking open giving me heat so an aluminum pipe and a hammer gave the valve a little jolt to allow it to close. This problem seemed to go away as I haven't had to do this in many years.
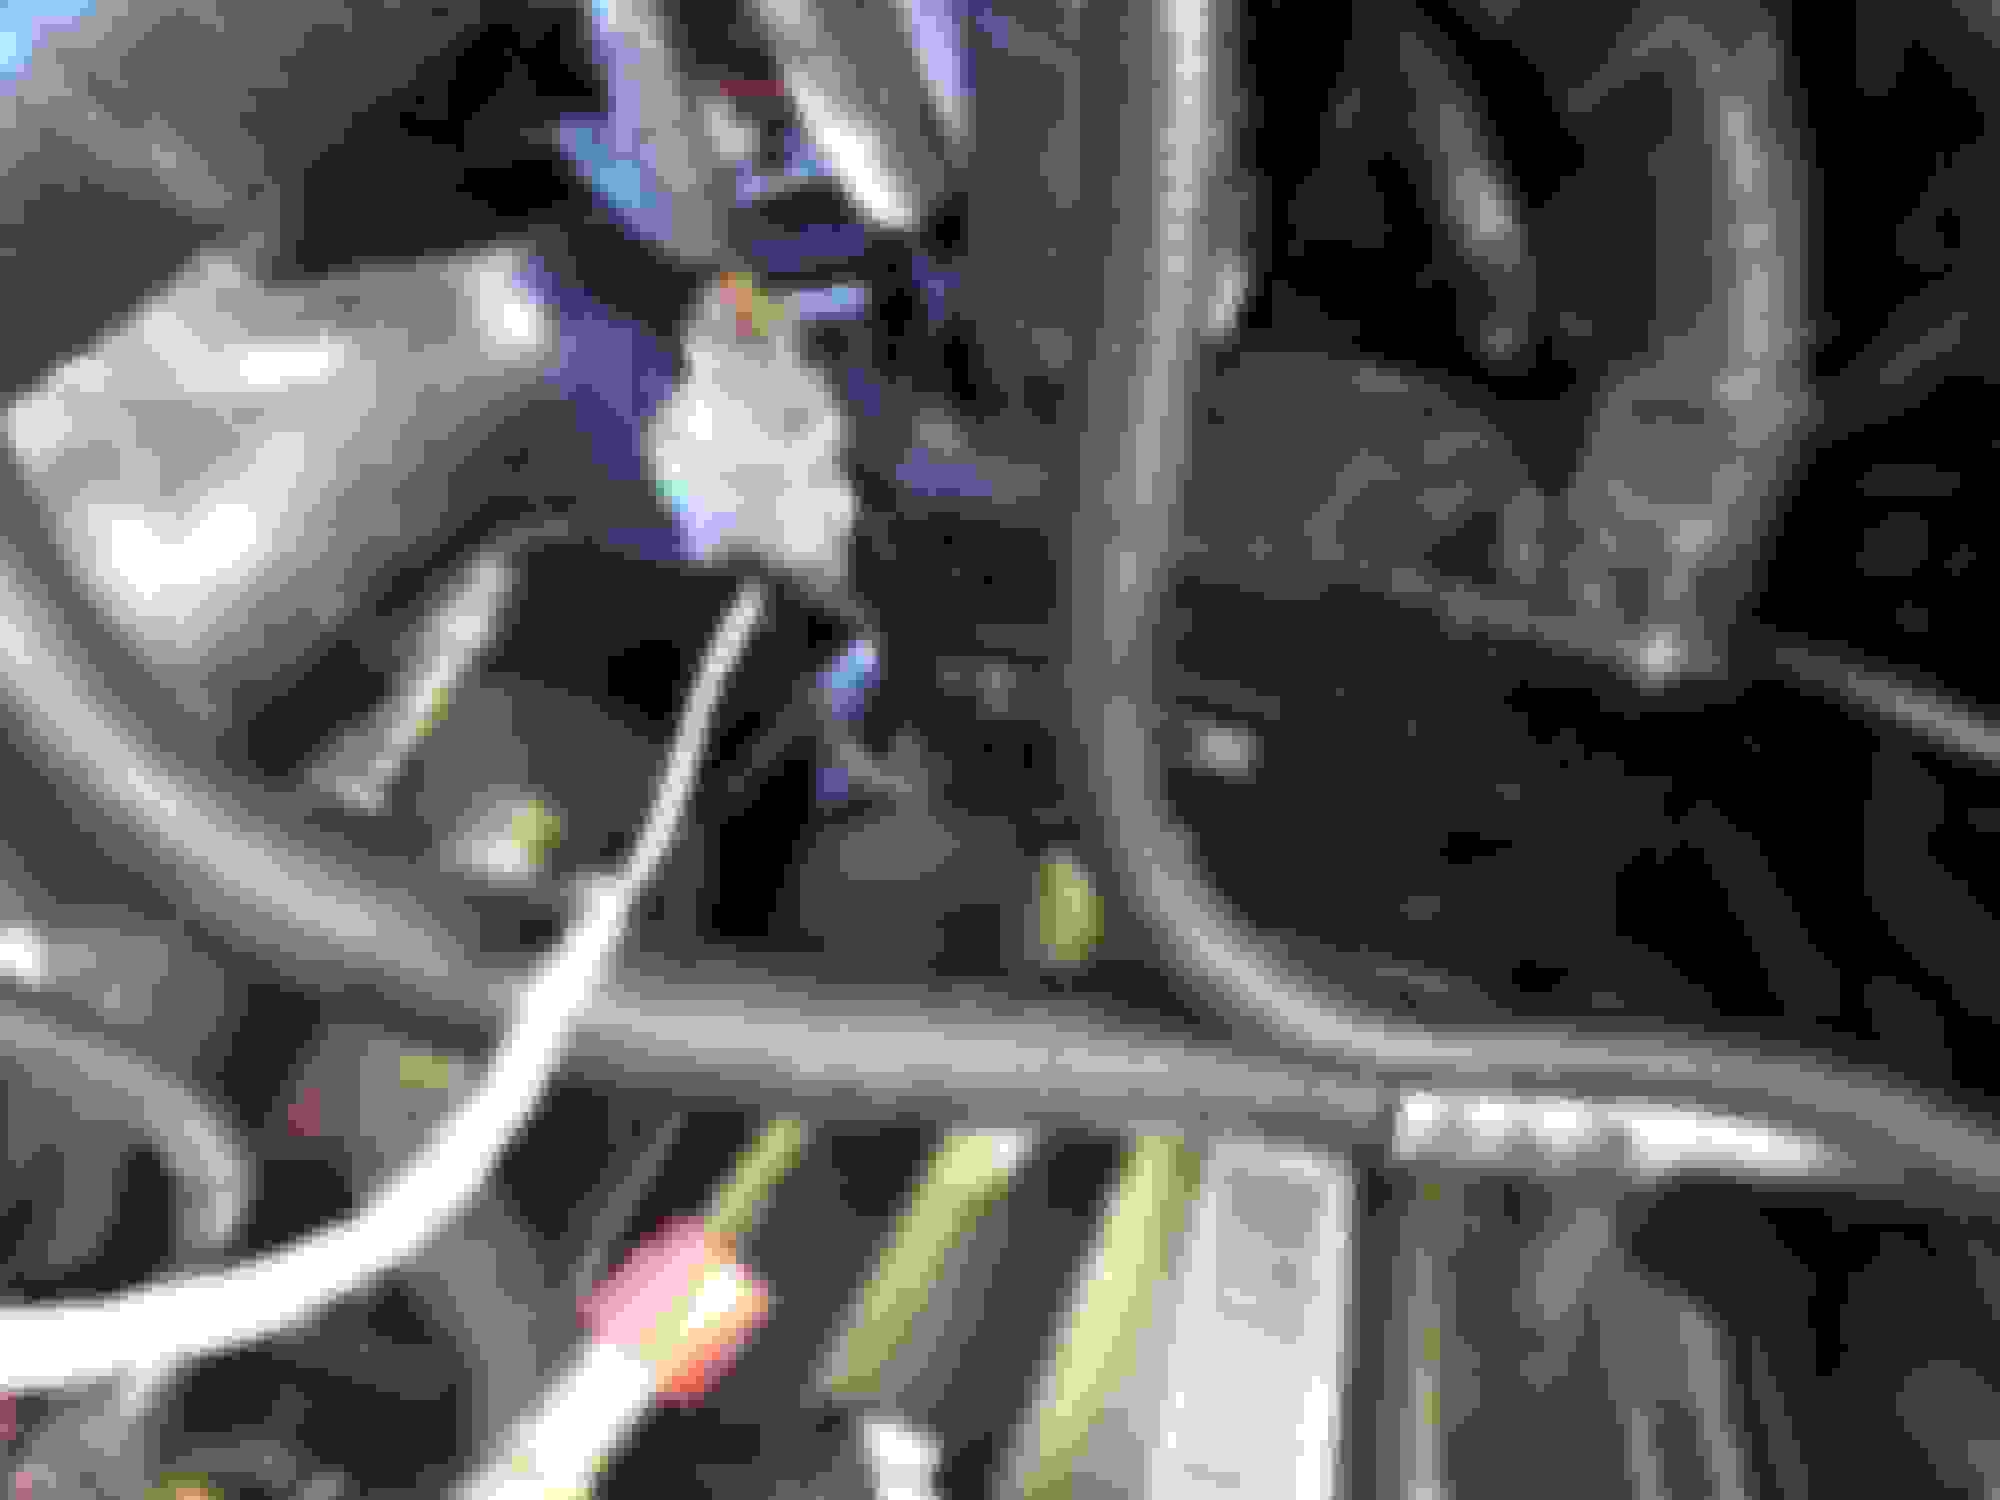
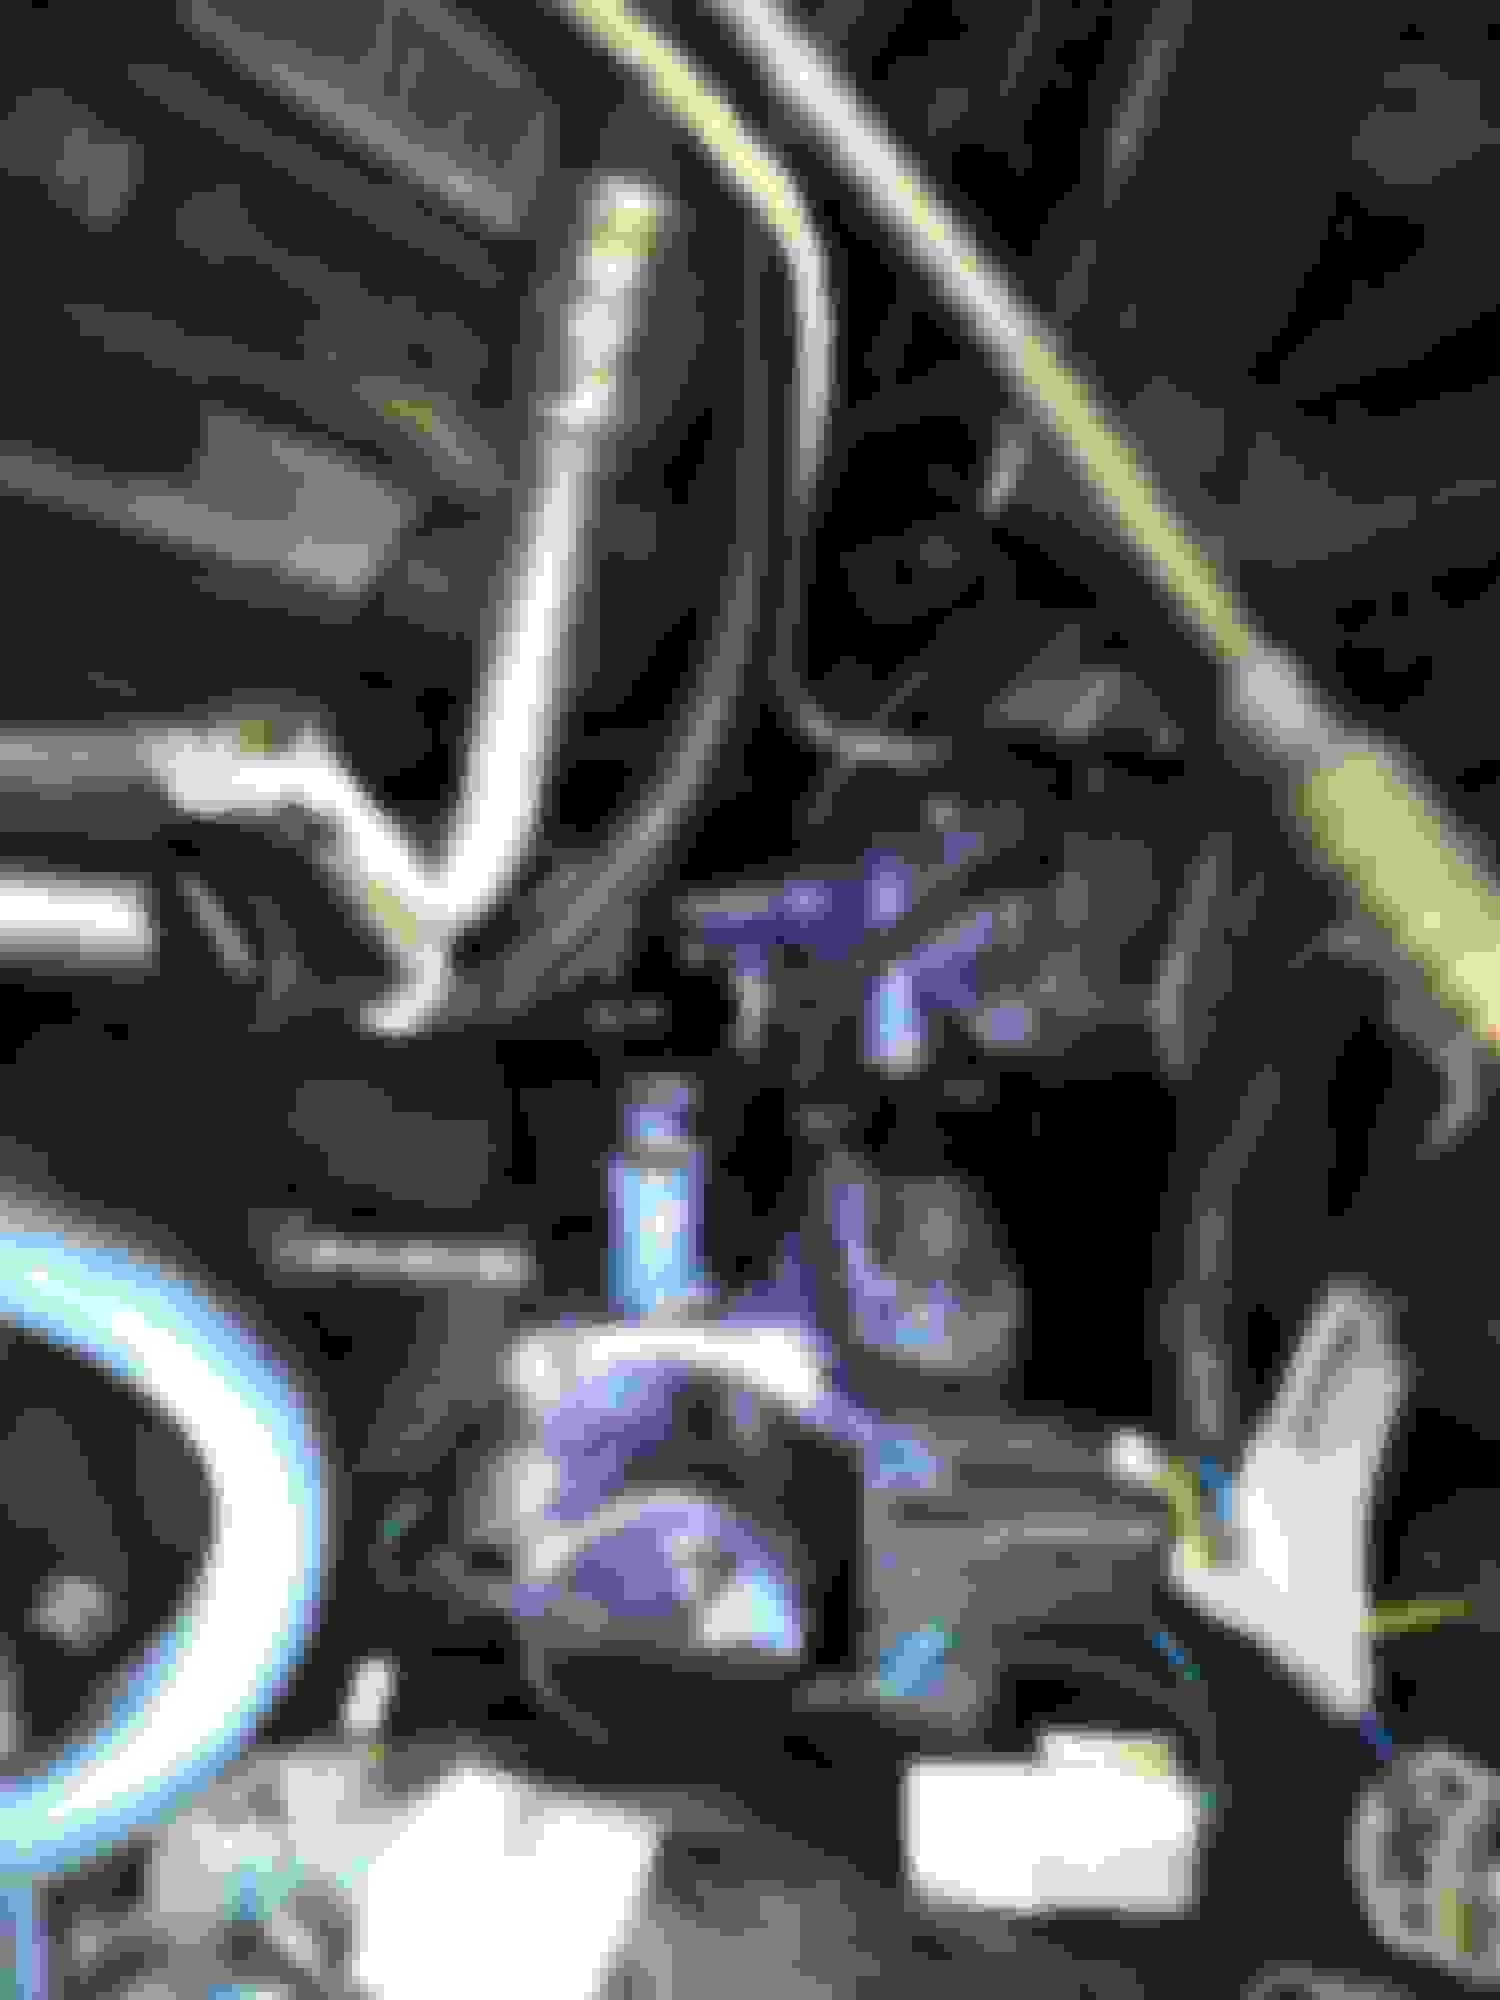
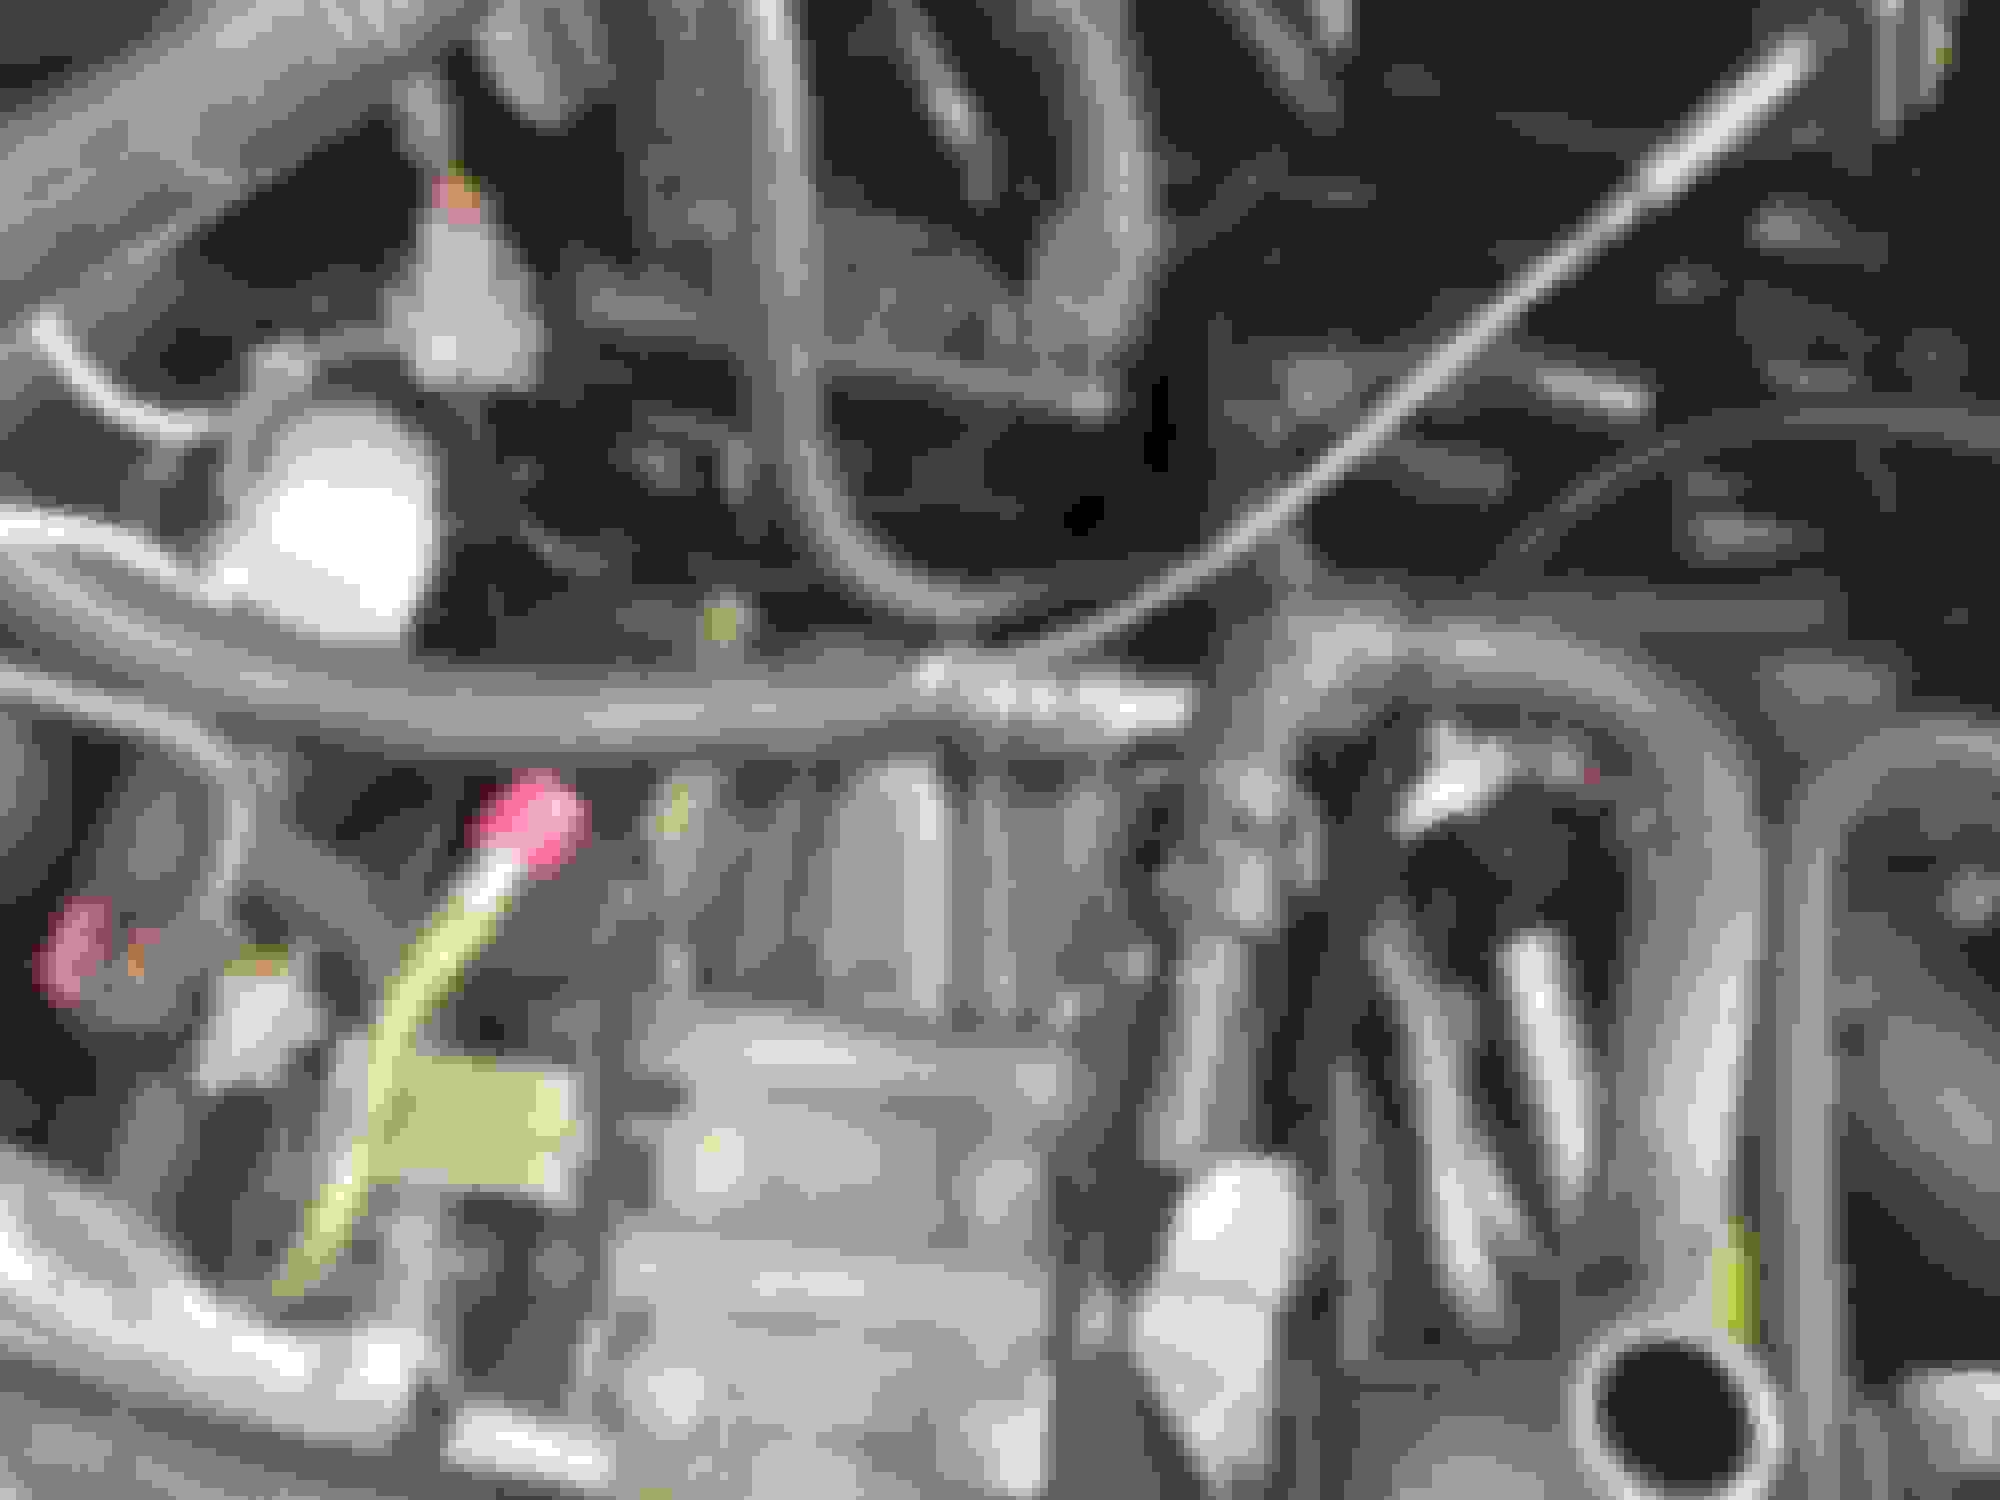
I took some pictures... I tied a rope to the octopus hose before I removed it to aid with installation of the new hose. Just to the left of where the rope lays over the A/C hose you can see the end of the metal pipe that is where the Norma connection battle took place. Similar picture and you can see how the engineers put that A/C hose right above the Norma connection just to make our lives miserable. Here is the old octopus hose laying over the new one. You can see the part of the plastic ring that I beat off of it. Also, the octopus hose didn't want to pull through where it passes behind a module on the firewall until I got access to that plastic strap and cut it, then the hose came out. This view is turned 90 degrees. You would have to sit on the windshield for this view but you can see the water valve in the middle. Above and to the right of the water valve is the front end of the water pump. The water valve bracket is loose from the firewall and you can just barely see a bit of the hose coming off the outboard side of the pump, which in this photo is coming out from behind the bracket. This is the only hose connection I haven't disconnected yet. Another view of the water valve and pump. You can see some paint chipped off the valve where I hit it. See text of the post for explanation.
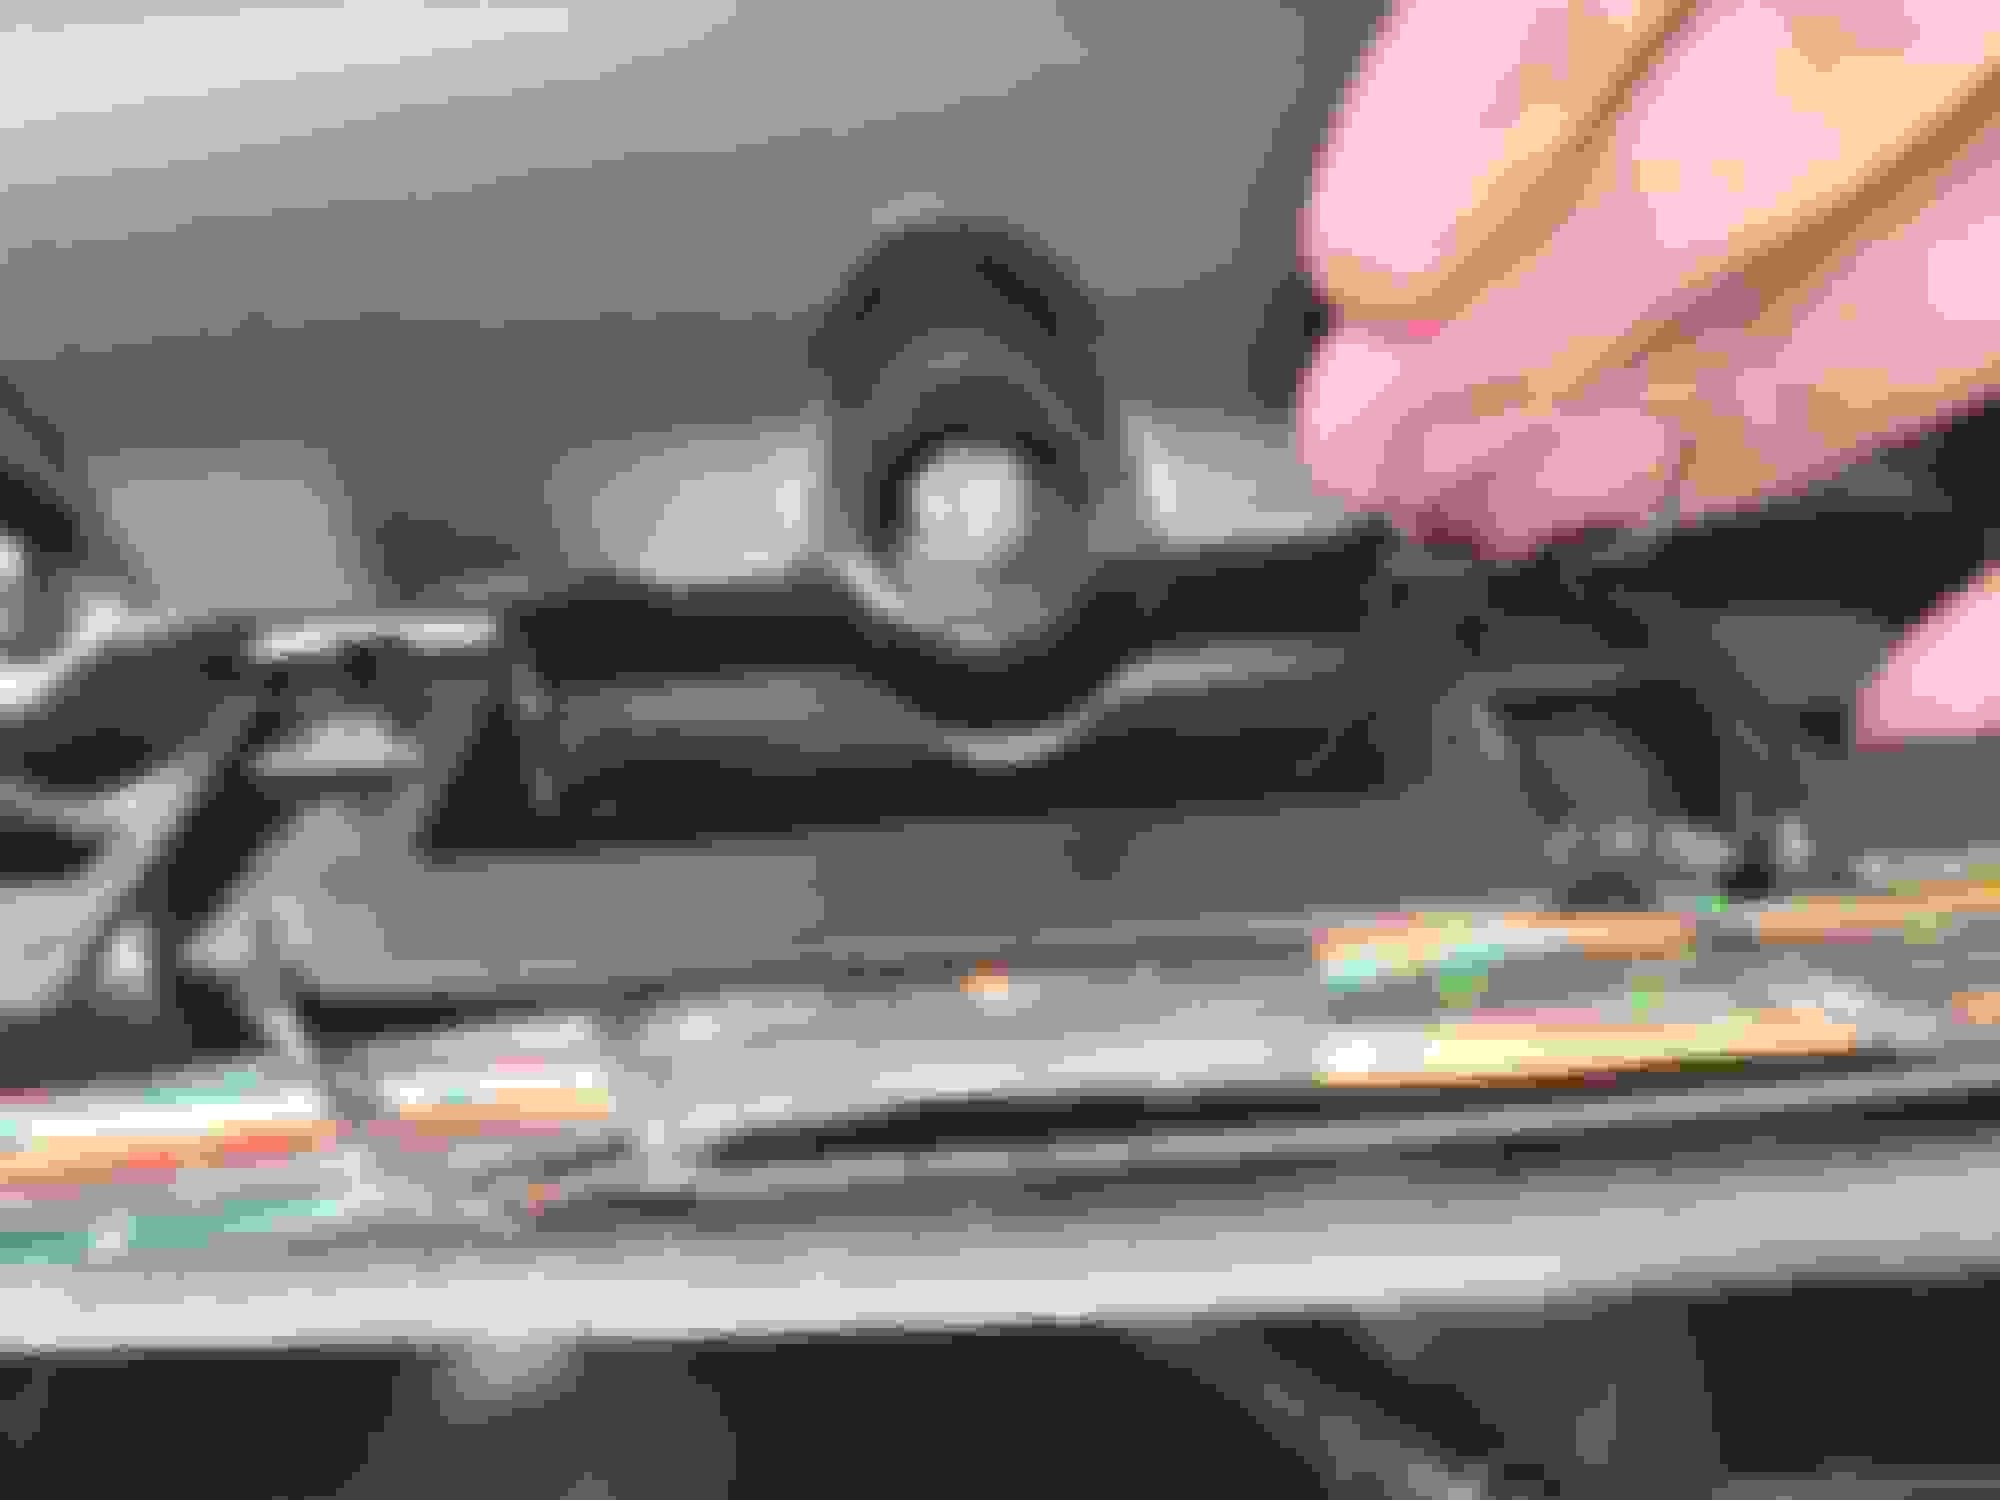
In this picture you can easily see the pump and hose connection behind the bracket, which is pulled away from the firewall. The clamp is still on the hose but pulled back. Just for fun I looked for the pump and valve in case I need to purchase some day. No luck on the valve, and the best price I could find for the pump is $326 at SNG Barratt.
Nice thread - and useful photos....going to follow this.
I'm starting to prepare for doing the same job on my 2003 XKR - basically, replace all the coolant hoses. Does anyone know where I can find a basic list of all the hoses? (preferably with a diagram) I've been searching the web for a couple of evenings, and don't find any diagrams that I fully trust - for example, a lot of the the dealer sites show diagrams that include a really simple lower radiator hose, as compared with the very complex C2N2615 that's on the car.
There is a diagram of the mysterious hoses in a previous post in this thread. Using that, Rock Auto will get you much of what you need.
I'm starting reassembly. I received the hose from the pump to the heater today so I installed that, no big deal. That was the last hose removed, and the one that required the water valve to come off the firewall for access. Now I can put the water valve back on the firewall.
I received the new seals to assemble the intake manifold, elbow, and throttle body so I put them together to install them as an assembly later. While I was doing this I realized that the manual wasn't telling me to disconnect the intake elbow from the intake manifold by removing 7 bolts, it was telling me to disconnect the intake elbow from the brackets, by removing 2 bolts on the bottom of the elbow, one on the left and one on the right. As I said previously, the manual could give clearer instructions.
So you don't need to remove the intake elbow from the intake manifold during disassembly. I did but it was no big deal. I did have to buy a new seal for reassembly.
I'll post a parts list to wrap up this thread when I get done for anyone looking to do this later. I'll probably be able to include prices and sources.
As I said earlier, the hoses cost no more than about $200 but I'm not replacing the radiator hoses now so the cost of those would be additional.
There is a diagram of the mysterious hoses in a previous post in this thread. Using that, Rock Auto will get you much of what you need.
Yes - I saw that, and have filed it away! But, I'm trying to work out ALL the hoses that are needed for my car - that includes the octopus/heater hosing; the infamous 'valley' hoses and radiator/supercharger hoses. I also think they're different between the 4.0 and 4.2 L cars (as well as XK8 vs XKR)
I got a quote from Brit Parts in the UK and it came to around $500 - but I'm not sure it even includes all the hoses (there's not many listed, and they didn't include part numbers). I went to them as they list itemized (and less expensive) 'kits' for other years and non super charged cars; they didn't have one for the 2003 XKR.
I'm starting to work up a spreadsheet, listing the hoses for my car but had hoped that someone else might have done it already. I did find this https://www.scribd.com/document/1968...montage-durite, but to get access requires you subscribe to scribd (and I'm not sure how complete the article is). I'd happily pay a small amount to the original author, but I'm not sure they get anything from scribd. If I manage to get something together, I'll be sure to post it. It might be nice to have the same document, but include each of the different years.
All 3 hoses between the water valve, heater, and pump are installed. Before you install them, orient the clamps exactly as they were on the removed hoses for access. Here you can see all 5 ends of the octopus hose not yet connected. Two at the water valve on the upper right, lower right is the coolant tank connection, and the last two, the end with the 3 way fitting and the one wrapped in masking tape go to the valley hoses. I'm very glad that I routed tied that rope onto the old octopus hose before I removed it. I tied the rope to the new hose and wrapped the end of the hose with masking tape to protect it. Feeding it into position was way easier than I feared it would be as I pushed one side, and pulled the other. It only got caught up a couple times and it was in. In this picture you can see the two black vertical brackets in the middle where the intake elbow mounts. These are the only two mounting bolts you need to remove to free the elbow if you're taking it off with the intake manifold. One bracket is just to the right of the red cap and the other is next to the 3 way fitting.
Greg,
You are a BRAVE man. Braver than I, anyway. I have done all the "normal" hoses on my 4.2 '03 XK8 over the years but the OCTOPUS .... naaahhhh. In 2017 (after 6 years owning the car) I finally got nervous enough about the octopus that I had my Indi mechanic (Mr. DeGroot at Foreign Accents in Greensboro, NC) do the dirty work for me. My invoice was $588.64, which was tolerable considering the pain and misery I would have faced doing it myself. I also had him replace the motor mounts (which had been leaking) - another job I happily outsourced. Great writeup, though, one that many will refer to, I'm sure.
I too am in the same boat, having to replace my intake manifold and wanting to replace all the old hoses that go on top of the engine while the intake manifold is off.
I have a 1997 XK8 Coupe.
I hope it's not hijacking a thread to review the same theme stated above.
So (these are questions, not statements), the valley hoses run under the intake manifold and are not part of the Octopus ?
I have parts numbers NCA3945 CD and NNE 3946CA for the Valley hoses.
The Octopus requires the removal of the intake manifold and throttle body to install?
Part number for the Octopus is MJA6728AC.
Extra heater hose connectors (for the Valley hoses? or also for the Octopus?) are part number NNE 3944BA.
Couldn't find these parts on Rock Auto but did on Parts Geek and some other sites.
Recommended sources?
I have an Indy mechanic who will remove and replace the manifold and install the hoses. I want to get all the parts ready for him. He gave me what I think is a fair estimate, but I want to be fair too and have everything set to go.
So (these are questions, not statements), the valley hoses run under the intake manifold and are not part of the Octopus ?
Yes they do, and they are separate to the octopus
Originally Posted by Truck Graphics
I have parts numbers NCA3945 CD and NNE 3946CA for the Valley hoses.
Those are correct
Originally Posted by Truck Graphics
The Octopus requires the removal of the intake manifold and throttle body to install?
Part number for the Octopus is MJA6728AC.
I guess anything is possible, but I wouldn't recommend even trying. You will be removing the TB & intake to get to the valley hoses anyway. If you take the TB off the intake elbow, don't forget a new TB gasket - NCA3021BA.
Part # for the octopus is correct
Originally Posted by Truck Graphics
Extra heater hose connectors (for the Valley hoses? or also for the Octopus?) are part number NNE 3944BA.
NNE3944BA is the tee piece that connects the heater return valley hose to the octopus. Even OEM is dirt cheap so do change it.
The dealer prices for the valley hoses and tee piece aren't too bad (tee piece is about $4), however the OEM octopus is now north of �150.
Forum sponsor SNG has OEM and an alternative, although OEM is a lot more expensive than Heritage: https://www.sngbarratt.com/English/#...TILATION(11056)
The only hoses actually under the intake manifold are the valley hoses. They both connect to the octopus hose at the rear of the engine.
The octopus hose lays across the front of the firewall.
You need to remove the intake manifold to replace the valley hoses and that is the time to replace the rest.
Below are what you can purchase from RockAuto.
These are the valley hoses and the hoses between the water valve, pump, and heater.
In addition to this get the octopus hose and the tee fitting (three way fitting) and have fun.
Don't forget gaskets for the intake manifold and throttle body.
You don't need to remove the intake elbow from the intake manifold. It can come off with the manifold.
�RO PARTS AJ83970 {#URO004797} Info
From Heater Feed Pipe to Throttle Body
$4.17
�RO PARTS MJB6720AC {#URO006375} Info
Water Valve to Water Pump
$6.12
�RO PARTS NNE3946CA {#URO006514} Info
Heater Return Hose
$8.55
�RO PARTS NCA3945CD {#URO006505} Info
Feed Hose; Heater Inlet
$9.06
�RO PARTS MJA6721AG {#URO006371} Info
From the Auxiliary Water Pump to the Heater
$23.79
�RO PARTS MJA6739AC {#URO012000} Info
Heater Core to Water Valve
$49.79
I'm calling this project done. I started the car today, all indications normal. I only let the fuel pump run for a few seconds before it fired up, considering that I disconnected fuel lines I'm assuming that my fuel system is in good shape. No leaks of fuel or water. I filled the cooling system with water just in case I had a leak, and now I'm going to flush and refill.
A few notes for anyone doing this job:
Label everything, Really, it's easy to lose track of what goes where.
Remove the throttle body from the intake elbow. It's four bolts with your 10mm socket, easy to access. Get a new gasket.
The intake elbow can come off with the manifold. Just unbolt the two bolts where the bottom of the elbow mounts to the black triangular brackets, one on the left side and one on the right.
Once you have the intake manifold and throttle body off, don't just replace the valley hoses and the octopus hose, go ahead and replace the three heater hoses between the pump, heater, and valve. It's not much more money or time.
Before you install the throttle body, connect the small coolant hose to the rigid tube just to the right of the black triangular bracket that mounts the intake elbow. In post #12 you can easily see this rigid tube with a red cap on the end. It's easier to access at this time. I didn't do this and it wasn't fun. Leave the other end for when the throttle body is installed. At one point I didn't see the red cap that I put on the back of the throttle body so I was wondering where the rigid tube connected to. I called it a day and the next day I quickly saw the connection on the back of the throttle body and found the hose that was labeled telling me that it went between these connections. It made me feel better but it was tough to install with the throttle body on. This shows the metal clips to pull down to release the fuel injector connectors. This picture turned upside down when I loaded it here. I don't know why. You can see the space for the screwdriver blade to pry the clip. Don't lose them. Everything back in place.
I've been working on putting together a list of hoses (and related cooling system components) for my 4.2L 2003 XKR. I wanted to post here as a table, but it doesn't seem the forum supports that, so here's an image, and I've also attached as a PDF (easier to copy and paste, and should show up in searches). I'm not certain the list is complete or correct yet, but I will update. If anyone has any corrections, please let me know.
Also - I think it would be good to maintain these as a document (spreadsheet), with additional columns for different years/models. I'm happy to add that info if anyone has it...
I completed the flush and fill today and I learned something. The entire cooling system holds 2 and 2/3 gallons. I figure I had drained the system as much as possible since I replaced every heater hose and drained the radiator. I had already filled the system with water for leak checks so there was very little coolant in the system. When I opened the radiator drain plug to drain the system and refilled with water one more time, it took 1 and 1/3 gallons to refill. That is half of the capacity so when I was done all I had to do was add 1 and 1/3 gallons of concentrated antifreeze to the water in the system and call it a day. After a little while I'm going to check the mixture with a Prestone tester to see how well I hit the 50/50 mark.
It seems that there are no leaks and everything is working as it should. For this job you're disconnecting coolant and fuel lines as well as electrical connectors and breaking into the induction system so there are many opportunities for something to go wrong. I'm always a little bit nervous, despite being as careful as I can, that Murphy will show up. I think I kept him out of the garage.
Now I hope I don't have to remove the intake manifold or throttle body for a decade or two.
I hope that someone can use this to make doing this job a little less intimidating.
It is best to do the whole thing if you're going to do any part of it.
 10-12-2020, 03:19 PM