When you click on links to various merchants on this site and make a purchase, this can result in this site earning a commission. Affiliate programs and affiliations include, but are not limited to, the eBay Partner Network.
The grey trim along the doors by the windows (2003 XKR) is bubbled/chipped and evidence of earlier attempts to repaint it. I understand these just unclip. The ends were raised up from the car and the door rubbers.
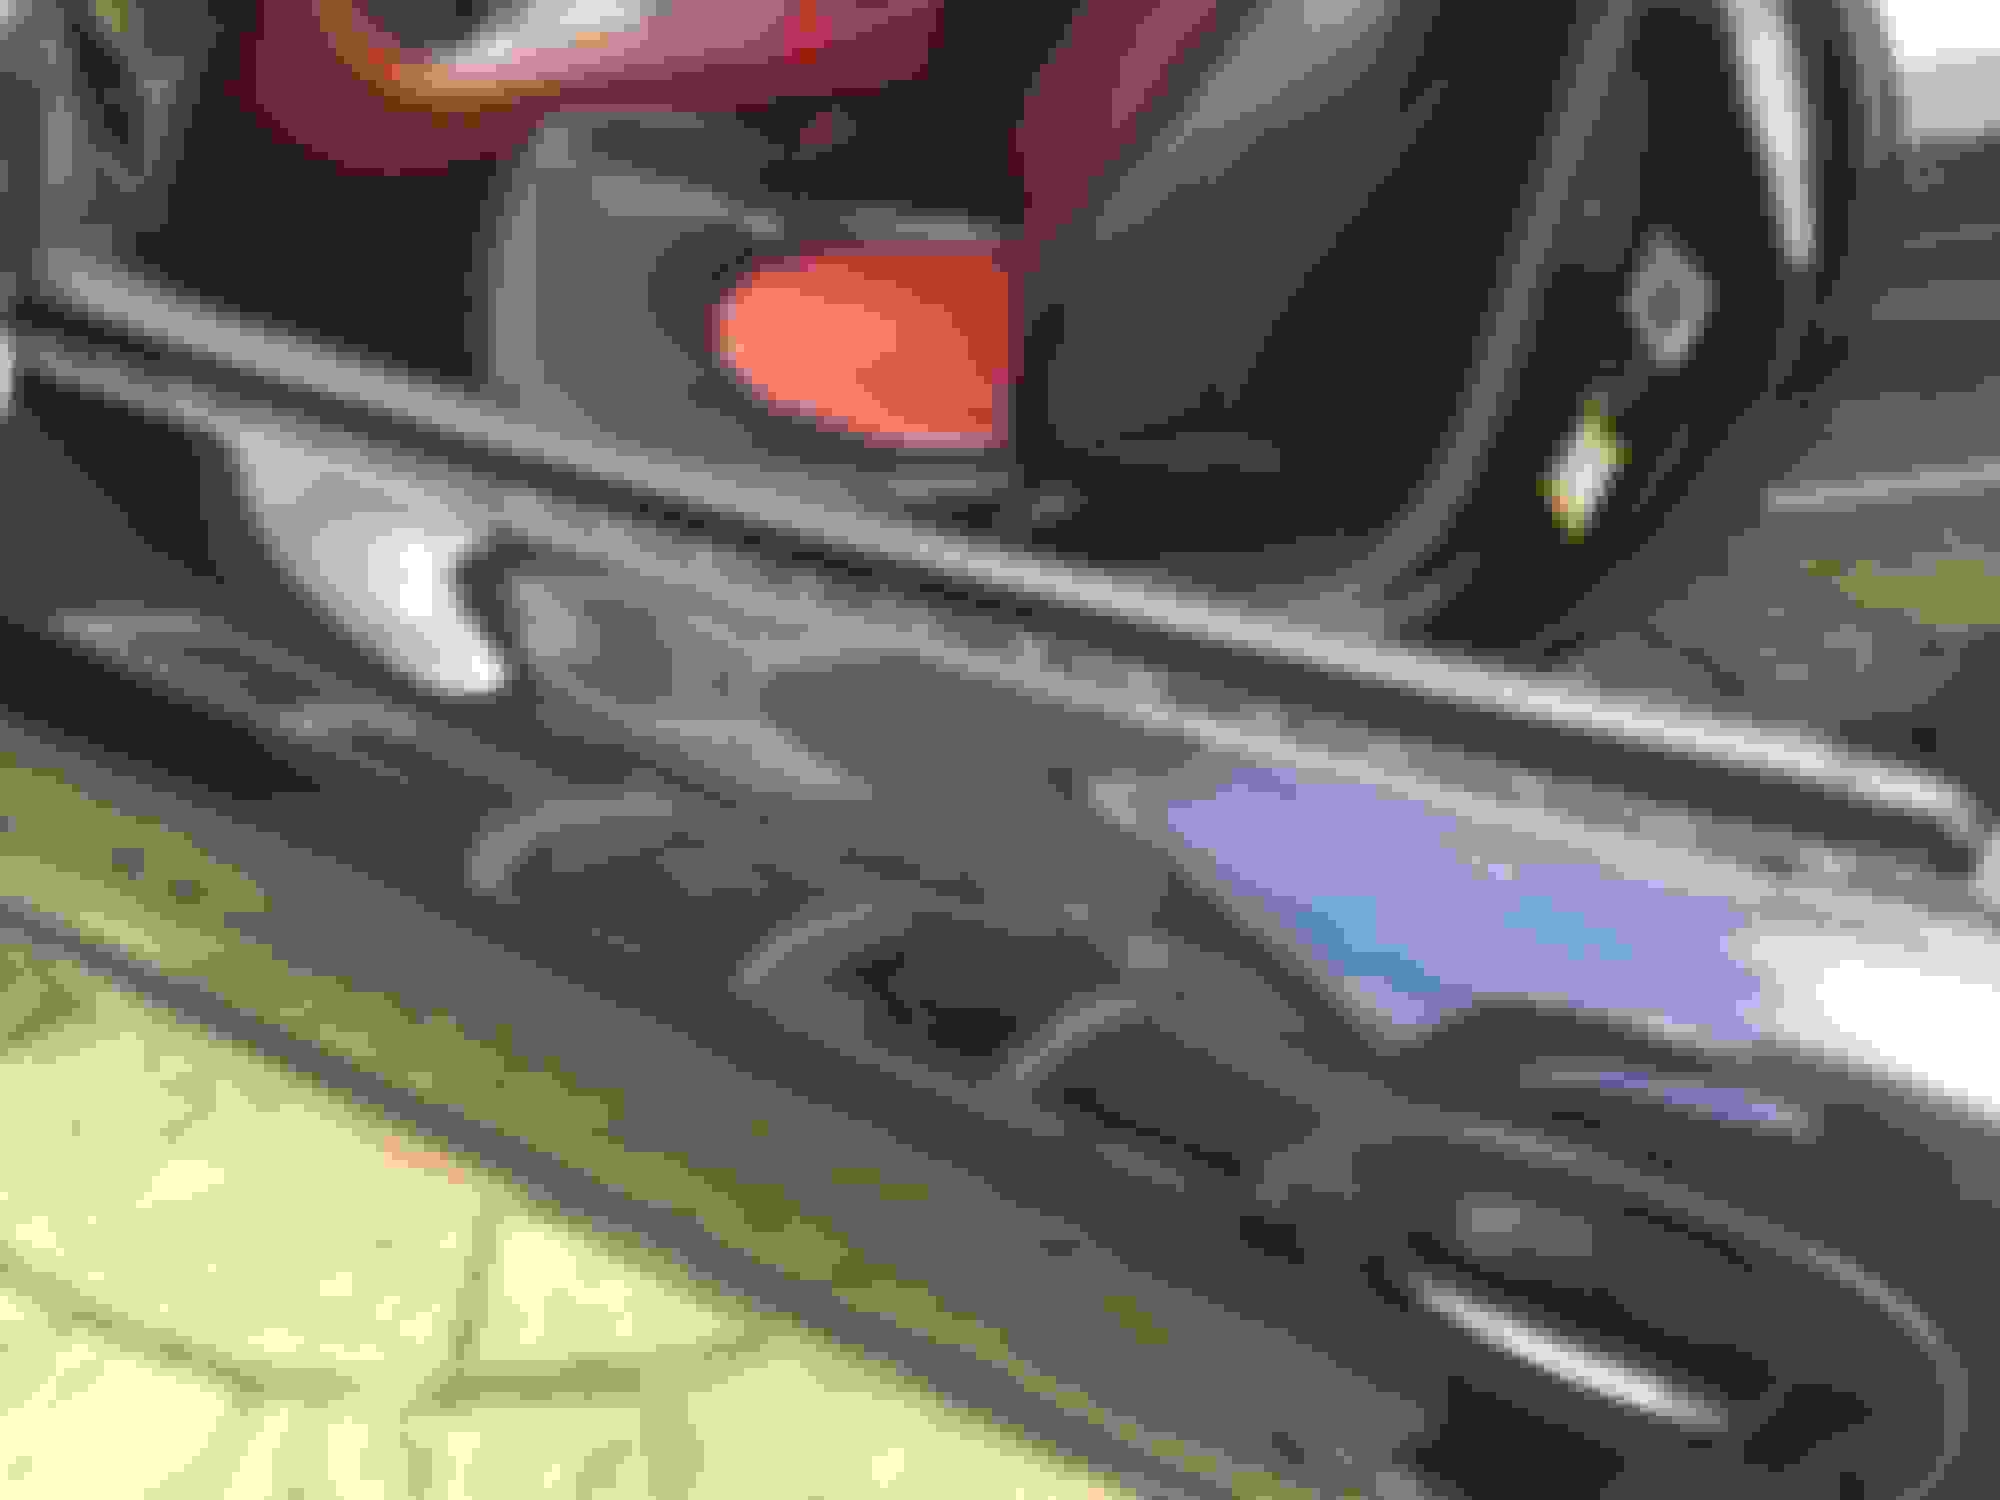
I tried to remove the left door (passenger for me in the UK), looking to either repaint it or replace. Didn't like what I saw. Crumbly under and doesn't look like just a clip on/off piece as I understood. Now the end is sticking out some and not wanting to go back. Can't seem to push it back in place. See pics for what I found, how it looks.
I've seen a lot of these pieces looking pretty bad on cars, raise up too. Amazed that such an expensive car when new has such poor quality trim in places.
Any advice on how to remove and replace. For a push on/off part feels more like it's peeling away than pulling off.
I see you have problems removing them. Wind window down. From the open door end grab the entire strip, NOT just one side. Pull upwards then along. Then entire strip comes off.
Yes, wasn't sure how they should come off. I may have sourced replacements from a car being that's going to be sold for spares/repair. Car at the end of its life but the trims seem good. Plan is to swap over (hope they're the same on the '99 XKR). If not practical then get these back in shape. Prices seem STUPID for new ones. Major mechanical/structural components cost less!
So window down and get my fingers (or plastic mobile phone screen removal tool things) under and lift up from the bottom then along? Door open to get on the other side for leverage? Then it should come lose from the rubbers. Looks nasty under, lots of crumbly stuff inside. I hope that cleans up and they go back nicely. Reverse process, clip under and push?
Forgot to ask, from the pic, as can see it's pulled away, is the piece that's inside and all flaky part of the trim and that should come with it? Have I just pulled on one half, the outer piece, and that inner bit needs to come with? From your pics looks like there's more to it and I'm in danger of pulling it in two. Mine is looking like a single curved piece.
It's these little things that the car needs. Body work seems sound, chassis in good condition (from what I can see), engine is strong, but these little cosmetic blemishes preventing it from being stunning. Eye always drawn to the faults.
Will give it a try tomorrow, got a week off work. Which with my skills is about how long it'll take.
By the way, nice plate in the signature pic. Been thinking over an age correct XKR plate myself.
Thanks,
Stuart
Last edited by Sparky77; 06-20-2016 at 04:58 PM.
Reason: Ading further detail to query.
Thanks for the advice on removal. With that help it came off in seconds, I was clearly going about it the completely wrong way. The metal and rubber all off in one piece.
Now to fix them up so they're not coming apart (superglue and clothes pegs on standby) then hopefully swap over from good parts on another car (assuming same part on the slightly older car), otherwise it's rubbing down and respraying thanks to the other postings on the forum you've directed me to. Prefer the former option, less work.
One day I hope to be able to actually offer some advice and help, for now it's all one way traffic.
Yep you got it! Its normally quite hard to pull off because of the 'blown' ally in the seal. Even if you get replacements I would bet they too have blown ally. If you look at the seal around the front top corner of you door, outside, you will see the same happening there.
The seals were pretty good inside, just one "blown" bit in the pair. It's the outside grey bit that is bad, not so much the rubber itself.
Splitting away at the door trailing edge end of the trim, and been bubbling under. Signs of previous attempts to respray. Glued back, not perfect but better and not sticking out now. Even though hoping to change it no need for it to look nasty until then. Went back on not too badly, little oil along the top of the door and inside the rubber to help it slide on.
Did notice some bubbling in the rubber above the door on the passenger side (to me it really is a substandard ally that they used!). Just like you said. Driver side looks clean. Does that rubber simply pull off/push on to the grey trim, or attached to the grey time like the waist trim as a single piece? Don't want another repeated attempt to remove something and almost cause more damage. Did feel like it was very firmly in place so didn't want to force it.
I stood by the car and noticed the bubbling. Pulled the rubber away slightly and scraped out all the blown ally. Trouble was once I started........ a foot later, both sides, it was glued down again. Another job done. No need to remove it from the car.
 06-20-2016, 03:32 PM