When you click on links to various merchants on this site and make a purchase, this can result in this site earning a commission. Affiliate programs and affiliations include, but are not limited to, the eBay Partner Network.
My shifter cover was known pretty bad when I bought the car, and I ordered the Canadian replacement.
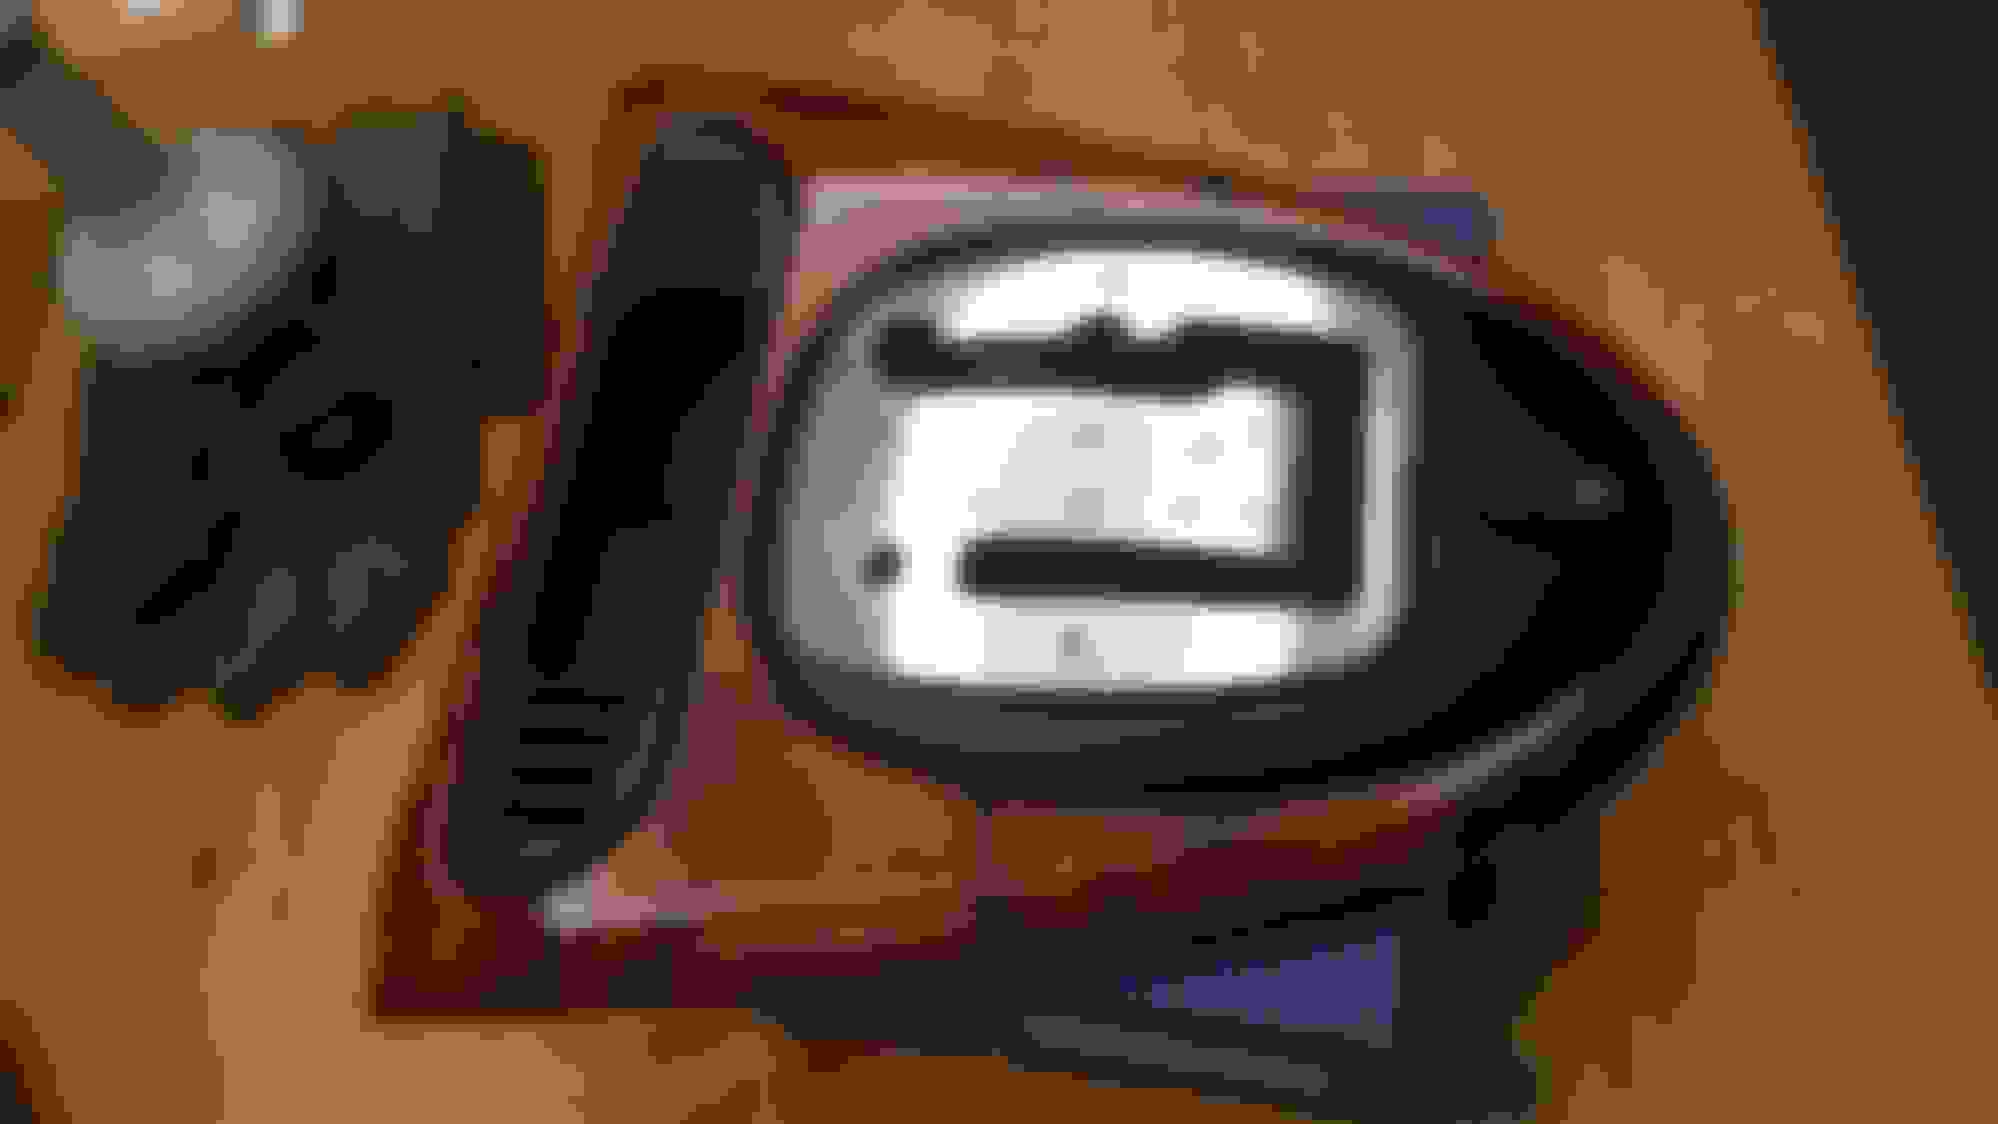
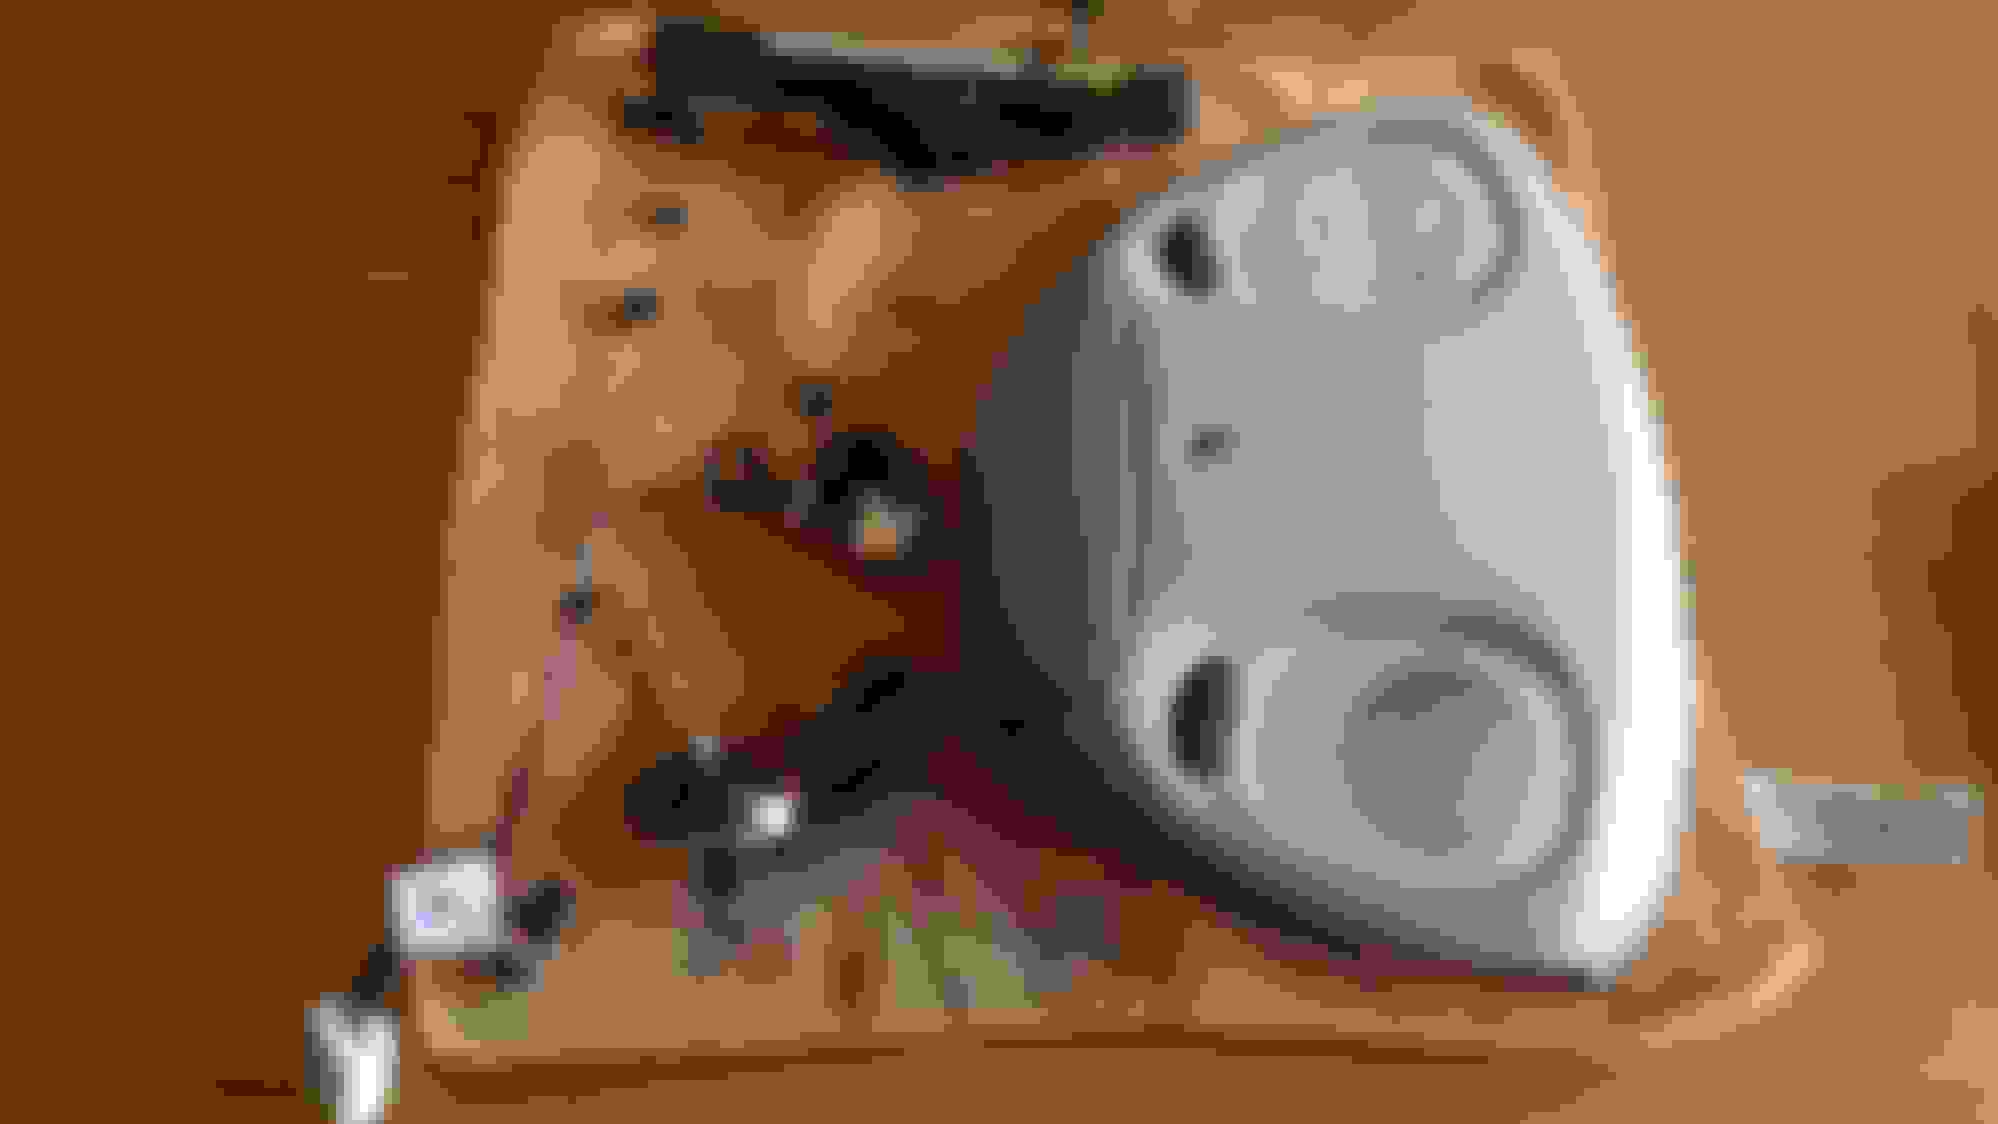
However, upon disassembling, not only the cover, but also the underlying seal came out in a hundred thousand pieces.
I really have no idea what the PO has done here, as the remaining surrounds like the wood are in perfect condition.
Guess the no-driving period was just extended, as Chinese New Year is looming, and nothing will arrive here quick any more...
Good thing is the new plate looks half decent.
Done a thousand things on the car, more than half way through the to-do list.
Will see if I can catch up a bit.
Continuing with the shifter, my gamble to buy a XJ8 gasket worked out fine, they are the exact same dimensions for the 5 and for the 6 speed.
Of course I found an original black shift plate after I bought the alloy one, but I guess I will keep that one as a spare.
Also installed the 7-set gauge rings, and a wooden shift cover I had laying around.
Bit controversial those rings, but I also have them in my VDP, and I like them.
They match well with the shift cover and the door handles.
Finally, spent days cleaning the interior.
A lot of work, but even the already given-up Jaguar carpets cleaned up nice, and I decided to keep them at least for now.
Cleaning the Ivory leather is always satisfying, but there were very little issues, and nothing what a little dye could not repair.
Finally this car start to smell fresh and leather again, not that muffy stinky as it was before.
Last edited by ericjansen; 02-20-2019 at 05:00 AM.
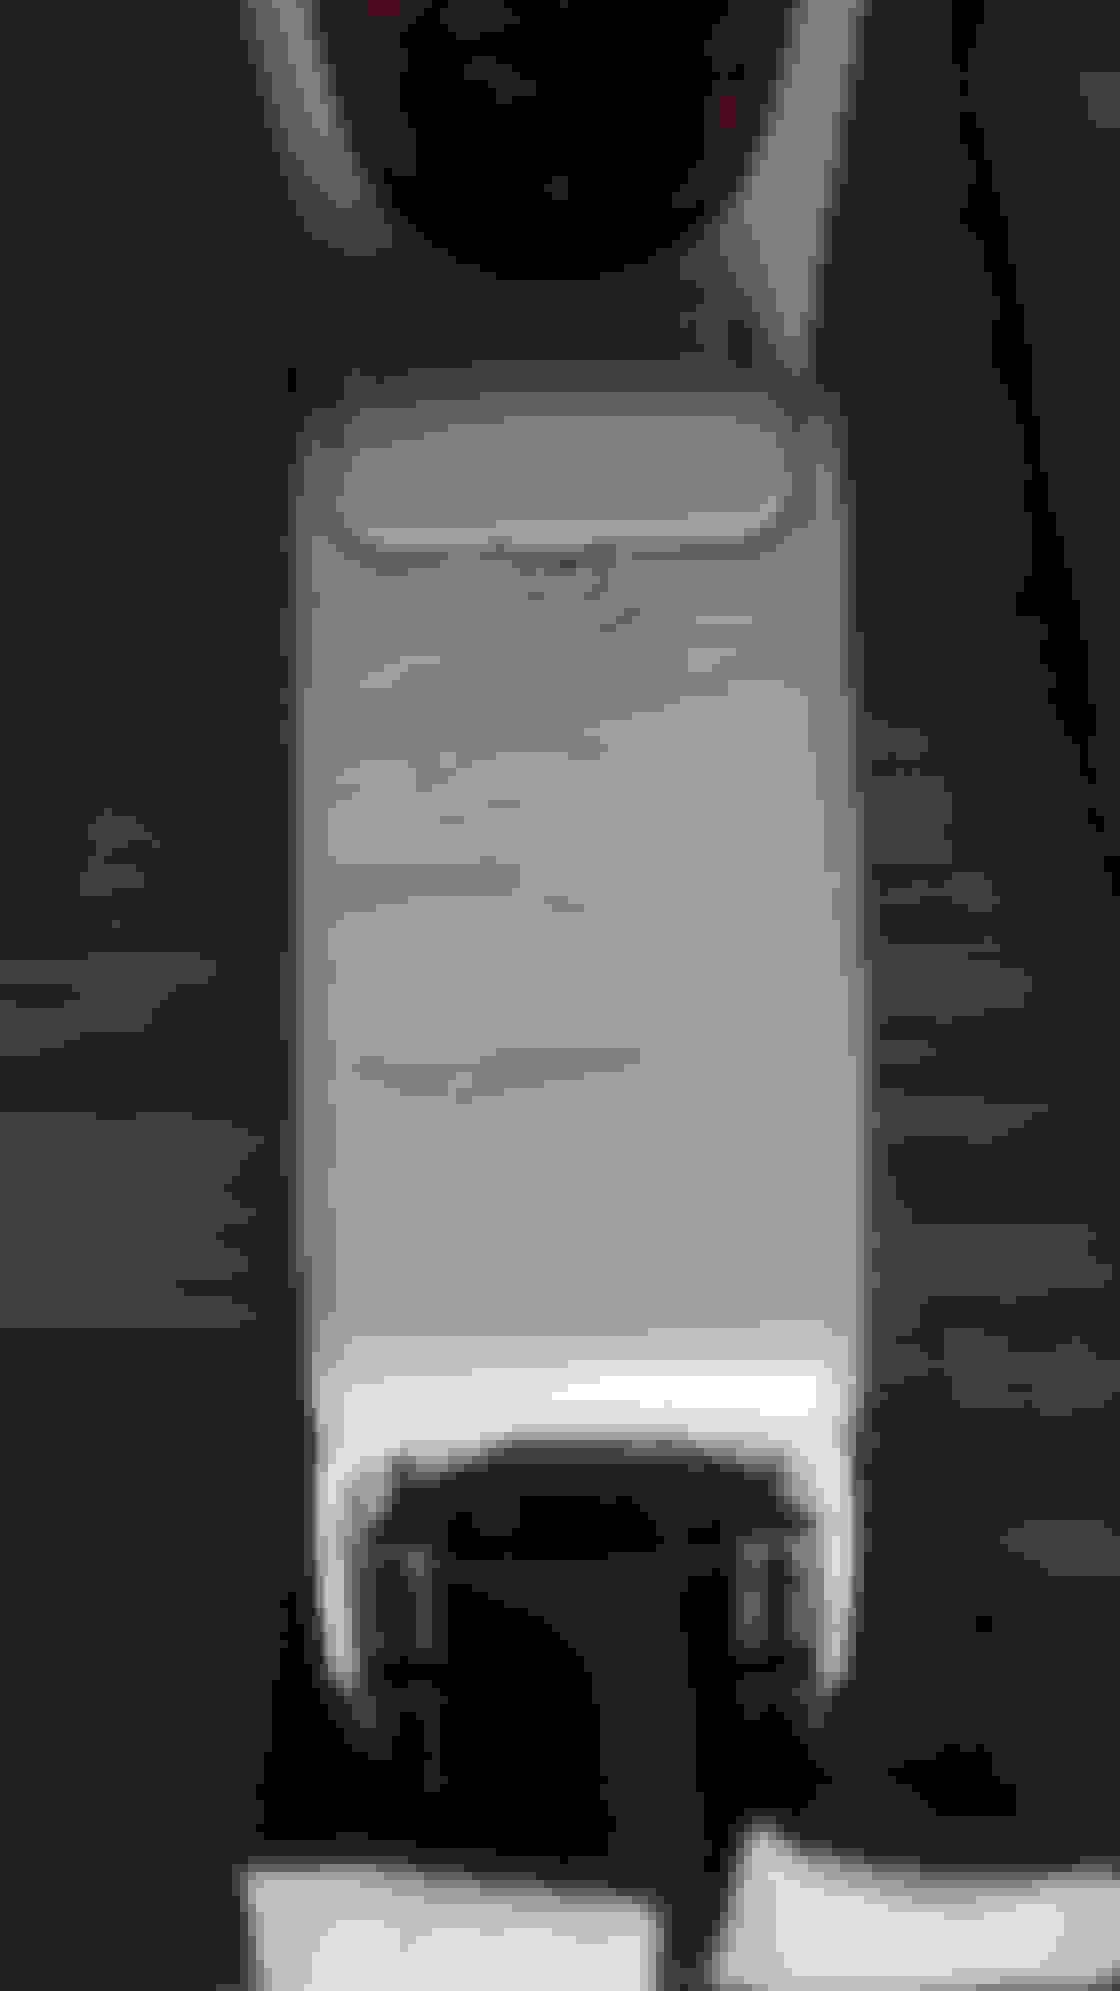
My center armrest is crumbled, so I decided to take it apart, and see if a little re-stuffing would help getting the wrinkles out.
Well, that did not work, so I then decided to soak it in leather treatment for a while, then re-tighten it on the cushion.
It did improve, and it even got a bit better over the last weeks, but I am not satisfied with it.
I will get a full leather XJ8 armrest with some spares I bought, and will probably make one good one out of two.
Well done on the work so far restoring your interior. I had almost the exact same problems. For the J-Gate shifter, if the rubber gasket goes, moving the gear lever strikes the cover and then the old plastic breaks up.... into the little bits you experienced. Don't even get me started on the ridiculously ineffective Cup Holders or the centre ash tray cover.
A lot of us have trodden the same path as you and we are all here to help. Electrical glitches are commonly due to low battery charge. If you're only using the car for short journeys, I would advise you put the car battery on a tender/trickle charger in your garage otherwise you'll start getting all sorts of glitches as systems shut down due to lack of power. For me it starts with a dreaded traction control warning on the dash.
Fmertz, #16 above, gives sage advice and I would add checking the power steering hydraulic lines too as the metal/rubber unions there are known to leak too. However that's not a big of a "Non-Driving" risk as the oil cooler. Then there's the dread "chain slap" at start up which is a sign of timing chain tensioner failures, plus dodgey gear shifts (hence Fmertz's warning now to change the transmission fluid).
Keep us informed of your progress, and let's see what you have under the hood*/bonnet* (*depends which side of the pond you're on).
As mentioned, the base of the car is pretty solid.
We have no snow / salt here to worry about, and up till we bought the car, it seems to have been serviced by a Jaguar dealer in the middle of the island (still need to see if I can lift the previous service records).
However, as always, detailed care has been lacking over those years, and obviously no one sees the details as I see them (poor me actually ).
So I basically let everything, and I literally mean everything, pass my hands, and repair / fix / replace when needed.
One of the interior parts was the small passenger sensor grill in the overhead console.
It should be nicely rounded, but was full of dents and bumps (don't ask me how ...).
Took it off, had to take the parts out, then gently pressing the grill back to its original shape.
Took me 1/2 hour, but one less bothering piece off my list.
The problem you will have is putting it back on without screwing up the little Grill again
It's all back in place, just don't apply force on those little grills and you are fine.
My number one annoyance with this car was the leaper fitted on the bonnet.
Most Jaguars (and Daimlers ... ughh) have one, the bigger the better here ...
Needles to say, that one was gone within a day of getting the car, the holes now neatly plugged up till a respray is done.
My second big annoyance was the blacked out windows.
Not only do I think it destroys the beautiful design of the car, but they also really obstruct visibility in the dark.
I was a bit scared for the glue residue left, but using a hair blower and a lot of patience, it worked rather well.
Pulling the tint was an hour in total, removing (most) of the residue took an other 2 hours.
Great work so far. The Cat was lucky to find you. Keep us informed of your progress. Would like to know what you find when you get going in the engine bay.
Yeah, and thanks to you on the sound advice, it is all added to the TO DO list.
And as you asked several times now , here pic of the engine bay so far; replaced the 2 radiator hoses, re-arranged the aftermarket HID ballast / wiring, cleaned up PO's extra wires everywhere, and a first attempt at getting the bay clean (not there yet).
Also added a bracket to hold the hood insulation in place, so it no longer lays on the intake manifold (slowly melting).
Wow,
I previously said the Cat was lucky to find you. Looking under the hood, I would now say you were lucky to find this Cat. Hopefully your supercharged engine, and the other less interesting bits, works as good as it looks.
..... I previously said the Cat was lucky to find you .....
Yeah, good find indeed, these are pretty rare, I think no more than 10-15 on the island.
I only know of 4 being �active�, the rest is probably parked up underground, never to be seen.
And as we are unable to get a legal license on any import of older cars, we are stuck on what is already here.
On the TO DO front, when I removed the rear window tint, the parcel shelf liner came completely loose.
It was already laying loose at some places when we bought the car, but working in that confined space made it worse.
So, although not planned, I took the rear seats and the quarter trim panels out, then removed the parcel shelf altogether.
As I was unable to find a liner in the correct matching color, I decided for the next best thing, going for the same as the dash- and door uppers, that rough grain leather look.
I had never done this before, but after watching an excellent video on YouTube, bought some 0.7mm vinyl and started.
Worked in logical patches, starting from the middle, then pulling and pushing area by area, with a lot of waiting time in between.
Vinyl is easier to stretch than leather with the help of some heat, so that was a good choice.
Should say it worked rather well, especially around the humps.
Then mixed up some left-over dye to match the dash color, which ended as a pretty close match as well.
In the meantime it is all back in the car, the last pic shows the parcel shelf a bit shiny, but that is as I covered it in some leather conditioner to get rid of the dye smell.
It should dry up in a nice semi matt finish.
Might find a better matching cover for the sub woofer some day, but it is actually matching better than on the pic.
It's looking good Eric. If you are open to suggestions...
It looks like you have an updated front emblem like I did a few years ago. New matching wheel centers in your awesome Apollo wheels will make the transition nearly complete. Updating the badge on the engine cover will make it 99%. Updating the trunk button will get you to 100%.
Consider removing those amber side markers and placing the proper leaper badges on the sides. Then move the turn signals that were on the sides up into the front amber lenses. Those side lenses are an abomination the original designers of the car did not include. Just switching them to clear lenses is still just the lipstick on a pig.
There is always debate about the side bump strips. Personally I don't like them. Are you planning on taking those off?
It's looking good Eric. If you are open to suggestions...
It looks like you have an updated front emblem like I did a few years ago. New matching wheel centers in your awesome Apollo wheels will make the transition nearly complete. Updating the badge on the engine cover will make it 99%. Updating the trunk button will get you to 100%.
Thank you, and always open for suggestions, although not promising I will follow them ...
I am a bit confused on the badges, I think they are all original 2003, aren't they?
Would like to see your suggestions in more detail if you have any.
And a new chrome trunk plinth with a button is on the way, the present one has a gaping hole for a now removed rear view camera.
Originally Posted by rothwell
Consider removing those amber side markers and placing the proper leaper badges on the sides. Then move the turn signals that were on the sides up into the front amber lenses. Those side lenses are an abomination the original designers of the car did not include. Just switching them to clear lenses is still just the lipstick on a pig.
Well, those side markers were there for EU legislation (as so many other other things on these cars), only the US versions had those badges.
I like them though, have them on my VDP, but for visibility reasons (ever seen the amount of crazy scooters here in Taiwan?), I might leave it as it is.
Originally Posted by rothwell
There is always debate about the side bump strips. Personally I don't like them. Are you planning on taking those off?
I think I mentioned this before; there is the same discussion on the x308 forum.
For this particular car I will not even try to remove them.
The car has been resprayed at places, and I am sure that if a panel or door was done, they did not take of those bump strips.
So you can imagine how it will look like if I do ....
Actually the Badge on the Front Nose Piece is not stock....The wheel Emblems are the same as I have on my 2005 Montreal's but I don't see anything wrong with that and the emblem on the Engine is something I've never seen before as I have an XKR....You might consider the Emblem on the Nose Piece as it's out of date...
Actually the Badge on the Front Nose Piece is not stock....The wheel Emblems are the same as I have on my 2005 Montreal's but I don't see anything wrong with that and the emblem on the Engine is something I've never seen before as I have an XKR....You might consider the Emblem on the Nose Piece as it's out of date...
Billy Clyde
Eric,
Sorry, but the Front Emblem is from one of the newer Models....Rothwell has shown a Photo of the 2003 XK8 Emblem that came on your XK8.....but I kind'a like the newer one don't you? Also, I'm pretty sure the 2002 & possibly the 2003 XK8's were the only years that had the Chrome Trunk Plinth, so that's your call there.....also, the little soft Green Plastic Jaguar Head that fits in the Trunk Button (Head-on) is correct....the Hub-Caps like you've shown are also correct...�..As to the Side-Strips, the 1st models all came with them, all the way up to 2003...they didn't remove them until the 2004 Model...Since they are already on there, I would leave them as I think they look good with your Grill.....Overall, with the newer Model Chrome Front Emblem and the Chrome Plinth, which all match your Mirror Covers....It looks pretty good! Don't you think?
Yeah, for the moment I am perfectly OK with how it is.
All badges are in dark green, they set off nicely with the silver.
I did write down the front badge on my TO DO list though
I will have a replacement chrome grill splitter (old one loosing chrome), 2 overriders (missing), 2 new seat belt buckles (damaged) and the chrome trunk plinth + button on the way, so that will bring the car basically back to how she was in 2003.
My x308 is rather heavily modified (although you will need a second look to actually see all I did), but I am perfectly OK to keep this one as original as possible.
Yesterday I replaced the upper shock mounts, the lower shock bushings and the sway bar links on the front.
The uppers were still reasonably ok, the links were rather shot, the shock bushings fell apart in many pieces at the slightest pressure of the press.
Ride height came up some 1/2 inch, but she is still not balanced left and right.
I presume that one of the rear bushings or donuts or something is fallen apart as well, next for this weekend.
I have also tried to find some extension rods to get to the front sway bar bolt for new bushings, but failed.
Seems all those tools are made here, but all shipped to you guys there overseas ....
Can I reach those bolts from underneath if I put the car on 4 jack stands?
Last edited by ericjansen; 02-27-2019 at 04:54 AM.
Yeah, for the moment I am perfectly OK with how it is.
All badges are in dark green, they set off nicely with the silver.
I did write down the front badge on my TO DO list though
I will have a replacement chrome grill splitter (old one loosing chrome), 2 overriders (missing), 2 new seat belt buckles (damaged) and the chrome trunk plinth + button on the way, so that will bring the car basically back to how she was in 2003.
My x308 is rather heavily modified (although you will need a second look to actually see all I did), but I am perfectly OK to keep this one as original as possible.
Yesterday I replaced the upper shock mounts, the lower shock bushings and the sway bar links on the front.
The uppers were still reasonably ok, the links were rather shot, the shock bushings fell apart in many pieces at the slightest pressure of the press.
Ride height came up some 1/2 inch, but she is still not balanced left and right.
I presume that one of the rear bushings or donuts or something is fallen apart as well, next for this weekend.
I have also tried to find some extension rods to get to the front sway bar bolt for new bushings, but failed.
Seems all those tools are made here, but all shipped to you guys there overseas ....
Can I reach those bolts from underneath if I put the car on 4 jack stands?
Eric,
With all the work you've done during the past 2 weeks, I was wondering when you sleep.....So far, the only thing you've been unsuccessful with was the center console...and it looks better! Mine is in about the same shape as yours's, as a matter of fact I thought it was a Photo of mine....Please remember to show what you do to it when you get around to fixing it up. I want to follow your directions, as I'll bet several of the other Guys will want to also! I want to put a switch in the Box to manage the Antenna. I never listen to the Radio, only the CD's and I really don't think I need the antenna sticking up all the time...I saw an ad the other day for the Lid by itself for about $300.00...Guess I should have ordered it, as it will probably cost more than that to repair it! 2005 Jaguar XKR Coupe - Onyx/Ivory 20" BBS "Montreal" Wheels - Osram DTRL XKR -100 Emblem form 2002
As far as the Front Emblem goes, I like your newer one much belter than the old and I don't think it matters really. Some Purist might said something about it in a Car Show but so what? As I told you, I have a XKR-100 Badge on mine that came from the 2002 special series honoring Jaguar's founder, Sir William Lyons' 100th Birthday...I think it looks good and really don't care what someone might say! Jaguar released 30 Limited Edition Coupes in the US along with 270 Convertibles....I looked all over for the Emblem and the Tread Plates and after about 18 months I found the Nose Emblem in Scotland and about a month later the original Tread Plates in Kalamazoo, MI.
.
I don't know what I've done but it appears that my Photos are going to show �...Thank Heaven!

 01-20-2019, 06:29 PM

 .
.


 ).
).


 , here pic of the engine bay so far; replaced the 2 radiator hoses, re-arranged the aftermarket HID ballast / wiring, cleaned up PO's extra wires everywhere, and a first attempt at getting the bay clean (not there yet).