When you click on links to various merchants on this site and make a purchase, this can result in this site earning a commission. Affiliate programs and affiliations include, but are not limited to, the eBay Partner Network.
My wife's XK8 just failed its mandatory annual state safety inspection due to the emergency brake not holding the full weight of the car "on the next-to-last click when you pull up the handle". According to the tech, it currently holds the full weight of the car "only on the LAST click when you pull up the handle" and that is considered a fail by the inspection system. Supposedly not enough of a safety margin according to current North Carolina laws....
I assume I can adjust or tighten the e-brake cable somewhere in order to resolve this issue. My question is how and where is this done, and with what tools? At the base of the e-brake handle inside the cabin? Underneath the car at the rear brake calipers? Somewhere else?
I will do some forum searching looking for the details but I hope some of you e-brake experts will quickly chime in and guide me so I can resolve this issue quickly, pass the required re-inspection, and avoid any financial penalties before the end of the month gets here....
Jon, adjustment is underneath car. Center just forward of rear end. Gosh I was just in there last week but can't recall socket size. Bring a few 10 through 12mm with you.
There is a Y shaped silver connector. It couples the wire cable from the cabin to wires that loop from left to right e brake mechanisms. These 2 wires are joined with a secure slip joint, from your perspective it looks like 1 continuous wire left to right, through the Y connector and it moves the center of the loop cable towards the front of the car as you tighten the bolt. This takes up play to the e brake pads.
You need to raise rear of car enough to get to this. Probably easier if you remove 1 rear wheel, but maybe you're skinnier than I. I found it easier to crawl under from the rear behind rear wheel.
Thanks for your very detailed description. A forum search did not turn up any information but I found a basic drawing of the e-brake cable layout underneath the car by firing up my trusty JTIS CD. I assume that turning that adjusting nut clockwise will tighten the cable, correct?
There is also a brake shoe adjustment at the left and right rear wheel to set the starting clearance between the shoe and the inside of the brake rotor.
With the wheel off, you will see a hole in the rotor face with a small cap. Remove the cap, rotate the hub to align the hole with the adjuster and you can use a large flat head screwdriver to turn the adjustor and set the clearance. Procedure is also in JTIS.
When everything is right, you should get full holding force somewhere in the middle of the lever travel, 4th click or so.
Thanks guys. I found the center adjusting nut, tightened it about four turns, lowered the car, and checked everything out. I think that will do it. Heading back to the shop for re-inspection now. I will report back on whether this effort was enough to pass it....
Unfortunately, no change. I had the shop foreman demonstrate to me how the e-brake system is only holding on the last click now. He is correct....
I appreciate the additional information regarding how to perform the brake shoe adjustment. I will try that next (along with tightening that 13mm cable adjustment nut a few more turns). I am not familiar with these e-brake shoes. Are they spring-loaded like the drum brakes of 50 years ago? Are the adjusters some sort of gear-type metal wheel? How do you know when you have their adjustment correct? And how can you tell when the e-brake shoes are worn out and need to be replaced?
As you have fired up JTIS, you'll have the diagrams of the cables, yoke and brake shoe adjusters.
1. Raise the rear of the vehicle
2. Turn each brake adjuster until it locks the wheel
3. Back off sufficiently to allow free movement
4. Adjust the yoke to give required free movement/number of clicks on the handrake lever
The brake shoes shouldn't wear if correctly adjusted. They aren't used for stopping the vehicle except in emergency so there is no friction wear. The cables do stretch and it's regular not to be able to gett sufficient adjustment on the yoke to take up all the free play.
You�re right in that the set up is like the old purely mechanical brake drums of old. Except the disc / rotor brake inner disc now forms the drum.
The adjustment is simple from the outside access hole as described above. Simply spin the disc/rotor and you should feel the movement of the rotor against the drum brake shoes, so adjust the crude gear wheel and the drum brake shoes should just bite. You�ll feel it.
Hopefully a combination of adjusting the brake cable Y split but/bolt and the drum brake shoes� gear adjuster, will fix to the mid range e-brake lever.
FWIW, I found a PO had replaced only the RHS on my car and this caused a rattling problem on the LHS. Relatively simple and cheap DIY brake job to replace the drum shoes, but you�ll need to take callipers and discs/rotors off both sides. Not sure you have time for this but well worth doing if you�re not sure when it was last R&R. It�s called an emergency brake for a reason.
Thanks Graham. I have indeed fired up JTIS again, studied the drawings of the parking brake shoe adjustment components, and read the associated instructions. Time to jack up the rear end of the car again, pull the rear wheels, and see if I can make some progress now that I have a better understanding of what I need to do. My knees have been hampering me the past couple of weeks but they must be forced to cooperate right now. Stay tuned, more to come....
Hello Jon:
Out of curiosity, I just checked out my 02 on my nearest sledding hill. It took 5 clicks (mine will go 6 clicks). My drivers manual calls for 3-4 clicks, so I will be making an adjustment also.
My point is that about 5-6 years ago, I sanded the glaze off my parking brake shoes with a rotary disc( probably 36 grit). Just by sanding, it went from not holding at all to holding on 4 clicks.
(Disclaimer: I was raised on lead and asbestos; Others results may vary)
Last edited by Dr. D; 02-18-2020 at 01:11 PM.
Reason: spelling
I followed the above instructions for tightening each rear wheel's brake adjuster mechanism a few clicks with a screwdriver to where the hub would no longer spin by hand, then backing off a click or two to allow it to spin by hand again. Poking the screwdriver through the access hole to rotate the adjuster mechanism was tough for me because with the screwdriver in the way, I could not see where to place its tip on the geared wheel so the screwdriver tip kept slipping off the gear. Once I finally got that task done on both sides, I crawled under the car and tightened the center cable adjuster nut (13mm) by at least a dozen turns to pull all of the slack out of the cables hanging underneath the car....
The good news is that the e-brake system finally passed the shop's annual safety inspection standards....
The bad news is that when I returned home after the successful inspection at the shop and stepped out of the car, I immediately noticed a slight burning smell. I reached down and felt the driver's-side rear wheel and it was hot enough to burn my hand. I walked over to the passenger-side rear wheel and it felt normal to me (warm but not hot after the 5-mile drive home from the shop)�.
So what happened? Are the adjuster mechanisms inside the rear hubs too tight (even though both rear hubs were freely spinning by hand before I re-installed the wheels)? Is the center cable adjuster nut too tight? A combination of both issues? And how in the hell can I tell where the "sweet spots" are for these e-brake component adjustments?
Wayne (cjd777) advised me to loosen the 13mm center cable adjuster nut a bit. He believes I overtightened it, took too much slack out of the Y-cables underneath the car, and caused the e-brake shoes to grab. I hope the fix is indeed that easy....
Unfortunately, any additional work on the car will have to wait. I just learned that my 90-year-old mother has been admitted to the hospital due to recurring heart problems. She lives a couple of hours away from us so I will be unavailable for awhile....
Sounds like you've got too little clearance on the shoes (back off another click or two) or the cables are too tight. Now it's passed inspection, you can safely go a little closer to the LAST click on the lever!
Jon, you got this when time comes, right now other pressing issues.
Let me know if anything I can do on this end. You are welcome to stay here, a lot closer We will keep the horse, OH, sorry the really really big dog.
Wayne.
Thanks for the kind words, guys. Mom is now stabilized in the hospital and we are awaiting the results of the multitude of tests they ran overnight. My youngest sister will stay with her today. I will stay with her tomorrow. My middle sister is on vacation in South America and has no idea of what is going on (she returns home on Saturday so there is no point in notifying her now and ruining her vacation). What happens after tomorrow will be determined by the test results and how Mom is doing after a couple of days in the hospital....
Sorry to hear about your troubles. Hope your family sorts itself out and your mother recovers.
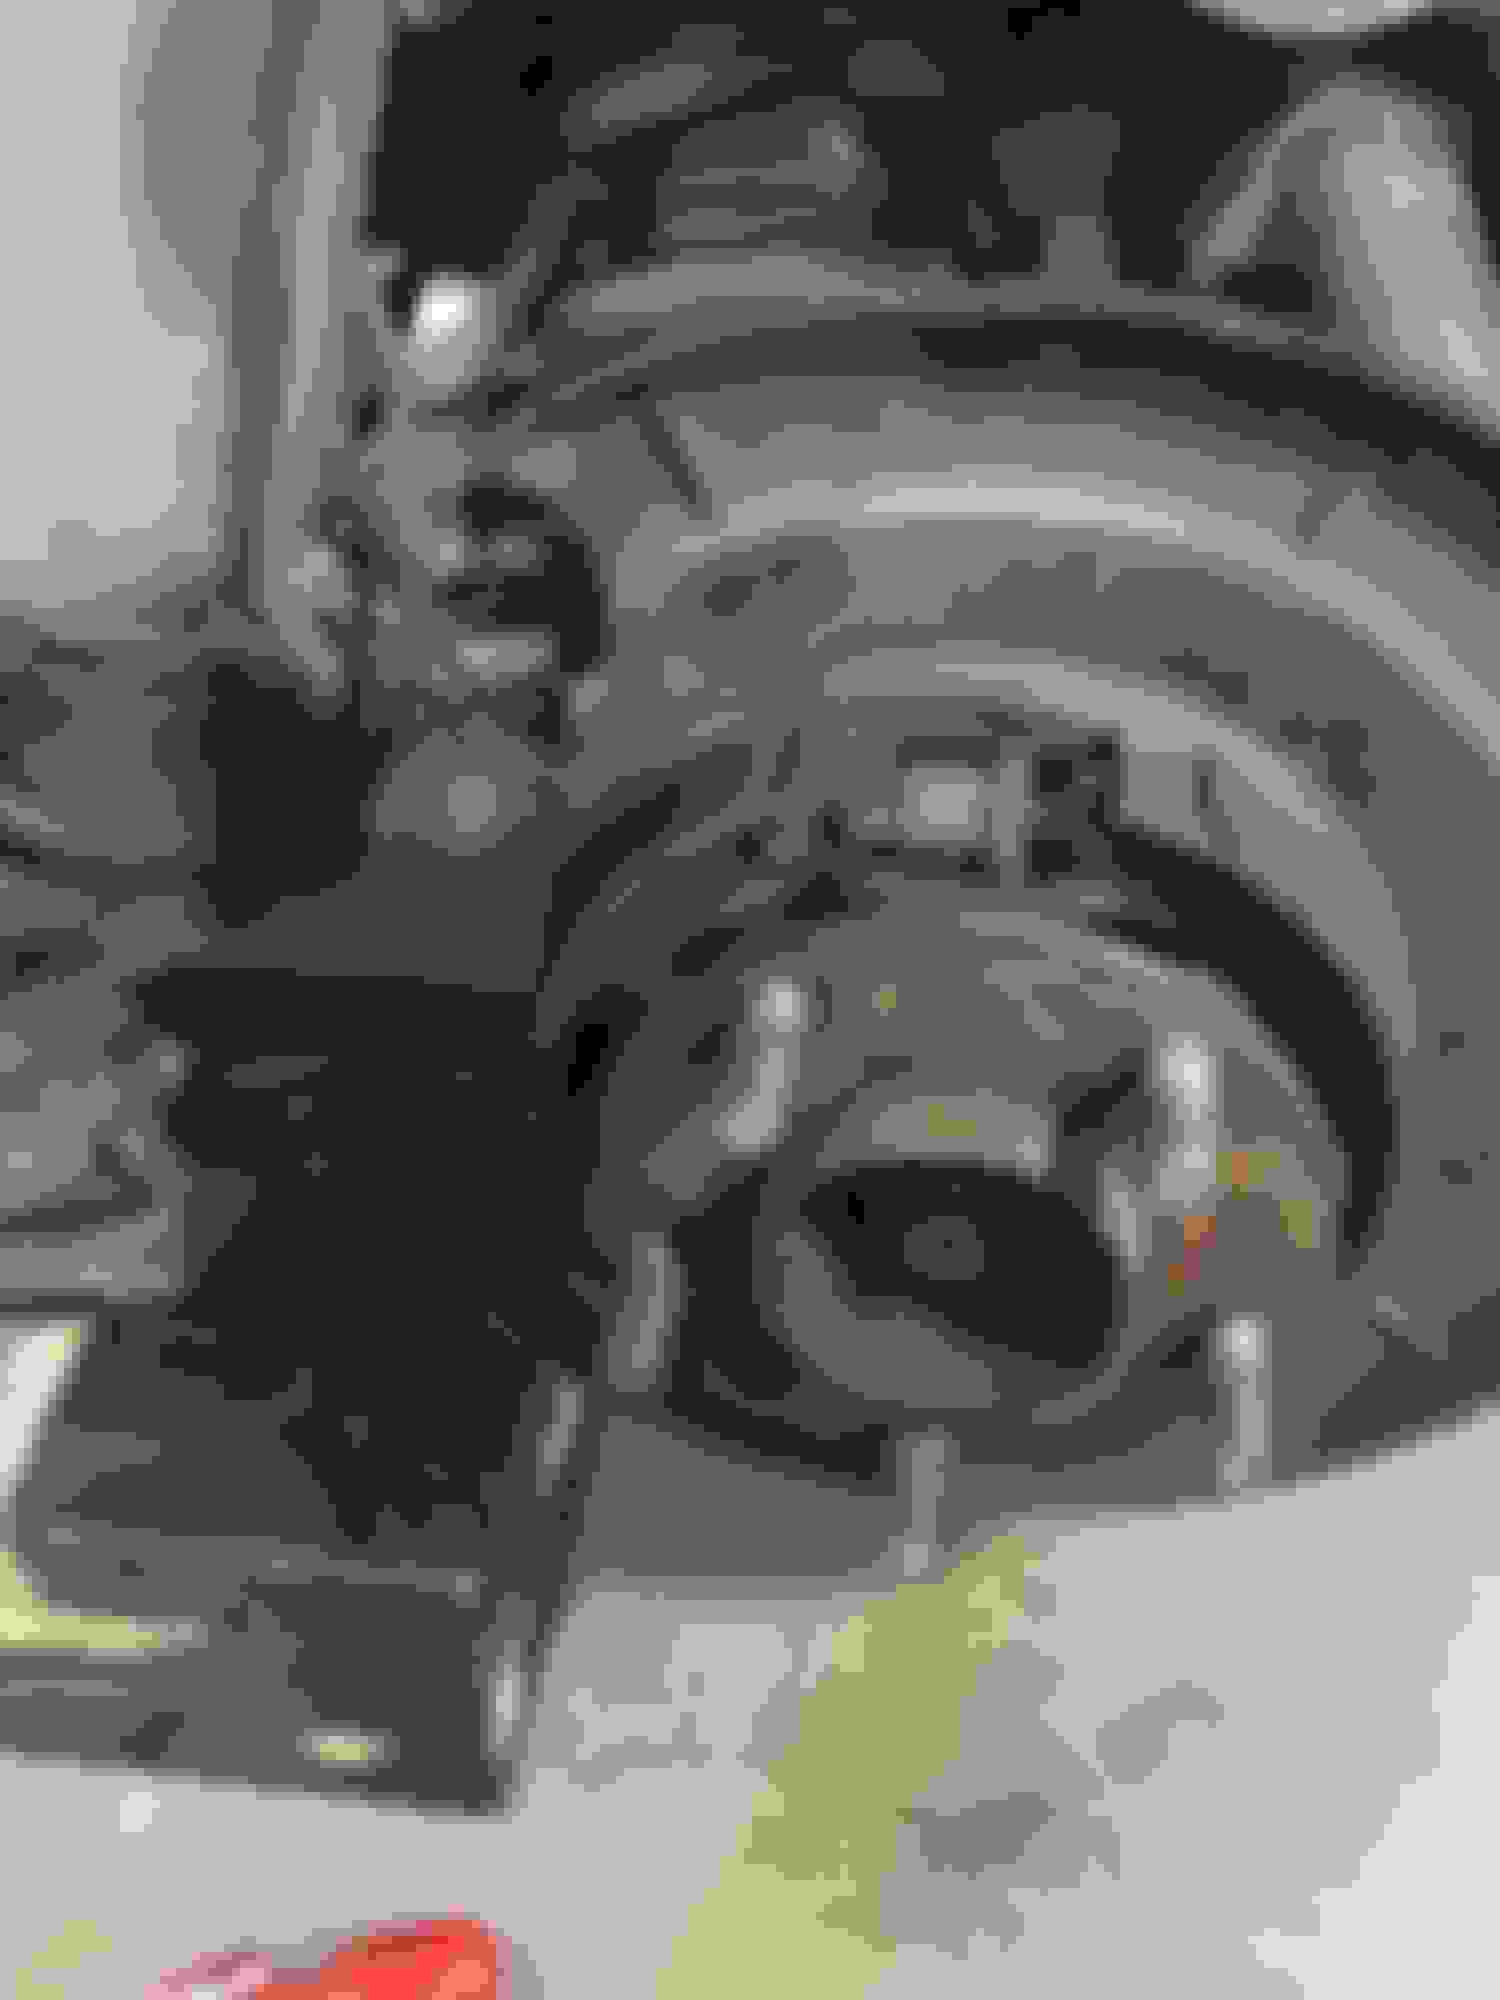
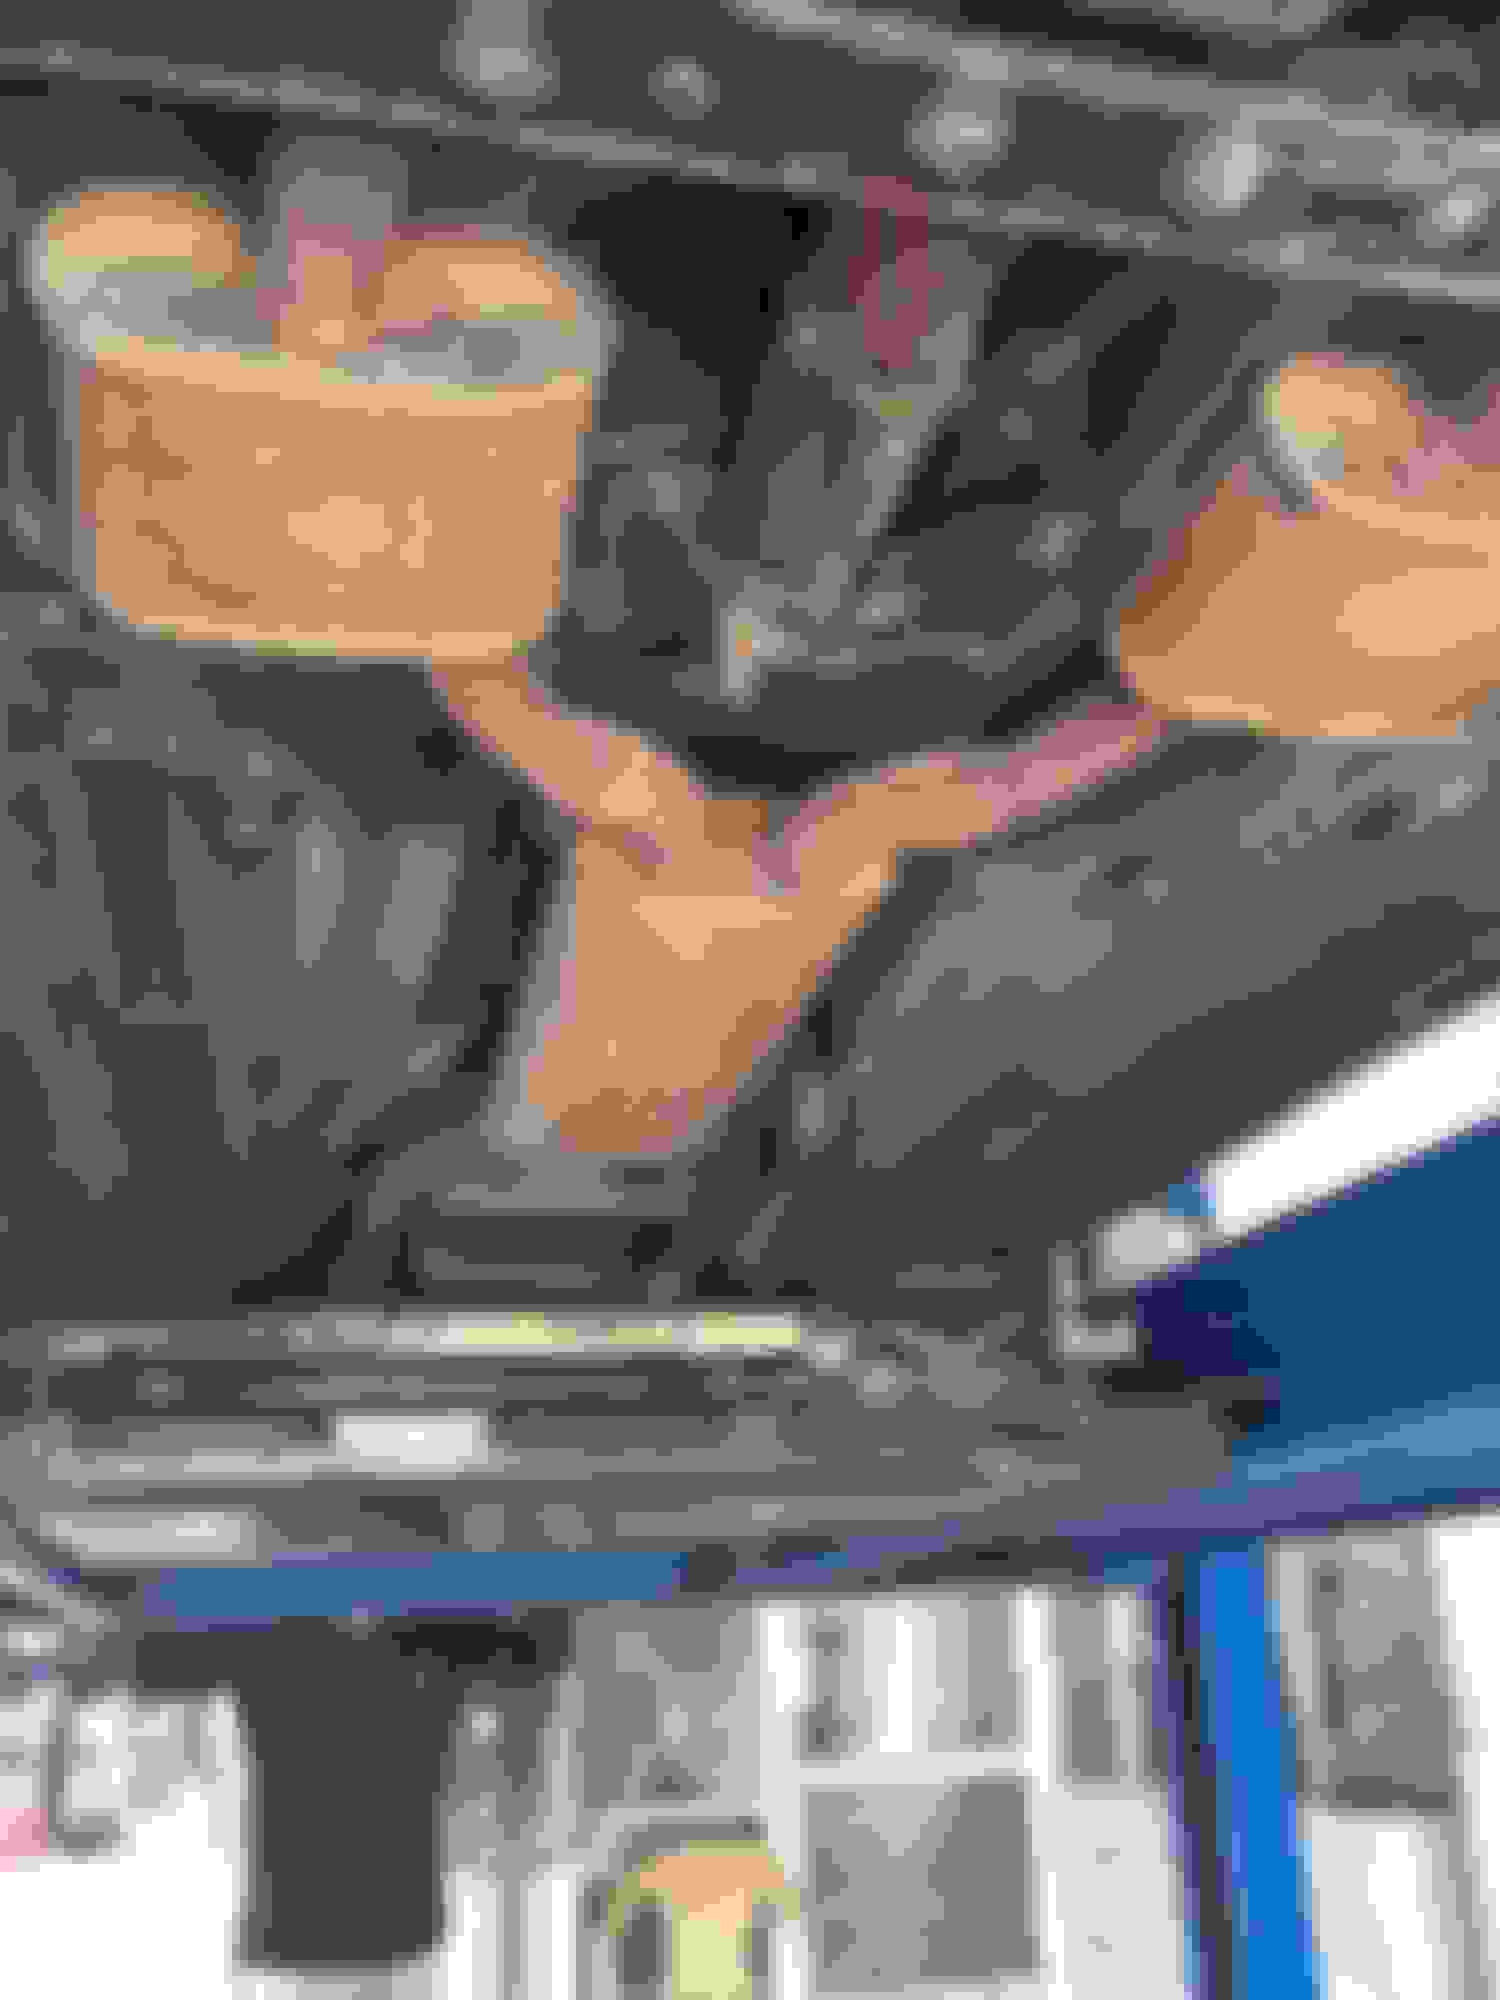
Managed to find some pictures back when I did this e brake job. Hope they help others, who may view your thread in the future.
Picture of the gear wheel adjuster on the drum shoes. If the disc/rotor is on, the wheel needs to be spun so that little access window needs to be at 12 o'�lock.
Location of the nut adjustment on the cable Y splitter

 02-18-2020, 07:49 AM