When you click on links to various merchants on this site and make a purchase, this can result in this site earning a commission. Affiliate programs and affiliations include, but are not limited to, the eBay Partner Network.
After a recent bout with cooling issues, finally my revived XK8 project was capable of some longer road traveling. We have had a handful of successful, albeit short (< 5km) jaunts, and she is quite fun to drive I must say.
Today, however, I was presented with "Engine Fault." Here are the conditions:
- Drove to state inspection facility (4.8km / 3.0mi)
- Parked for 15 minutes whilst arranging for inspections
- Went out to start (I insist on moving the vehicle myself,) and it cranked without start.
- Key off, key on, ENGINE FAULT displayed and it would again, crank without start. Tried this five times over the course of 30 minutes, without success.
- Checked for any P-codes (this is all my reader will detect on this car) and none were found (except the P1000, of course.)
- Battery cables removed, crossed for reset, reconneted, and the car starts up perfectly.
- Canceled inspection (the mechanic did not want the liability after seeing that) and drove home, no issues
- Parked under the carport, and pondered things.
- Opened garage, and approx. 5 min after shutting down, went to start - and again, crank but no start.
- ENGINE FAULT again, no P-codes.
- Put vehicle in Neutral to roll out of the way (so wife could get hers out)
- Lo, after rolling backward 20 meters, the Engine Fault disappeared (???) and the car started without issue.
Any help is appreciated - all the findings I have on searching usually have error codes accompanying the engine fault, but not mine. Are there any guides or details on what possibly causes these Engine Fault triggers? And, why rolling the vehicle in Neutral could possibly clear it?
I have no idea if it could be related, but, one item I had addressed recently; Since under my ownership, it had consistently reported TRACTION and STABILITY failures on the dash. Whilst doing the cooling work, and a complete brake job (pads + turned rotors) we removed, cleaned, and reinstalled all 4 wheel sensors. After doing this, the TRACTION and STABILITY failures disappeared and have not returned.
After another quick trip last night, I parked it in the garage, and once again the ENGINE FAULT appeared.
Doing nothing more than shutting it off for the night, coming out in the morning (I wanted to check for codes again) the ENGINE FAULT disappeared. (Also, there were no codes found)
I have an iCarSoft i930 OBDII scanner (Jag specific) ordered, should be here in a week or so, maybe that will reveal something.
In the meantime, I've got her back up on jack stands for strut R/R.
OK, so I read up on this and I can see it's fairly common. However, I purchased this vehicle last month with unknown history behind it. Is there a way for me to be a little more certain about diagnosing a bad ECU before shipping it out for repair? From my understanding, a visual inspection is unlikely to reveal any issues (am I wrong, there?)
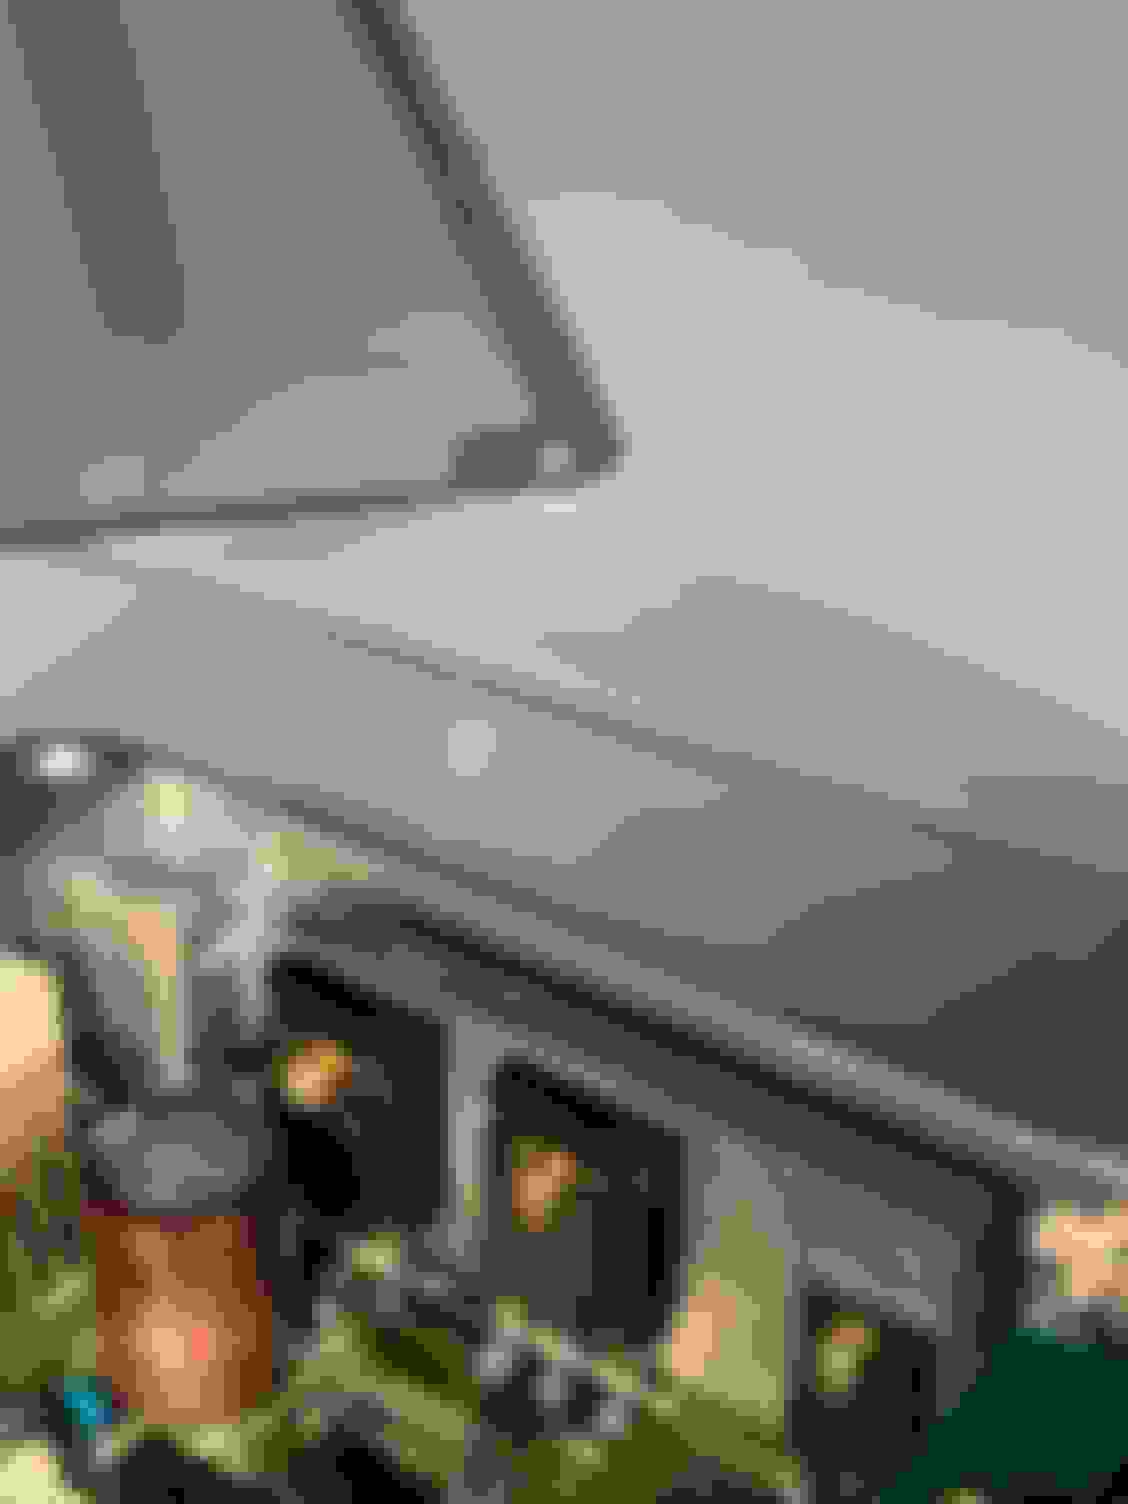
After reviewing Matt's article in the XK8 Bible, I will pull the unit, look for evidence that it has been previously repaired (there is a warranty seal tape on the edge for instance,) and if not, I will open it and replace the suspect capacitors he has outlined in his guide.
If you're going to the trouble of removing the ECM for inspection, it's worth replacling the electrolytic capacitors 'while you're in there'. Even if there's no obvious problem, it's a matter of 'when' rather than 'if' they fail. 25 years is well beyond their expected life.
It's an easy job if you're competent with a soldering iron, or know someone who is. The parts will cost you around $10.
The limit of my soldering experience is replacing capacitors on my old Atari 2600 "big sixer" and fitting it for composite video output... but it seems if I can do that, I can do this
On the other hand, I would not be surprised if the cap's have already been fixed under the previous owner. He seems to have taken care of some of the other major known issues (such as tensioners) so... I'm curious to see!
Thanks again all, and I will post pictures as I go. It may be a few days, as this year's gardening must take a front seat so I can get those veggies in the ground...
A couple curiosities, the tamper-proof screws protecting the ECU box seem to have been replaced with T-30 screws, unless this year did not have the tamper-proof kind.
Also, there was no gold-colored bar protecting the top of the ECU under the cover, as shown in
To The Garage episode 76 which goes over the removal procedure.
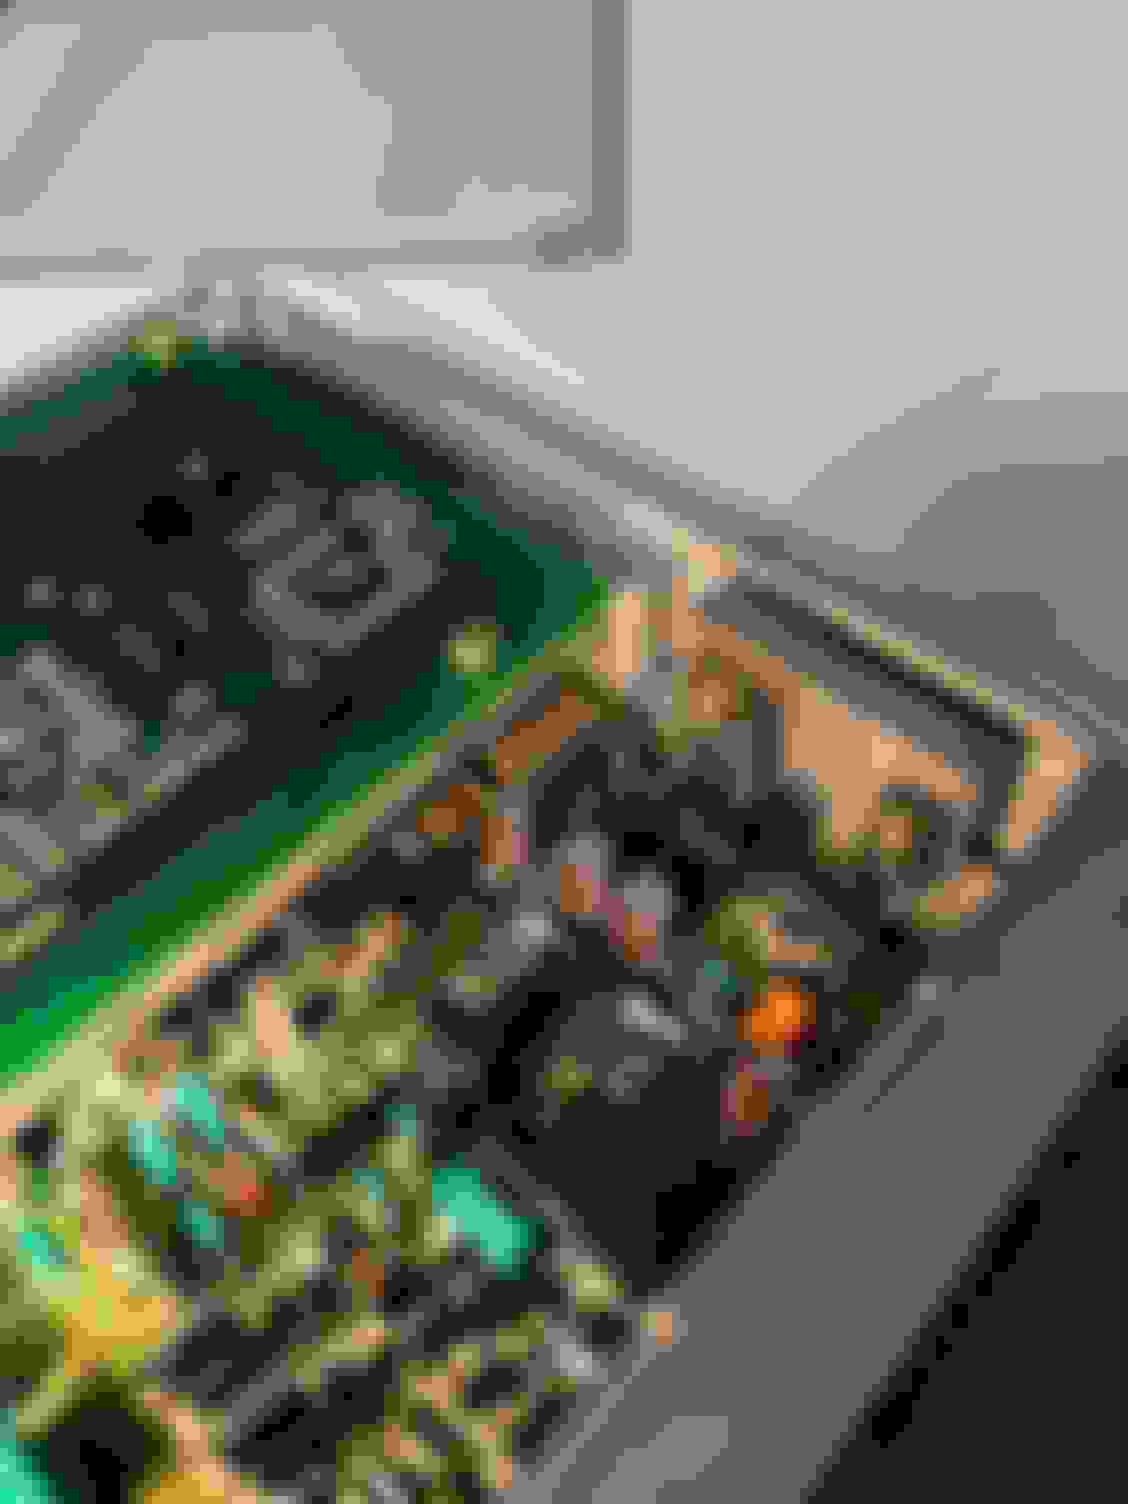
So I wonder if this was accessed / addressed under warranty, perhaps? But in any case, I opened it up and found the brown-colored capacitors referenced in the XK8 Bible instructions for repair.
EDIT: I have ordered the capacitors as referenced in the repair instructions in the XK8 bible, exact parts that he mentions from Farnell. /EDIT
Photos attached, as promised - I do not see any corrosion or leakage, but perhaps there's some hidden.
Non 'tamperproof' bolts & a missing retaining strap suggest that someone has been there before. The caps may or may not have been replaced, as they are the same manufacturer (Nichicon) as OEM.
Can you read the date codes on them? (XYYWW) where X=a letter & YYMM is year and month of manufacture.
Perhaps an ignorant question, but nonetheless: Is there any reason the advised repair involves keeping with electrolytic caps and not moving to ceramics of similar spec?
Reading up a bit, I realize they're not equivalent for a number of reasons. So I withdraw my question
The capacitance capability of ceramics has moved on in leaps and bounds over the last few years, although the largest I can find is 470�F. Cost would certainly be an issue, though, looking at Mouser's prices for the larger values!
So, those date codes indicate that the caps in your ECM are the original ones. I'd certainly change them even though there's no issue visible in your pics. I imagine you're comfortable working on a multi-layer pcb if you've been inside the Atari. Do you still have it?
edit: Check the values of the caps in your ECM. I've just read the list in the XK8 bible and I suspect that's for a later ECM. I think they should be:
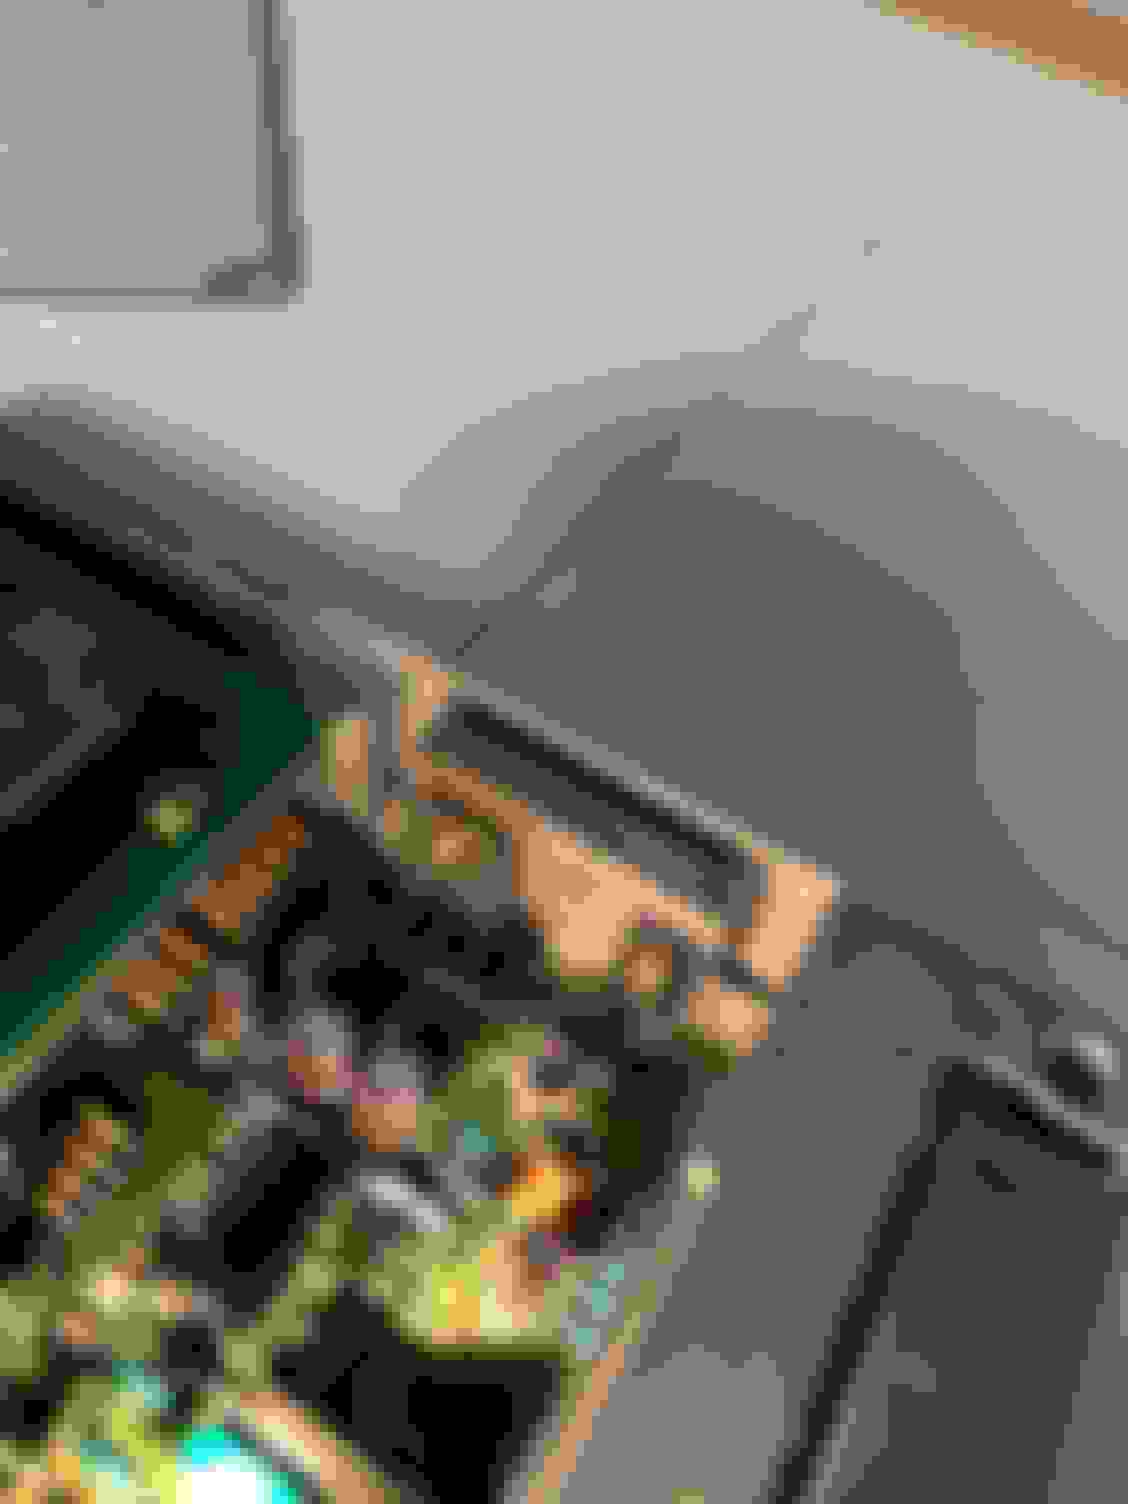
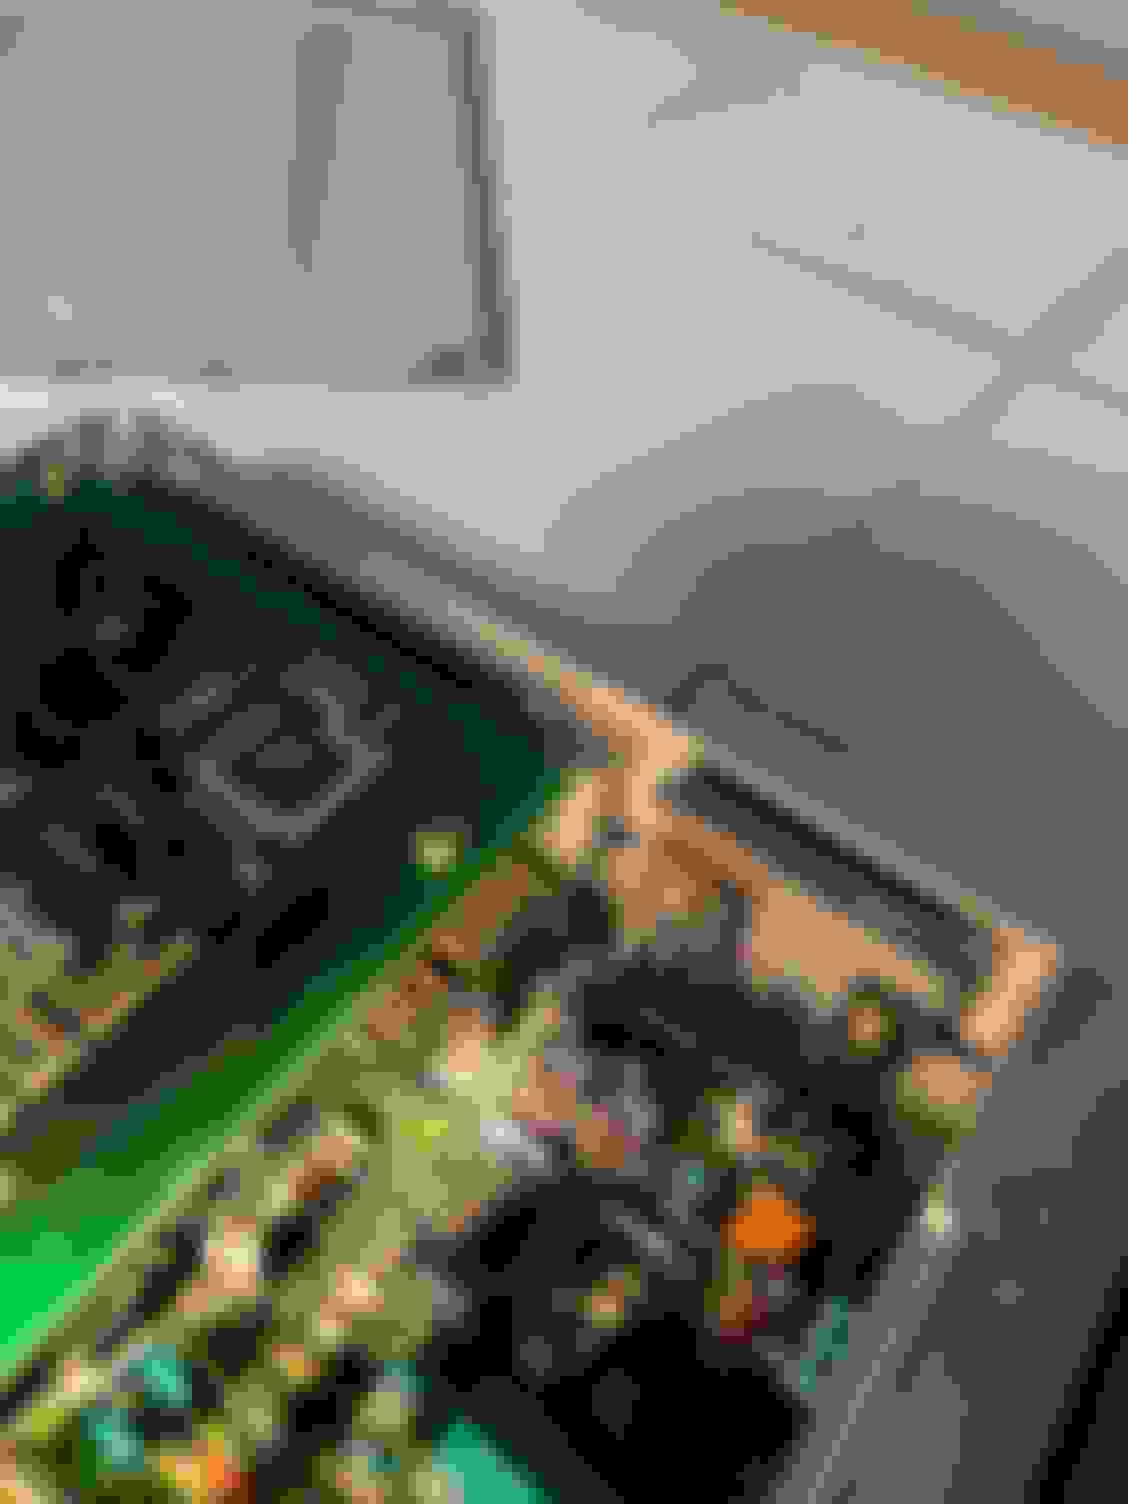
And also, these all match what I just manually checked on the PCB; Just one question though. Both in the bible photos, and on my PCB, I only detect one of the 10uF's, grouped with the other five shown in the photos. Where would the second one be hiding?
Hi Jim,
I just get a blank page on that link. I must have been looking at something different (page 5 in the bible on John's 'to the garage'). No matter if everything matches what you have.
The other cap is under the daughter board. From memory, remove the 4 screws and it will detach to give you access.
I'll be receiving the capacitors what looks like Monday; I am not a soldering expert. I planned to do the following:
- Take thorough photos (of course) observing polarity
- Use desoldering gun from underneath (uses vacuum to draw solder out) to remove old caps
- Carefully match legs, position, and polarity, inserting new caps
- Smallest possible application of solder to underside to secure legs, confirm attachment, then clip flush
Do I need to be concerned with attachment at the top? Or, is attachment underneath enough for continuity to the top / upper circuit board surface?
If instead I need to be concerned with attaching solder at the top, I might need to refer this to a professional.
- Use desoldering gun from underneath (uses vacuum to draw solder out) to remove old caps
It can be difficult to clear the holes with the componenct in place, but by all means try the solder sucker. With two-legged devices such as caps, I usually gently wiggle them out by alternately applying heat to each leg while pulling & angling the cap away from that connection to the pcb.
How powerful is the 'gun'? you don't really want anything more than 15-20 Watts.
Originally Posted by jim_63219
Carefully match legs, position, and polarity, inserting new caps
Negative lead on cap is adjacent to the stripe on the can and, as a double-check, the positive lead is the longer one. You will do no harm by not mounting them tight up against the PCB (1/8" or so gap) if there's enough headroom.
Originally Posted by jim_63219
Smallest possible application of solder to underside to secure legs, confirm attachment, then clip flush
Allow a couple of seconds with the soldering iron on the joint to permit the solder to flow into the hole (capillary action should suck it through to a degree).
Originally Posted by jim_63219
Do I need to be concerned with attachment at the top? Or, is attachment underneath enough for continuity to the top / upper circuit board surface?
In theory, the holes are 'plated through' meaning the top and bottom tracks are connected. You can easily check for continuity with a multimeter once the cap is out.
The gun gets quite hot. The dial goes up to 500F .. whoops, sorry, err... 260C
The wattage is 140w.... so.... a bit nervous, but if it's a quick application & I use a lower setting? I don't know what tolerances these boards have & what it takes to burn them. And what burning actually means - like, is that referring to enough heat to destroy the traces?
Here are the underpinnings (I think,) which may or may not be useful, if anyone runs across this thread - for skilled solderers, it may seem a bit silly, but for me I could use the extra double-check to be sure I'm working the right pins when I get to work.

 04-21-2023, 06:30 PM