When you click on links to various merchants on this site and make a purchase, this can result in this site earning a commission. Affiliate programs and affiliations include, but are not limited to, the eBay Partner Network.
Thanks for pointing me to this thread. I do not remember it although I see that I posted in it....
Has anyone found a suitable brass T-shaped connector that we can install rather than going with a new Jaguar plastic T again when this piece eventually fails? Metal plumbing parts are so much better than plastic ones....
This black plastic T-connector fitting (part no. NNE3944BA) appears to be underneath and slightly behind the throttle body on the U.S. drivers side of the car. It appears to sit in a horizontal position. There are other hoses and wiring harnesses above it and around it making access quite difficult (for my giant hands, anyway). What is the best way to get to it in order to install a new T-connector? And what type / size / part number of new O-rings should be installed along with the new T-connector?
I see no apparent coolant leak there now but I want to be prepared when the time eventually comes. Thanks for any guidance those of you who have already done this job can provide....
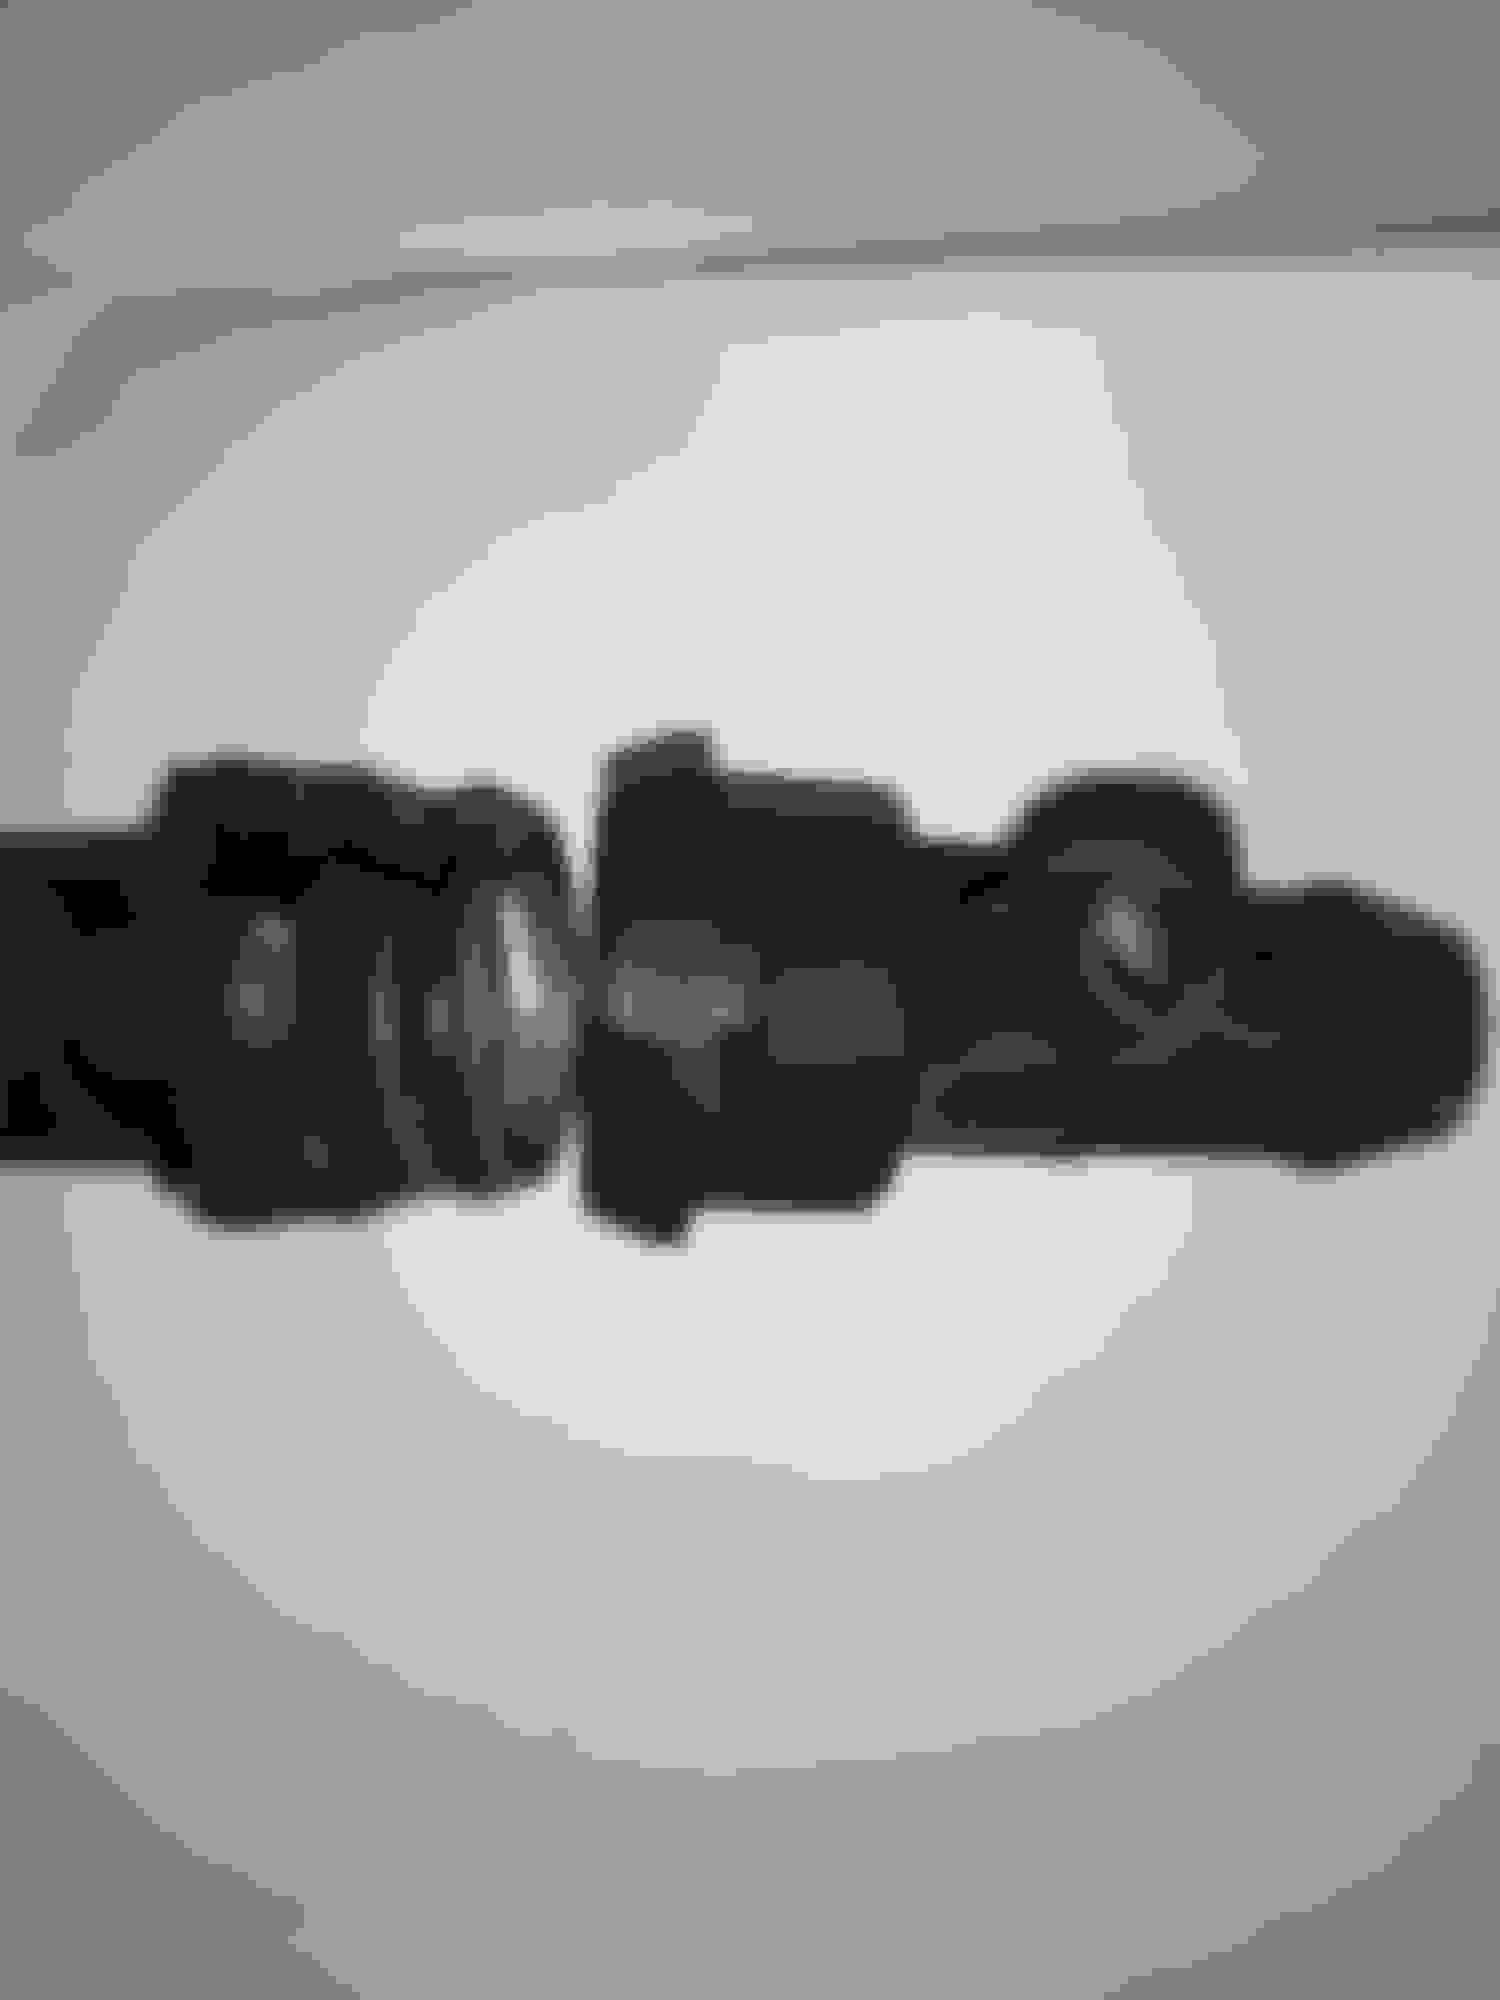
I've taken some measurements from my old bits in the replaced parts museum. The i/d of the tee is 1.05" (26.8mm). O/d on the octopus metal sleeve is 0.84" (21.27mm). The 'O' ring is 21 x 27 x 3mm (0.83 x 1.06 x 0.12)" approx. as it's been used.
You will have more room to work if you remove the coolant reservoir, or at least unbolt it and move out of the way. You'll need to empty it in any case to do this job.
Thanks for the additional information. That custom-made aluminum T-connector sure would be nice to have. I certainly understand the frustration that folks have experienced when attempting to locate an existing off-the-shelf brass one on the various plumbing supply websites. My searches thus far have turned up nothing that seems feasible, so perhaps your supplied measurements will help to locate one. If and when my wife's XK8's factory plastic T-connector begins to leak, I will probably opt to install a new OEM one currently being sold on ebay for less than $10. The advantage that the plastic T-connector has compared to the more commonly failing plastic Norma connector on the other side of the engine bay is that the T-connector appears to be located higher up and therefore further away from the catalytic converter so perhaps it does not bake to the same high temperatures that the Norma connector is exposed to on the other side....
Okay guys, I am taking a deep breath here. My small-handed neighbor and I spent more than two hours this afternoon on this job and we finally decided to take a break and seek additional expert advice before we reach the point of getting furious and breaking something....
We are now at the point where we can easily rotate the old plastic T-connector where it inserts into the Norma fitting on the octopus hose. We can even wiggle the T-connector around somewhat (like a universal joint). But it absolutely WILL NOT pop out of the Norma fitting no matter what rotational position we try. We are concerned about breaking the plastic "ears" off the Norma fitting if we get overly aggressive with it....
Can those of you who have successfully completed this job please describe in detail exactly how to get the old plastic T-connector into the correct position so it will separate from the Norma fitting without breaking those plastic "ears"? We certainly realize that we are dealing with nearly 16-year-old engine bay-baked plastic and we do not want to try to gorilla this thing out of there and wind up ruining the octopus hose fitting....
My hands are far too large to be able to get both of them down there on the fitting. But my small-handed neighbor can. Therefore, he is going to have to be the guy who finally manages to twist that connection apart....
Any and all experienced guidance will be humbly appreciated....
Hey Jon,
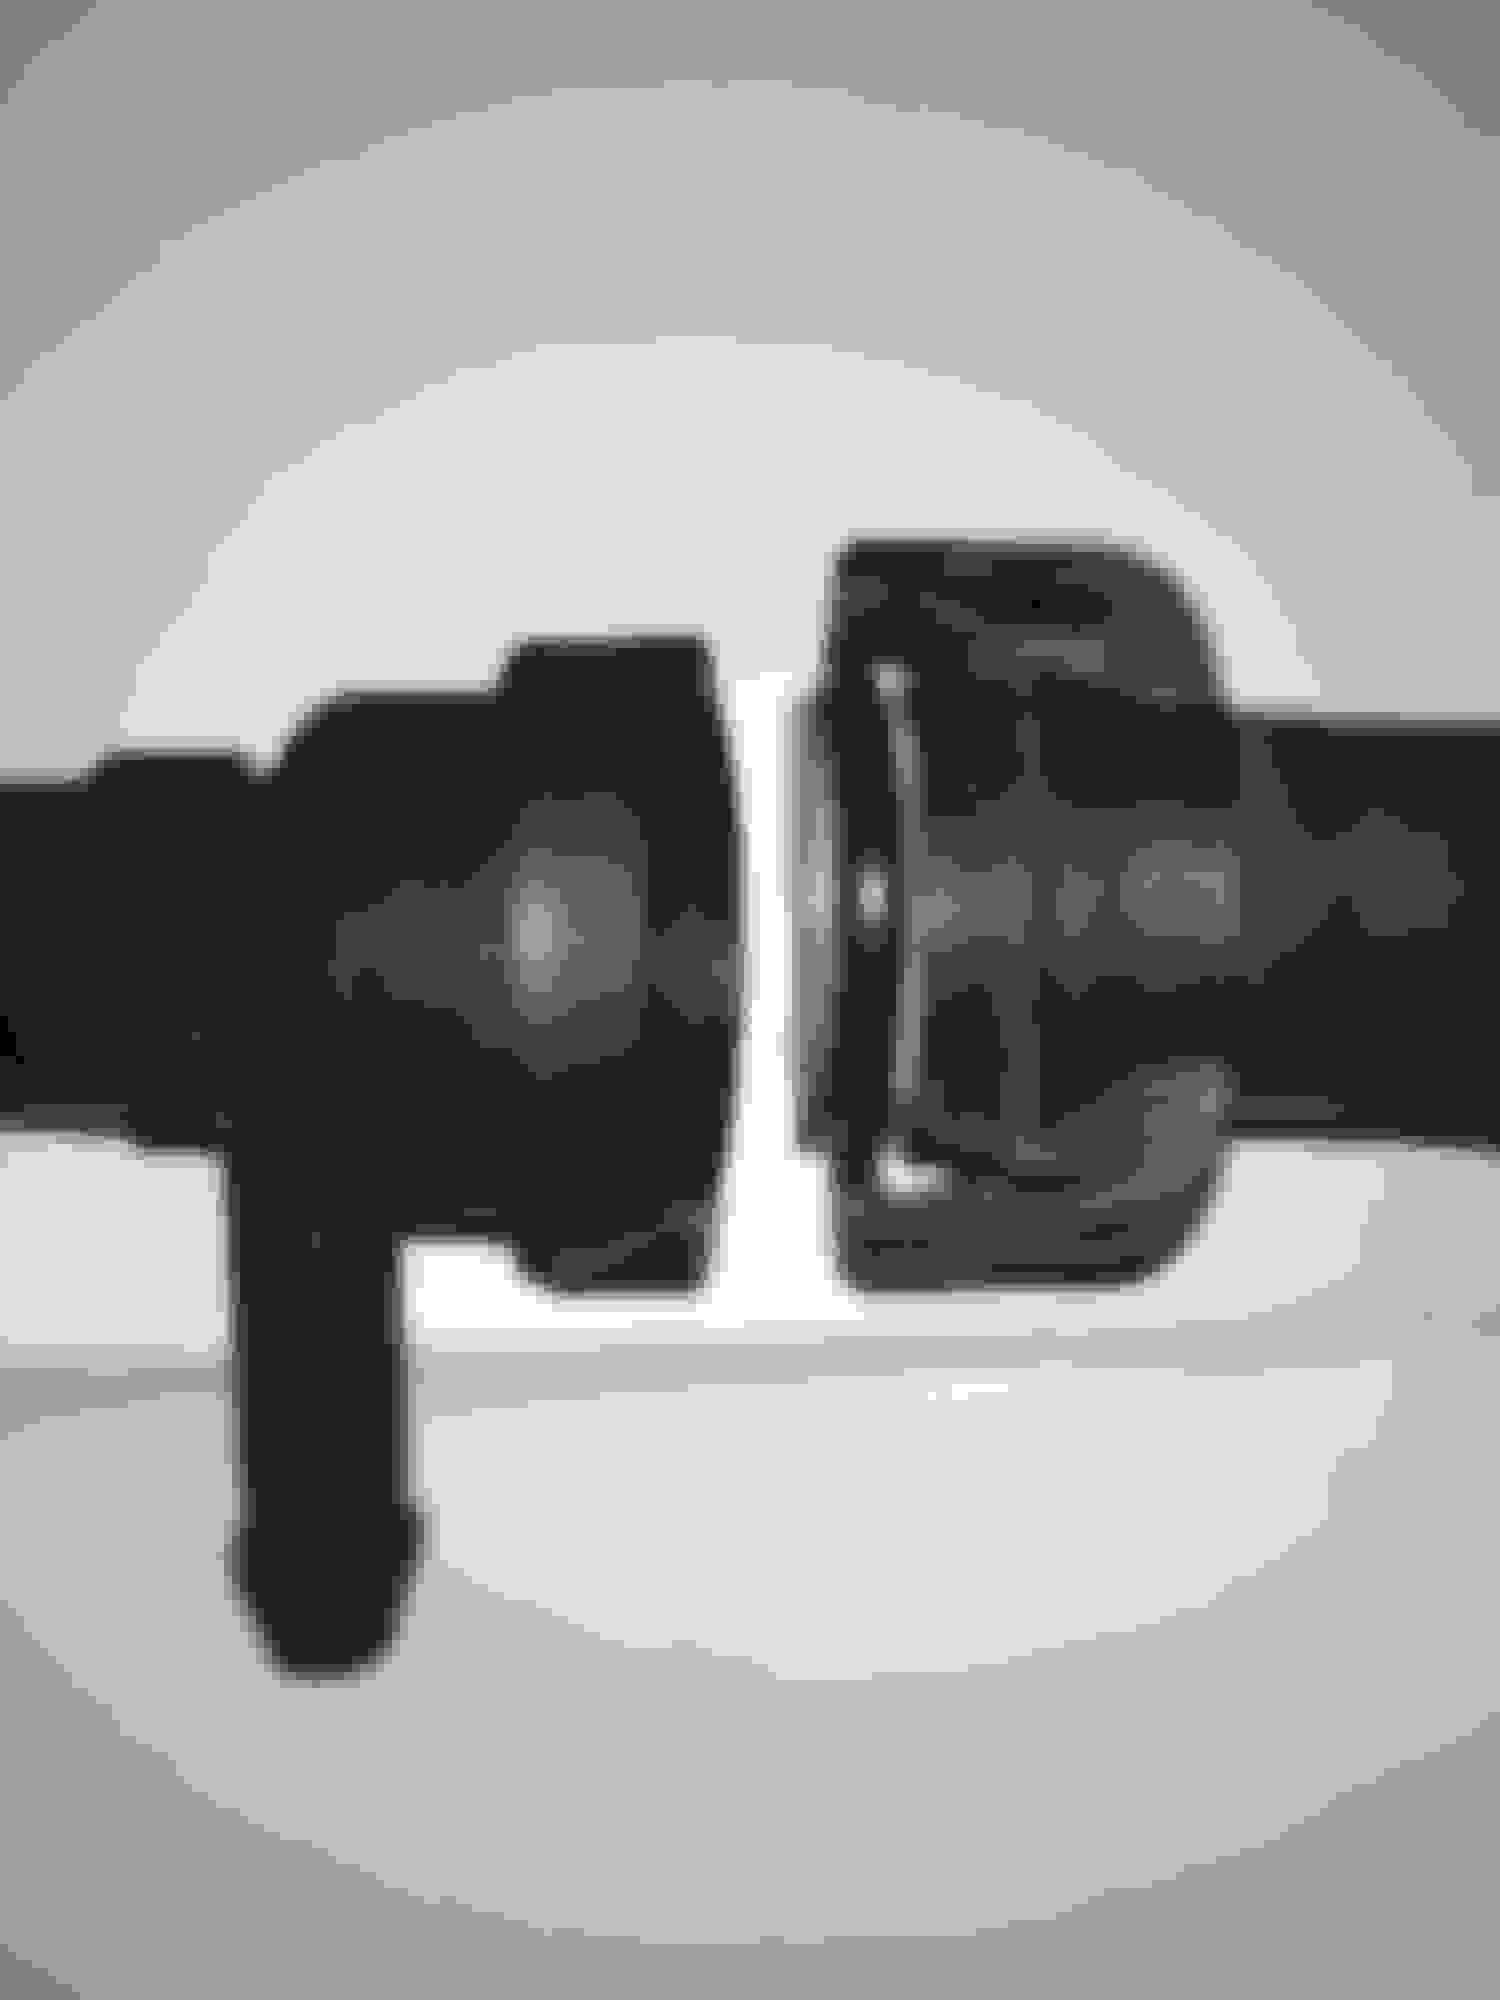
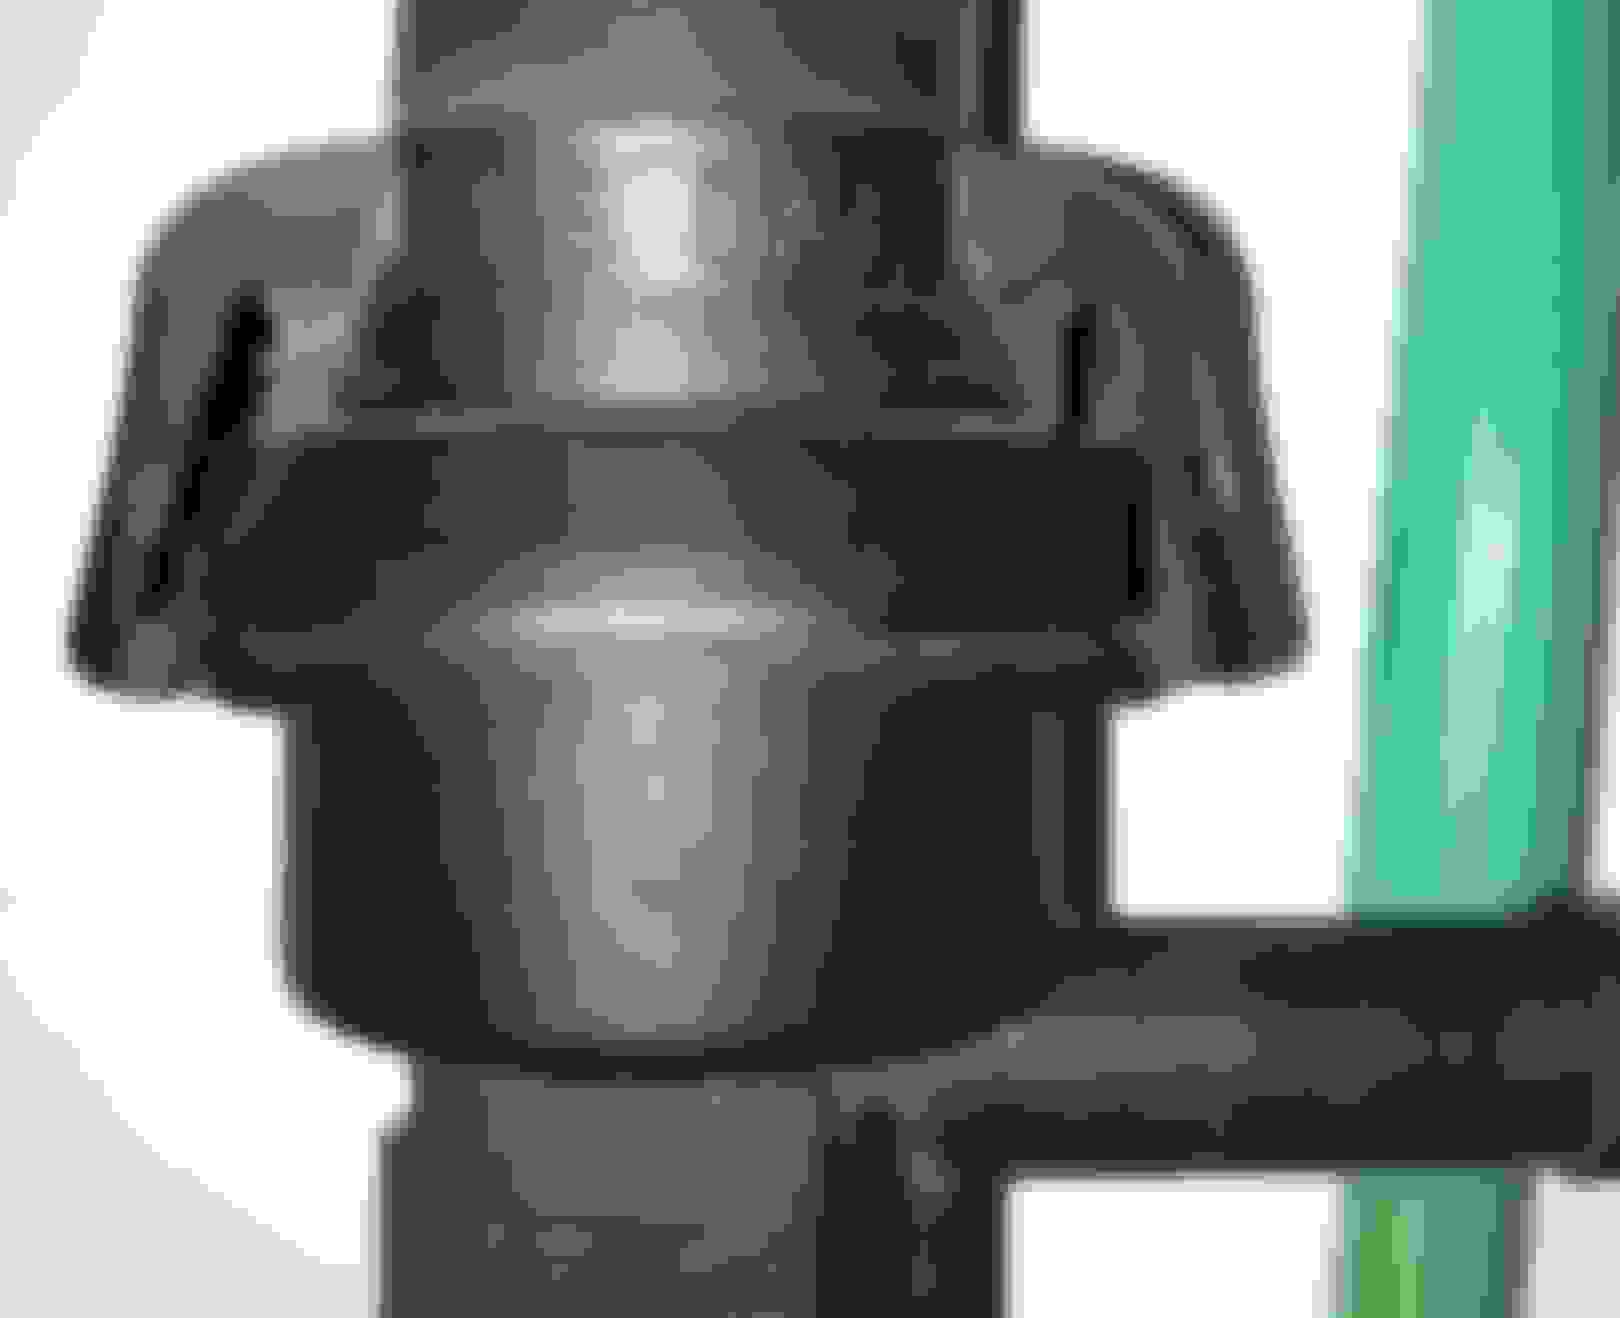
The stem of the 'T' (the outlet that goes to the coolant reservoir) should be parallel to a line drawn across the octopus 'ears' to unlock it. There are flat 'lands' on the tee locking ring that push the 'ears' clear. Hope this makes sense.
You can try a shot of PB blaster as Shoreguy did.
edit:- do these help?:
Last edited by michaelh; 02-04-2021 at 04:24 PM.
Reason: add pics
Thanks Michael. Your description and additional photos do indeed help....
My neighbor and I have discussed warming up the "ears" with a hair dryer in an effort to make them somewhat more pliable. Do you think that may make a difference or are those "ears" simply too thick?
Thank you Michael.
Are you saying that the flat area has to be lined up or rolled under the clips on the norma connection?
It sure made it look easy, but being down under and doing it by hand, these pictures are very helpful.
Sorry, Jon, wish I were there.
Sorry - I got sidetracked.
A gentle warming won't do any harm.
Wayne - yes:- that's what pushes the 'ears' out so they disengage from the locking ring formed on the tee moulding. Twisting the tee with respect to the octopus does that.
Once the 'ears' are out of the way, the two halves just need to be pulled apart. Sounds easy, but they've been together for a long time...
Jon, I almost missed this discussion, wish you had started a new thread. I replaced my octopus a couple of years ago along with the heater hoses, cut everything apart and didn't pay enough attention to how it all went together. Now I understand, thanks to michaelh.
I have the two pieces in front of me, so if there's another angle shot that would help, then just shout.
The joint is tight even when you can pull directly on each end, so I do feel for you with your hands in the void.
Thanks Michael. I think we now have the information that we need. Now we just need to figure out a way to successfully apply it to the job. As my neighbor commented earlier this afternoon, what we really need is my physical strength transferred into his small hands. Sure wish we could make that happen even if only for 30 seconds or so....
Thanks. Rain expected for most of tomorrow so it will probably be Saturday or perhaps into next week before Frank comes back over here and we try this again. I like to work outdoors in broad daylight for optimum visibility. I have never done well under artificial lighting....
Daylight is always best if you can, but not easy this time of year
Give the joint a good squirt of PB or whatever in the meantime. There's a chance at least some will penetrate in to make separating the two halves easier.
Saw that my old post resurfaced. This job if anything was more frustrating than hard, As Micheal said above to get the two halves separated use some PB blaster or the like. After doing this the following day the fitting finally let go for me. At this point you are pretty much home free other then getting the new T seated and the connector turned to lock it in place. Use some type of lube on the plastic parts which definitely will help getting it together easier. I don't envy you having to do this job and like I said it's more frustrating than hard. You can do it just keep your cool lol.
I indeed squirted some PB Blaster on that Norma fitting yesterday around noon. Frank came back over this afternoon and his magic hands were finally able to separate that ridiculous Norma joint. He was very careful and did it one "ear" at a time. Heating up the old plastic with a heat gun he brought over probably helped, but I think it was Frank's patience and refusal to quit that finally carried the day....
Once we had the old fitting out, we were able to get a good look at the open end on the octopus hose and how it mates up to my new plastic T-connector. It was then new O-ring selection time so I jumped into my Subaru and headed for NAPA with my new T-connector in my hands. I looked at several styles of new O-rings and decided that their top-quality hydraulics O-rings would hold up the best in that harsh engine bay environment. I purchased a Gates G60248-0010 O-ring, black in color, for the grand total of $1.17. Drove back home and we proceeded with putting everything back together. The new O-ring was a perfect fit, and the new T-connector snapped right into its proper position for Frank. Then it was just a matter of reconnecting all the hoses, clamping them down, and re-installing the coolant reservoir. I was especially careful around all the old wiring and electrical connectors....
I poured sufficient coolant back into the system, then we cranked up the engine and let it idle for about 10 minutes. Not a drop of coolant leaked anywhere. I then took the car out for a 10-mile test-drive, came home, opened the hood again, and still not a drop of coolant anywhere to be seen. For the next few mornings I will check the coolant level in the reservoir and add more coolant as needed. This car usually needs two or three mornings of checking and adding before the coolant level stays exactly where it needs to be....
A hearty thanks to all of you who have contributed to this thread, and a special thank-you to my neighbor Frank. I could not have successfully completed this job without his small hands and magic touch....

 01-03-2021, 04:35 PM