When you click on links to various merchants on this site and make a purchase, this can result in this site earning a commission. Affiliate programs and affiliations include, but are not limited to, the eBay Partner Network.
Not too much problem with condensation here in Arizona. If you have condensation issues, make sure the drain tab is clear and maybe consider a bag of Silica Gel inside. Check the TTG video on YouTube!
Yeah, I need to do the condensation vent TSB but I haven�t been able to source the curved T. I wonder if just drilling the hole in the side could help.
Yeah, I need to do the condensation vent TSB but I haven�t been able to source the curved T. I wonder if just drilling the hole in the side could help.
The Bi-xenon projectors finally arrived and I was able to install them on my headlights. However, big disclaimer, installing these projectors is not for the faint of heart. You will need a drill and a Dremmel with both a cutting disc and a carbide bur. The result is absolutely worth is 12+ hours I spent on this. However, the first four hours were spent figuring out how I would go about it, taking a million measurements, and drawing on the projector with a sharpie what I would cut from it. I even considered returning them and trying to procure OE Valeo projectors.
Alas, ingenuity won. I used some sheet-metal in which I drew the outline of the 4TL-R projector and the Valeo projector and used that to determine if it would fit after cutting some material from it. Since the sheet metal fit after that mock-up, I decided to attempt the retrofit.
Only for the brave, the valiant, and those who do not lack ambition nor determination, I give you my install guide for the Bi-xenon projectors.
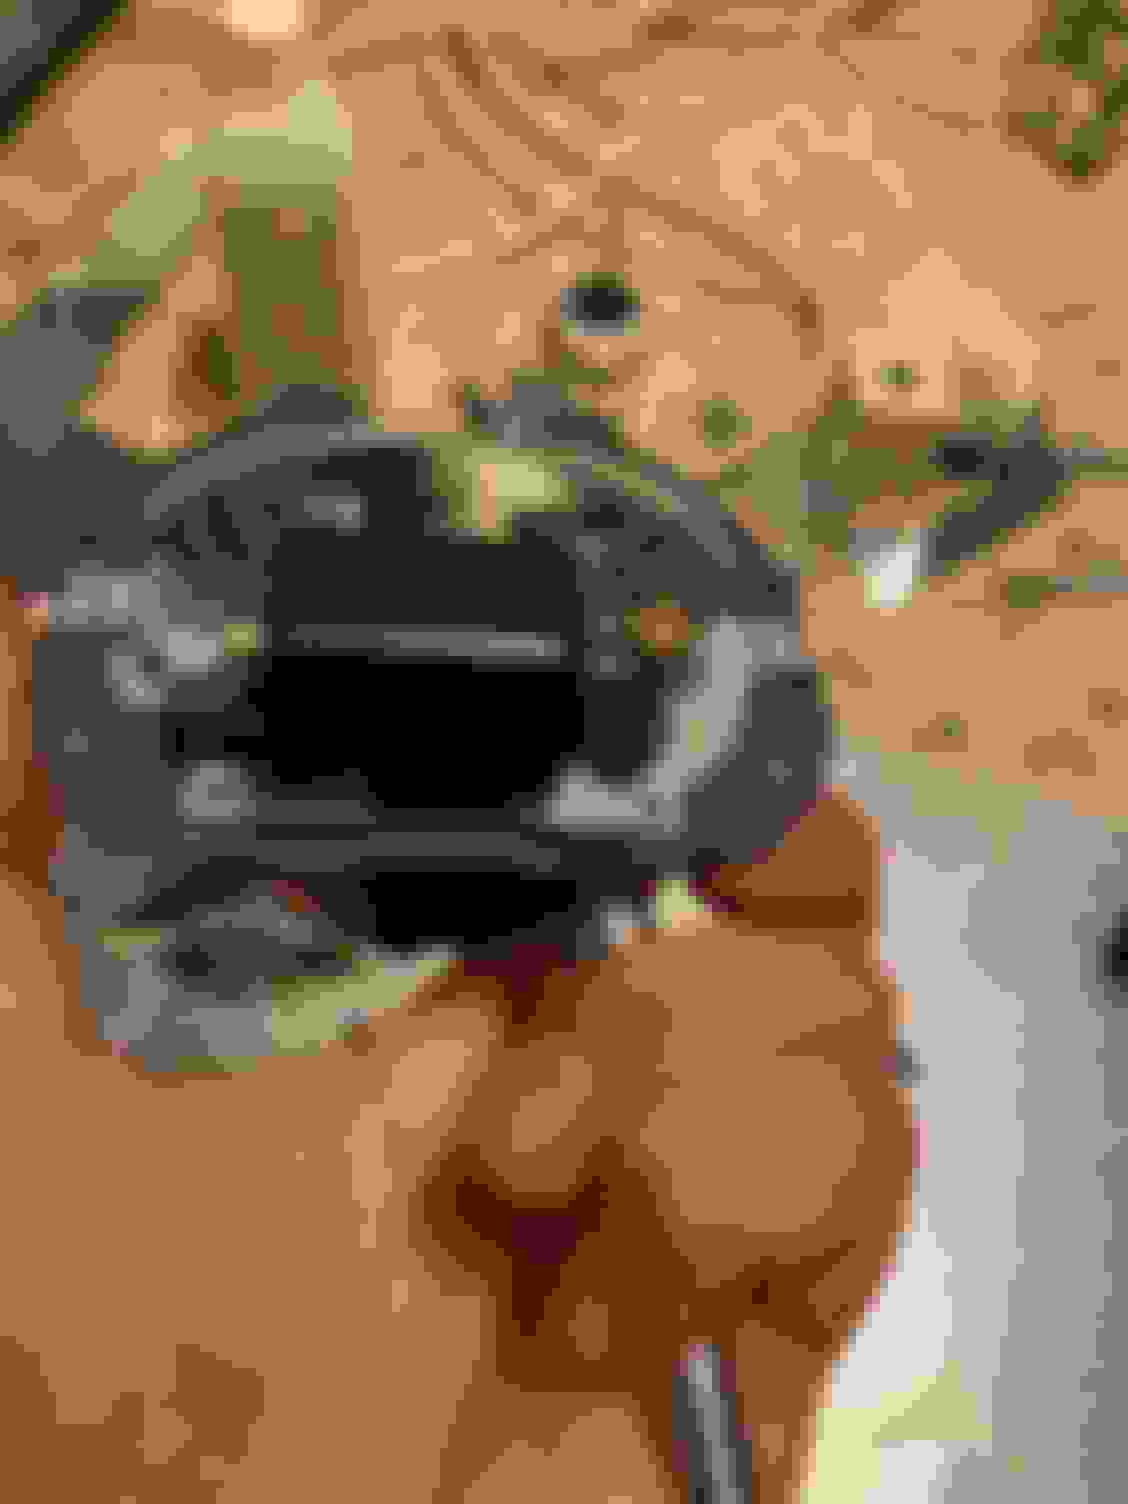
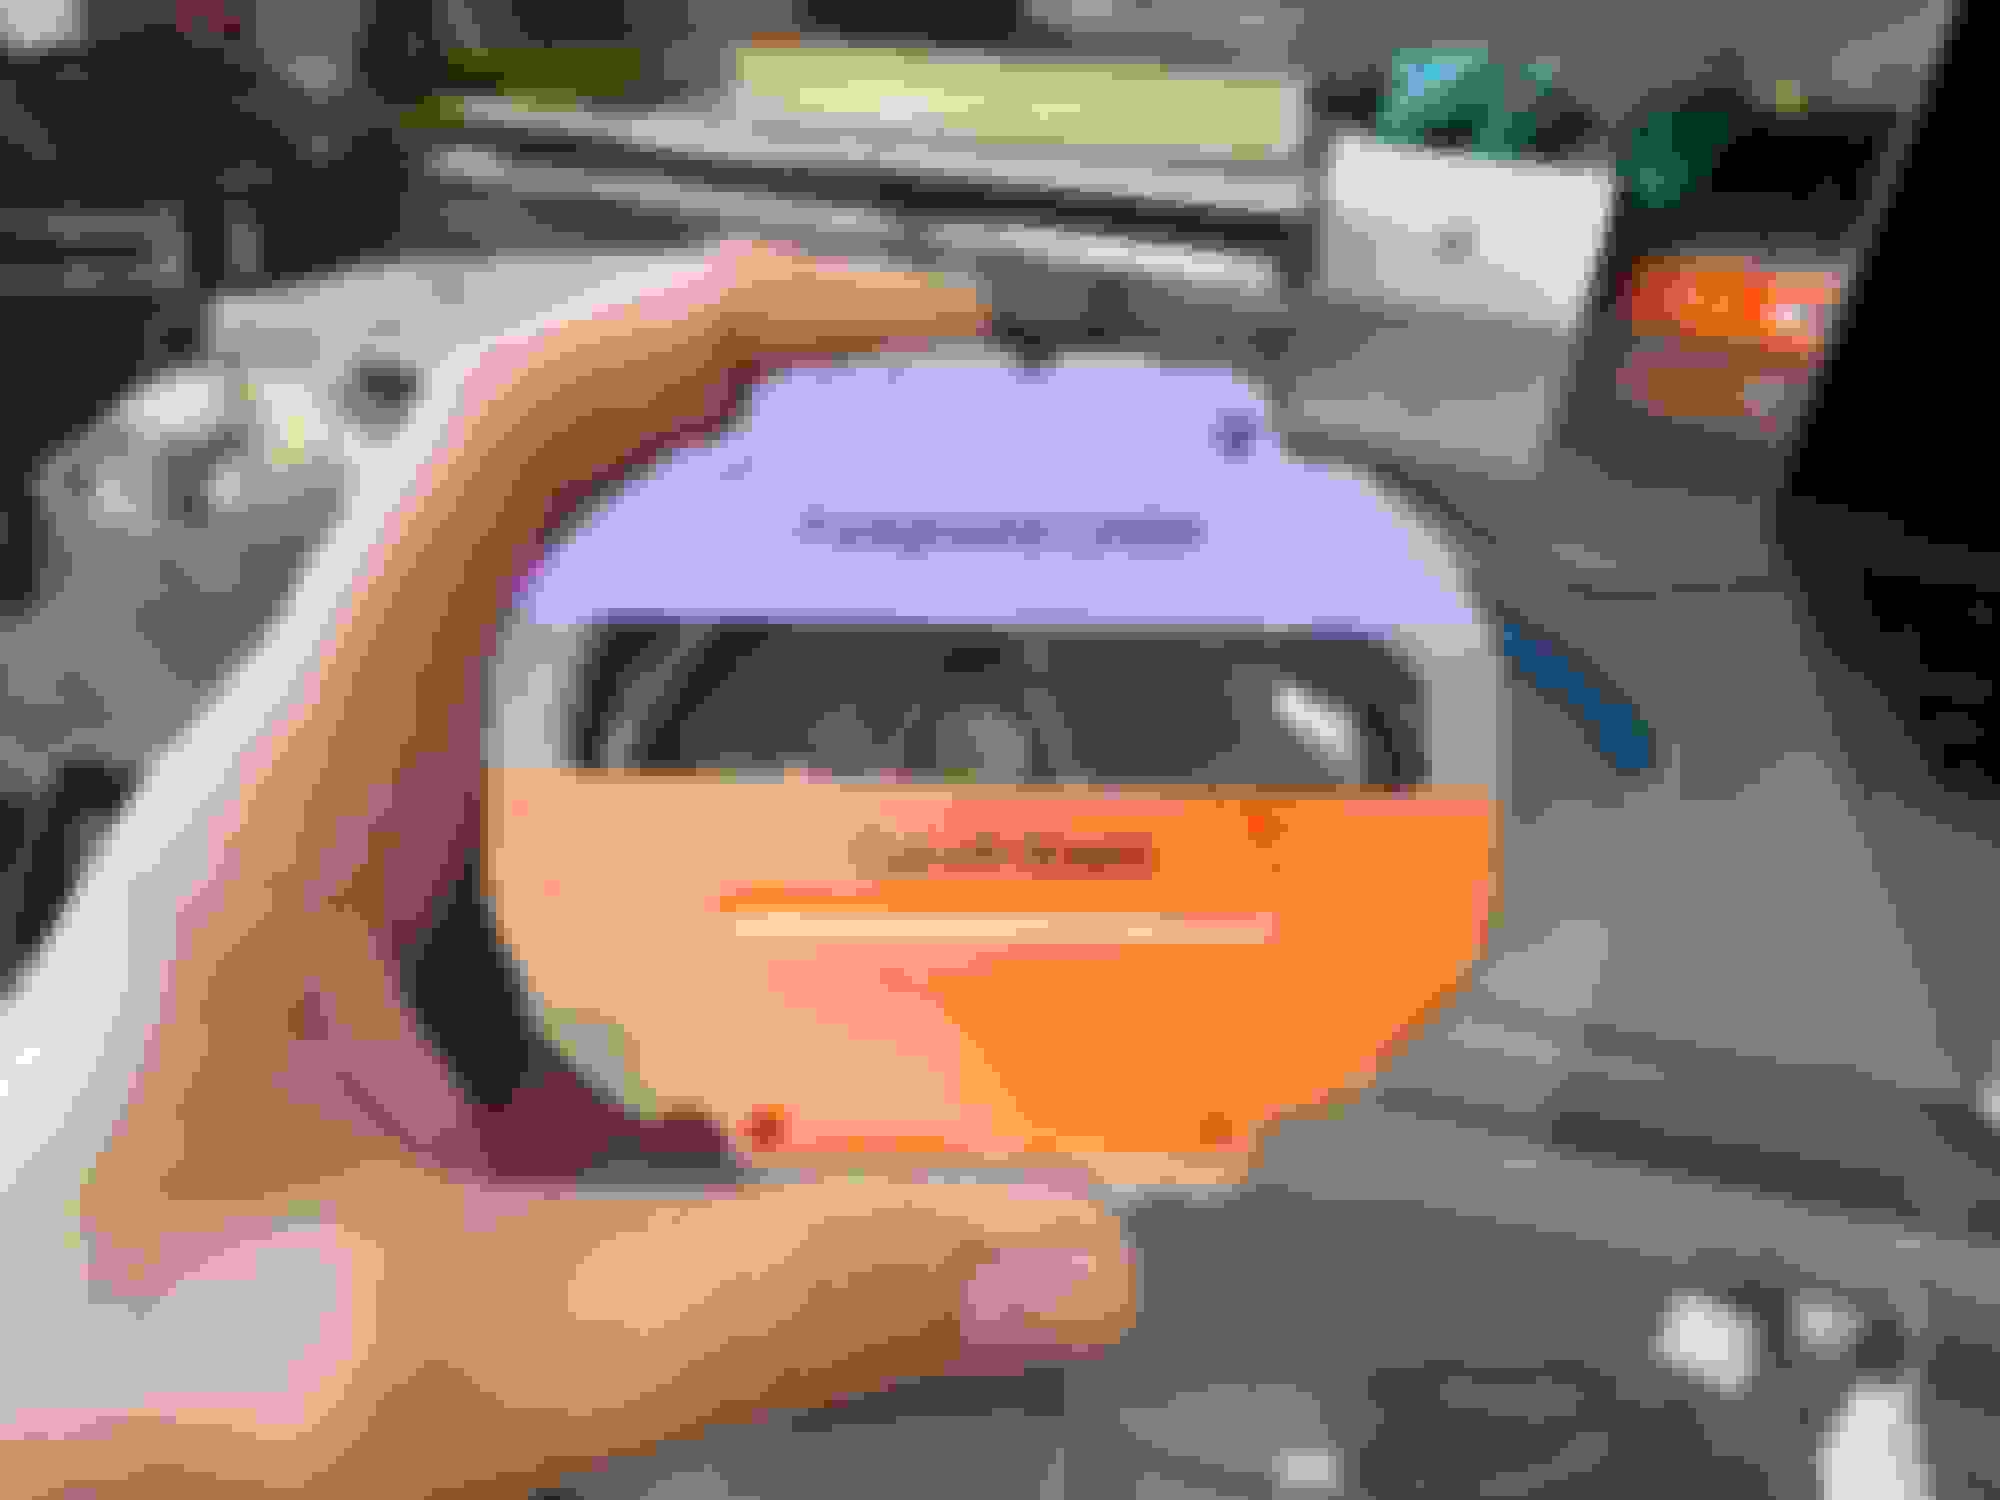
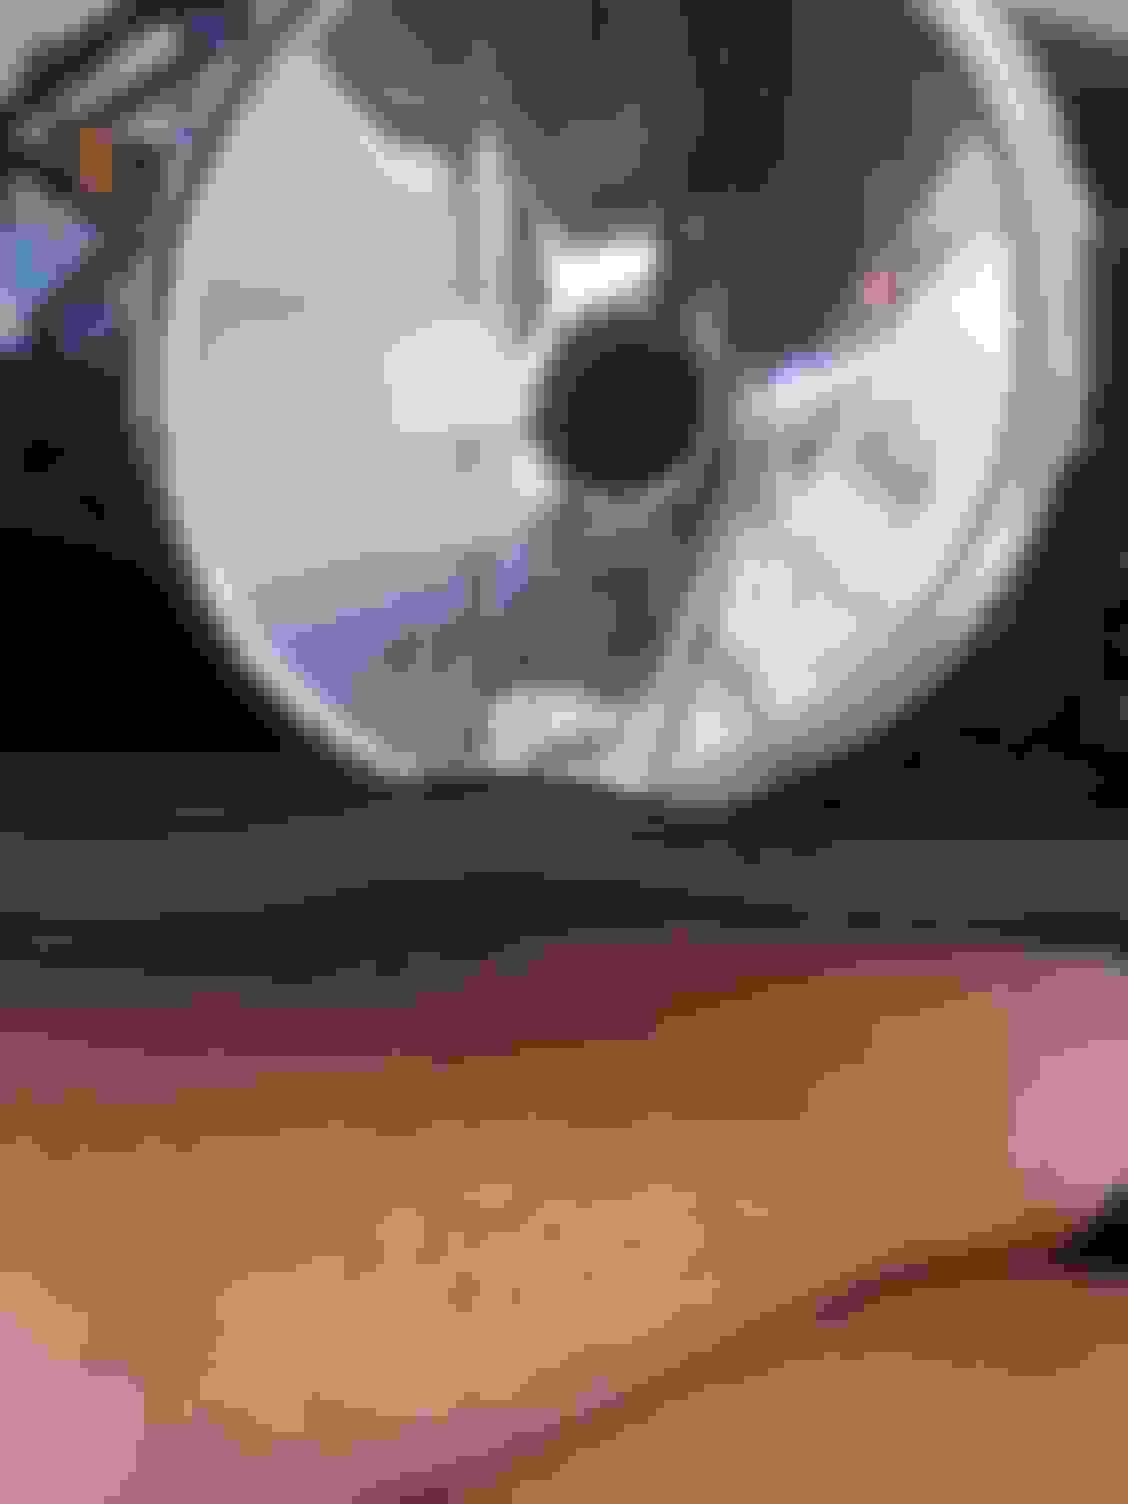
First I present the Morimoto 4TL-R Bi-xenon projector so that you guys can see what is being installed. Front � view.
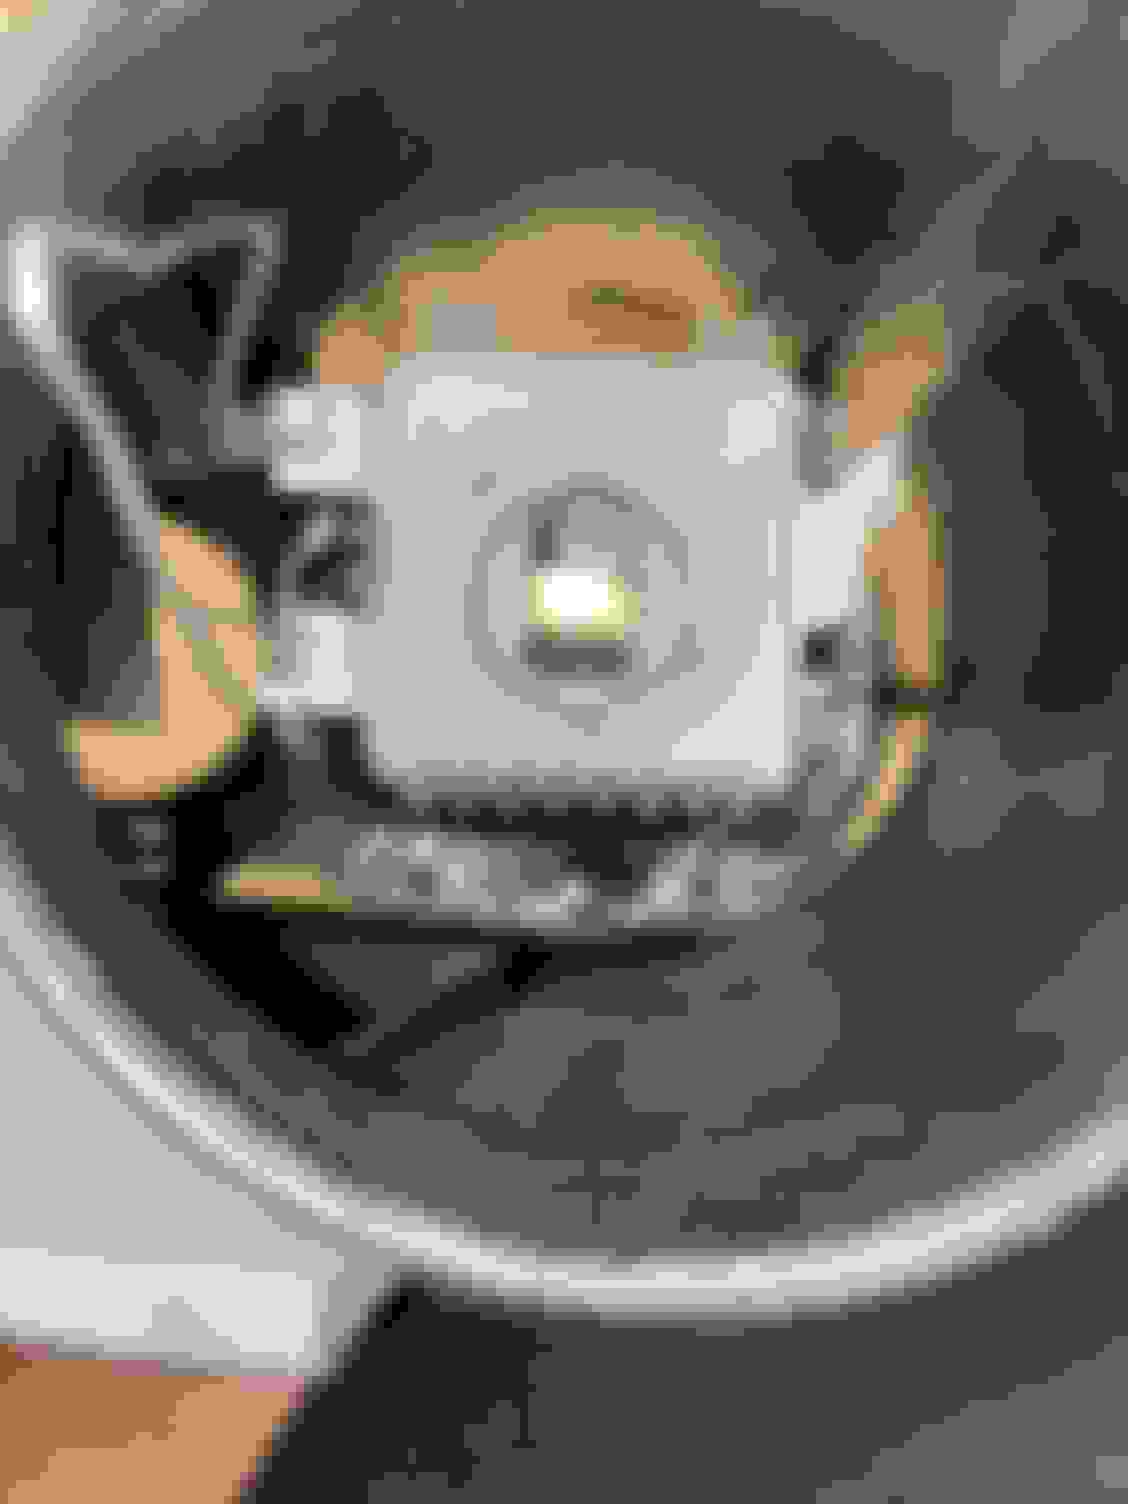
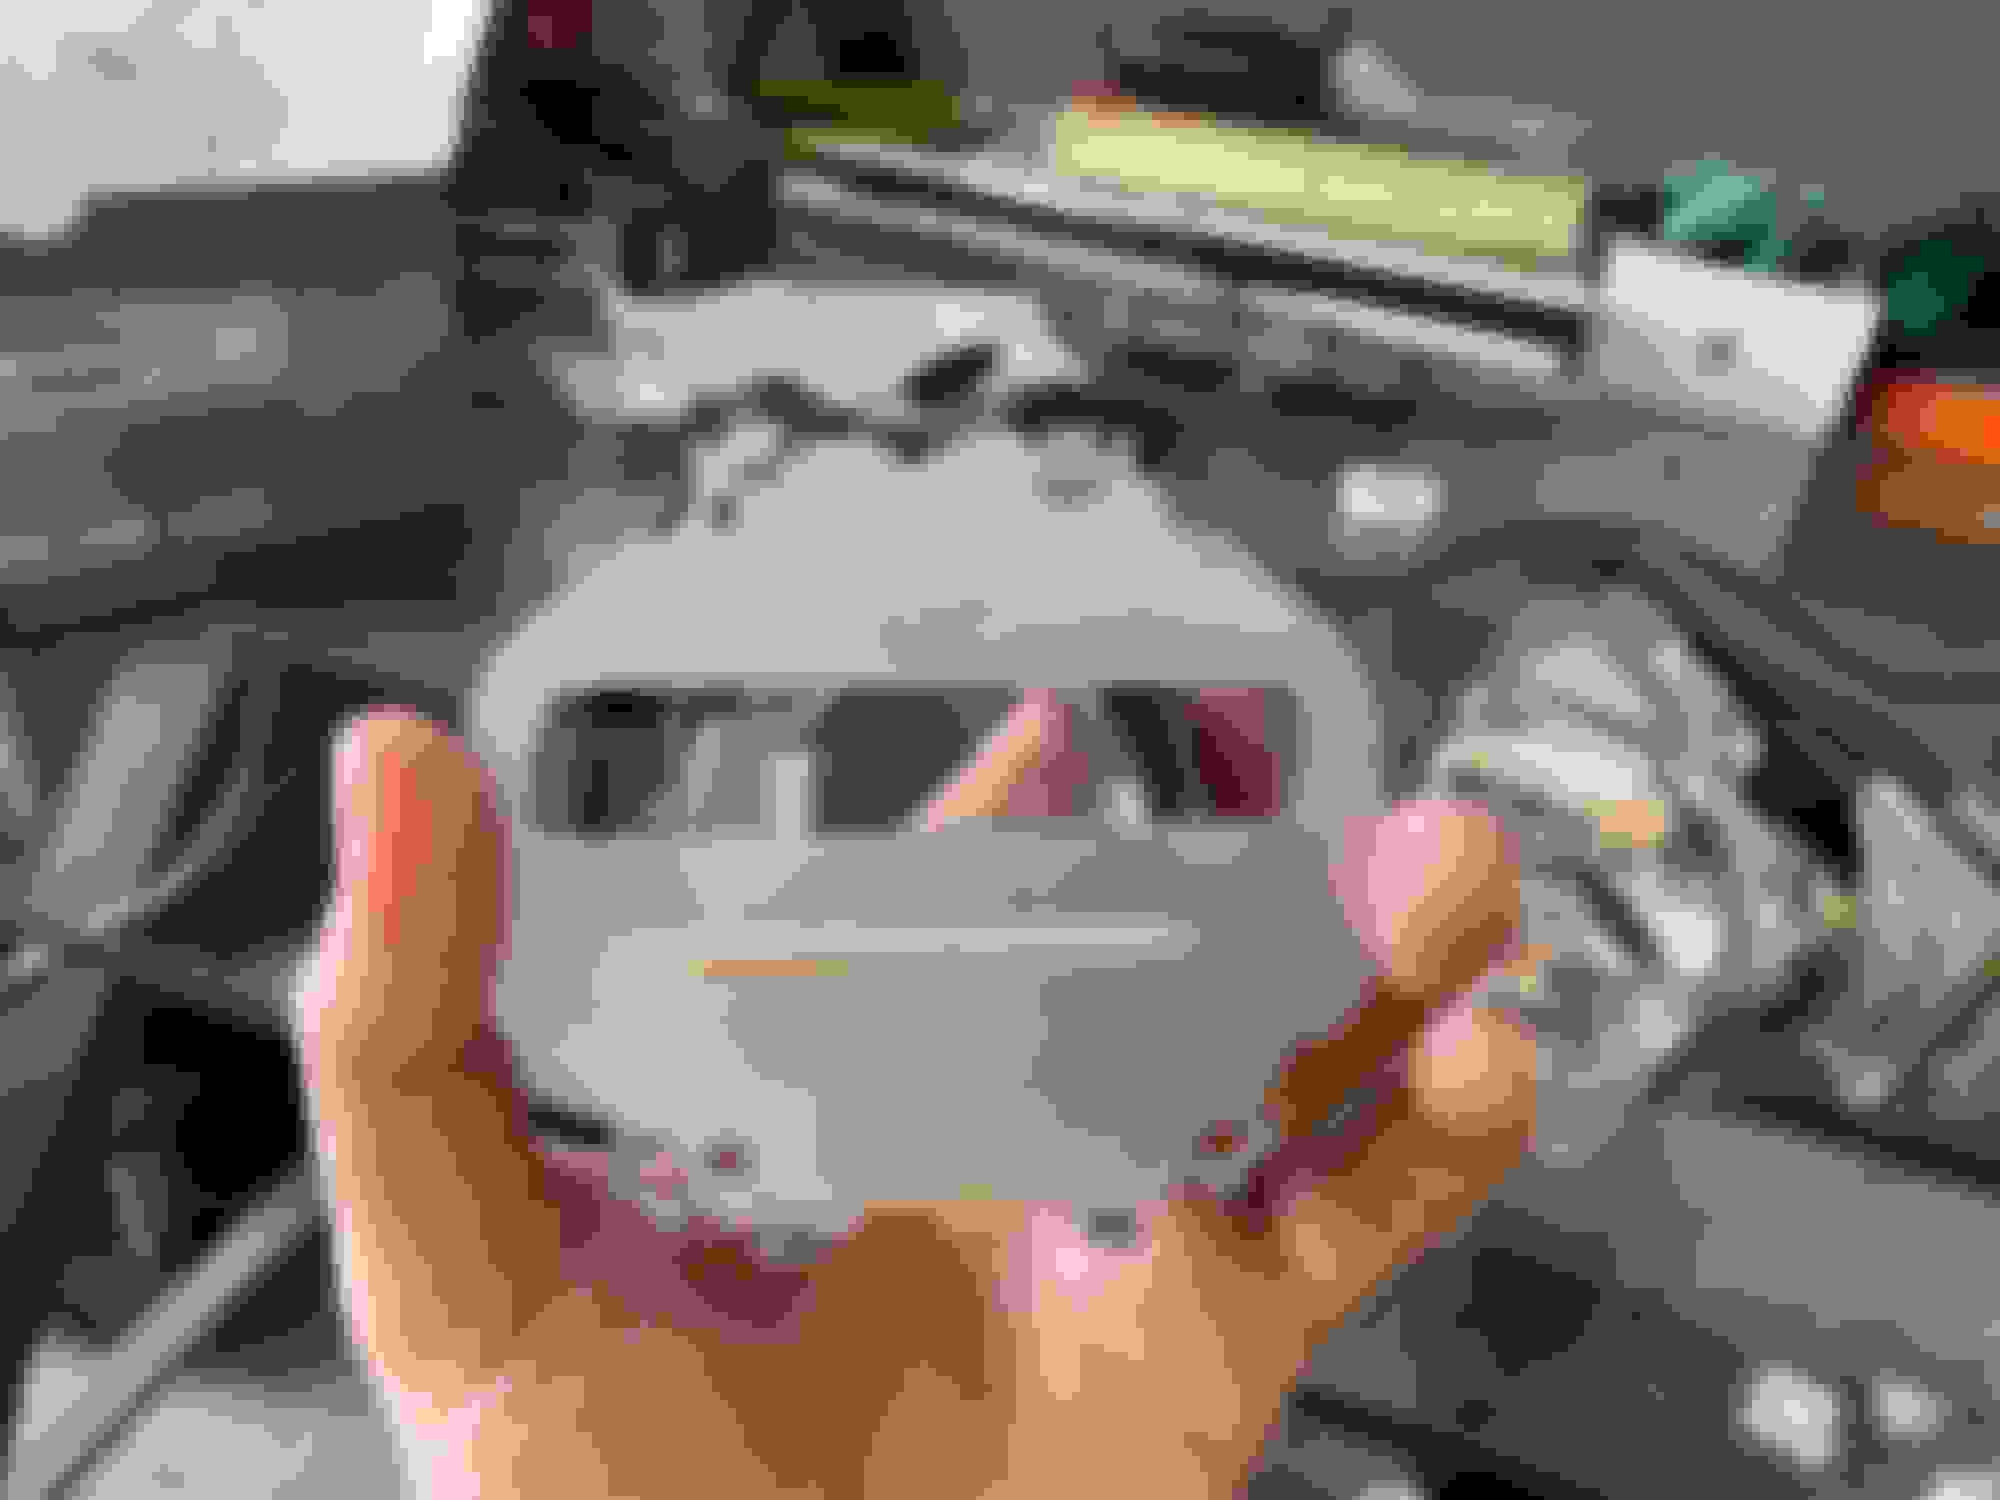
The rear of the projector.
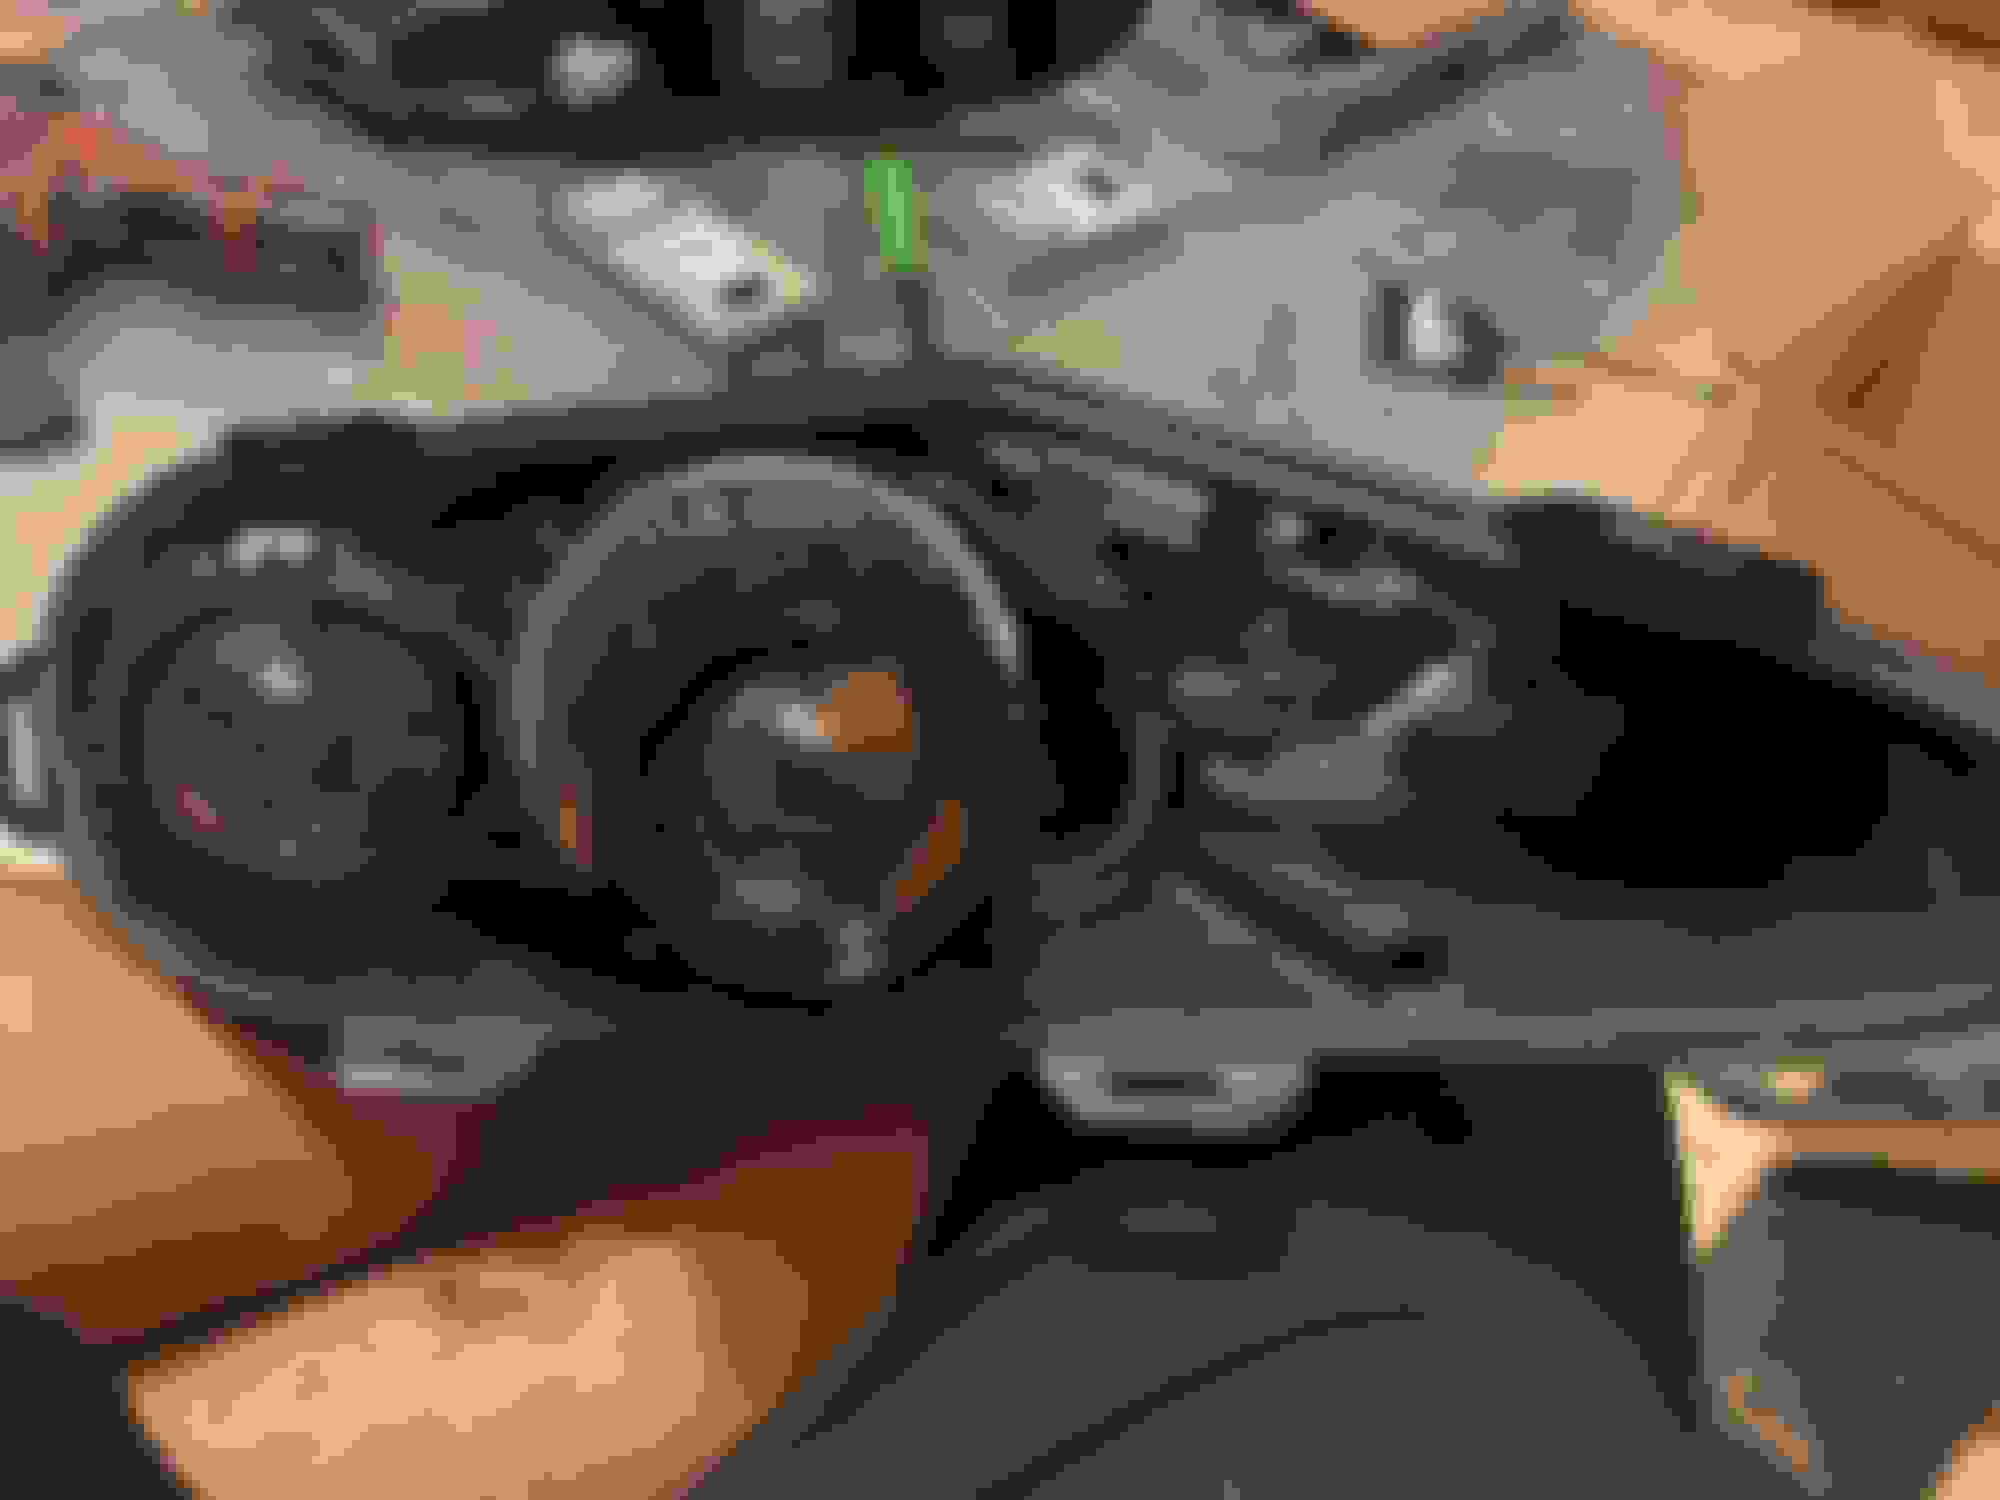
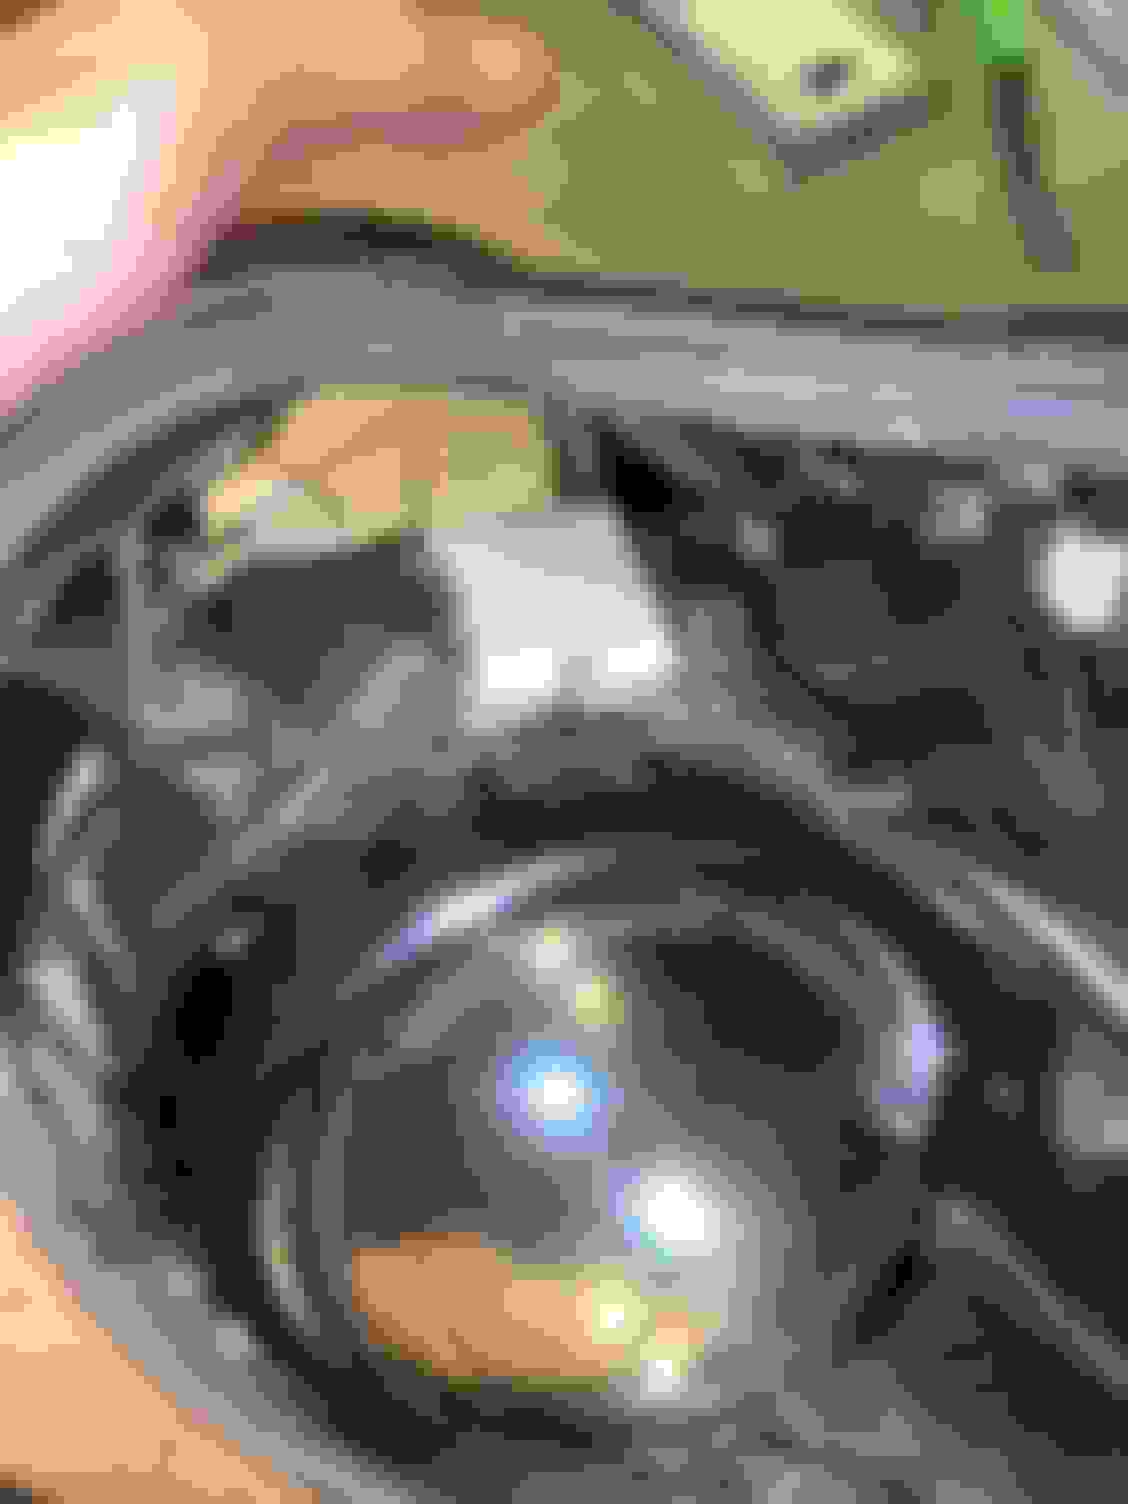
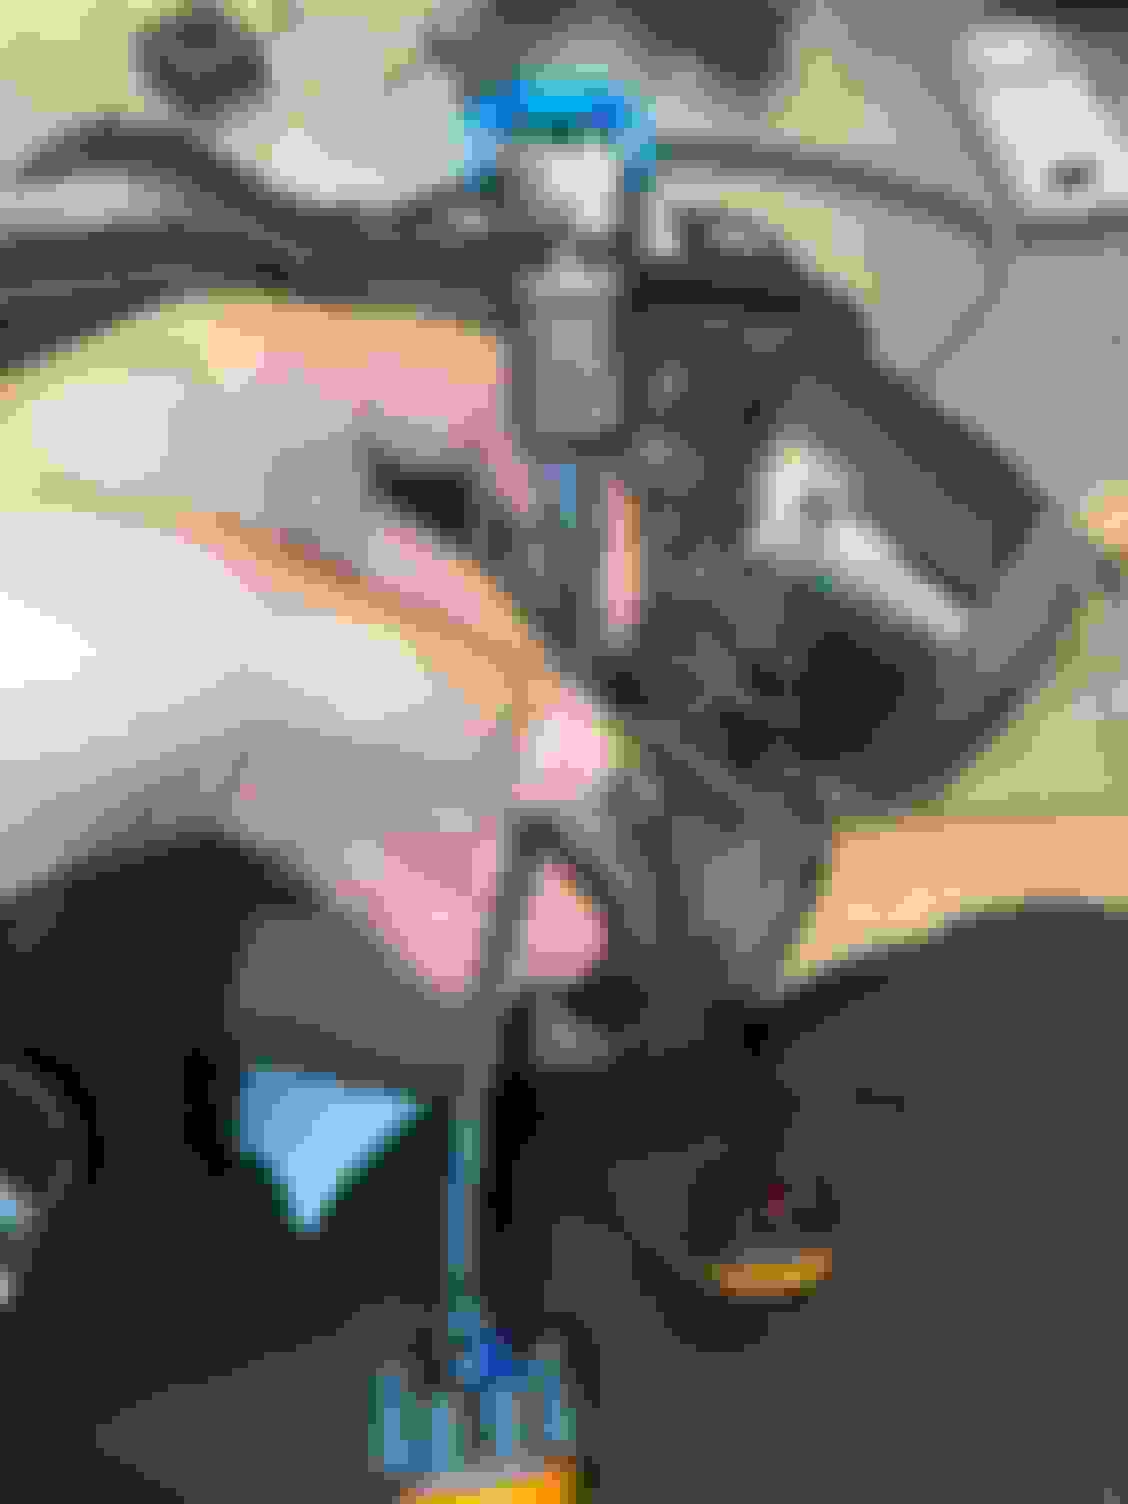
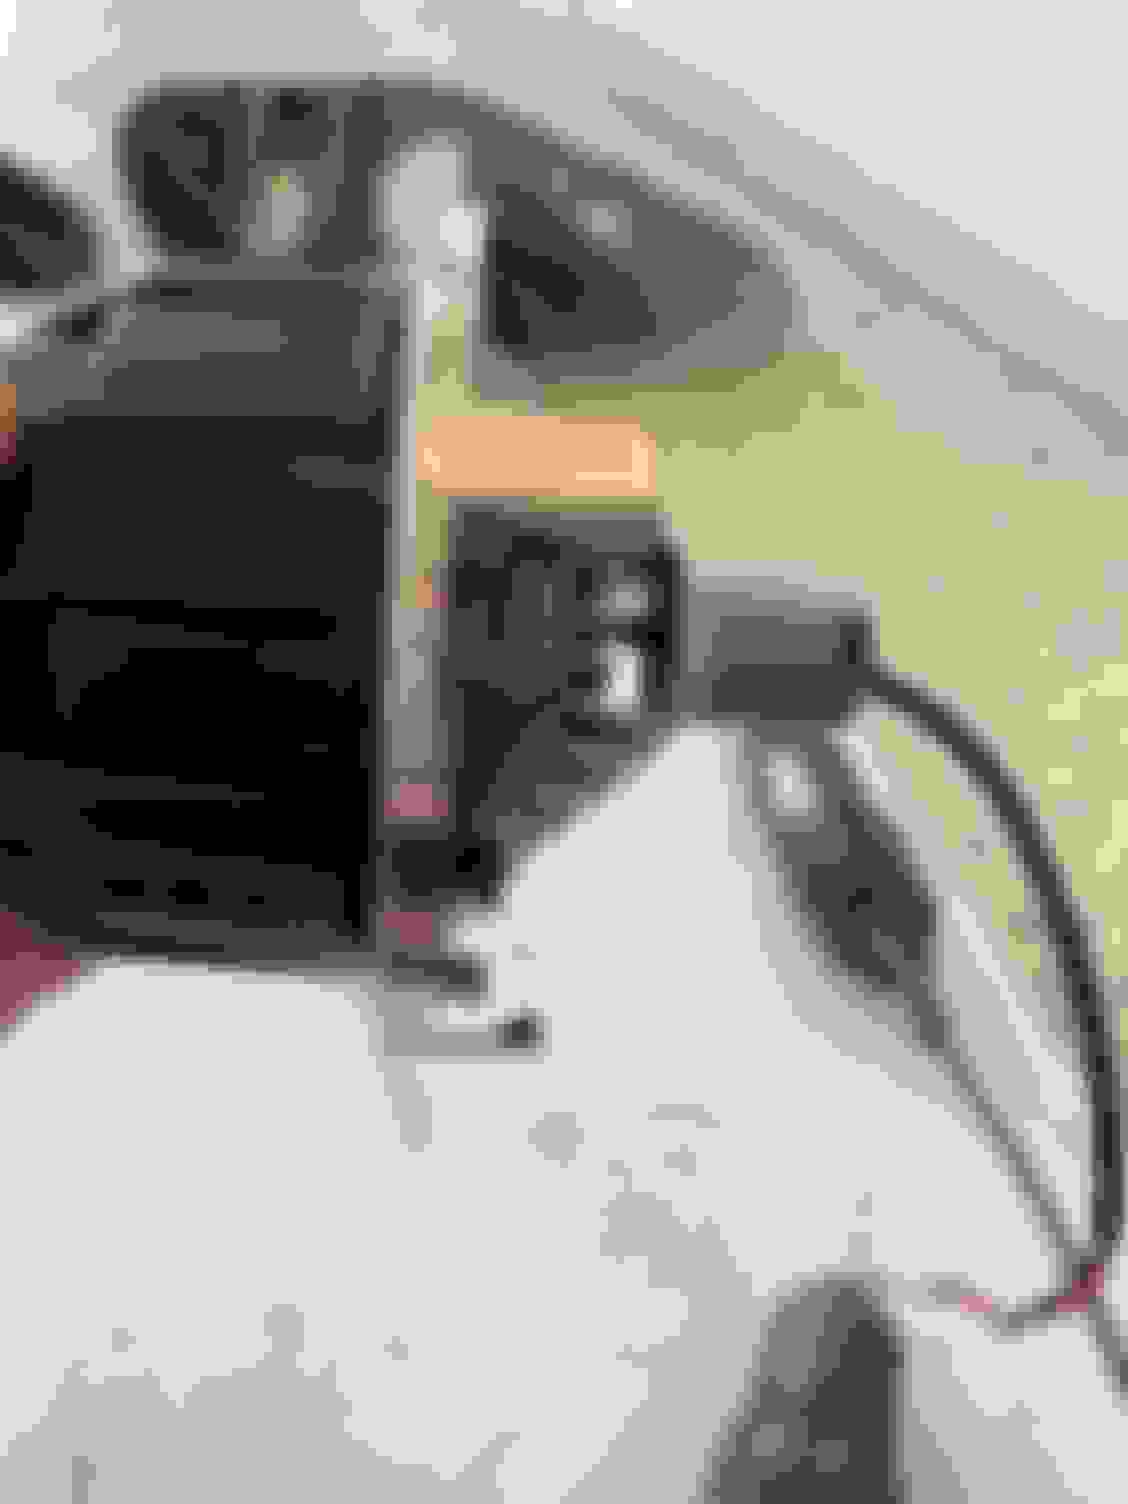
Assuming you have already removed the headlight from the Jag and opened it up as explained previously on this thread, the first step is to remove the High Beam reflector (in my case the reflector and Mini HB projector) by unscrewing its top and bottom screws and pulling it out one side at a time.
Next, remove the Valeo LAD5G HID ballast that's on the bottom of the headlight.
Remove the dust cover and remove the D1S HID bulb that's installed on the OE projector. To do this you have to pull down and out on the spring door. Then you can pull the HID bulb. Remember to disconnect the D1S bulb from the ballast cable. Set the cable aside because you will need it later. Remove those two of Phillip's head screws.
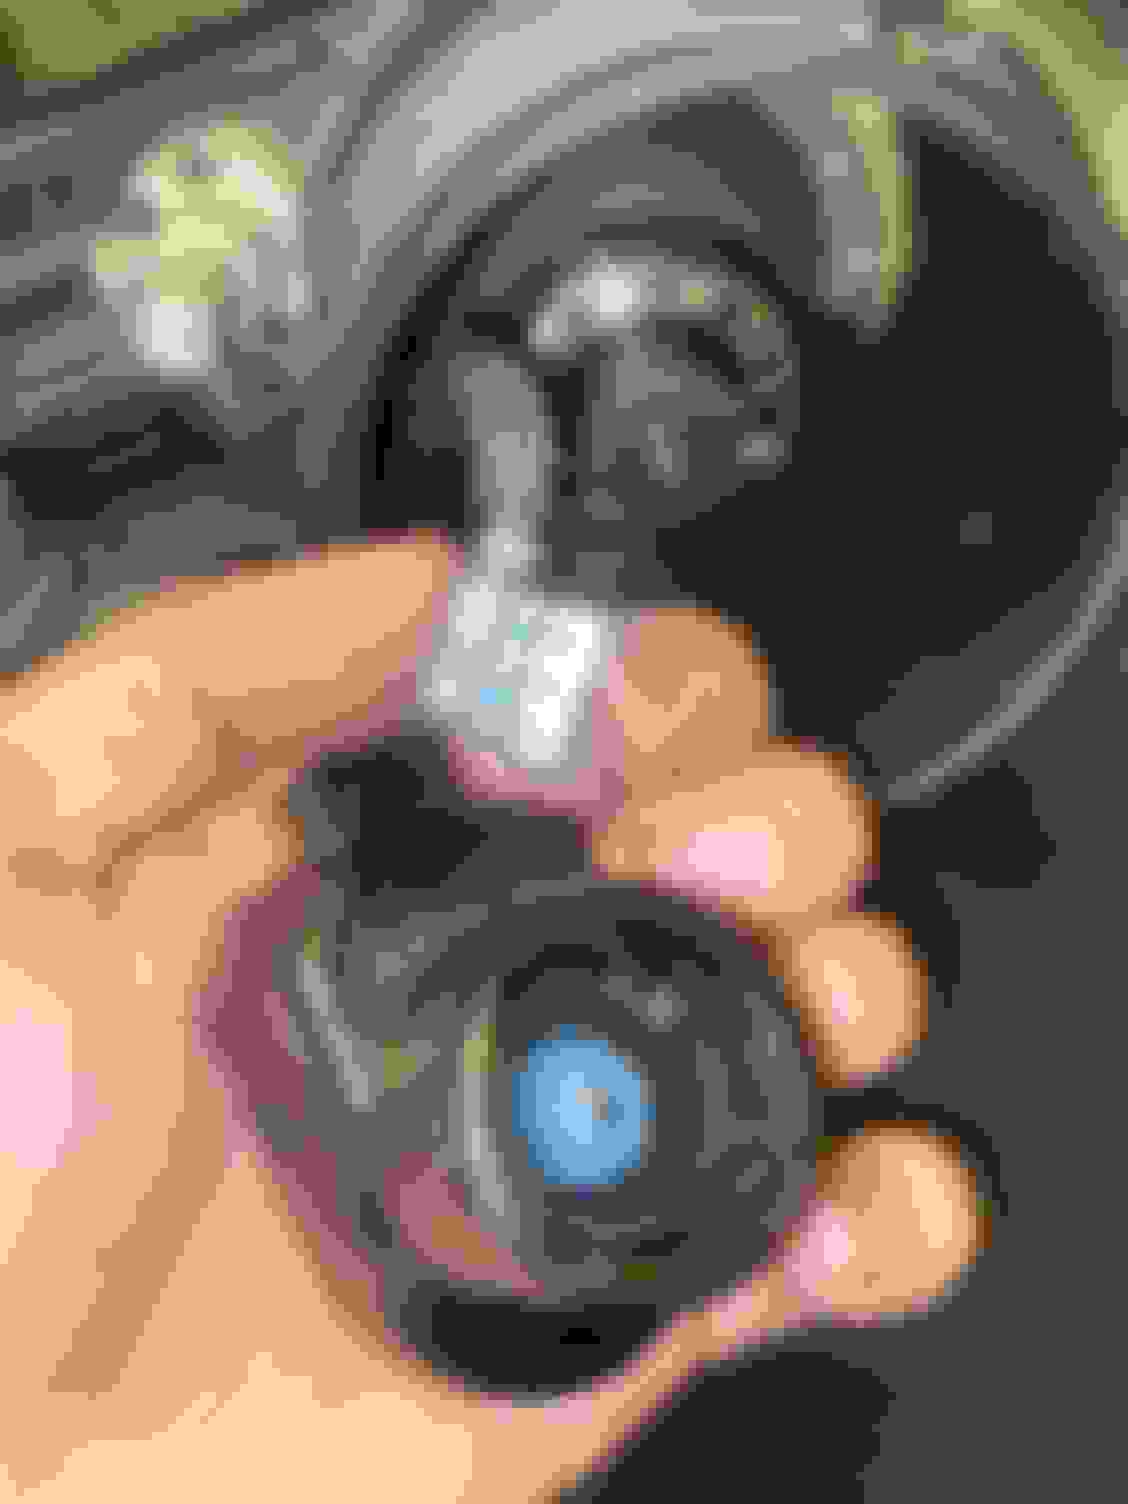
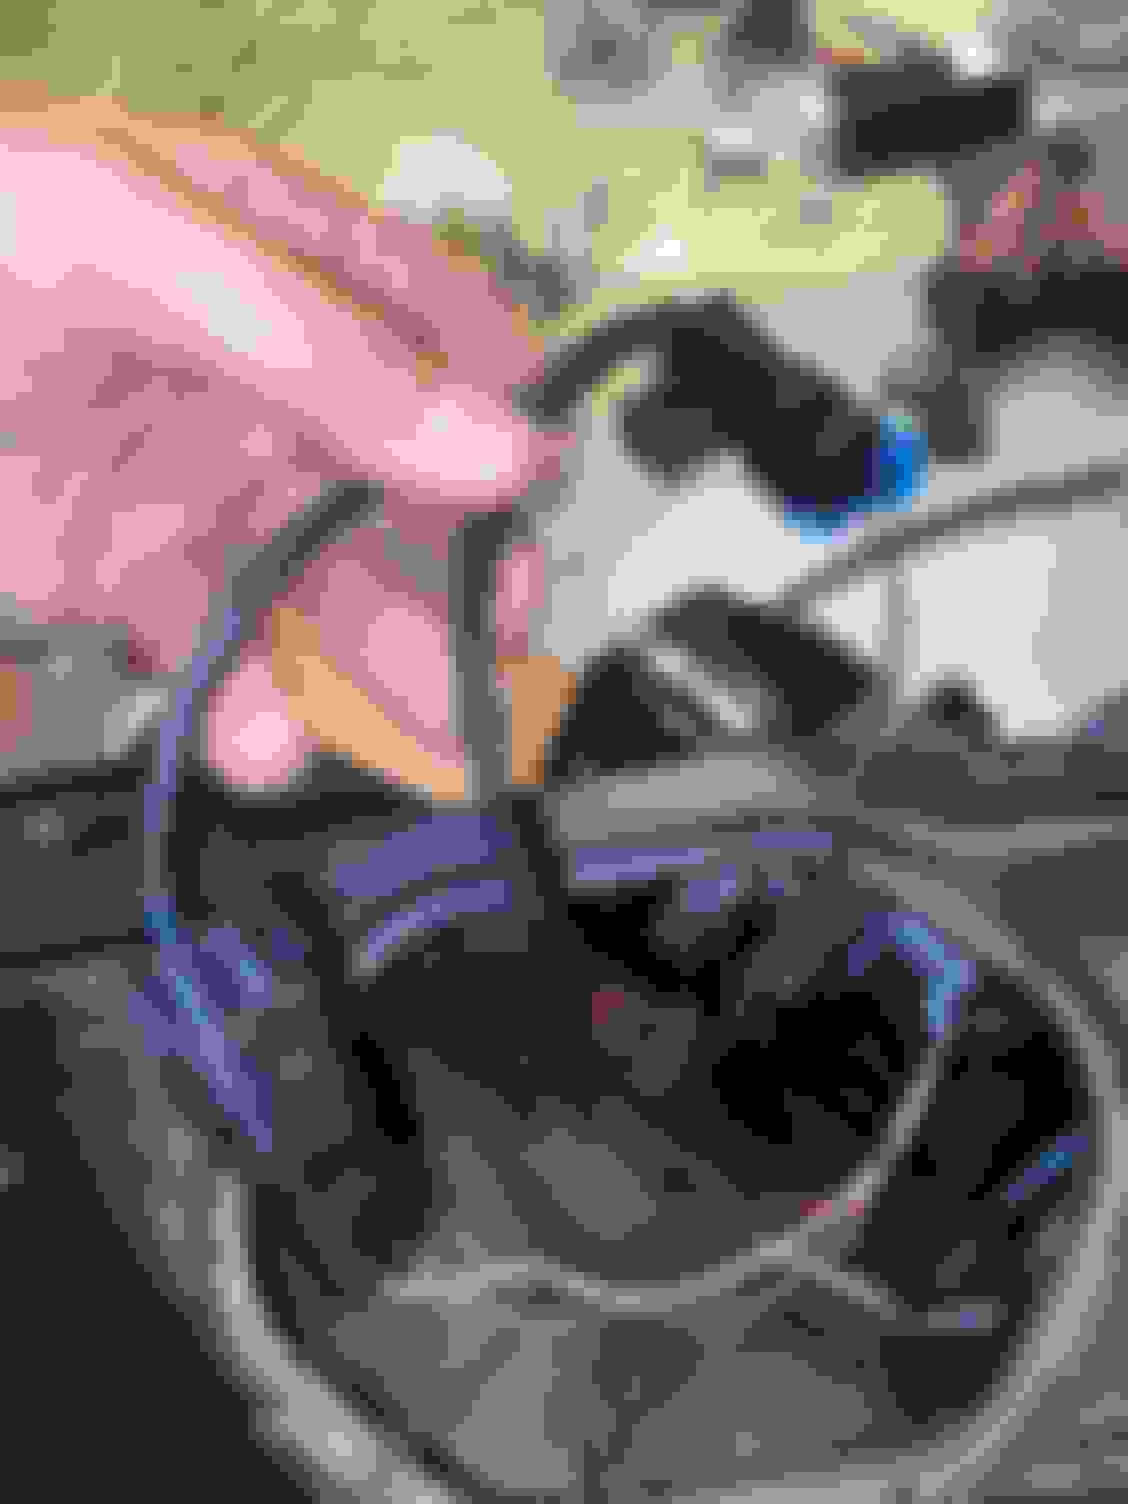
Remove the clip that's holding the HID projector in place. (It's at the top of the projector). Remove the clip that I am pointing to with the pliers. It's the only thing holding the projector in place after removing the two bottom screws. A flat head screwdriver makes quick work of it.
Now you can carefully pull the projector out. It, however, doesn't pull straight outwards. You will have to angle and maneuver it out.
Once the old projector is out, take it apart. Use a flathead screwdriver and some pliers to lift crimp tabs that are holding it together. After this, you can set aside the projector bowl and the cut-off shield. Keep the lens and lens holder on hand. You want to keep this thing around because it will help you determine how much you need to cut from the Morimoto projector.
Dismantle the Morimoto 4TL-R projector. Set aside the lens and lens holder on a soft microfiber towel away from the work area. Behold the projector bowl with its cutoff shield and the solenoid. This is the low-beam position. This is the high beam position.
Use a flat-head screwdriver to gently pry off the solenoid and cut-off shield from the bottom. Gently pry it off. Requires very little strength.
Now, grab a sharpie marker and the OE projector's lens. Place it on top of the Morimoto 4TL-R projector bowl in a centric position. Use the marker to outline the OE projector. You will have to cut from both the bottom sides and the top tabs (a J shape on the top). It's a lot of material. Now is also a good time to mark where you will need to drill for the bottom bolts. Be very careful about doing this. Do not start cutting until you are absolutely sure your outline is correct and centered.
They say measure twice, cut once. In this case, measure a thousand times past a million before you start cutting. Then, as I have learned in dentistry. It's better to do conservative reductions because you then have enough material to make corrections if necessary. I used a small microfibre towel to protect the projector bowl as I was making the reductions using a Dremel with a cutting disc. As you can see, I also took this opportunity to make a foreground limiter that will also allow the top clip to clamp on the projector and secure it in place.
Optional: Make a foreground limiter. See the previous picture. A foreground limiter does exactly that. It reduces the amount of light that is being output to the foreground (right in front of the bumper), allowing your eyesight to focus a bit farther. I used the OE cut-off shield's foreground limiter as a guide.
Skip this step if you made the foreground limiter. If you choose to forego making a foreground limiter, you will instead have to make a small rectangular bracket out of sheet-metal that will bolt to the two top holes on the projector. This is so that you can use the clip we removed in Step 4 to hold the projector in place.
Insert the 4TL-R projector bowl (only the projector bowl) into the headlight assembly. It fits in sideways through the hole. Once inside, you can then orient it correctly. This is the time to test your reductions. If it fits inside great, now make sure that it sits flush on the headlight bracket.
Now, make sure that your marks for the bolt holes are in the correct place relative to the headlight bracket. If not adjust them. Once you have them correctly positioned, you may take out the projector bowl from the headlight and drill the holes. You will then have to drill them as well on the solenoid bracket. Refer to the pictures in step 10 to get a rough idea of where I drilled.
Grab the solenoid and place it in the headlight's projector bracket. Use a white marker to indicate where the two bottom edges of the solenoid contact the bracket. Use a carbide bur on your Dremel to reduce some excess plastic from the bracket. I ended up removing the entire bottom lip and a little bit of the top of the bracket just in front of where the clip snaps in.
[size=13px]Here comes the tricky part. Once you feel you can have the solenoid and cut-off shield sit flush on the bracket you can begin to mount the projector inside the headlight. As you can imagine, the entire thing does not fit. You have to assemble the projector INSIDE of the headlight. [/size]
[size=13px]First, insert the projector bowl inside the headlight. [/size]
[size=13px]Next, place the cut-off shield with the solenoid on the projector bowl. I accessed the projector bowl from the front of the headlight. I used pliers to secure the solenoid and cut-off shield in place. [/size]
[size=13px]Now you can install the lens and lens holder on the projector. Again, you access it from the front. Try to avoid touching the inside of the lens with your fingers. Once assembled, you cannot clean it. A highly magnetized Phillip's head screwdriver and lots of coordination will help you here. [/size]
[size=13px]Now, fasten the lower bolts to the projector. Make sure that they did thread into the bracket's bolt holes. Also, make sure that the projector is sitting flush on the bracket. [/size]
Install the top clip on the projector. Make sure that it grabs the foreground limiter/bracket that you made.
The hard part is over. Now place the D2S bulb on the projector. I used 6000K Morimoto XB 35 W bulbs.
Slip the bulb holder on the projector, and twist clockwise to lock it in place. This is the bulb holder and it firmly secures the bulb to the projector.
Connect the ballast to the bulb cable on the ignitor adaptor. Install the D1S to D2S ignitor adaptor on the bulb. It allows four different positions. Choose whichever is most comfortable. Cable to the adaptor. Ignitor adaptor on the bulb. The housing tells you which way to twist to lock it in place.
Re-install the dust cover.
Re-install the HID ballast. In my case, I replaced my failing ballasts with the Gen-Xenon LAD5G $50 ballasts that I bought from E-bay. They are made of chinesium.
Use the 9005/9006 splitter to have both your high beam bulb (or Mini HB projector) and the Bi-xenon solenoid receive the High beam signal. Connect one end to the jag's high beam wire plug, one of the other ends to your existing high beam.
The solenoid's wires are not polarity specific. You don't worry about in which position of the connectors to place brown and white wires. I used brown on the right for positive, and white on the left. Just slip them into the connector plug.
Finally, connect it to the remaining available plug on the 9006 splitter.
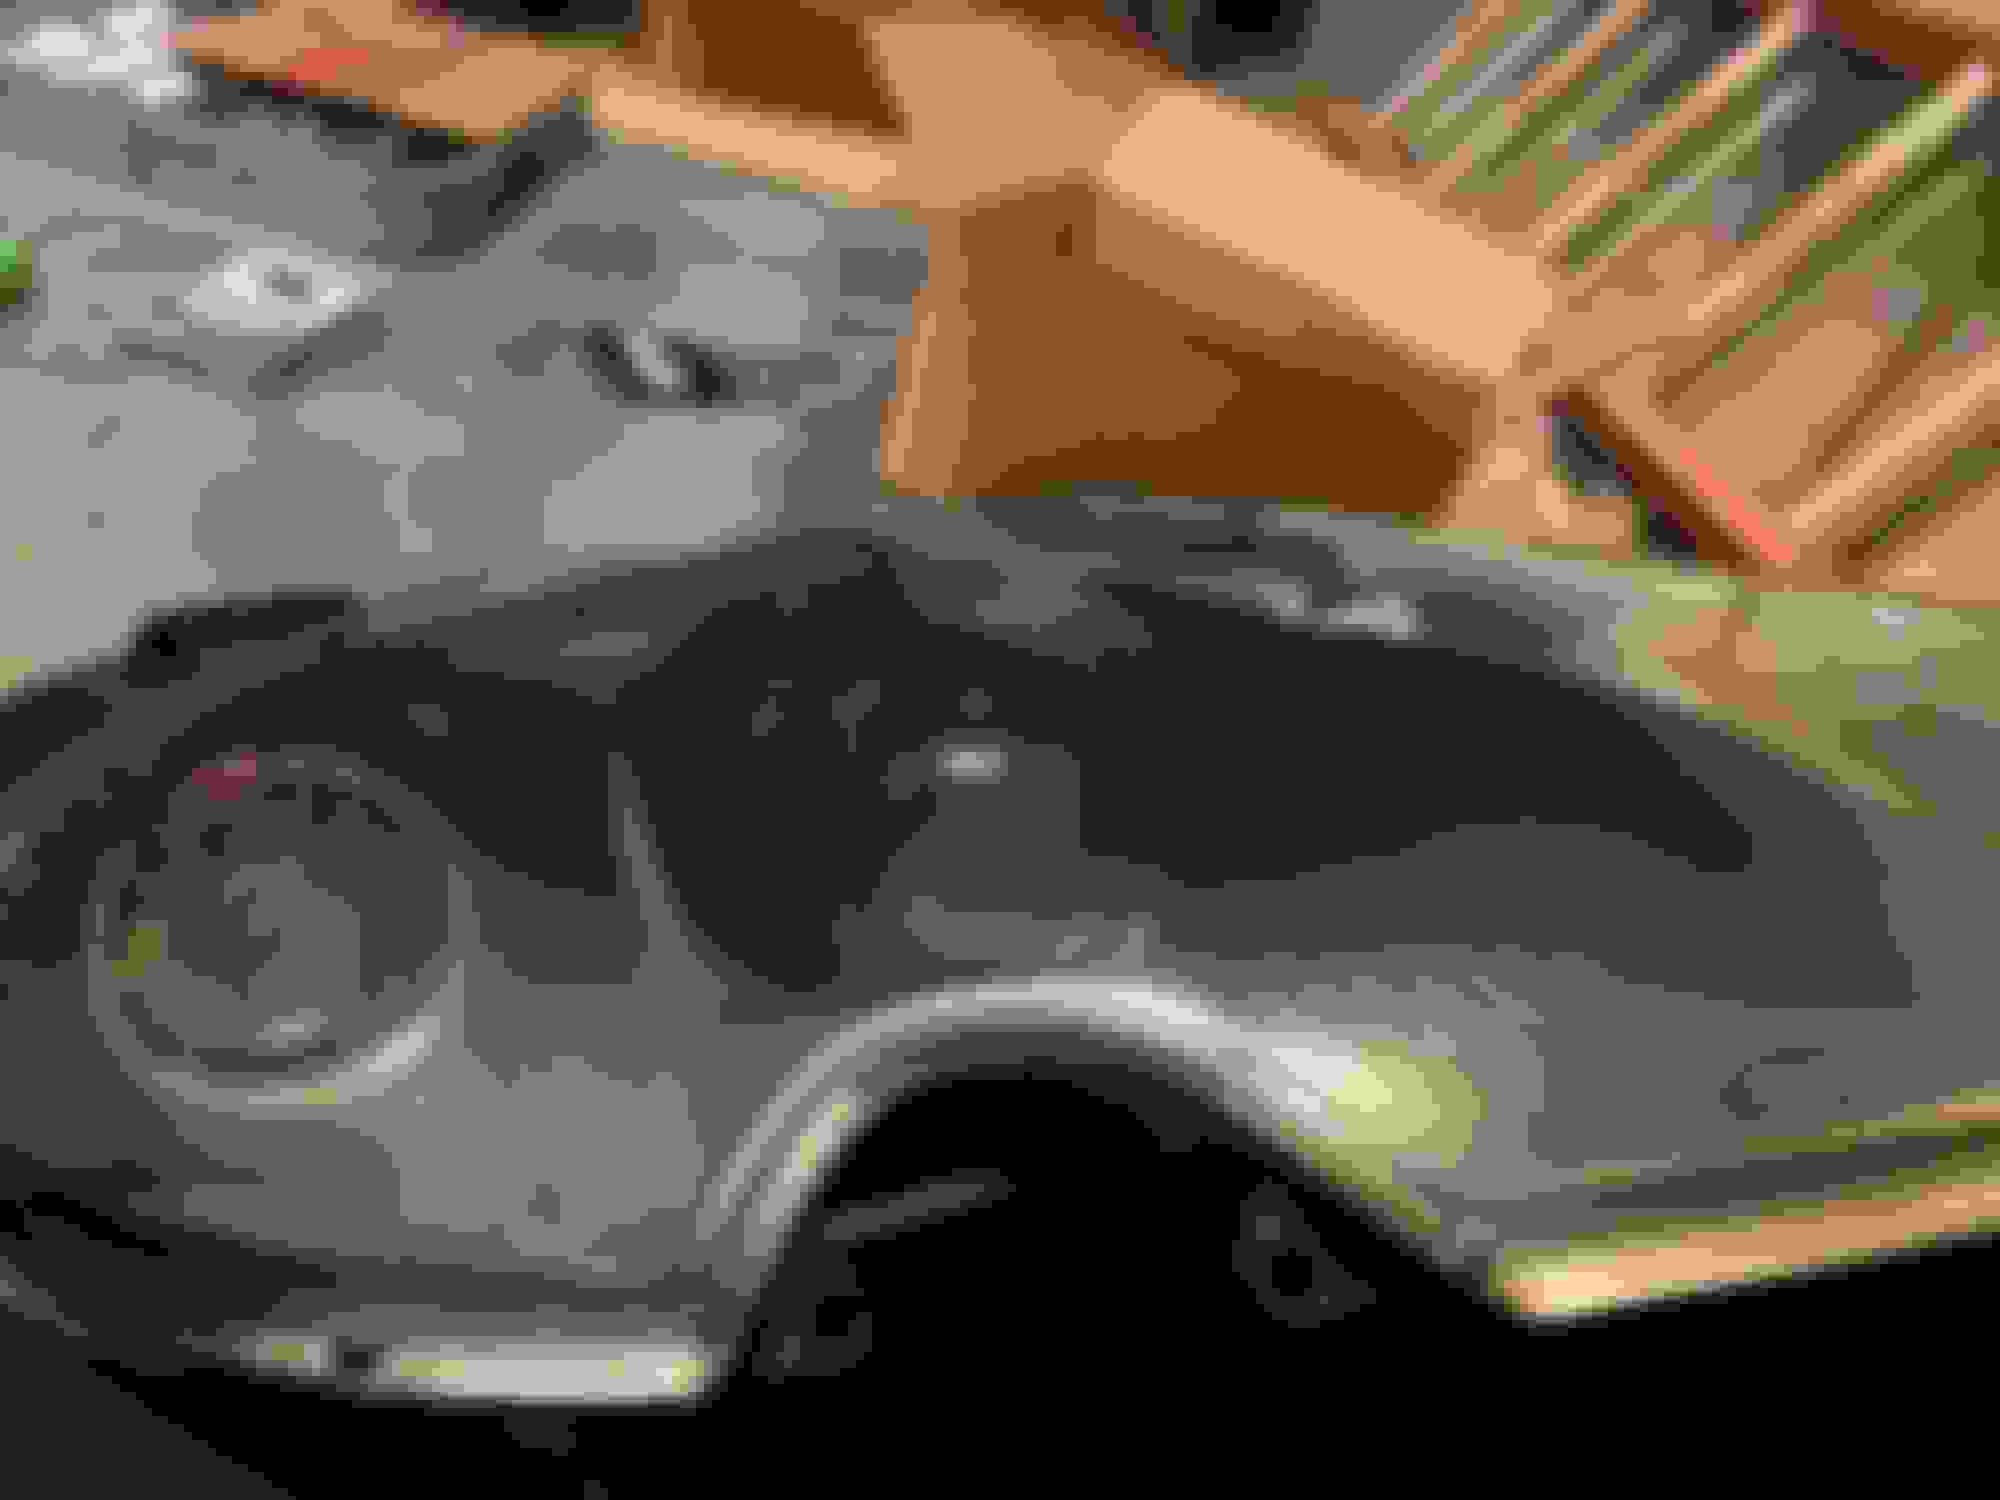
Re-assemble the two halves of the headlight. Don't forget the turn signal bulb and the T-10 bulb. '
Re-install headlight assemblies on the car. If possible, aim the headlights.
Grab a beer.
This took me about 12 hours in total. I have not had the chance to test them out on the road or to aim them because I finished long past the COVID curfew.
Here's the final outcome:
If you look closely, you notice both projectors have clear lenses instead of the Fresnel lens the OE projector has. What you see. there is the effect of the camera flash. Without the flash, it's hard to see the projector in some images.
I still have to do wall shots and dial in the aim. However, preliminary results are that these are F-you bright.
Low beams. They are much much brighter than before.
High beams. This all four projectors are my high beams. I would not want to be on the receiving end of these.
You are a brave soul, Gian. Looks really good though. However, I don't know if I am that brave. I am still working on converting the old HID low beam to Hi/Lo. Making a test setup with small solenoid I found on Ebay. I see your picture of the front end of the old HID. Could I ask you to get me a picture of the "back end" with the shield showing??
It is interesting how the shield is hinged on your new light. Flipping sideways, rather than across the whole front. Does that really give you much change between Hi and Lo??
You are a brave soul, Gian. Looks really good though. However, I don't know if I am that brave. I am still working on converting the old HID low beam to Hi/Lo. Making a test setup with a small solenoid I found on eBay. I see your picture of the front end of the old HID. Could I ask you to get me a picture of the "back end" with the shield showing??
It is interesting how the shield is hinged on your new light. Flipping sideways, rather than across the whole front. Does that really give you much change between Hi and Lo??
Yeah, it really does provide enough for the high beam, and combined with the Mini HB LED high beam I don't think high beam will be a problem. From what I understand, Morimoto uses a side push solenoid as seen in my picture because it is less likely to fail and become stuck than a flip-down style solenoid and shield.
The old HID used a static plate as a cut-off shield. Because of this, the old projector could only be used as a low beam. The design is simple and limited in functionality.
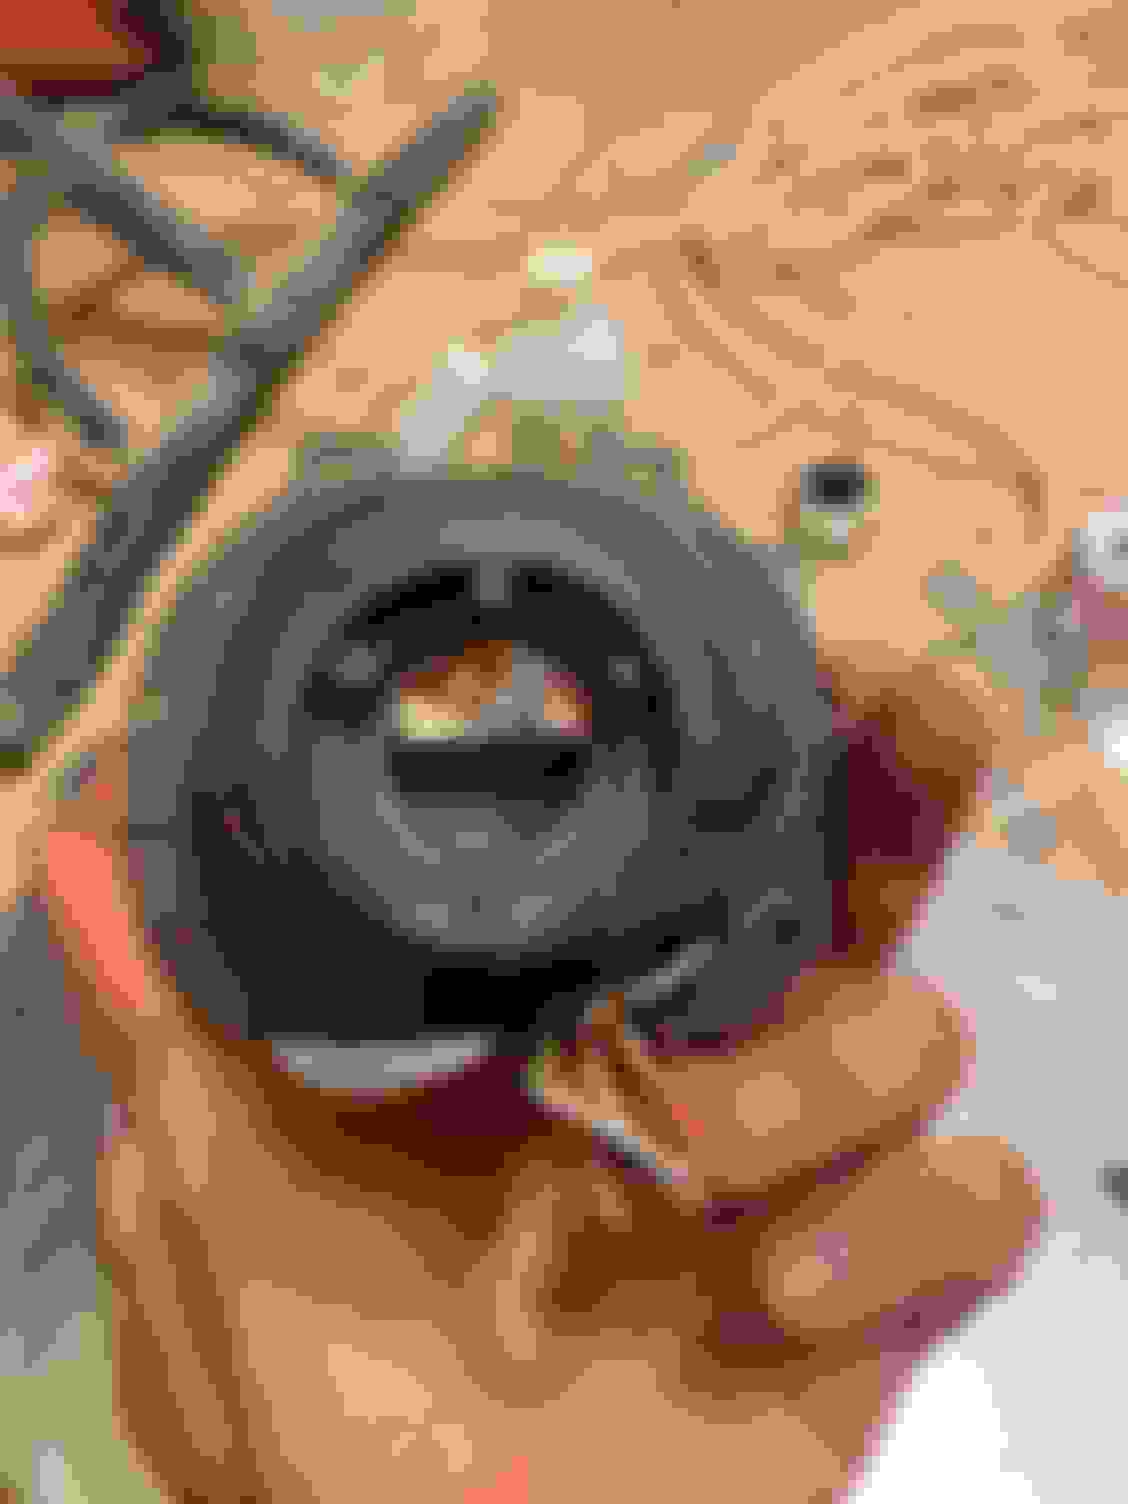
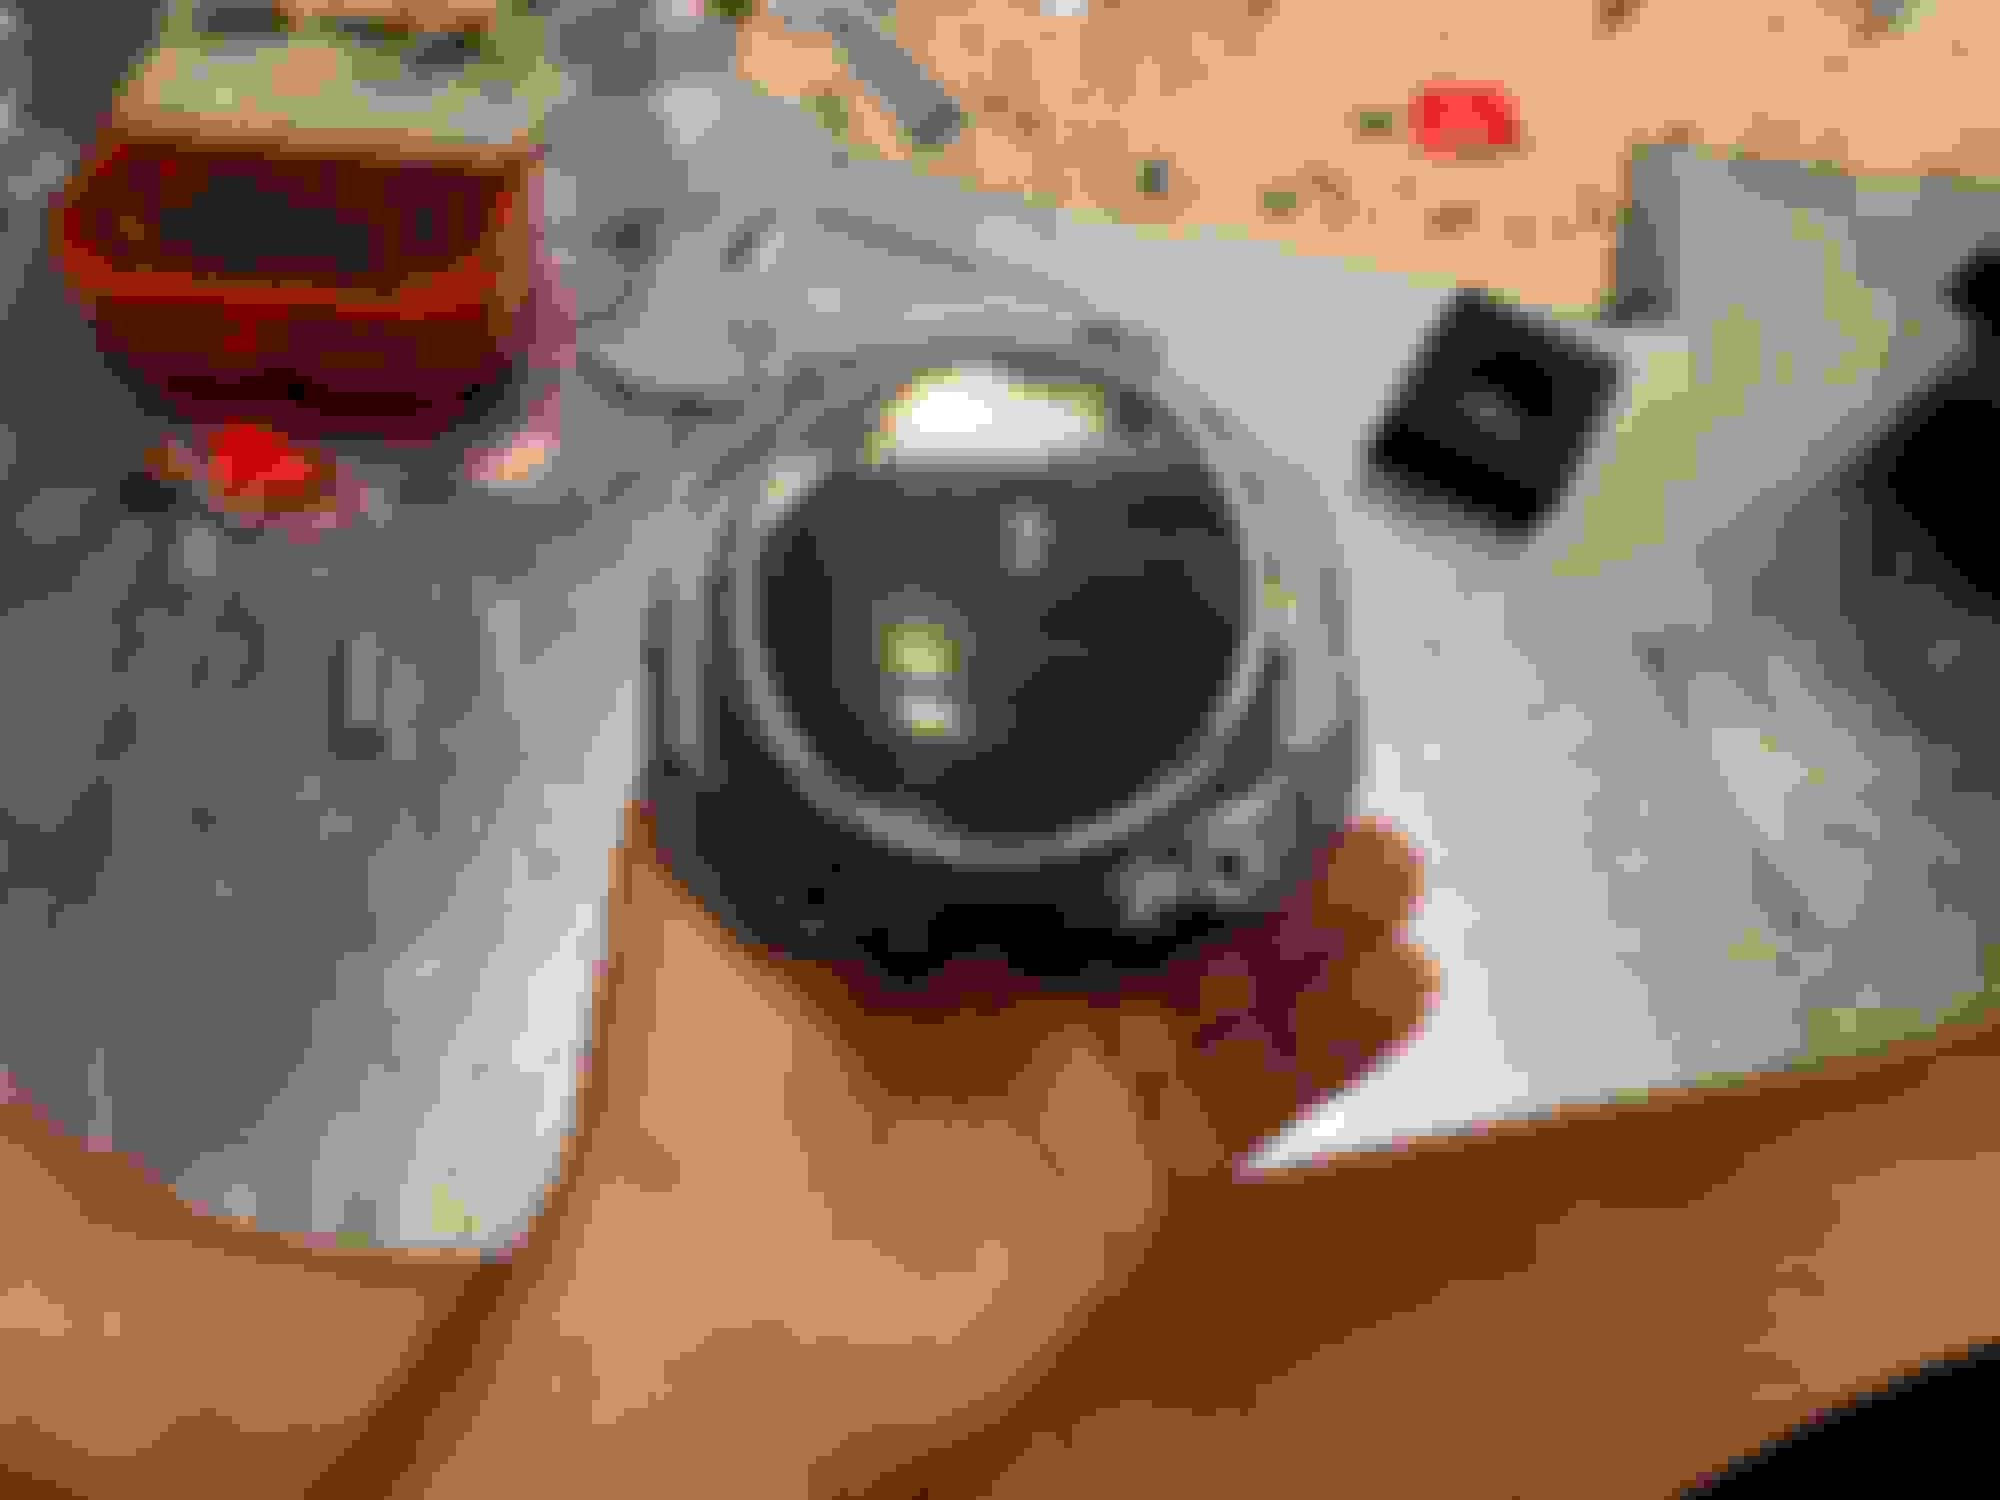
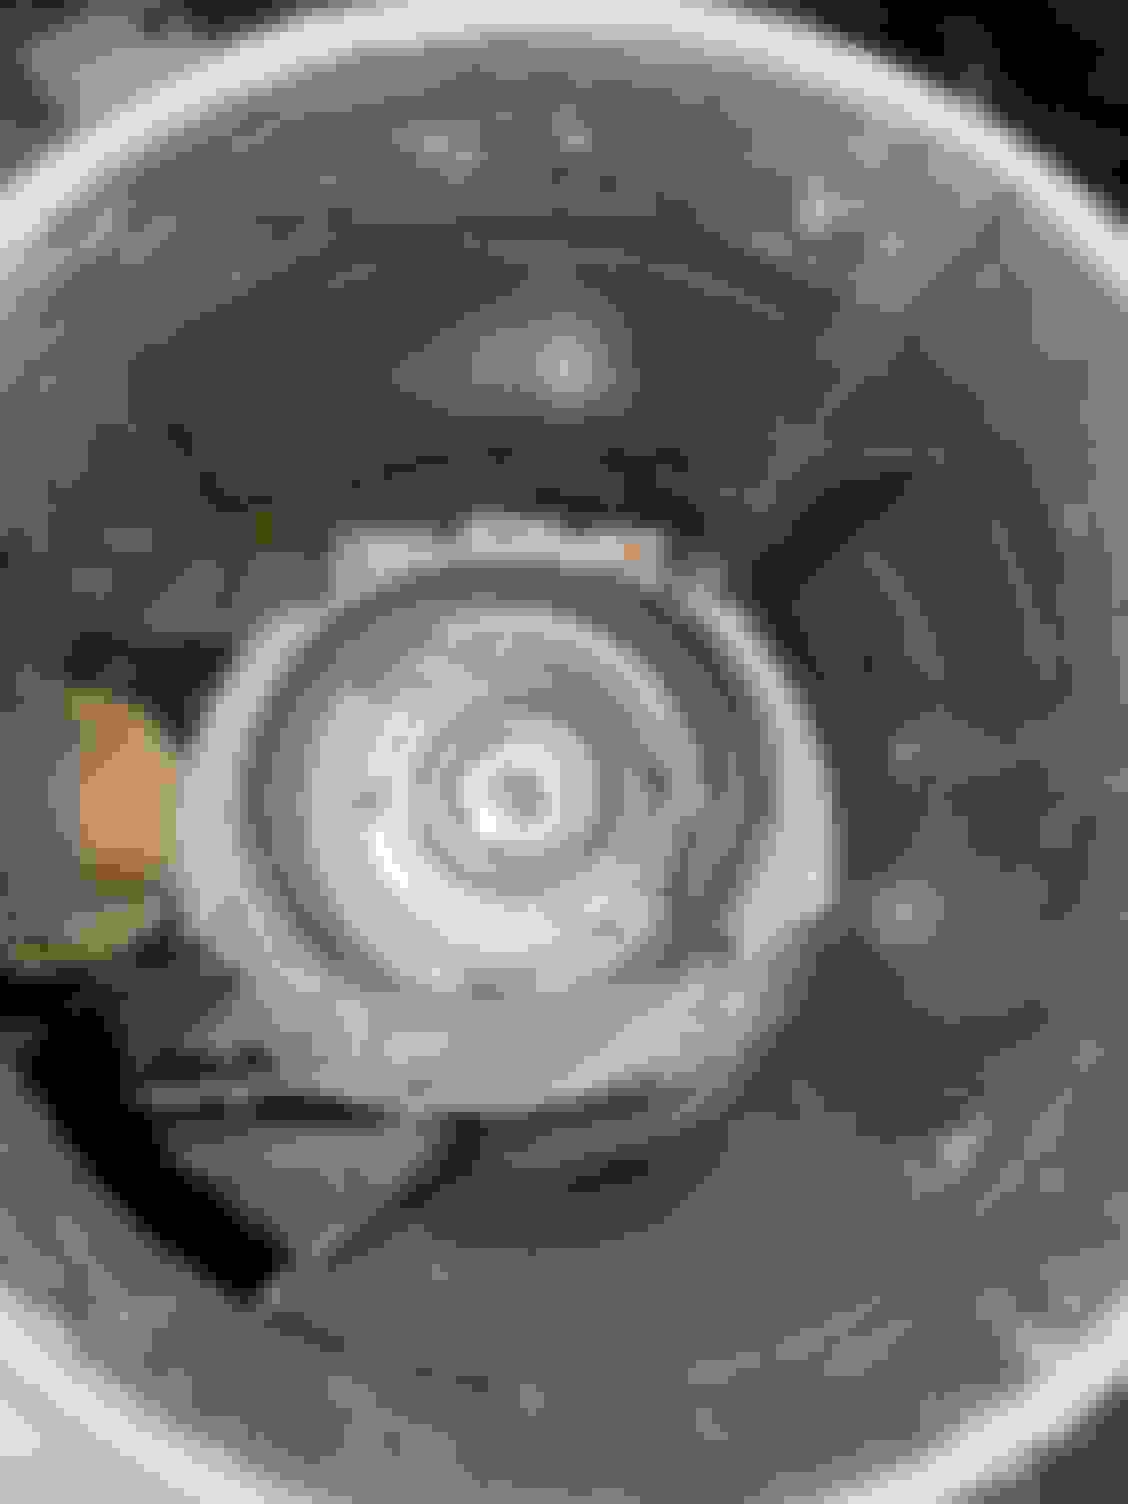
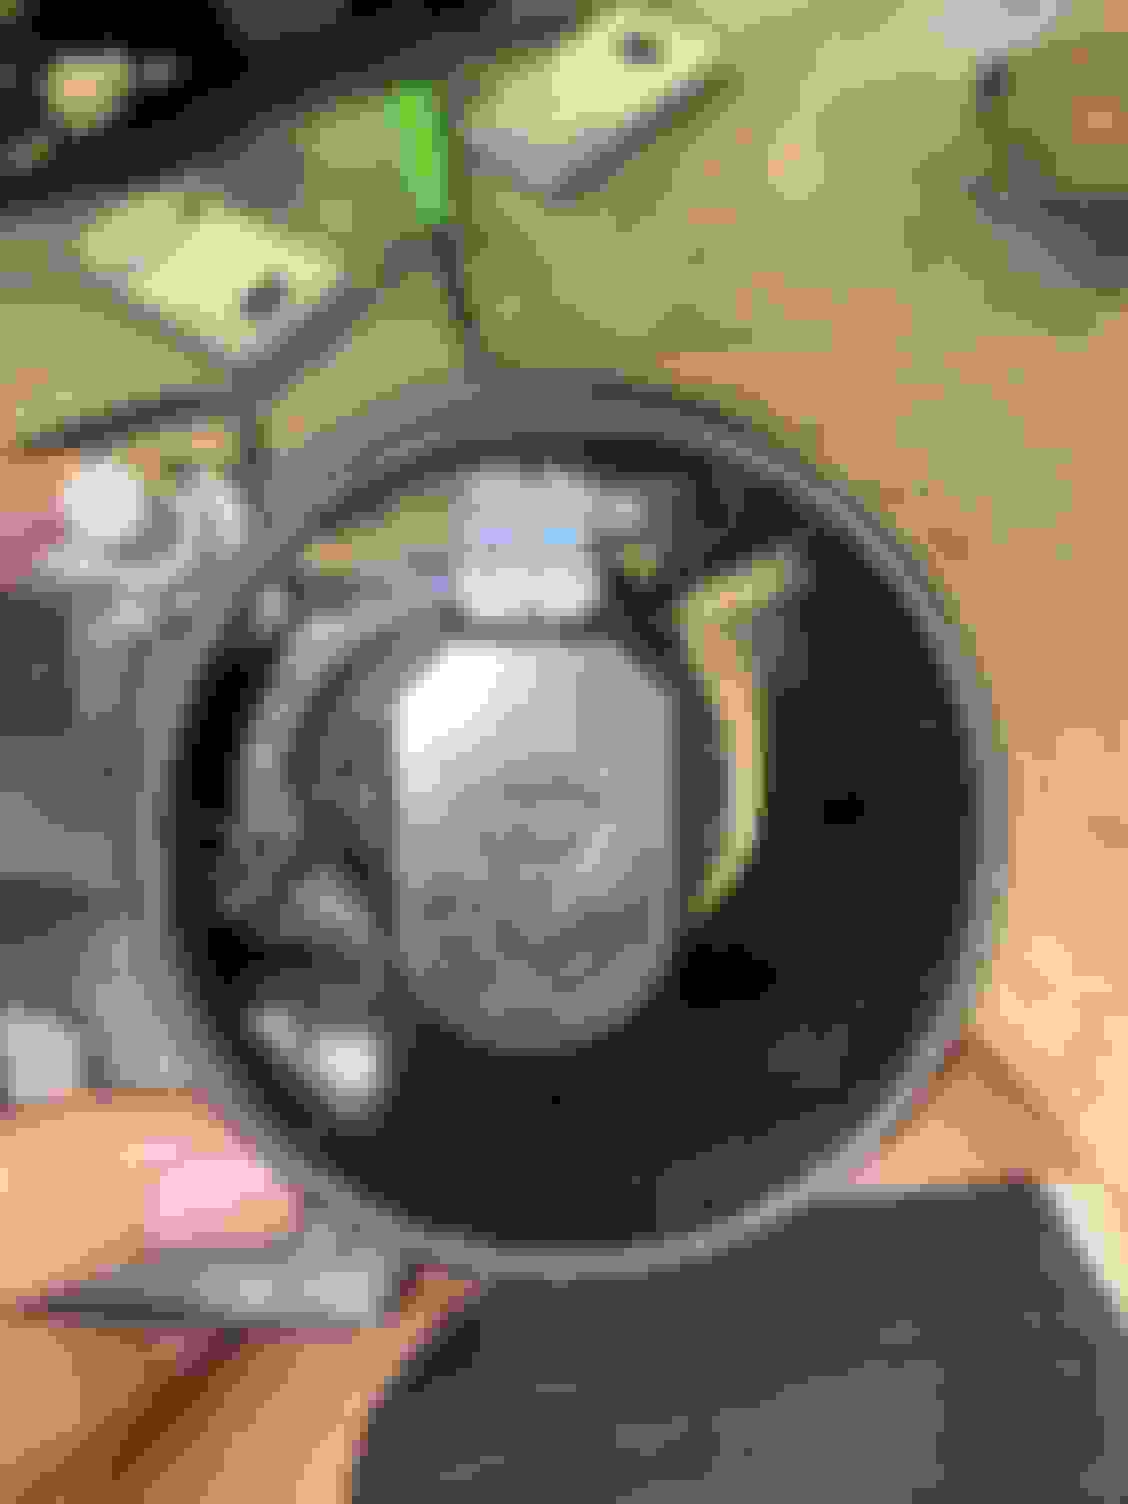
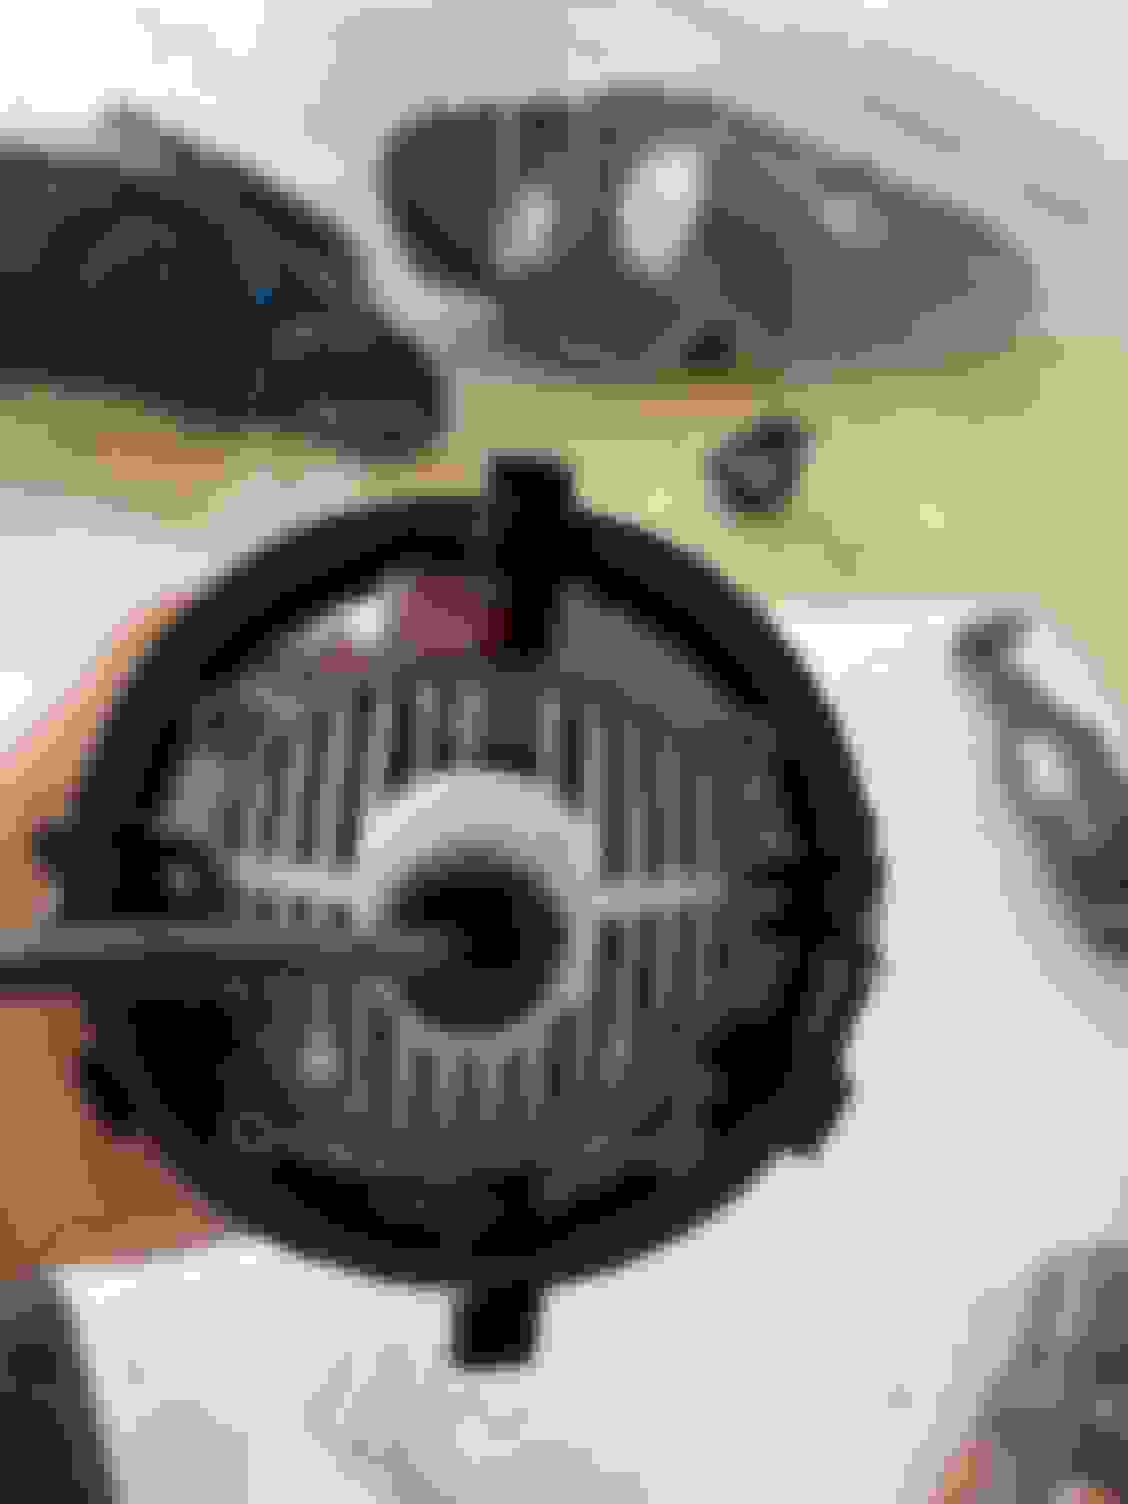
This is the stock HID projector. Front � view.
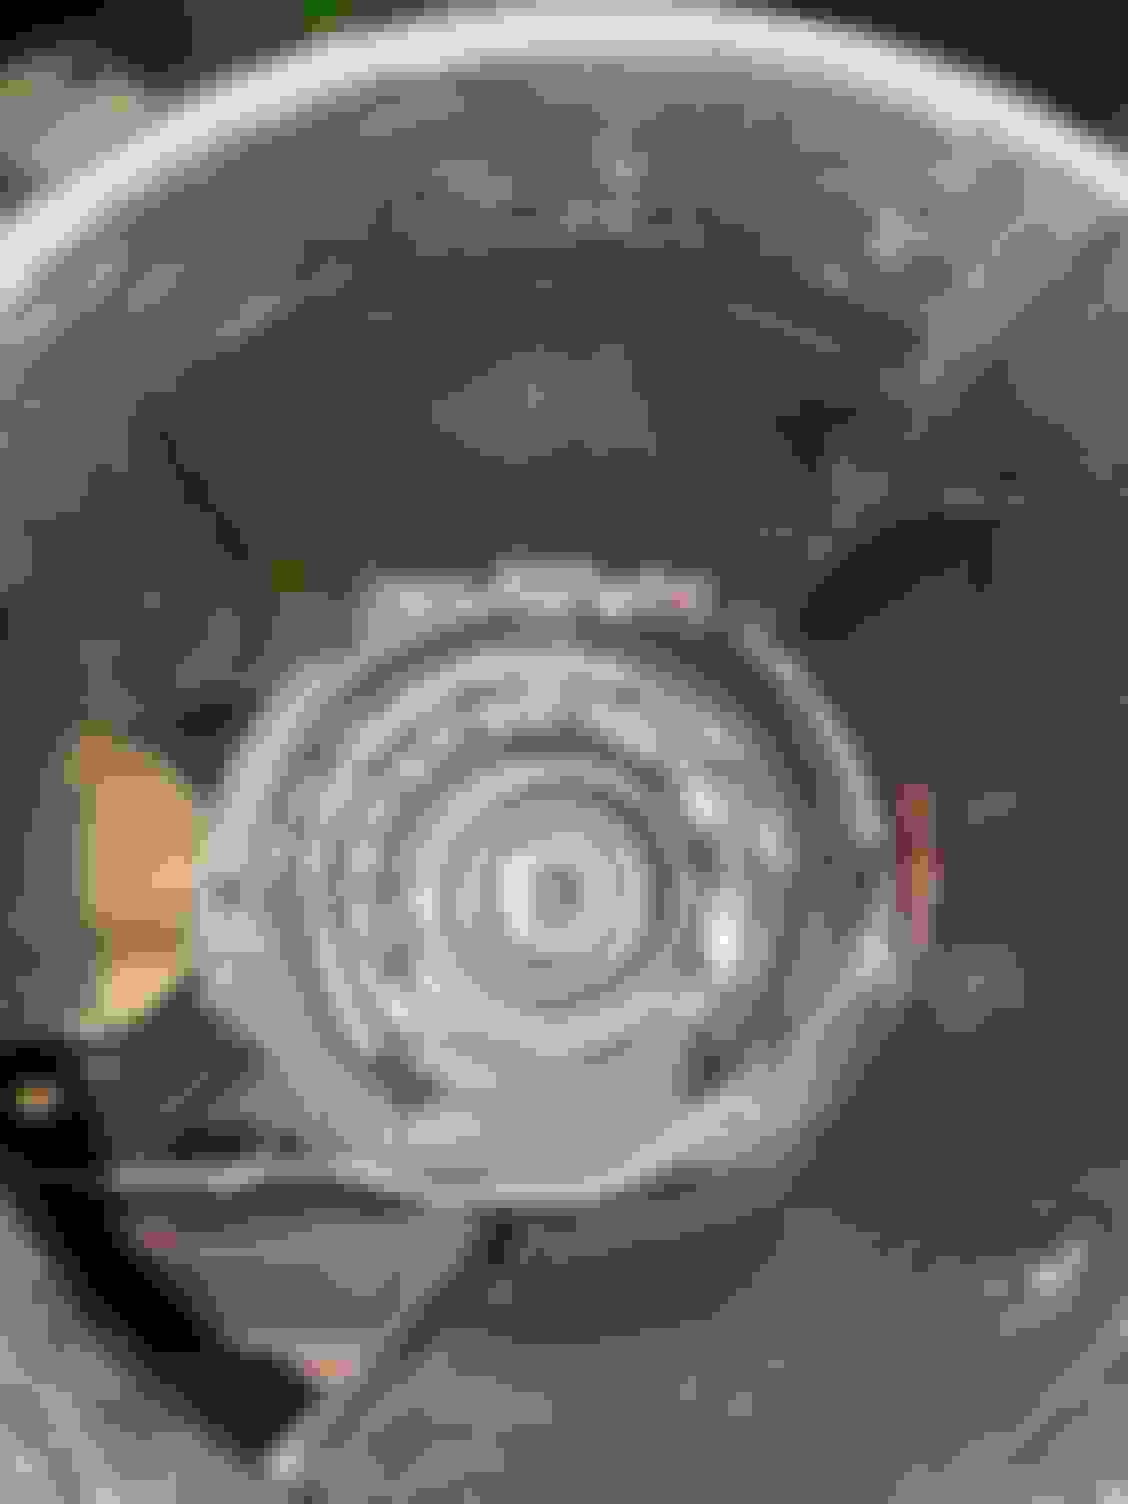
This is the projector from the back. You open it up by prying back the tabs you see on the top and bottom.
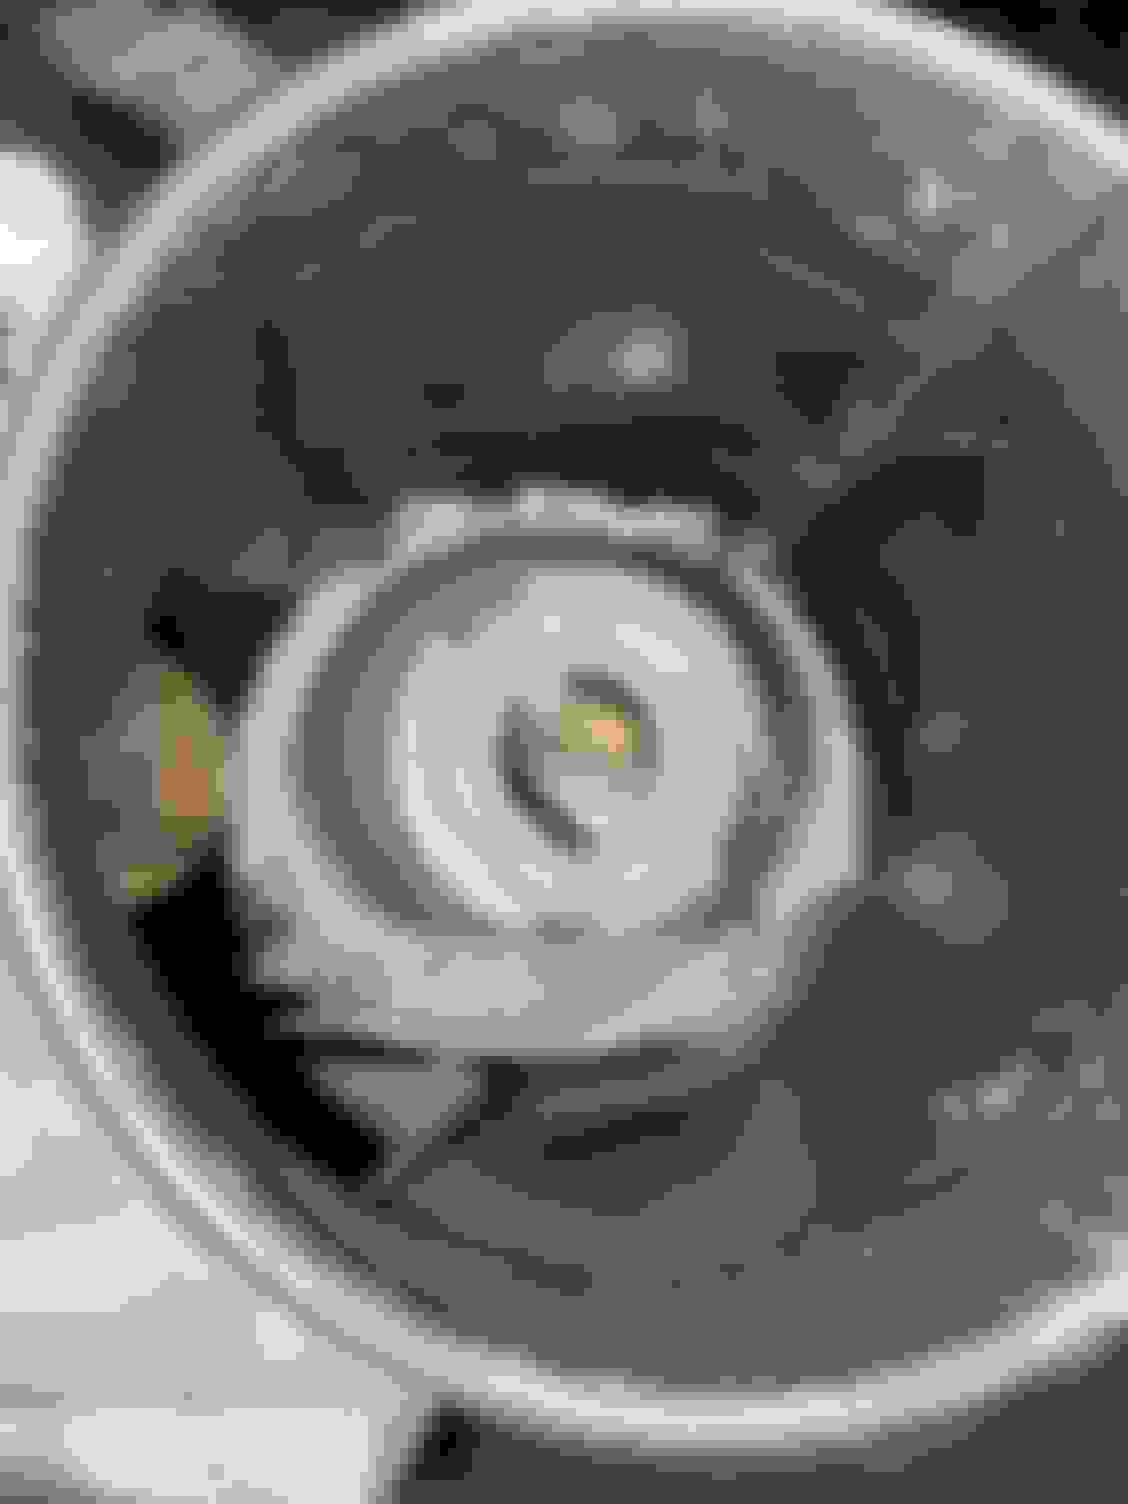
I placed the cut-off shield and foreground limiter on top of the projector bowl. As you can see, the original cut-off shield and foreground limiter are a static plate, they are fitted like a washer.
This is the cut-off shield and foreground limiter being on the lens holder.
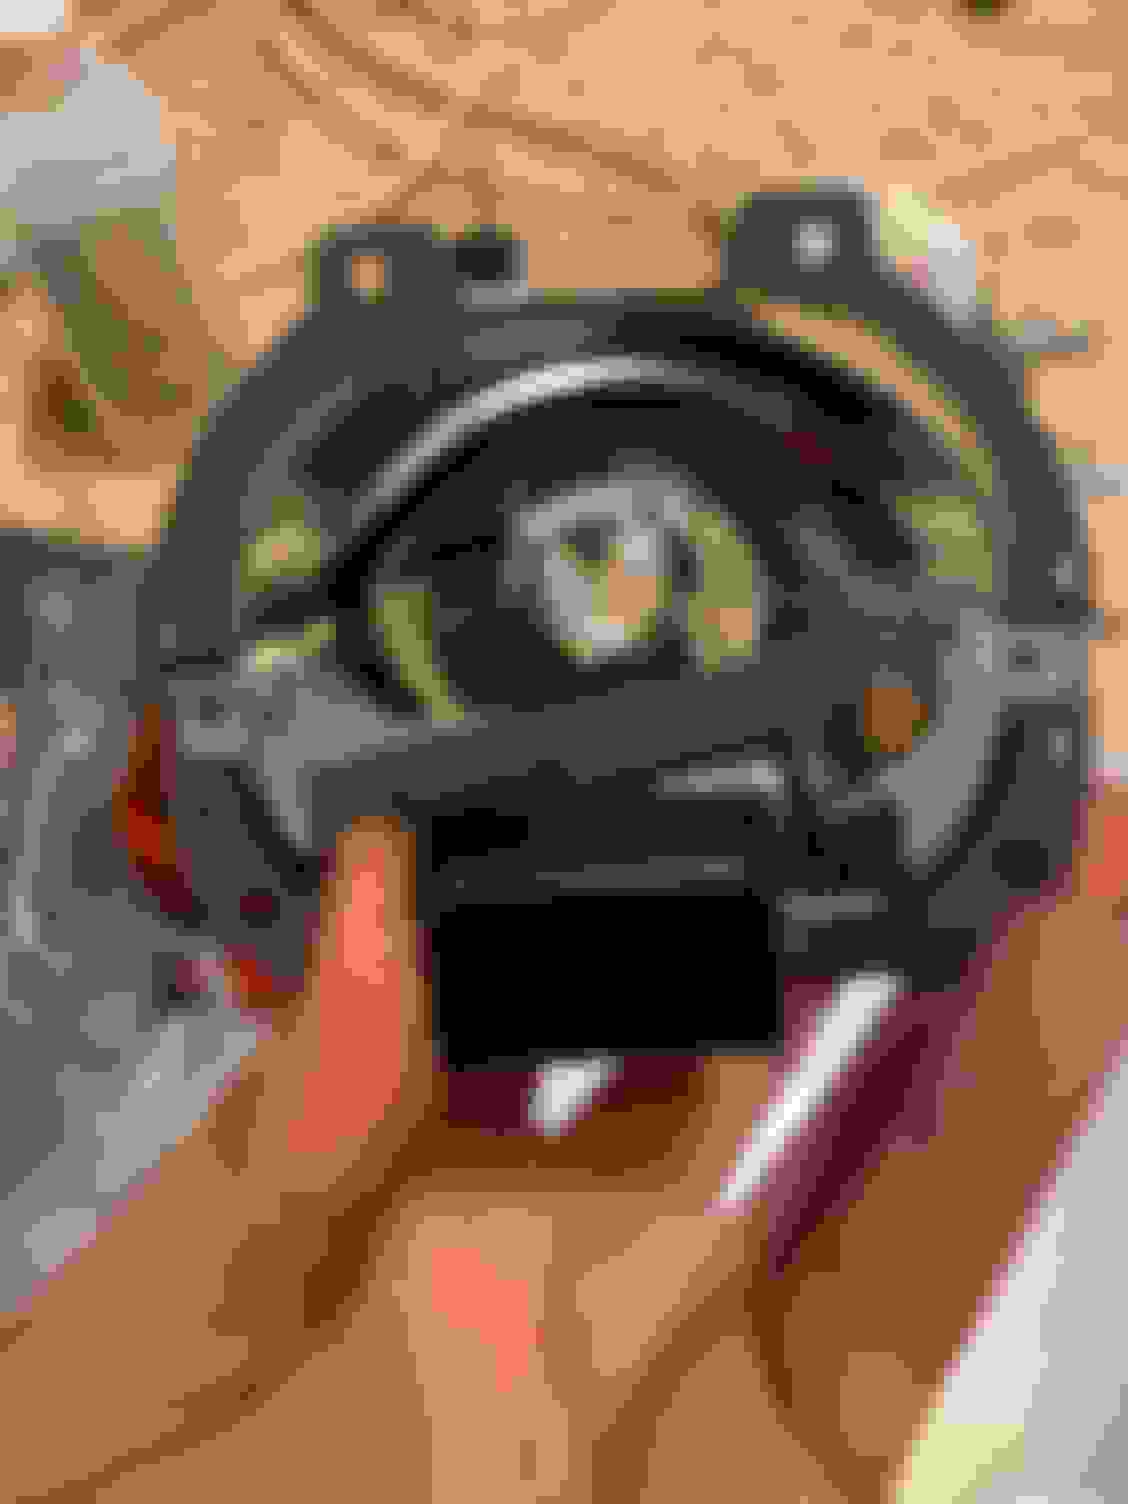
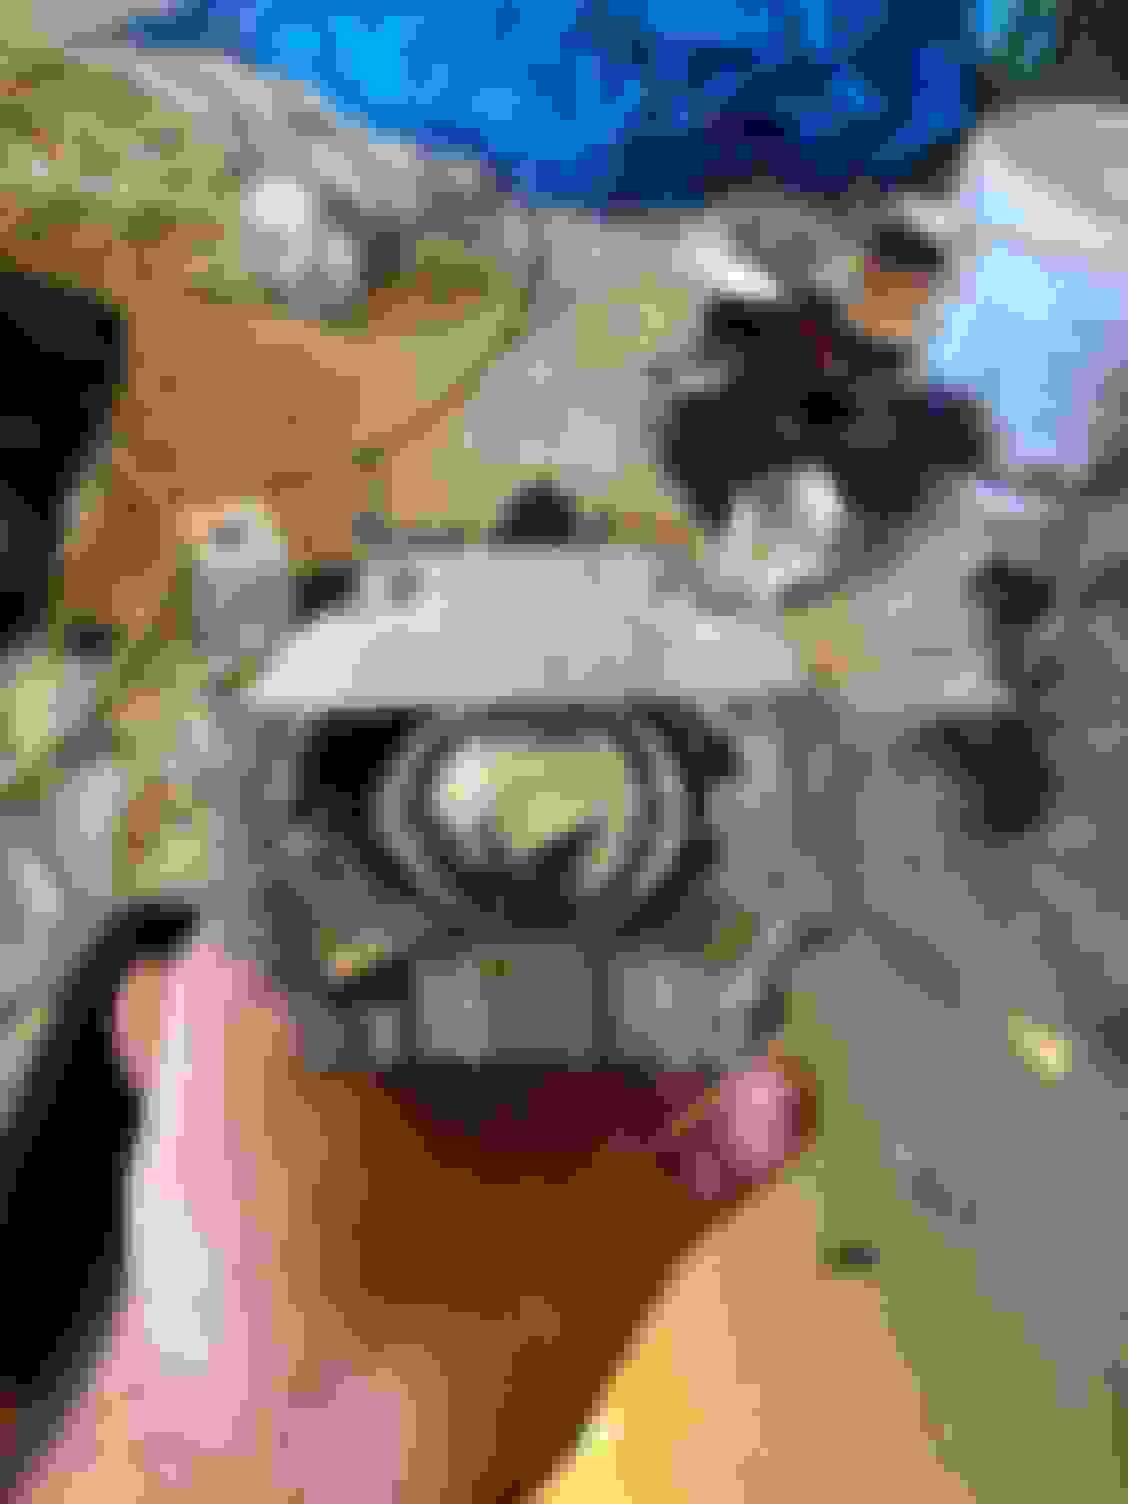
This is the projector bowl on its own.
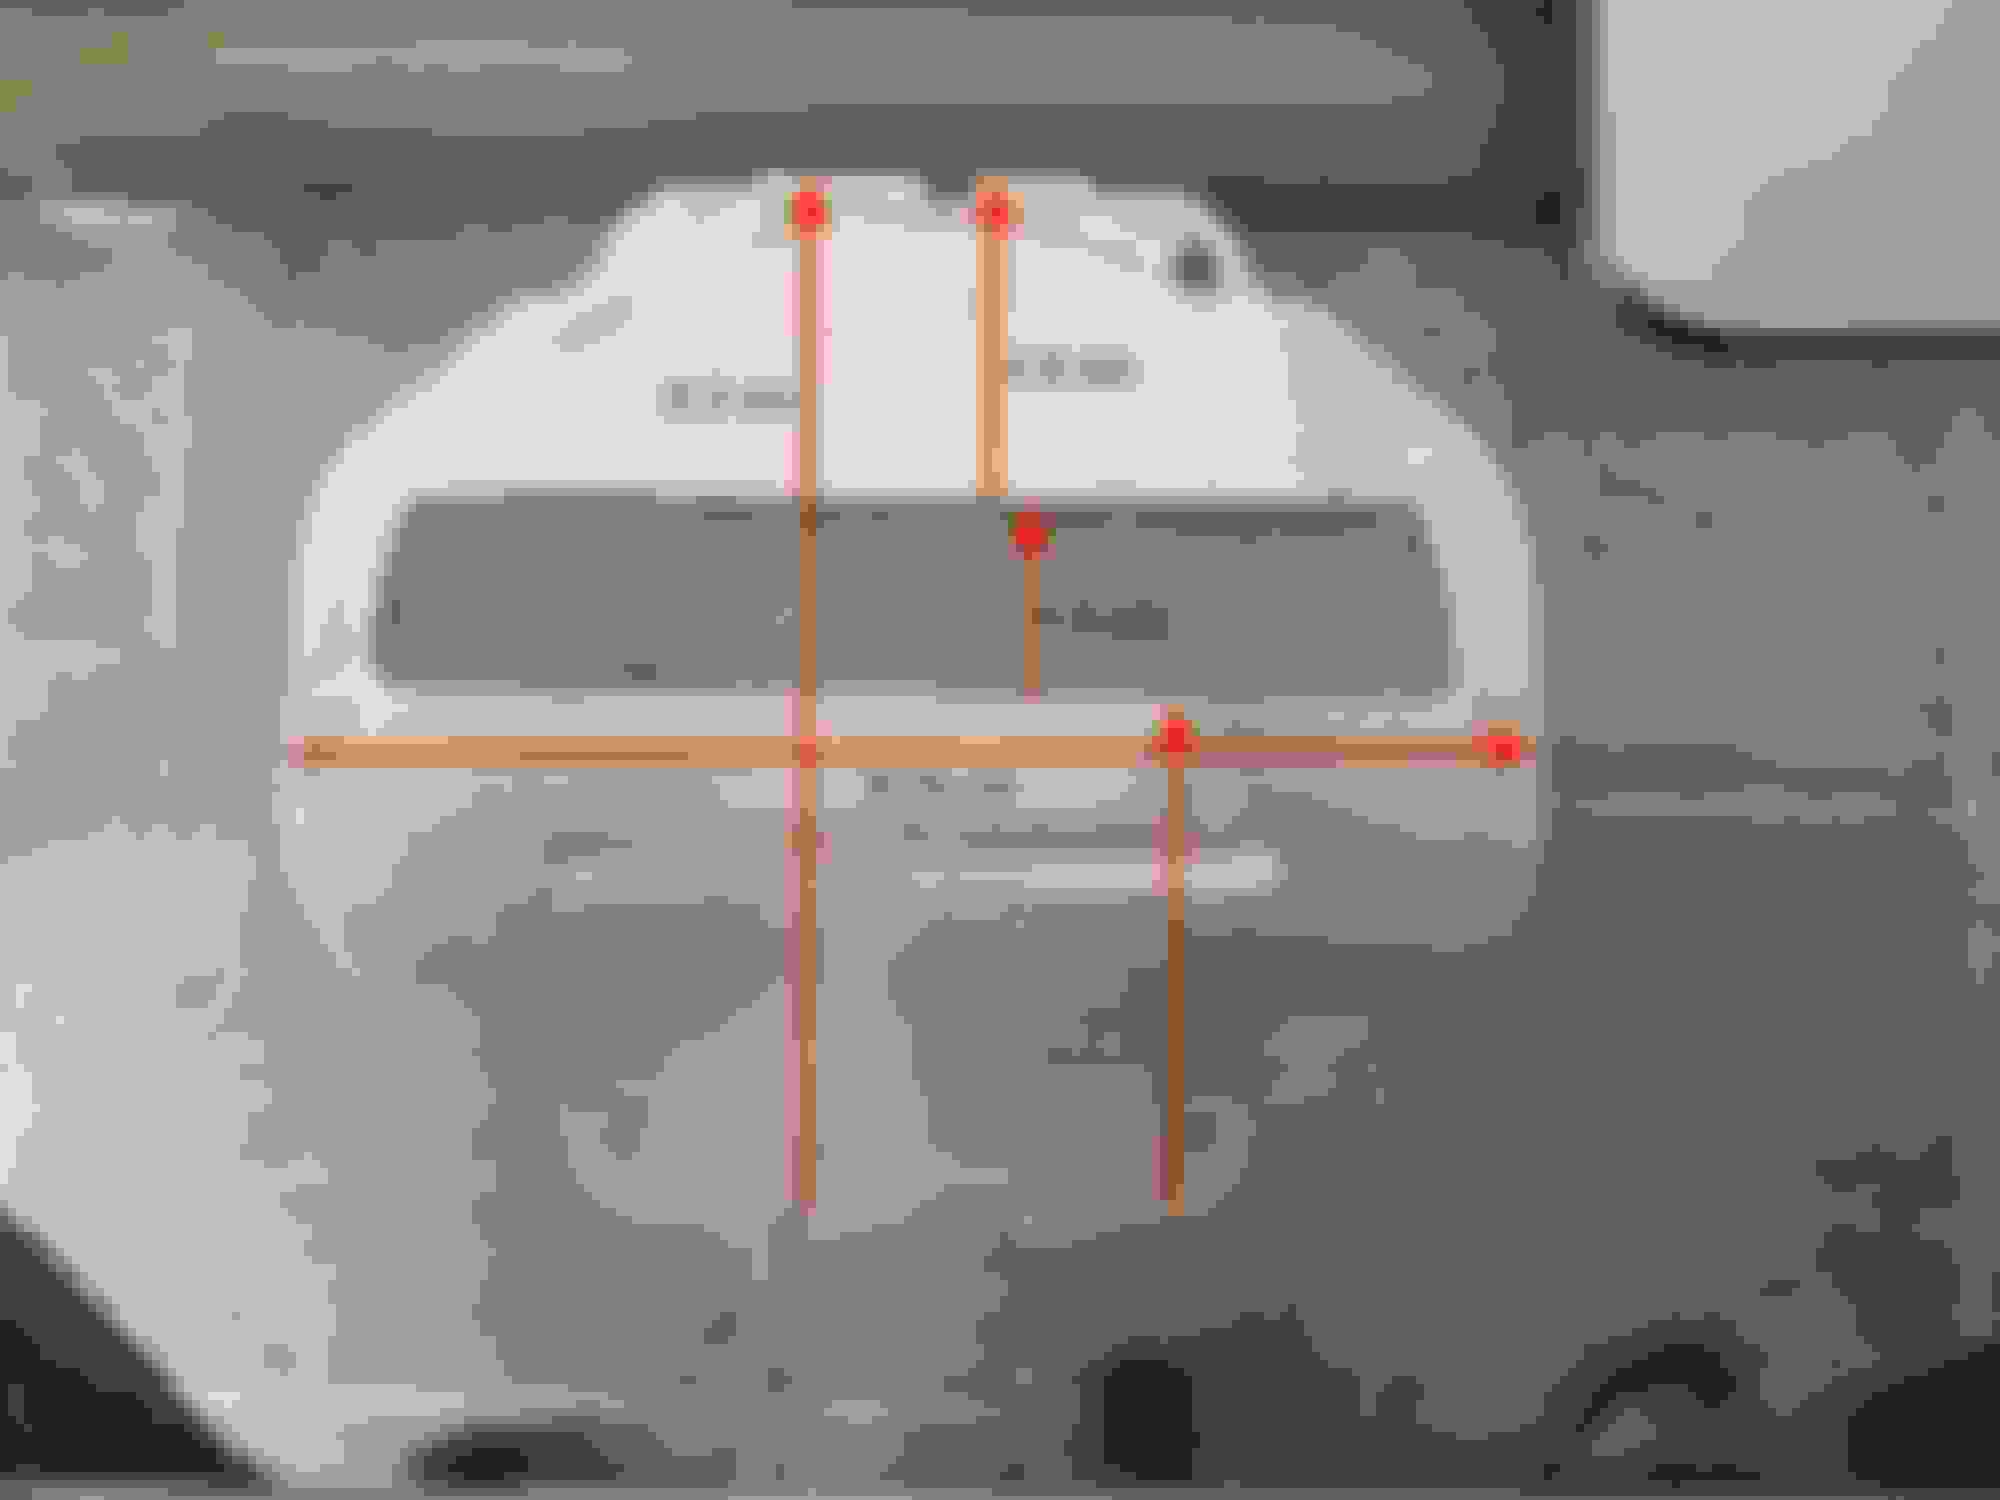
The cut-off shield and foreground shield measures 9.75 cm in width, and 8.3 cm in height. The foreground limiter measures 2.6 cm, the cutoff shield is 4.2 cm, and the space between them is 1.5 cm.
Yeah, it really does provide enough for the high beam, and combined with the Mini HB LED high beam I don't think high beam will be a problem. From what I understand, Morimoto uses a side push solenoid as seen in my picture because it is less likely to fail and become stuck than a flip-down style solenoid and shield.
The old HID used a static plate as a cut-off shield. Because of this, the old projector could only be used as a low beam. The design is simple and limited in functionality.
This is the stock HID projector. Front � view.
This is the projector from the back. You open it up by prying back the tabs you see on the top and bottom.
I placed the cut-off shield and foreground limiter on top of the projector bowl. As you can see, the original cut-off shield and foreground limiter are a static plate, they are fitted like a washer.
This is the cut-off shield and foreground limiter being on the lens holder.
This is the projector bowl on its own.
The cut-off shield and foreground shield measures 9.75 cm in width, and 8.3 cm in height. The foreground limiter measures 2.6 cm, the cutoff shield is 4.2 cm, and the space between them is 1.5 cm.
Great info and pictures! Thanks much. There seems to be a fair amount of space on the bottom between the old plate and the lens. Enough to fit a small solenoid. Maybe the best option is to modify the fixed plate for a swing down like your new bi-xenon light. The solenoid I have found is somewhat marginal in power. It must be rated for continuous on or it will burn up pretty quick. Solenoid also need to be on for Hi and off for Lo. Need a return spring for Lo. Will keep on testing. Your detail dimensions of the fixed plate will help a lot.😁👍
Great info and pictures! Thanks much. There seems to be a fair amount of space on the bottom between the old plate and the lens. Enough to fit a small solenoid. Maybe the best option is to modify the fixed plate for a swing down like your new bi-xenon light. The solenoid I have found is somewhat marginal in power. It must be rated for continuous on or it will burn up pretty quick. Solenoid also need to be on for Hi and off for Lo. Need a return spring for Lo. Will keep on testing. Your detail dimensions of the fixed plate will help a lot.😁👍
Yes, you could probably do so. I think you would also need to cut the opening a little larger on the bottom so that you can actually have the high beam functionality when the solenoid flips the shield down.
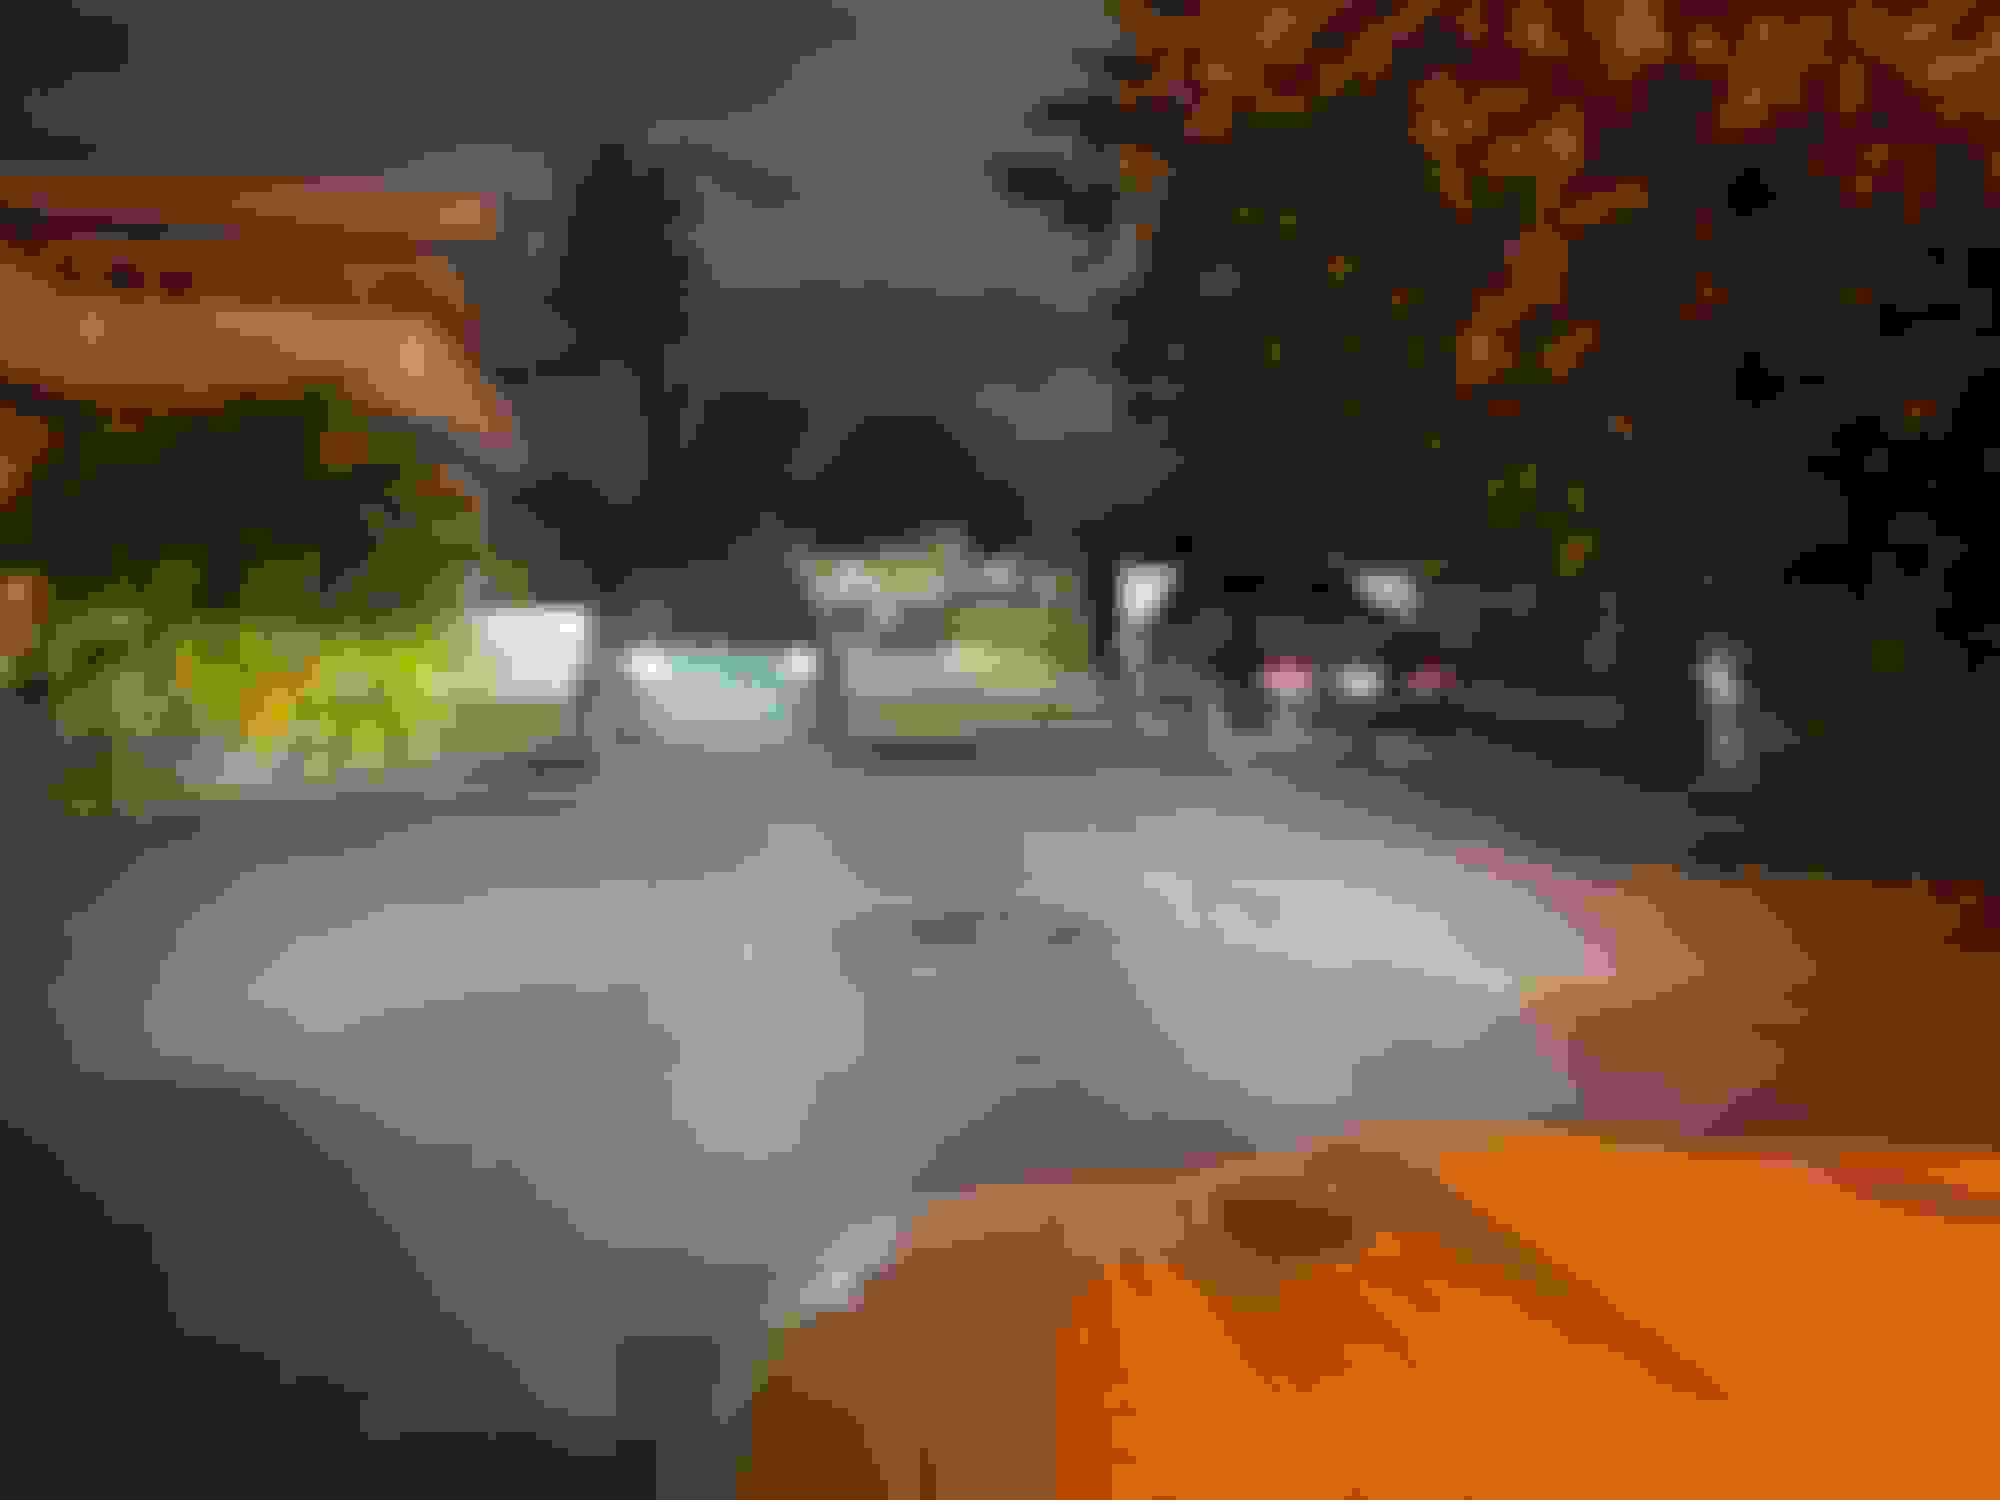
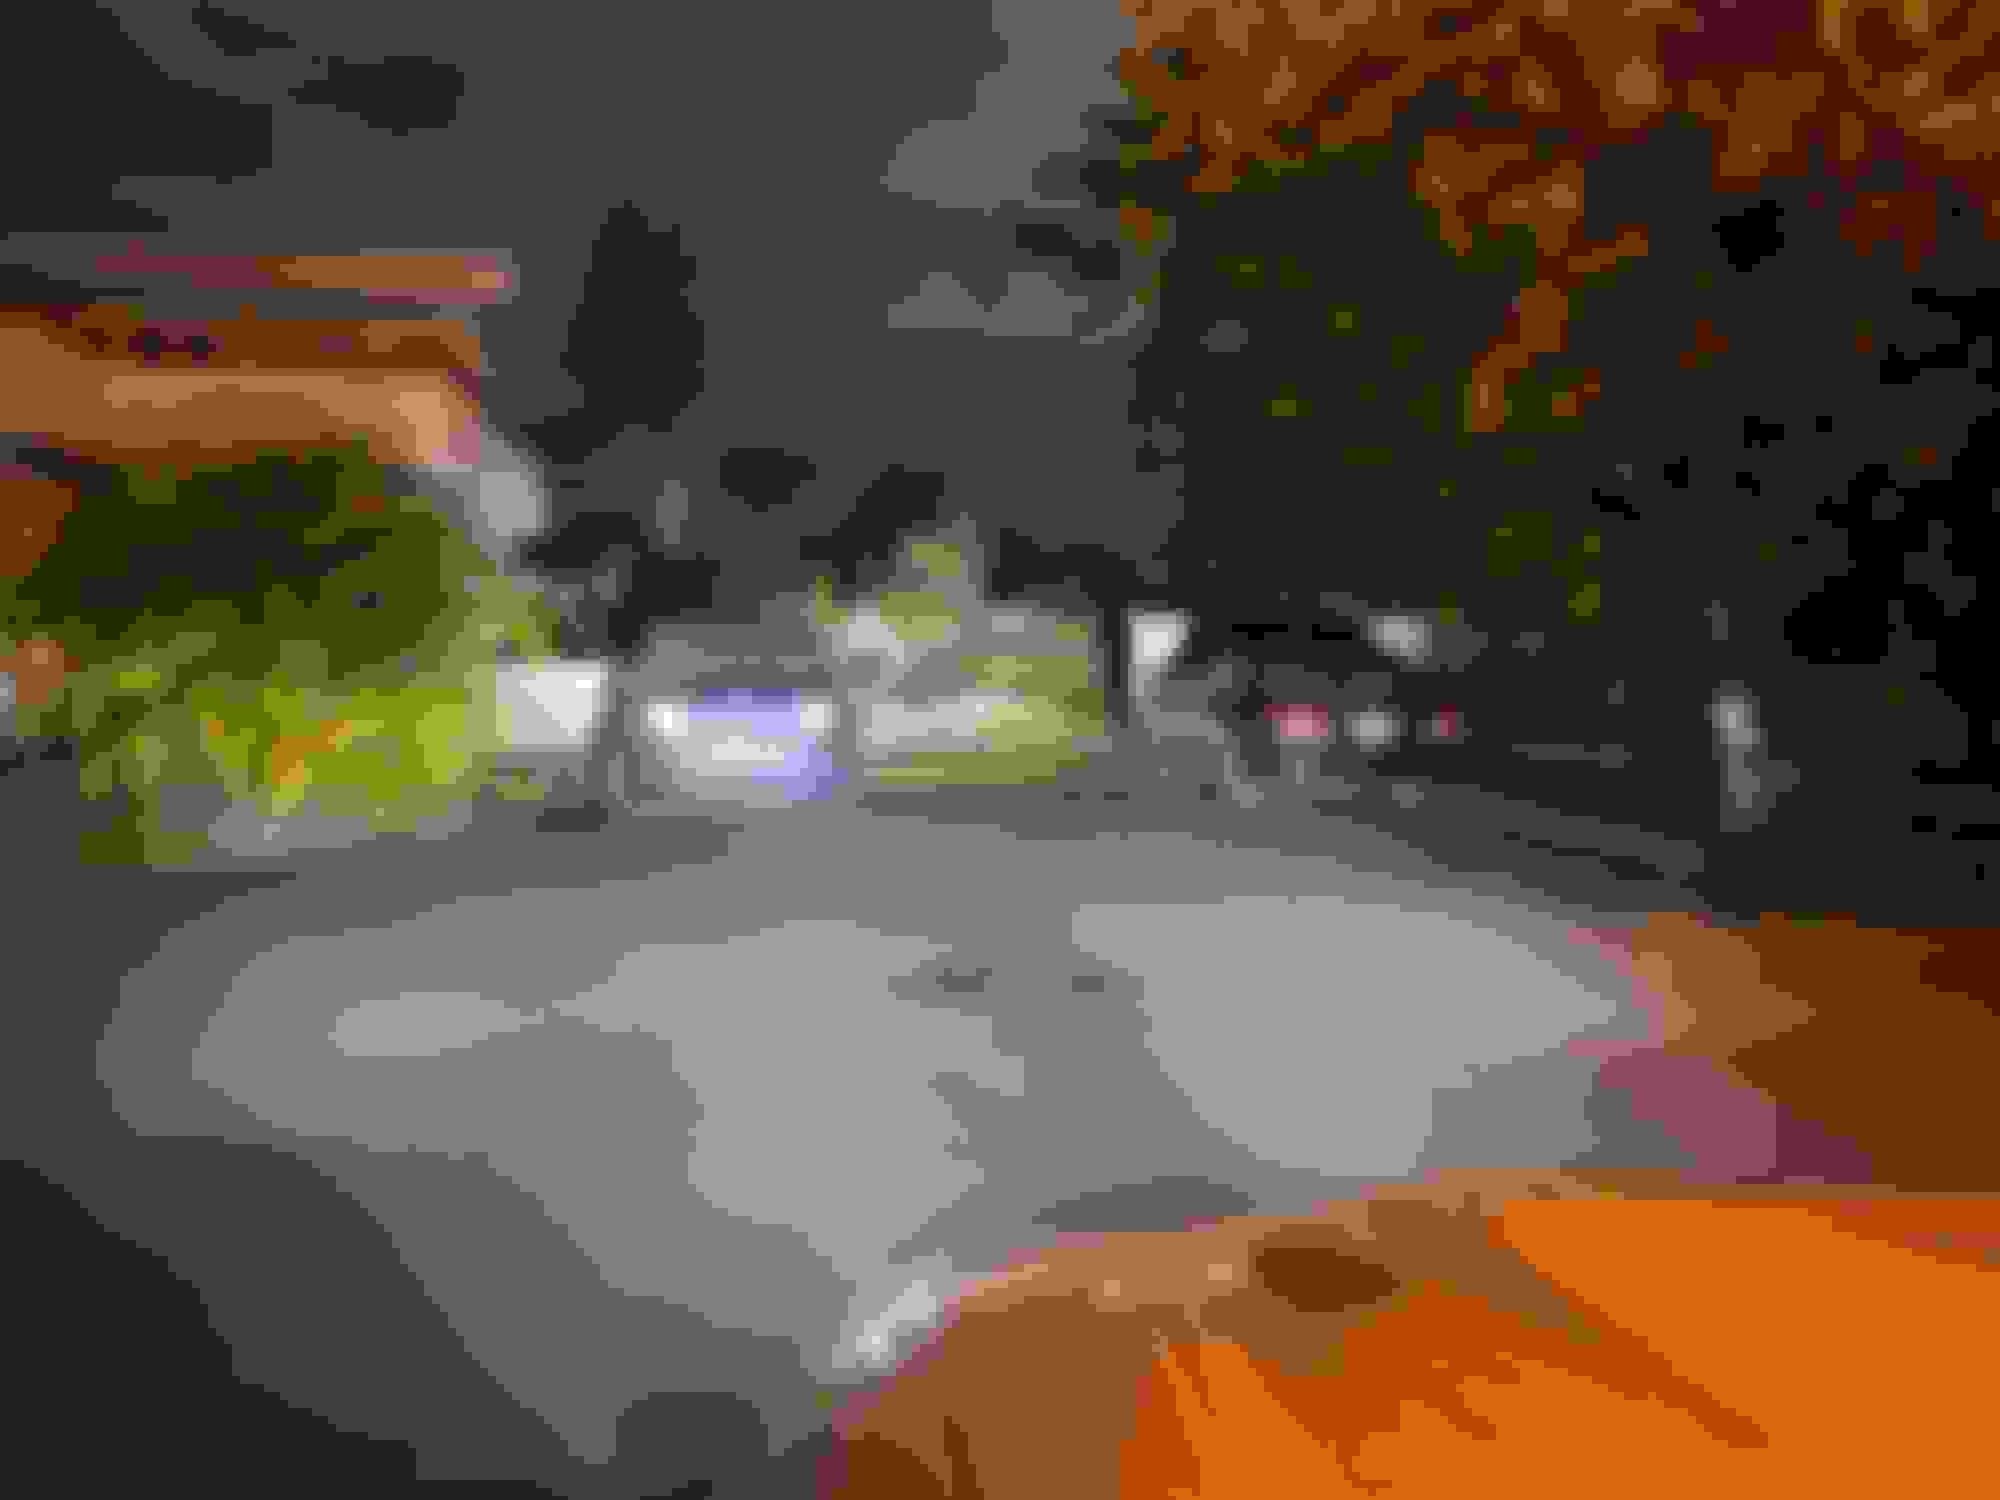
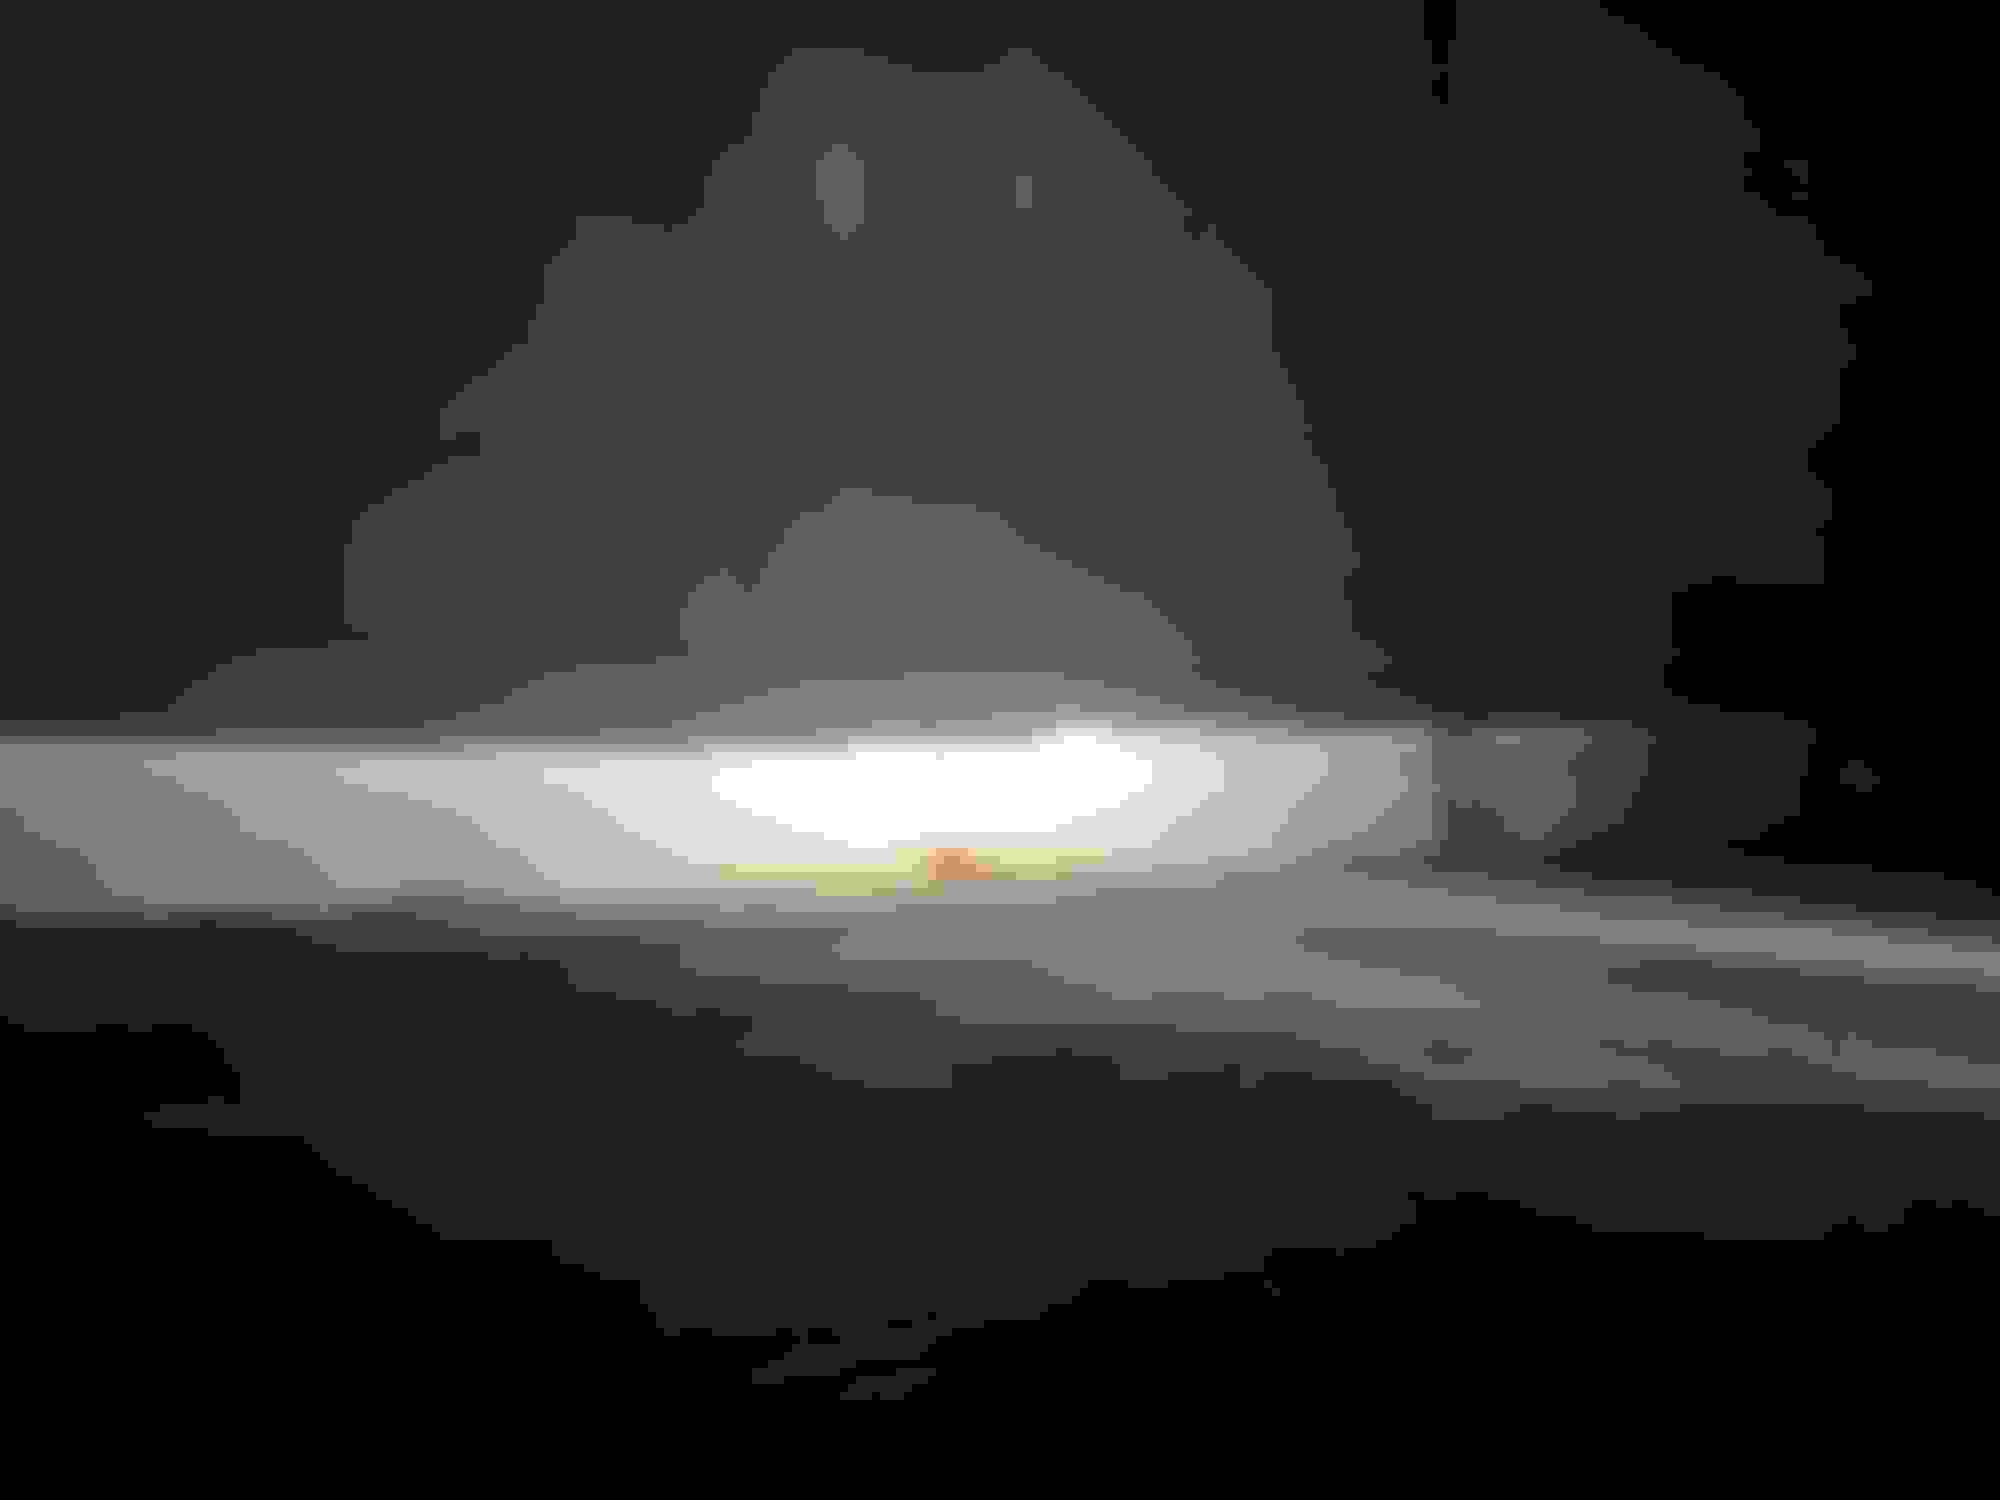
I had the chance to aim them tonight. They are almost perfect. I left them just a tad high on purpose because our cars are very low to the ground. My left projector is slightly horizontally tilted, but not enough for it to be a concern to me. After aiming them and taking these pictures, I took a long test drive. They are amazing. I now feel confident when driving at night that I can see what's on the road. Also, nobody flashed me when I was using my low beams, which confirms that I aimed them good enough.
The wall shots were taken at 25 feet from the wall.
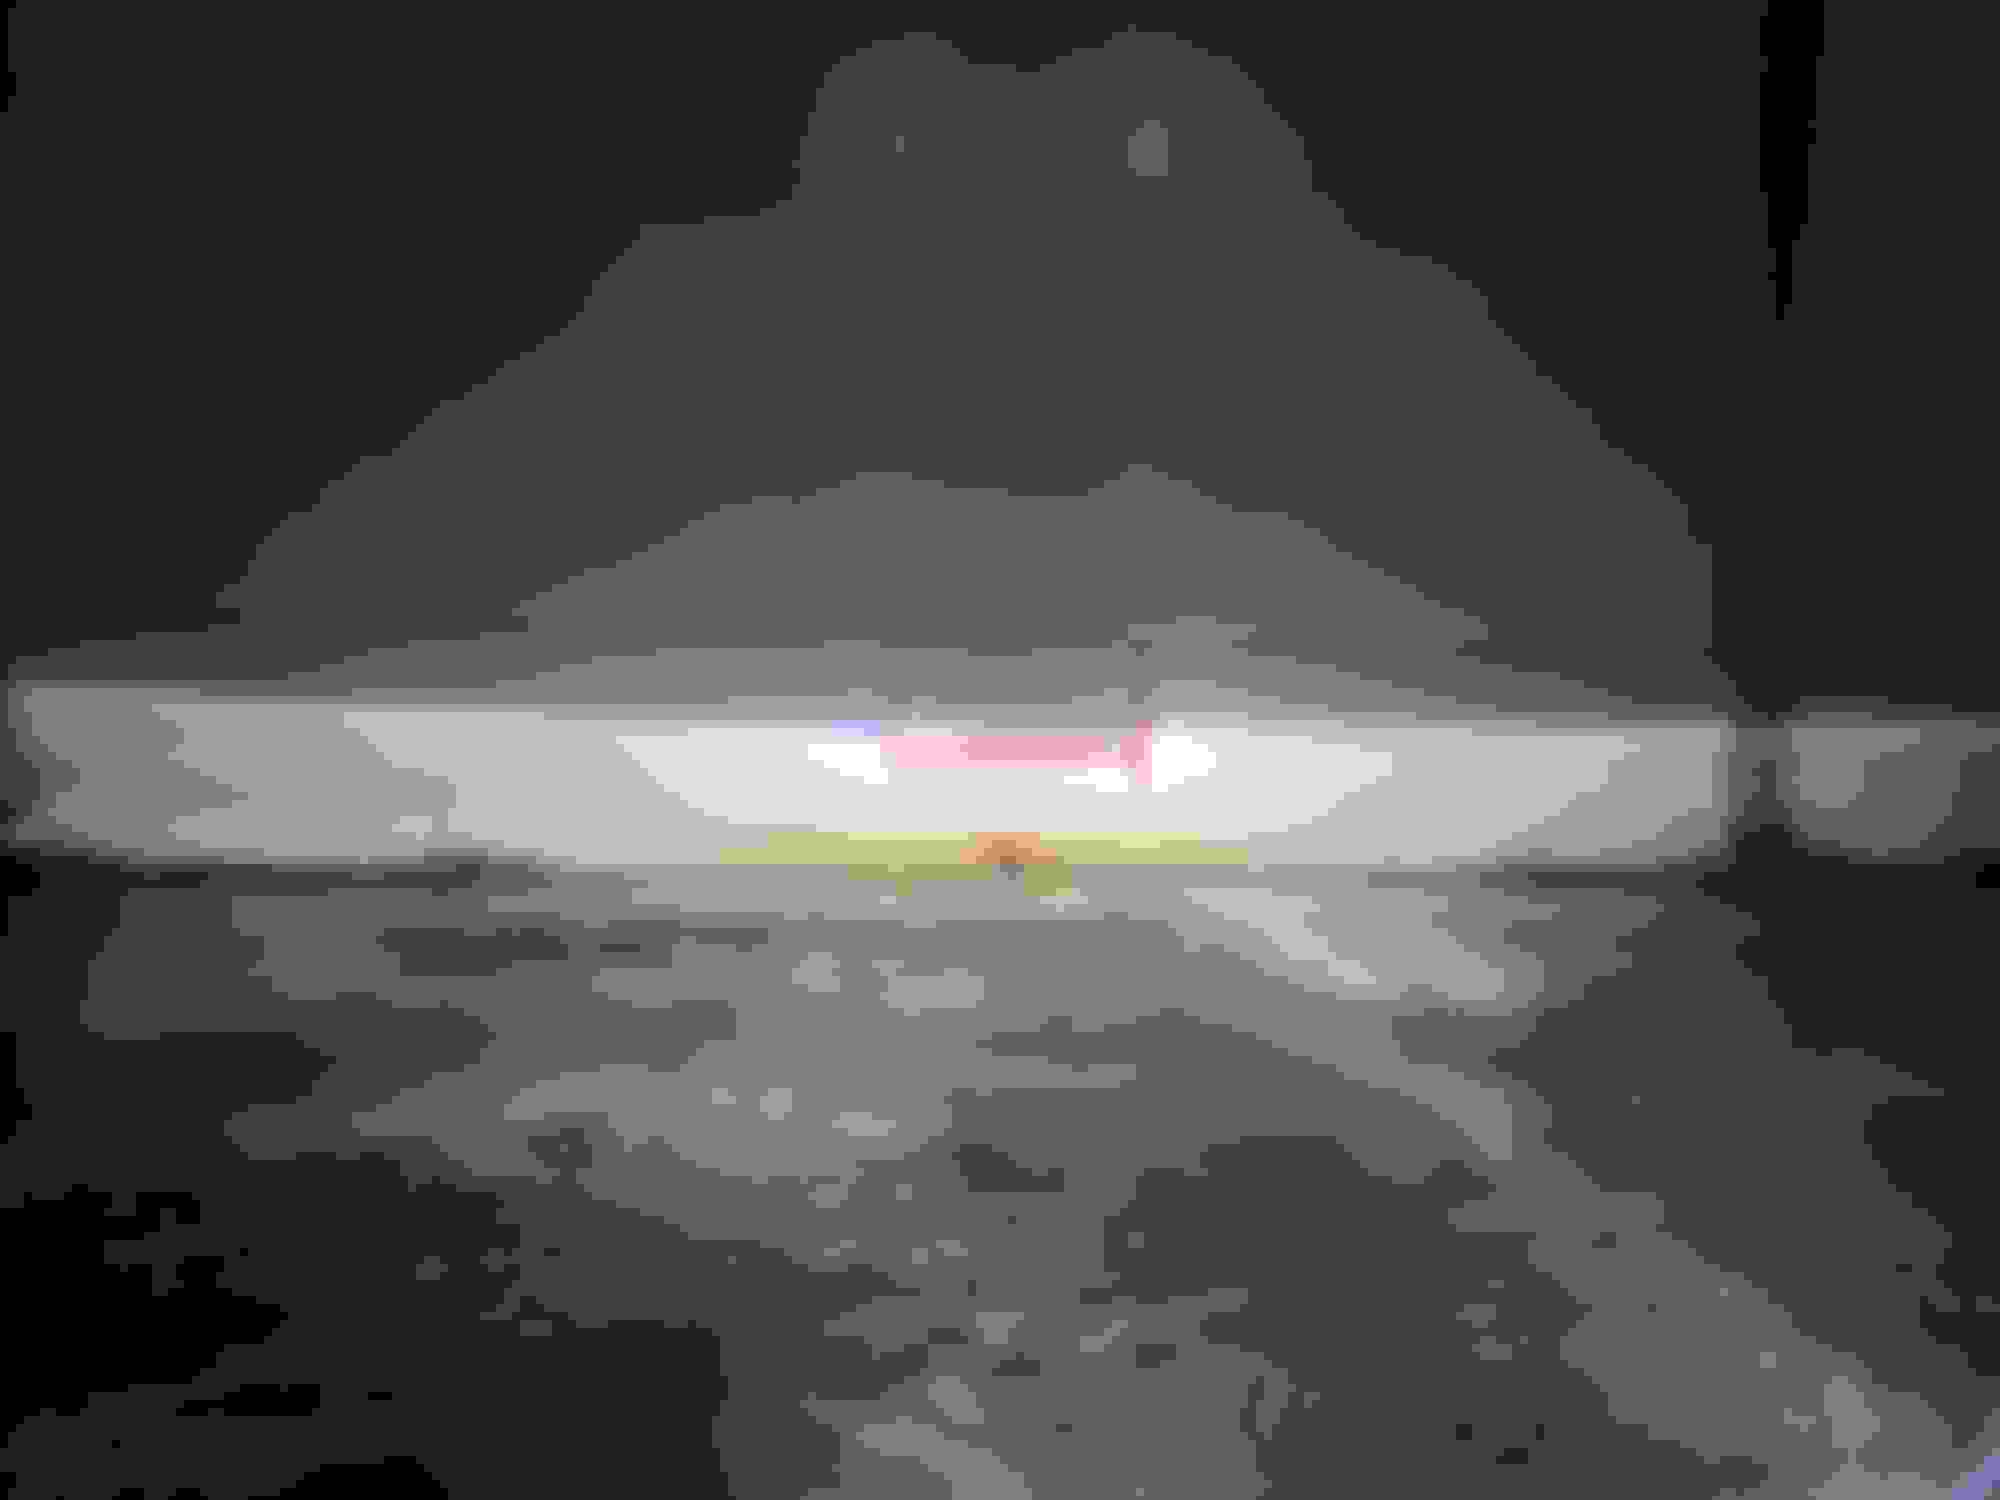
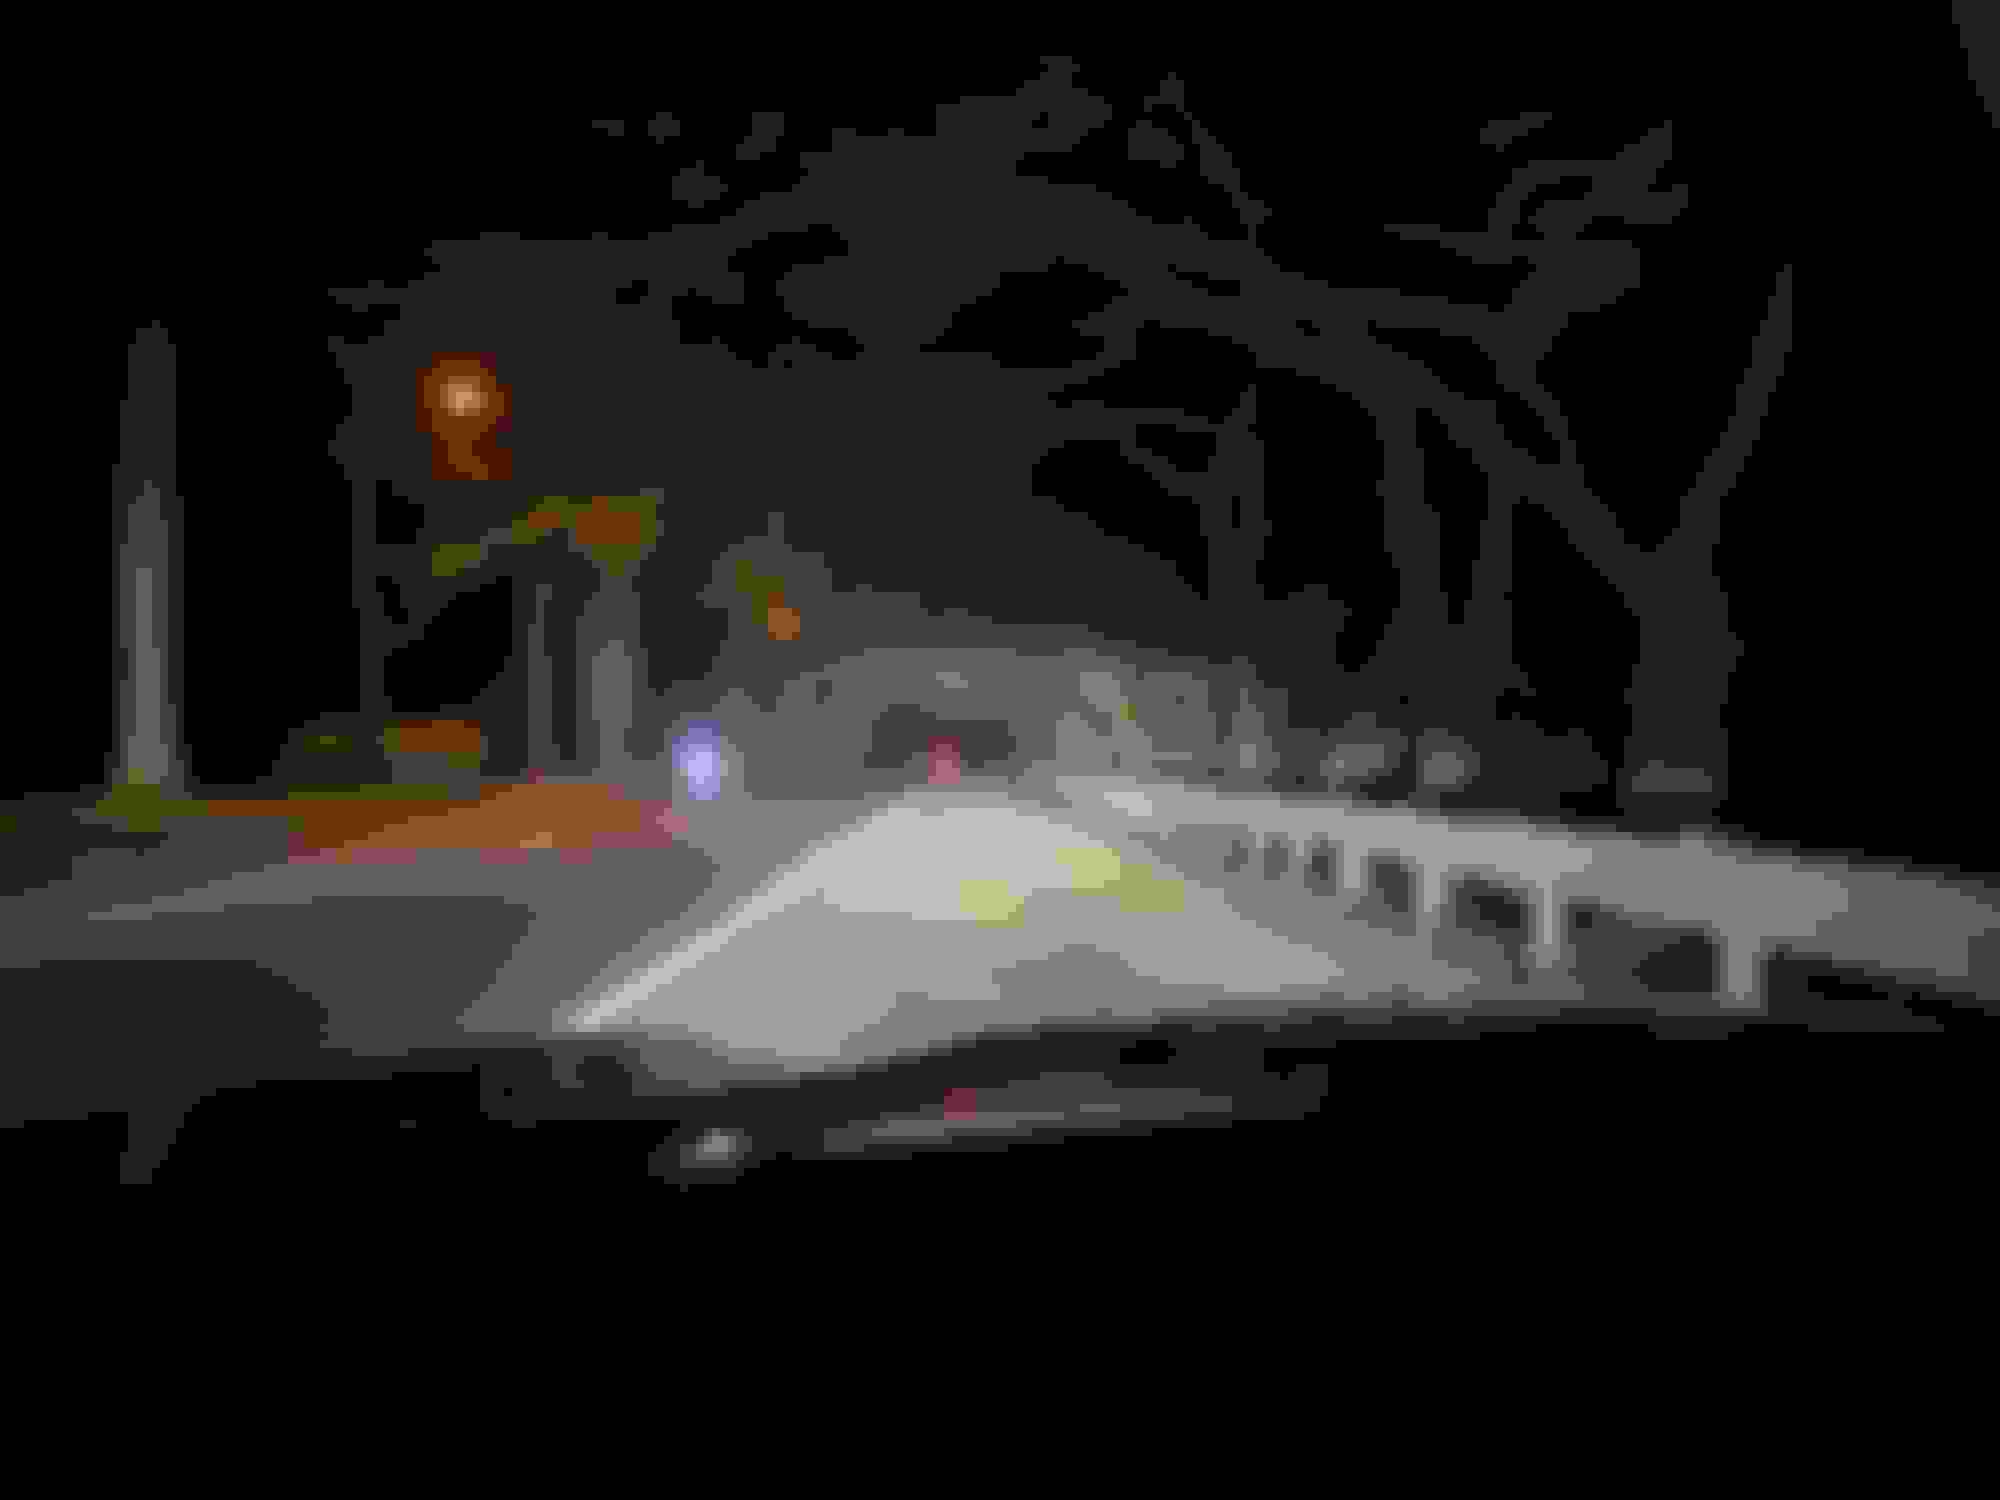
Low beam only, standing to the left of the Jag.
Low beam only, standing to the right of the Jag.
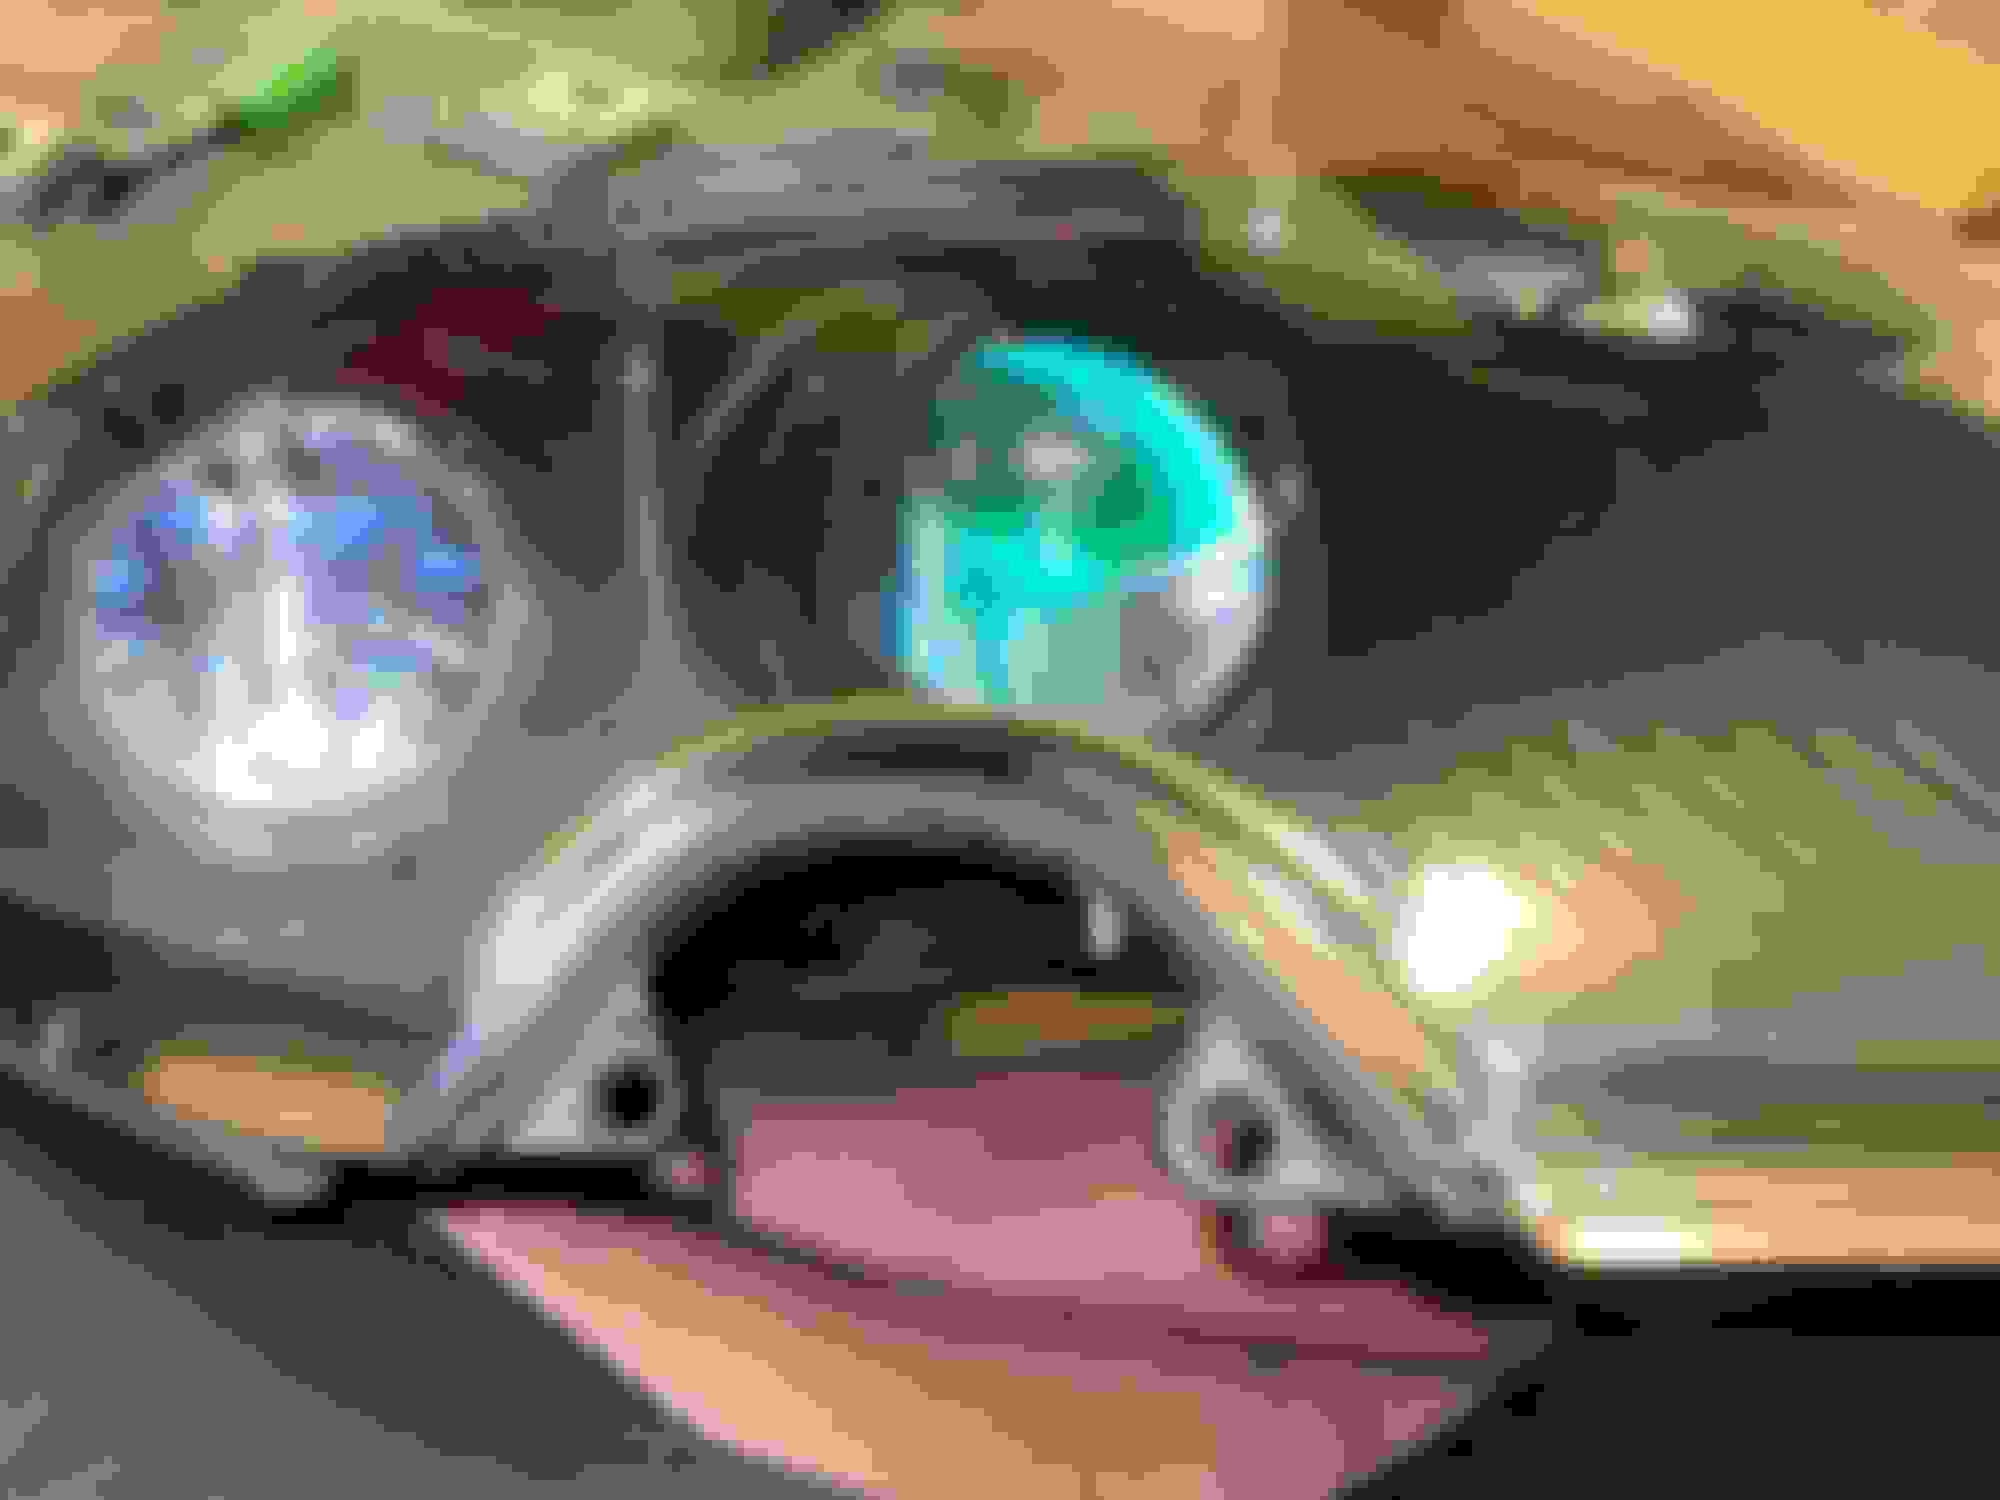
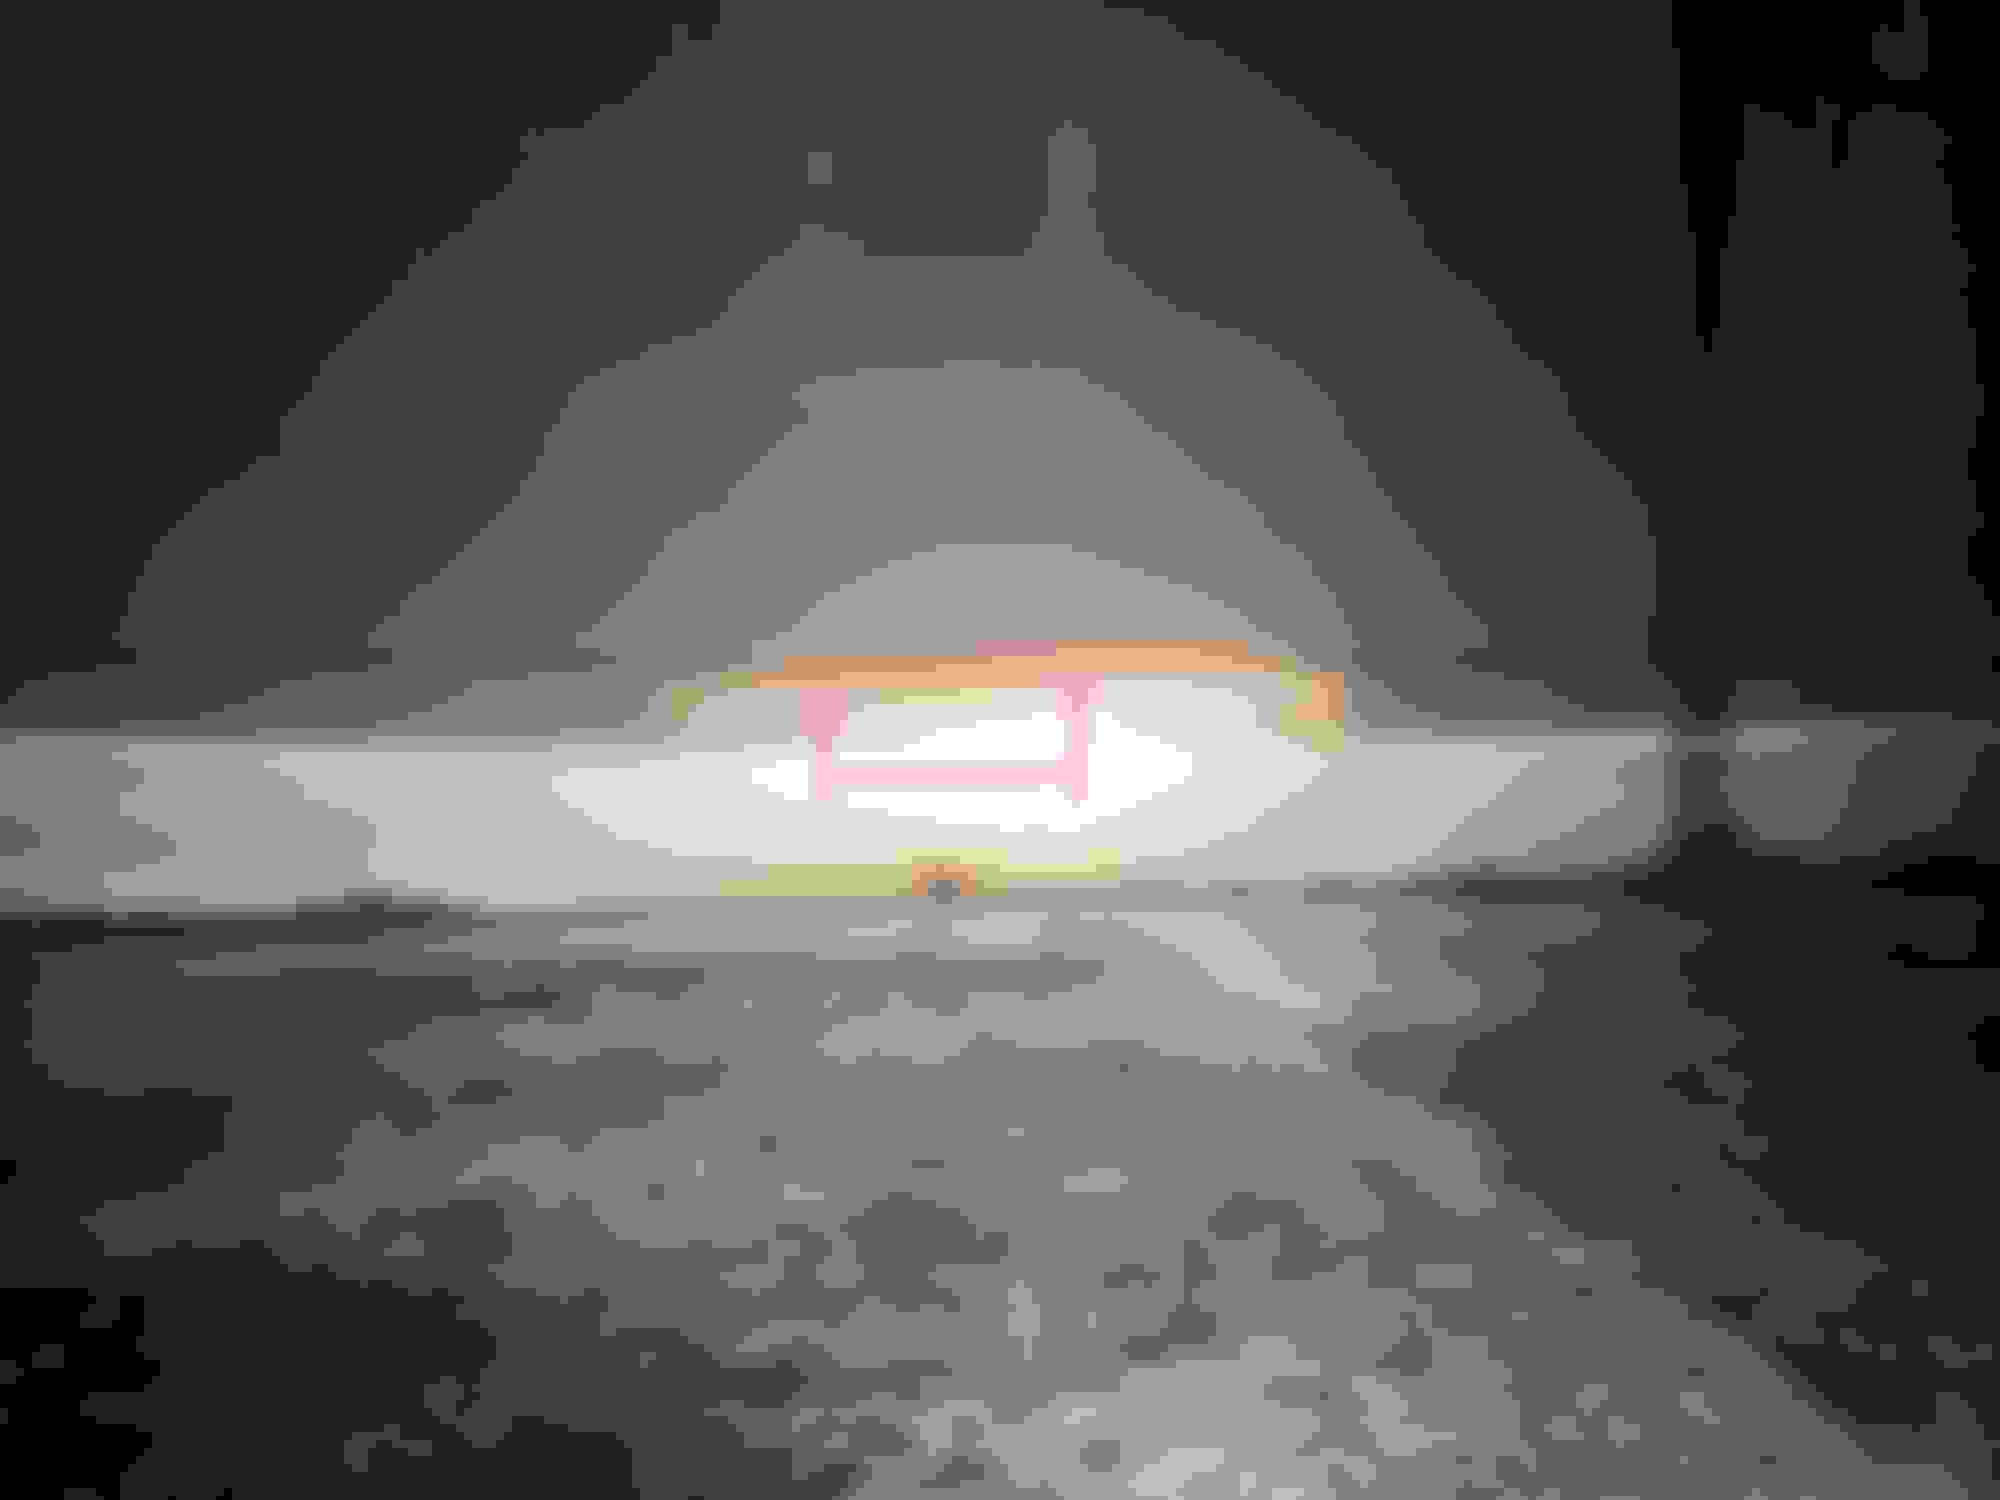
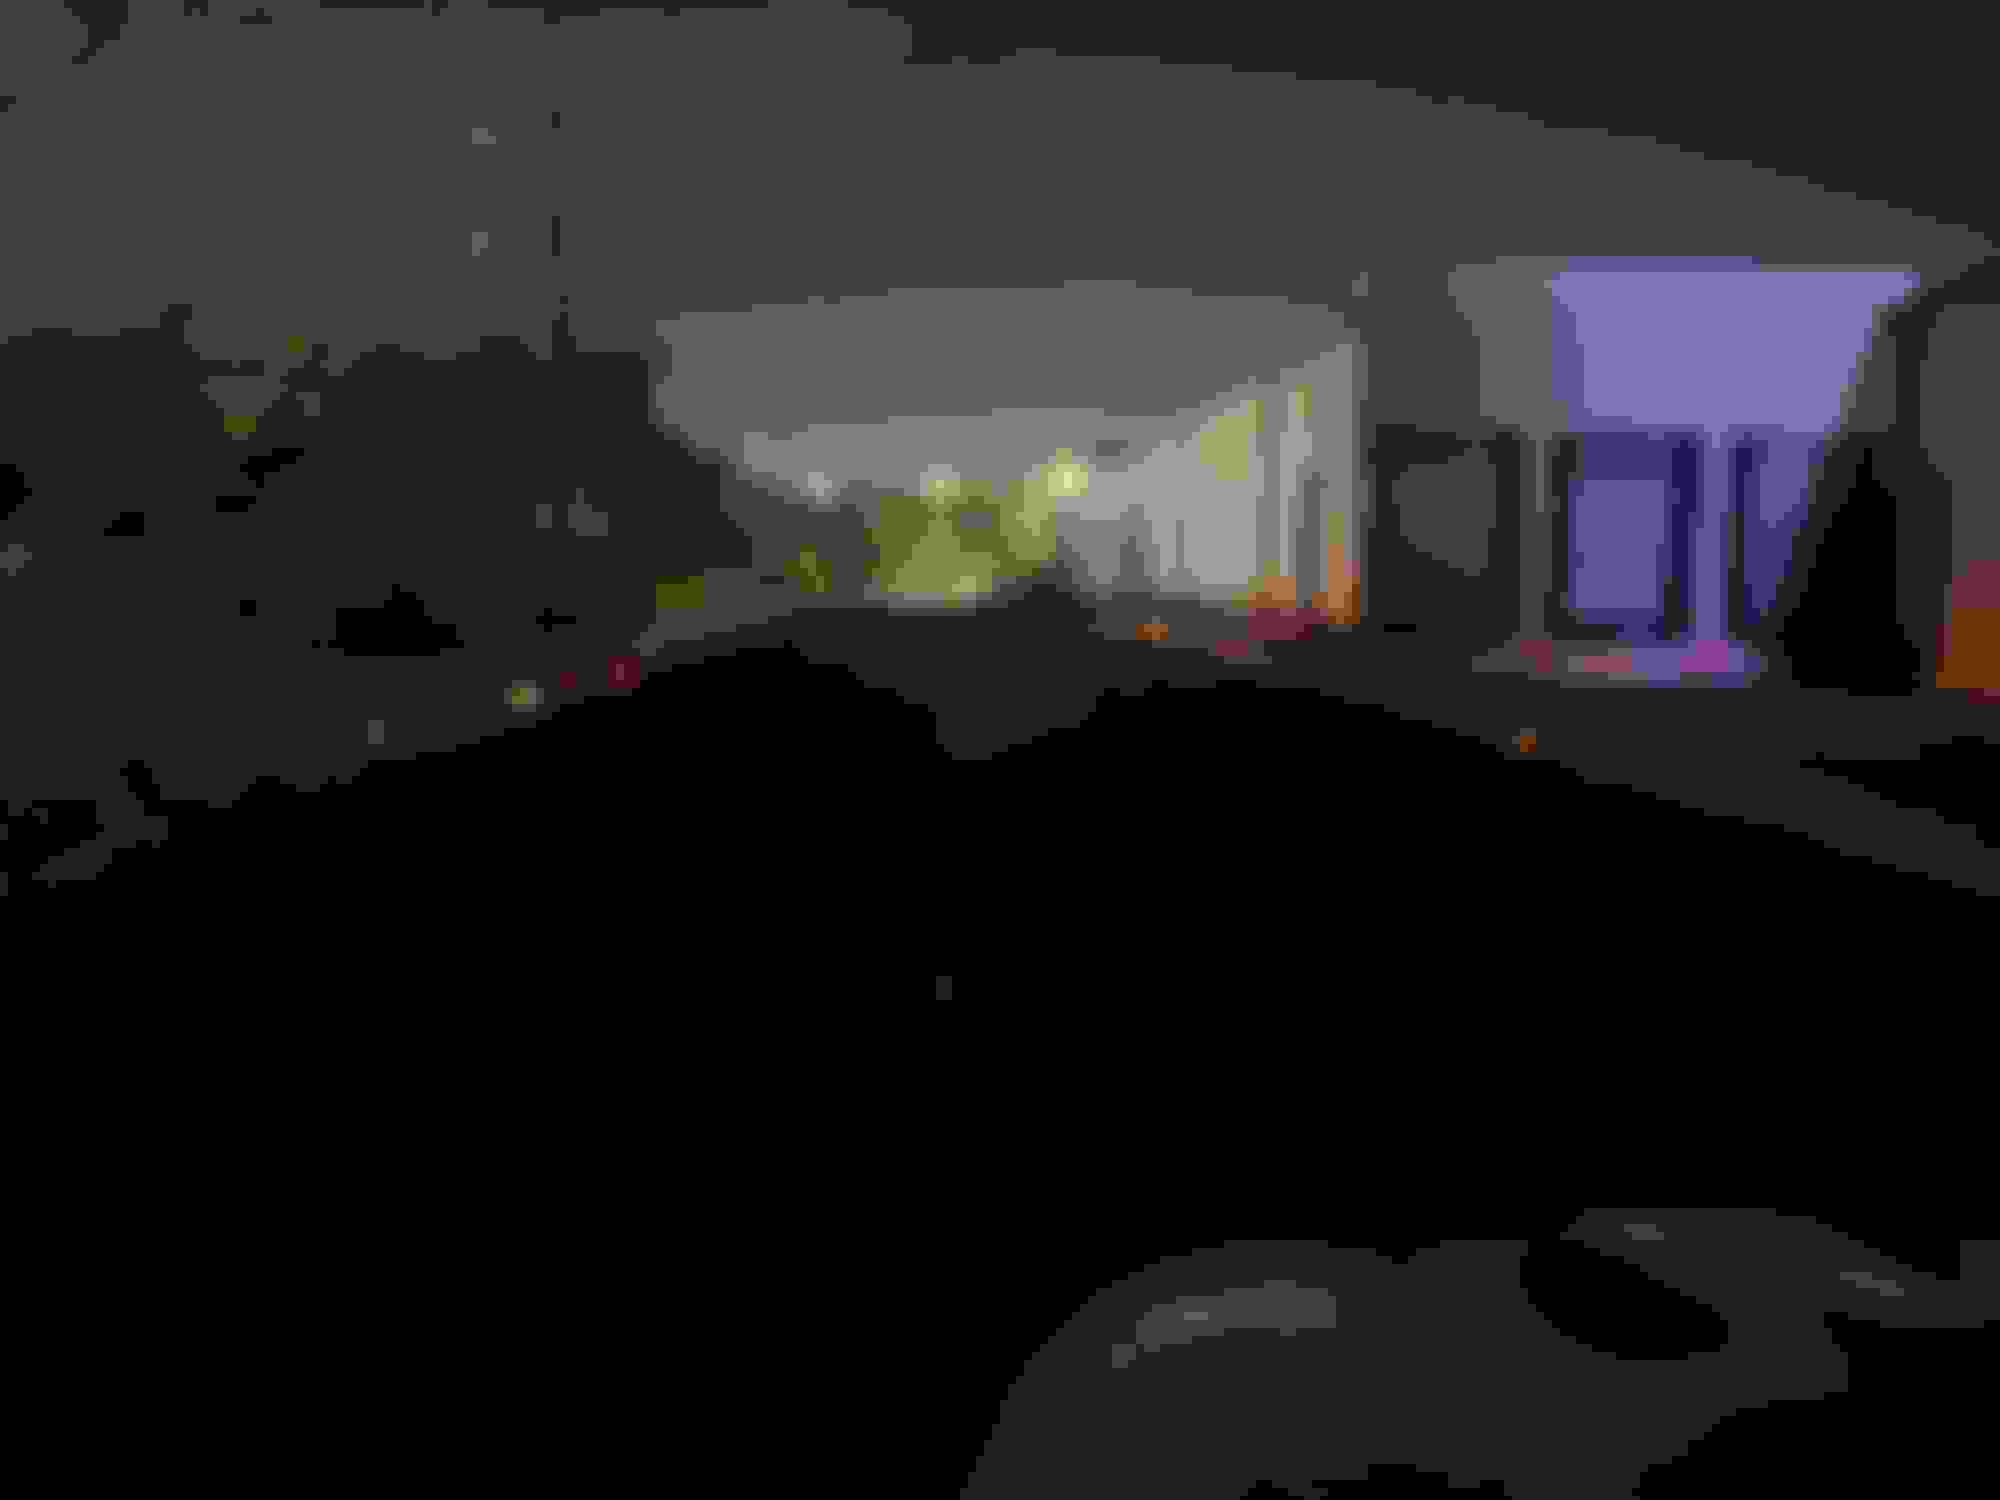
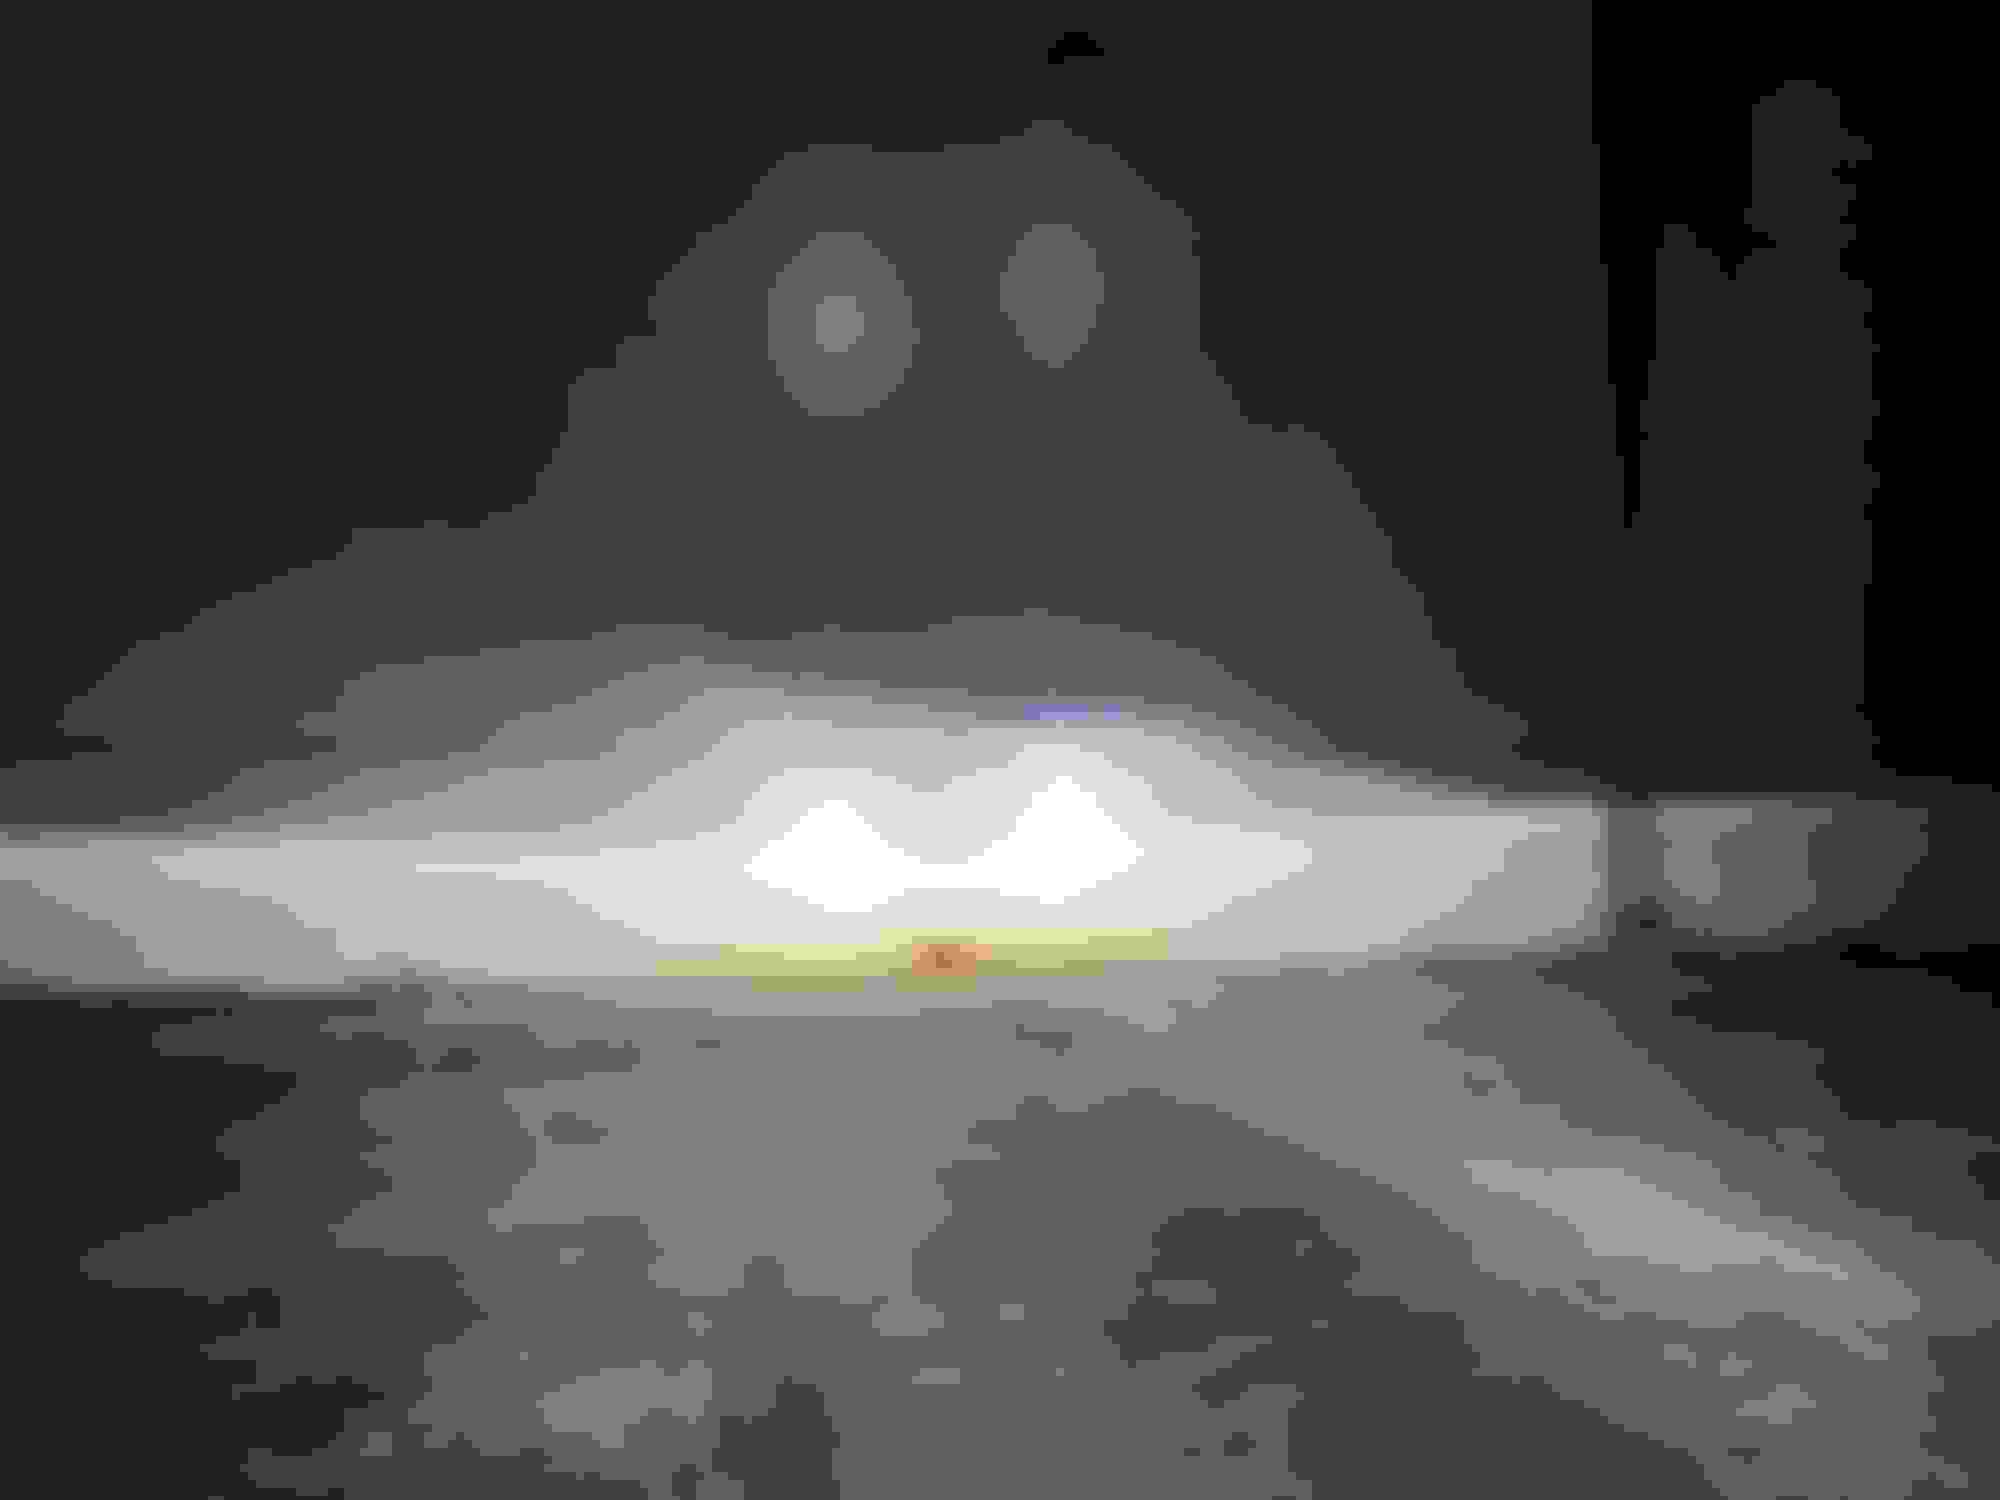
Low beam + Mini HB LED high beam
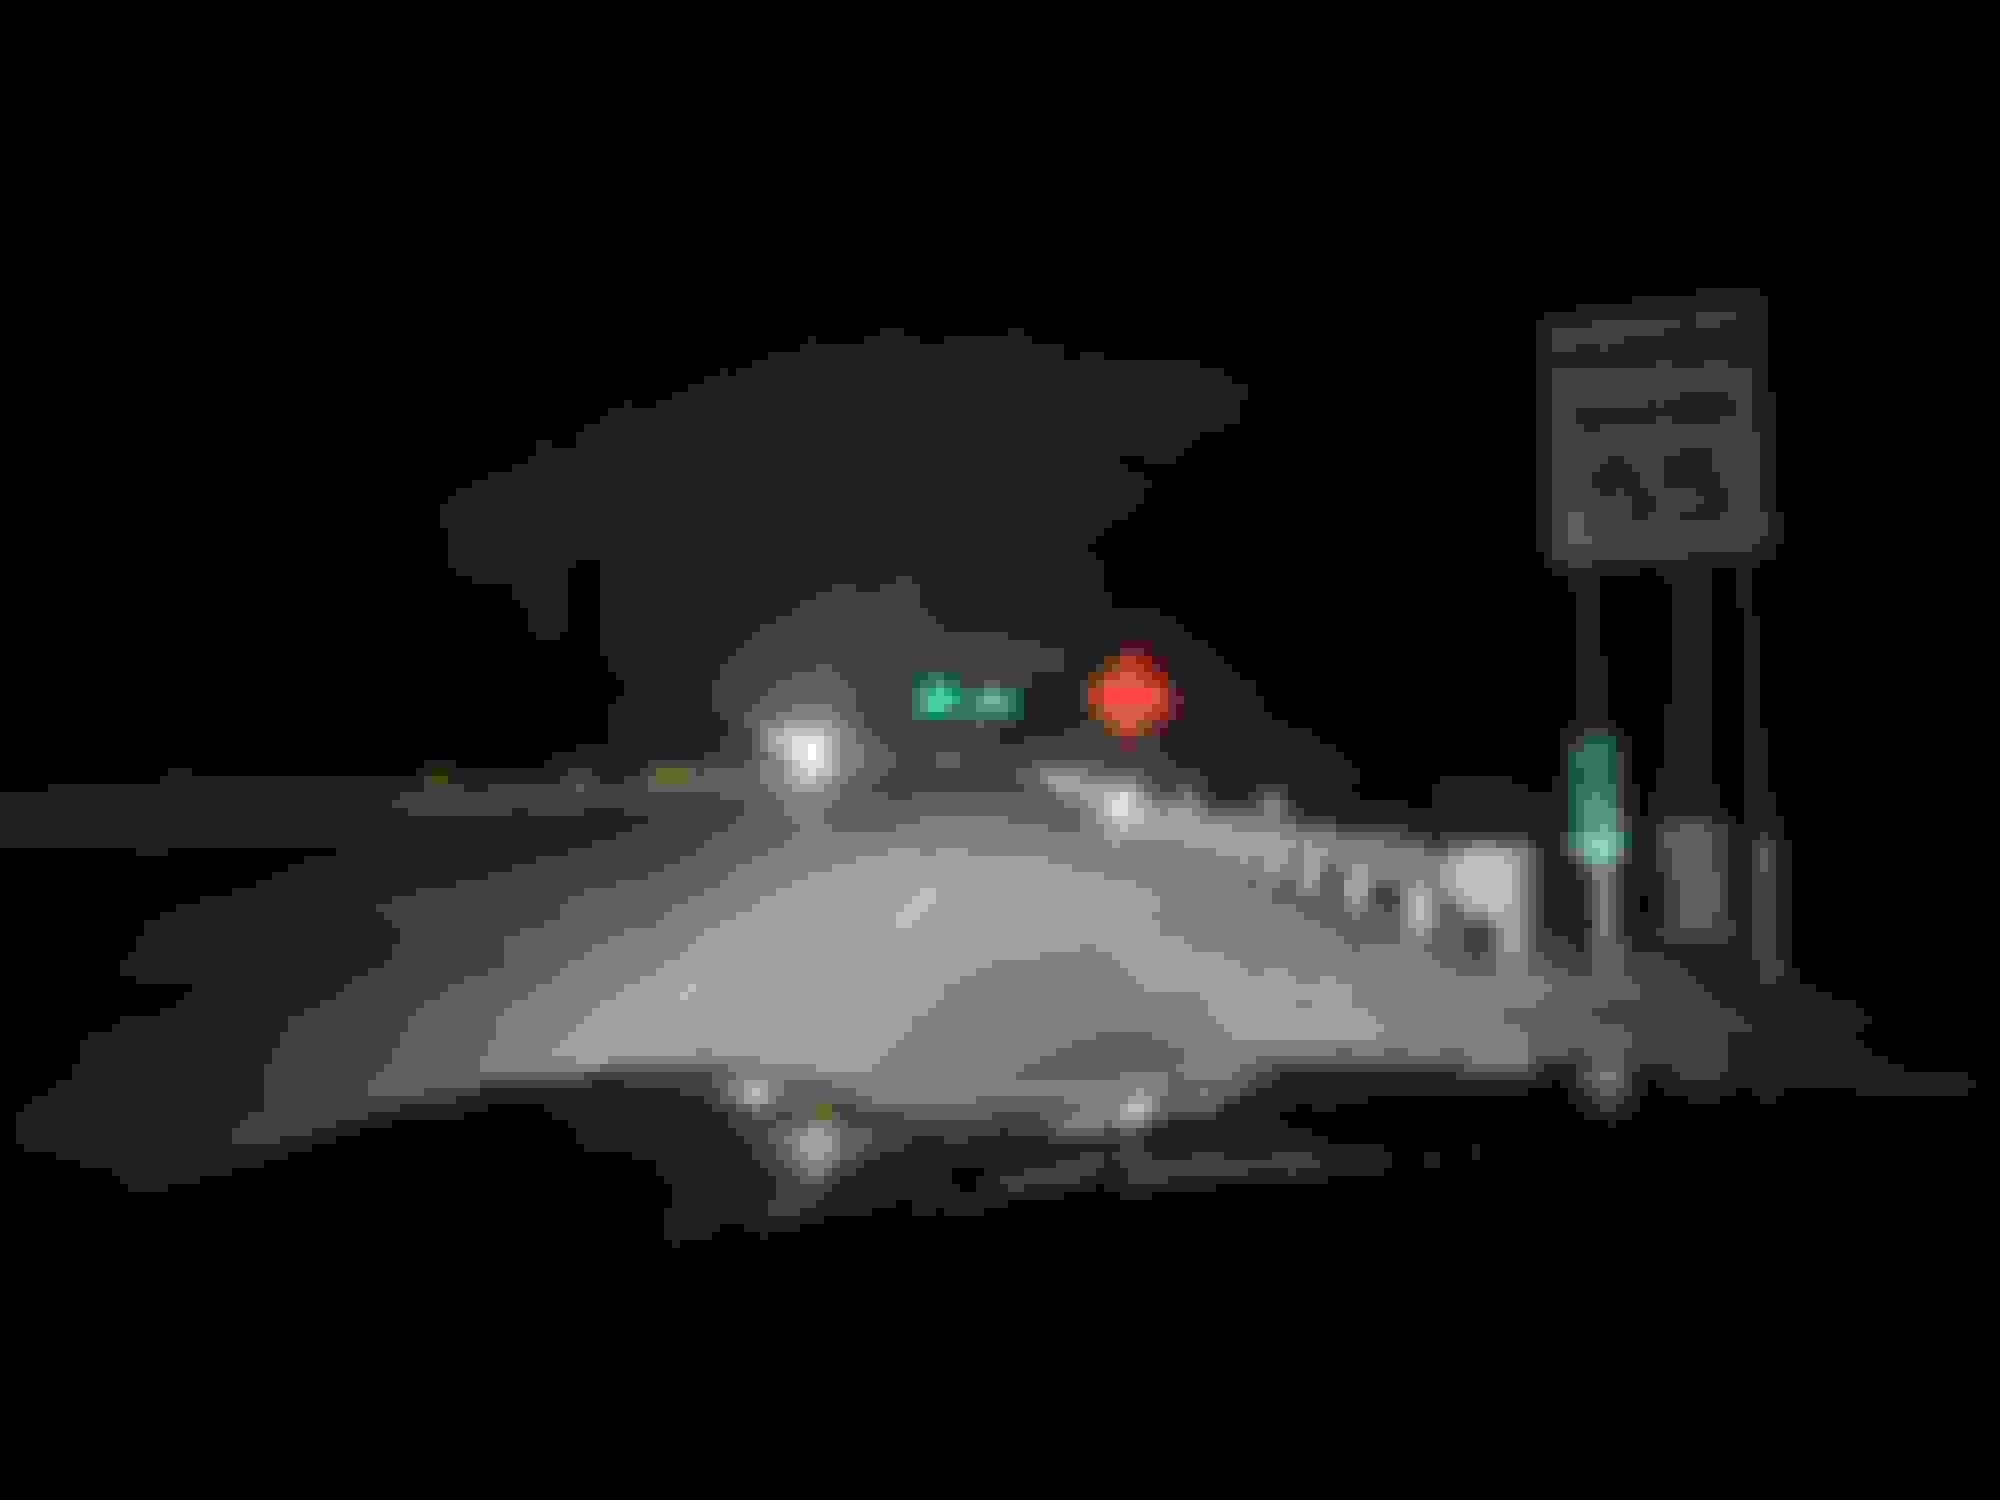
Low beam + Bi-xenon high beam.
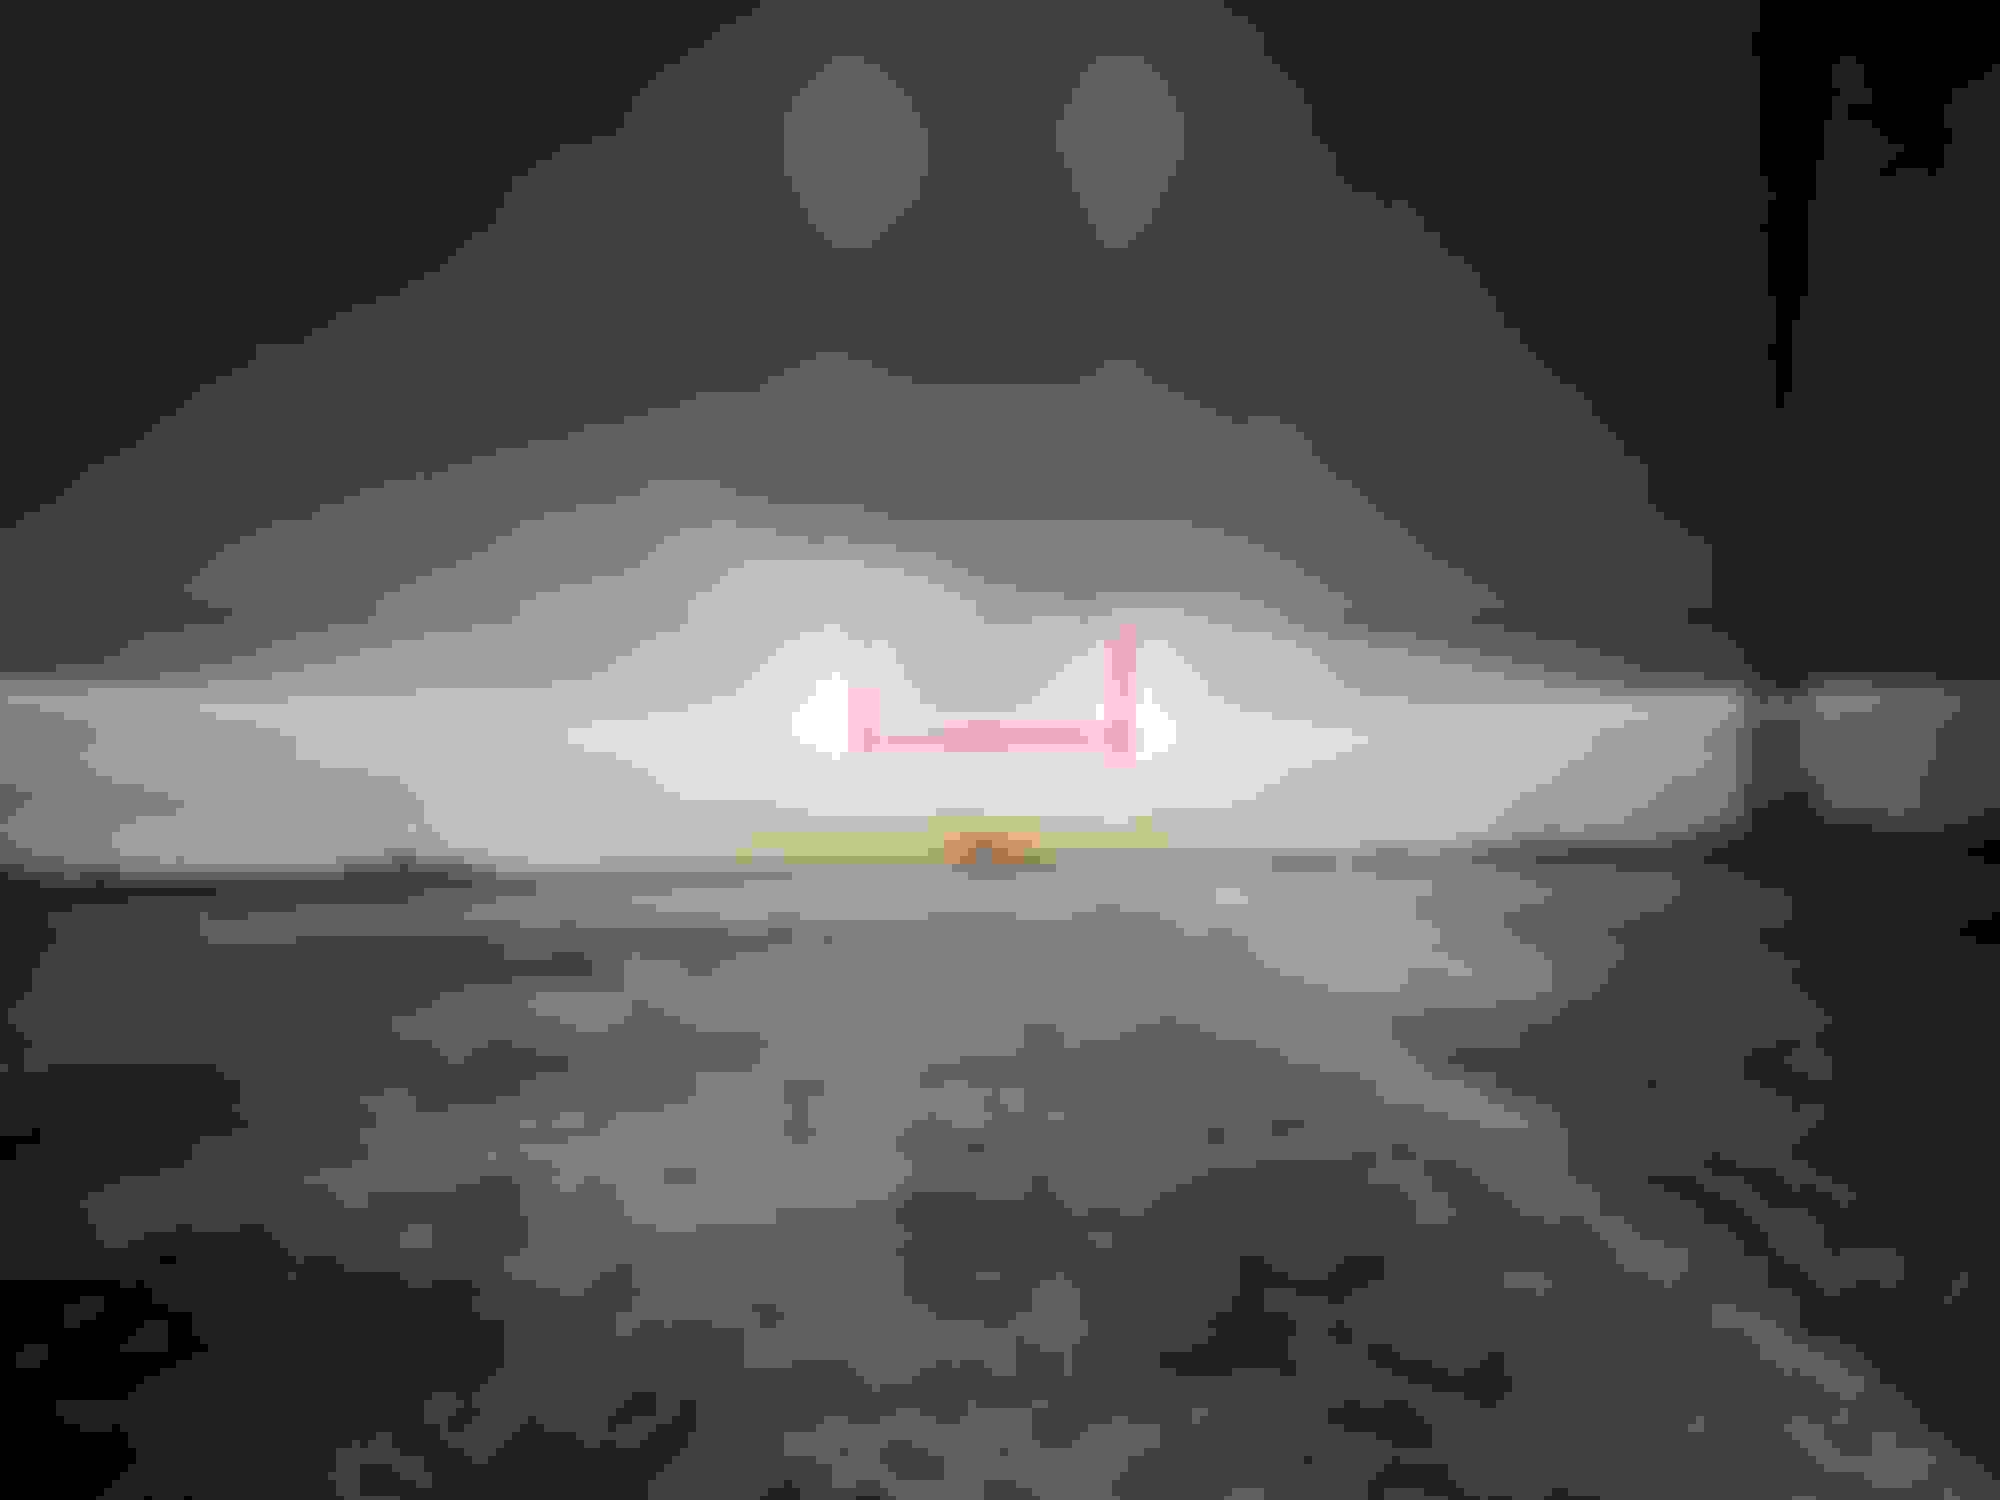
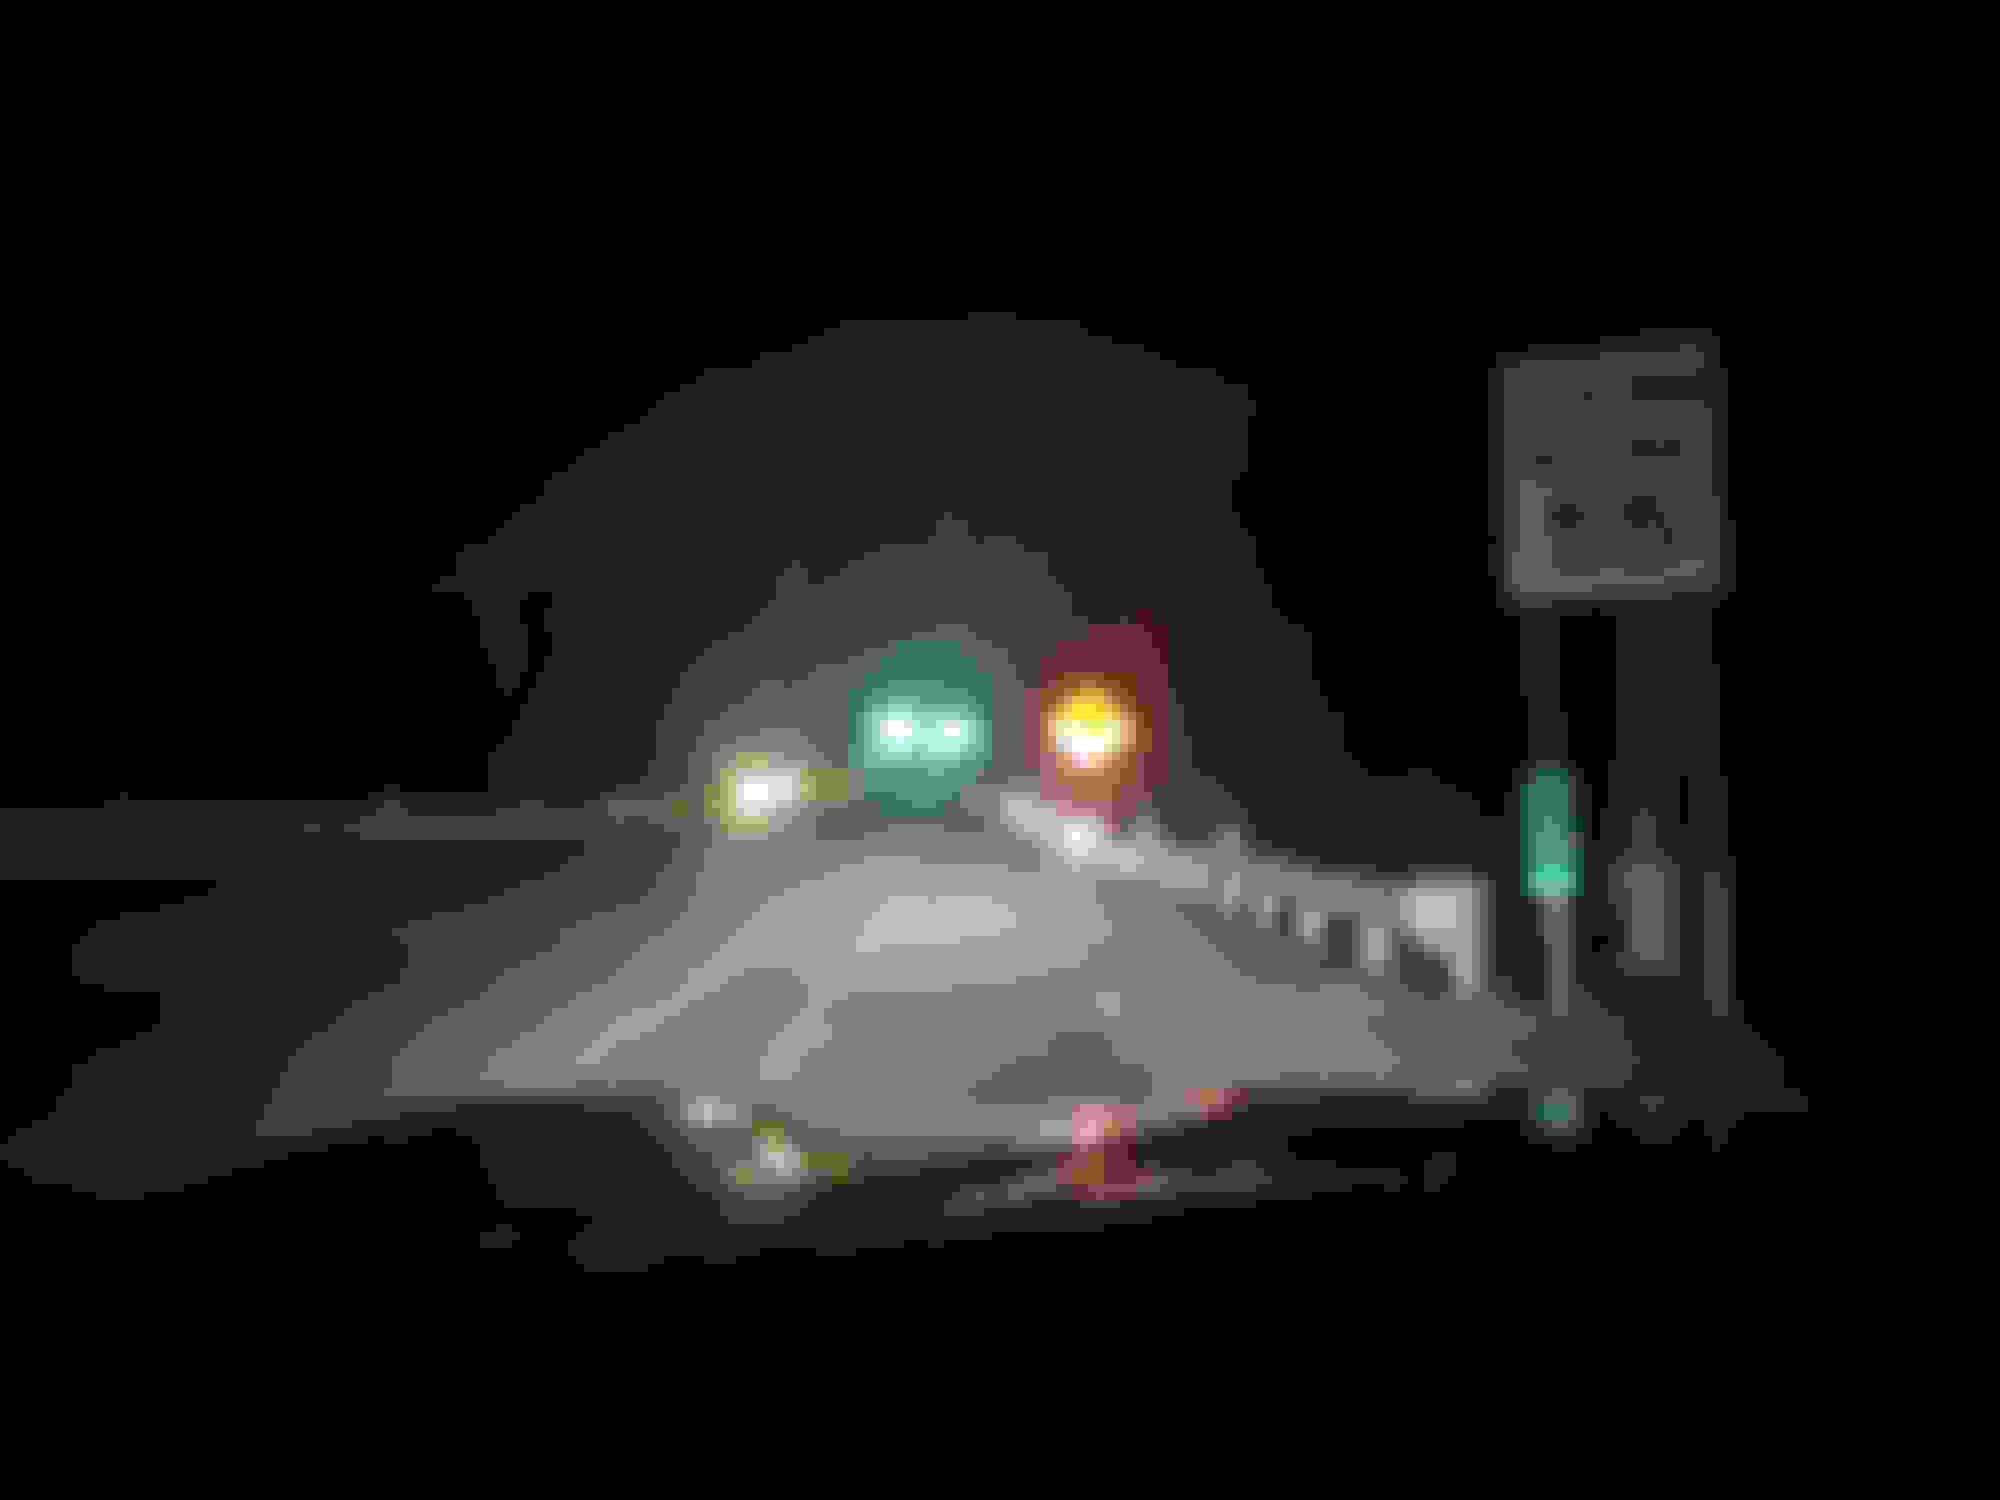
Low beam + Bi-xenon high beam + Mini HB LED high beam
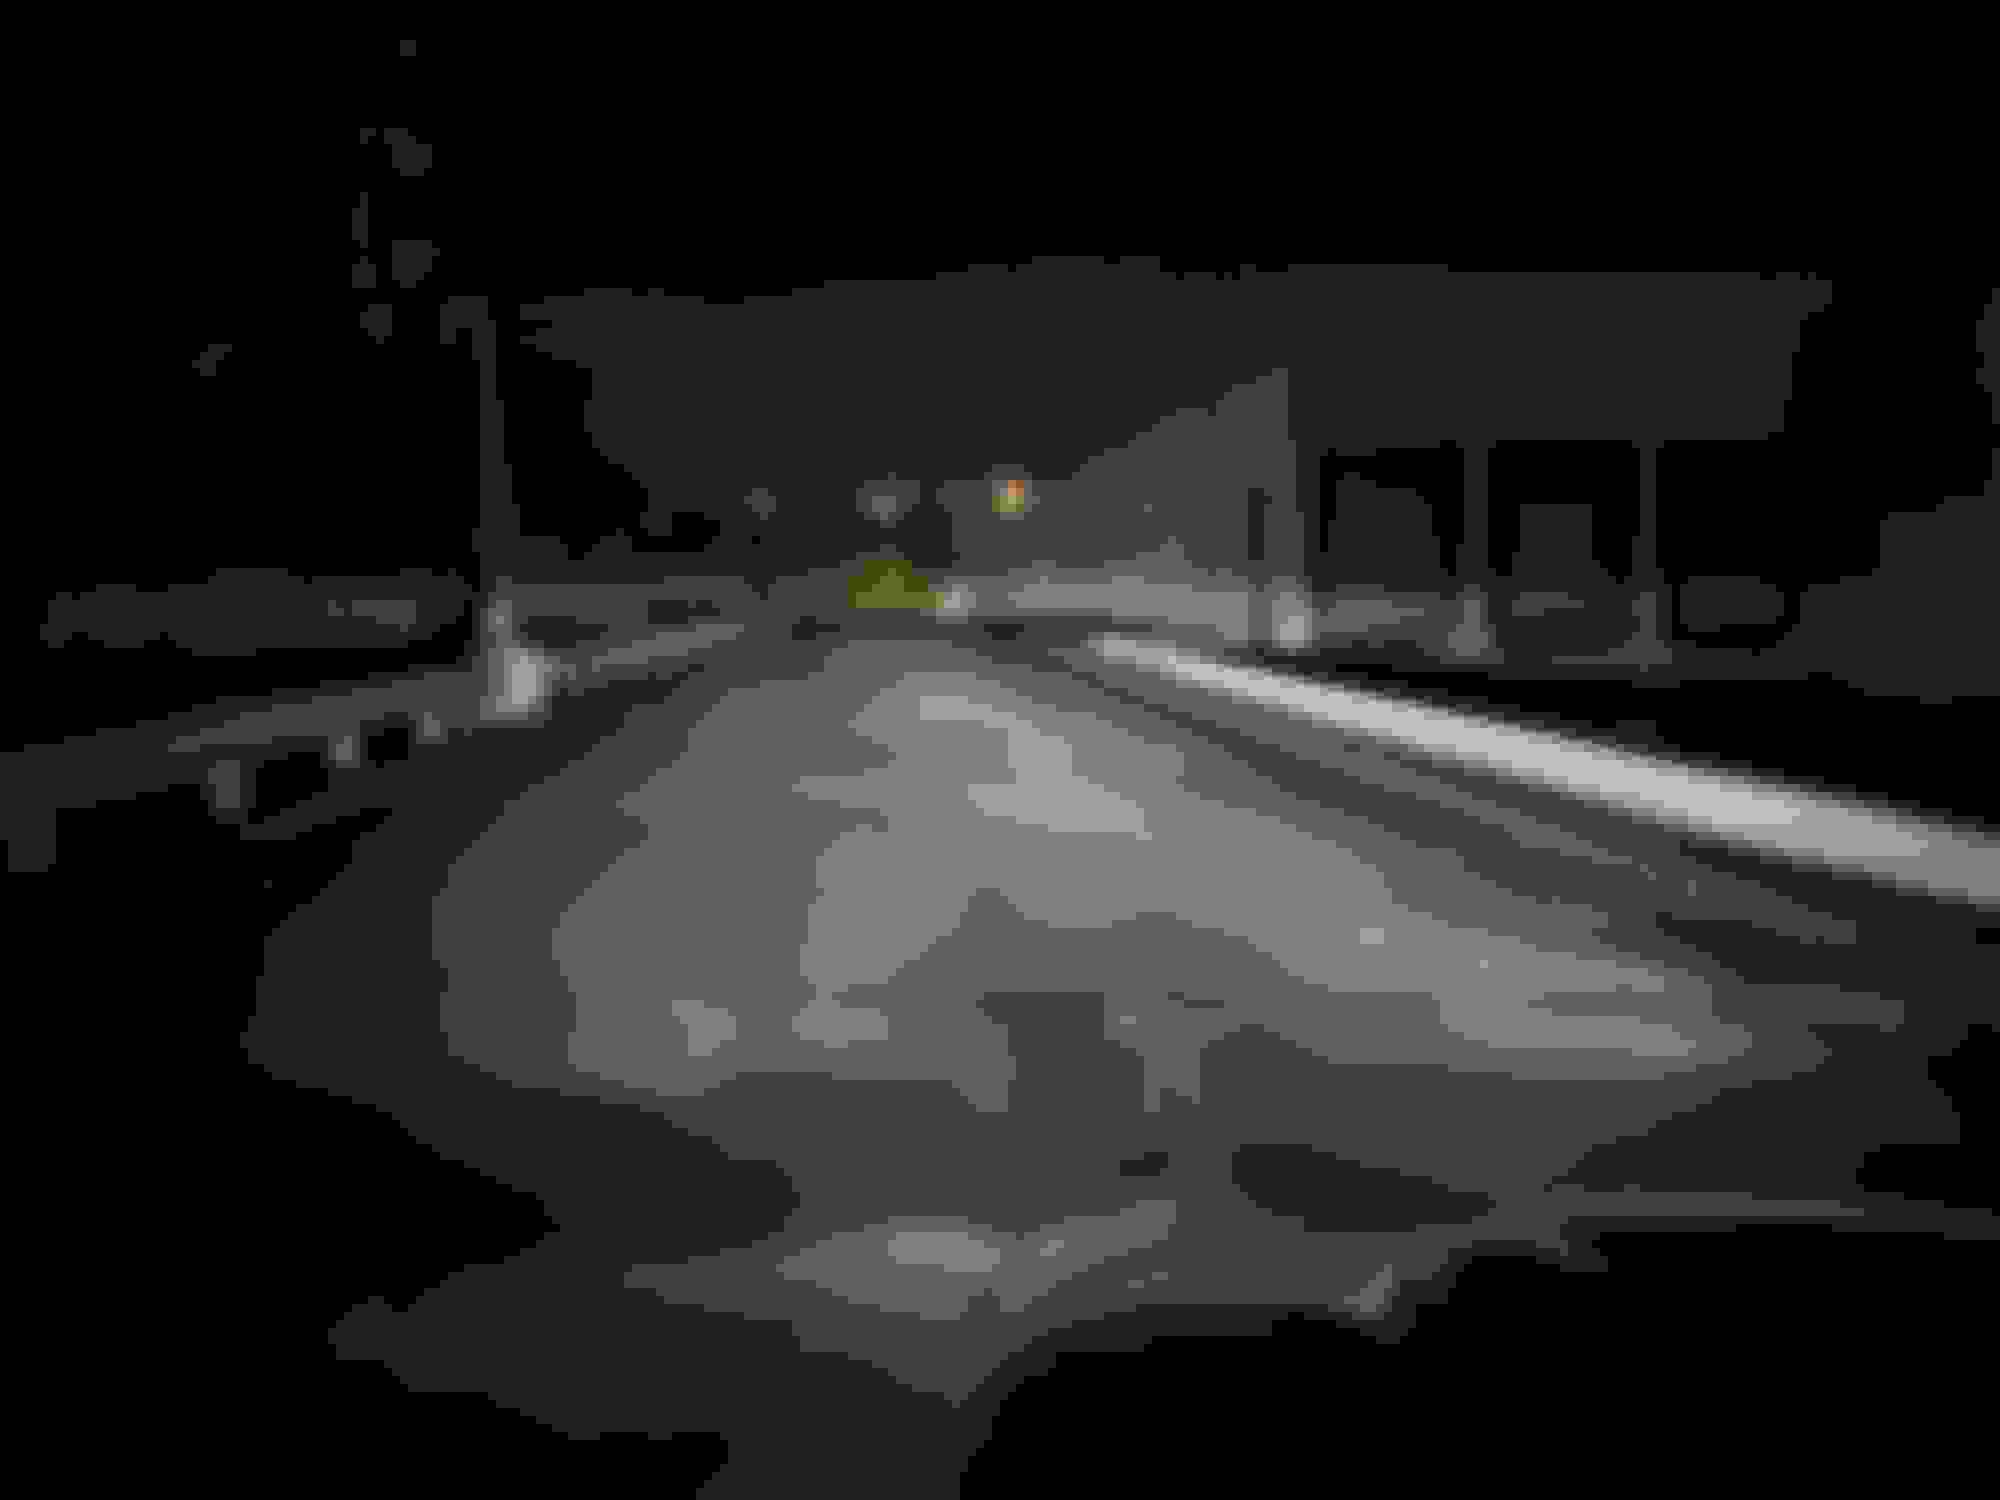
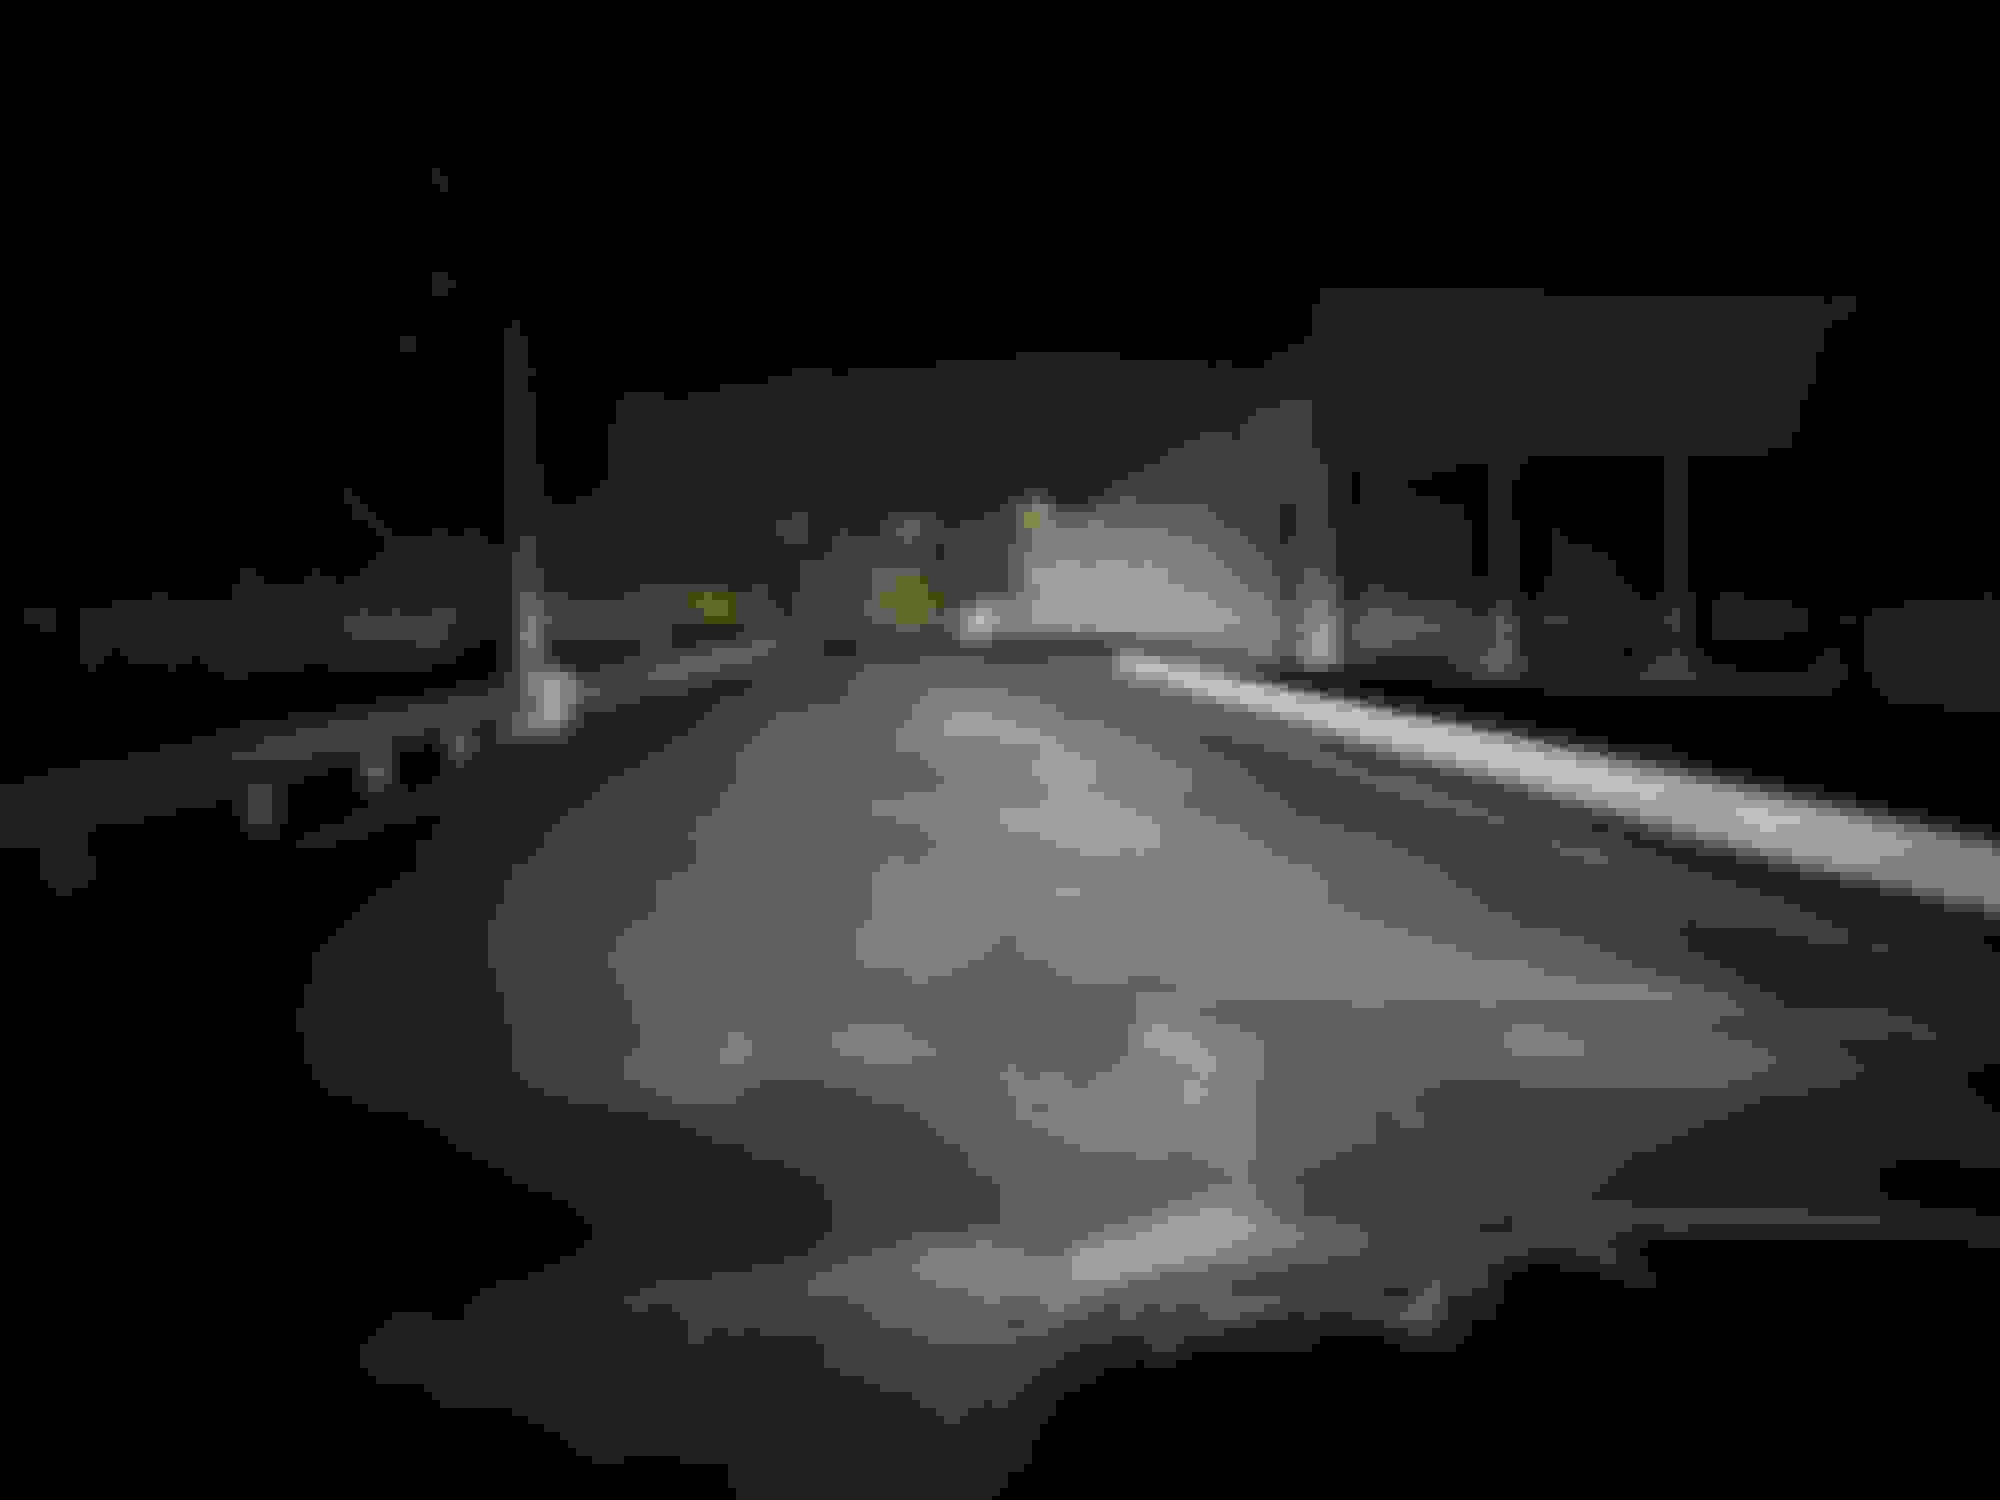
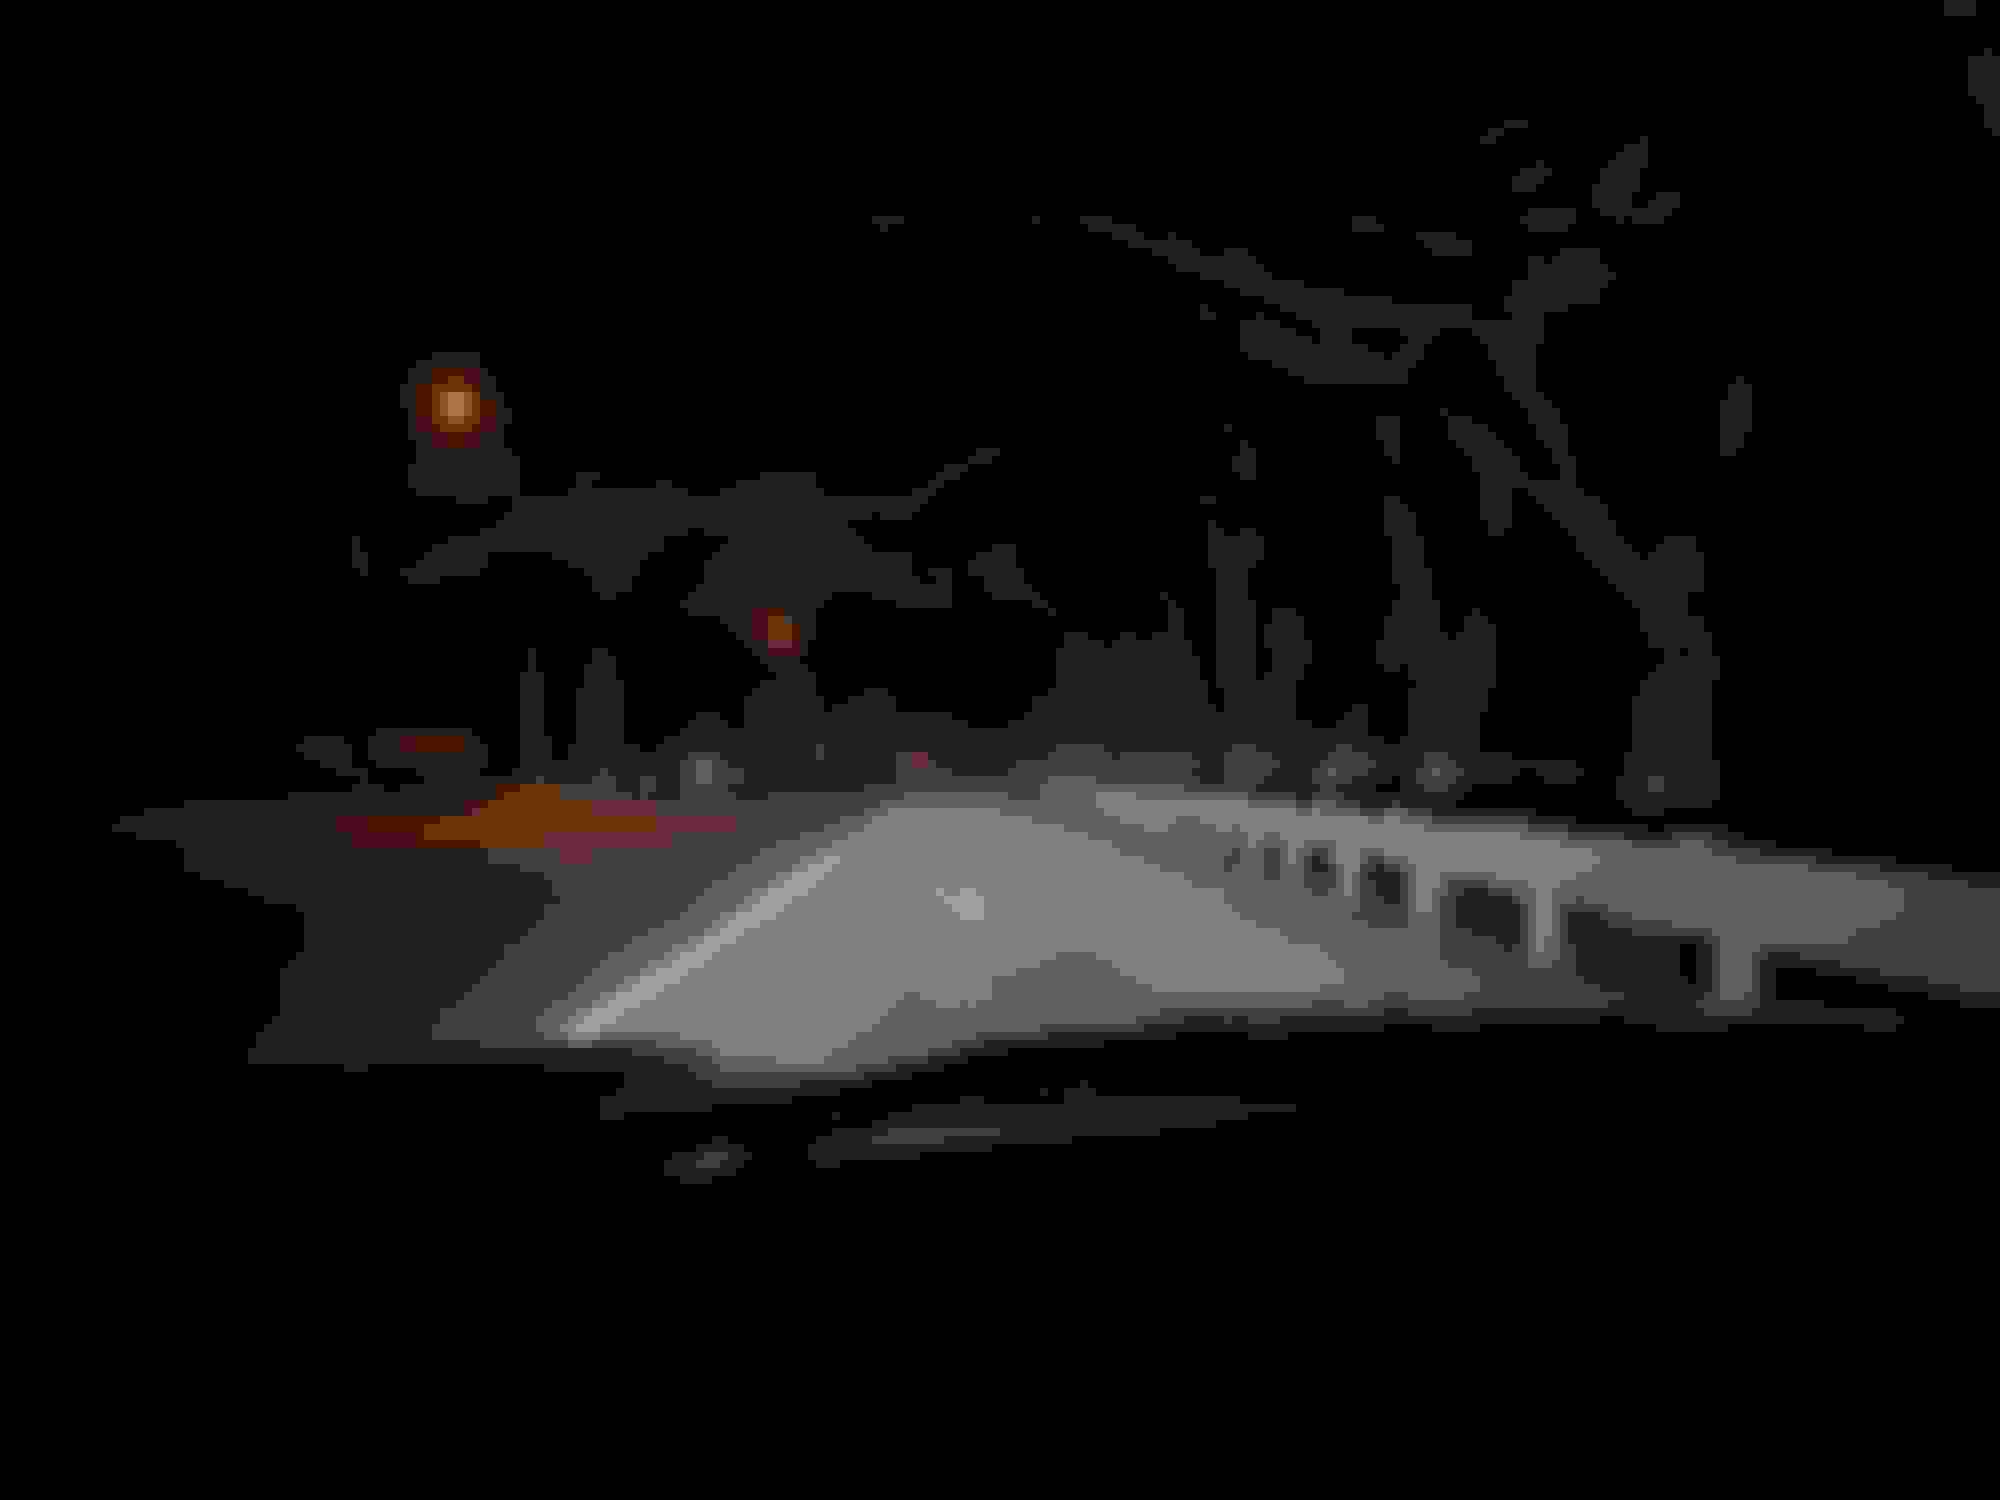
Dark road.
The low beam alone already lights up the entire road.
High beams give just that extra bit of light that can be seen in the trees on the far back.
As you can imagine, I am very happy with the results. You could get even better results using the ultra-expensive Osram Xenarc Nightbreaker Laser bulbs or the Phillips X-treme Vision, although I feel that's not necessary. These Morimoto XB 35W bulbs already deliver great results with these projectors.
Unfortunately, the GenXenon LAD5G eBay/amazon ballasts, although great at powering the HID bulb, do not provide automatic aim functionality. At $50 for those ballasts, it's a trade-off I am willing to live with for the foreseeable future.
Last edited by giandanielxk8; 01-05-2021 at 07:31 PM.
Discovered something today. I decided to go back in to fiddle with that left projector and realized that after aiming the headlights to a lower position, the shroud of the Mini HB LED projector was coming into contact with the bottom of the headlight. This was easily remedied by cutting a window on the shroud.
It cannot be seen from the top at all. Doing this allows you to aim the headlights as low as possible should you require it. I imagine it also gives the auto-aim more room to work with.
I decided to go back in and straighten that left projector and really perfect the aim. After aligning them properly, following DOT standards, my headlights are the best I have ever experienced, and quite possibly, some of the brightest on the road. The low beam is crisp and very bright. The high beams are insane and project light right where you want them. My headlights are so bright that when I was driving down a very dark road, a guy whom I had passed who was driving an older car with bad headlights, felt the need to ask me at the next stop sign to drive at a slower pace so that he could use my headlights to see the road from his car.
I aligned the low beams following DOT standards.
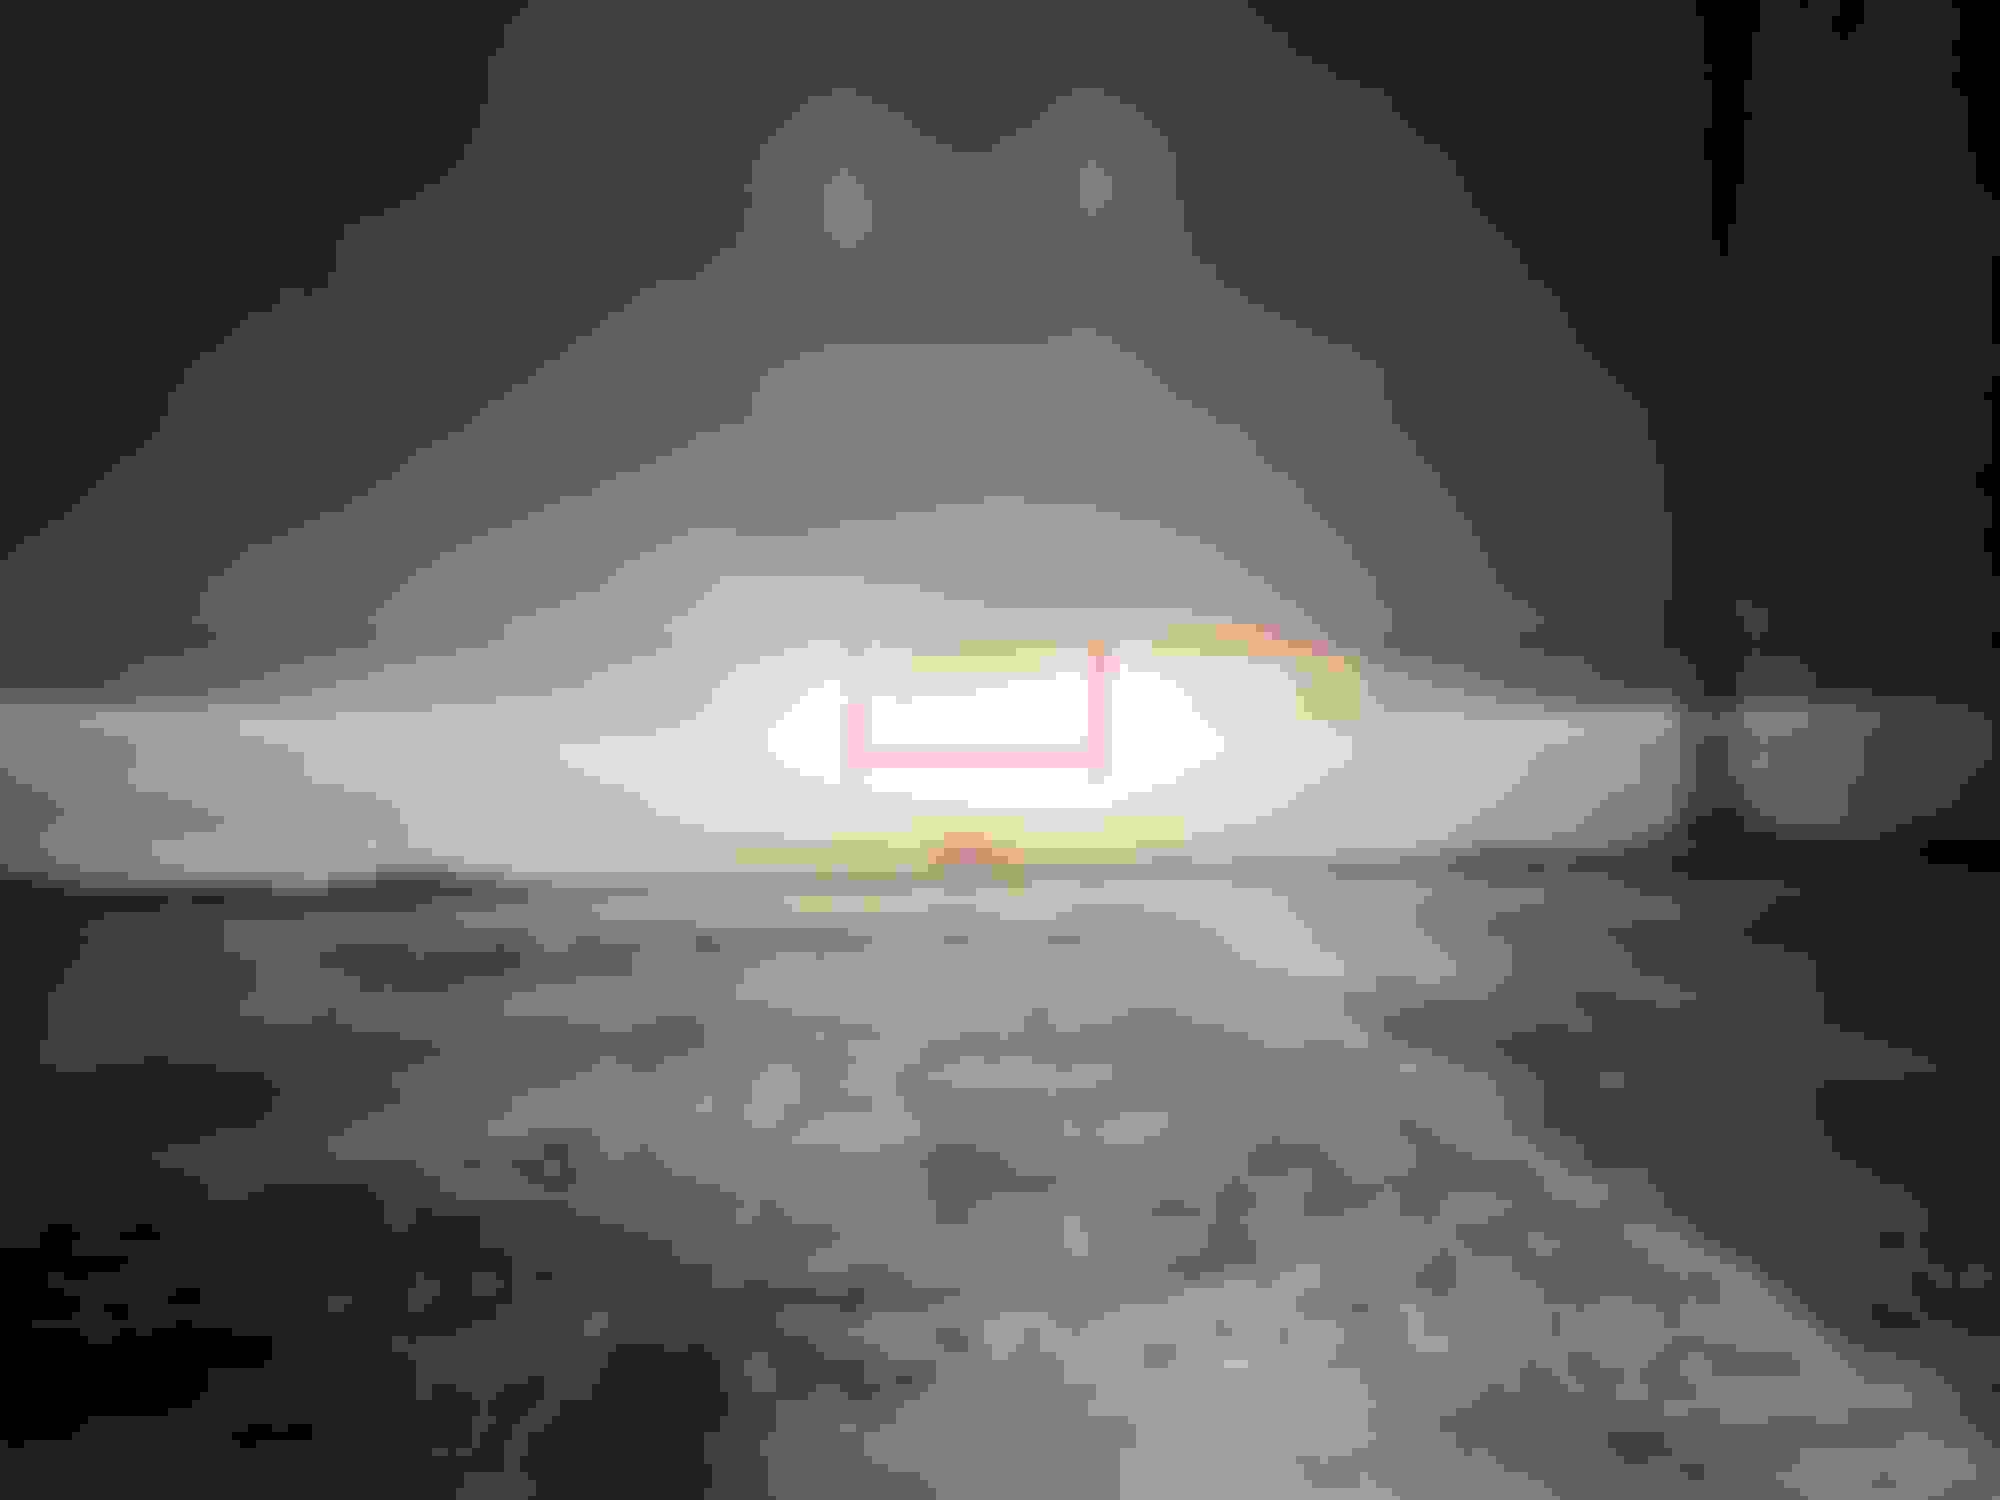
I disconnected the Mini HB LED to get a feel for what the Bi-xenon high beam looks like on its own.
Here I disconnected the Bi-xenon solenoid and had only the Mini HB LED doing high beam duty. Notice, that because I had to align the lows following DOT standards, these High Beams are not aligned. Remember that on our headlights, the high beam and low beam adjustments are tied to each other. You can't adjust them individually short of repositioning the projector. However, the bi-xenon high beam makes up for this.
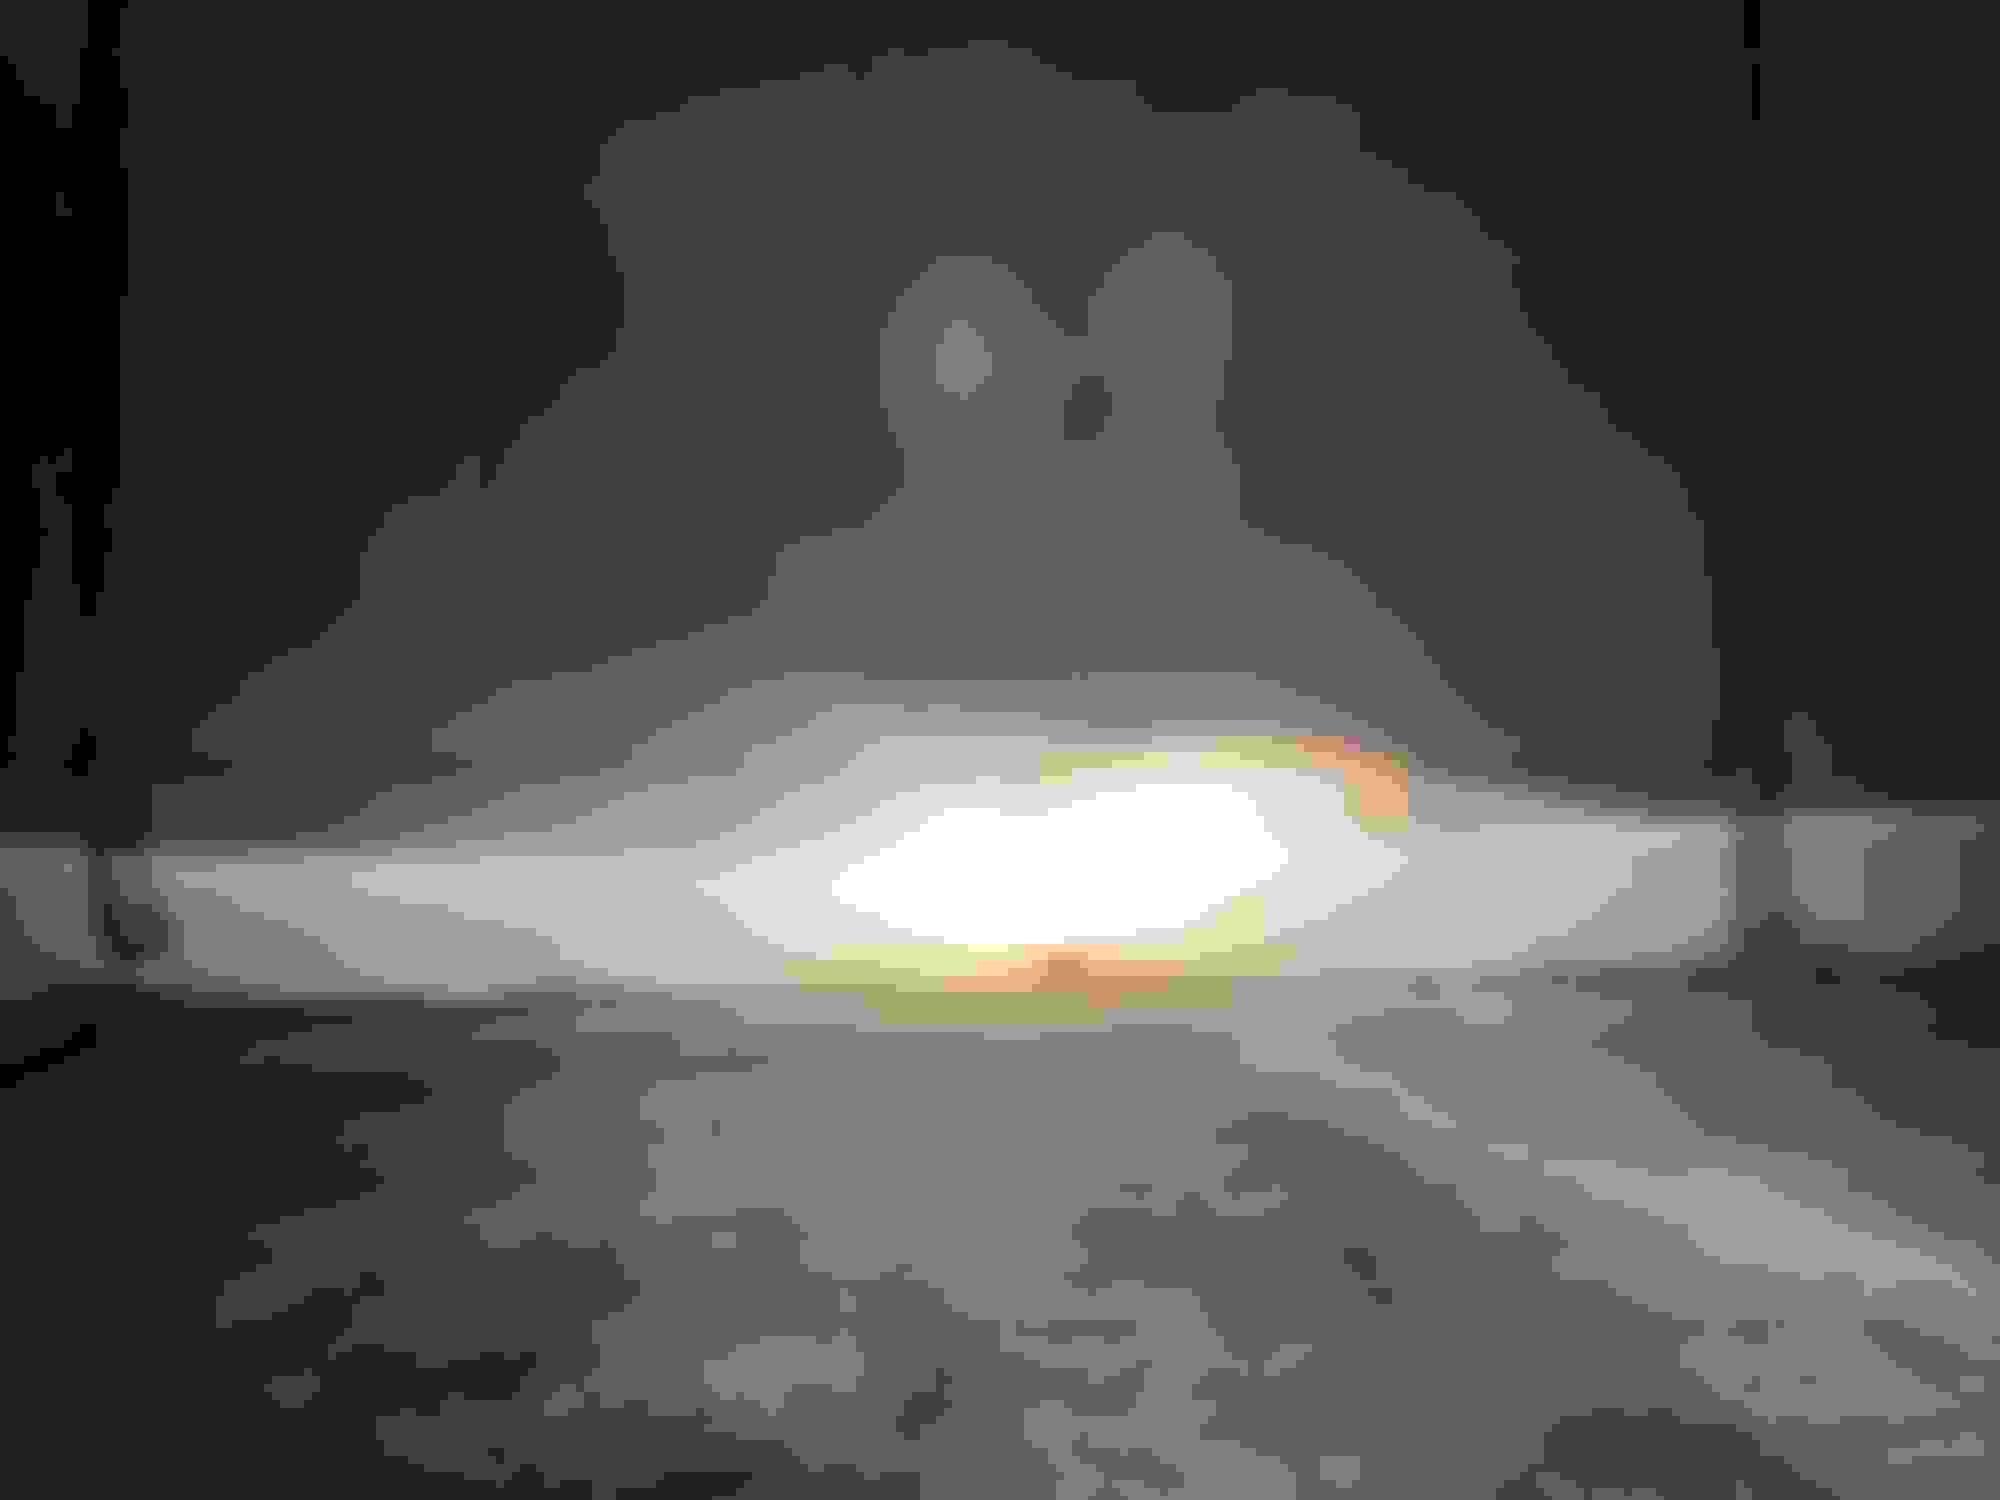
In this picture, we have both high beams activated. That massive bright hotspot is amazing down the road.
Now, all I need to complete my headlights setup is selective yellow 3000K bulbs for my fogs. I'm debating whether I try to source LEDs or convert the fogs to HID and throw in a 3000K H1 HID bulb.... 🤔🧐
Last edited by giandanielxk8; 01-08-2021 at 08:30 PM.
Since I don't have a Photo of my Current High Beams, the ones with the Little Short LED Bulbs placed in front of the Stock/Reflectors...I choose your Photo ('s) as an example of what it looks similar too...Photo (#3) & (#5) Look similar to my current High Beams....Note" How the Pattern is sort of broken-up on Top! Sort of scatters....This is what my High-Beams do with the Reflectors and LED Bulbs....
Billy Clyde @ Cinco Ranch
In other words, there is not a lot of difference between my LED with Reflector set-up than the LED Projector replacement.....just needs some fine tuning to break down the scattering....
BCP
I suspect the problem lies with the aim. Jaguar should have allowed the possibility of adjusting the aim of the high beams independently of the low beams. That being said, my new high beams, despite what they look like on the wall, are actually quite focused when driving.
I'm sure you are right.as my Reflectors are both in great shape (could be a little shiner) The Bulbs are both the shorty-ones and place the Light Source right where it should be....just needs a little adjusting...How would I go about doing that?
I'm sure you are right.as my Reflectors are both in great shape (could be a little shiner) The Bulbs are both the shorty-ones and place the Light Source right where it should be....just needs a little adjusting...How would I go about doing that?
BCP @ Cinco Ranch
Short of ruining the low beam aim, I don�t think there is much that can be done for aiming the high beam. The low beam aim is much more important as you don�t want to cause glare to other drivers. Make sure, that if you LED bulb is the kind thst is rectangular pancake shape, make sure that the bulb is oriented parallel to reflector�s vertical lines.
So I went back into these between yesterday and today because a friend told me my headlights were aimed too high. I realized I had to make some adjustments to the placement of the high beam LED projector in order to be able to lower the aim of the headlights a bit more. I converted the reflectors into a bracket that I could bolt the projector to. This allowed me to move the projector back 1/2 to 3/4 inch further into the headlight assembly and frees up enough space in the area of the lens that it can now do the entire range of vertical beam adjustments without binding or stopping short. I also decided to remove the foreground limiter from the 4TL-R bi-xenon projector.
I got creative and used some Vinyl Polysiloxane putty (the stuff your dentist uses to take an impression of a crown or bridge preparation) to create an outline of back of the Morimoto Mini HB projector.
I then overlayed the putty on the reflectors and used a thin Sharpie marker to trace the inside of it on the reflector. It doesn't have to come out perfect. After that was done, I used a Dremel to cut out these areas of the reflector, as you can see, it's not perfect, and it doesn't have to be.
The hardest part was making sure that I was going to drill the holes in the correct area and keeping the projector centered on the reflector. An extra pair of hands are needed. The holes you drill on the reflector will be the same ones that the projector uses to secure the shroud. Then, fasten the screws through the reflector, the projector, and the shroud. It should look like in this picture.
As compared with the previous design, this allows the projector to sit about a � to � inch further back than by using the center hole and the locking ring on the screw.
As I said before, it's not a perfect cut, but it does the job. The holes you drill are what needs to be perfect. As a bonus, the heat sink now has more room to breathe.
The projector now sits nearly flush with the reflector.
I then reassembled the headlight and put everything back on the car. I drove out to my favorite wall and was able to aim my headlights much lower. I used my Mini Cooper Countryman's OEM LED headlight beam pattern on the same wall as a guide. Then I tested it out. I had my sister drive in front of me in the Mini, and then as oncoming traffic to me at an empty parking lot. She said that she never felt a glare or was blinded by my headlights. I also tested them out on the road and am very pleased. Being able to aim the headlights lower further improved the low beam light output because it is now illuminating the road instead of the sky. The high beam aim is also better as it now is focused exactly where I want it, which is straight ahead. With the high beams, I now get less glare from road signs and see more of the road than before. The light output is phenomenal. I wish I had done it this way from the start.
By Saturday I will post new beam pattern images, wall shots, and pictures of what it's like on a dark road and on the highway.


 12-27-2020, 08:49 AM