When you click on links to various merchants on this site and make a purchase, this can result in this site earning a commission. Affiliate programs and affiliations include, but are not limited to, the eBay Partner Network.
Issue found removing cam covers to check tensioners
Hello All,
I've had my xk8 for over one year now, drove it for a couple of months last year and for family reasons could only drive it for 2 months this year. In this time I intended to check tensioners but didn't get the opportunity. Now that I've stopped driving the car for the year I finally decided I will get back to checking the tensioners.
I removed the coil pack covers and the coil packs on the right / passenger (US) side. I found oil in the second cylinder from the top. All the other cylinders were clean and dry. I'm not sure if this is a big concern and if this is something I can tackle as I proceed to remove the cam cover on the right hand side
The second issue which has me lot more confused is that all but one bolt / nut on the cam cover came up only 1/2 way. I wasn't sure if I was doing something wrong and decided I'd ask here before putting muscle into it.
Are these expected to come up only 1/2 way and I can wiggle the cover out?
They are being held in by the oil seals, go ahead and remove the cover, but don't forget the three located along the center. The cover may be hard to remove, don't use a screwdriver to pry it up, the plastic will crack. Get a putty knife under it and go around breaking it loose carefully. Hitting with a rubber hammer may help.
The oil you see is in the spark plug well, not the cylinder. The center seal is leaking and that boot must be cleaned, or better, replaced.
Completely missed the center bolts. When you get time, I just wanted to confirm what you said I should get a new valve cover seals/gasket correct and replace those?
You should replace the gaskets or there may be leaks. The spark plug seal is already leaking. I believe you have a AJ26 engine which requires a different set than the later model AJ27. The AJ26 plug well gaskets are in a figure 8, joining two cylinders. The cam cover gaskets are thicker, one is red and the other grey. Get a set that includes the round seals for the screws. Here is a link to Christopher's ebay listing:
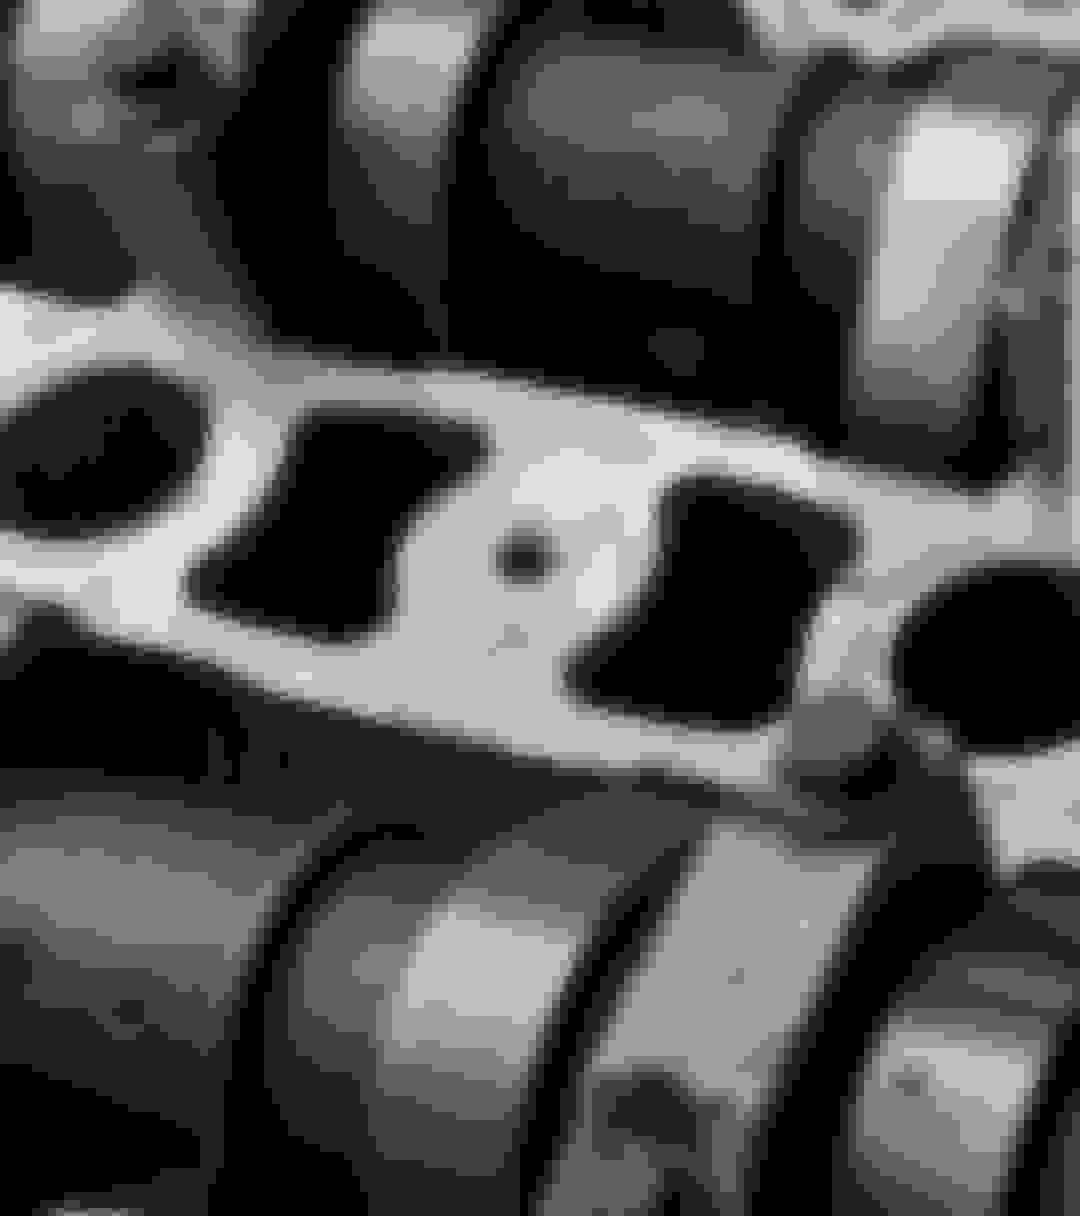
to my pleasant surprise I think the tensioners were upgraded. Can someone confirm these look like the upgraded ones?
Coming back to the oil in the spark plug well / coil - second cylinder from the front, I noticed that the gaskets look to new, probably replaced at the same time (below). Should I replace the gaskets and any o-rings? I'm not sure what I should do here. Would have been easier if I had found an issue. Appreciate any suggestion.
@chillyp, remove the engine oil from the spark plug well(s) with a suction pump or baster, then remove the spark plug and thoroughly clean the well and coil unit. There is no mention in your first post about the vehicle's current mileage, but due to its age, it may be best to change the spark plugs as a set.
The secondary timing chain tensioners appear to be the latest version.
When reinstalling the camshaft cover, place a 10mm spot of silicone sealer on the sealing surfaces where the cylinder head meets the timing cover. DO NOT put sealer on any other part of the sealing surface.
Tighten the cam cover in the correct sequence as shown in the Workshop Manual and then tighten the coil unit bolts to no more than 5 Nm.
Thank you @NBCat Car has about 70k miles on it. I'll take out one spark plug and take a look. Appreciate the tip on silicone sealer, torque specs. Thank you very much for you time and the response.
At 70K mi I would definitely replace the plugs unless you know it was done when the tensioners were replaced. Likewise, the gaskets and seals may be original and I don't think you want to tear it down again for a leak.
thanks everyone for your earlier help. Today was a sad day for my jaguar. After not undertaking any work on the valve cover I earlier this week put the cover back on and after a few days decided to tighten the bolts. I looked up the pattern in the workshop manual and the torque spec. I either read the torque spec incorrectly (9Nm) or used a bad online calculator that said it was the equivalent of (90 in pounds). I set my torque wrench to 80 and immediately snapped a bolt on the engine block
I did this on the first center bolt. After cursing myself no end, I am at a loss now how how I can go about fixing this, if at all. the bolt is broken and it is is stuck in the bottom. To make matters worse the car in my home garage. I could get it towed to a shop and have it fixed there. I am so upset at myself right now, I might have ruined by car.
Any thoughts or suggestions now how I can fix this, if at all? Or, am I at the thought and prayers phase
Can you take a picture to better help you out here?
9 Nm is 79.7 lb-in. I know of an unconventional way to get that bolt out, but I doubt you have one of these tools or access to it:
#8 surgical carbide bur that dentists use to grind down bone (Try at a local dental office supply store)
A dremmel and some way to adapt the bur to the dremmel
Small hammer with tiny chisel
Tap and die and new bolt.
So, what you do is use the bur on the dremmel at exactly the middle of the bolt and grind it down the center until its hollowed out. Use the tiny chisel and the small hammer to break the remainder of the bolt. Then if the threads are intact, use a new bolt, if not, use a tap (with patience, and lots of lubrication) to add new threads on the next size up with a new bolt. In my experience this is easier and quicker than attempting to drill out the bolt and works well when the bolt snapped flush to the heads.
What probably happened is a combination of debris in the threads with a weak bolt that caused it to snap when the bolt heated up. I think someone else had this happen to them on the forum so you can look up their thread. For the remainder of the bolts, try cleaning the threads and using some oil lubrication (such as the stuff used for the tap), silicone lubricant, or even penetrating fluid to keep the bolt cool.
Last edited by giandanielxk8; 02-20-2022 at 03:48 PM.
I'm thinking i will hire a professional, it will cost quite a bit but otoh it has a chance to be done right. I've never had to tackle broken bolts before. I'm going to go see view videos and see if I can do this myself. Right now feels like this is beyond my abilities tho.
Won't do anything for a couple of days till I can not be upset about it
Yes there are a few ways of removing a snapped bolt. There are also extractor kits you can buy, it all depends on how the bolt snapped. Some people even weld in a nut to then remove it, others drill out the bolt.
I took a picture will post it soon, but I think after stressing out for a while I realize what I did wrong. I used a long socket on the center bolts and kept going because I didn't hear the torque wrench click. Longer socket more leverage - my best guess I will look into the kits to remove the bolt, if I end up having to tap the hole, that would probably be beyond my abilities.
I took a picture will post it soon, but I think after stressing out for a while I realize what I did wrong. I used a long socket on the center bolts and kept going because I didn't hear the torque wrench click. Longer socket more leverage - my best guess I will look into the kits to remove the bolt, if I end up having to tap the hole, that would probably be beyond my abilities.
It's not, it just requires patience, some lubricant, and the tap and tap wrench. Anyone can do this if they are patient. The tools required are below $20 too.
It pays to have a general idea how much force to use on small bolts. If your bolt head is 10mm or less the bolt is not going to need much more than a snug tug.
Fasteners for spark plug covers, oil pans, oil cooler lines, etc will not take much force before you are in danger if stripping or breaking something. The importance of tightening all such bolts equally is paramount.
As a general rule, a bolt that fastens a rotating part will need more torque (and a proper torque wrench) to fasten correctly. Bolts that just fasten one plate to another generally use less force.
if a person is not well practiced in mechanical repairs always use a shop manual before tightening any bolt.
Is the sheared bolt remnant FLUSH with the surface of the head? If so, use a Dremel Tool and carve/cut a grove in it that a flat head screwdriver will fit into... Place some rags so shrapnel doesn't go flying. If its one of the center bolts (again a picture would help),,, if the wheel of the cut off blade in the Dremel digs a little into the surrounding material of the head it should be alright (again, a picture would be great). Then, get a 9 dollar hammer impact style screw driver with a SMALL flat head fitting and give it a wack or 6. Lightly. It should come free...
If its one of the center bolts...??? Turn it into a screw,,, for a flathead screwdriver...
If you don't have the impact style driver tool just use a small pair of pliers to grip the handle of an appropriate size screwdriver and lean into it while you turn... My guess would be it will be pretty easy to free up. Don't over worry it.
If it broke DEEP in the hole, leave it and run a smaller bolt (with a suitable # of washers up top) grabbing on the remaining threads... It's a low low torque screw... You got this. Don't sweat... Is it one of these? If so, don't worry about gouging the surrounding aluminum (still, as little and carefully as possible),,, there is plenty of meat there.

 11-06-2021, 04:07 PM