When you click on links to various merchants on this site and make a purchase, this can result in this site earning a commission. Affiliate programs and affiliations include, but are not limited to, the eBay Partner Network.
Having experienced the dreaded, though apparently very predictable, engine oil cooler hose failure, I thought I'd share my solution to the problem. First, let me be clear that this is the way I did it and I have not put much time on the repaired hoses so I do not guarantee results or even suggest you do it this way. I'm just saying I did and I'm confident in my own results. There are numerous threads on the forum about the failure of these hoses and several posts indicating that local hydraulic shops fixed the hoses for a reasonable fee, etc. I live in a small city and the local shops basically refused to even try saying that it wasn't their wheelhouse, etc. So, I priced new hoses using every horse trader's trick in the book only to find that the cheapest I could get them was now 637.00. To that I said "hell no"!
Left to my own devices, I decided to try to repair them myself using information gleaned from prior threads as well as my own experience as a mechanic. I started with the logic implied by the following thoughts:
1. These hoses are mainly aluminum tube which should last indefinitely.
2. The only vulnerable areas are the rubber hoses and ferrules attaching them to the aluminum.
3. If a factory worker can put a hose on a tube and crimp a ferrule, so can I.
4. The items needed to do this are available online and elsewhere.
So here I began:
The first thing to do was remove all of the hoses from the Jag and this was relatively easy to do with it on my low rise lift. Next, I marked all hoses at their attachment points to the aluminum tubes as a means of "clocking" them for proper positioning at re-assembly. THIS IS UBER IMPORTANT. THEY MUST BE ALIGNED EXACTLY AS REMOVED OR THEY WILL NOT FIT BACK ON THE CAR. If one gets out of sync, you can test fit it on the car and re-mark it before crimping but it takes a lot of time. The pic shows how I did mine. Each attachment point was unique.
Next, I cut off the ferrule doing only one at the time. It is important to be very aware of the depth of the cut so as not to get past the ferrule into the tubing, especially at the beadlock rib. I cut diagonally across the ferrule except at the outer end. When close to the end where the beadlock "washer" is formed on the ferrule, turn the hacksaw sideways and cut slowly thru the "washer" til you get mostly thru it. I then inserted a screwdriver in the cut, twisted it to open the cut and then used a pair of flat ended snap ring pliers to pry it open all the way. Note that you don't have to cut completely thru the ferrule to weaken it enough to break it open but definitely most of the way.
Once you have the ferrule off, you'll see the beadlock rib formed in the tube. Prep the tube by cleaning it with brake cleaner and then "twist sand" it with 600 or 800 grit wet/dry sandpaper to break the smooth glaze of the surface. Then clean it again with brake cleaner.
Now it's time to attach the first hose segment. The pics show the hose type I selected. Note that there are stronger and tougher hose types available but remember that flexibility is a critical requirement here. The hose used must be impervious to hot oil, tolerate at least a couple of hundred pounds of pressure for durability's sake and be flexible enough to conform to turns and allow engine movement to be absorbed without undue transfer of pressure.
The ferrules needed must match the hose size and I believed that aluminum was the preferable material to prevent oxidation caused by dissimilar metals that might be a problem when using steel ferrules. I found that finding a ferrule with the beadlock end necessary to match the original setup was difficult at best. the beadlock rib measure about 22 mm in diameter and I never found an aluminum beadlock ferrule for this number 12 size hose with a 22 mm end hole at the "washer" end. I did find one with an unspecified hole size but it was only available in a large bag. What the heck? The whole bag was only 40 bucks so I ordered them as well as a small qty of steel ones to play/experiment/compare with. When they arrived I quick realized that the end hole would have to be opened up so I ordered a cheap 22 mm end mill, made a jig to hold the ferrule in place on my mill and opened each hole to 22 mm. See pics of the ferrule shipment and mill jig. Note: the pic shows the ferrule before milling. After it's done there remains only a small "washer" so it was important to get the mill centered well which left about 1/8th inch or a little more to grip the beadlock.
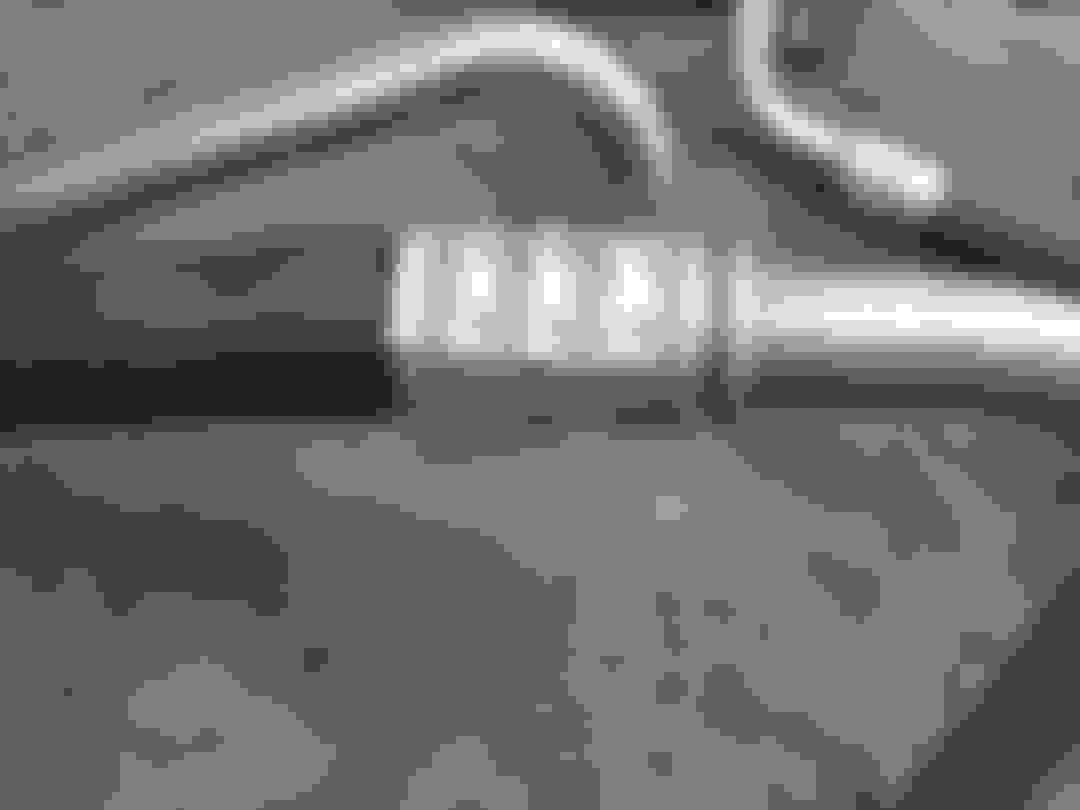
After adjusting the hole size of the ferrules, I tried a test crimp on a piece of scrap tubing and was able to pull it off with my hands. Hmmm. Not good. Then I realized that the slick surface of the un-sanded tubing coupled with the manufacturing residue on the hose ID and OD were a problem. Solution: sand the tube surface, clean the hose ID and OD with brake cleaner, get closer to the end of the ferrule with the crimper to force the beadlock washer further down and perform a 2 step crimp with the first crimp going almost all the way down and then rotating the hose in the crimper 90 degrees before doing the final crimp completely which seemed to help eliminate a slight oval shape of the finished crimp. After doing these things the crimp was impossible for this old man to pull off. Note: The crimper I purchase has a three tooth design that worked fine to this point but left a goodly piece of the ferrule un crimped even though the depth of the tube was enough that another row would still contact the tube, So the 2 step became a 3 step crimp with the 3rd crimp done by moving the ferrule sideways in the crimper, aligning the edge of the crimper teeth with the second row from the beadlock and doing another crimp, rotating 90 degrees as before for the final crimp. This resulted in a 4 row crimp that looks excellent. The second pic shows the new completed hose compared to the old hose. Note: It is imperative to get the hose length exactly the same as the original lest ye find alignment issues during re-installation. Also be aware that when you shove the rubber hose into the ferrule you must leave about 1/16 inch gap between the end of the rubber and the inside of the "washer" end to allow the ferrule to clear the beadlock rib which also creates an additional seal point when crimped.
The crimper I used was actually purchased a few months prior for an AC issue I was having with an old Plymouth Barracuda. It was brand new and it came from Amazon for about 150 bucks as I recall. They are marketed under a bunch of names but it's all the same stuff made from 100 percent "Chineseum". But truthfully, it's hand pumped and works quite well.
So after all of this, my total investment was about 240 bucks and that includes the cost of the crimper and the end mill, both of which will be used again or, I suppose, one could sell them off for partial return. Regardless, it beats the hell out of 637 bucks for new hoses.
Mine fit well on re-installation and thus far have not leaked or seeped a drop of oil. I have no reason to doubt the quality of the finished product and pray for validation over the long haul. I hope this helps others in some way.
Great information. You got my head spinning. The crimper seems to real aggressive as far as deforming and stressing hose fibers. Would it be possible that T-bolt hose clamp would work. If so, one wouldn't have to worry so much about alignment.
It would be great to know O-ring sizes to have on hand before starting project, or as suggested, a complete list of parts.
motorcarman, glad you liked my post. Would you be interested in parting with one or two sets of your scrapped hoses? I was remiss in taking enough pics of the details of my repair process so I'd like to do another set to get some more/better pics to be more accurate in the process. Then I could edit the post with the additional pics. I'd gladly pay shipping. I'm not sure what you had in mind with the "kits" idea but it would be simple enough to put together hose sections and pre-milled ferrules for someone to use but they'd still have to have a crimper to put them together. However, I checked back and the crimper was only a hundred bucks so the total cost was significantly less than I previously estimated. Lord knows I have plenty of ferrules.
JACKP, I tried repeatedly to acquire suitable o-rings for this job but was confounded at every turn by exactness of the sizes and/or material issues. It's hard to believe that those original o-rings were specially made. I think not. But considering the potential devastating end result of using questionable substitutes, I opted to buy OE rings. Though the prices quoted were absurd, I did find a source for them at 28 bucks USD for the set. Cheap insurance by my estimation. In fact, in this instance, I was ready to re-install the hoses before the new rings shipped and I examined mine closely. They showed zero deflection, were supple and appeared as new so I re-used them at least for the interim. And BTW, I will put together a parts list as soon as I am able. I'm trying to get my hands on a used set of hoses to use in upgrading the picture set for the post. If I can do that, I'll do it all at the same time. Not sure about the "kits" suggestion from motorcarman but I think maybe that could help someone like me so I may try that as well.
kstevusa, Man I wished I had been able to get someone to do mine for me as easily as you apparently did but the local "hillbillies" are just not wired for a challenge. The first shop I walked into, the counter guy looked up at me and my old hose and immediately said "I can't help you with that"! I was tempted to respond in like rude fashion but decided to just do it myself. On the question of cost, the only real advantage to my chosen method over yours is that I have the crimper set to use for other things. Besides, I'm a gearhead and do like a challenge...sometimes.
JACKP, I wondered about the use of the clamps as well. Ultimately, I felt that because there were no barbs or serrations in the smooth tubing that it was risky to assume they would last a long time as the hose material aged and "relaxed" into shape. The need to sand the glaze off the tube told me that it was a close call without the original style beadlock in place. I might be wrong for sure. I did do a sample crimp on a short piece of tubing so I could see the end of the rubber right at the last crimp and it appeared that the hose walls were tight but not stressed particularly. (I may post a pic of that soon). And I took into consideration that the extent of the crimp is entirely up to the guy doing it. I crimped until the tool started fighting back and stopped there. That is an advantage of a hand pumped tool! Just my opinion and thoughts for what it's worth
Additional info. The original lines were cut and a barbed end was welded on by a certified welder (Tig) for the repair man Those clamps were not std. gear clamps. They included a guide to assure they were used directly over the barbs. He recommended using STP as lube to assembly barbs to hoses.
If one could figure out how to make a swell on the end of tubes, good hose clamps should work fine. If my calculations are correct, @ 65psi oil pressure there would be only 28lbs of force trying to push off the hose. This would make changing the hoses a cake walk in the future.
Wow, wouldn't that be great? I thought about that and even searched for videos of people demonstrating a method of doing it but came up empty handed. I even thought about crimping a compression ferrule on the tube but that was semi absurd so I gave that up. Regarding the issue of stressing hose materials, I should have noted that I was deliberate in selecting hose materials that mimicked as closely as possible the original hose used by the mfr. The OE only had a single layer of nylon or polyester reinforcement so that's what I looked for. The hose used is nearly identical to the OE excepting the OE had a wrapped outer surface that, as far as I could tell from research, added little to the performance of the hose.
kstevusa, I saw an earlier post about someone doing the TIG welded barb fittings and thought that was an excellent approach. Unfortunately, I don't TIG and nobody in this town does that I could find that didn't want to charge me ridiculous amounts to do it. I also thought I could MIG weld barb fittings to the steel nipples at the trans and convert the whole cooler to an aftermarket unit with barb fittings. But man, considering the mounting change and hose routing issues, I felt better doing it the way I did. If you had that great luck getting someone to do the TIG welding, you were probably right to choose that route. Hats off to ya!
my only thought was why not just use one length of rubber hose reducing the crimps to two
I think that is a great idea. I can only see one issue. The aluminum tubing runs through the front of the car like an obstacle course and that 1" OD hose probably won't bend tight enough. It still might be possible though.
Yeah I pondered that too. I know that Aeroquip type steel reinforced hoses are fairly rigid and the smaller sizes are still bendable to an extent. But that same rigidity would help keep the longer runs from sagging but ultimately Jack is right. The pathway is just too complicated to make it feasible without chafing against everything in the areas.
motorcarman, glad you liked my post. Would you be interested in parting with one or two sets of your scrapped hoses? I was remiss in taking enough pics of the details of my repair process so I'd like to do another set to get some more/better pics to be more accurate in the process. Then I could edit the post with the additional pics. I'd gladly pay shipping.
I think I see a set of cooler hoses in the middle of my scrap pile?
Might be while to dig them out?
Might be damaged/bent up?
Luckily we don't have rattlers this far east in Wise County. (more of them to the West starting near Bridgeport TX.)
We DO have lots of Copperheads. (that is what I worry about)
Winter is a good time to dig through trash piles when reptiles move SLOWER.
Motorcarman, I appreciate your efforts but be sure if you send me something it's a hose and not a snake...I HATE snakes! I shoot every one I see except the garters. And even if the hoses are bent up, I'd still be able to do the experimenting I had in mind. And JACKP, I'm curious about the clamps you talked about. I'd like to see a pic of one. What are they called? Name brand? I had the thought that if a bead on the tube would be enough of a barrier to the hose slipping off, why wouldn't a flare on the end of the tube do the same thing? One would have to be careful to smooth the edge to prevent cutting but a flare would be much easier to form using tools readily available. Just a notion. Your thoughts?
 11-27-2023, 10:10 AM