When you click on links to various merchants on this site and make a purchase, this can result in this site earning a commission. Affiliate programs and affiliations include, but are not limited to, the eBay Partner Network.
I finally got mine in. Build quality looked and felt great. I made an Unboxing video per Christian's request. Several pictures on there too if you guys want to check it out. I can post pics here too if anyone wants.
Some infos :
.About what @Tijoe said I only know related to CNCs - The TB is standing quite tall on the flange for many of the mass spreaded CNCs (China ones) . So you need at least 200mm Z axis, because the tool needs to step in and out of your milled throttle. For that as high as Z is, the stiffer your machine must be. This is the challenge. On the other hand, I will post here an FEA report about how much you can load with the pressure the bored version. Can anybody who bored their throttle body can tell how much they have left in their main bore wall? 2mm? 2.5mm?
@jazzyjags thanks for the credits, actually is a bit too kind, but I;m glad I could help.
For all the people who ordered first lot, since all of you received it:, and sure for any who will further get one, important info:
-start installation always with the TPS sensor side-. Valve on the main staft is balanced, so first tight the TPS side nut , then on the gears side.If you start from the gears, there is a chance to shift the shaft. Sure can be reversed if carefully pulled from TPS- but is easy to do it right then to try to fix afterwards
- use the torques from manual, and don't forget to use the plastic washer under the biggest main dented gear as is in your original TB
- use the brass washers on the main shaft under the nuts, and DON"t use the original nuts there- use any regular M thread nuts in the market
As final note- New lot is coming, and parts pending for assembly from previous lot for the people who voted this part. As I know all of you received the link where you can order and pay for the part in full before the date you were emailed about .
Don't forget this is the expiration of vote priority, if you still want the part , when public link will be available, priority for your votes will expire in 1-2 weeks , check your notification emails.
cheers
Last edited by cristian.s; 09-04-2020 at 02:16 AM.
Where in NY is the TB stuck? I have a bored one but wouldn�t mind picking one up/). I�m in NY
This is all the information I have :July 23, 2020 at 8:36 am
Processed Through Facility
ISC NEW YORK NY(USPS)
I have reached out multiple times, filed 2 claims already, and no results. They say it's not lost, and to just wait. But as you can see it's stuck in NY for well over a month.
I wish I had more information so this TB wouldn't just sit in some warehouse and go to waste.
Hey guys instead of taking the components off of my stock TB, I am ordering another one guaranteed to work from eBay that I can cannibalize. That way I can keep the Jag running until the new TB is completely put together or at least have extra parts if worst case something brakes when taking the old one apart.
I made offers of $100 on two listings, thinking neither seller would accept as they both had them for $150+ but to my surprise they both accepted. So I purchased one for $100 shipped. Just a heads up if anyone else is interested, you can get a back up spare for cheap.
Important info for people who don't want to transfer parts from their original TB.
Smaller TBs from Jaguar , works as well - and are much cheaper than the X100 , you will be able to find at about 30-40Usd.I'll come back with the OEM number. @jazzyjags Sorry I didn't knew you won't use your own tb internals
Have you checked that the TPS's are interchangeable between the V6 2.5/3L S-type/X-type and the V8 version? My X-type 3.0 TPS has a different part number stamped on it than my S-type 4.2 TPS. Wondering if there is a difference in the calibrations even though both are physically the same.
Something good to have confirmed before going down this path.
The compatible part is 1X43-9F991-CC 0170 10C12 . The TPS of this one is the same , but as double check these TPS sensors are not configurable, so if you find on them the same code, then is same as yours.
Here attached you can find the Finite element analysis for 1.5Bar pressure inside intake , in a natural engine bay environment (1bar atmospheric)
The below item is the 2mm wall , maybe some of you let a bit more than that , since no feedback yet from you, I've sent this data to my colleagues
You can see the re-bored version has hard times in there, putting the risk of breaking apart the end lip- but probably many of you do not use so much power into your intakes -- yet
Besides the thick wall, the part we did with your help, has also the end ring used not only as strenght for pressure, but also as retainer for your intake tubing.
Last edited by cristian.s; 09-16-2020 at 10:17 AM.
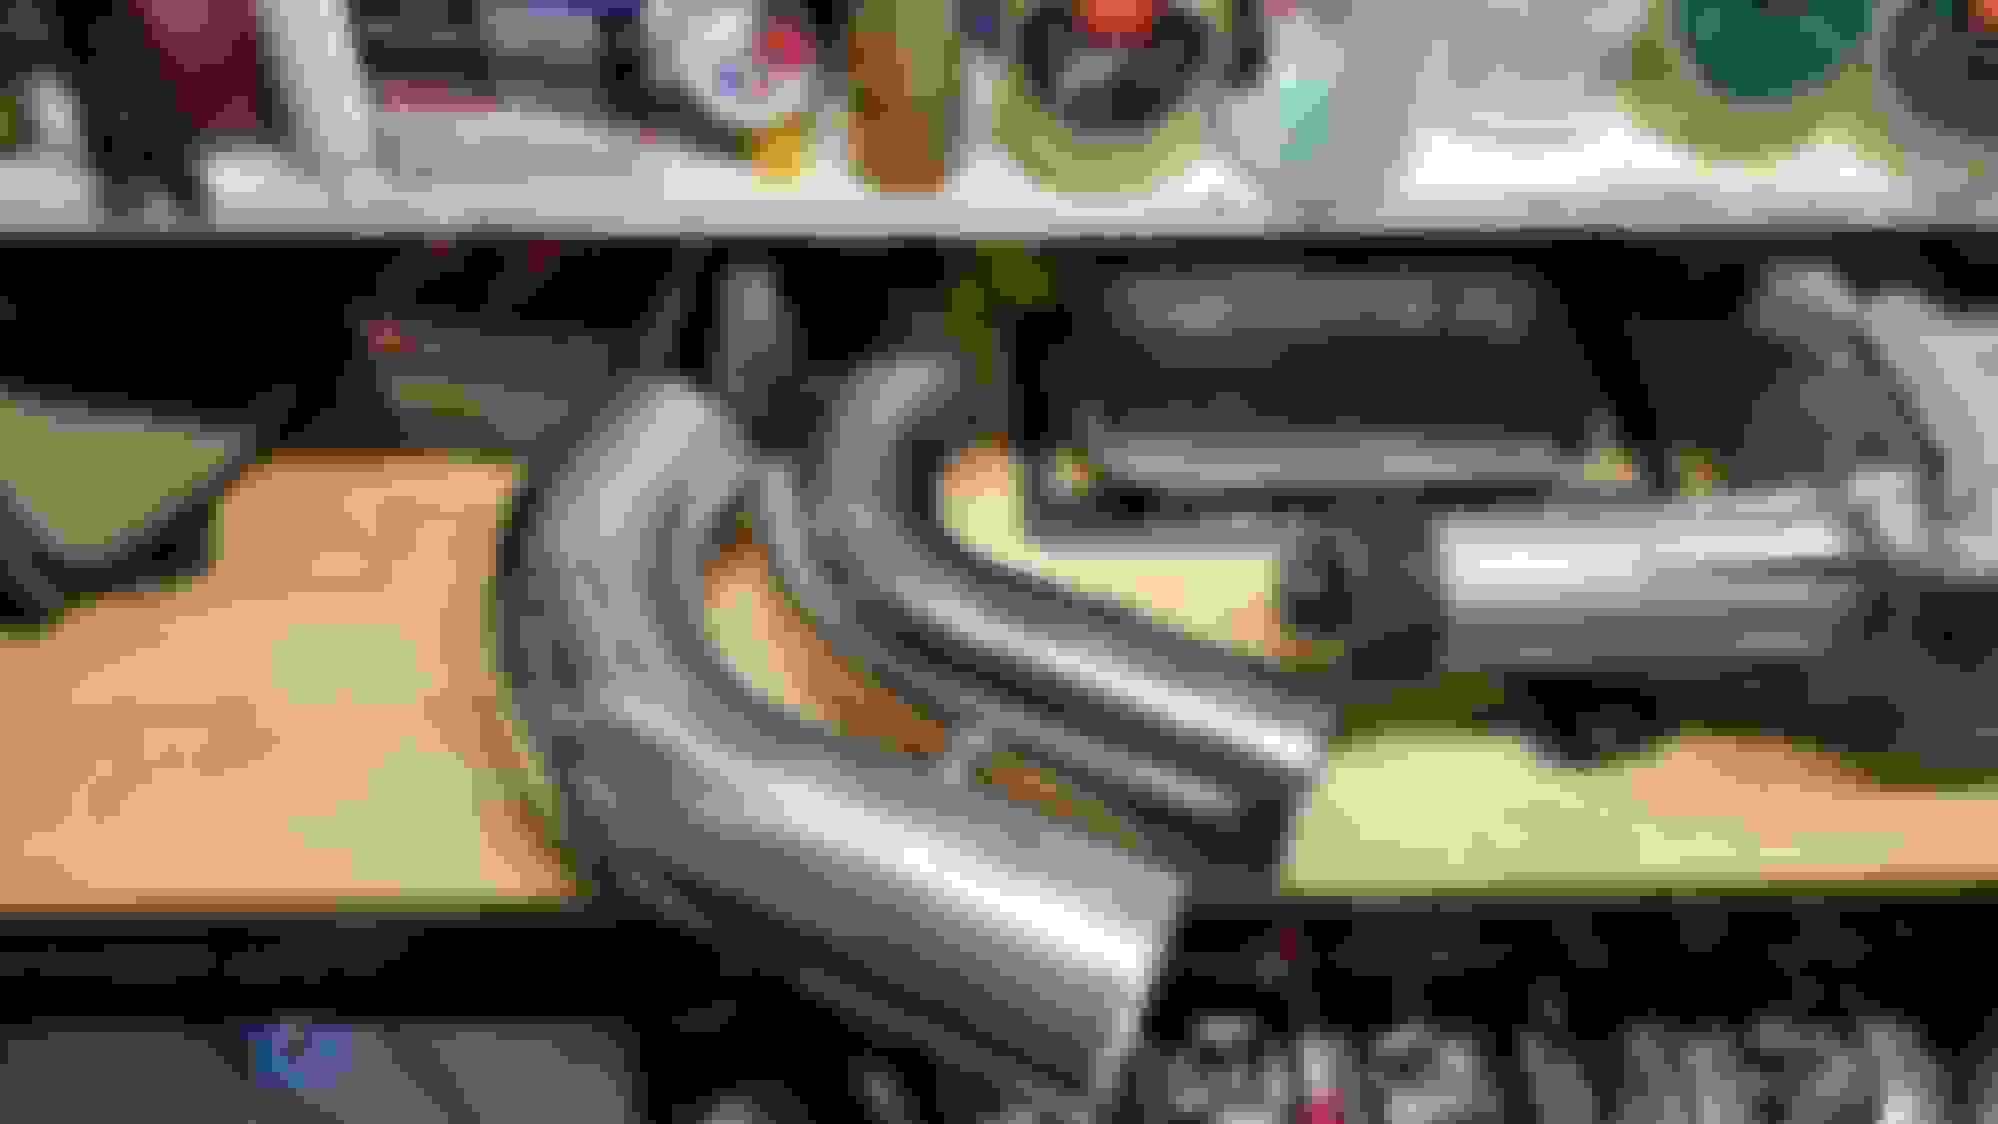
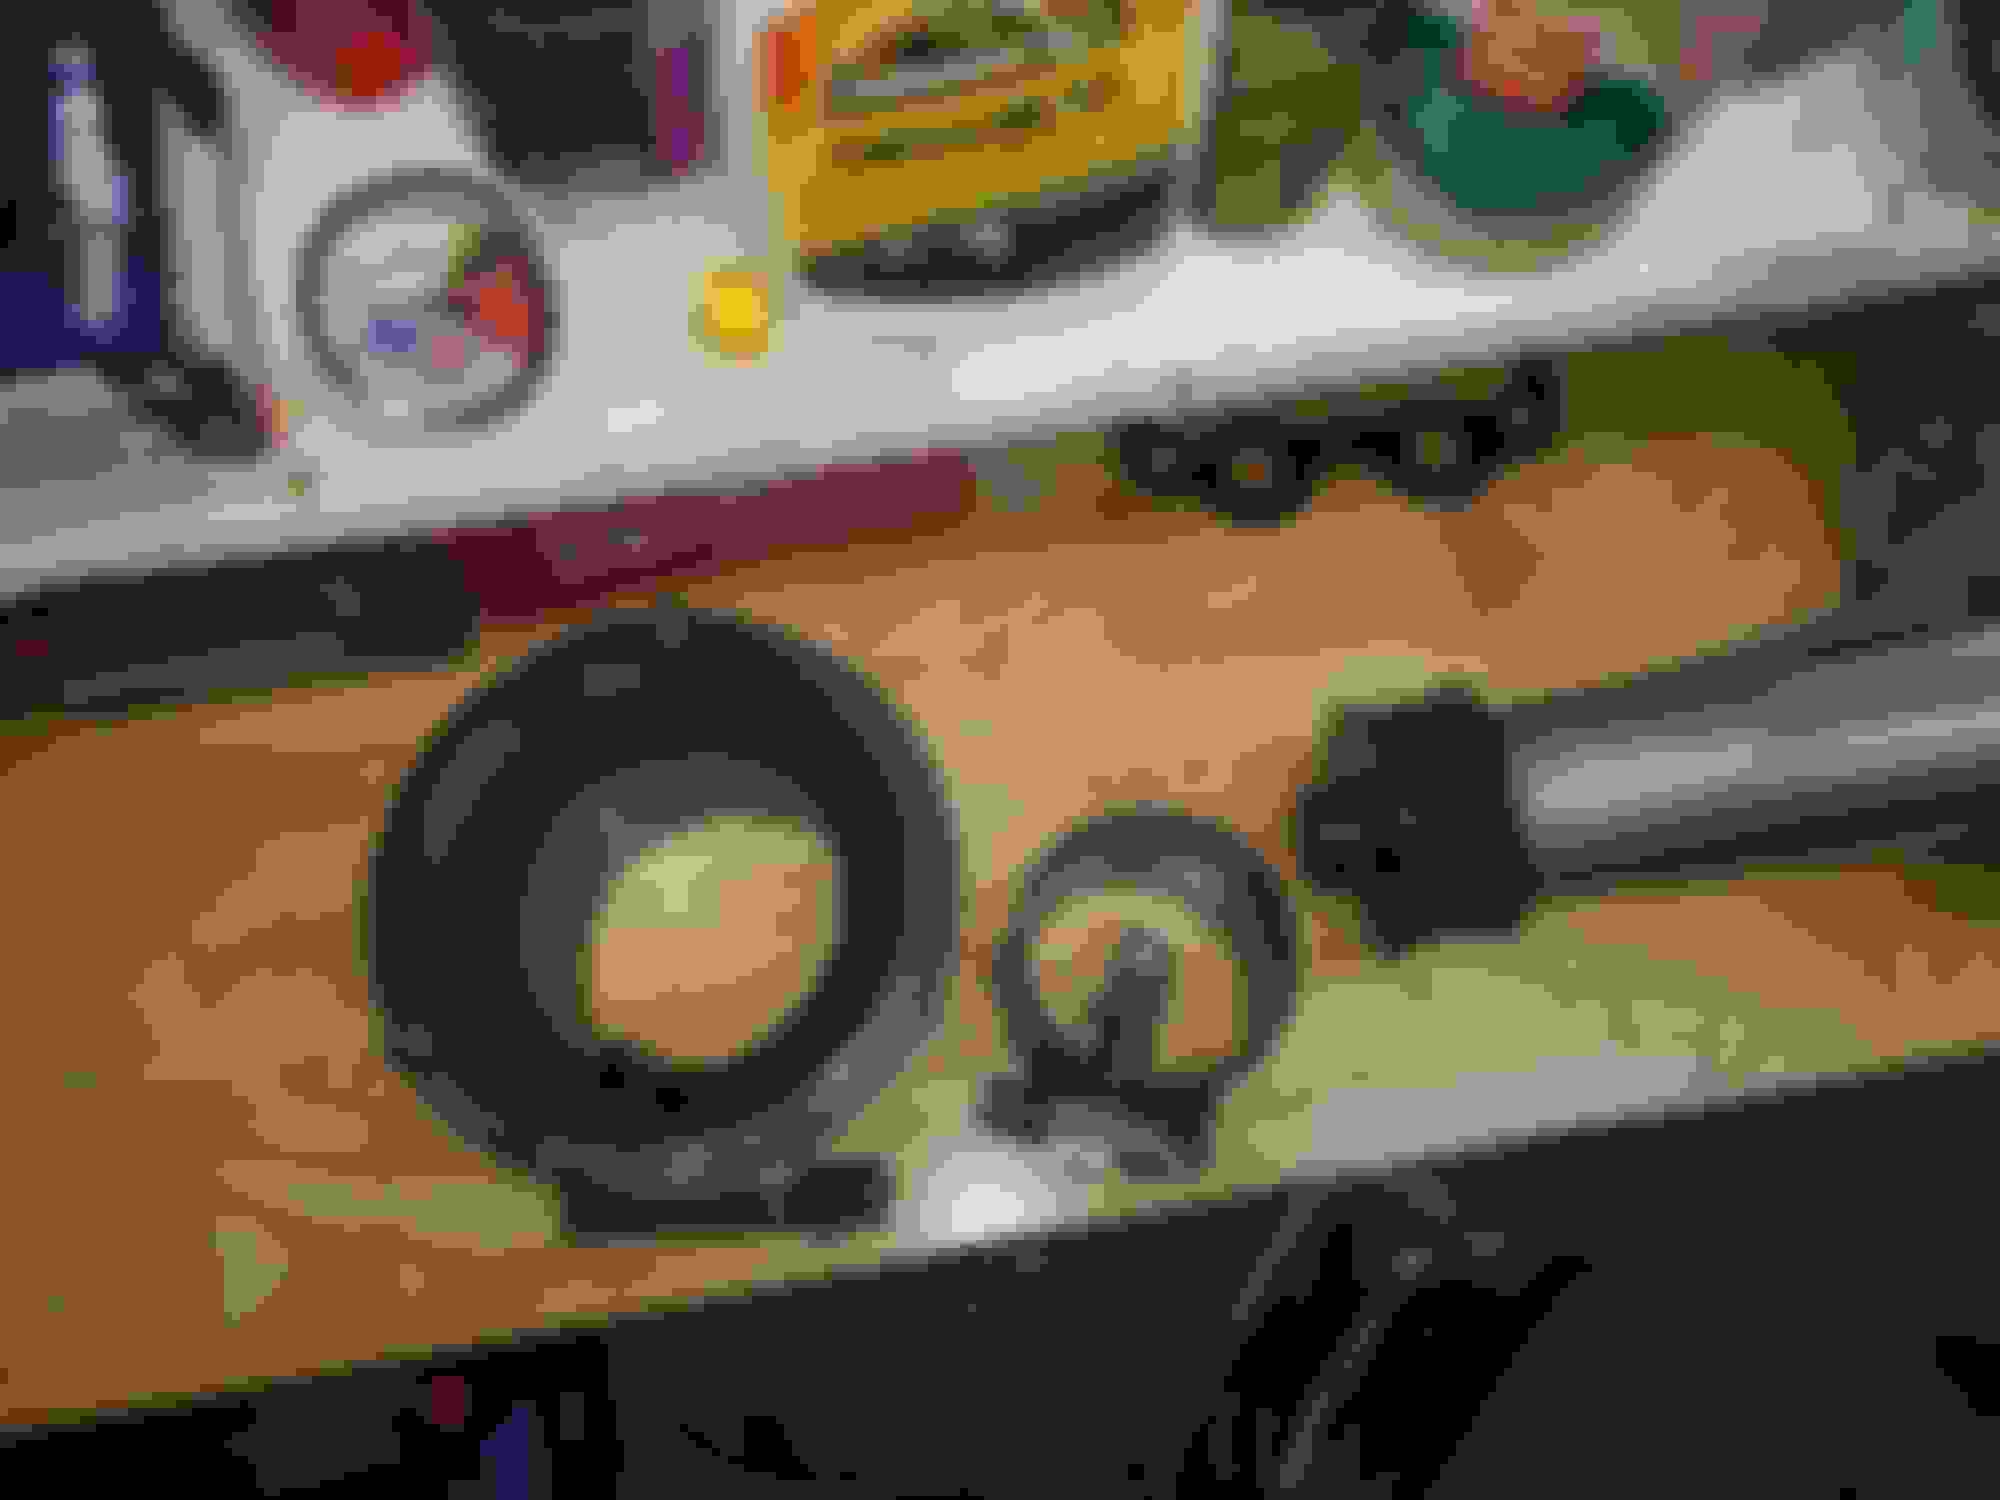
I just got my spare plenum back from being ported to match the 83mm TB and also opened up a bit on the inside. I will be transferring the electronics from the spare TB to the 83mm soon. I took some pictures for comparison between the two TB and also wanted to post some comparison pictures of the larger intake set up with the Pro M92 MAF vs the normal set up with RR upper.
83mm vs 75mm TB 83mm ported plenum port match with TB Inside of plenum lightly ported/polished supercharger outlet RR upper intake tube vs Jaguar upper intake tube J pipe comparison Caldoofy XJR J pipe vs Caldoofy RR J pipe Pro M92 MAF vs stock MAF Previous intake set up New test fitted intake set up
As you can see the new intake dwarfs the previous. The piping and MAF are much bigger. I tested it out to see how it runs with the stock TB and its great. Im anxious to get the ported plenum and 83mm TB on there to see what it does. Once its on, I'll get an after dyno with the whole set up and report back.
You can see the re-bored version has hard times in there, putting the risk of breaking apart the end lip- but probably many of you do not use so much power into your intakes -- yet
Besides the thick wall, the part we did with your help, has also the end ring used not only as strenght for pressure, but also as retainer for your intake tubing.
I can certainly recommend to smooth the "end lip/ring" to a more bell shaped curve, this does have a positive effect in airflow (and is well known!)
The upper part doesn't have to be so strong at all, the clip that holds the intake tube sits lower, less strength is needed there.
Small note, there is never any pressure on this side of the TB at most a little vacuum. The pressure difference at full throttle is neglectable (and even close to 0 at that point if you have the proper intake parts like jazzyjags).
@avos
Your MAP sensor - can tell exactly what pressure you have there , and when, - via ECU diag. The setups using supercharger only- have not so much pressure , but they have it from low revs then relative pressure slopes down with RPM, twins instead (turbocharged + surpercharger ) there strength will be needed. Also the pressure tends to build ahead the valve, then lowered down -released ,when valve is getting open. This is fluid dynamics, and the timing is important- in case you intend to mention blow off valves and other "protective" measures.
Bell mouth indeed used in wide open to tube transition- like intake lines inside plenum .In this case is just a passing trough edge- and yes edge of TB to piping needs to be smooth, but not cost efficient to be done on TB,because has features which can't be machined if the edge will be bigger (to assure the uniform thickness )
But can be done on the matching intake tubing as an inner lip.
I am getting the impression that you think the pressure is build before the TB, which is normal for a Turbo setup, but on our cars, the supercharger is after the TB.
So the only pressure difference you have is the vacuum that can be pulled (so before the butterfly) is pending on the efficiency of the piping/MAF and Filter, therefor you need to size that like Jazzyjags setup, as ideally you want 0 pressure difference.
I fully understand the extra costs for having it machined as well, though take it one can do the work also themselves for those who want the maximum out of their setup.
The MAP sensor is on all cars positioned in the intake elbow, so after the TB, and there you would be able to measure the full efficiency of the TB/Intake piping/MAF and Filter setup, but also only vacuum as its before the SC.
My measurement is not something you can use, but to give you some idea, at WOT and Max rpm it was about 40 mbar (Ambient is 1 bar, inside it was the 0.96 bar) . That for more then 700 hp isn't bad ;-), but this is with a 4" intake, larger MAF/Filter setup then the Prom92, 92mm TB and no sharp bends from filter till SC.
I had a chat at the beginning of the TB project with Luca, asking if he did or knows users who did put twin, -the second in front. He said is about money, I didn't checked back then , what he meant- especially because when money comes into reasons, can be also related to car owners budget, not about average money invested by the majority of enthusiast people who work on their cars.
Now, I realize chatting with you, it could be really costly, because when this intake pressure balance will be disrupted, many other parts will probably require extra attention.
Anyways, congrats with the changes you made on your car
Sorry, but I don't understand what you mean with the following:
Originally Posted by cristian.s
asking if he did or knows users who did put twin, -the second in front. He said is about money
Do you mean Twin-Screw? Yes, of course that is a more costly setup, that may have kept him from goin that road, although I never understood it as he was spending lots of money on other things, and a TS setup would have given him more HP at less cost than the engine he is working on.
Also, what do you mean with this?
Originally Posted by cristian.s
Now, I realize chatting with you, it could be really costly, because when this intake pressure balance will be disrupted, many other parts will probably require extra attention.
You only get some (wanted) additional HP by making the intake more efficient, just like the TB change from 75mm to 83mm, so am not understanding what you refer to. It makes no point enlarging the TB and not work on the intake, it needs to be done both for the right effect.
Really nice setup jazzyjags. Just gotta keep an eye out for an MP112-HH & do a rotor swap...
Thanks Panthro!
BTW, what is the advantages of rotors from an MP112? I hadn't heard much about the Magnusons, other than they are better because the inlet and outlet ports are much bigger. Are the rotors better too? And are they a direct fit?
My wife is going to choke me if I keep dumping money into the jag. This might be worth it though
Thanks jackra. I remembered posting about it, but couldn't remember where. I've been ghosting the GTO & CTS-V forums, (and the many faces of eBay,) for a while hoping somebody that still has one will be trying to upgrade or something. Rare as hens teeth & rocking-horse poo . I know Cambo's been looking around AU for one too. Harrop (Aussie equivalent of Magnusson) made their own version called the HH-112. They had 70� rotors vs the stock 60�
Last edited by Panthro; 09-25-2020 at 07:48 PM.
Reason: Forgot to add a few things

 09-03-2020, 10:53 PM


 . I know Cambo's been looking around AU for one too. Harrop (Aussie equivalent of Magnusson) made their own version called the HH-112. They had 70� rotors vs the stock 60�