When you click on links to various merchants on this site and make a purchase, this can result in this site earning a commission. Affiliate programs and affiliations include, but are not limited to, the eBay Partner Network.
Finally finished installing my new wood from XK8Interiors. And it looks glorious. However, replacement scorecard:
1. Center dash (the one with the round temp/battery/oil pressure) - easy
2. Console shift surround - easy
3. Both side vents - extremely easy (though one needs to move the black tabs on the car inner side to the new piece)
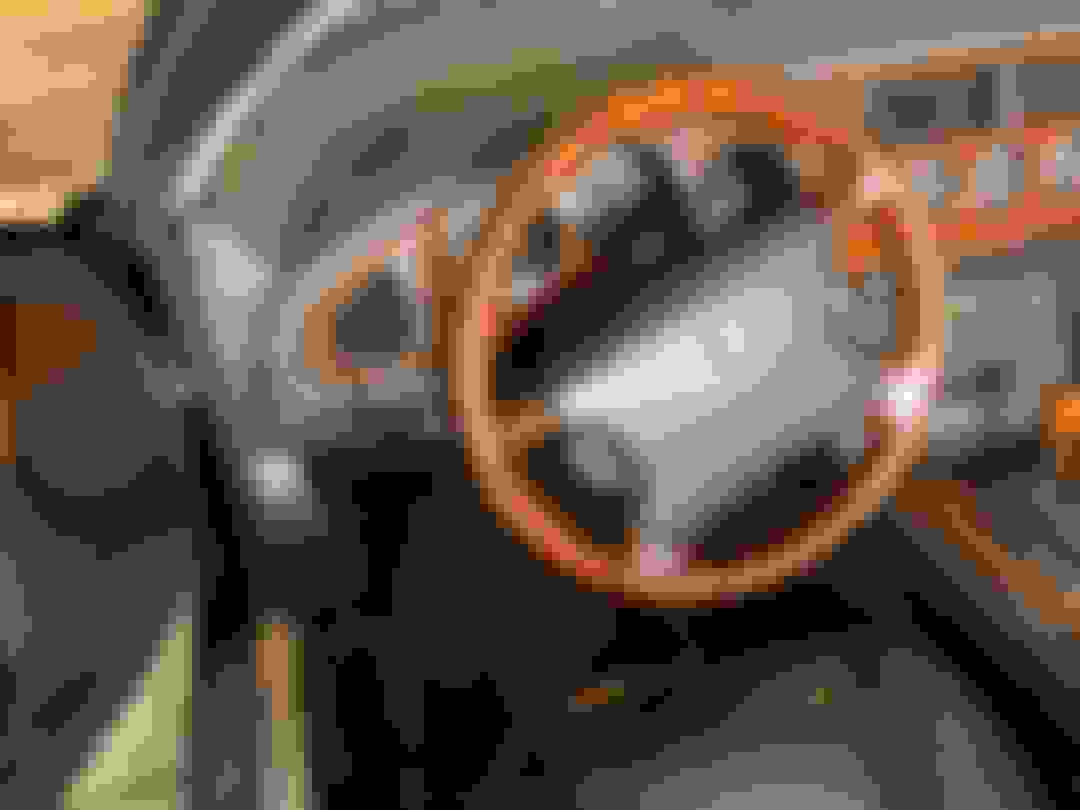
4. Steering wheel - surprisingly easy, no inadvertent air bag deployment.
5. Airbag cover - more challenging, three rivets drilled out easily and replaced easily once I stabbed at the body panel tape sufficiently with a knife and pried the sides up, and, in utter desperation with a full night's sleep, managed to pry the rear support piece from the wood piece. (I tried snaking a wire around to cut the tape, but to no avail). Reinstallation was easy. Clean the tape off with acetone, put on new tape, replace rivets with pop rivets.
6. Instrument panel - unexpectedly difficult. The rear plastic parts of the original need to be migrated to the new wood piece. This includes the trip odometer controls towards the center of the car.
As jacobmstein found, this was a laborious process, fraught with potential disaster. Based on his experience, I purchased a cheap instrument panel from ebay to use as my 'plastic' donor. There are two parts to this connection, some press on connectors that are easily removed and transferred, and there is glue under the odo controls and the inboard side of the plastic. This glue is incredibly tough. I tried simply using a wire, using tools, using a prybar, trying to cut it with a dremel, heat from the back side (accidentally melted an inobtrusive piece, when I stopped), heat from the front side.
The thing that worked, mostly, was to sneak my electronics soldering iron under the glue and melt/burn it away with only a bit of plastic. This took about two hours to pry the rest away without breaking anything to save the plastic so it could be transplanted to the new wood piece. I glued the pieces back with 2 part plastic epoxy (loctite with the nozzle tip for better control).
7. Door caps - d@mn craft project. I had not intended on having a craft project here, but que sera, sera. The doors come off the standard way as discussed around here repeatedly (and seem to need to be removed an inordinate number of times per year). And the original door caps are glued at both ends and have melt-fastened plastic connector/supports in the middle that need to be drilled out like screws.
The replacement door caps are based on fiberglass with a strip of wood glued down the middle. Unfortunately, that strip of wood prevents the door caps from being installed flush. So, the wood strip needed to be separated from the fiberglass, laboriously with a wood chisel, and then cut into segments that matched the original plastic connectors/supports (about 1.5-1.75 x 2 inches wide) and reglued to the fiberglass.
Then I screwed the door to the new wood bits and glued the edges with epoxy to the front and back. Vigourous overuse of epoxy led to me needing to dig some out in the gap between the vinyl and the new trim piece with an assistant. That took quite a while (hours) until it was perfect. I recommend not overusing glue...
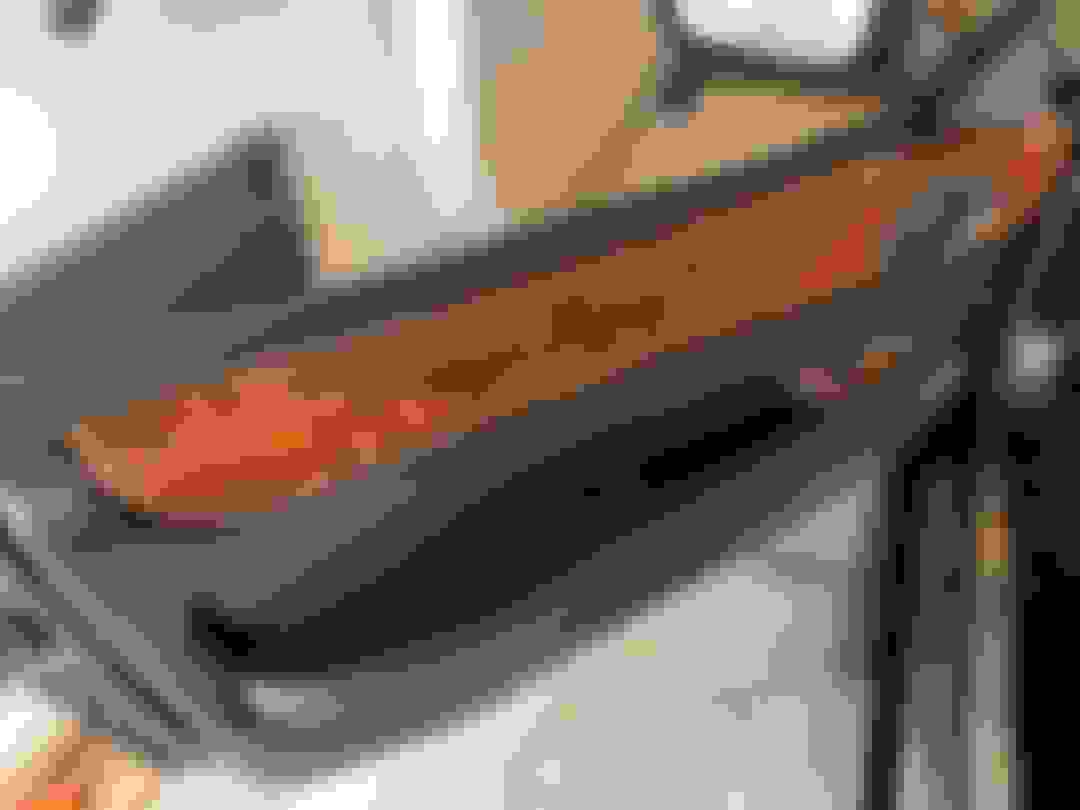
Overall, much more time than anticipated. But... beautiful. Old wood for comparison in last photo.
New wood better than old wood. Oh my god stunning in the car, especially in the afternoon light.
Driver door cap, the impetus for this whole thing, and window switch
Steering wheel side and the instrument panel. Wheel easy, panel a b#$#h.
Console and right side
Right side cap and other car I didn't bother photoshopping out... Old wood, not quite as stunning.
WOW!!!! Love the new look and the door caps add a nice finishing touch - really wish they were standard on the X100's. They are in my planned future upgrades
Thumbs up on the whole project. I too love that full wood steering wheel. (To me, that's why leather driving gloves were made! May be coming to a Jag near me soon!)
 09-03-2020, 08:50 PM