
Parrot ck3100
#1
 07-24-2016, 07:35 PM


#3
07-24-2016, 08:38 PM
Veteran Member
#5
07-24-2016, 09:07 PM
Veteran Member
All you need to hook up to the yellow connector is +12v battery, +12v ignition, ground, audio+, audio- and mute. Use the microphone provided in the kit for best results.
You can use the Parrot's 'line-out1, left channel', (white+, brown-) for the audio+ and audio-. No other connections are needed.
You can use the Parrot's 'line-out1, left channel', (white+, brown-) for the audio+ and audio-. No other connections are needed.
The following users liked this post:
Dale Dunn (07-24-2016)
#7
07-25-2016, 02:43 AM

When fitting a Parrot in my XK8, I didn't want to cut the 14-Way yellow harness connector so I obtained a wired plug from my local Jaguar breaker:
Several of these are used throughout the XK8 and XJ8 so we found a fully wired one and cut it off with about four inches of each wire left to make the required connections.
I hate cutting wiring harnesses (phone and audio 'specialists' in the UK seem to specialise in this kind of butchery) and this allowed me to connect the Parott without cutting the OE harness in my XK8.
Graham
Trending Topics
#8
07-25-2016, 10:34 AM

Veteran Member
When fitting a Parrot in my XK8, I didn't want to cut the 14-Way yellow harness connector so I obtained a wired plug from my local Jaguar breaker:
Attachment 133513
Several of these are used throughout the XK8 and XJ8 so we found a fully wired one and cut it off with about four inches of each wire left to make the required connections.
Graham
Attachment 133513
Several of these are used throughout the XK8 and XJ8 so we found a fully wired one and cut it off with about four inches of each wire left to make the required connections.
Graham
Thanks!
#9
07-25-2016, 11:27 AM
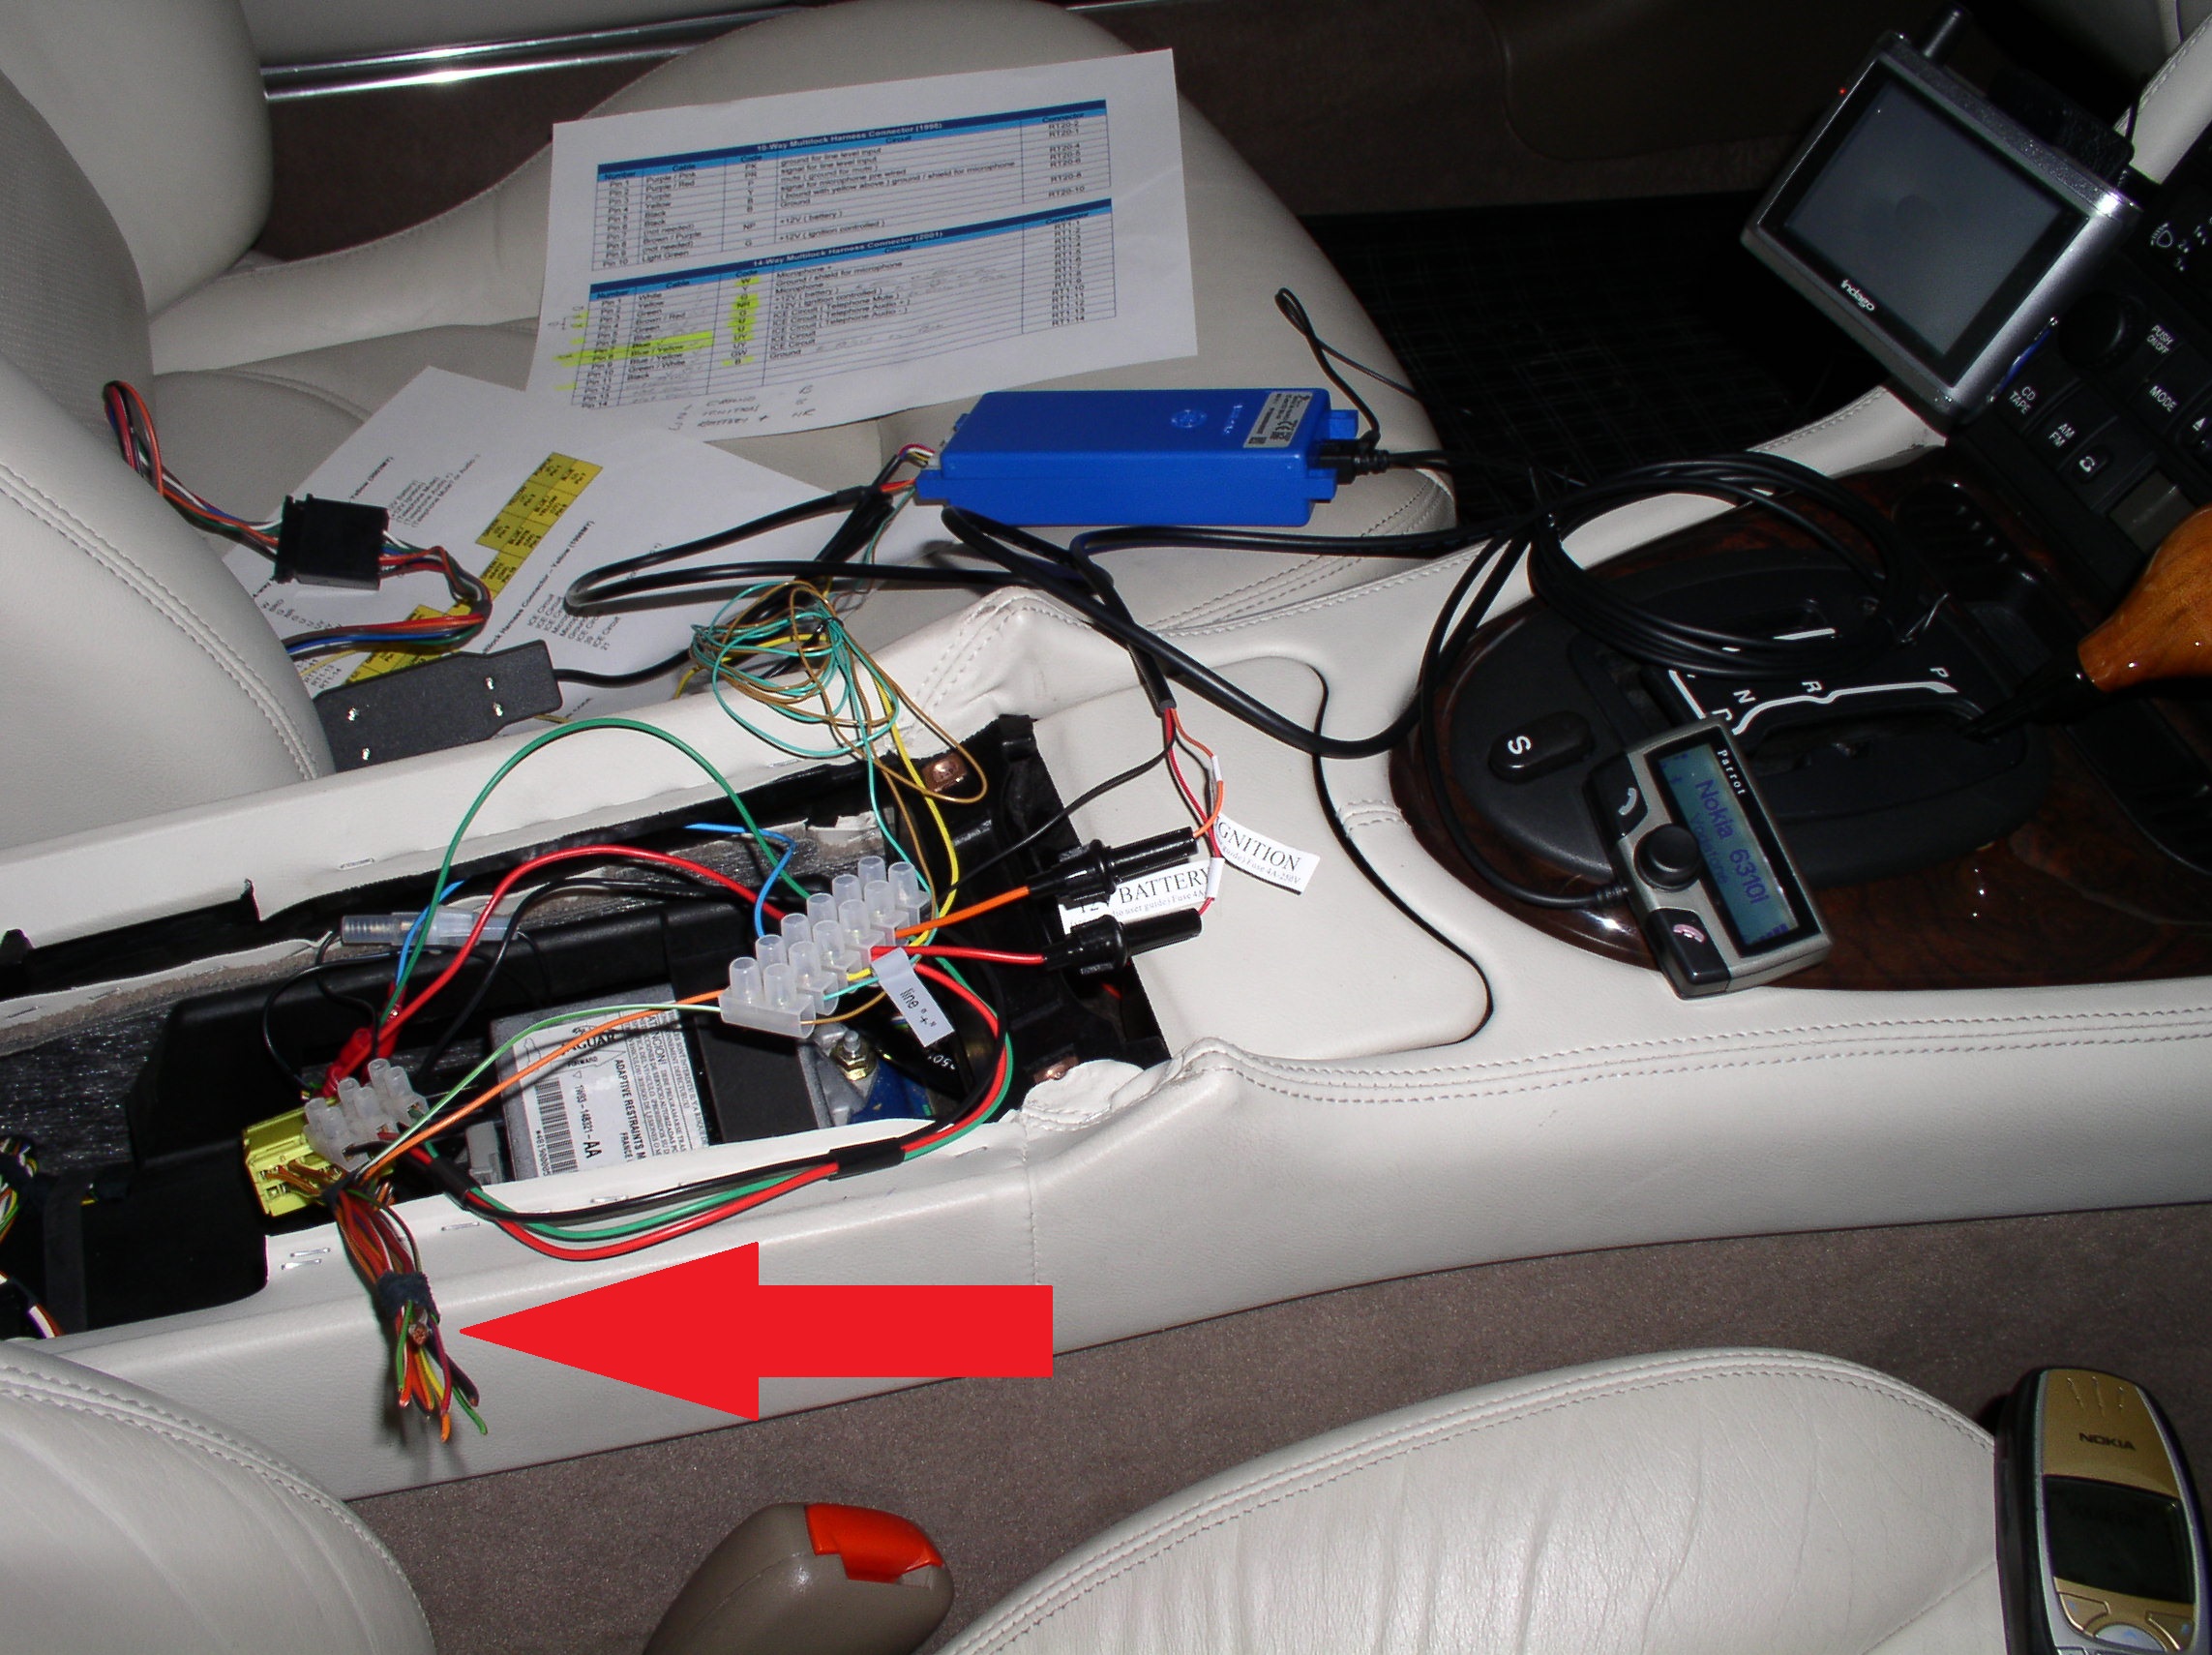
This is what I used on my 2001:-
Yellow 14 pin connector:
Your connections should be
+12 v bat pin 4 brown with red stripe wire
+12v ign pin 5 green wire,
mute pin 6 blue wire,
audio + pin 7 blue wire,
audio - pin 8 blue with yellow stripe wire,
mic+ pin 1 white wire,
mic-, pin 3 green wire, and
mic sheath pin 2, braided
Its not easy but working carefully you will win. First i assume you have the yellow 14 pin connector under the centre consol (NOT 10 pin). looking at the pin connector face on with the bevelled edges of the plastic connector at the top, the pin numbers are as follows; working top left to top right 6, 5, 4, 3, 2, 1. then bottom right to left;7, 8, 9, 10, 11. (the last three pins on the bottom left are not connected.) Suggest you make a sketch showing the numbers as the sot 065 connector will be connected using these pin numbers. Suggest you also mark the wires you will be using, it does get a bit confusing but take your time and double check as you go. You now need to connect the male section of the 14 pin sot 065 connector to the parrot, how you achieve this doesnt really matter but you need to end up with the following wires connected. First connect the parrot mute cable using only the thin green and thin brown wire plus the yellow wire with the bullet connector (cut the bullet connector off:
Sot 065 14 pin male connector to Parrot
pin6 (mute) to parrot Yellow wire
pin7 (audio +) to parrot Green wire
pin8 (Audio -) to parrot Brown wire
Now connect the parrot power cable, you will first need to remove the parrot power lead connector, then connect as follows ;
Sot 065 14 pin male connector to Parrot
pin11 (earth/ground) to parrot Black wire
pin5 (ignition) to parrot Orange wire
pin4 (battery) to parrot Red wire
You are now ready to connect the Parrot to the car and give it a try (over to you but a final check may be in order). Remember the car ignition needs to be on to power up. Once you know that everything works, you can start carefully placing everything under the center console. It is possible to fit the parrot blue box etc down the side of the center consol cubby hole box before re installing it, its a tight sqeeze but I managed it. By feeding the parrot control/screen wire out from under the center console and along under the trim at the side of the gearbox, you can place it where you can see and reach it easily.
Using pins 1, 2, and 3 in the 14 pin center consol connector it is possible to use the car wiring loom to connect the microphone up in the overhead console without having to feed the parrot mic wire through, however it depends where you want to place your mic.
Sorry I could not be more specific with exactly what I did when modifying the sot 065 lead, I do know that I ended up with a lot of spare connectors that were not required. BE VERY CAREFULL TO GET THE ORIENTATION OF THE SOT065 MALE CONNECTOR PIN NUMBERS THE SAME AS THE 14 PIN CENTER CONSOL CONNECTOR
Good luck.
Buy SOT-065 Hyundai ISO Parrot Adaptor Cable online at Nexxia
It's a connector for a Hyundai but it fits ours - depending on year.
Last edited by dibbit; 07-25-2016 at 11:33 AM.
#11
07-30-2016, 09:34 AM
#12
07-30-2016, 09:50 AM
Veteran Member
On a convertible, use the twin noise cancelling mike that comes with the Parrot kit, it will work much better than the factory mike.
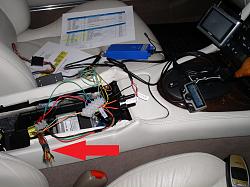
The Parrot control module should fit under the armrest cubby.
Some other hints are in the write up I did a few years ago, attached. The information on streaming audio connections is obsolete though since the equipment used is no longer available.
The Parrot control module should fit under the armrest cubby.
Some other hints are in the write up I did a few years ago, attached. The information on streaming audio connections is obsolete though since the equipment used is no longer available.
Last edited by WhiteXKR; 07-30-2016 at 09:53 AM.
#14
07-30-2016, 09:55 AM
Veteran Member
The following users liked this post:
Dale Dunn (07-30-2016)
#16
08-03-2016, 03:27 PM
#17
09-16-2016, 08:26 AM

Hello - Do you have a product for streaming via a CK3100 blue tooth this came with my 2007 X-type ?
#18
09-16-2016, 05:17 PM
Member
I've used a scosche bt1200 and the same basic instructions. I simply ordered the plastic plug and a strip of pins and made my own connector.
The only issue I have is the volume is not really loud enough in the convertible even though everything I can think of is turned up to its highest setting.
Any ideas?
Rick
The only issue I have is the volume is not really loud enough in the convertible even though everything I can think of is turned up to its highest setting.
Any ideas?
Rick
#19
09-17-2016, 08:32 AM
Veteran Member
The CK3100 is phone only. The X type audio interface is optical and needs a special interface. There is a member of the X-type group that sell them. Visit the X-type group...you will find help there.
#20
09-17-2016, 08:39 AM
Veteran Member
I've used a scosche bt1200 and the same basic instructions. I simply ordered the plastic plug and a strip of pins and made my own connector.
The only issue I have is the volume is not really loud enough in the convertible even though everything I can think of is turned up to its highest setting.
Any ideas?
Rick
The only issue I have is the volume is not really loud enough in the convertible even though everything I can think of is turned up to its highest setting.
Any ideas?
Rick