When you click on links to various merchants on this site and make a purchase, this can result in this site earning a commission. Affiliate programs and affiliations include, but are not limited to, the eBay Partner Network.
Started work on the left side rear quarter panel (saddlebag area)
Had to stop work on the rear inner wheel arch repair and do this area first as they are interconnected..
This area has had some work done in the past by a P.O
First i removed the paint where it was bubbling to see the extent of rust underneath, then started to cut it out.
Next was to cut out the rear quarter closure panel and lip.
Now i need to cut out the inner part that has the boot air vent.
But first i need to make a new closure panel before i cut to much out.
Now this is made and a good fit to what is there i can now cut out the inner bit with the boot vent.
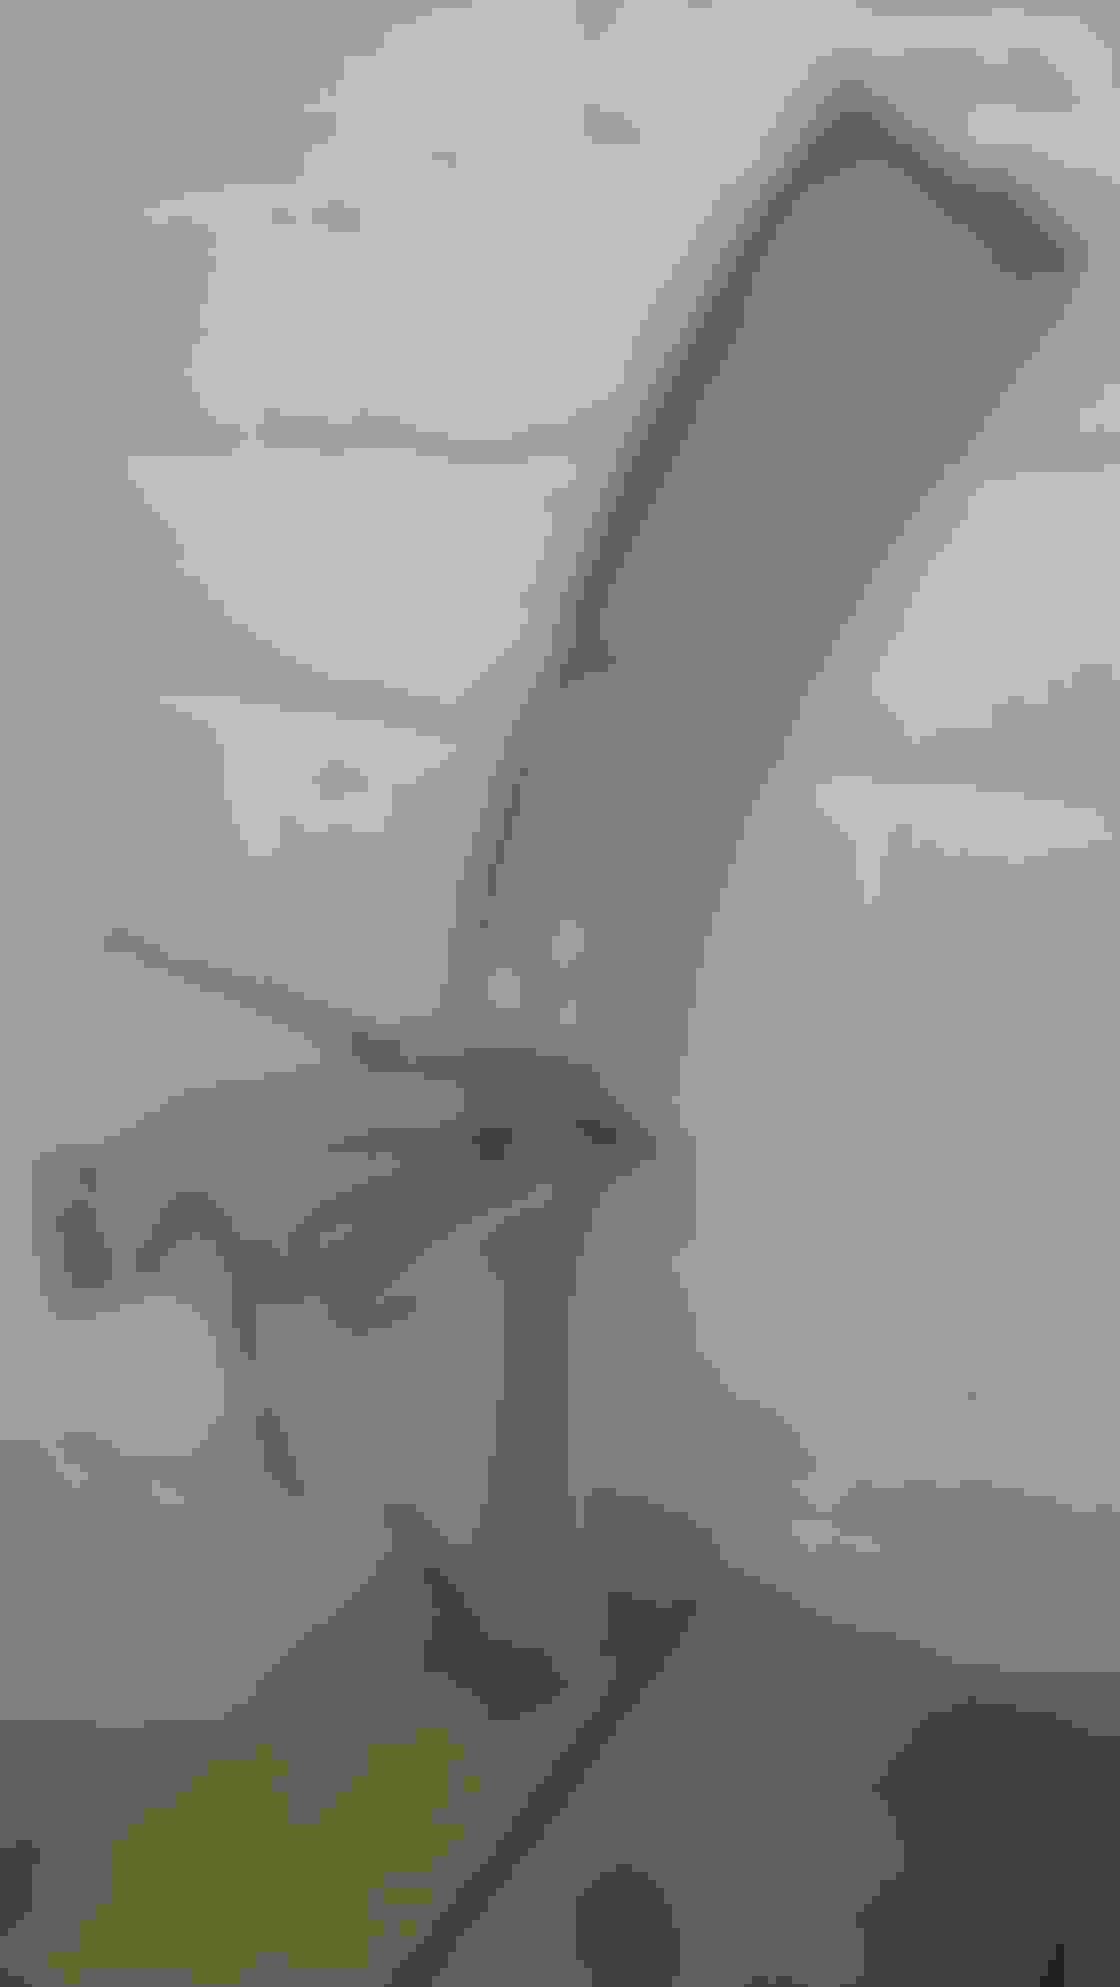
The above is showing the boot air vent and most of what i will be cutting out next.
When you take your photographs please make them a little wider as its often difficult to give context to what you are showing .
Great work ..I am heavy into mine with the waxoil
I understand the difficulty to see the context to the photographs, i have this issue some times when looking at other threads, it can be hard to work out what the photos are showing and the angel it was taken.
Most of the photos are taken from inside the rear wheel arch looking to the rear of the car (as bits are been cut out)
The rear bumper hanger and exhaust tip are good reference points.
Iv now cut the next bit out (part of the inner boot air vent etc)
Photo taken from inside rear wheel arch towards rear of car.
I then welded new metal to this bit iv cut out.
As can be seen here, iv closed off 70% of the boot air vent with the new metal iv welded in.
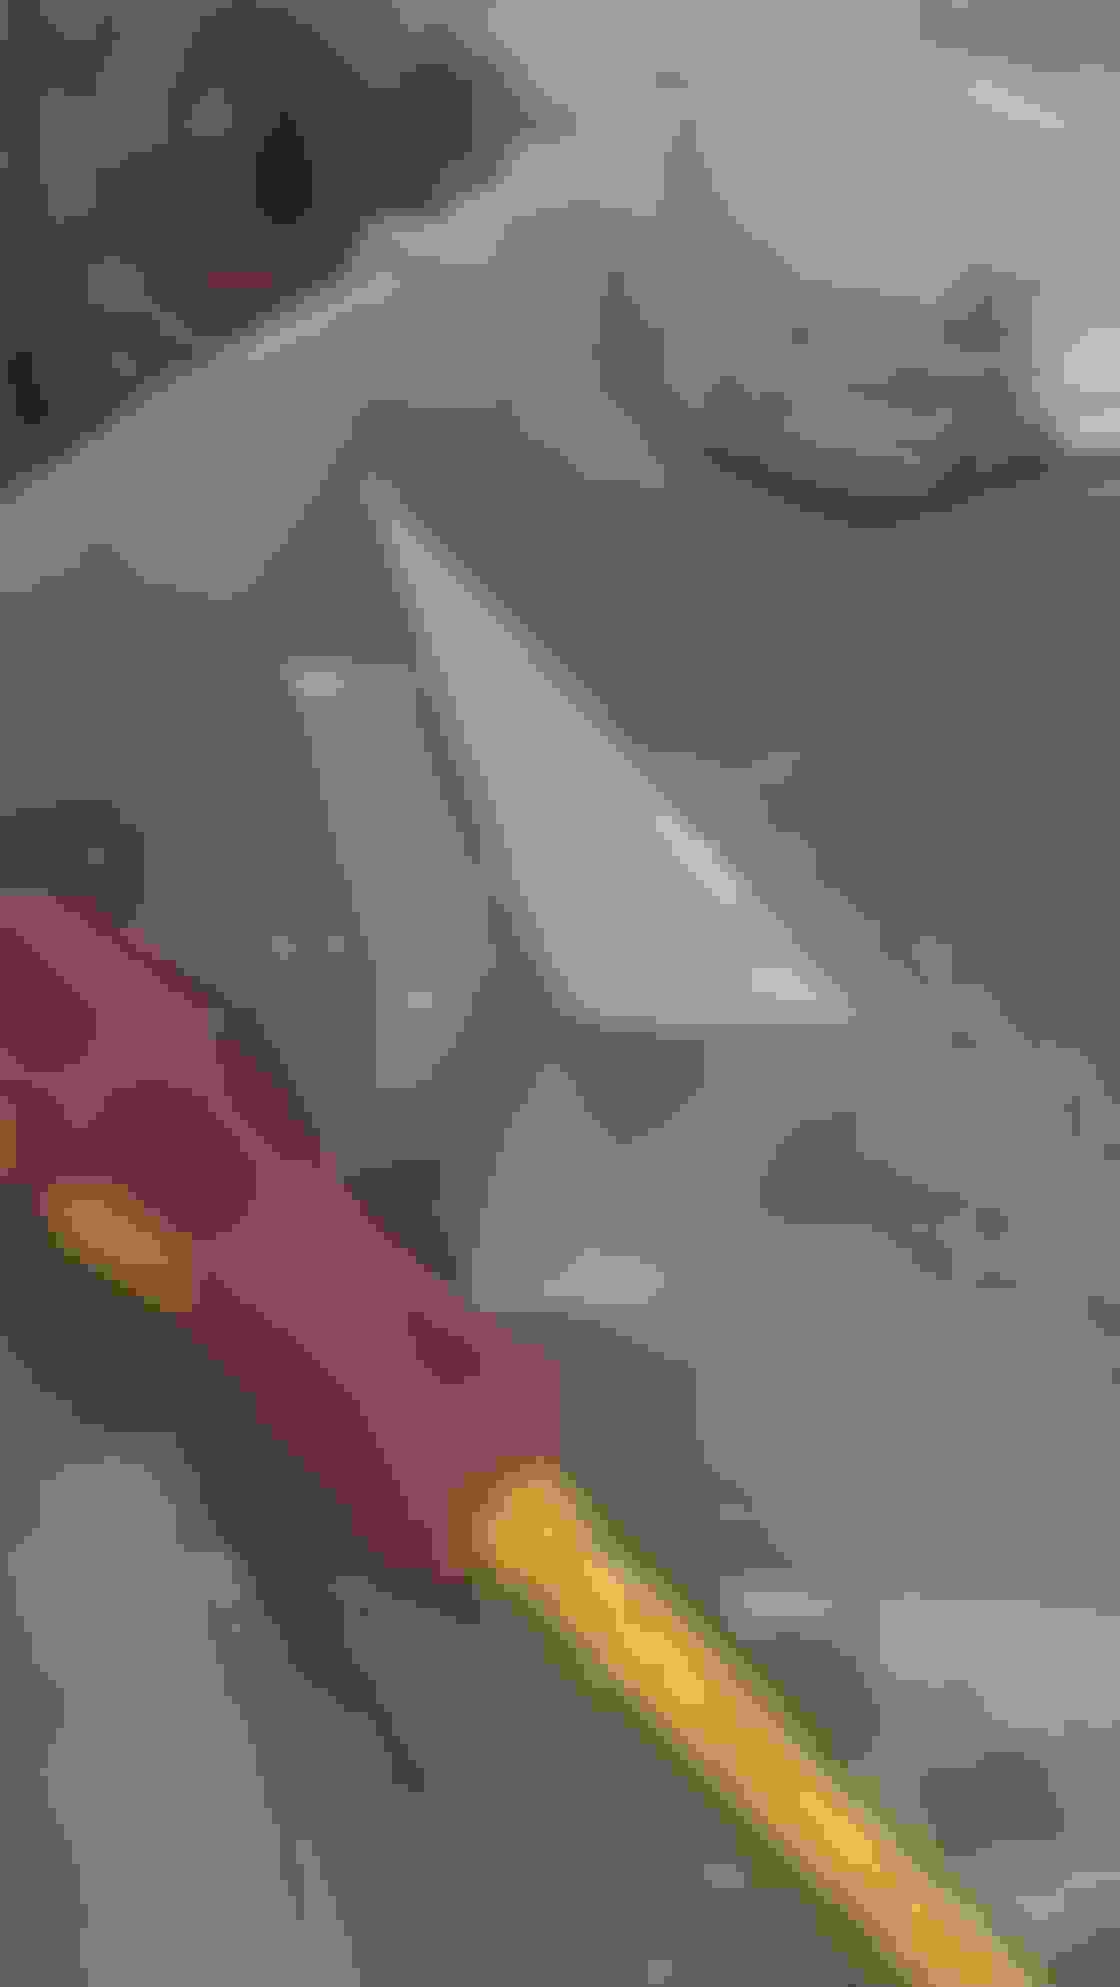
This photo shows this new repair in place so i can do a small amount of fettling before welding in place.
This is an over view of the area (for reference where all this work is taking place)
This photo is the same but closer and looking up. (Note iv now removed the rear bumper hanger)
This photo is taken from the rear of the car looking towards the rear wheel arch, this is showing the remaining bit of the boot air vent, you can also see some welding from an old repair by the P.O.
This photo is the same view but taken from the wheel arch area looking towards the back of the car.
this is the same view but closer.
Before i weld the first repair in place..... im removing the under seal and any seam sealer from this hole area (to sort out the rust thats hiding under it)
This photo shows the under seal been removed and the rust thats under it.
This is the same area but a bit closer (note iv removed the exhaust hanger)
The rust is mostly surface rust but some places have a heavy build up of scale rust...
To be continued ...
Last edited by XKR-DAY; 04-10-2022 at 12:57 PM.
Reason: missed last photo.
All the rust has now gone, and the first repair is welded in place and the bumper bracket has also been welded back in place..
As can be seen above the boot air vent is now 70% closed off....Iv made a cover for the remaining 30% to keep the water out.
(I will show this cover next time)
Iv clamped the closer panel in place so i can make the wheel arch top lip and work out the best way to get it all to work with the inner wheel arch i made in another thread. (this is the interconnecting area that stopped me from continuing with the inner wheel arch repair thread)
Oh My Goodness! You are one dedicated soul. That's a lot of work and obviously you have great skills with sheet metal and welder. More power to ya and keep up the good work. Looking good. TM
Havent had much time lately to work on the car, but things have moved forward a little.
I made a new top lip that welds to the closer panel bottom lip,
i then drilled spot weld holes in the top lip, and using seam sealer clamped them together and spot welded them together.
This is the way it should work with the inner wheel arch repair i made..
So the next step is to weld the closure panel in place on the car.
This view is from inside the boot/trunk of the above repair..
This is the cover i made for the boot/trunk air vent hole, this will be tiger sealed in place, the opening will now face the rear of the car and help stop water getting into this area.
There is still lots of work to do on this rear quarter panel repair (saddlebag area) , and i can now finish the inner wheel arch repair thread also..
This area has been the most challenging to date on this rust repair/restoration venture...........
I wonder what percentage of his original steel remains on the car vs. the steel he has replaced over the years....
Thats a hard one to answer,
All this rust is only happening under the car and along the sill/arch line so lets say this area is 30 percent of all the cars steel, i would at a guess say i will be replacing about 10 percent.
Iv also added some extra bits of steel, as can be seen here (boot air vent cover)
View from inside of boot/trunk
View from the out side....
As can be seen above, the opening for the boot/trunk air vent now faces the rear of the car to help stop water entering the saddlebag area.

 04-02-2022, 01:52 AM