When you click on links to various merchants on this site and make a purchase, this can result in this site earning a commission. Affiliate programs and affiliations include, but are not limited to, the eBay Partner Network.
Happy to, and a disclaime . I am making this up as I go! There are many more knowledgeable resources on wood refinishing than me, and most will probably tell you I got this all wrong. Lol. This is just what I did.
The finish is a standard MInwax high gloss polyurethane. After prepping the bare wood I applied two brush coats (foam brush) to seal it. I went on too heavy in my application which required a lot of sanding to flatten it out. Next time I will go a lot thinner on the initial brush coats. The goal is to seal the wood . I did notice that the knotty parts of the veneer required additional local application to seal them .
After the first coats I hit it with 600 grit to smooth it down. That caused some burn through and additional refinishing.
When I did get it all sealed (no visible dry areas), I sprayed it with my hvlp gun at low pressure and flow. After each coat dried I wet sanded with 1500. That was the easiest part. The final (for now) coat laid out flat and smooth.
On to the dash panels. Here I was particularly concerned as I didn't want to create an expensive problem. The initial start was rocky as I tried to find a way under the existing finish that lacked ready - made cracks or chips. It took a good 10 minutes to finally crack the surface, but once there it was little different than the shift surround. Here you can see where I got purchase .
One thing that immediately jumped out was how much thinner the finish is on the dash. That's not a good thing as it wants to chip instead of peel. It took well over an hour to strip this one, and some areas around the edges will need to be sanded. For thinner coating I also needed to use more concentrated heat. I still had no problems protecting the veneer though.
I shot a short video showing heat application and finish removal, but I'm not sure yet how to upload that.
Looking good! Nice job. Sounds like you may have done this wond6work in steps - a couple of pieces at a time.
I'm sure the new work must look better than the factory. Hey would you mind giving us a frank evaluation of before and after with regards to "similarities"? IOW cracks and wear notwithstanding, how well does the new finish blend with the old?
You can probably see where I'm going: if one refinished one piece will they pretty much have to do the rest for consistancy?
thanks, John
The new look is nowhere close to the old - and that's a great thing! The existing finish is yellowed an opaque. When redone as shown in my progress, it's a whole new and wonderful look
While tedious, this has not been hard. In the last 4 days I've redone the shift knob and surround, and the rest of the dash is going to fall in quick succession. It just keeps getting easier as I go.
If you were looking to refinish one piece to match, I don't see how you could do it. The aging of the old finish almost guarantees that the new is going to stand out like a beautiful thumb. Lol. In for a penny...
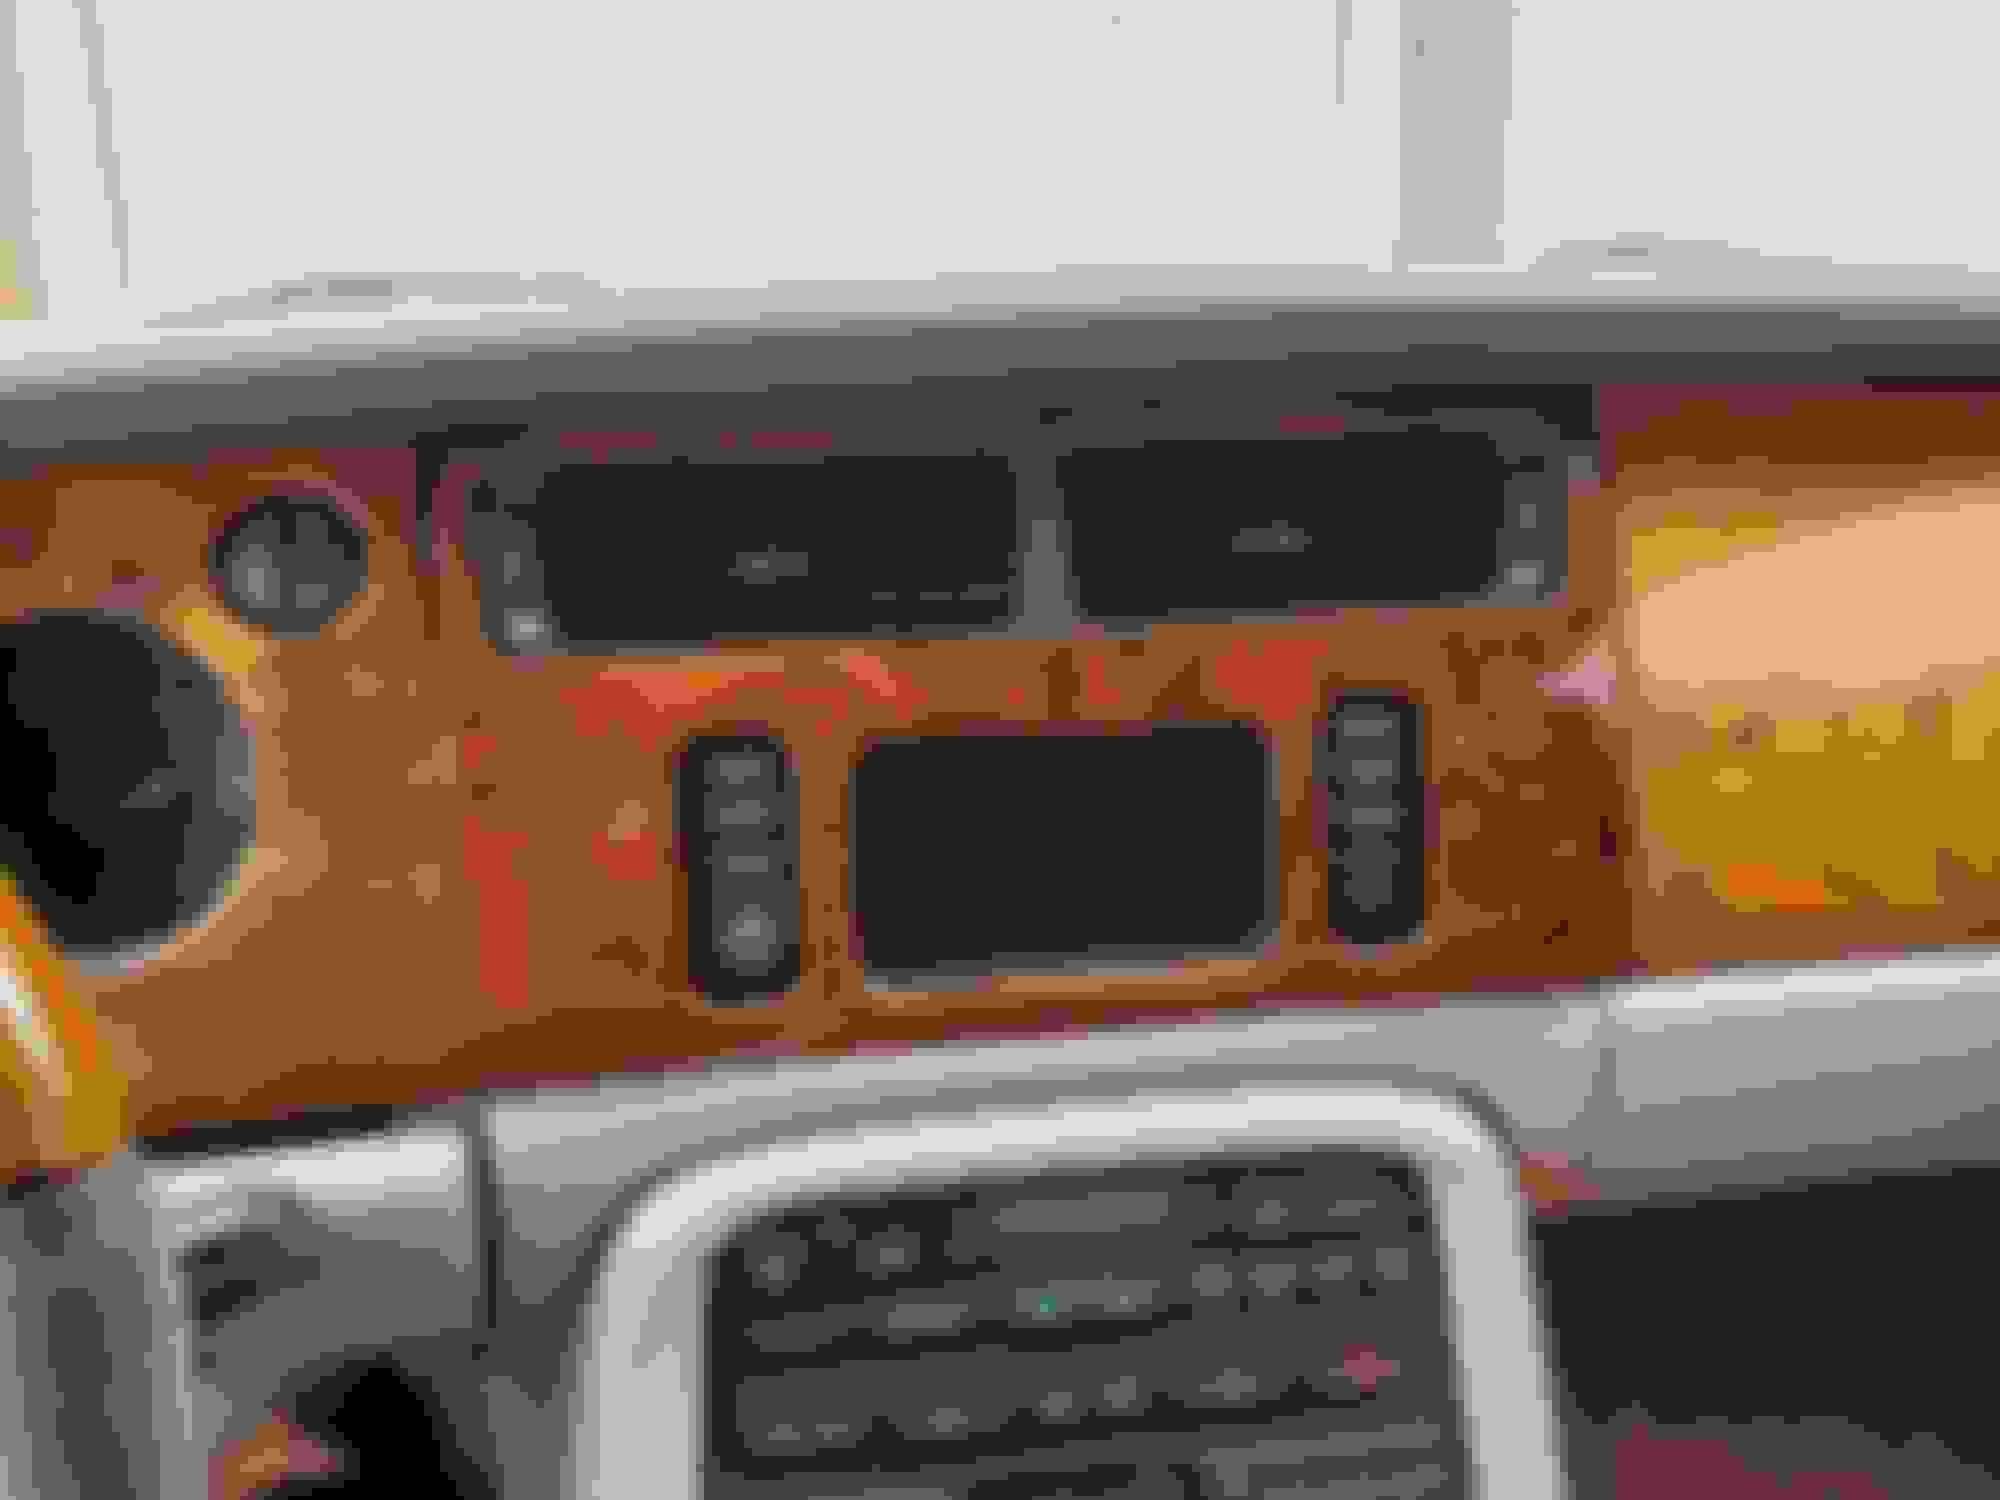
Johnken: Here is a visual answer to the color match after refinish. With the nav panel nearly finished I laid it in place to see the contrast. It is significant.
I was kind of hoping that the instrument panel that had always been a shade darker might not need to be refinished. No such luck! That one is coming off next. I'm saving the air bag cover for last. Other than removal, it will be the easiest of the 3.
.
The instrument panel is now bare wood. As before, no real issues.
One snag I ran into was that the plastic bezel for the instruments was epoxied to the aluminum panel. That's not normal.
I tried a little heat to see if it might soften the adhesive but no such luck. I'd be lying if I didn't say that I was very worried the heat would melt it. As it turns out, ABS plastic softens at a higher heat than needed to remove the finish. Whew! Bullet dodged.
When I strip the air bag cover (it was pretty easy to remove) I'm going to lose the labels for Airbag and Jaguar. On the latter I was thinking of going back with this. I'll size it to the same vertical letter height as the original.
I tossed this together in photoshop and placed a walnut bakground behnd it to see how it might look. I thought the lone 'Jaguar' was just a little dull.
I played with a silver version, trying to bring the exterior color inside, but it seems pretty stark agaist the walnut.
I will do this as a decal using Testors printable decal material (cheap), but I won't be able to replicate the gold the factory originally used. Let me know you thoughts.
I think this is a great idea. I was wondering if I could find replacement decals for my XK8 when I go to refinish mine.
I'll try to do something similar with paint shop pro. I think the gold looks pretty good against the walnut. Great job
with the refinishing. The difference is amazing. The pieces look brand new.
When I strip the air bag cover (it was pretty easy to remove) I'm going to lose the labels for Airbag and Jaguar. On the latter I was thinking of going back with this. I'll size it to the same vertical letter height as the original.
I tossed this together in photoshop and placed a walnut bakground behnd it to see how it might look. I thought the lone 'Jaguar' was just a little dull.
I played with a silver version, trying to bring the exterior color inside, but it seems pretty stark agaist the walnut.
I will do this as a decal using Testors printable decal material (cheap), but I won't be able to replicate the gold the factory originally used. Let me know you thoughts.
If I were you I would print both versions out and then make a choice, as the printed versions will look somewhat different from how they look on a computer screen. My guess is that the silver will print better purely because it's really a monochrome print, with just gradients of black to give the silver effect, whereas the gold requires more colours and could look substantially different when printed.
I'm continuing to make progress on the interior wood. The dash and nav panel are finished although I do need to buff them out better than I've done to this point. All of the remaining wood is stripped and in various stages of refinishing. I'm getting close to the end!
I'm a little disappointed that the veneer on the instrument and nav panel don't match. I'm pretty sure that somebody has replaced the instrument cluster panel at some point in the car's history. Oh well, gotta roll with it.

 04-03-2020, 12:24 AM