When you click on links to various merchants on this site and make a purchase, this can result in this site earning a commission. Affiliate programs and affiliations include, but are not limited to, the eBay Partner Network.
Not hard at all. There is a decent write-up on the forum describing removal.
I have to tell you though that I'm getting weary of the repeated steps of spraying and sanding. It takes quite a bit of work to fill the grain and get to the point of actual finish coats. Each piece has needed 6 coats minimum. I wish I had the UV cured finish! That would have sped this up considerably.
So, for some reason, I'm still having difficulty 'easily' removing the coating. I now have two 'test pieces'. One I'm using as a 'crack repair' piece, one as a 'remove it all' piece.
Crack repair is going poorly. It's difficult to minimize the effect of the crack while 'hiding' the whitened wood underlying with some dye.
The 'remove it all; is also going poorly, but maybe less poorly. Based on the success of our friends above (inspired by mhminnich), today, I tried just throwing caution to the wind and not worrying about tiny scratches on the veneer, assuming they will sand out. I used my 300 W heat gun instead of the much more 'vigorous' 1500 W version.
That sped things up, some. Technique
1. Clamp 300 W heat gun to adjustable lamp vertically (see below) so that gun hovers about 1 cm over the surface without having to hold it.
2. Wait about 30 seconds to heat the surface, then begin lifting the coating off using a small jeweler's screwdriver. Try to take it off in sheets. Note largest piece I was able to remove is pictured below. Not large.
3. Continuously remove until I was emotionally numb (about an hour in this case led to about half of the surface being clean).
The whiter sections remove more easily than the darker sections (especially the burl). Neither of my test shift surrounds have enough white to make it quick.
Since I only have one piece I want to refinish, I guess this will be my technique. Matching color is the next trick...
Kludge heat gun above the coating, eventually about half removed in about an hour. When I recover from my existential despair, I'll finish.
Disappointedly, largest bit of coating removed at one time with the 'removal tool' screwdriver.
Sorry to hear yours isn't coming off easily. I used a1500 watt gun and slowly worked a putty knife under the edge. Maybe the large area of the putty knife would help you get sheets instead of chunks?
As to wood scaring, you don't want to do that. You can sand out light scratches, but anything deeper will cause you grief as the veneer isn't that thick. Instead you'll have to apply numerous coats of finish to fill the scratches (they really aren't that visible afterwards) and do lots of sanding in between to flatten the surface.
One thing I've learned along the way is to save all your wood dust when sanding. You can smear some wood glue in the deeper scratches and pits and then work a layer of sawdust into the glue. Some light sanding and you're good to go.
Appreciate it, I have had a hard time using a larger putty knife or scraper (or chisel) because just picks of the edges, mostly, and I'm afraid of gouging the curved surface. Sanding has worked well, the occasional very superficial small scrapes with the screwdriver have easily sanded out. Fortunately, I don't have any real scratches yet.
For sanding, I tried 1000 grit and 800 grit on the half I've finished. Wet sanded with alcohol. 800 is probably preferable.
I started with 320. It really doesn't remove all that much material and gets you ready to finish much faster. I purchased a 320 grit foam sanding block . That worked great. I also used 320 between the first several coats where getting the surface free of defects was the goal. On the next couple coats I used 600 wet, and on the final coat I did 2000/2500 before buffing .
I started with 320. It really doesn't remove all that much material and gets you ready to finish much faster. I purchased a 320 grit foam sanding block . That worked great. I also used 320 between the first several coats where getting the surface free of defects was the goal. On the next couple coats I used 600 wet, and on the final coat I did 2000/2500 before buffing .
Your first (sealing) coat was polyurethane cut with mineral spirits?
I haven't decided whether to use the UV cure or polyurethane. Biggest problem, I think, is that there are many many easily available polyurethane colors I've looked at locally so I can see what it looks like next to the actual surround in different lights. Local woodworking shop (high-ish end) looked at me like I was having 'issues' when I asked if they had any UV cure polyester resins. "No was all he said." He didn't grin and shake my hand, though.
I didn't thin the first coat. Should I have? I'm past that stage now anyway.
Probably, thinner makes it much easier to seal coat burl (and other woods with deep or complex grains) initially. I've used 50% mineral spirits in the past, was just curious what you did.
After receiving my Testors decal kit I anxiously printed my labels and sealed them.
When I applied them however, they were basically invisible. It never occurred to me that a printer printing on white paper didn't include white ink. Lol.
I called kinkos to see if their color printers did white, but was told they didn't. Now what?
I'm not sure whether to cry or drink!! Took me a whole week to sand this trim piece down. Was very careful not to go through the veneer.
I was thinking his UV high gloss finish would be perfect but as you can clearly see, I'm an idiot!!
Who can tell me what I was supposed to use??
I will have to start again.
I used minwax high gloss clear. How many coats is that?
It took me six coats to get a smooth glossy finish. It looks like you need to sand and recoat a few more times.
That was at least 10 coats, when I used the spray can you could see that it wasn't going on very smoothly. Looked to thick. I used wet and dry between coats. I have just spent the afternoon taking it off again. Is the mini wax in a spray form?
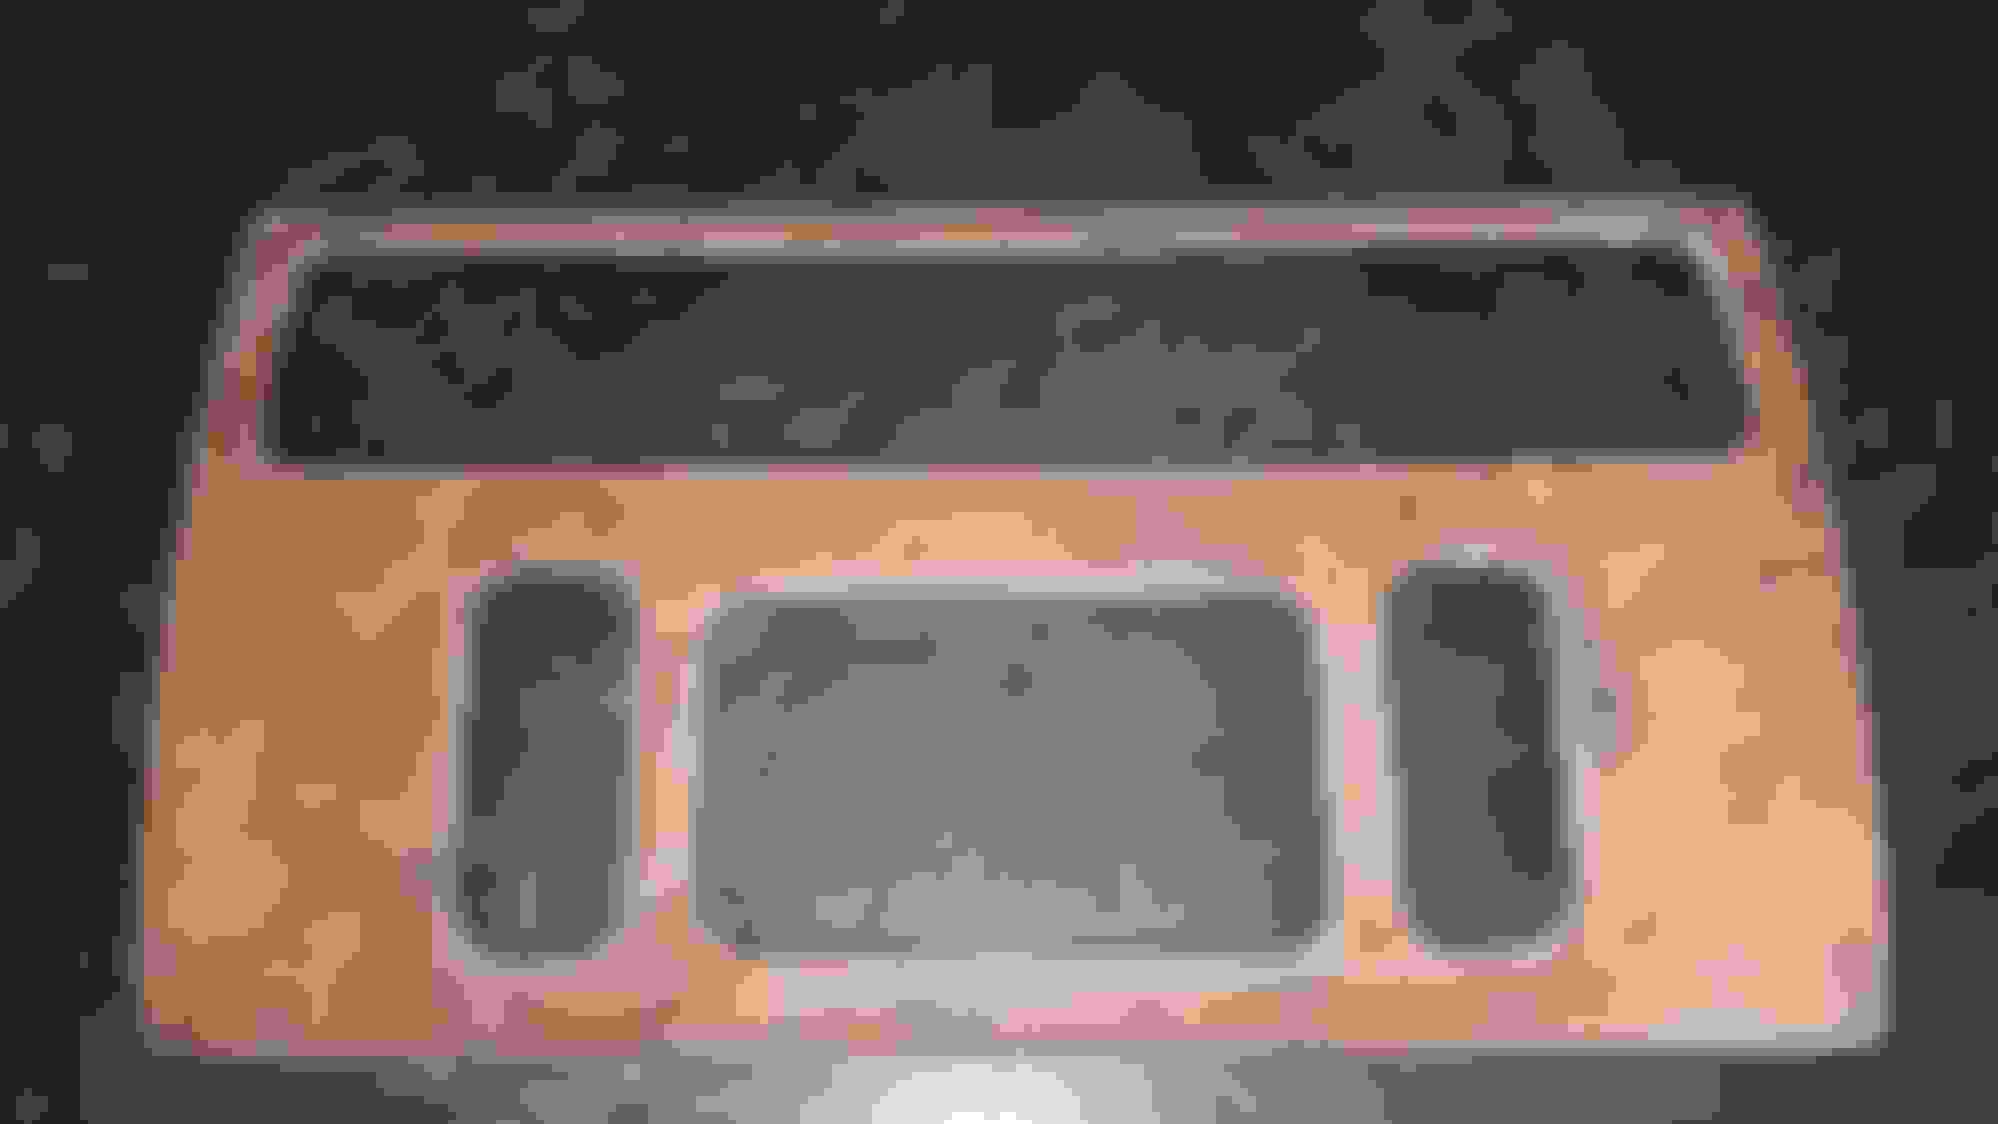
as you can see, I have gone through the veneer in two small sections either side of the bottom middle hole. Not good!!
For small burn throughs my daughter did some paint touch up and you can't even see it. Hint:go darker. Stain would probably work too.
As to the minwax polyurethane, it was from a can. I sprayed it on using a small hvlp gun for most of my pieces. I did do the shift console with a foam brush and it looks just as good. It just took a little more work on the sanding front .
I notice your spray says gloss LUSTER: A gentle sheen or soft glow. That doesn't sound glossy.
Translating from French, I think that should be something like 'gloss shine'. That's also 'fini clair cristal'= crystal clear finish below. This looks to me like it should be gloss, not semigloss or satin. Unclear exactly what happened. Possibly an old can?
On the other hand, there are a number of other clear poly glosses (depending on whether you need to adapt color) that are pretty glossy including
Minwax Ultimate Gloss
Watco Wipeon Gloss
Rustoleum Ultimate Gloss
Both Varethane and Rustoleum have 'thick polyurethane' too, which I am likely to try as a top coat, thinning substantially with mineral spirits for the first 'sealing coat'.
i also need to change the color a minor amount. The coating that came off is yellowish now (or originally too), the whole effect matches the dash that I don't want to redo. I'll probably do that by matching my coating chips to a minwax polyshade or other colored poly in the second coat (or later if the color still is not a match).
When you mentioned the first coat you said to mix the lacquer
substantially with mineral spirits for the first 'sealing coat.
Am I thinking that you spray out the lacquer into a small pot and mix in the mineral spirits and proceed to brush it on?
When you mentioned the first coat you said to mix the lacquer
substantially with mineral spirits for the first 'sealing coat.
Am I thinking that you spray out the lacquer into a small pot and mix in the mineral spirits and proceed to brush it on?
Yes, you could do this if the poly is in spray form, 50% might do. Then brush or wipe. A tight foam brush might be easier to control than typical cheap paintbrushes (as mentioned by mhminnich). I often use a small art sprayer stolen back from my daughter for things like this (again, as mentioned by mhminnich, though not the restealing part).
I used Old Master polyurethane "gloss" on the shifter knob and it turned out great.
If you don't have a sprayer try a good quality soft bristled brush. Lots of sanding in
between and thick, even coats. I never use the spray cans.
On another note, I took my wife's suggestion and went with a BRG version of my emblem for the air bag cover. It's subtle, and probably better than my original ideas.
Before going this route I investigated other options and the cost /reward ratio didn't add up.

 04-11-2020, 04:07 PM