When you click on links to various merchants on this site and make a purchase, this can result in this site earning a commission. Affiliate programs and affiliations include, but are not limited to, the eBay Partner Network.
heat gun...check! Got it, and will work the wrinkles out myself, after I google a youtube video of someone else doing it first. I'd hate to burn the dang thing!
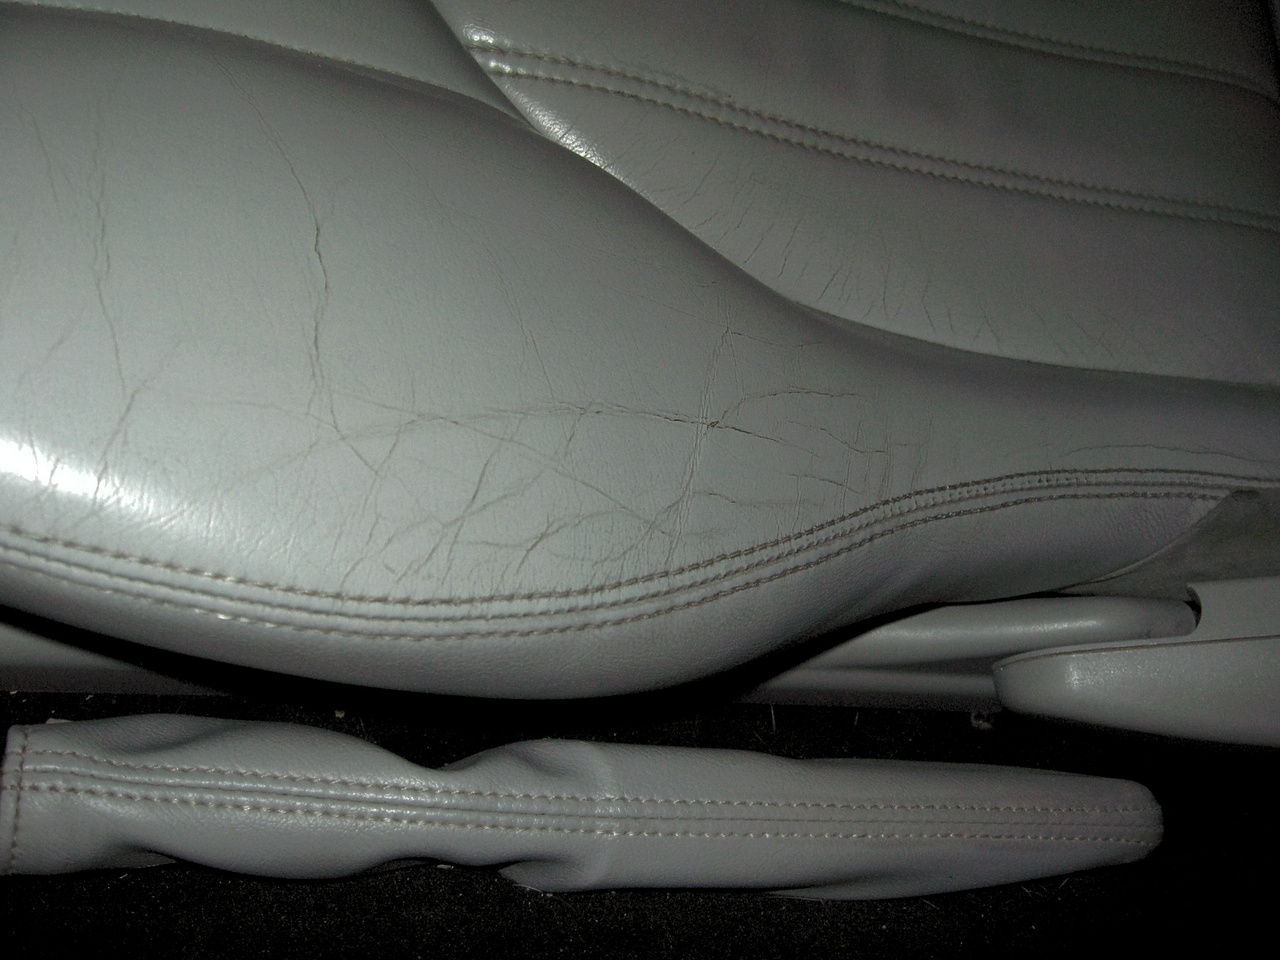
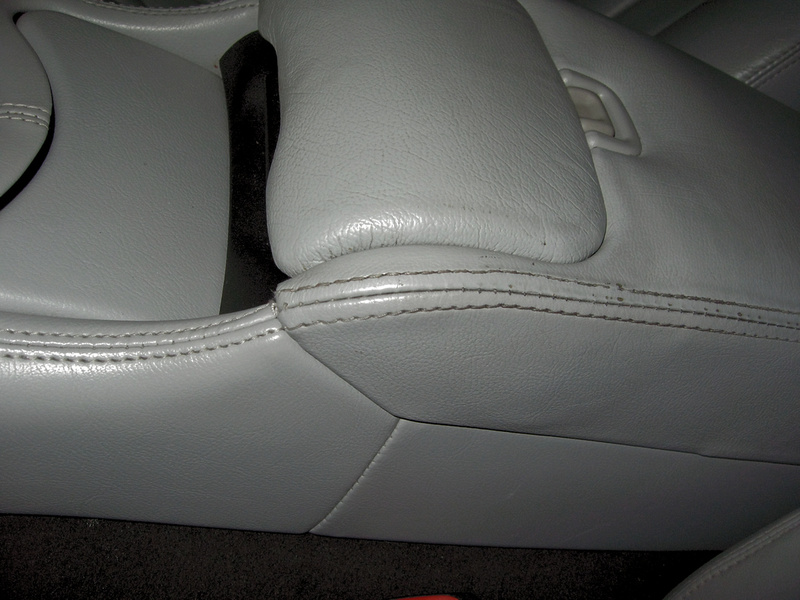
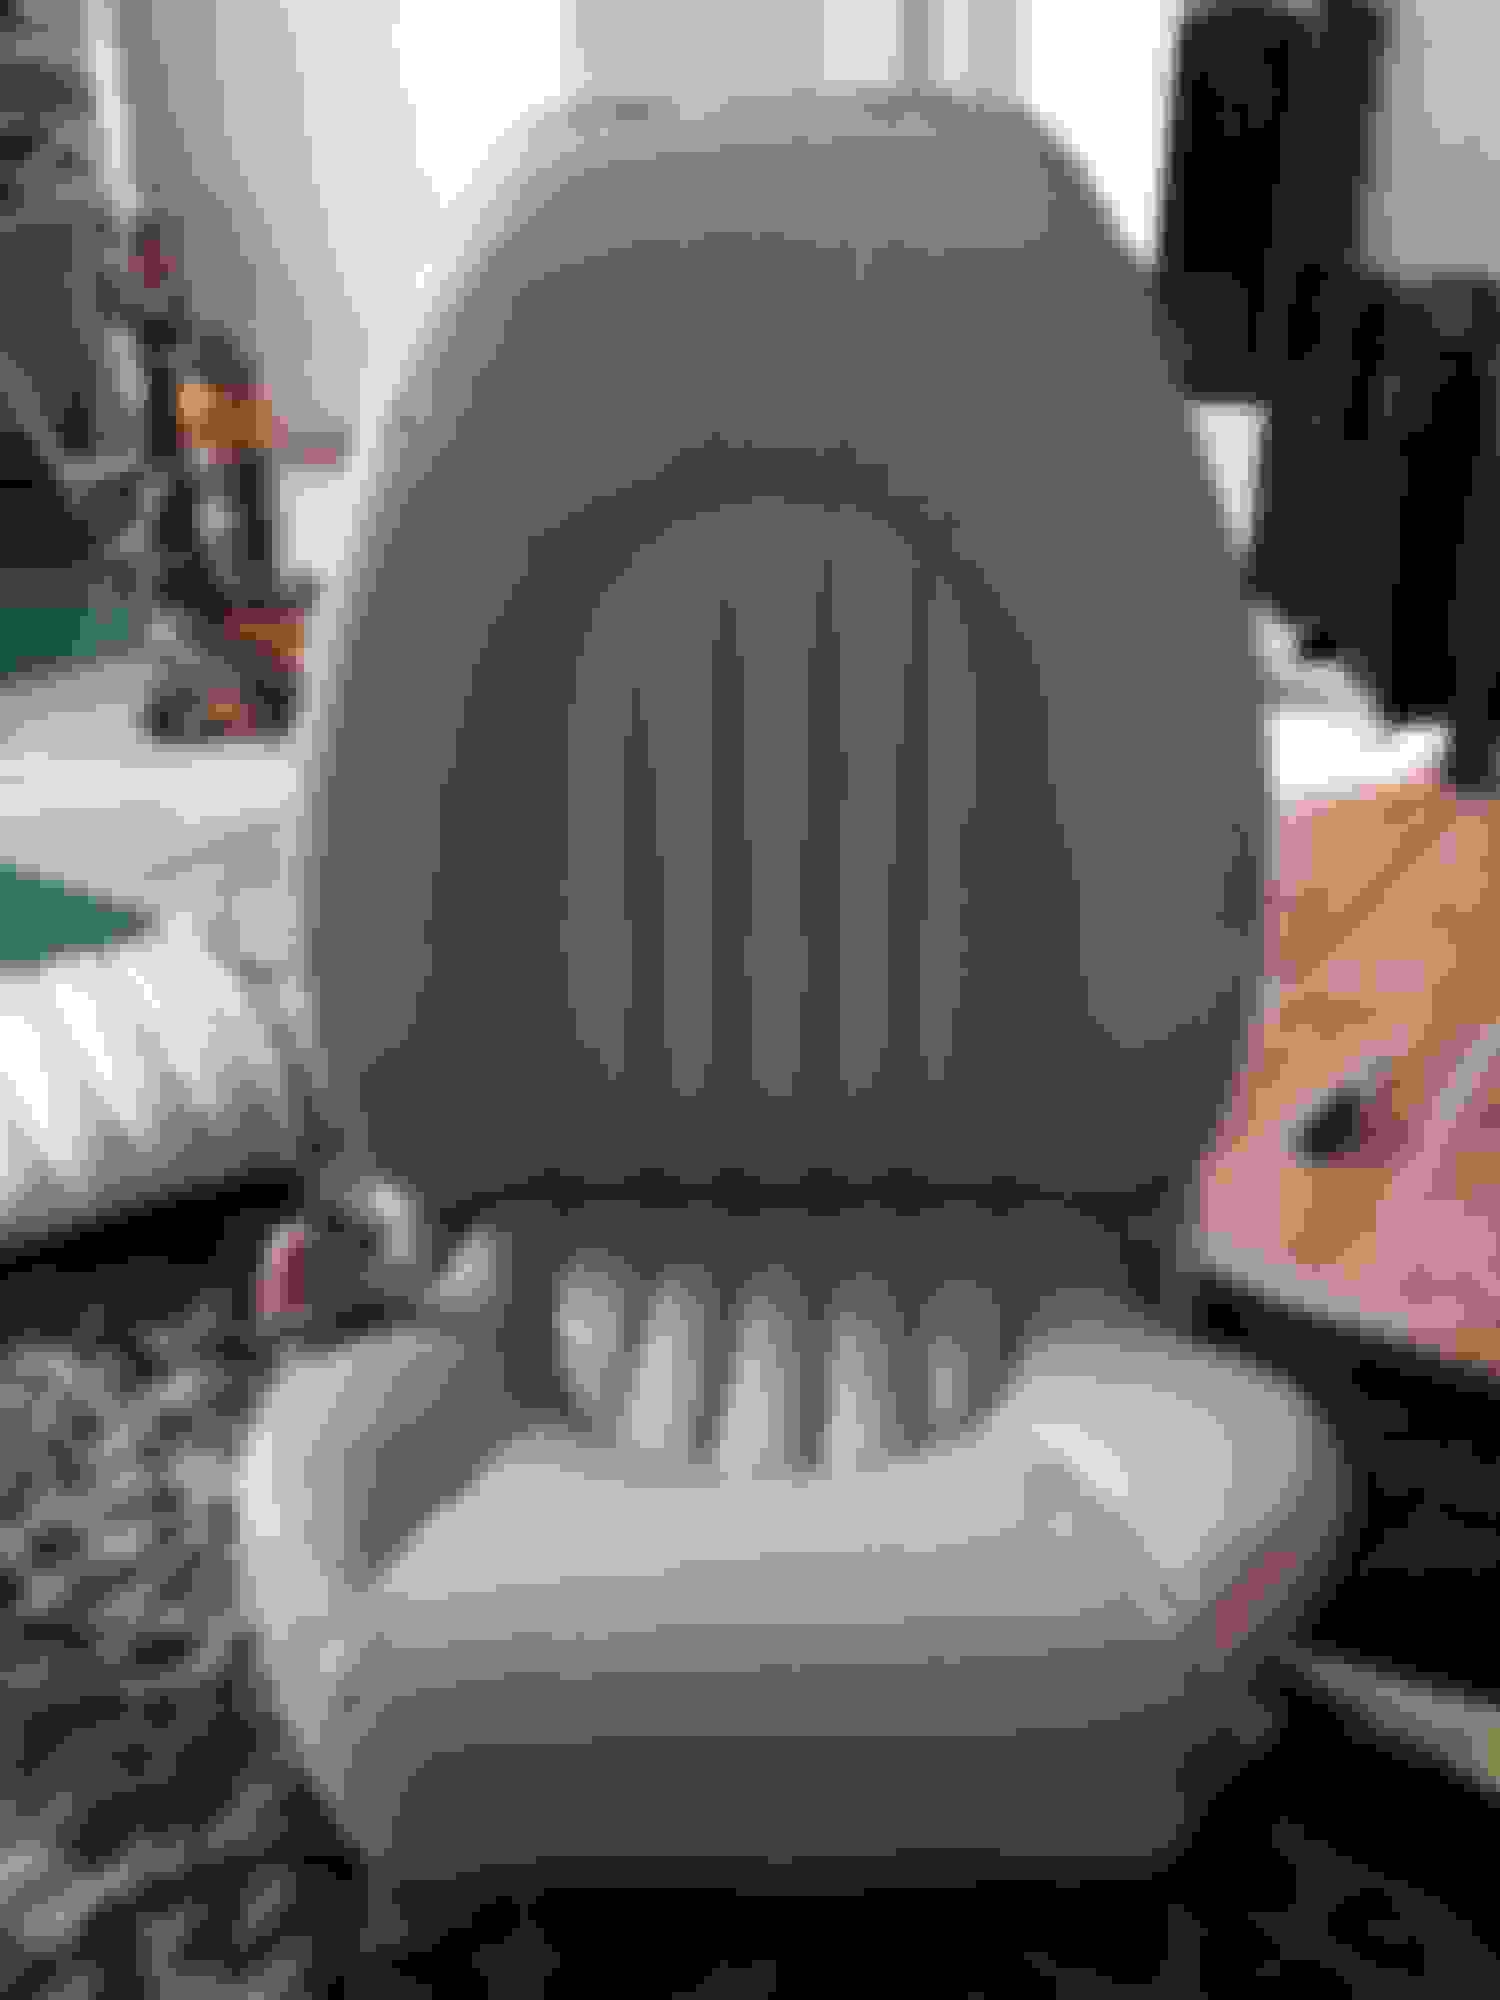
Added pics of what it used to look like...
Matt, you have to be careful and make sure your not holding the heat gun on one spot, keep it moving.
Topsonline - would you reccomend for (or against) this as a DIY project for someone who has never done this before (but has a "reasonable" level of mechanical skill)? Do the covers come with installation instructions?
Technically I always recommend professional installation, more than few customers who were mechanically inclined done the covers and came out very good, especially the early model covers are not complicated. Matt�s installation is ok but missing the fine tuning part from being perfect, in this case the fine tuning is the heat gun and working the wrinkles out.
Matt, I'm thinking about pulling the trigger on new seat skins from topsonline for my 98 vert - how are they holding up for you? Are you pleased with the overall fit and finish? Thanks!
Well, the seat skins are holding up great, love them! Quality is very good, texture and color are almost perfect. Stitching is excellent, I highly recommend the kit.
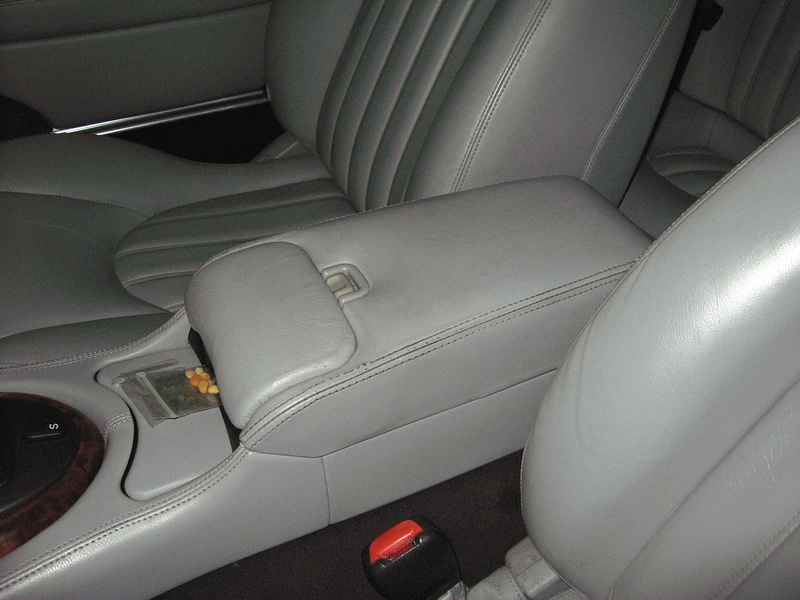
I finally got my armrest finished also. I bought a new unit from jaguar, wrong color, so had it re-upholstered in factory leather. The kit you get from tops-online should have everything you need, just take it to a good shop, mine was recommended by a shop I trusted, however, they used poor staples to secure the headrest material and lower cushion to the seat frame, they keep falling out. They also damaged my seat control switchpack getting it off, I had to fix it as it wasn't staying within the seat and its little house. They also tightened the headrest sleeves too tight when they re-installed into the seats, making them unmovable...had to reopen the seat back to loosen them and reseat the little ball-n-socket joint the left and right cylinders snap into. PITA! My driver seat heater was left disconnected and they stripped a frame rail bolt.
So, find a qualified shop, maybe with a little jag experience that would help, and fully test everything before you leave the shop.
But other than that, Mrs. Lincoln, how was the theater?!
Sorry about the PITA with the install. I'm nervous about letting someone strip my seats - but I know if I try and do it myself it will be nothing short of disasterous.
Do the seats in the later model years have full leather backs? I know the topsonline kit wraps the entire seat - front and back - but my factory seats appear to be only leather faced with plastic/vinyl backs.
not sure about the vinyl content, I didn't do a good inspection on my old removed skins, though they are just sitting in a bag in the garage, I may take a look before banishing it to the attic. The new leather looks and feels much thicker.
the new leather is holding up great, still somewhat 'new' like in how they feel. I'll snap a pic or two after my next interior detail.
Someone (a mechanic, tire shop employee or body shop worker) had a screwdriver in their rear pocket and raked a 3-inch scratch on the bolster. Now I put a cover on the driver seat whenever i leave it with any service needs.
The two-tone leather seats covers from Vic's Auto upholstery AKA www.topsonline.com ask for Vic and tell him Mitchell Mathes sent you he will give a discount.
He is very easy to work with and very knowledgeable of the Jaguar brand. He made my seats, headliner and top. They all fit perfectly the first time.
They were installed by someone local (Arizona Phoenix area). All were very reasonably priced using high quality materials. GAHH quality or better!
Dear Stu-in-flag,
About 3 weeks ago I replaced the driver's seat cushion only with a cover from topsonline (Vic's Upholstery Supply). While the cover fits well and has the proper stitch and ridge lines, it is not the same leather as OEM. It is a much different texture, much more pronounced grain, much more matte, and a much stretchier leather than the original. (after only 3 weeks, the leather in some of the panels is showing signs, ripples, of having stretched a considerable amount. If you're replacing both front seats and backs, it won't make much difference as everything will match, and to Vic's credit, they were willing to refund my purchase because it was clear it didn't match, however, I kept it but am having my original cover repaired and re-installed, and will keep the new one as a spare. I work in the textile industry and have used Vic's for other purchases many times as I live less than 5 minutes away. They are very reliable but the seat covers are not the same as OEM.
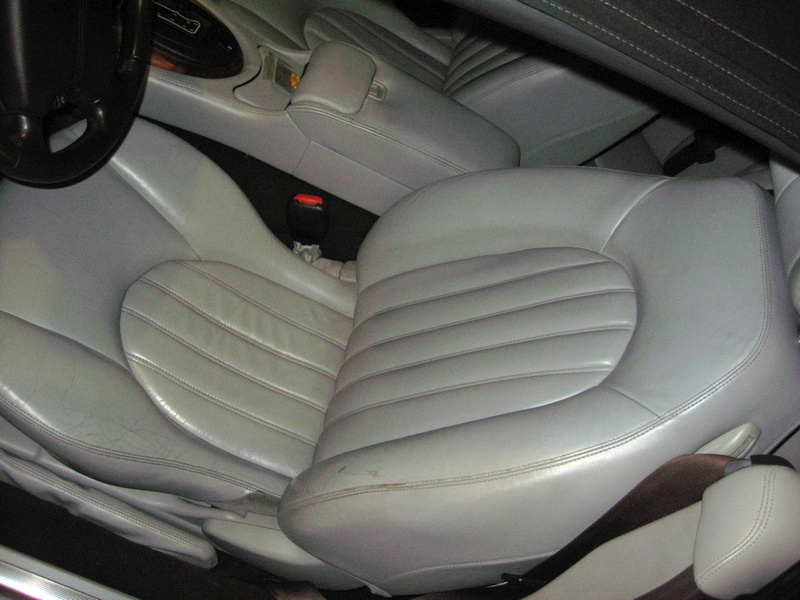
I ordered from tops online, except I did not order the headrest as they did not need replacing. I figured I could tackle this myself and save the $400 pro install. To start, I used Tony Troller's video on youtube regarding the squab and Rev. Sam's head rest cable videos regarding the back rest, the JTIS, which was incorrect on my models screw placements on the lever switch on the backrest so I broke both the lever knob and back plate they call an escutcheon, however a plastic bonder from Home Depot repaired both parts so I did not have to order replacements for that and you can not see where it had been broken ( I did post what not to do on another post, if anyone attempts to do this, let me know and I will send the ling). I substituted all the hog rings for zipties. There are like over 40 on each seat. I hope that will hold as I thought it might be easier and will not rust the underside of the fabric as the rings did plus I did not have the proper tools for that so I just removed all the rings with plyers. Time will tell if I made a bad call on that. The only real problems with the covers are that the squab replacement material is too long on the section that goes to the underseat and I could not secure it, although it does not seam that securing it will make any difference on that particular part. When I held up the new squab to the old squab there is def a few extra inches. Now for the back rest, I am stuck at the part where you secure the front section to the back section, (in the beginning of sams videos he shows you how to un-secure it, its like the very first thing he does in the video. For the love of god, I can not get these two parts to meet. I'm bringing in a second set of hands to see if that will help. I have readjusted all the clips underneath and can not seem to find anymore give...so I am stuck here. I could not find very much info on how to actually do this, so I am surprised I did not screw it up. You do have to cut all your own holes in the leather to fit all the knobs and plates and headrest collars, but a precision razor knife worked beautifully. I really can not say that I would recommend this as a DIY, yes it can be done, if you like to spend way more hours then it should take, you are unemployed with lots of time on your hands, you have severe depression and don't want to leave your home and need something to do, you don't mind what feels like bleeding finger tips, so much so that you can not tackle seat number 2, until they heal and of course you like hip cramps from being in awkward positions while securing rings, zipties, etc. and of course you like to say mother f%$#er alot, otherwise-totally go for it. I am sure that the second seat will go much faster now that the learning curve is over, but I am totally not looking forward to it, now to see about a heat gun to perfect my work. These are the before and after of the same seat, before the heat gun.
Last edited by Offshore-Angel; 05-20-2015 at 06:18 PM.
Just MHO could you not try a hair drier first before using a heat gun? I have a Bosch heat gun and it has several settings but it is still pretty fierce. You need to make the leather a bit more pliable not turn it into a medium rare steak.
I used a hair drier when re colouring my seats last year and the leather got almost to hot to tough on a couple of occasions. Please take care as once burned or chard its another ball game and you have made a great job so far, well done .
Arty H, I had wondered about using a hair dryer. Actually I went ahead and installed the seat back into my Jag late last night and thought to forgo the heat gun, as once it was installed, I was quite happy with the results. But I may still hit it with at least the hair dryer and see if there is any difference. If I were to ruin the leather after all that work, I would cry..
Tberg, thanks! Yes, I do feel a bit proud of myself right now-especially because there was very little info to go on to begin with and now I can help others with the same model on what exactly is the deal. I feel kind of stupid that at first I did not know there would be any rings connected to the fabric when I removed the old stuff. Had I known what I was getting into, would have never done it. But now, even my fingers feel rested and I' ready to tackle seat 2 and eventually the armrest (with the help of REV Sam arm rest re-cover video).
I was able to to get just a tad more give by realigning the velcro on the front without removing the already adjusted back clips. It was just enough give and with the help of my daughter, we were able to secure and clip the J channel together and finish the job. Yay!
Drivers seat installed after leather cover replacement
The main problem with any leather cover replacement is that afterwards, the old floor carpets look bad and need replacing, then you notice the seat belts look discolored and need replacing, and then you say, "well after all those refurbishment, the headliner now looks crappy' and so on and so on, I believe it turns into a full out refurbishment, lol. So make sure you signed up for that before beginning eh....:-)
 04-01-2011, 04:49 PM