When you click on links to various merchants on this site and make a purchase, this can result in this site earning a commission. Affiliate programs and affiliations include, but are not limited to, the eBay Partner Network.
I believe, quite annoyingly, you need to take the whole selector unit out to get the cover off cleanly... And I think a lot of people just get a whole replacement unit used... Mine is not as bad as yours but I have a polished metal replacement that came in a bit box of used parts I bought.
When I tried to get my snapped cover off to replace it, I made things much worse because it's screwed upwards from underneath. It has now slipped down my list of Jag priorities considerably!
There is an alternative. If you can source a spare illumination panel (which is what you have damaged) then it can be replaced. You just need small screwdrivers and patience. Follow these steps to remove the panel. The reassembly is exactly the reverse.
Some owners have difficulty removing the Gear Knob due to plastic shrinkage in the thread- can be really tight even after the lock nut is released/
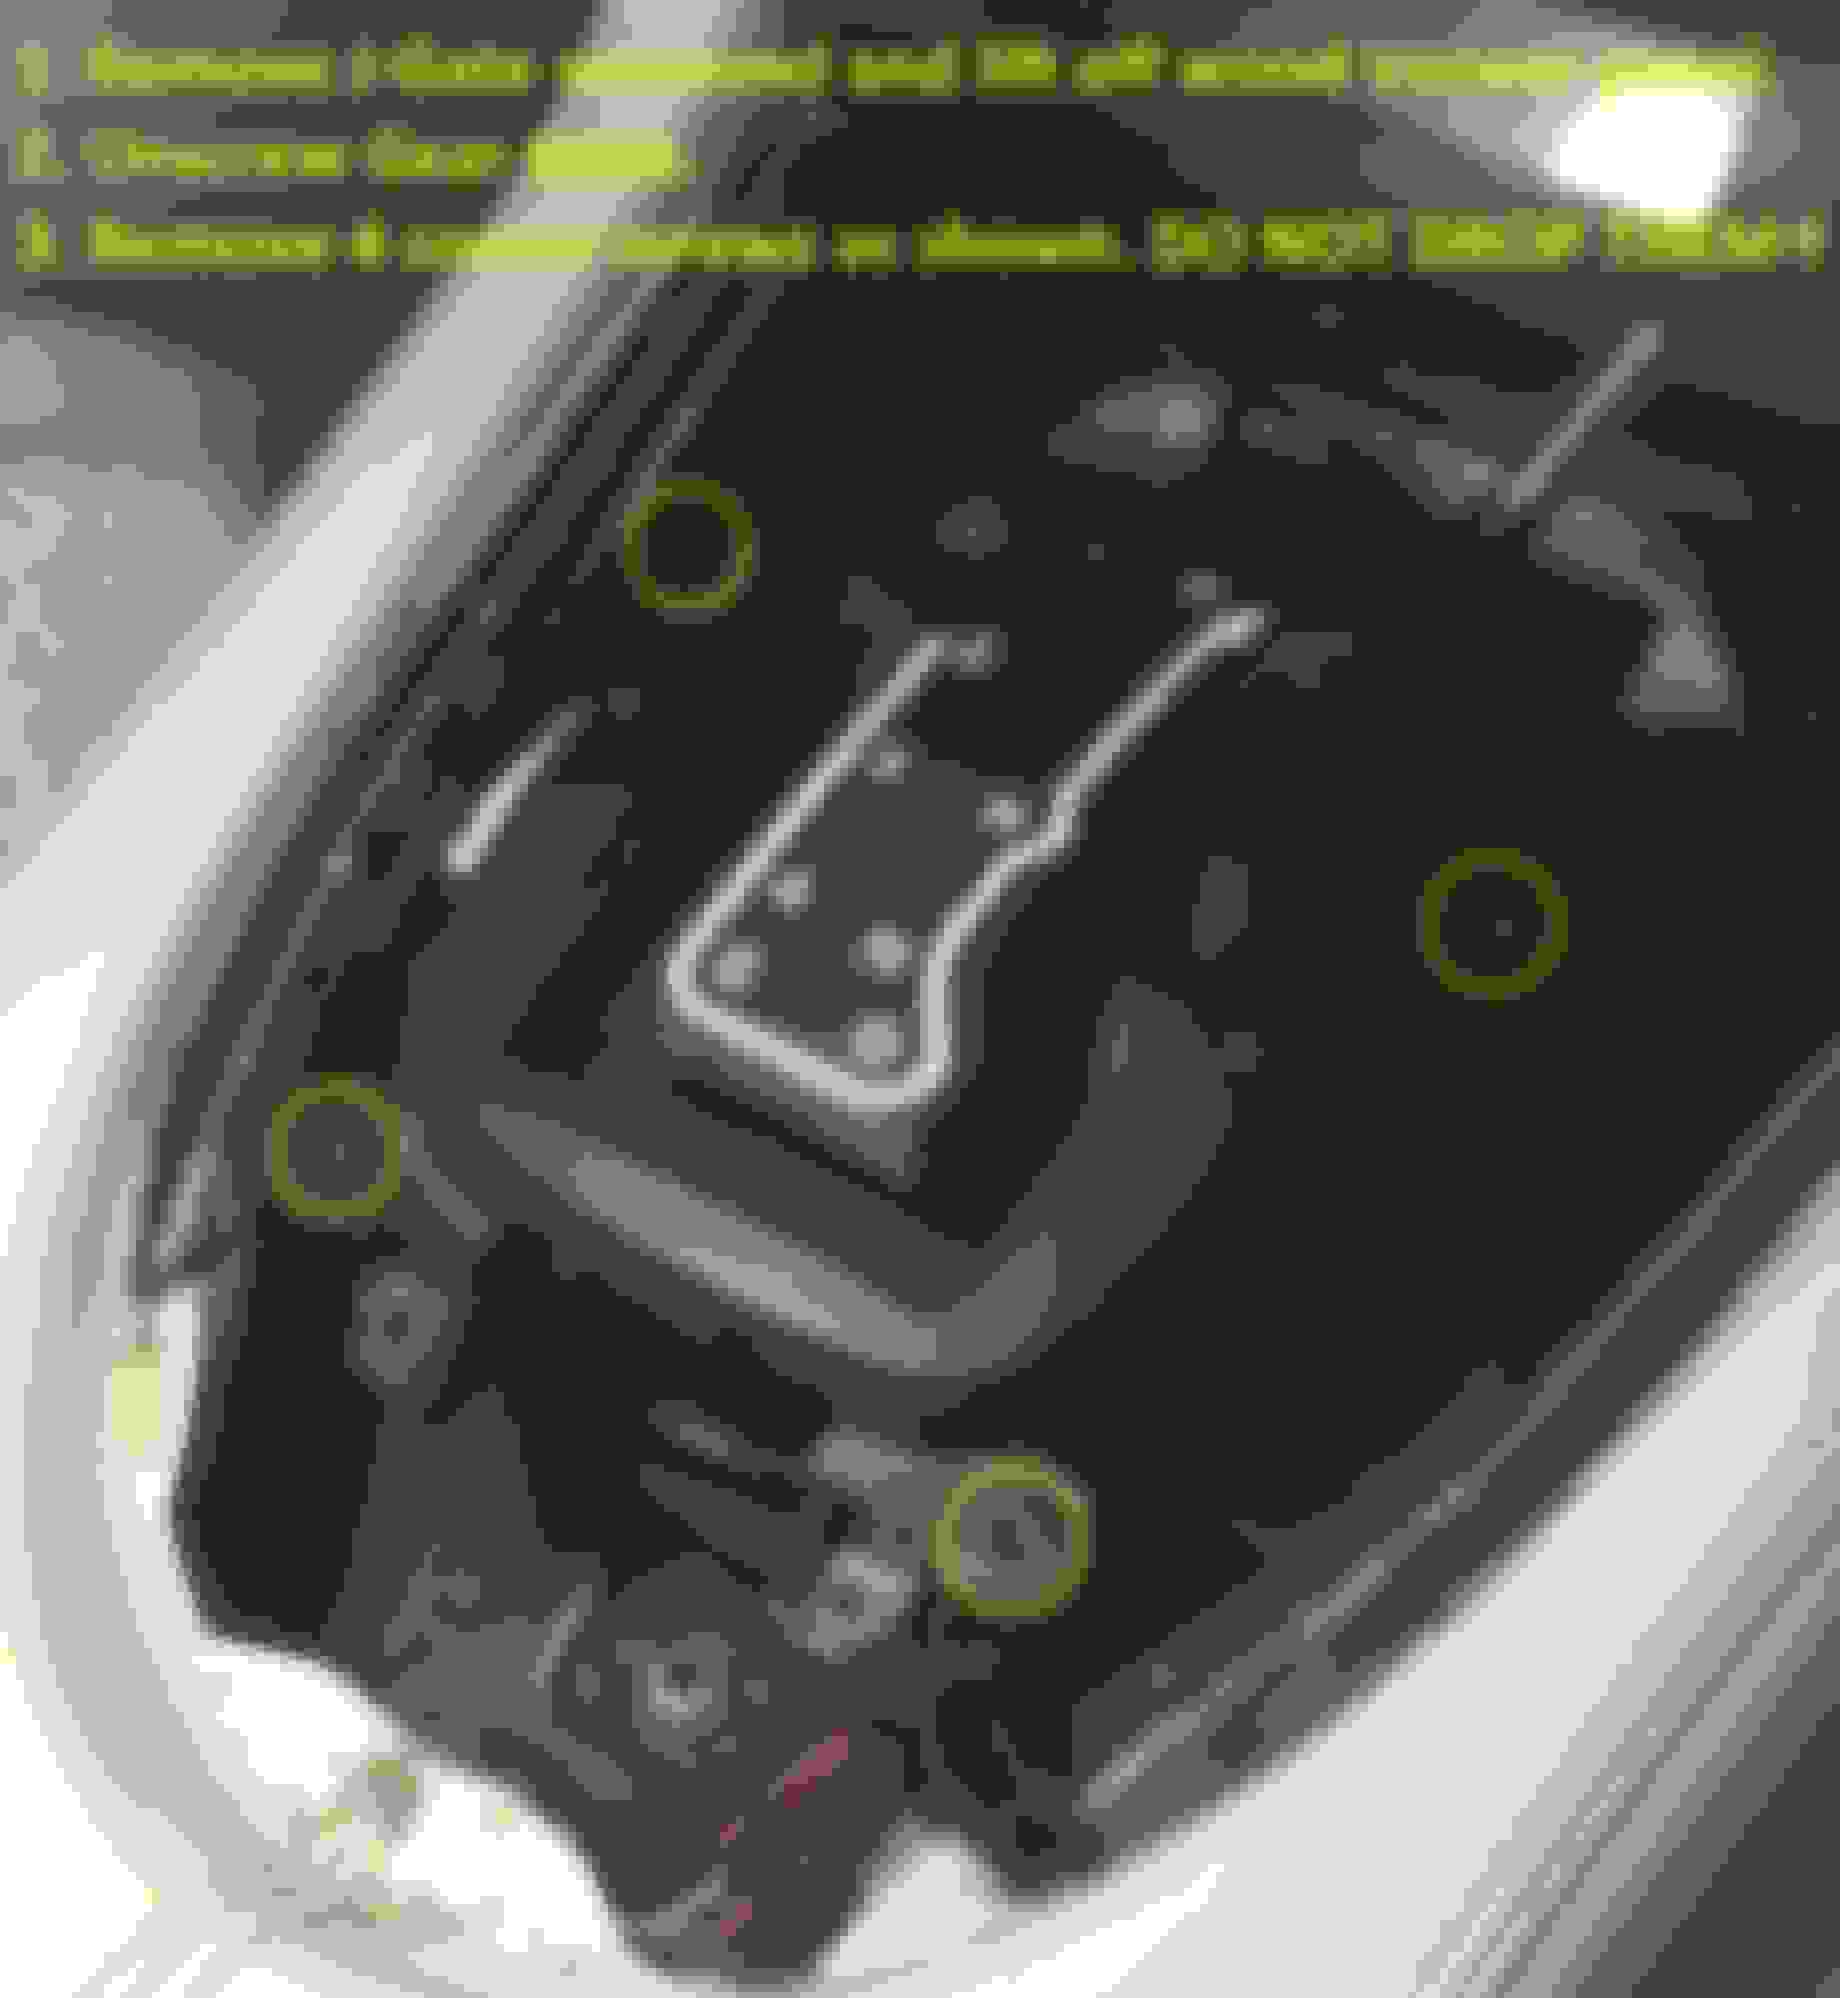
Remove the single torx screw at top left of panel. Now you can start:-
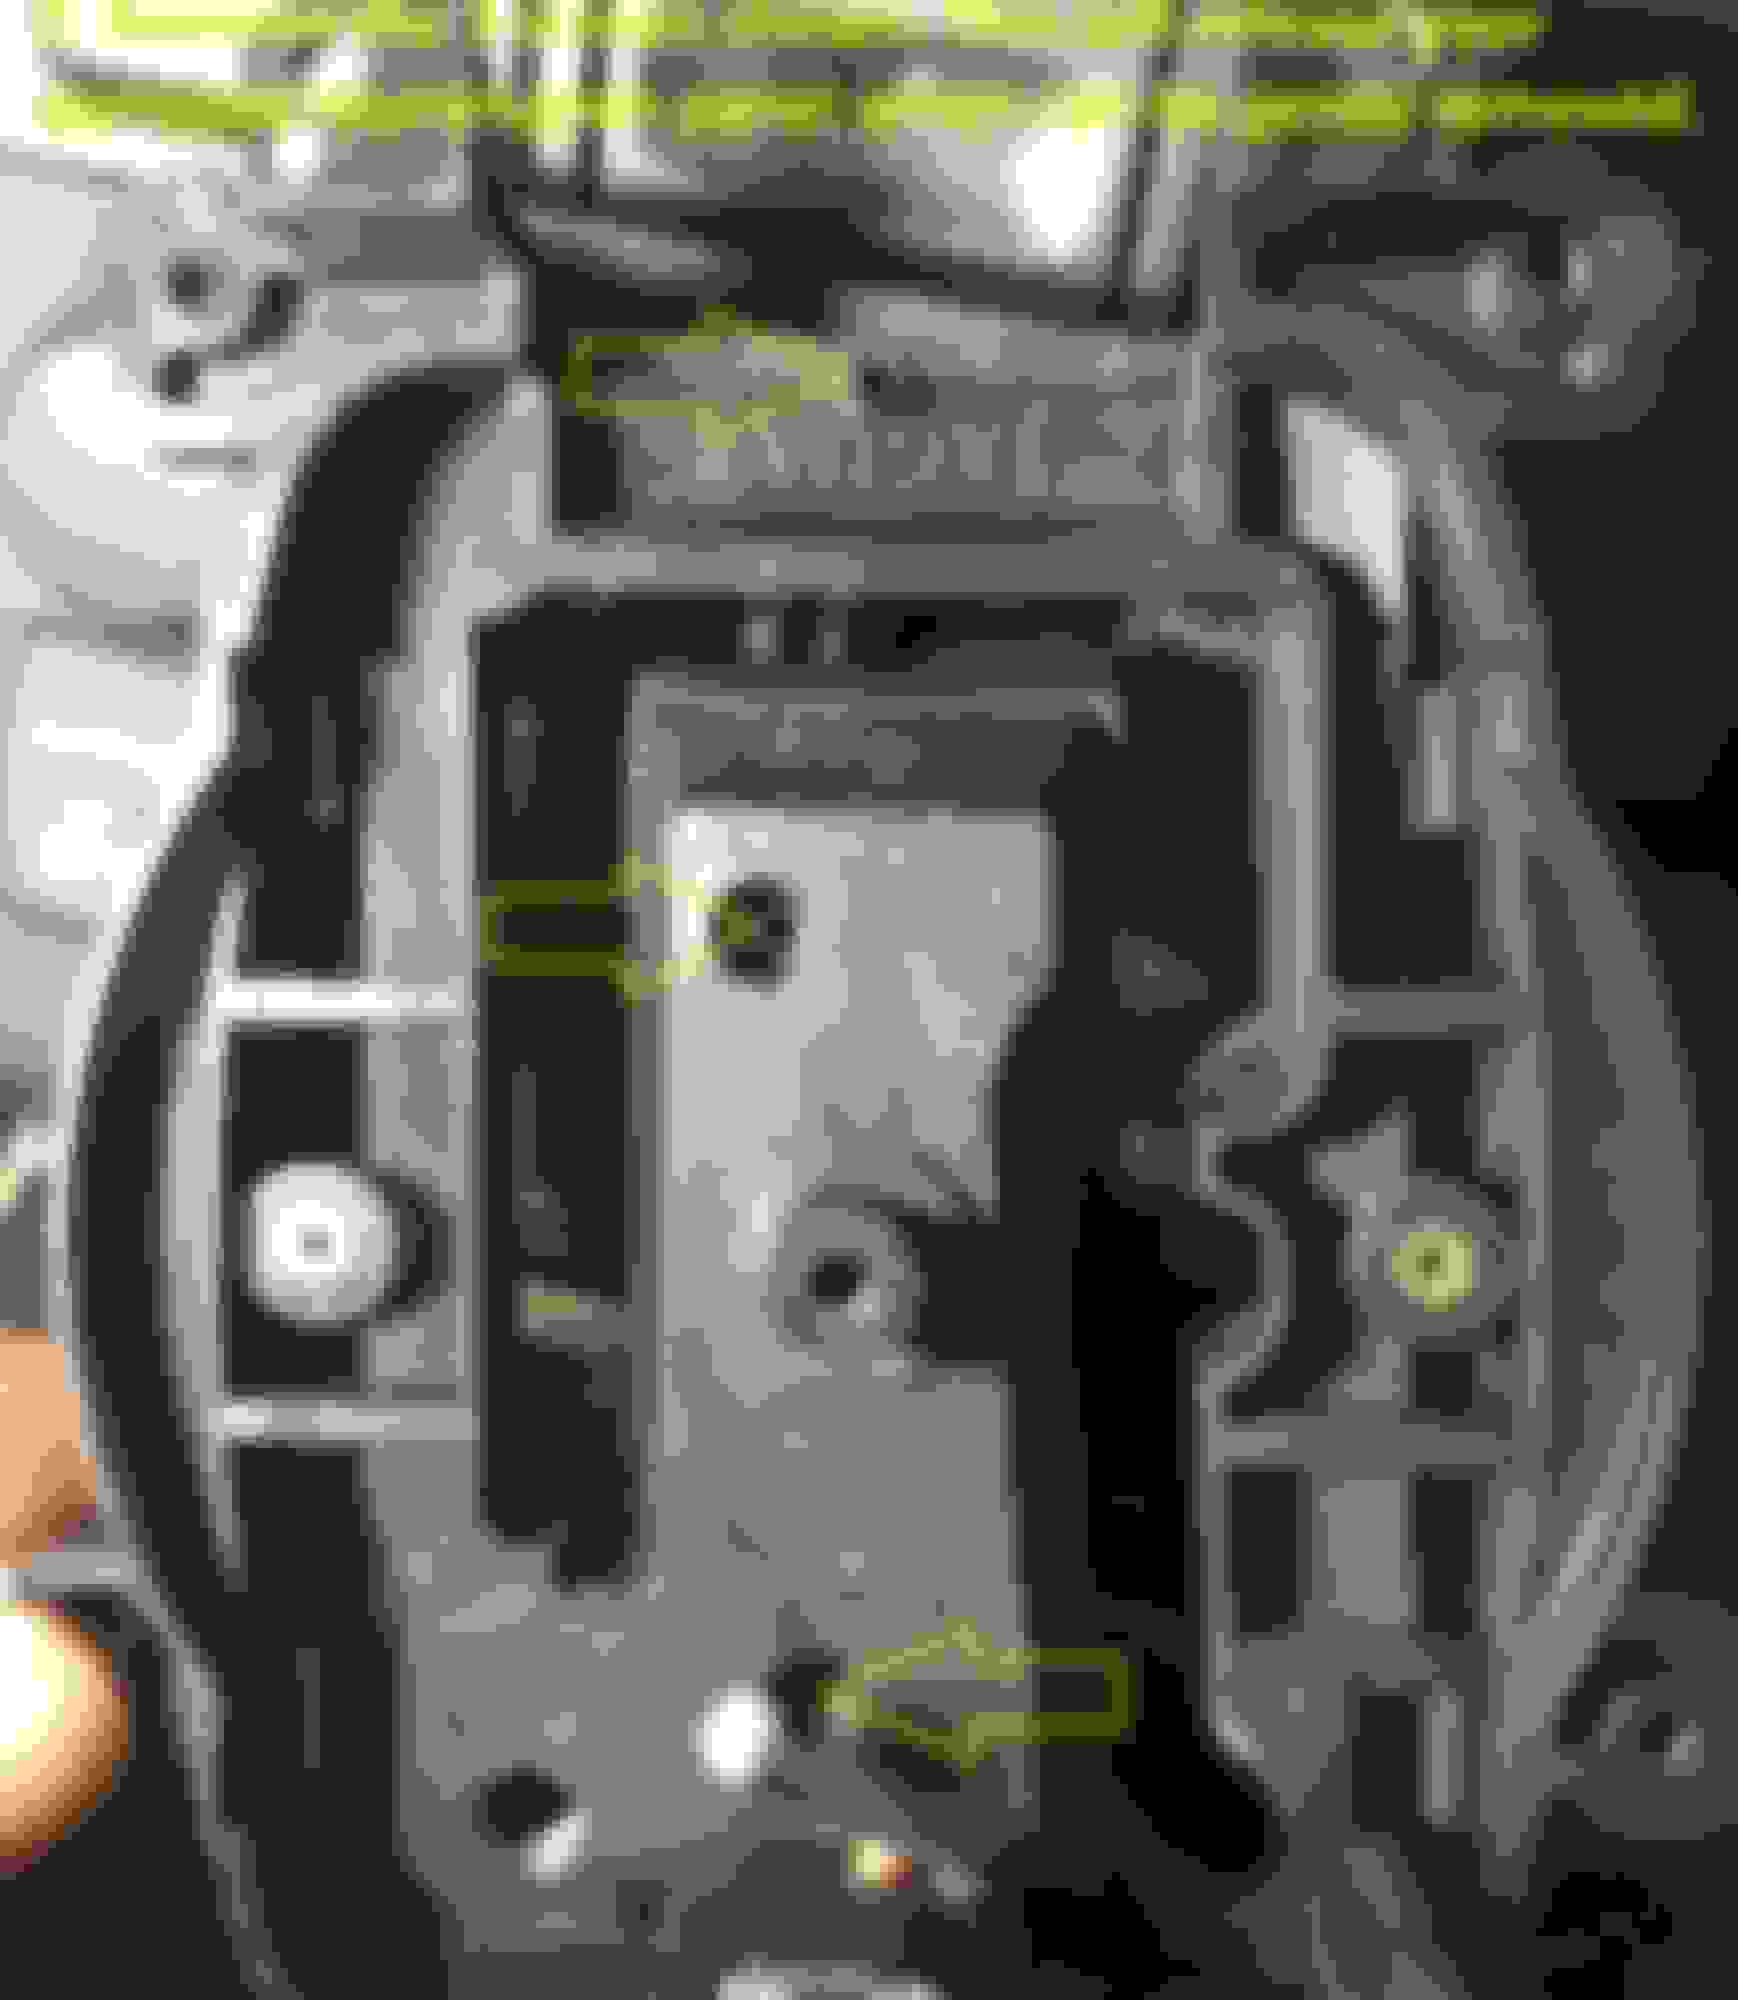
7. Also, unscrew the two brass ferrules on each side. The panel will then come off and replacement one will fit perfectly. No wiring disconnection required.
8. Take care in re-assembly as reverse of above steps.
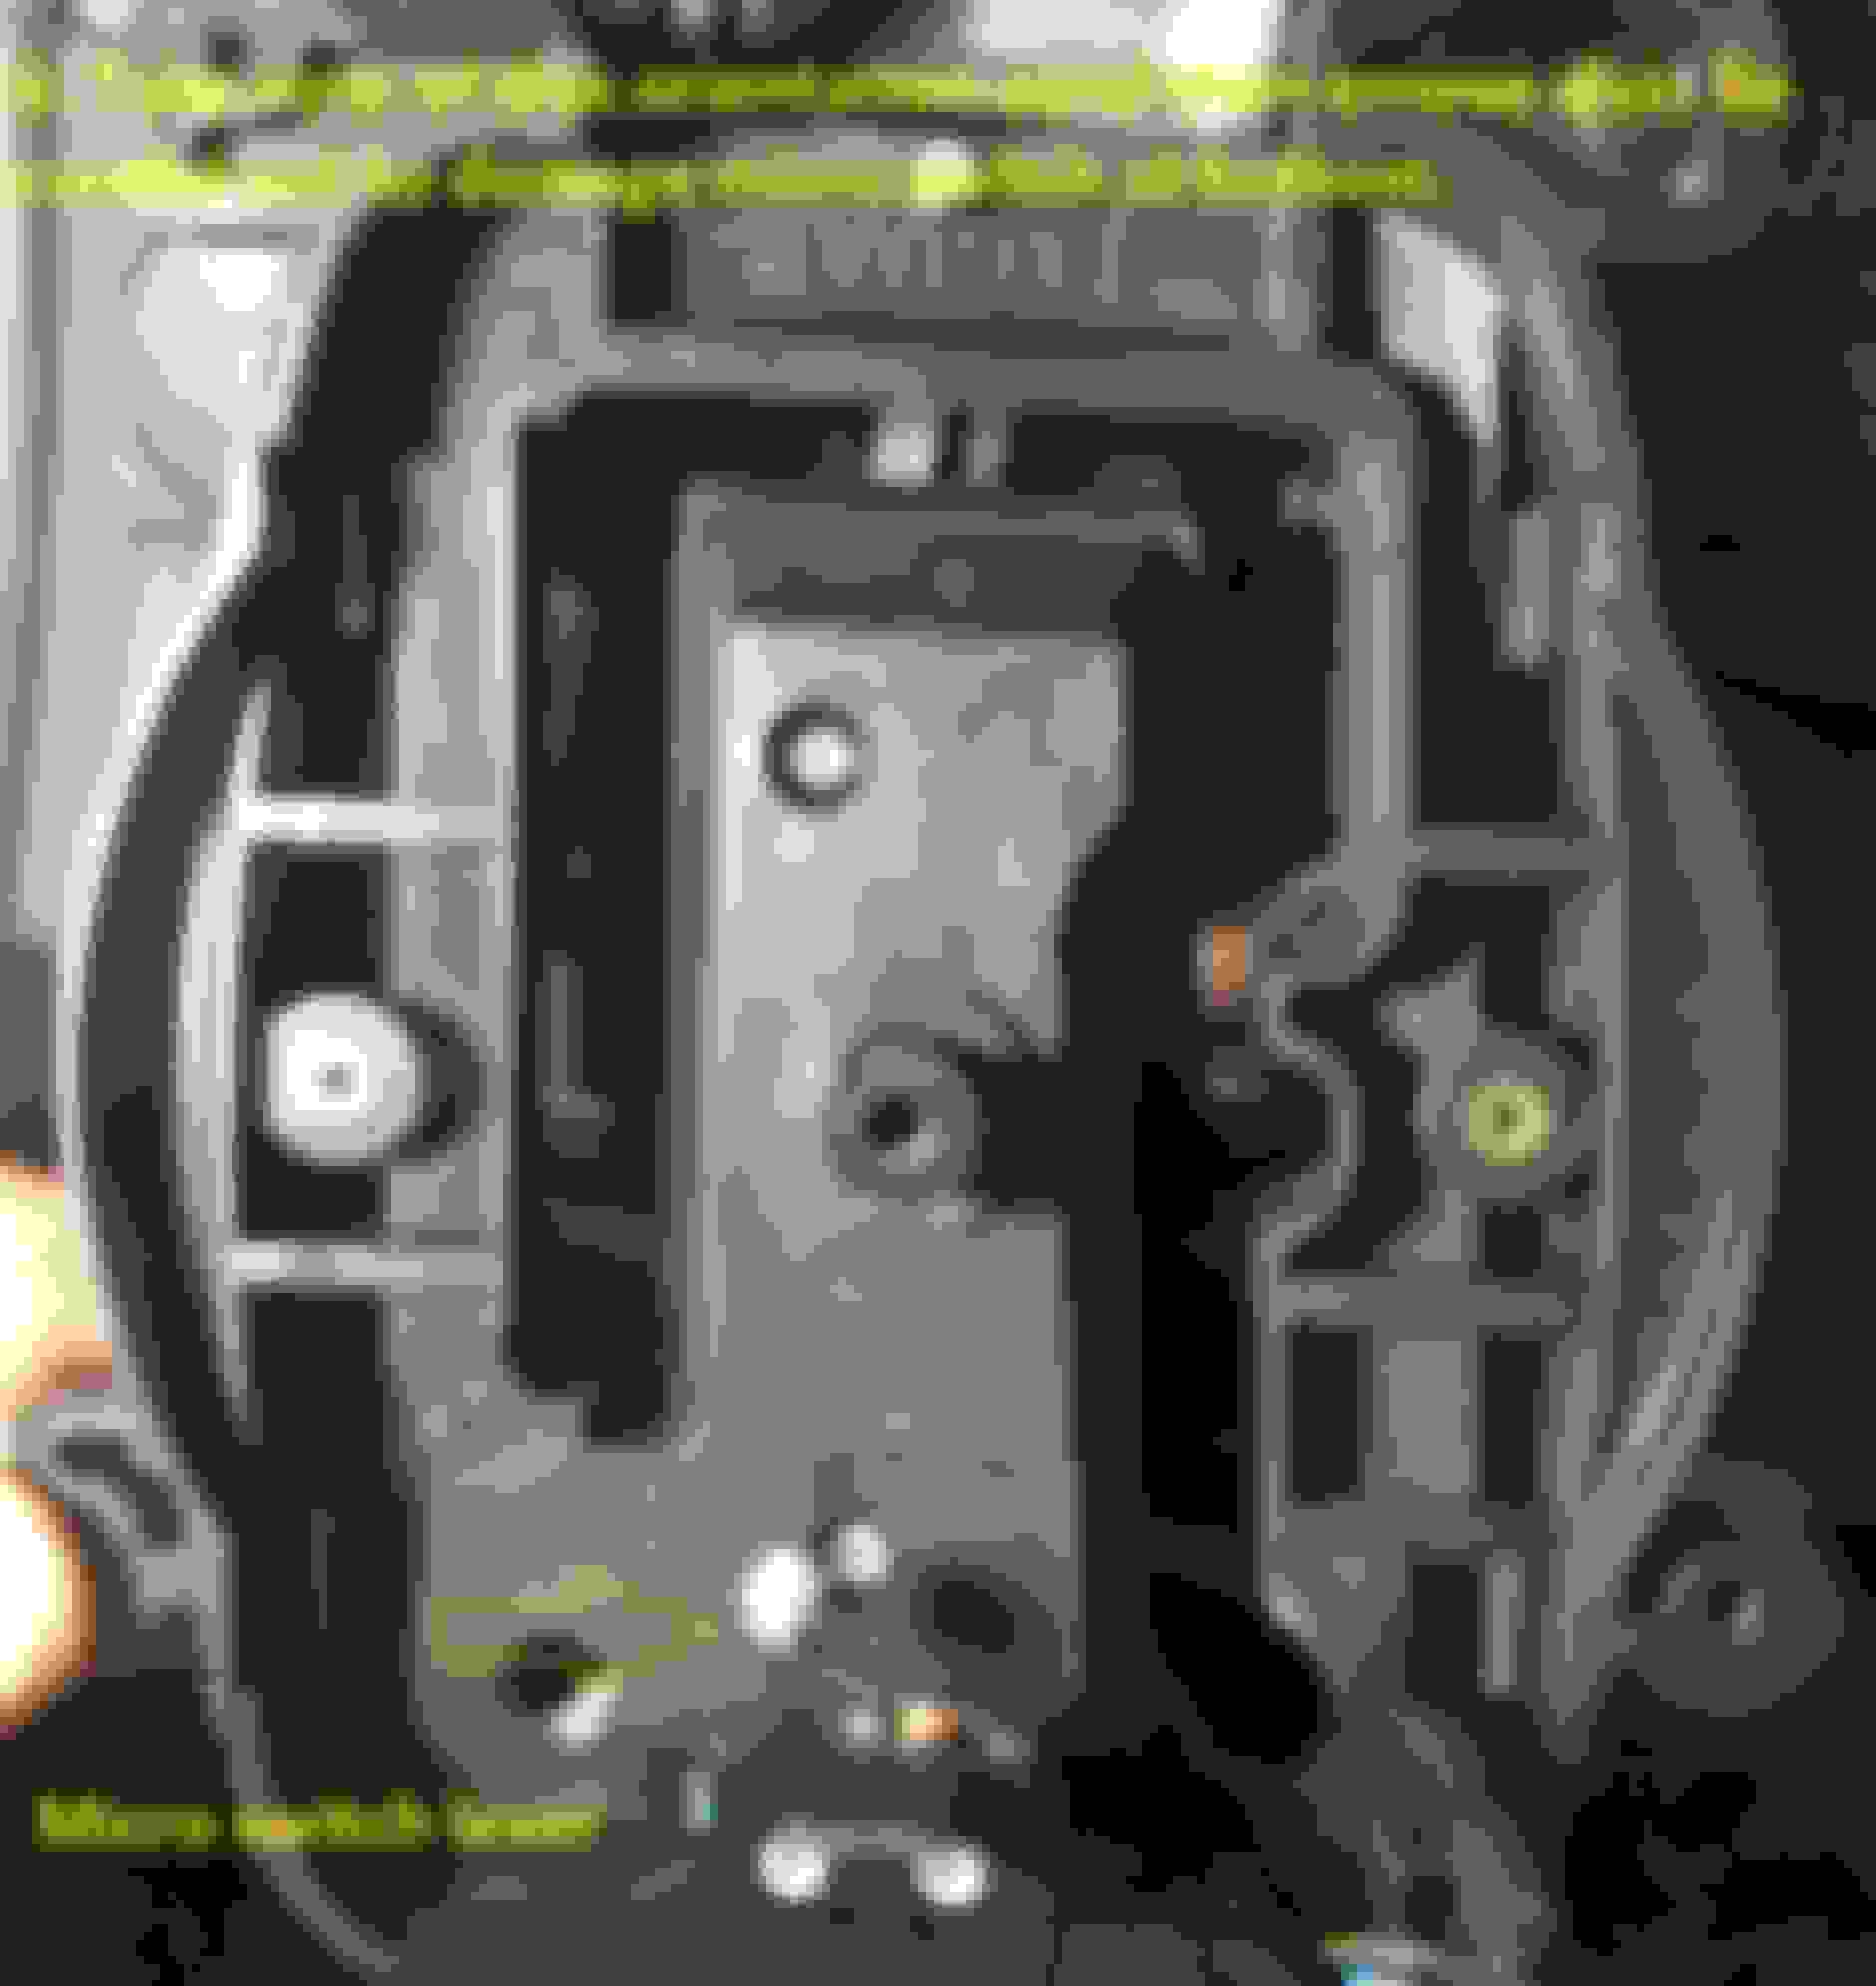
9 Ensure the disk is correctly fitted and the micro switch undamaged. It runs along the inner cam profile of the disk. (Take lots of photos during dis-assembly to help you during re-assembly).
10. A good tip is to place a large rag over the exposed gearbox/tunnel to catch any dropped parts or screws.
Good luck.

 04-10-2022, 09:49 AM