When you click on links to various merchants on this site and make a purchase, this can result in this site earning a commission. Affiliate programs and affiliations include, but are not limited to, the eBay Partner Network.
Recently on my 1997 XK8 convertible, I had an Engine Fault which, with the help of various Forum members, was traced back to the rotary switch P/N B+ signal not coming thru the circuit (failed continuity in the switch.)
I considered ordering a new part ($1,000+) and then considered taking a risk on a used unit ($150+) but ultimately decided, I would rather attempt to repair the switch myself.
Removal involves locating the harness, which on my car was a black switch with seven wires, where the White with Red stripes (W/R) is the constant +12v from the ECU, and the Green is the signal which is supposed to come from the switch continuity when in either (P)ark or (N)eutral.
I diagnosed this by using vinyl-coated paperclips, stripped at each end, soldered to some scrap wire. I pressed the exposed paperclip end down (deeply) into the harness for both G and W/R, taking the two leads / soldered wires up above the engine for easy probing. Key-on, working properly, in Park, the G wire / lead should give B+ (12.x volts.) Upon triggering the dreaded Engine Fault, G would read low / millivolts, whereas W/R would read a constant 12.xv & a no-start condition.
Rotary switch harness, located on the firewall behind the throttle body, closer to the Driver's side (in NA cars) The view is from the windshield, looking down behind the throttle body, near the LH side
The actual switch is mounted on the RH side of the transmission, with two 10mm bolts. It is above the exhaust pipe, so do this when the car is cold. It can be tricky to get to them. In my case, a swivel ratcheting box-end wrench helped out considerably.
After removal, I laid the part on a bench and carefully drilled out the rivets on the back side (steel casing) while taking care not to drill too deeply and damage the plastic underneath.
Drilling out just the back edge you see here is sufficient, don't drill all the way thru - the rivet should slip out easily once you've gotten past this bit.
After this, I tried many easy solutions, such as spraying down with contact cleaner, soaking in vinegar, etc. etc., this involved multiple attempts with reassembly and installation - to no avail. The real fix was actually working with the individual contact points inside the switch.
I learned that the black switch assembly which looks like five individual parts, is actually one combination switch. The first step was to release the plastic clips which hold the unit down, seen in this photo, the yellow "shoulder" clips I guess you could call them. I eased them out very gently with a wristwatch flathead:
After this, there were three remaining plastic pins bracing the switch assembly in place. I slowly and carefully, using the same small flathead, eased it 1mm at a time away from the backing over those pins, and was able to hold the assembly to examine the contact points:
Contact points visible here, they look not too dissimilar to older points you may find on an old distributor system with points & condenser The other three contact points; there are six in total
So with the six contact points exposed for inspection, I found that the P/N switch, which is brown-to-green wire on this side of the harness (Brown switches to W/R before going back to the ECU on the B+ signal) was caked in carbon deposits from, I suppose, dodgy contact over the years, in addition to the corrosion I found in the unit upon first inspection (no photos of this, but, it was like baking soda when I opened it up.)
I carefully spread the contact point for this switch, scraped as best I could with the same flathead, until it was shiny on both sides. To say something positive, I believe these points are made of good quality material, perhaps tungsten or some such, because all six shined up nicely.
In the course of doing this, I noticed another one of the switches getting caught up on the black plastic casing, so I carefully sliced a bit off of the plastic with a razor to free up movement there.
Another surprisingly difficult piece, was finding hardware to fasten the assembly back together; I lucked out, as I had screws and nuts that are probably older than I am, which were perfectly sized for the job:
These have been sitting around in my scrap bins for ages
And finally, the finished assembly:
Note the screws were just long enough to engage the square nuts, without protruding. This allowed enough clearance to mount the unit easily on the transmission, without any issue.
And after all of this business, I can say I have had several successful starts without an Engine Fault, finally resolved!
I hope this might help someone who is curious about refurbishing one of these switches, should the need arise.
If anyone has a similar situation and wants any ideas or tips, I am always happy to help!
Also of note: Another possible failure could be cracking or breaking of the backing copper strips; in that case, I think a bit of soldering could also suffice, providing the spring-action remains intact.
Keeping an ever-growing collection of spare or orphan nuts, bolts, washers, and screws always pays off many times over. Some of mine date back to the 1960s. Not a month passes that I do not dig into my collection looking for something I need for whatever project I happen to be working on. I am usually able to find what I need....
Your repair is totally brilliant and to find its exposed contacts rather then microswitches is great information for us all.
" anything man can make man can repair " you proved that one.
Quick q: are there any 'O' rings to seal the rotating actuator, or does it just rely on the convoluted rings?
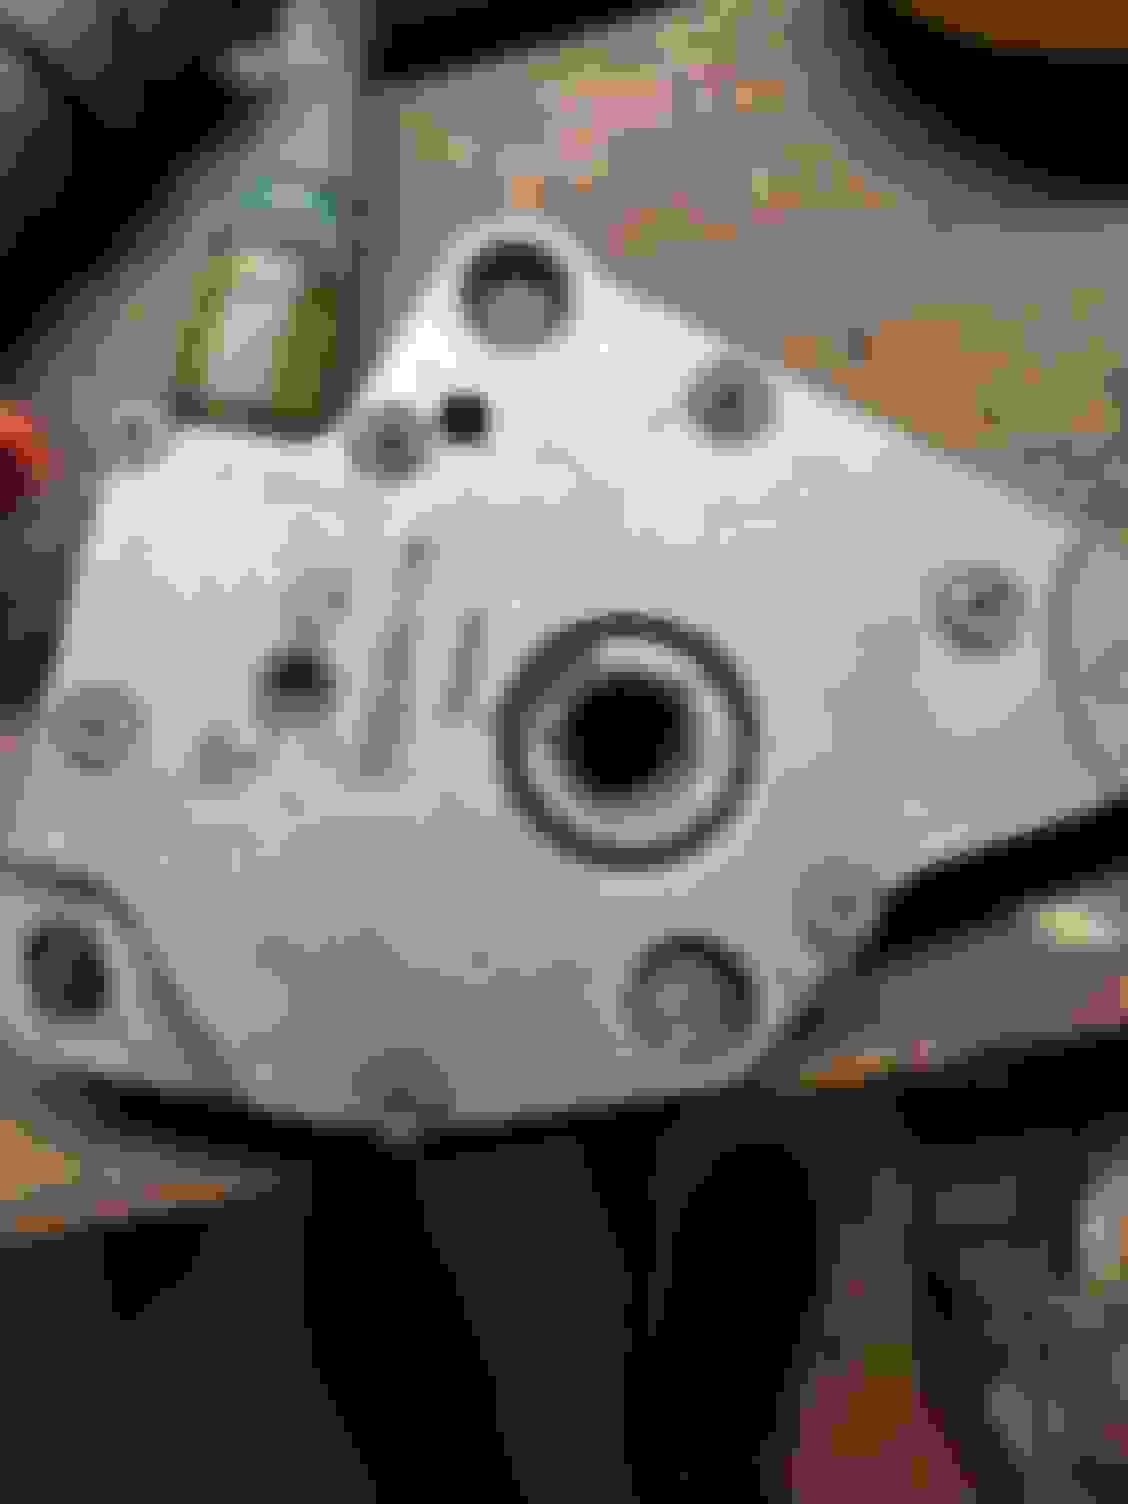
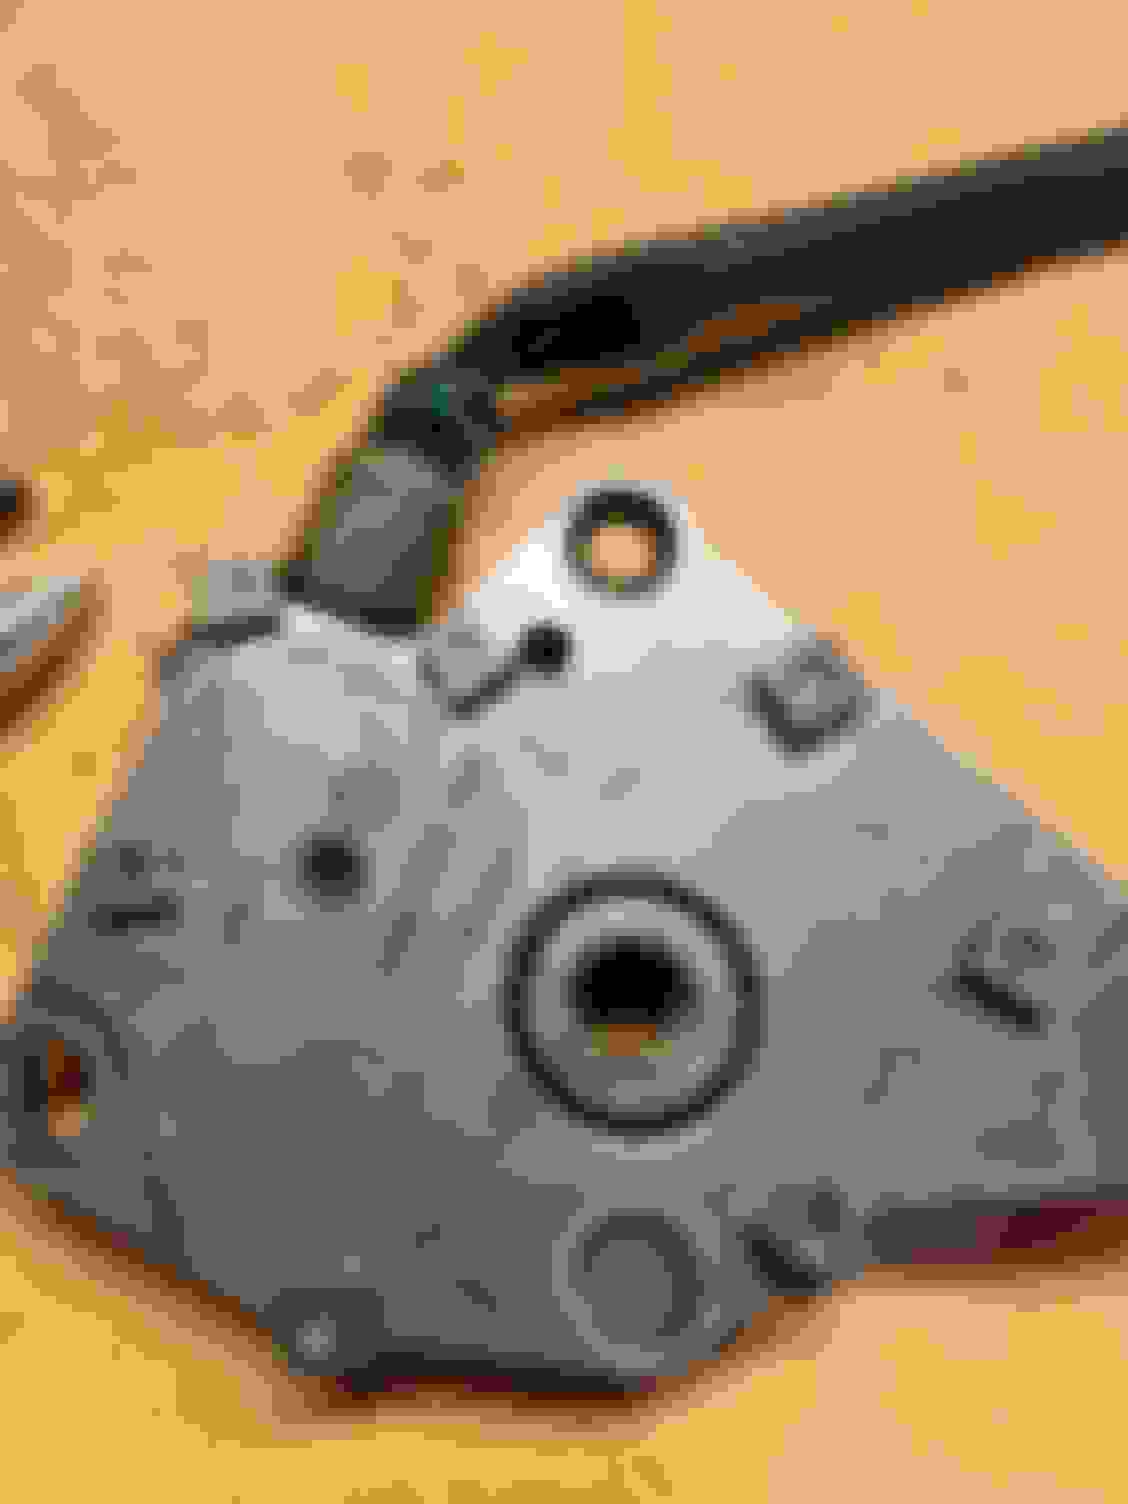
Yes; there are two black rubber seals above and below the circular actuator. In fact, that deserves a bit of supplemental explanation; From a photo prior to all the cleanup (you can see some of the white residue first encountered, in this shot) the actuator is pictured in the top half, center. In this photo, there is a seal underneath (not visible,) and there is another pictured in the metal casing (bottom half.) In my case. one stuck to the actuator, and one stuck to the casing. Note, the actuator is in Park in this photo, prior to rotating counter-clockwise for removal.
Black seal shown in metal casing, other seal hidden under plastic actuator on top half.
To remove the actuator, as I realize I left that part out - it is easiest to (first generously lubricate with WD-40 or the like) rotate all the way counter-clockwise to it's last position, after which it should slide up and out of the switch assembly. Bear in mind it is plastic, so be gentle but firm and carefully rotate whilst trying to put pressure on both sides.
 05-23-2023, 06:33 PM