When you click on links to various merchants on this site and make a purchase, this can result in this site earning a commission. Affiliate programs and affiliations include, but are not limited to, the eBay Partner Network.
Hello Guys.
As a sufferer of a few years now of the dreaded XK8 condition, love them to bits when they are working well, I have read many threads and advice tips on here, thanks to you all.
Mine is a 2004 42 XK8 convertible, and amongst other jobs I knew I needed to address the lurking rust under the floor problem. I stripped out the interior and got to the standard two holes in the floor, where the temporary plates were causing the typical rust problems.
However, I have found another area which I wasn't expecting, the base of the transmission tunnel, near the junction with the floor, but only on the passenger side (LHS in UK).
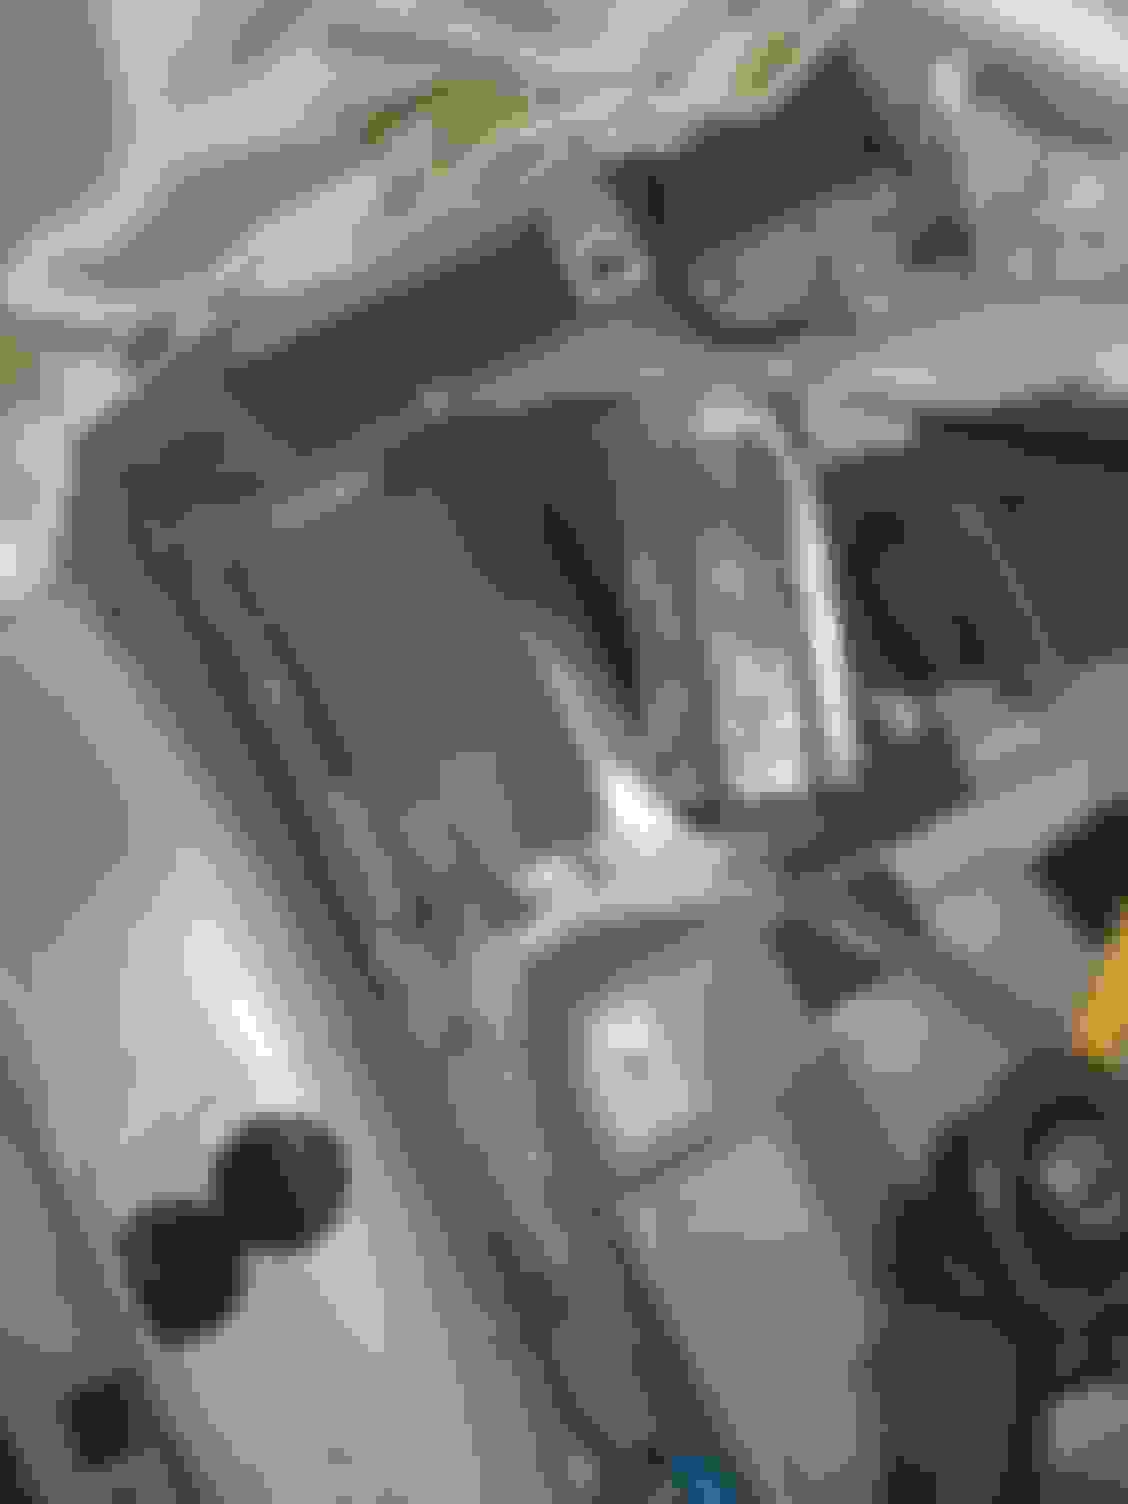
First picture is what I originally saw, lots of surface rust, some of which I easily dislodged.
Second picture is when I used a cutting disk to remove the outer layer of metal, showing the second layer. Also very corroded. There seems to be three layers in all. first layer removed
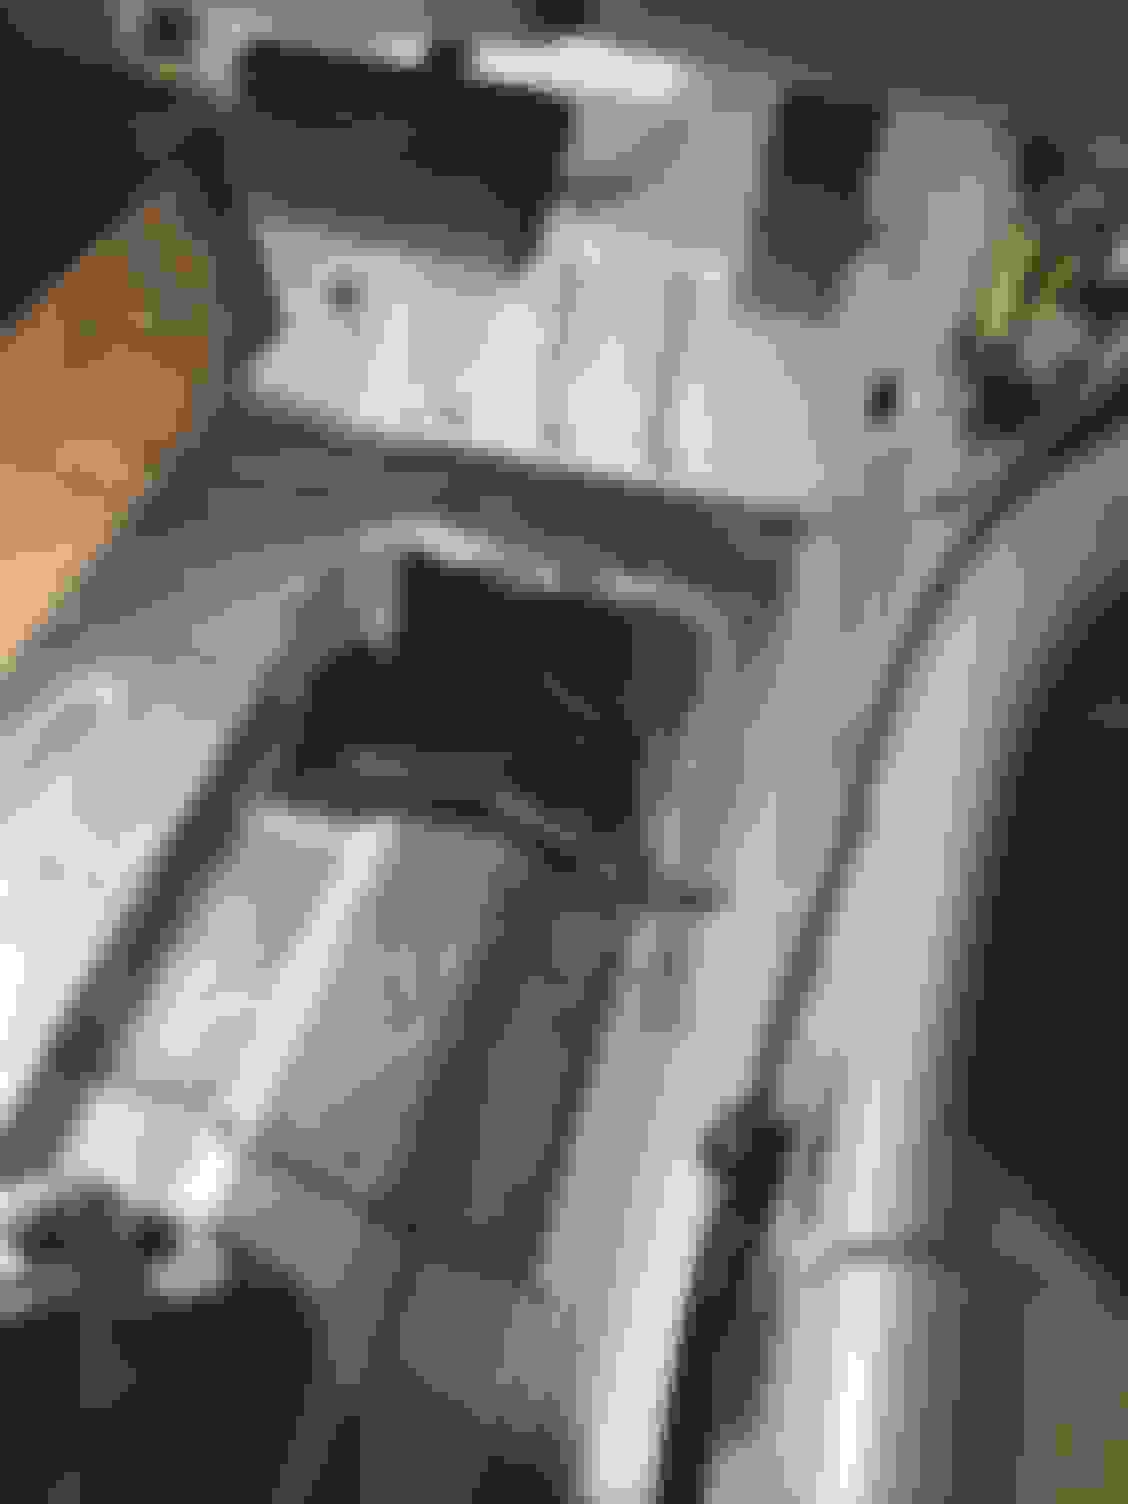
From underneath , this is the same area, with heat shield pulled back out of the way, doesn't show a problem! from underneath, no apparent problem?
Has anyone else seen this? The drivers side shows no corrosion on the inside in this area at all.
I think it is caused by the wonderful piece of design where the third layer strengthening plate underneath has holes in it and open at both ends, so making a perfect muck trap. The strengthening plate with the holes in is spot welded along its length.
I wondered if this plate is only on convertibles, to give more flex resistance?
This is actually more concerning to me than the "Flintstone floor" holes, as this is structural. I am going to have to get brave, cut away rot until I can see good metal and make a strong repair. Hopefully I can do it from inside, as I would have to remove exhaust and gearbox brace to get at it underneath. It doesn't have to be pretty as it is out of sight. Then rust-treat all box sections as I build out.
Need to get practicing my welding and fabrication skills
Oh joy!
Regards
Ian
I take the view that what the MOT man cannot see I dont worry about ,BUT as you have cut it out I would remove any scale rust you can from the inner skin coat it with slow set marine epoxy and then plate over that nice hole you cut .
"what the eye cannot see the heart does not grieve over "
Hi Pistonbroke
yes there will be a multitude of problems covered up no doubt, just need to make it strong not pretty.
Typical, when you post a thread other suggestions for linked threads come up , and one of them by XKR-DAY is a similar repair, but on the drivers side only for him. Also looks like a RHD car, and it is a coupe, so not limited to convertibles.
So it seems this is a common problem, but more variable than the footwell repairs.
Cut a card template for the metal. Cut metal and the modern way is to tack all around about 1 cm apart and then fill in between . I would put 3 x 16mm holes in it to inject wax after you finished and put grommets in ( or tape over)
I have stick welder but thats no good for this and also have a TIG welder which is brilliant if you got the touch but the gas costs a bomb so I and have just purchased a gasless MIG from Amazon for only �130. The welds are strong but dont look as good as gas MIG until you grind them off .
Good luck Send photos everybody loves them.
Hi Pistonbroke
yes there will be a multitude of problems covered up no doubt, just need to make it strong not pretty.
Typical, when you post a thread other suggestions for linked threads come up , and one of them by XKR-DAY is a similar repair, but on the drivers side only for him. Also looks like a RHD car, and it is a coupe, so not limited to convertibles.
So it seems this is a common problem, but more variable than the footwell repairs.
Talby47XK8 i had this transmission tunnel repair to do on both sides of the car, the left side(uk passenger side) needed the most work.
The water gets in because of poor factory seam sealing along the length of the tunnel from the front to the rear,(both sides)
the area worst affected by this starts in front of the gear box mounting plate and back to the propshaft cover plate.
If you look at the gear box mounting plate just above this is the area that the water gets in and is a right pain to get in and reseal from front to back.
Iv done a lot of rust repair work on my car and posted threads on it (some very long threads)
If you click on XKR-DAY then click on Statistics you will see the Threads.
My repair work is still ongoing but unfortunately i havent had time to work on the car for the last 12 months, hoping to restart my project in a month or so and will continue posting Threads on my progress.
Hi XKR-Day
Thanks for that, I thought it would have something to do with the many seams and joins, and water tracking along.
Oh Joy!
Just have to do the best I can, and try to get corrosion inhibitor/waxes into areas Jaguar didn't !
This is the payback for the "new" manufacturing methods like adhesives and sealants. The old cars rusted, the new cars rust, just in different ways, and aluminium ones corrode too in their own style.
Solution?
Move to California, and just complain about paint fade and dashboards cracking in the sun!
Well, after many months and other distractions I finally completed repairs on the floor of the Jag XK8.
Thank you to members on here for a few tips, along with various people on Youtube with regard to welding and metal forming techniques. I particularly enjoyed a guy called Fitzee's Fabrications. Very down to earth in what he does, and explains stuff quite well. It also cheered me up in one when he explained a part that he had fabricated took him three hours even with his skill and experience. I had made a similar bit but it took me five hours.
I used an old basic clark gas mig welder. Probably more modern stuff would have given better control but I got there eventually. You do need to practice and set up the equipment on realistic practice pieces. Too late starting on the car to find your settings are too strong and blowing holes through the metal.
The rear footwells had various issues with rust, many seeming to come from the round plugs in the floor leaking in water and it sitting under the carpets. This whole process also showed me that you cannot weld to steel that has any rust spots left in it, always need to cut back to solid metal, and make life easier for yourself by finding the flattest areas to cut/weld as possible. cutting out damaged areas in rear footwell. Leaking drain plugs already repaired.I used pre-stamped floor repair plates for the two front footwell areas. I was unsure about the cost of them, but they were worth every penny, as shaping even small pieces to follow the corrugations in floors was hard work and took a lot of time. Steel even 1 or 1.2mm thick is surprisingly strong!
cutting back damage a bit at a time to get the best join area. Watch out for brake pipes and fuel lines running under the car. repair piece cut in and welded. Thin steel difficult to weld, needed to do many small welds to avoid overheating. Very easy to leave pinholes. I didn't grind welds completely flat. Looks ugly but it worked. Bilt hamber rust converter/treatment. Also on underside too.
This is the transmission repair area. Did it in three sections. Ignore the word "front". It doesn't mean front of the car, it actually meant to the front of the repair piece when I was shaping it into a kind of "S" shape to fit the tunnel profile. two out of three pieces welded in. Plug welded on top join. each end deliberately open so I could inject cavity wax treatment later. welding completed in passenger area (LHS in UK) waxed and primed.
Final look of inside before carpet refitted.
While I had the carpets out, I sprayed the cavity wax products into the areas under the rear seat, all open points along the sills, and the areas at the front firewall. I also put the cavity wax into the areas created by the transmission tunnel repair, from inside the car and underneath. I also did the equivalent area on the drivers side which currently showed no problems, but has it has to have the same issue hidden somewhere. Then sealed the inside openings with mastic.
Then refitted the “bitumen” type of soundproofing, along with some other self adhesive thin foam for sound and heat insulation.
fitting the insulation to footwells. Insulation was a mix of "bitumen" type, along with self adhesive foam products.
So that is the end of that adventure.
Car is now back on the road and will get a few months of use before winter returns.
Good luck to anyone else who has to go through this. The first drive around my local roads (I live on the edge of the lake district in Cumbria) with the top down and Planet Rock radio playing made it all worthwhile
Regards
Ian
 04-10-2023, 09:45 AM