Tips for fitting mesh grille
#1
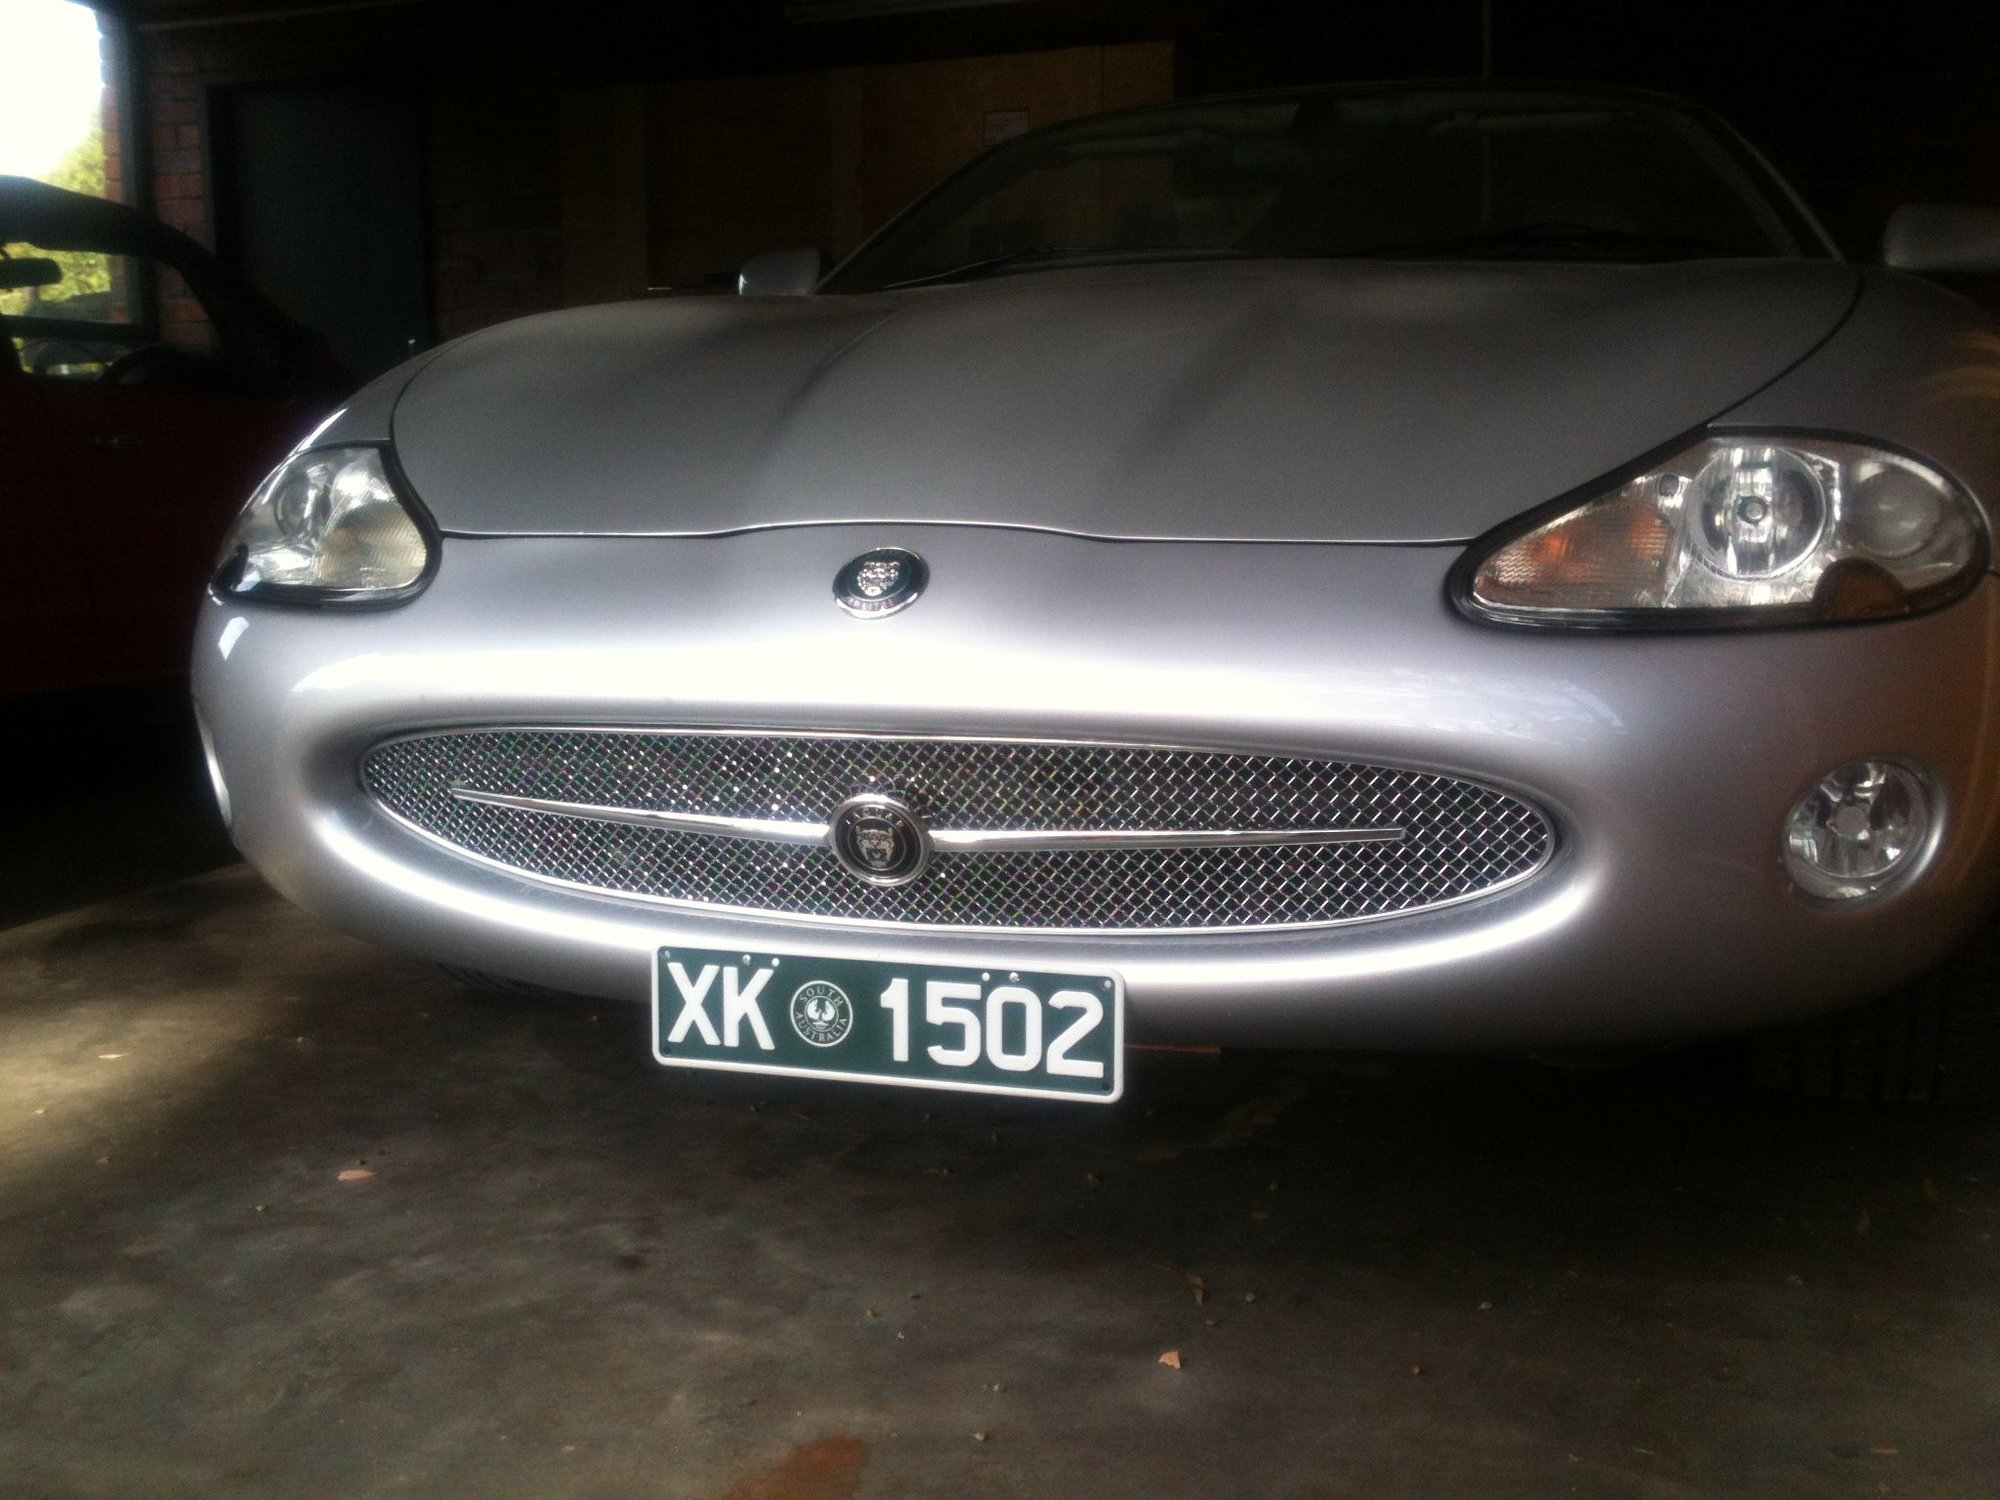
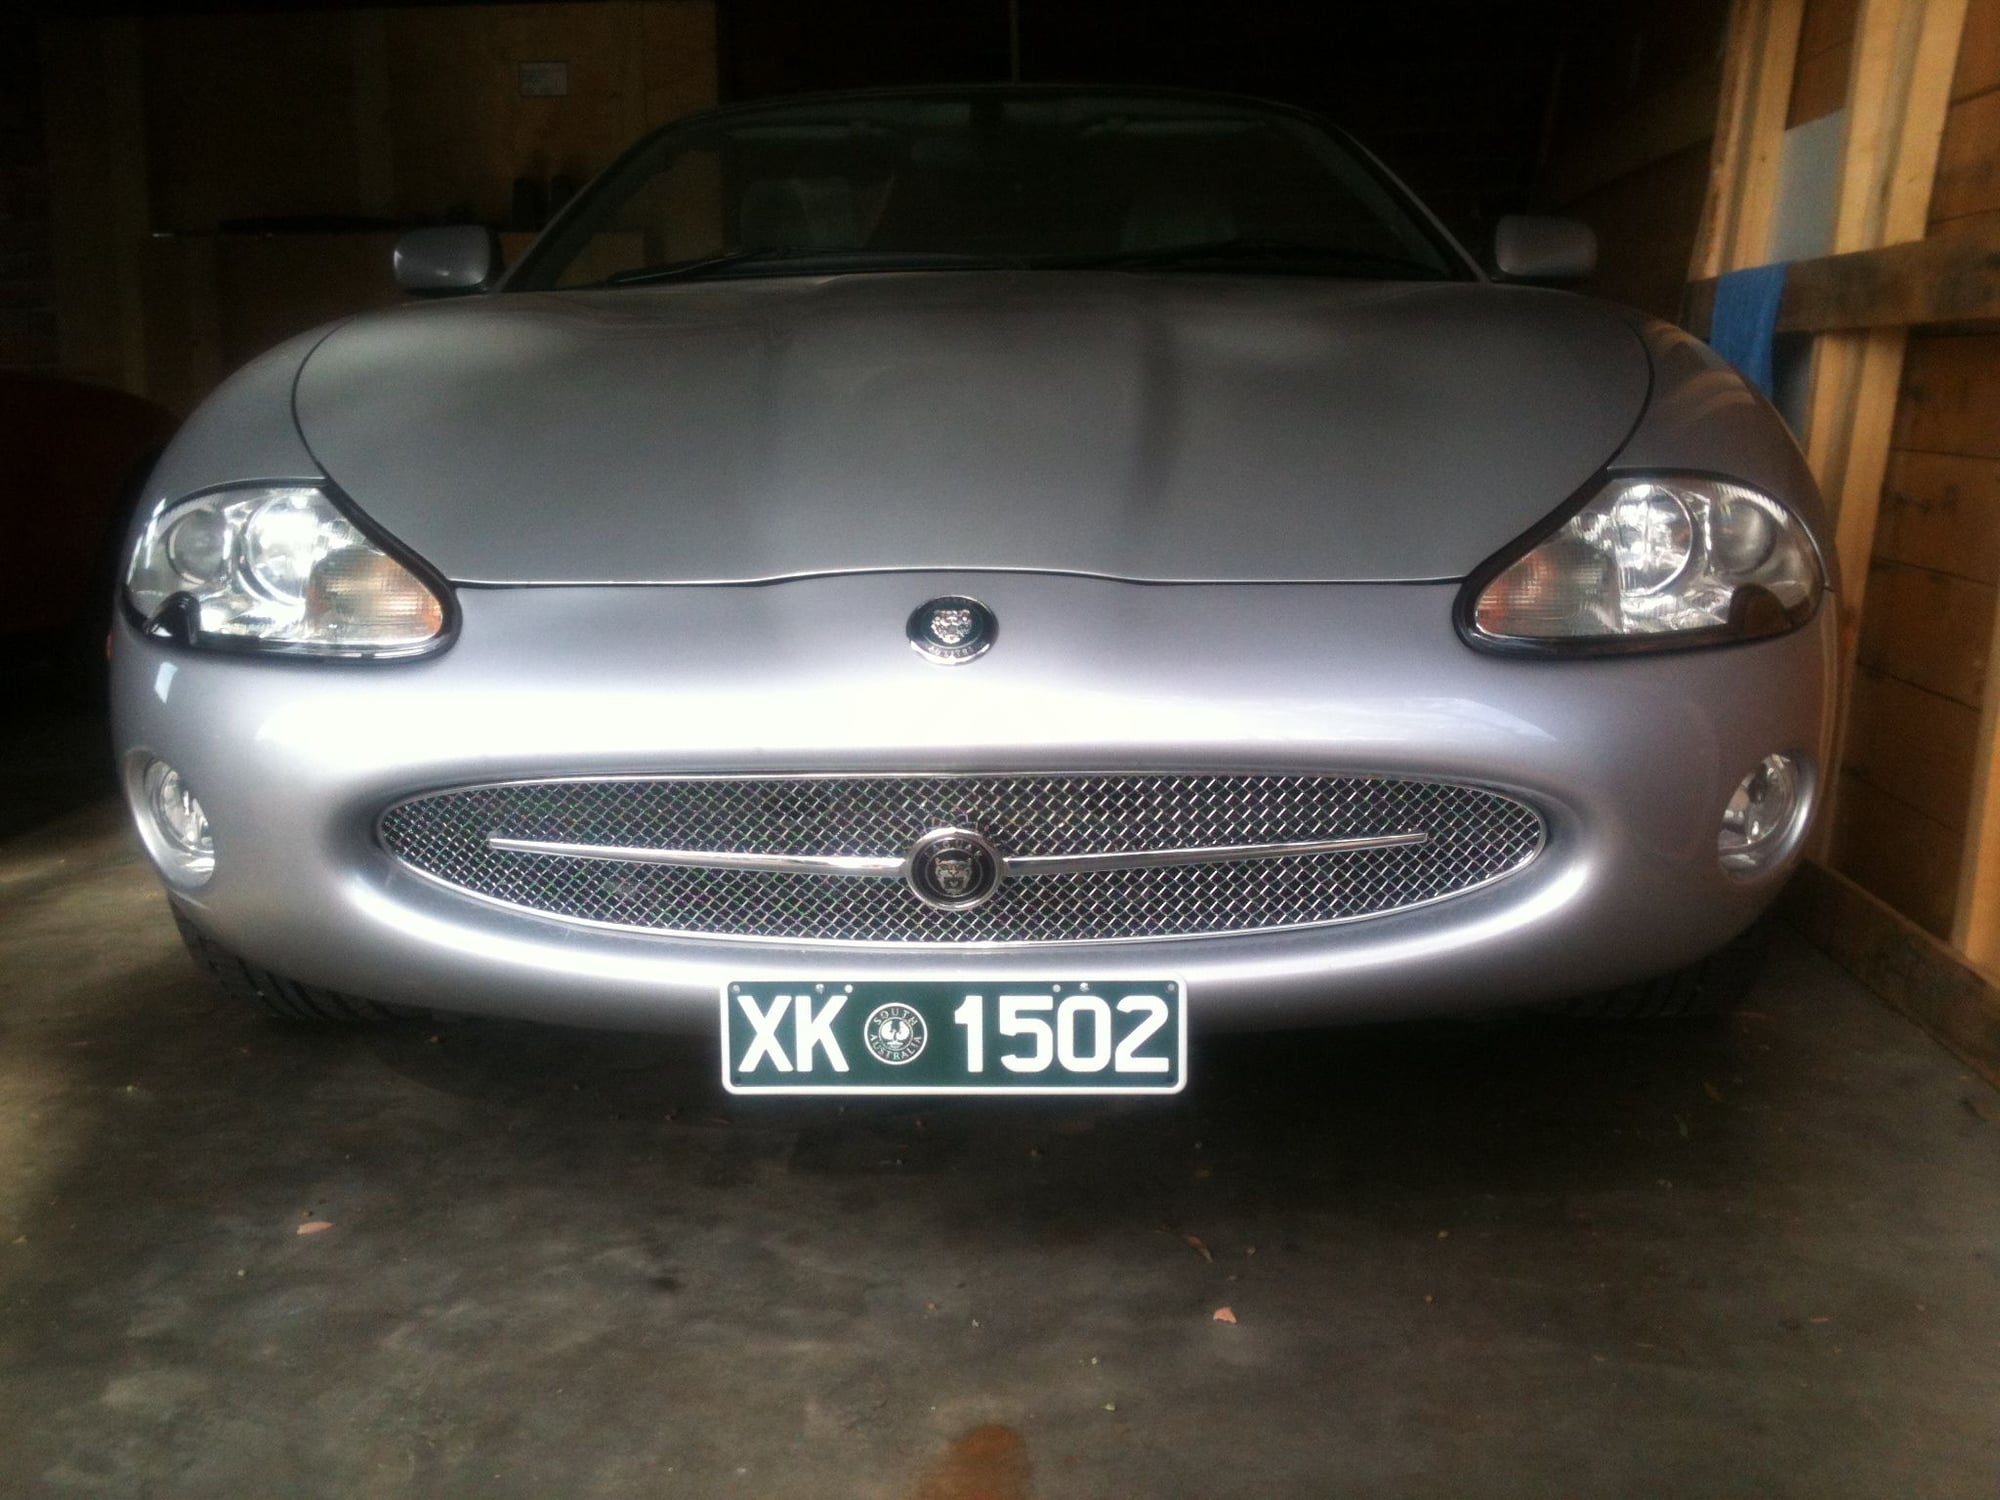
I have just fitted a mesh grille on my recently acquired 2001 XK8 Roadster, my latest pride and joy. My experience was rather different to some of the previous posts on this topic, so I though it might be helpful to others if I explained how I went about the task. First, I decided to purchase from Adamesh their 'flat' grille, rather than the convex one. Secondly, I chose to have the horizontal chrome bar, which makes a nice style reference to the early E types. I had been prepared to entrust the task of fitting to my excellent local classic Jaguar specialists in Adelaide (Sovereign Auto), but I managed to do it all myself. Here's how... The most crucial point to make is that I managed to complete the entire process WITHOUT removing the front bumper. After removing the original plastic horizontal bar (secured by a couple of bots from underneath (awkward, but possible), I then removed the black plastic covers for the (aesthetically ungainly) over-riders. These were secured with four plastic studs that I cut off with a hacksaw. Having removed both the horizontal bar and the over-rider covers I could see the rubberised plastic over-riders themselves. As many have observed, it is then necessary to cut these back using a hacksaw. In order to minimise the risk of damaging the surrounding paintwork I decided to use just the hacksaw blade without the handle (this eventually drew some blood, so you might want to wear gloves while using the saw blade). There were four over-rider protuberances that needed to be sawn off. Once this was done I could test the positioning of the new mesh grille. The latter comes with integral brackets that can damage the paintwork as you slide the grille in to position, so I used pliers to bend them in towards the grille. One is then faced with the problem of how to secure the new grille, because one would have to remove the entire front bumper in order to secure screws through the brackets, which are on the INSIDE of the grille. After some head scratching and a bit of lateral thinking I decided NOT to remove the bumper, but to attach the new grille from the FRONT rather than the rear. The aesthetic problem with this approach is that any screws/washers would be visible and therefore unsightly. BUT... the presence of the horizontal chrome bar made all the difference. I found that it was possible to fix the grille with two screws/washers positioned carefully, one at each end of the chrome strip. All you need to do is bend the strip slightly - and very gently - to one side, drill the screw in to place, and then allow the chrome strip to flip back in to position. The screws I used were not very long (about 3 cm), and they made a very secure connection with the black cross member (from which I had cut off the over-riders). The other point to mention is that the appearance is MUCH better (at least, in my humble opinion) if the FLAT grille is recessed and 2 or 3 cm in to the 'mouth' of the car. I have never been an admirer of the convex grilles that are mounted right on the edge of the 'mouth'. Finally, I attached my slim, Italian-style South Australian front number plate below the new grille, as the attached photo shows. In matters of taste there will always been differences of opinion, but I feel that the result is an aesthetic improvement on the original design (removing the rabbit teeth over-riders). My only follow up task is to try and source a Jaguar badge (for the centre of the grille) that will complement the green 'growler' badge on the front of the bonnet. The centre badge supplied by Adamesh is of a later design that does not quite suit the year of the car (2001). Even so, the overall result is pleasing to my eye. Although the process took me about two hours from start to finish I did not need to remove and re-fit the bumper, and I saved money on the garage labour costs.


