When you click on links to various merchants on this site and make a purchase, this can result in this site earning a commission. Affiliate programs and affiliations include, but are not limited to, the eBay Partner Network.
I am doing this a second time in a week to get ride height correct, but now
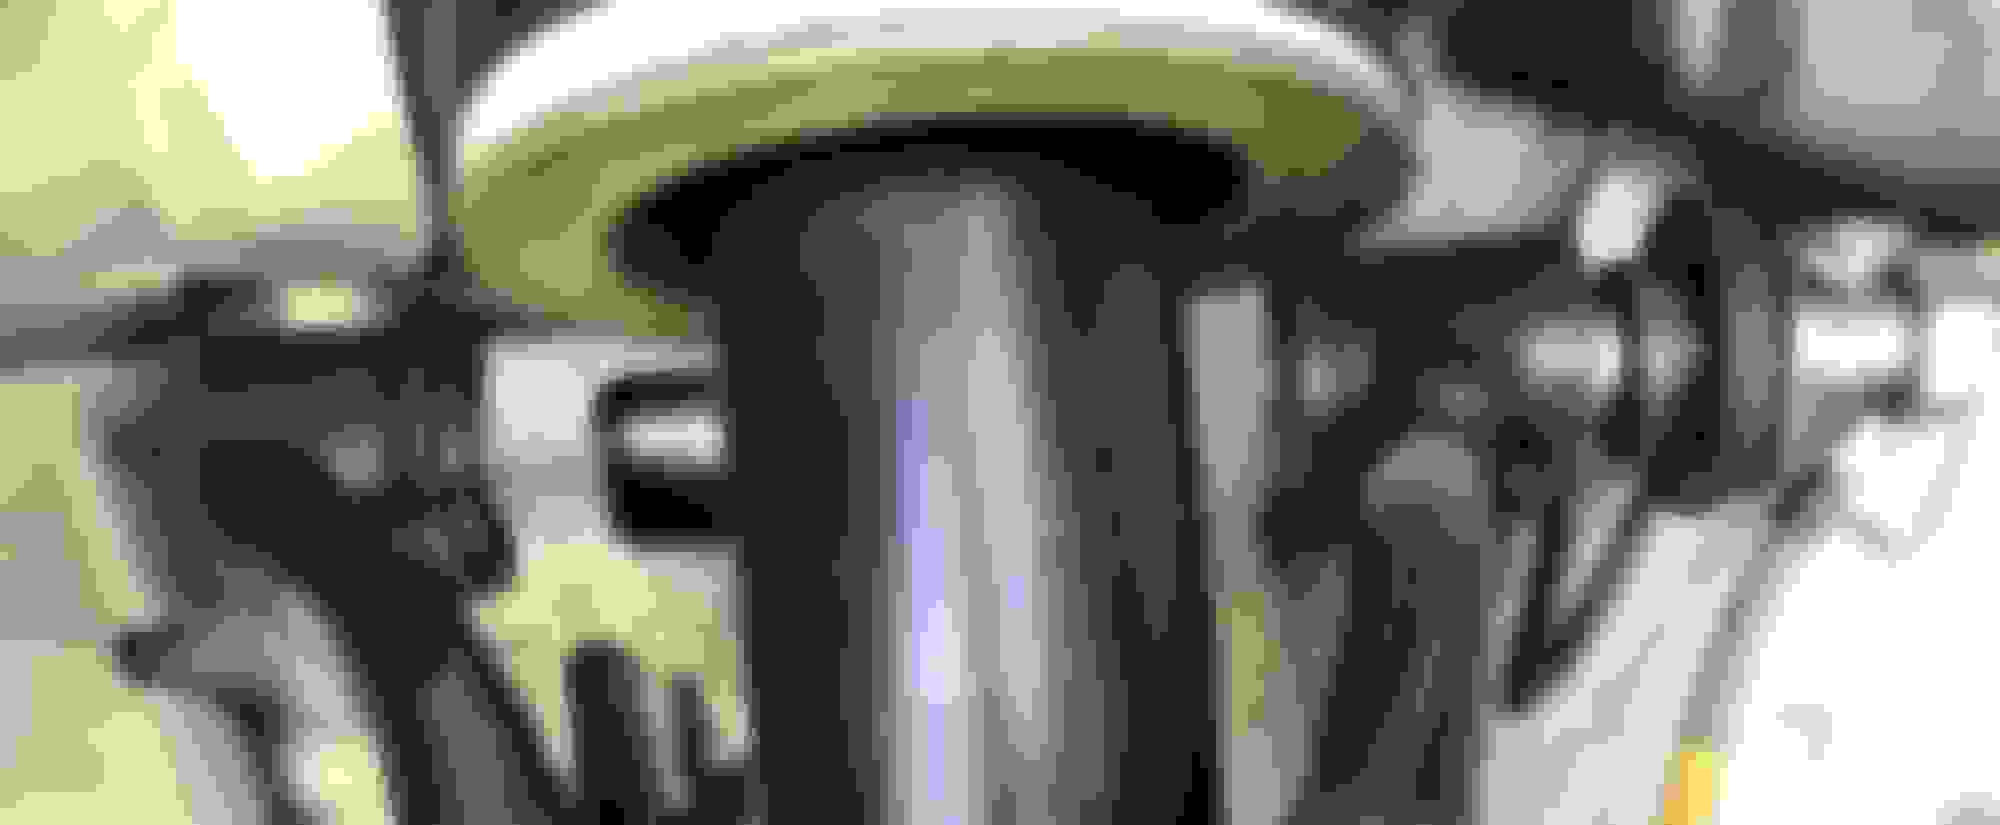
the big long bolt is very difficult to remove. I used a sledge on the back end nut to get it this far. The bolt turns by hand but will not move laterally. The bushing tubes are free. I have been whacking with a long big screwdriver and sledge against the bolt head to no avail.
What next? Cut? And where?
Last edited by GGG; 06-19-2020 at 03:33 AM.
Reason: Add "RESOLVED" to thread title
If you've already had this apart in your ownership, then it should not be such a problem. Is it stuck on the brake line fitting? A piece of debit get wedged in the casting lodging the bolt? Hmmmm, I had no such trouble getting mine apart or together. TM
At this point I use my ratchet wrench set & a 3pound hammer.
Select an extension from 3/8 inch set of ratchets. I use these inch one first.
Insert it in the bolt end. Whack it with the heavy hammer. I think you'll find this direct force works better than the vectored force at the head. Please do use a 3 to 5 pound hammer. World of difference compared to your carpentry hammer.
Of course there were times when I did take a large open end wrench. Opening just larger than the bolt shaft, smaller than the bolt head. Put the wrench in perpendicular to the bolt, whack the wrench by the bolt head. Ttytt I forget why I used this over the ratchets, but keep it in mind in case you need it.
As the bolt progresses just use longer extensions. This has dual uses. When you clear the spacers, they are captured by the extension.
Remember as the bolt head moves, so does the big washer under it. you will run out of room in a few inches and the washer will bind everything. Just keep pushing it back to the bushes as the bolt moves.
Hey mind a suggestion? When you get her out, polish the bolt for next time. The threaded end will fit into a 3/4 inch drill. Just turn her on and hold super fine sandpaper or something on the smooth part of the bolt. You'll appreciate it next time.
I was trying some short squat bolts on the threaded end and 5 lb sledge and no movement to the right. But a light tap with sledge on the head end and the bolt moves left.
That is why I think cutting it is my best option.
I posted about this somewhere here before. The binding happens when the steel washer inside the rubber bushing gets slightly cocked and it is a b!tch to pound out once in this state. Easy remedy is to distort the washer with a hammer/chisel to the edge inside the rubber but you will need a new bushing unless you have the steel washer from the old bushings still around - and you get lucky and don't also distort the wear washer behind the steel one.
Rothwell is right, I cut both of my pivot bolts at the inner washers, right through the bushings. Also, the rubber bushings have an inner steel sleeve that corrodes and becomes part of the bolt, preventing it from coming out. I cut the right side bolt in half and the left side bolt into three pieces to remove them. I think the bolts are almost $80.00 each. My car had 95,000 miles at the time.
I used a Harbor Freight saw with a 4" diameter x 1/16" thick cut-off blade. Be careful not to cut into the A-arm.
For those of us who have DIY-ed this job, we know exactly what you�re feeling. No working room at the bolt ends means scraped knuckles. No room either to use power tools or space to swing a Big F�&king Hammer (BFH) on the bolt ends.
Plus the brake line fixing couldn�t be in a worst location blocking the bolt. I bent it out of the way with the BFH.
For me it was those big non flat washers whose inner diameter had �keyed� into the bolt. Worst thing was when they�re lodged into the bolt thread during extraction.
My way was to try to feel which washer was binding and wiggle it while hammering on the end on the ratchet extension. At the beginning,I tried duct tape, and paper clips jammed in, to hold the washers in position so the bolt was central and spun easily. I used a lot of Lube too in the gaps. Try to support the upper A arm ends too to keep the Bolt straight.
Good luck and make sure no children are within ear shot.
Last edited by DavidYau; 06-18-2020 at 01:03 AM.
Reason: Correction to BFH
If you are working the strut for ride height, the strut can come off without messing with any of this. Take the wheel well liner off, and then disconnect the sway bar. This should let the lower a-arm drop just enough that you can work the strut out. From memory, the strut comes off by angling it backwards (top of the strut towards the back of the car) while working a good position for the lower strut bolt and rotating the top so the mount studs find their way out. With the wheel off, this is a 15 min job, really.
I took the liner out, but there still is not sufficient room on my car to pull the shock out.
By using various large bolts and banging from the back I was able to get it out.
It was the forward washer of the rear bushing that was caught on the bolt.
I have my old complete bushings here, I always keep used stuff, just in case.
I will clean up the hole in the al casting with emery paper and likewise the bolt
update, it was also the rear washer of front bushing
Good to hear. Glad you didn't have to cut the pivot bolt. That makes a mess of things. Did you here the collective sigh of relief from all of us when it came out, LOL. TM
Good news! I see your bushings were newish and not corroded at all. The washers have an almost interferance fit so they bind. When I reassembled my a-arm I used a burr to slightly enlarge the holes in the washers so it would not happen in future.
^^ I believe that Wayne (cjd777) and I also enlarged those washer holes slightly after struggling to finally get the washers to release from binding on the bolt. I do remember having to hammer those washers flat again after they bent somewhat during our battle to remove them. This was back in early January 2016....
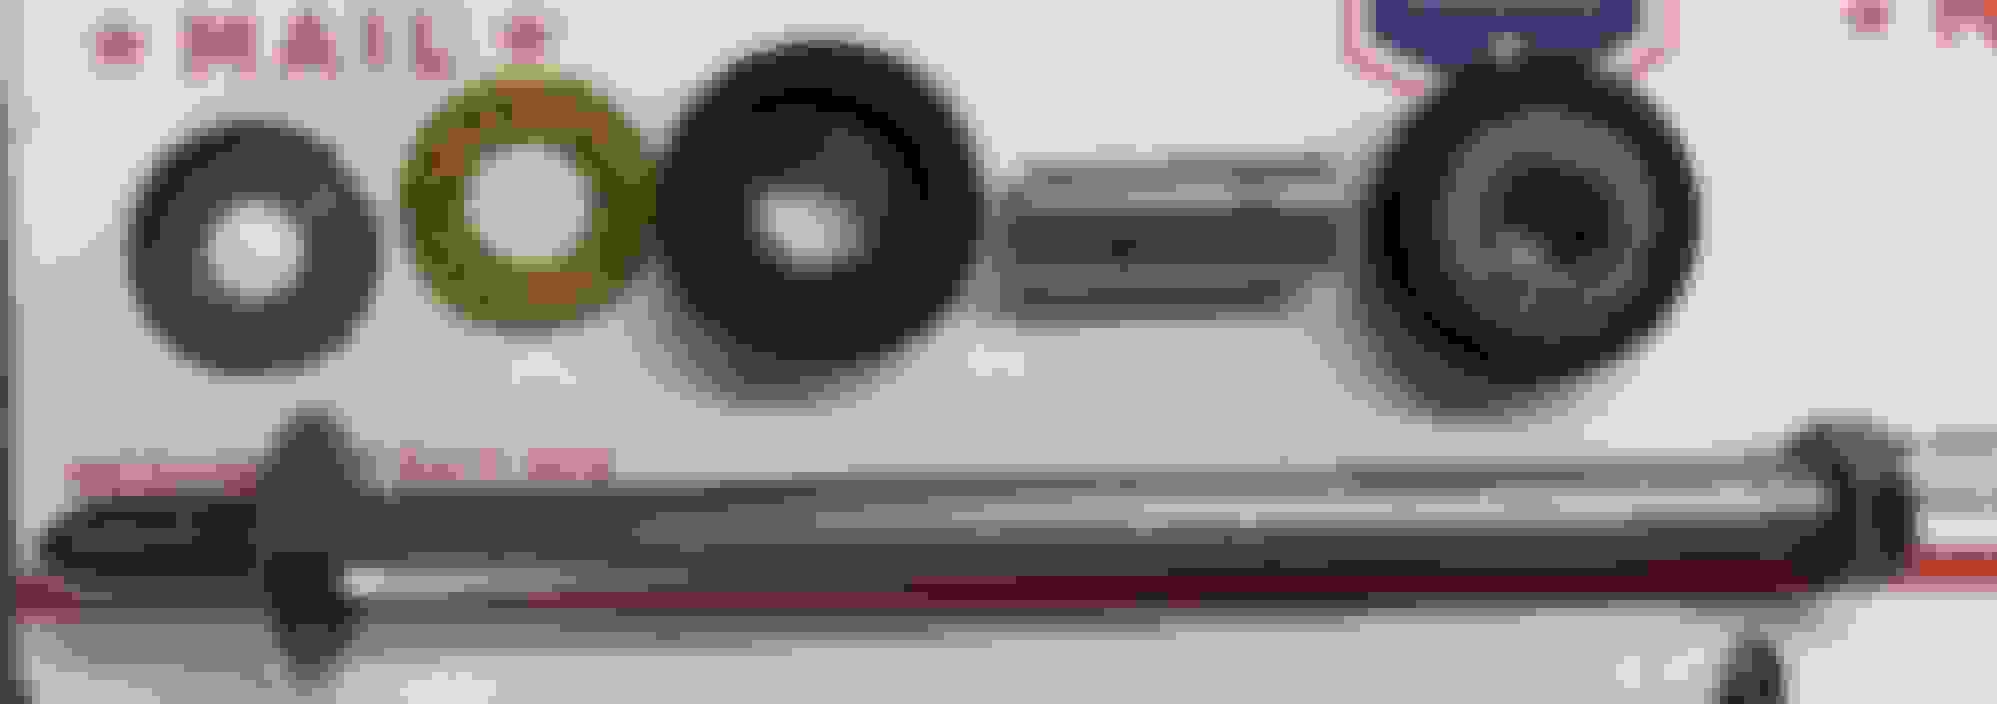
here is pic of my parts
each bushing has a left outer steel washer, a left inner washer, the left rubber bushing, the steel sleeve, the right rubber bushing, the right inner washer and the right outer steel washer,
It was both the steel washers near to body al casting that somehow got distorted
One of those washers is on the bolt as far as it will go now. I replaced two that would not go on the shaft of the bolt and another that might bind up.
These are my old parts that I keep, I have reinstalled the problem bushings using the steel washers from other old bushings.
I cannot think why the diameter of the hole in the steel washer would shrink. They still are as flat as new.
The offset washers that go on each side of the bushing are fine as are the caster washers.

 06-17-2020, 05:10 PM