When you click on links to various merchants on this site and make a purchase, this can result in this site earning a commission. Affiliate programs and affiliations include, but are not limited to, the eBay Partner Network.
Updated dash lighting (not difficult, but took me about an hour with all the parts that needed to be removed) & put Carbon Fiber around the shifter (probably will do entire dash soon) Gunmetal Grey
SO much more modern...
LOVED the wood, but didn't like it with the dark charcoal leather...
Repaired one of the plugs for my front CATS shocks. That was a fiddly bit as the wires had broke flush at the top. I got the pins out of the connector, soldered in new leads, and now everything works again. No suspension errors!
Next up is the ABS module repair. Also looking for a solution to the Low Coolant warning (it's not).
Removed all four wheels to clean them, check brake pad wear, clean fender wells, etc. I used Meguiars APC 10:1 and a Scotch pad to clean a lot of the grime off the wheels. APC 10:1 and a fender brush cleaned the fender wells with a follow up of Meguiars 4:1 to dress them. I also used Rustoleum Aircraft Cleaner to strip the paint off the wheel bolt holes where someone had painted black and grey over the chrome. Good news is no peeling chrome behind it. It didn't look like it was chrome plated very well from the factory back there, but it looks a heck of a lot better now vs the black paint. I didn't go crazy cleaning everything, but I gave it a good scrub to get most of it off.
had noticed some serious fading on the hood - so today tackled it - wash, clay bar, Mequiar's Ultimate compound and finished up with MeQuiar's Carnuba Gold plus. by no means perfect but definitely much better!!
When I worked in aviation, a guy showed up one day to clean his badly faded Cessna. He went over it with mop and glow! To my surprise it turned out well. I've since used that temporary trick a time or two.
Cleaned and then treated the top with 303 Aerospace using a microfiber rag as an applicator. Attached a pre-treatment pic to compare to the post treatment. It darkened the top a bit and made it look less faded. Finished putting a one step polish/wax on the old lady. Cleaned most everthing else including the interior. Applied 303 Aerospace to the interior, though I think next time I'll use Meguiars Hyper Dressing 4:1 as the 303 was too glossy for my tastes.
Also stopped by a British car meet and forgot to get pictures.
Finally... finished the cooling system refurb and condenser + receiver dryer replace. Just need the gas man to recharge and we should be good. I might actually need it this week as the temps are in the high 20s.
Only casualty was the little plastic locking t*tty on the temp sensor harness fell off so I'll need to identify the part & replace it.
Went for a run and all good except ABS light came on. Wait.. it's gone away again. Module surgery time I think.
Also got the 306 exhaust apart as it's blowing at the manifold/cat joint. Had to saw through the two clamp bolts as they're 8mm heads with 10mm nuts and had gone the way most exhaust bolts do. Stupid design and they're a pig to get a hacksaw to.
- added "Supercharged" emblem in the rear
- added a mesh grill net on the rear Arden spoiler - to match the front grill
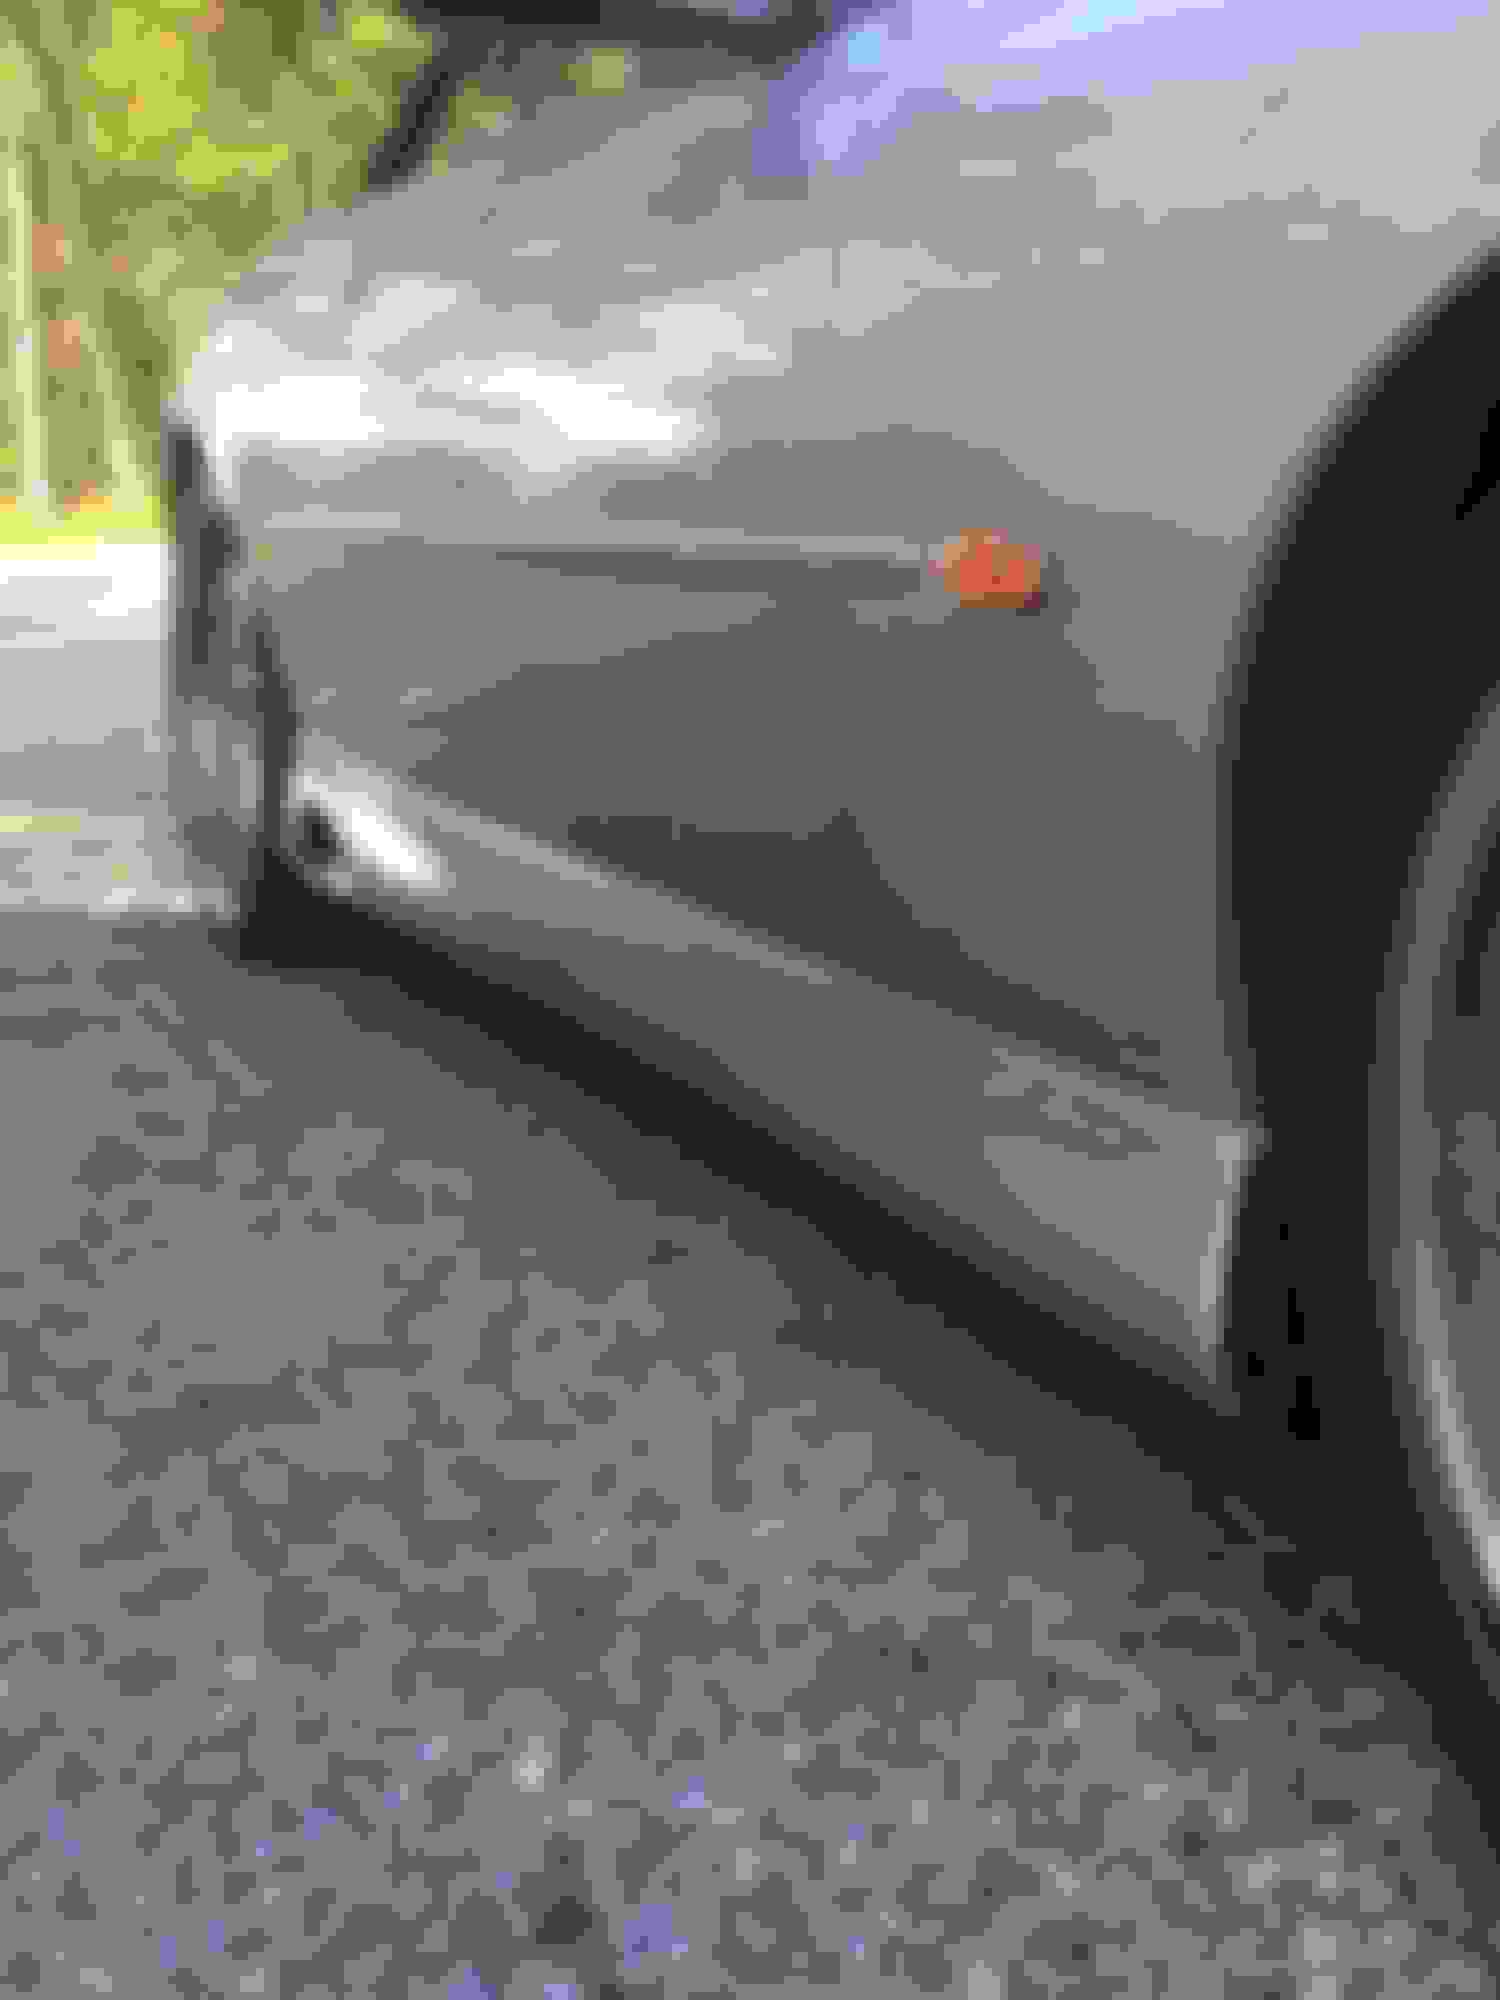
- mounted a black rubber protection on the Arden side spoiler - as glassfiber get small cracks/holes from stones etc
Replaced second downstream o2 sensor and FINALLY took out faulty break light switch. First time in a couple of years I don't have that annoying 'Check rear lights.... ' warning message on thre Dash!
It wasn't done today but here's the result taken over several weeks.
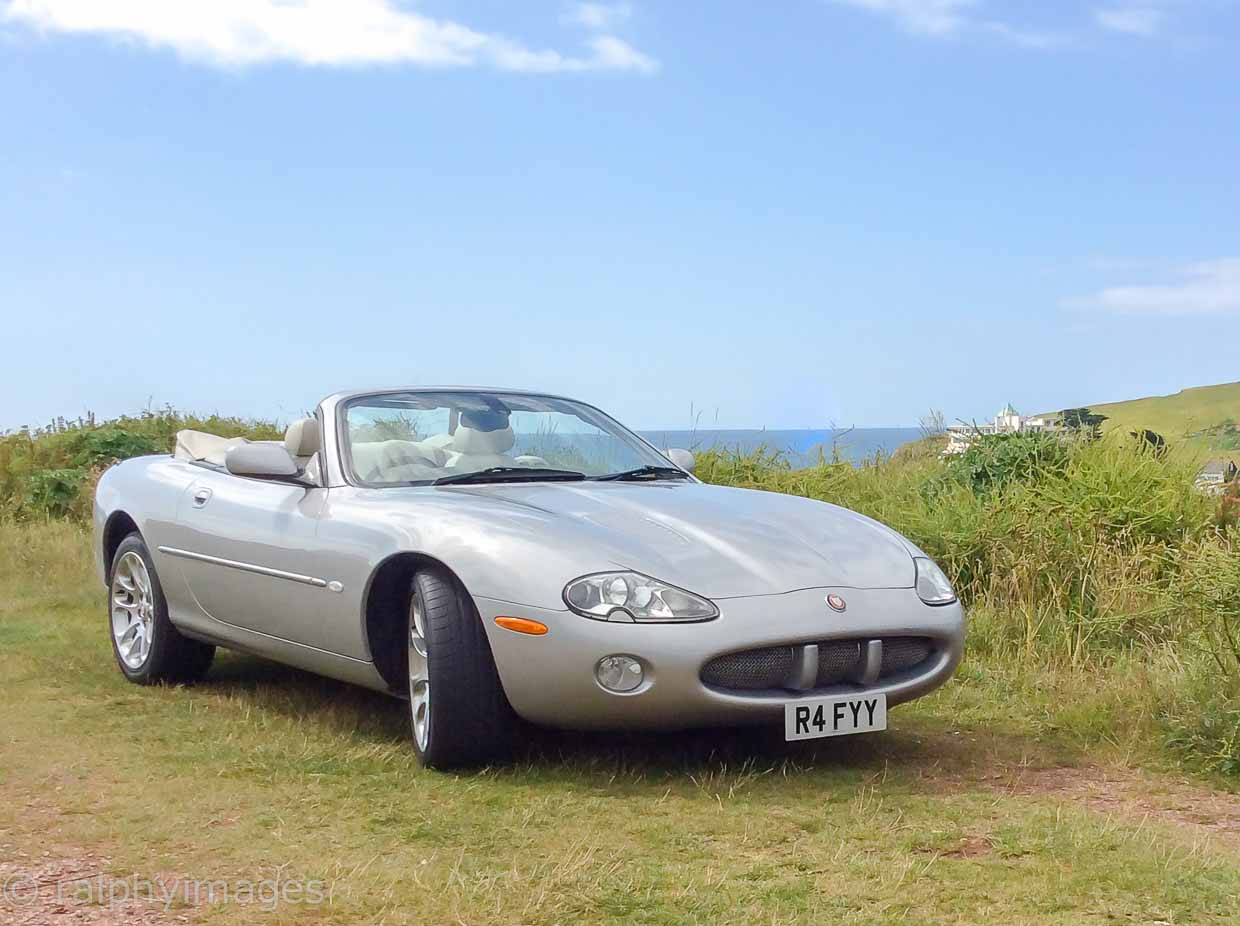
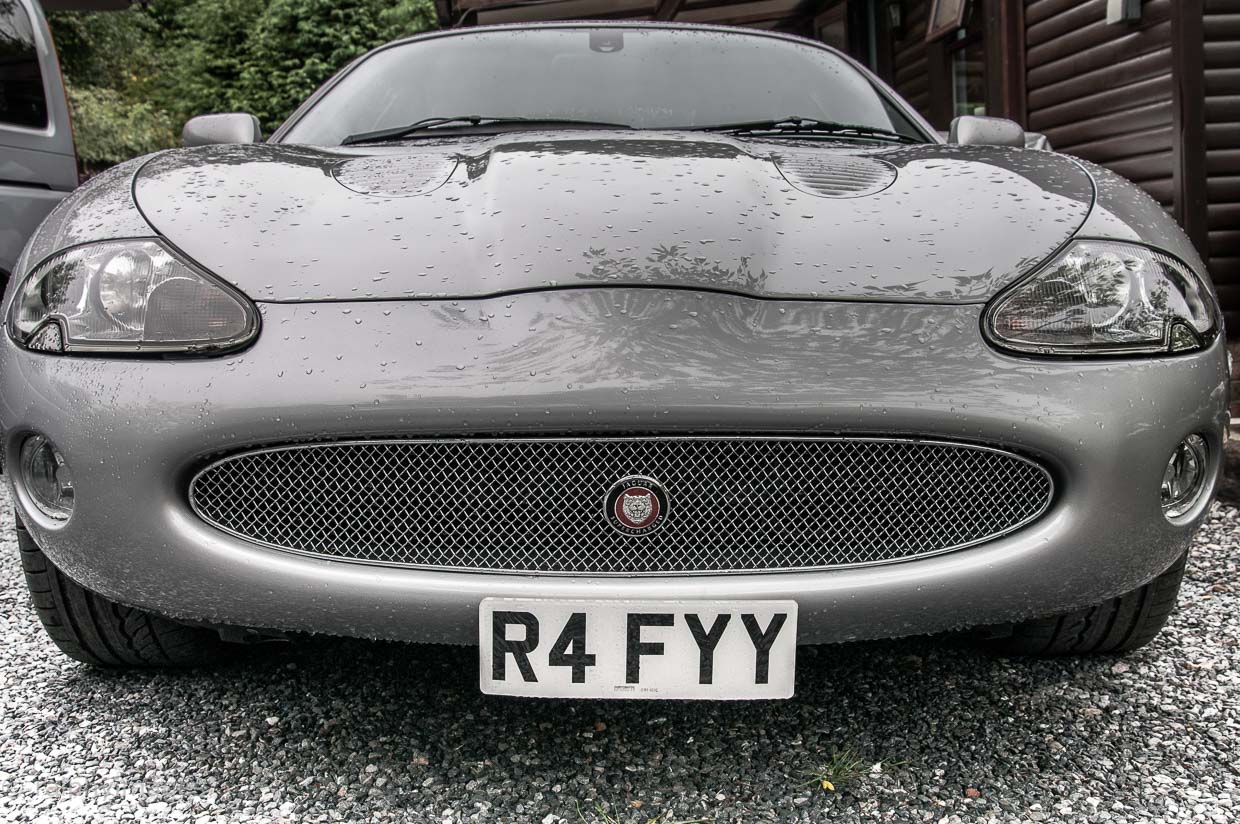
Wanted to generally clean up the nose (paint was rather stone-chipped and there were a couple of scuffs) plus I wanted to to lose the rabbits teeth and fit a new grille.
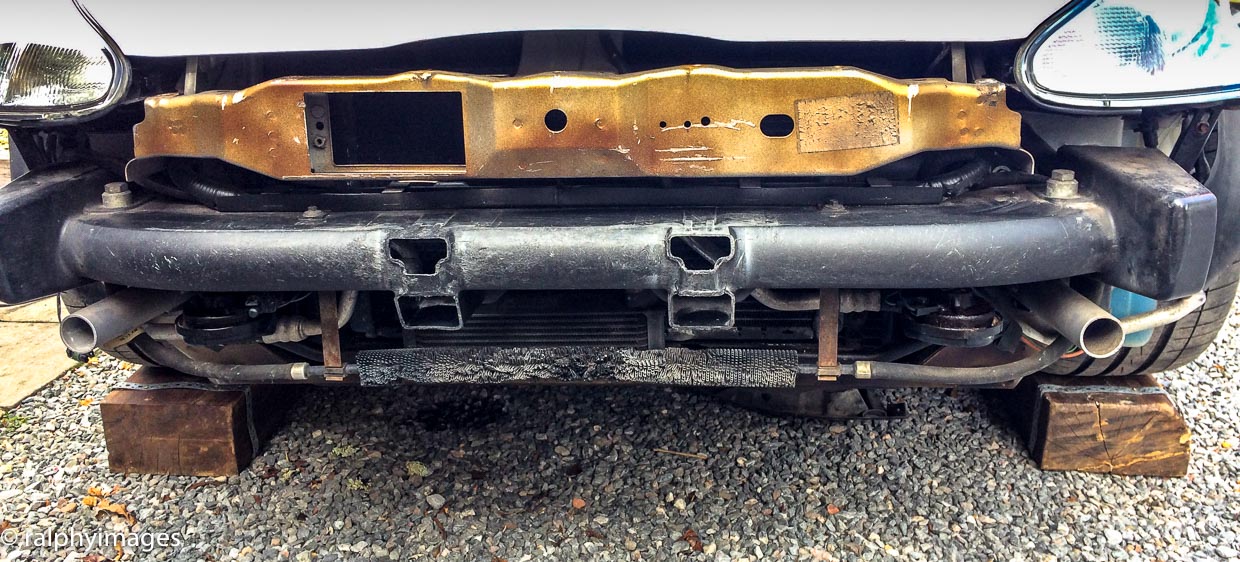
So off with the nose-cone:
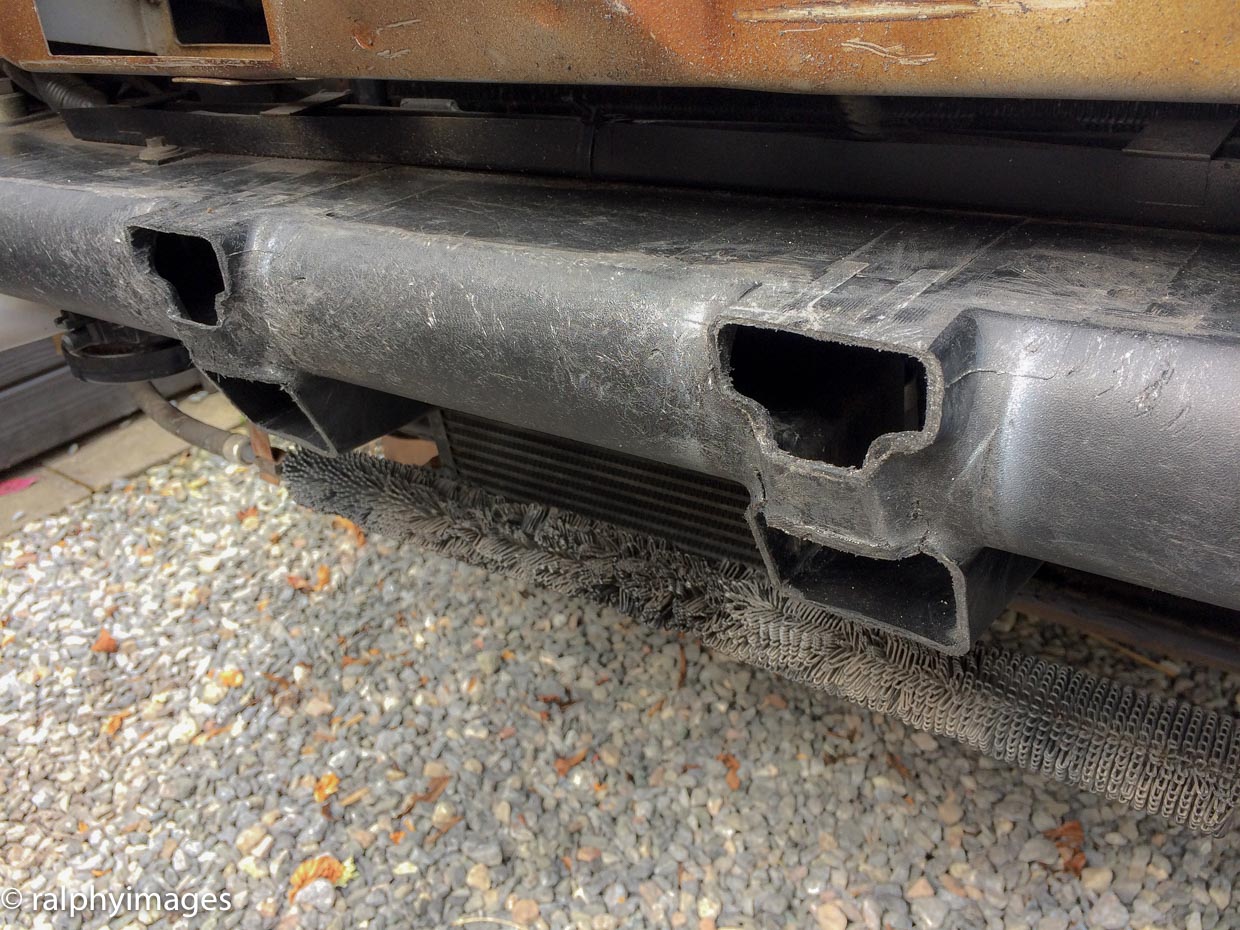
Remove the teeth and attack the plastic underneath them:
Turning attention to the nose-cone, I prepared the surfaces for priming and whilst doing so I had an idea: to remove the badge and fit it to the grille.
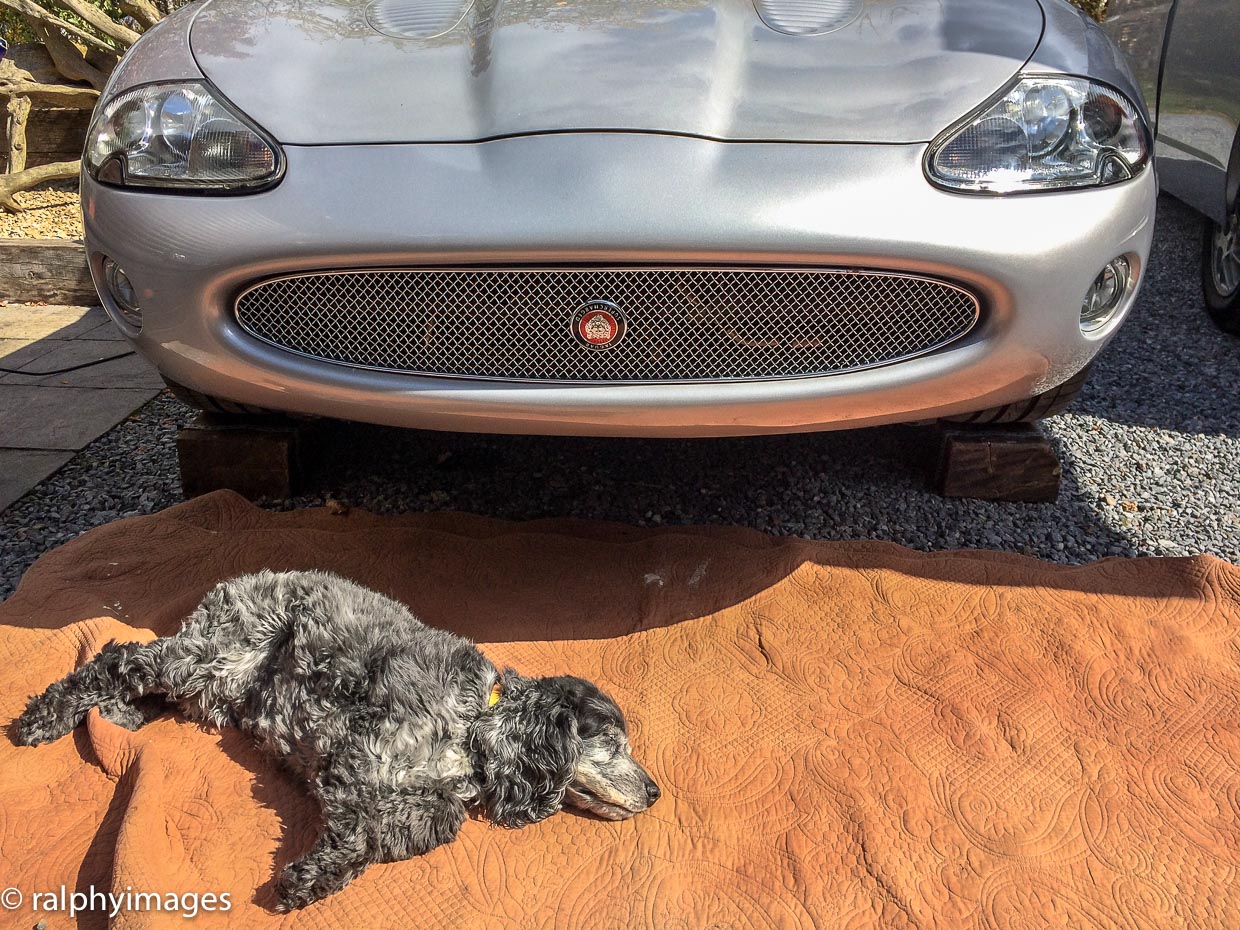
Off to my guy for painting and whilst it was away I took the opportunity to have a good clean up of the front end, including the headlights, power washers and replacing the alarm module. Once the cone came back back I fitted the new grill, mounted the badge to it and the foglight and reassembled the lot back onto the car. As you can see, I had made a mistake at some point...
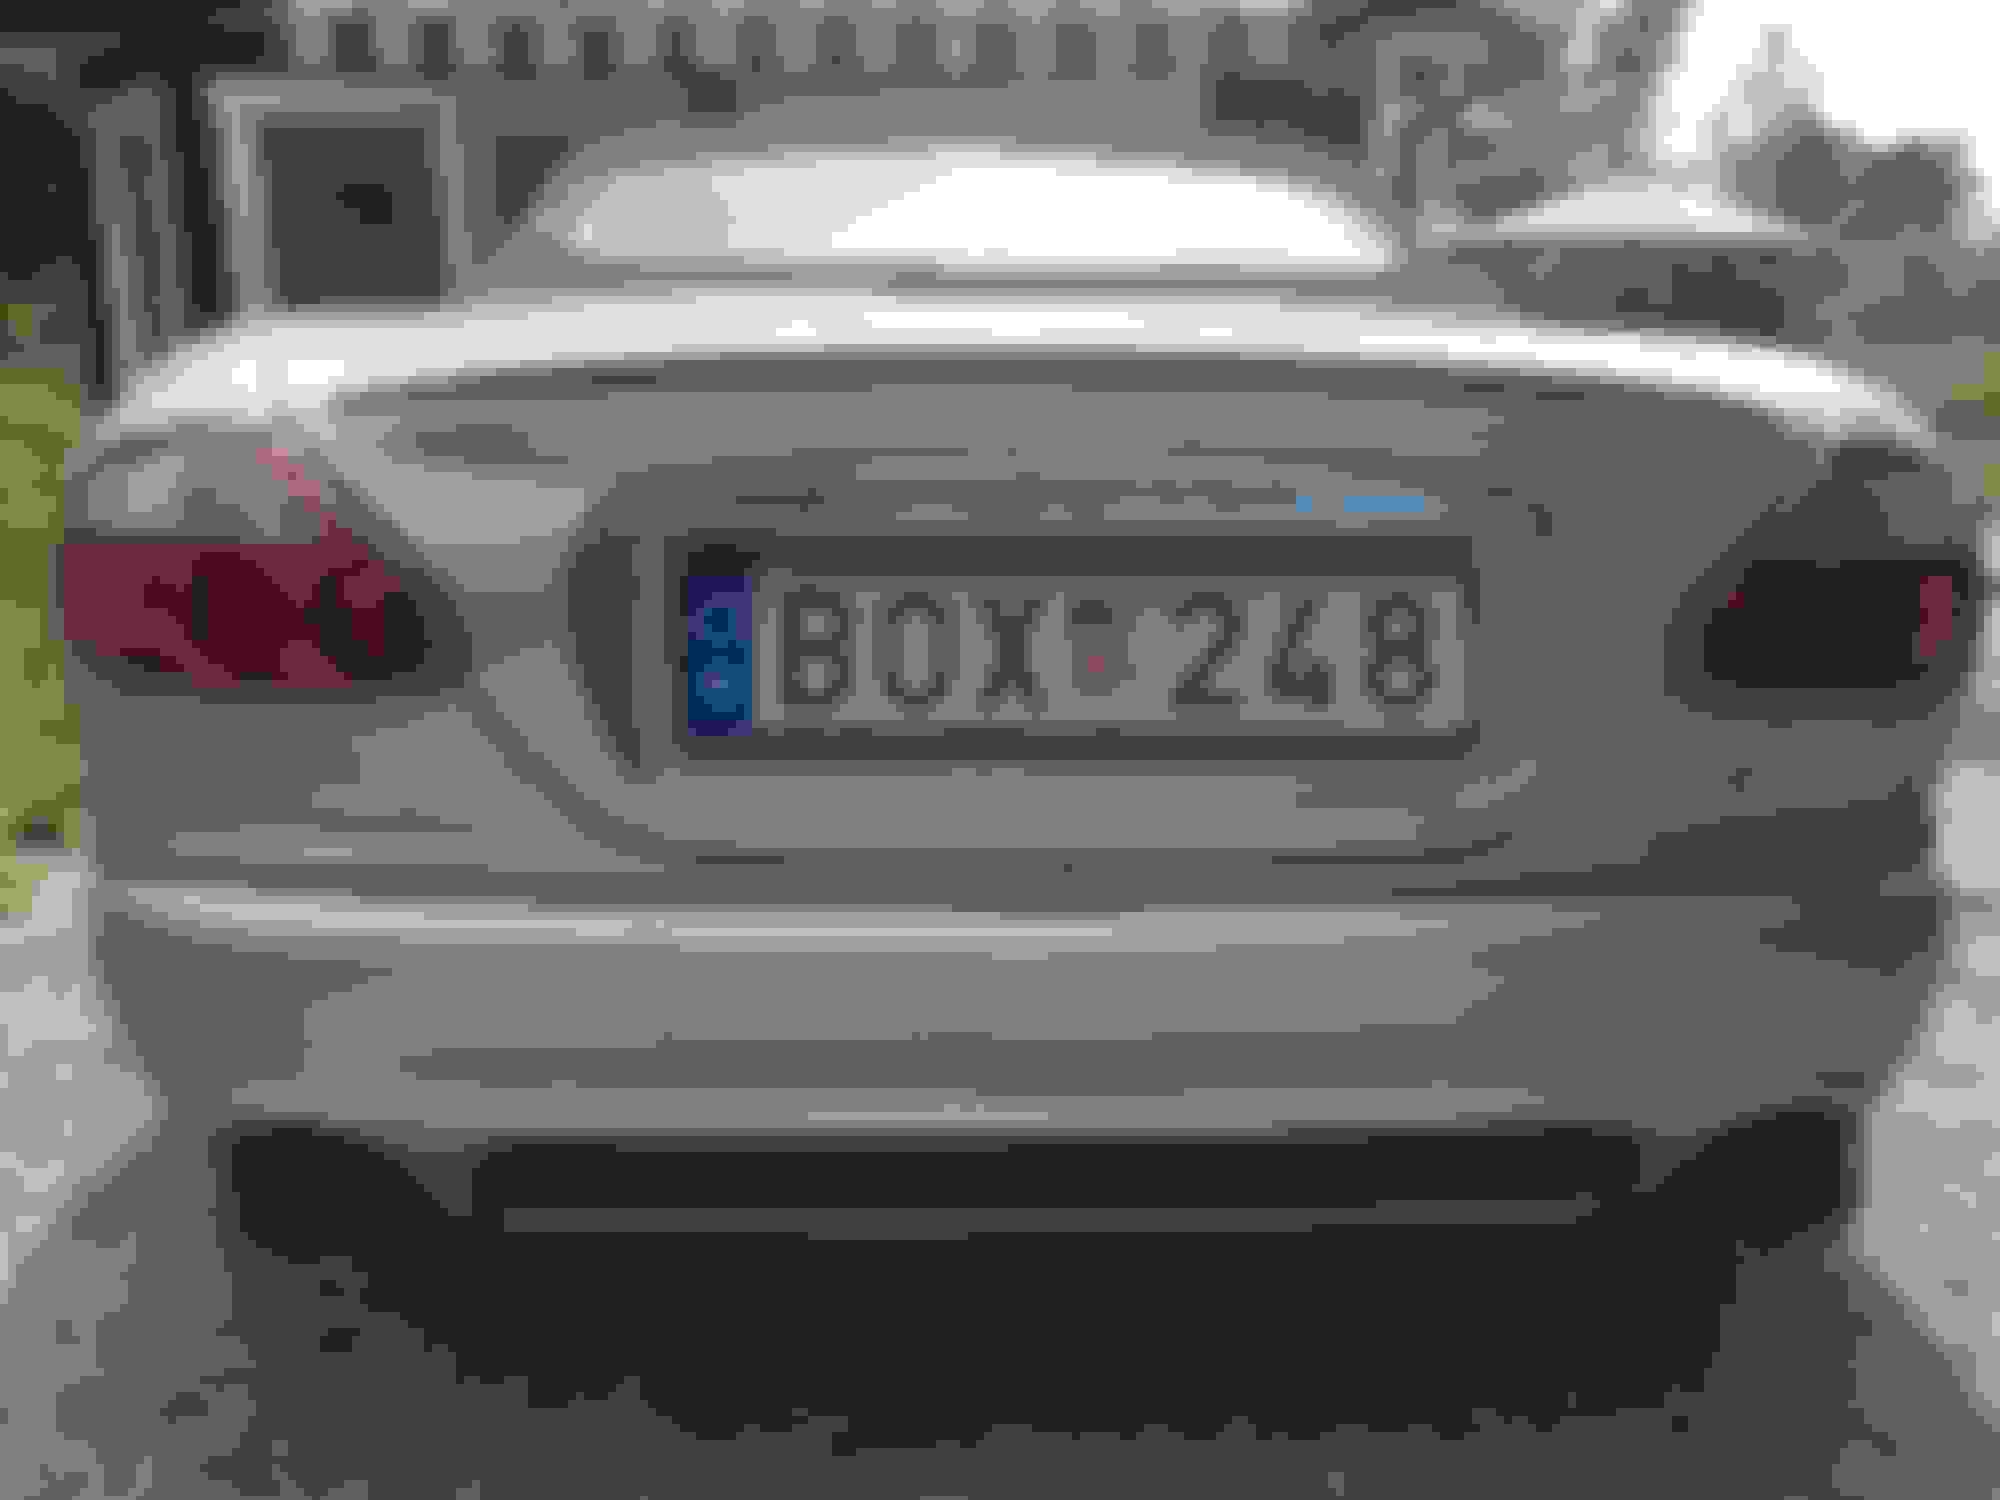
Error rectified, I made up a support bracket for the number plate, fitted that and here's the final result:

 06-08-2017, 11:39 PM